

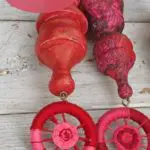
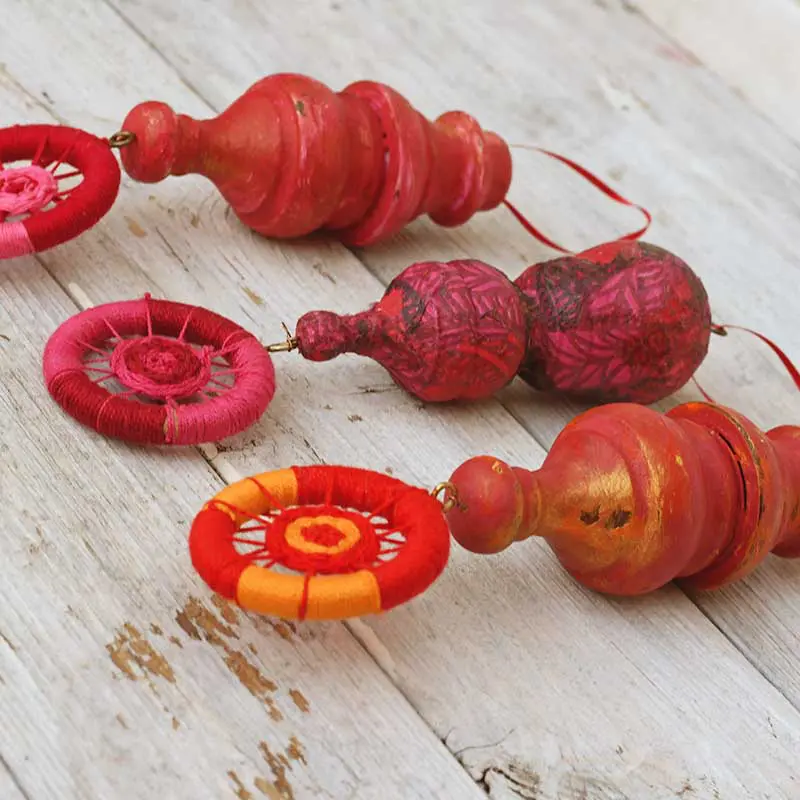
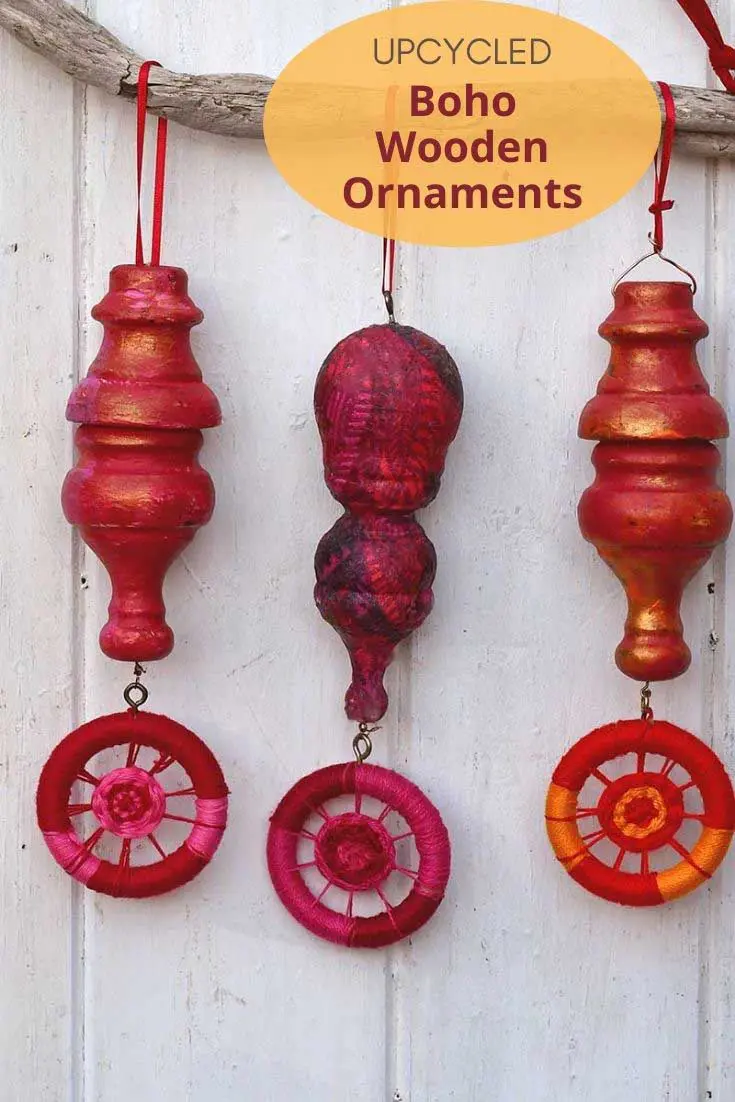
We recently installed much need new windows in our house. The house is so much warmer now. Part of the revamp involved updating some of the curtains and curtain poles too. Of course, being the upcycler that I am, I managed to repurpose some of the curtain finials and rings into some colourful Boho DIY wooden ornaments.
I’m a bit of a hoarder when it comes to odd pieces of junk. A few years ago, I made a wonderful scrap wooden Christmas tree with knobs and hooks from my collection of bits and pieces. These Boho wooden ornaments are in keeping with that same vibe.
Don’t tell my partner, but I also kept a few of the old sash windows. I’ve hidden them out of sight to upcycle at a later date. Previously, from old sash windows, I’ve made a Christmas mantle mirror, an outdoor cocktail bar, and a window herb garden.
I’m sure I’ll think of something equally fun for the old windows I’ve hung onto.


Repurposing the Curtain Finals And Rings
I just loved all the curves on the wooden curtain finals and knew that they would make lovely repurposed ornaments. I decided to add more colour and interest to the DIY wooden ornaments by adding a Dorset button to them.
Dorset buttons are an English craft that has been around for over 300 years. Curtain rings are a perfect shape for making Dorset buttons. Besides a curtain ring, all you need is some coloured thread to make these buttons.
What You Need To Make DIY Wooden Ornaments
- An assortment of wooden curtain finals and curtain pole holders. If you don’t have any I’m sure you can pick them up really cheaply in your local junk shop or salvage yard. The junk shop at the bottom of my road has a box full of them.
- Large curtain rings or something of a similar size and shape
- Gorilla Glue Contact Adhesive
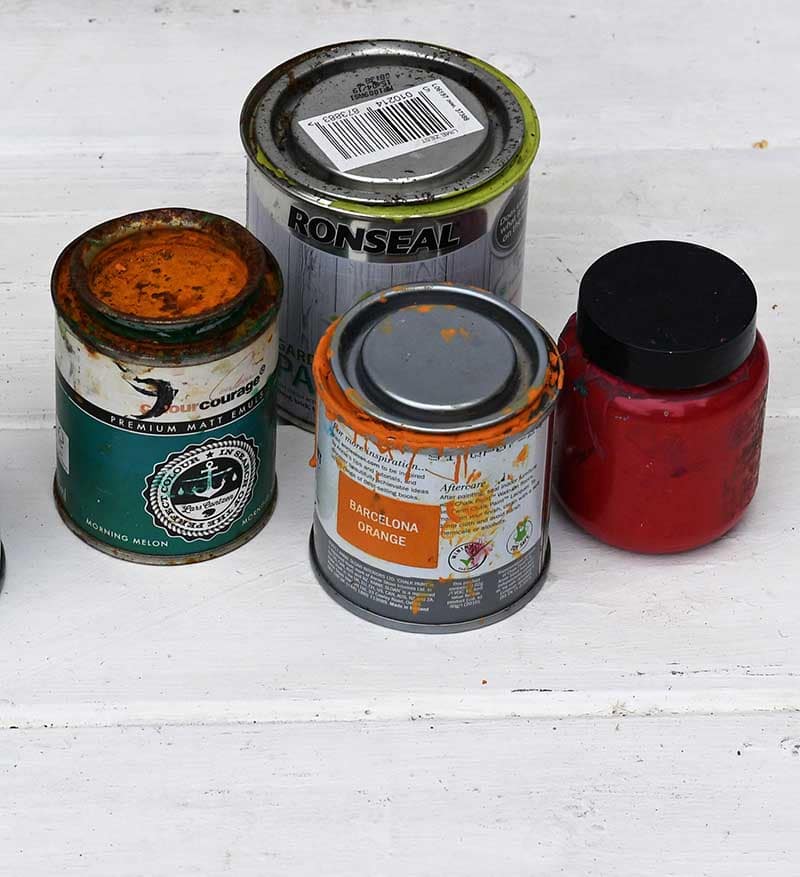
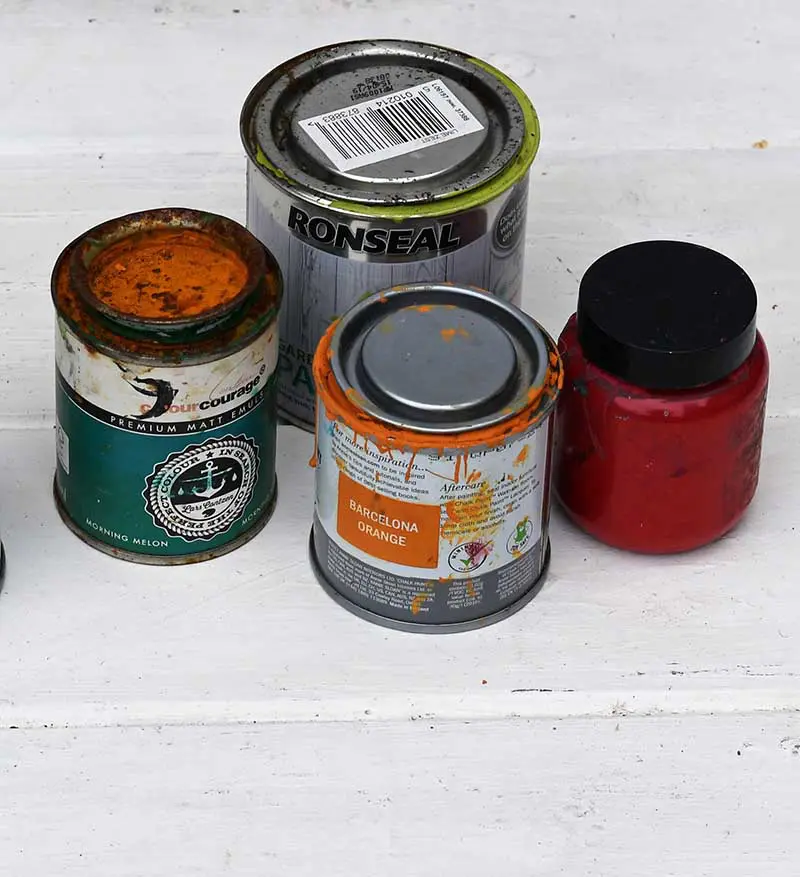
- Paint in an assortment of colors. I just used leftover bits from match pots I had in my shed.
- Clear wood wax
- Gold pigment powder
- Screw eyelets
- Embroidery thread
How To Make Boho Wooden Ornaments
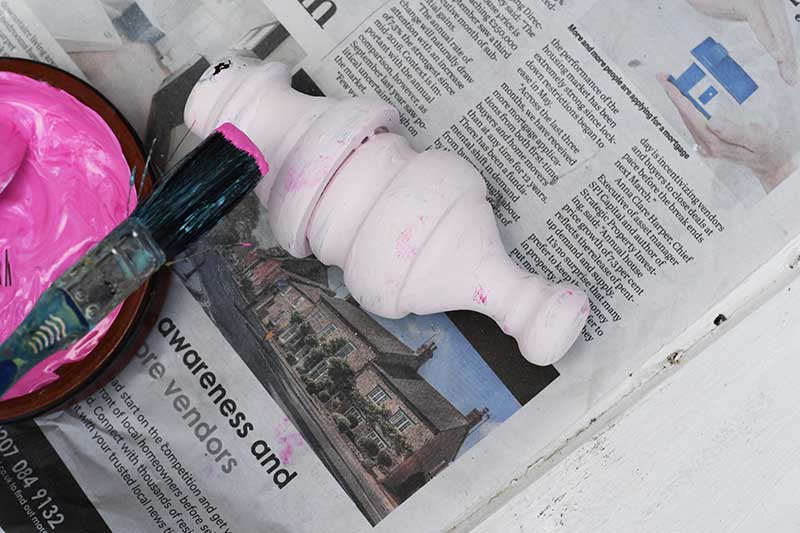
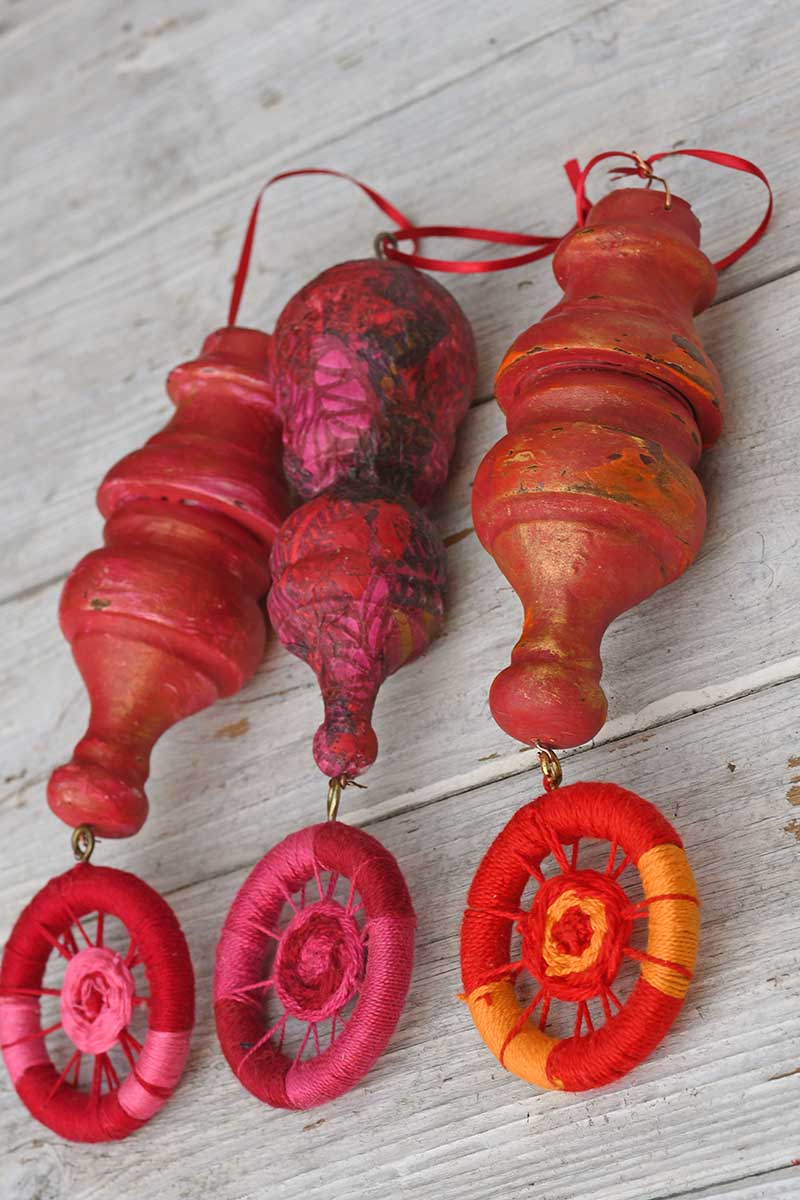
1.. The first thing you need to do is to play around with the bits of curtain finals. Glue them together to make shapes. Just work out what combinations you like. In most cases, I just stuck two wooden pieces together, by putting glue on the flat edges.


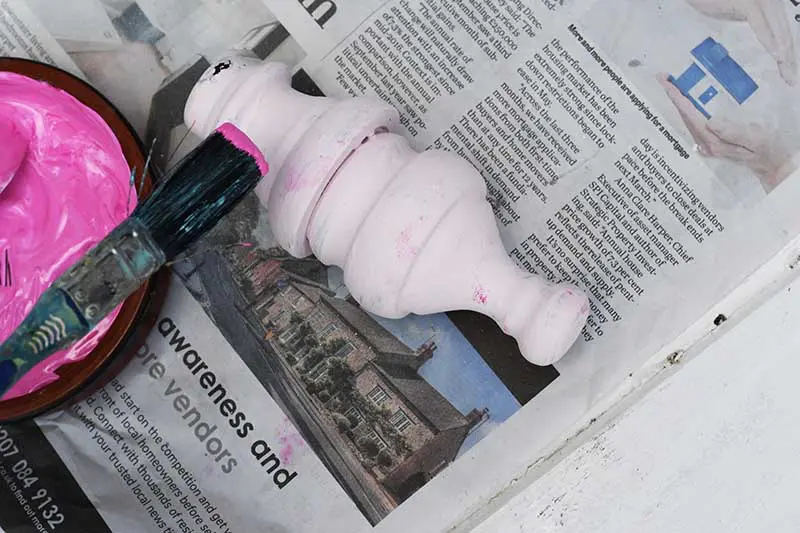
2. Next, once the glue has dried paint the DIY wooden ornaments. I painted each ornament with at least 3 coats of paint and each coat a different colour.
The first coat was the palest colour, the second coat had a darker tone and the third coat of paint was even darker still.

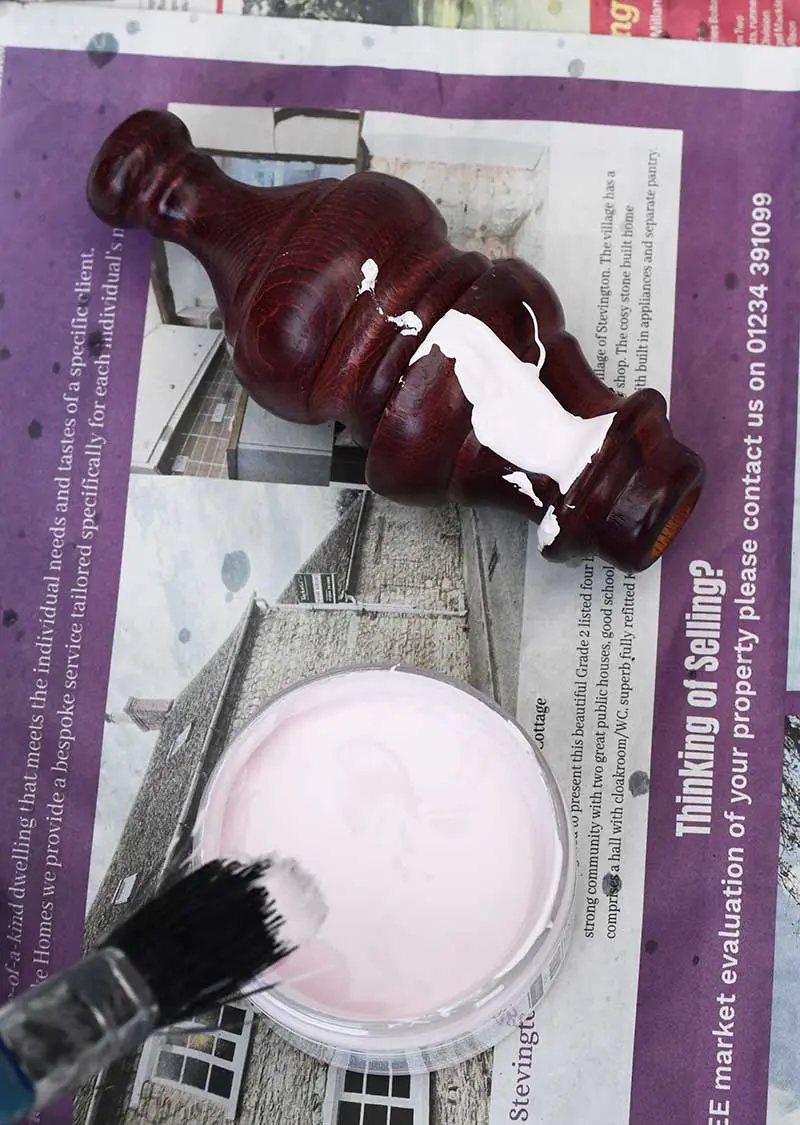


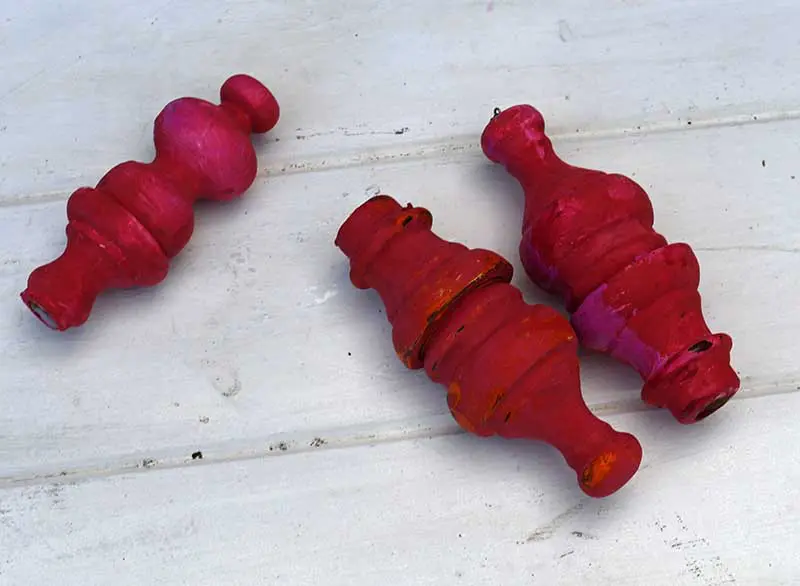
I painted three coats of paint in different colours as I wanted to create a worn a slightly chippy look for the ornaments. To do this I rubbed small spots of the wet paint off before it dried on each coat.
Also, when the ornaments were fully dried I sanded the edges a little.

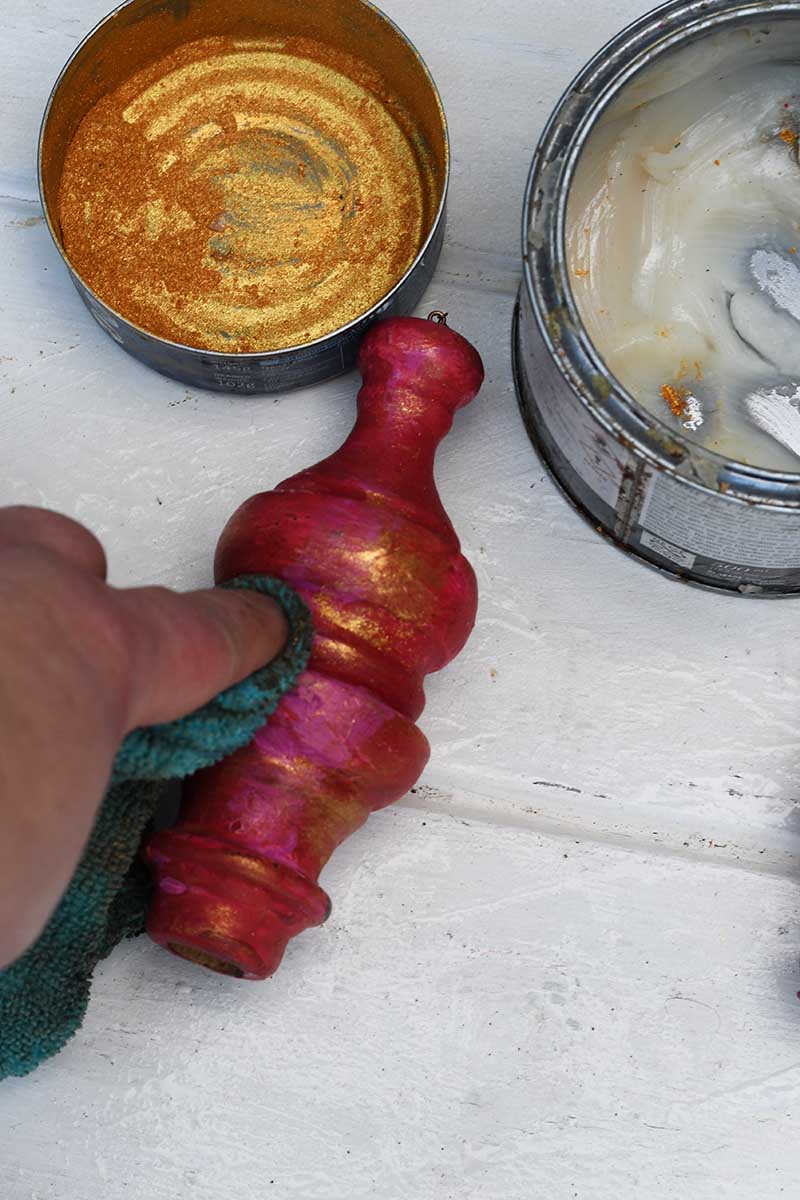
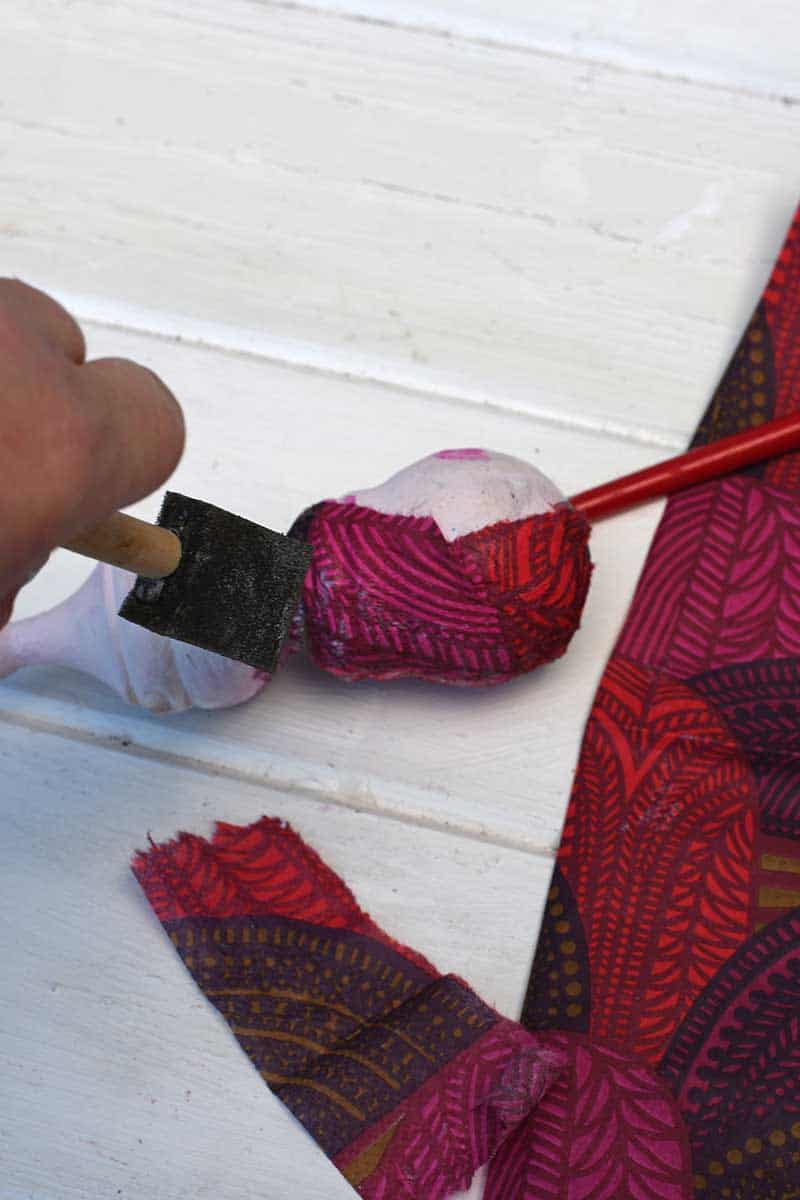
3. Next, I gave the wooden ornaments a touch of gold lustre. I did this by mixing a small amount of gold pigment powder with furniture wax. This was then rubbed into the ornament and buffed with a lint-free cloth.

Decoupaging The Wooden Ornaments
4. An alternative to painting the curtain finals is to decoupage them with paper napkins. Separate the top printed ply of the napkins and tear it into strips. Then, using Mod Podge, decoupage the strips onto the wood.
When finished add a coat of Mod Podge over the top to act as a varnish.

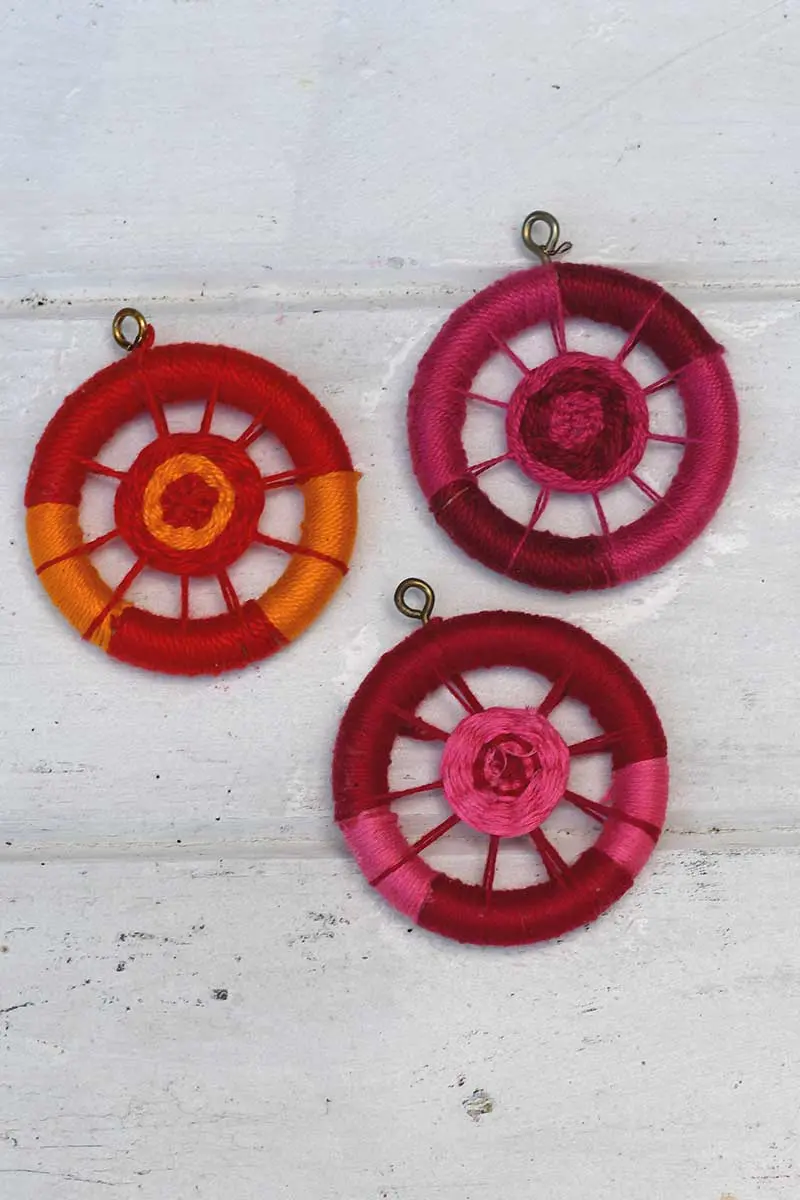
Making The Dorset Buttons
Dorset buttons can be made with many different patterns, some rather intricate. For these DIY wooden ornaments, I made a simple cross wheel Dorset button. There are many good tutorials online. I will show you how I made my simple version.
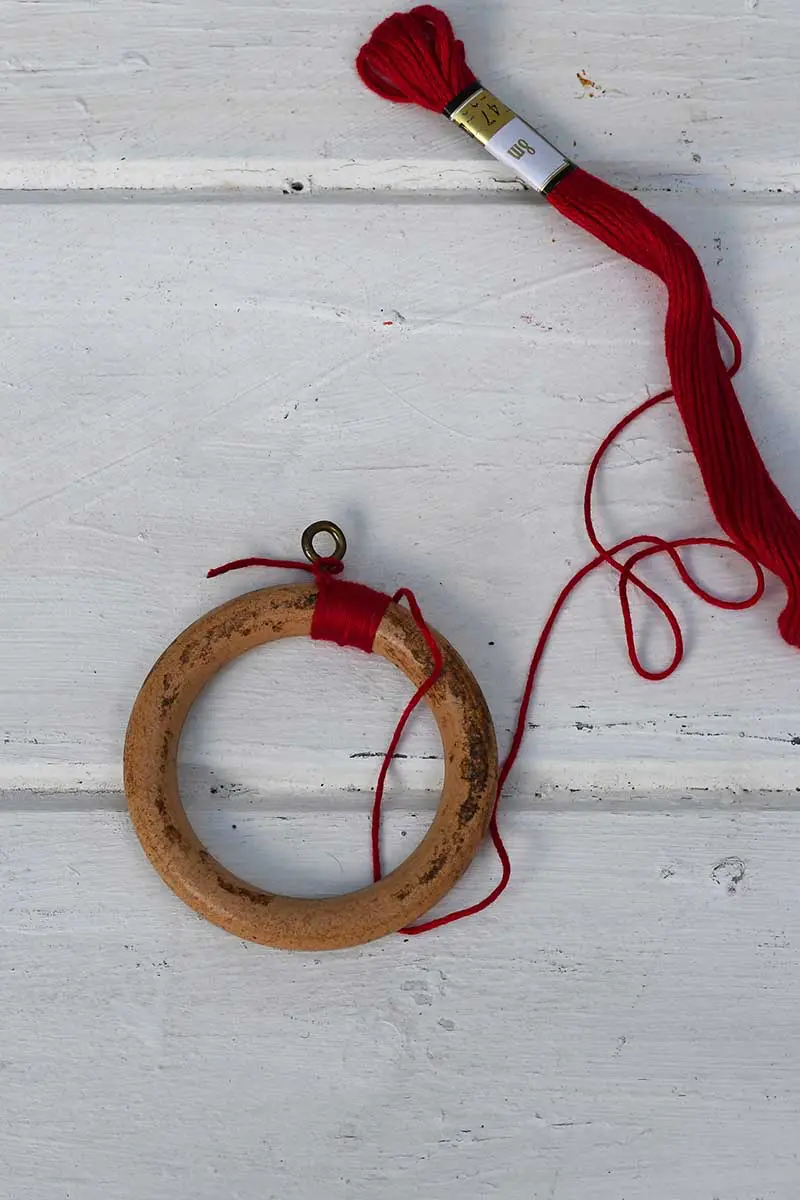
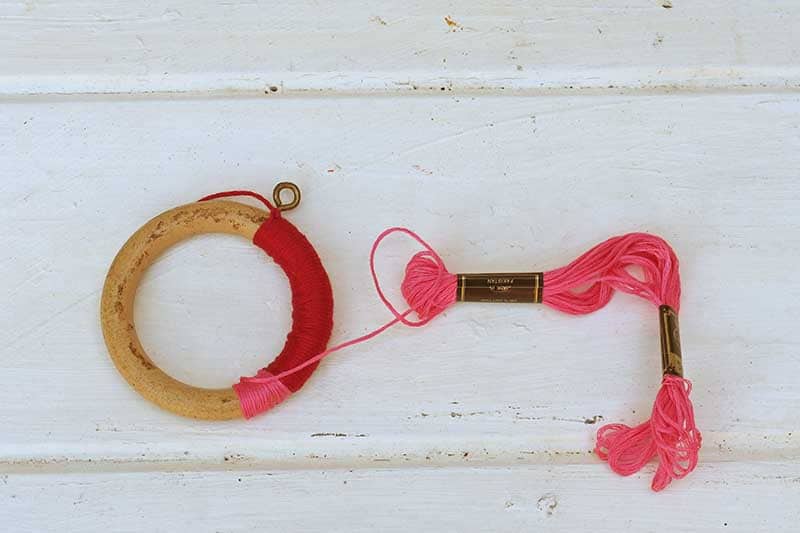
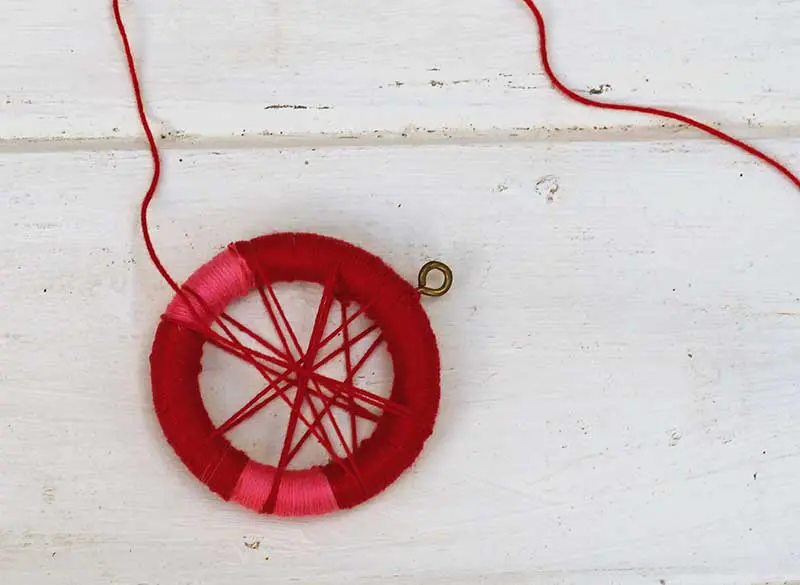
1. Next, use the curtain rings to make Dorset buttons. First, wrap the whole curtain ring in embroidery thread. I used threads in two different colours to create a stripe pattern.


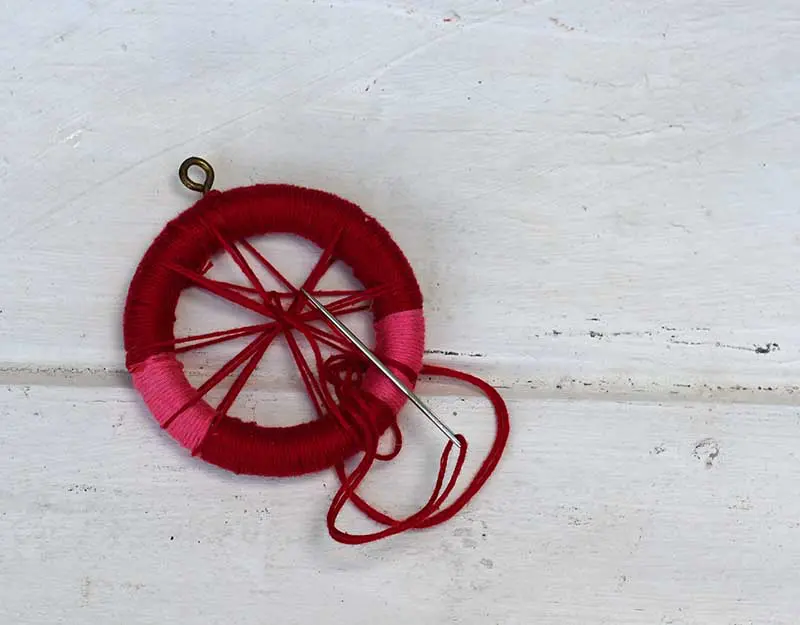
2. Once the whole of the wooden curtain ring is covered in thread. Take a long piece of thread and thread it onto a large needle. Next, wind the thread across the curtain ring to create spokes (a bit like on a bike wheel).

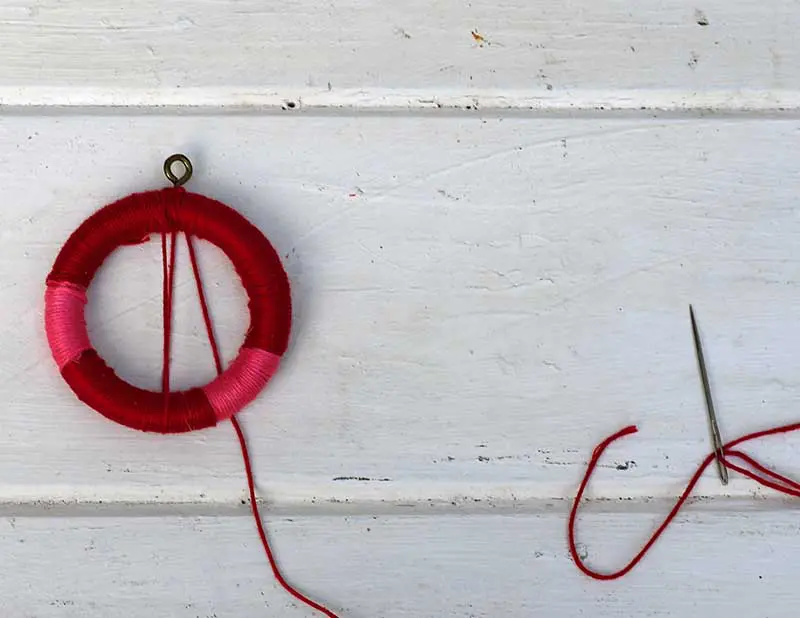

3. Once you have made all the spokes (I had about 9), bring the needle up through the centre. Use the needle to push the spokes into a more central position.

4. Next, starting from the centre, weave your thread in and out of the spokes around the wheel. As with the outside of the button, I changed the colour of the threads to create a stripe.

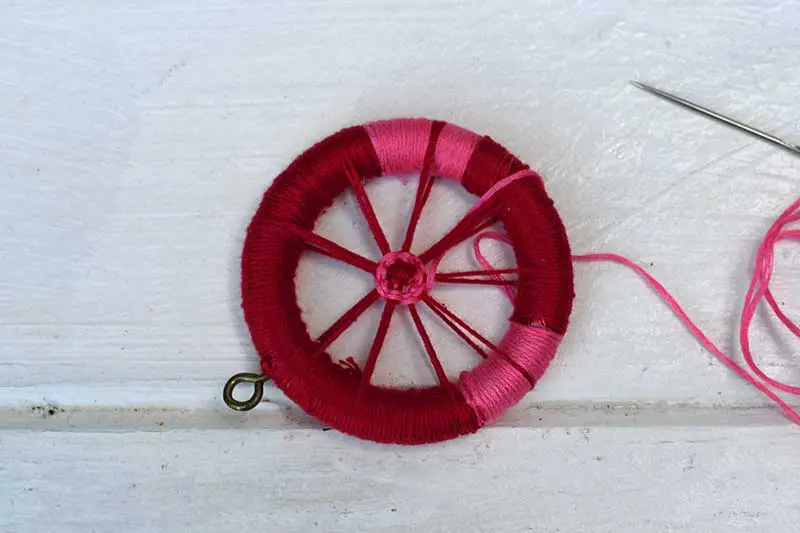

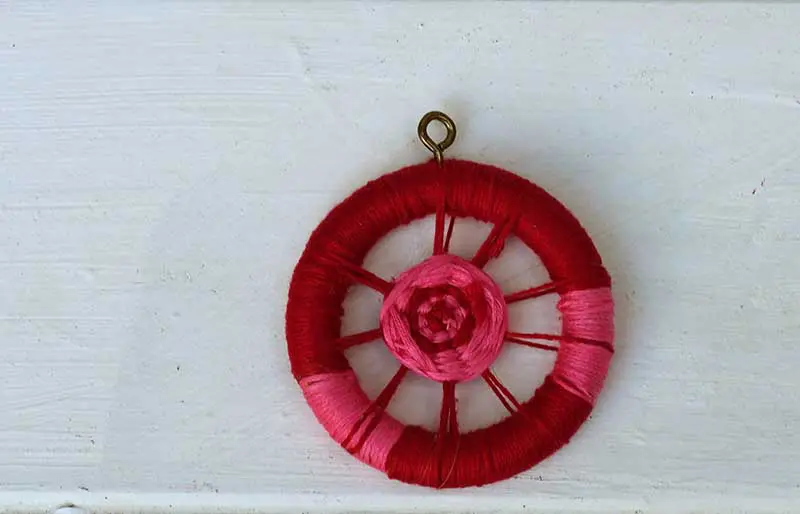
5. When you have finished weaving the Dorset buttons, tie off the thread. I think these Dorset buttons like a bit like tiny dream catchers.

Finishing off the DIY wooden ornaments
To finish off these DIY wooden ornaments, screw an eyelet into the top and base of the painted curtain finales. Attach the Dorset button to the base of the wooden ornament with a small wire ring.
To hang the Boho ornaments add thread ribbon through the top eyelet.
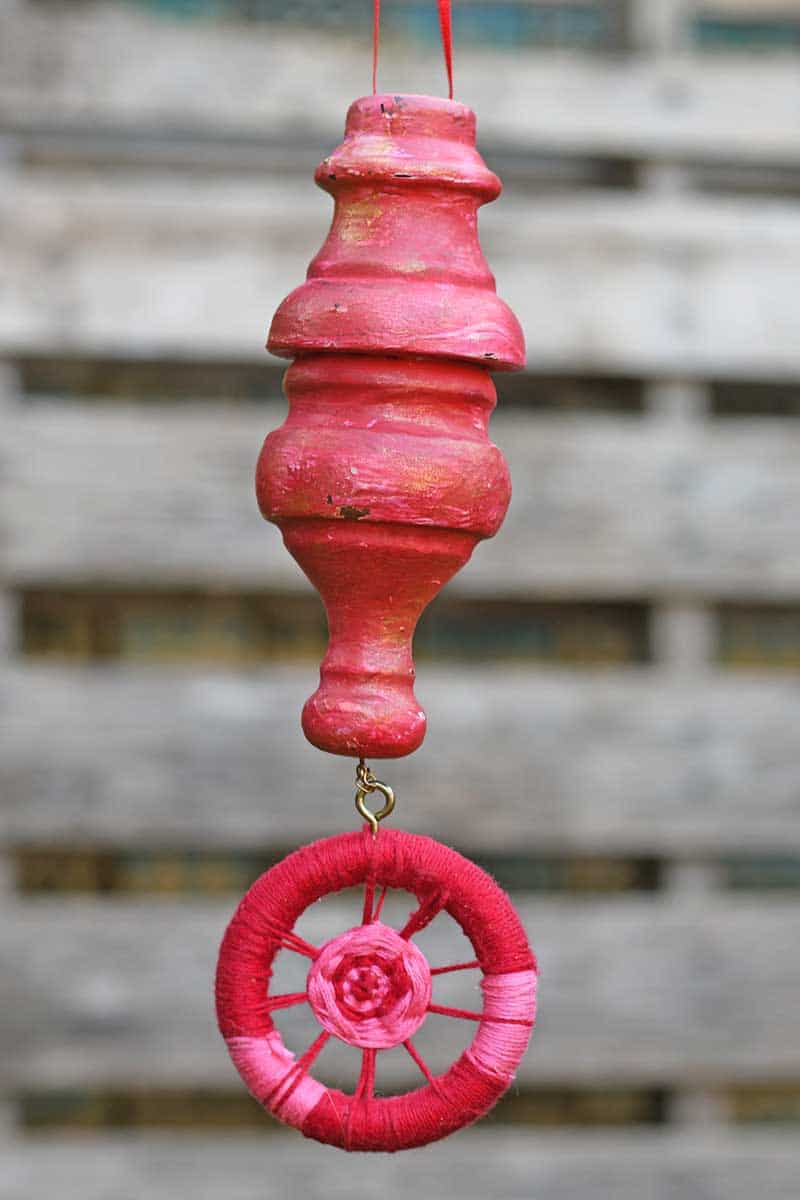


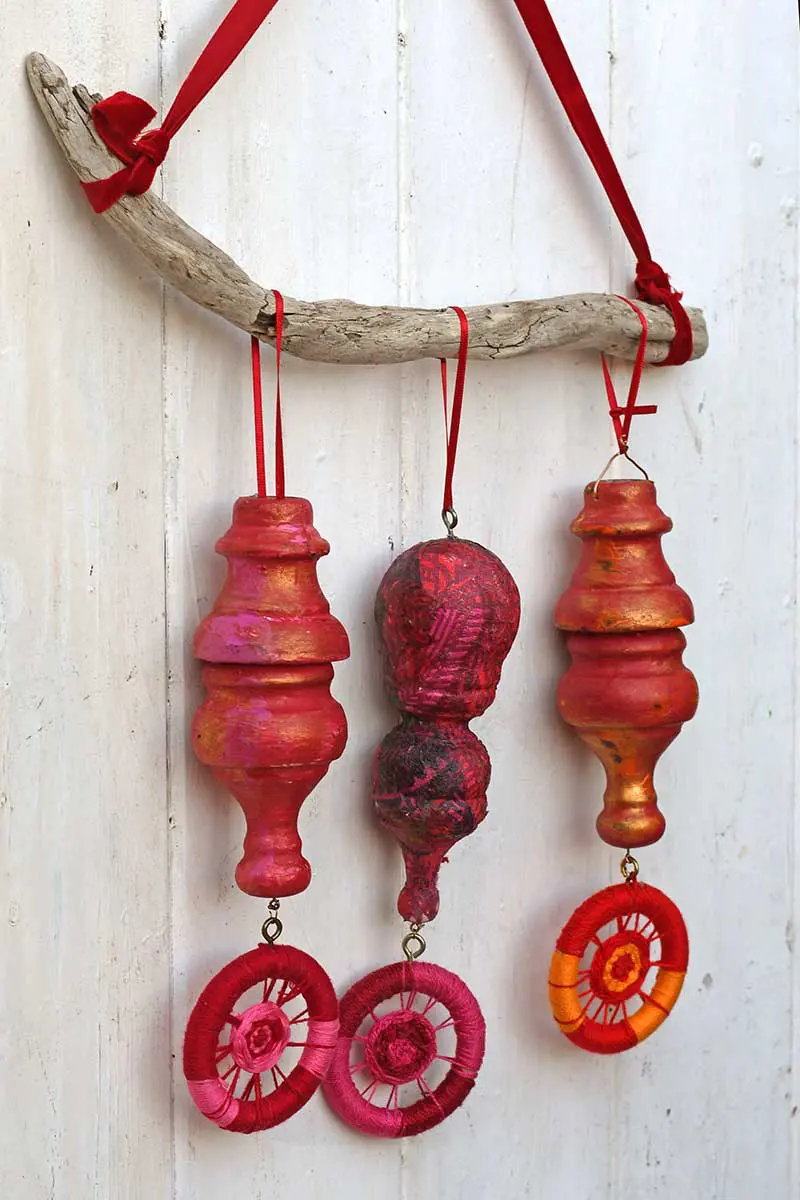
These DIY wooden ornaments have a Boho feel about them. I think that is both because of their colourfulness and the addition of the Dorset buttons. I originally made these as repurposed Christmas decorations, but I think I will be able to keep them up all year round.

Any left curtain rings can be used to make some luxury DIY napkin rings for your festive table.
If you liked these Boho DIY wooden ornaments, you will probably like these upcycled wooden map trees too.
For more Boho upcycles, check out these Boho jeans pillows and upcycled Boho leather vases. You can also find more decorative crafts here.
NINA LEWIS
Tuesday 5th of January 2021
I absolutely love these! And the gold! It really sets these ornaments off. So, so pretty,
I'm going to feature this at our Party in Your PJs tonight on my Grandma Ideas site. Thanks so much for sharing this wonderful idea!
Claire Armstrong
Wednesday 6th of January 2021
Thank you so much, I really look forward to seeing them. Happy New Year.
c
Saturday 2nd of January 2021
This is wonderful Claire, and could be for anytime, really......in pastel colors for a baby's nursery? Hope all is well, Craft Schooling sunday has resumed, and hope to see you there!
Claire Armstrong
Sunday 3rd of January 2021
Thank you, Sara. Yes, I will be back with many more crafts for 2021.
Michelle Leslie
Saturday 19th of December 2020
Forget Christmas, these beauties will stay up the whole year ;-) Love, love, love how they turned out Claire. So creative
Marielle
Saturday 19th of December 2020
The buttons do look like little dream catchers! This is such a creative idea. Thanks for sharing. I hope you and your loved ones have a peaceful and very merry Christmas Claire!
Claire Armstrong
Saturday 19th of December 2020
Thank you so much Marielle. I hope you have a lovely Christmas too 🎄
Michele Michael
Friday 18th of December 2020
These are very inspiring to me because I have so many wooden pieces to upcycle. I can see some for Valentine's Day too... with little hearts dangling. Pinned to Christmas and Christmas Ornaments.
Claire Armstrong
Friday 18th of December 2020
Thank you so much, I like the ideas for Valentine's day ornaments.