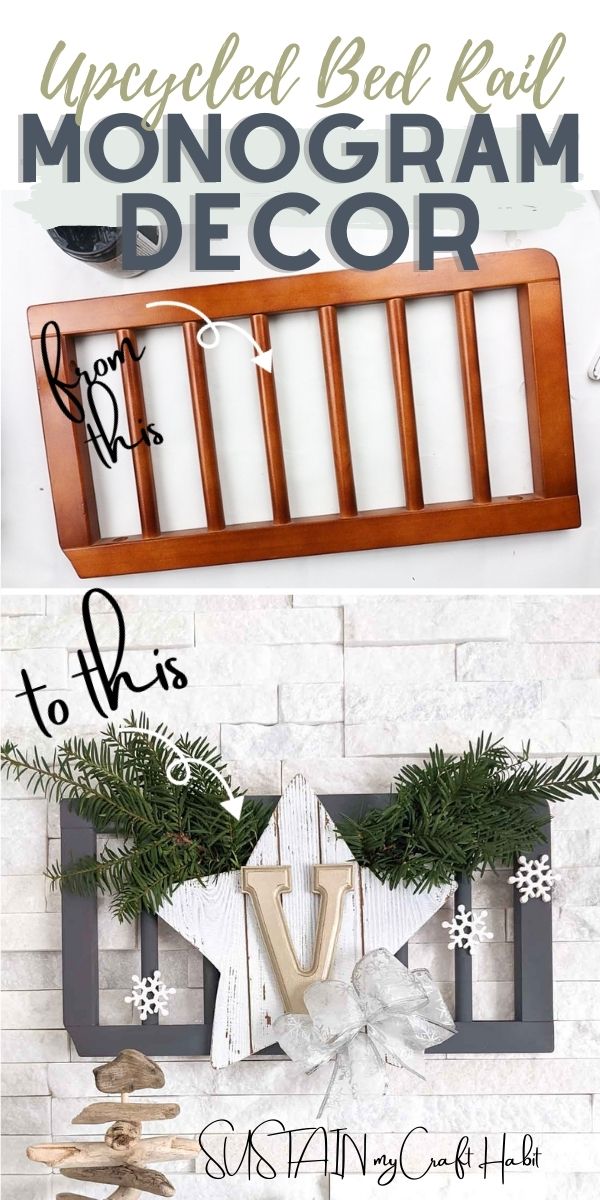
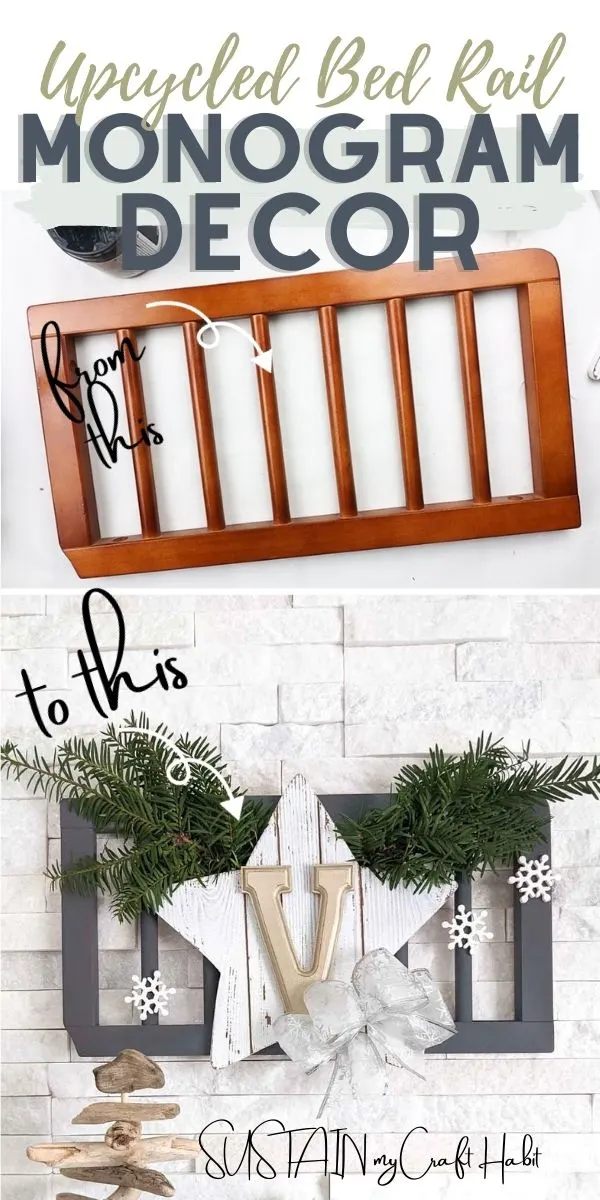
Today’s upcycled craft idea is a bit sentimental. We’re transforming a piece of my childrens’ crib into pretty farmhouse-inspired winter decor!

Gosh, it’s been such a busy month of upcycled Christmas craft ideas. We hope you’ve enjoyed them all! In case you missed any, we’ll be sharing a recap of some of our favorite ideas next week.
A Keepsake Decor Idea
My husband was recently cleaning out the garage and came across a wooden bed rail piece. It was a part of our kids’ crib – I still remember receiving the convertable crib at my baby shower before my oldest was born.
Who would have known that the crib would be with us for four beautiful babies! After the littlest one was done with it a few years ago, we converted the crib to a headboard for my son’s bed. This little bedrail piece has been collecting dust in the garage ever since!

I’m so happy I’ve put it to use to make this winter decor idea. The best part is I can change up a couple of elements come spring time for a brand new piece!
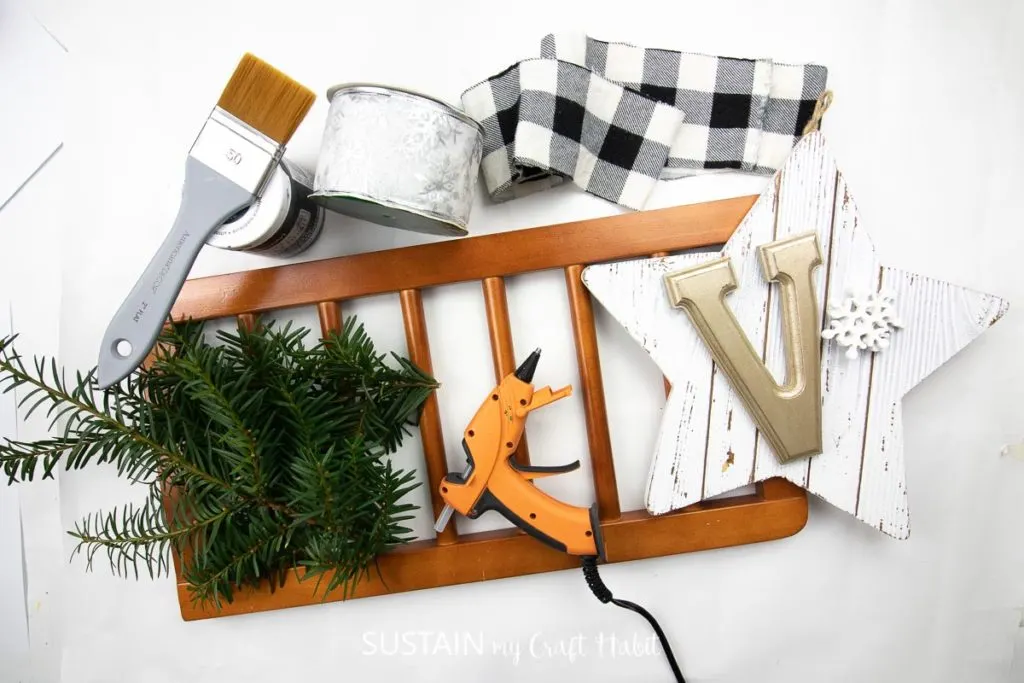
Materials Needed
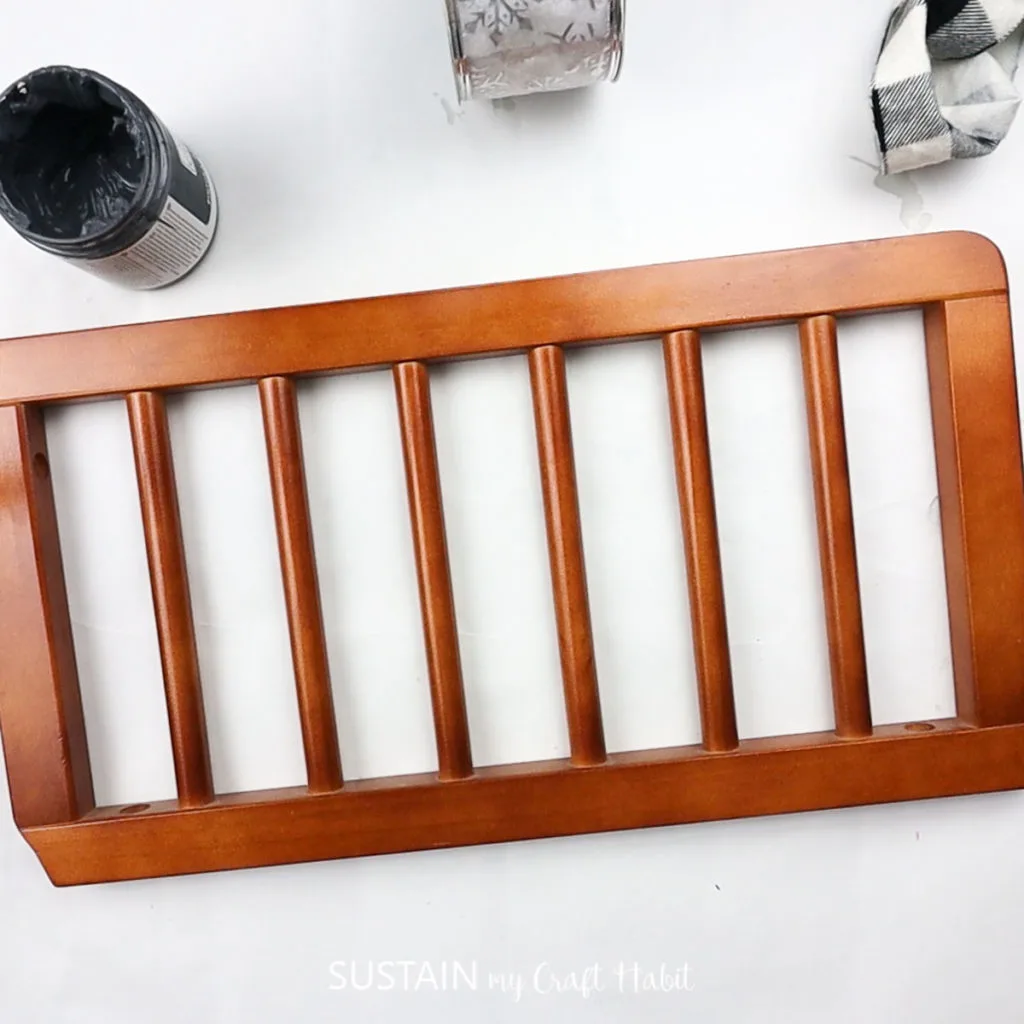
- small wooden bed rail (a window shutter would also work)
- Decoart Chalky Finish paint in Relic and Metallic in Champagne Gold
- Shiplap star ornament
- Wood letter and snowflakes (if desired)
- Paintbrush
- Ribbon
- Fresh or faux greenery
- Hot glue gun and clear glue sticks

How to Make this Monogram Decor Idea
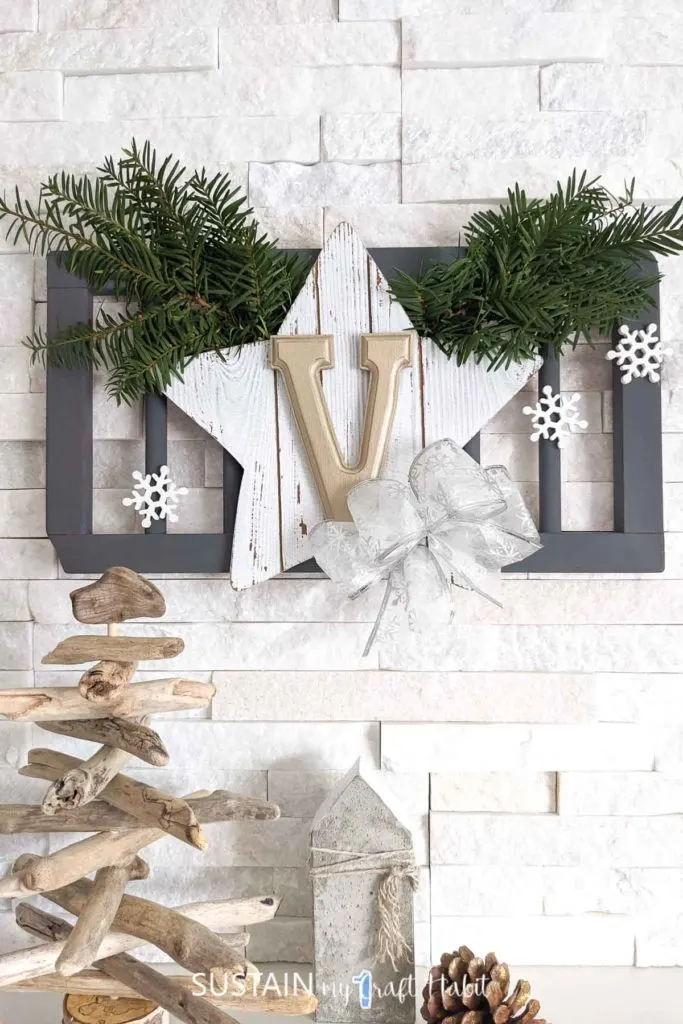
Start by painting the bed rail with the Chalky Finish paint. I chose this beautiful dark gray to provide contrast, but white would also be lovely.

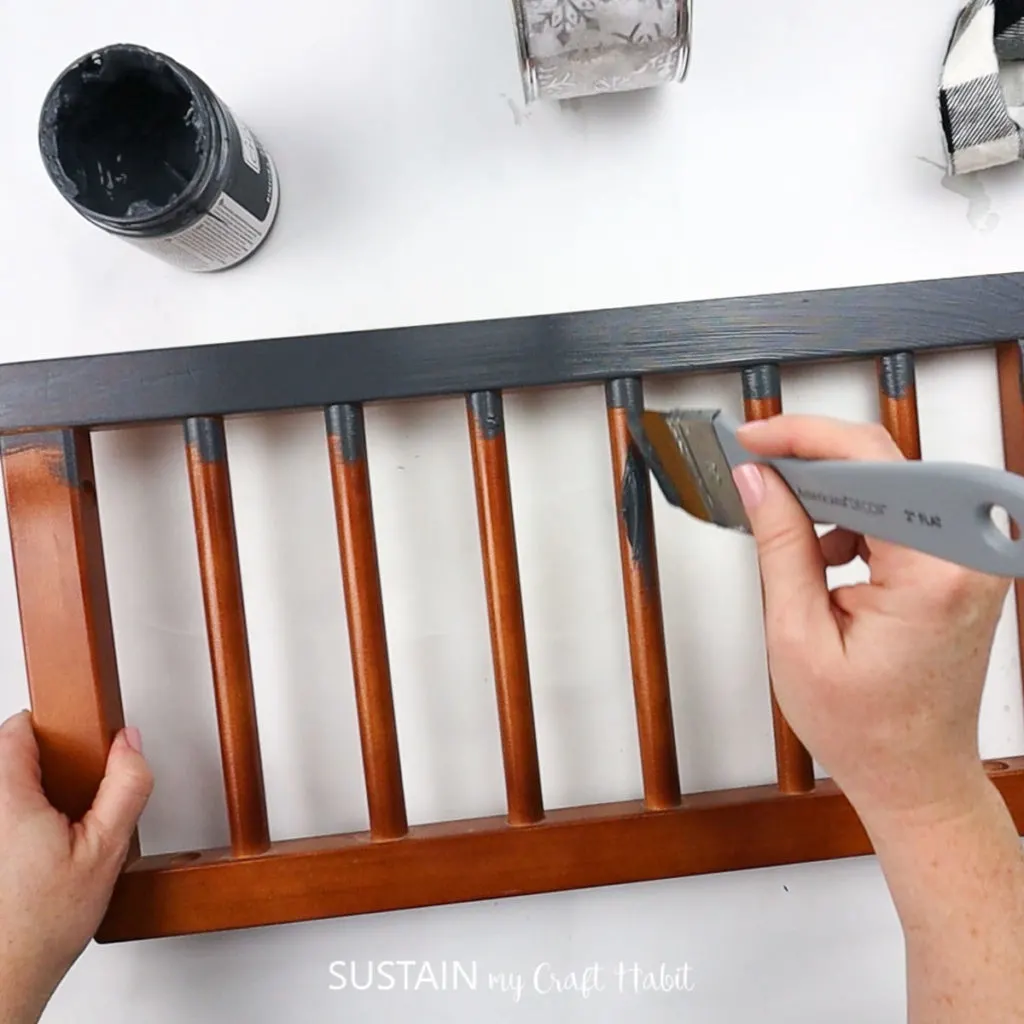

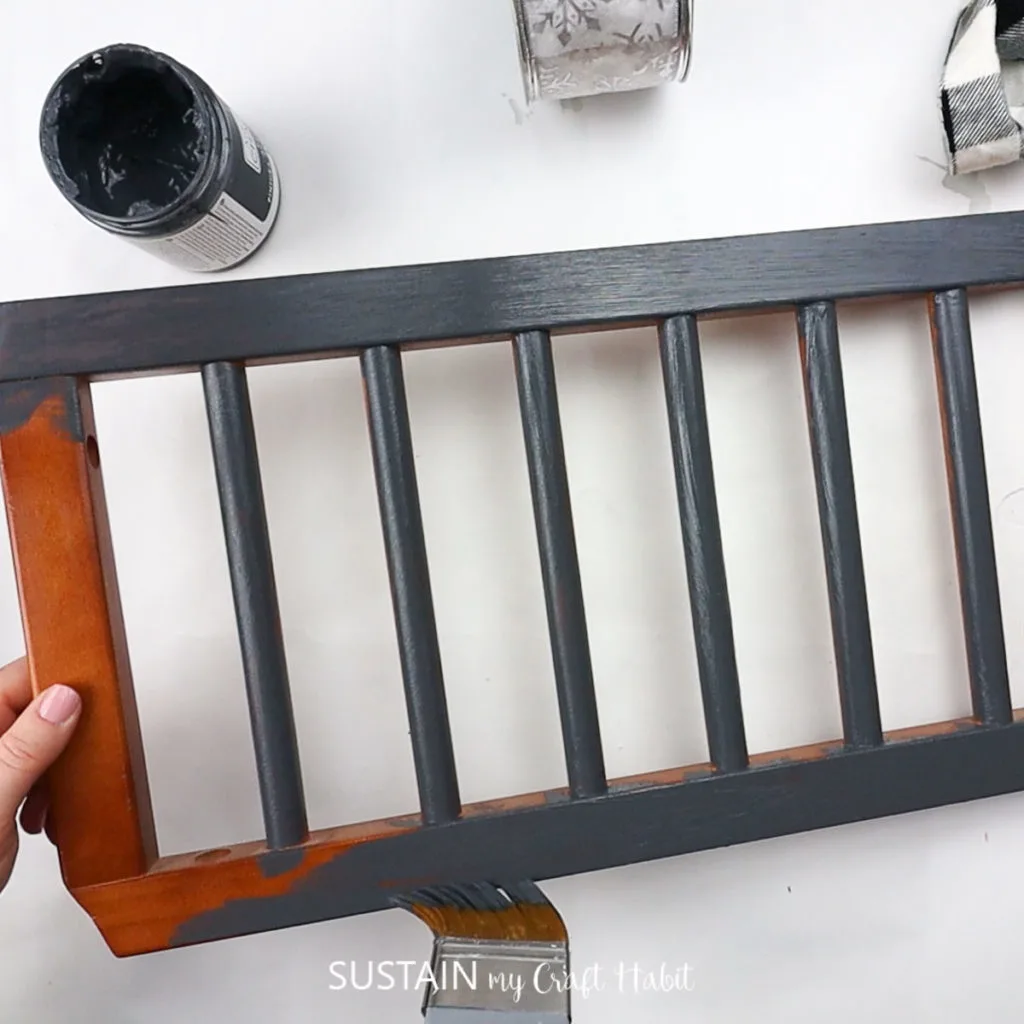
Use a smaller brush to get in the detailed area if needed. (Confession: I only painted the one side in case I want to do something different with the back later).
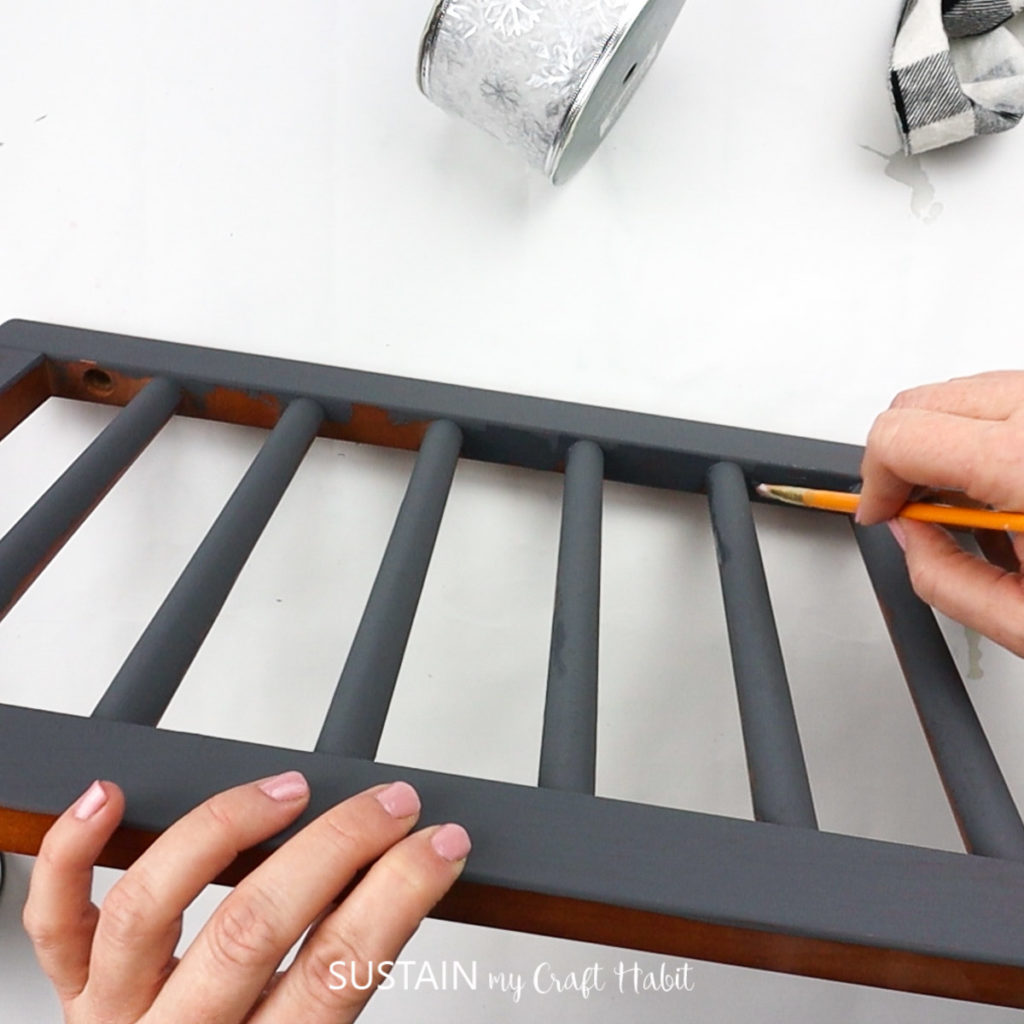

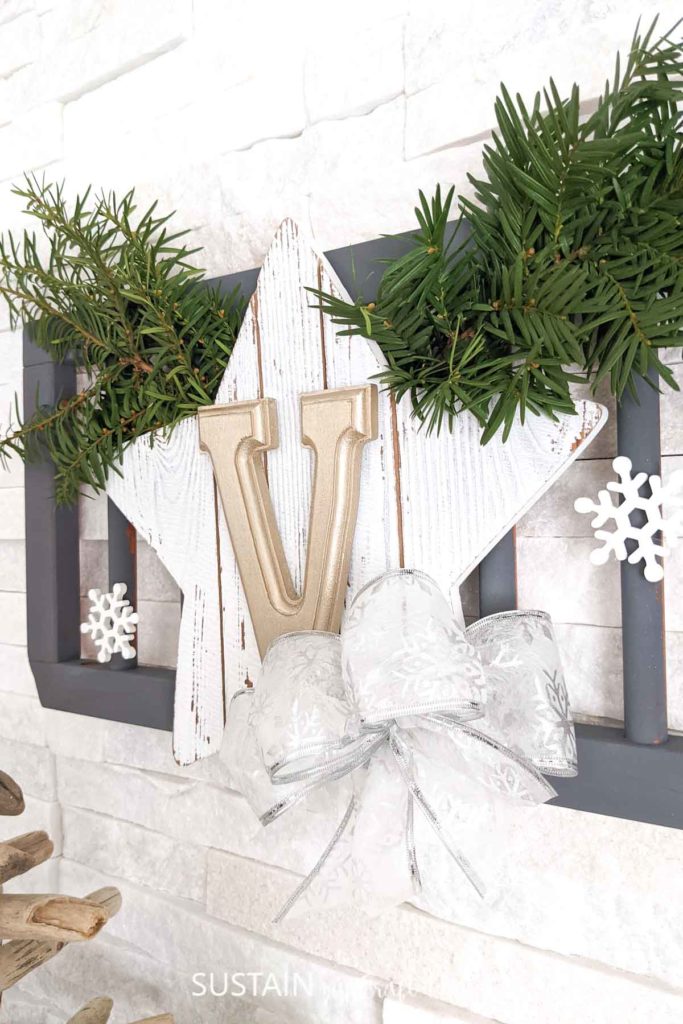
After the paint dries, it’s time to assemble the decor.
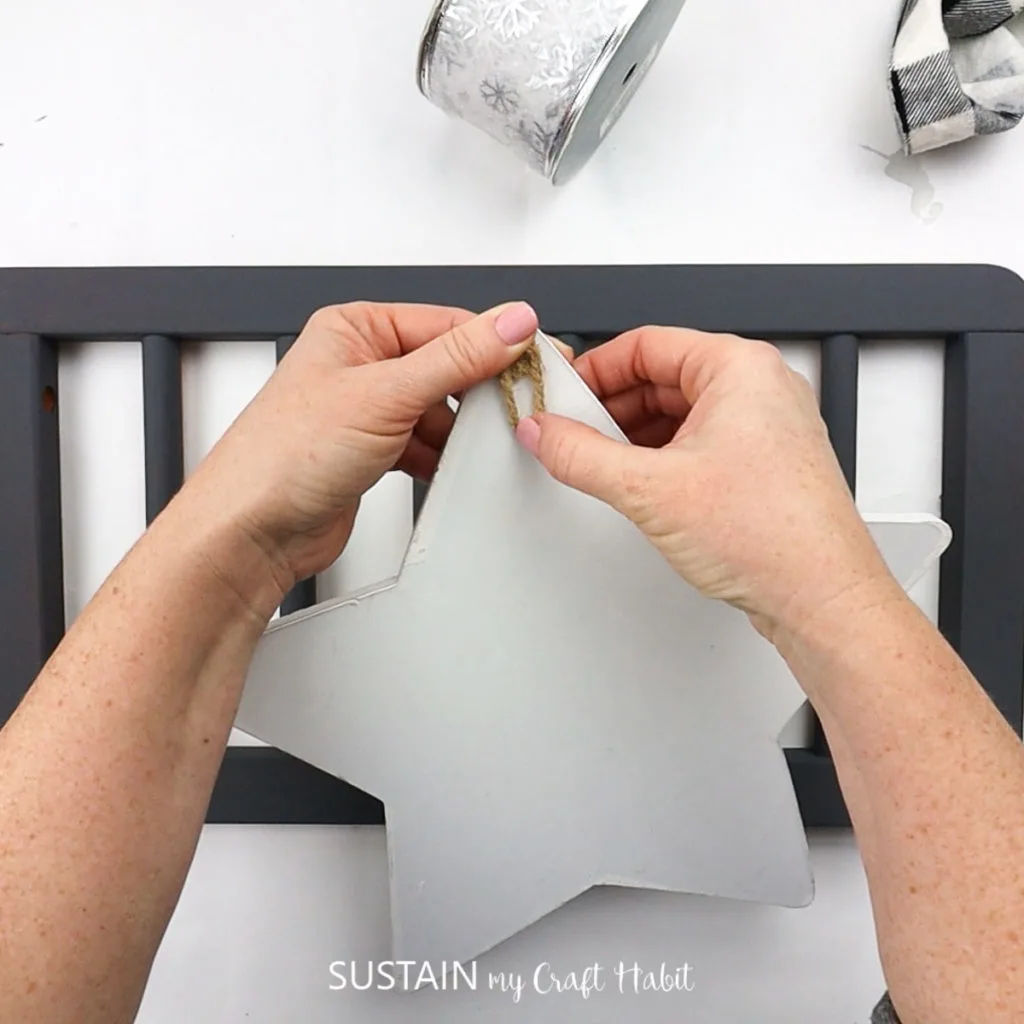
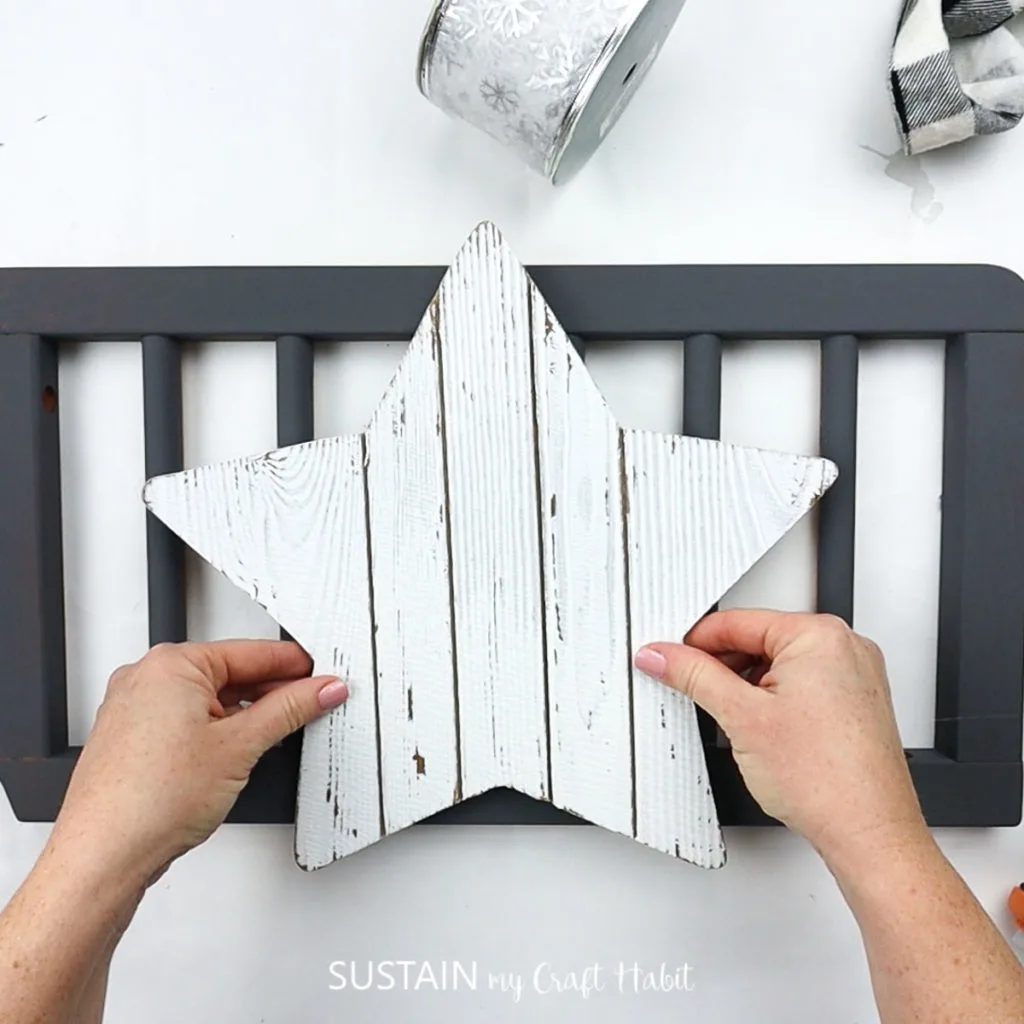
The shiplap stay has a hanger on it which I didn’t want to cut off. So I used a bit of glue to tack it to the back of the star.

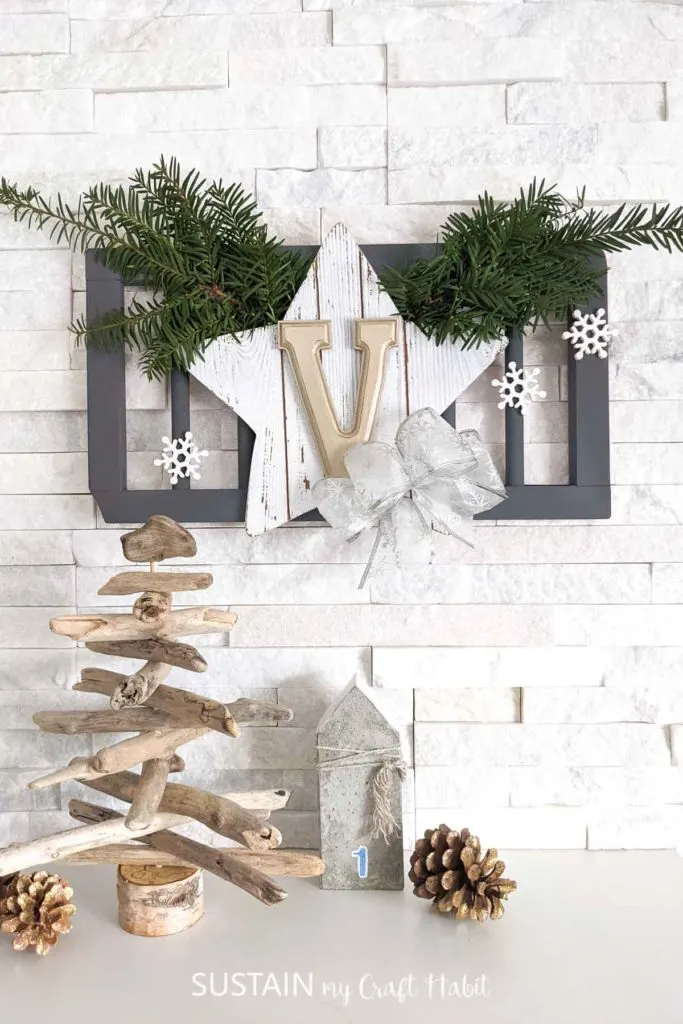
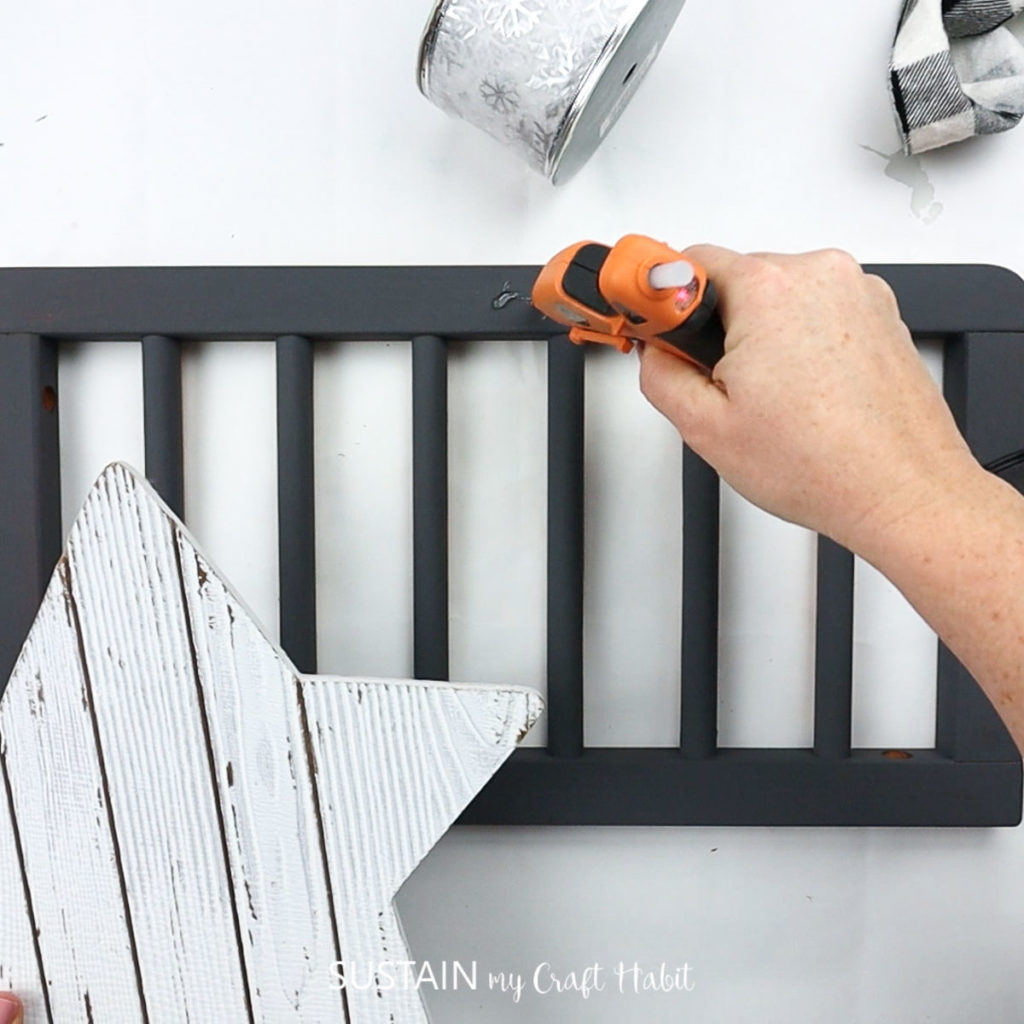
Center the star and glue it in place.


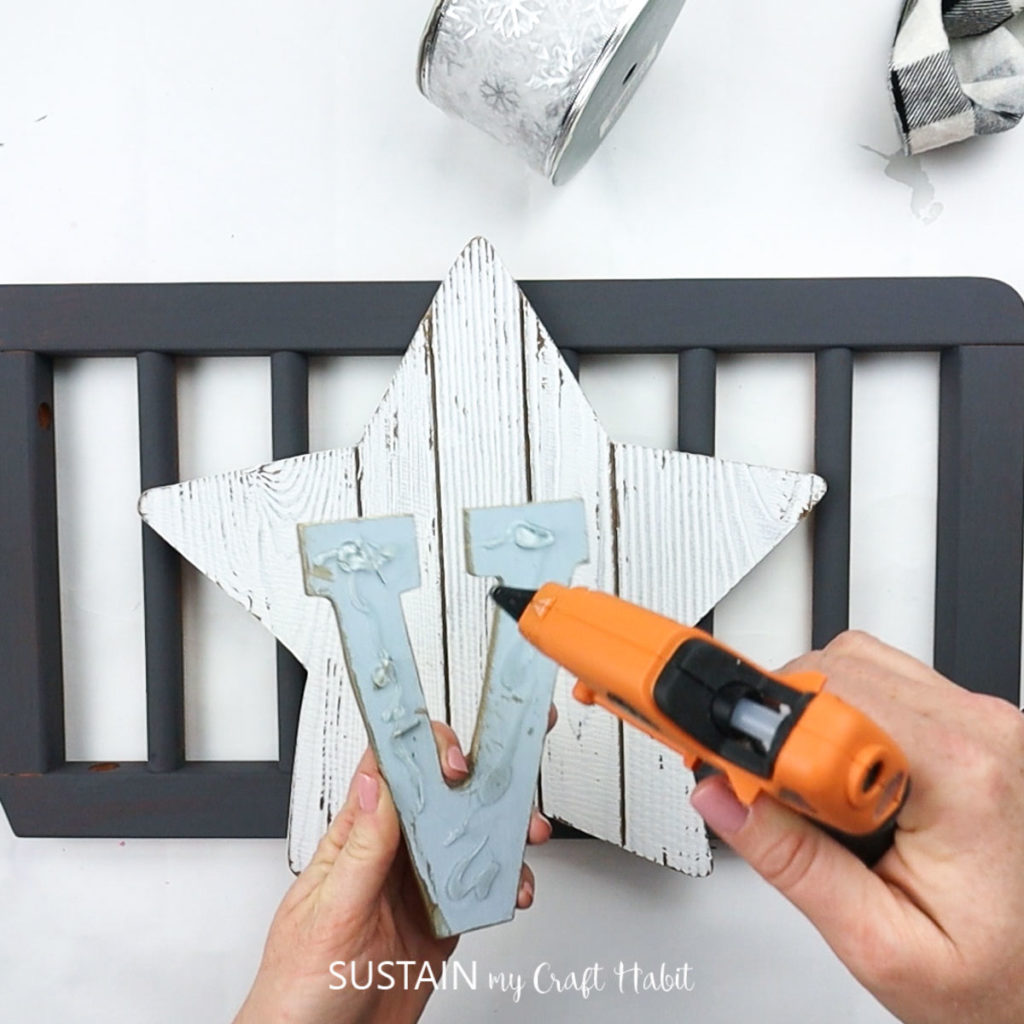
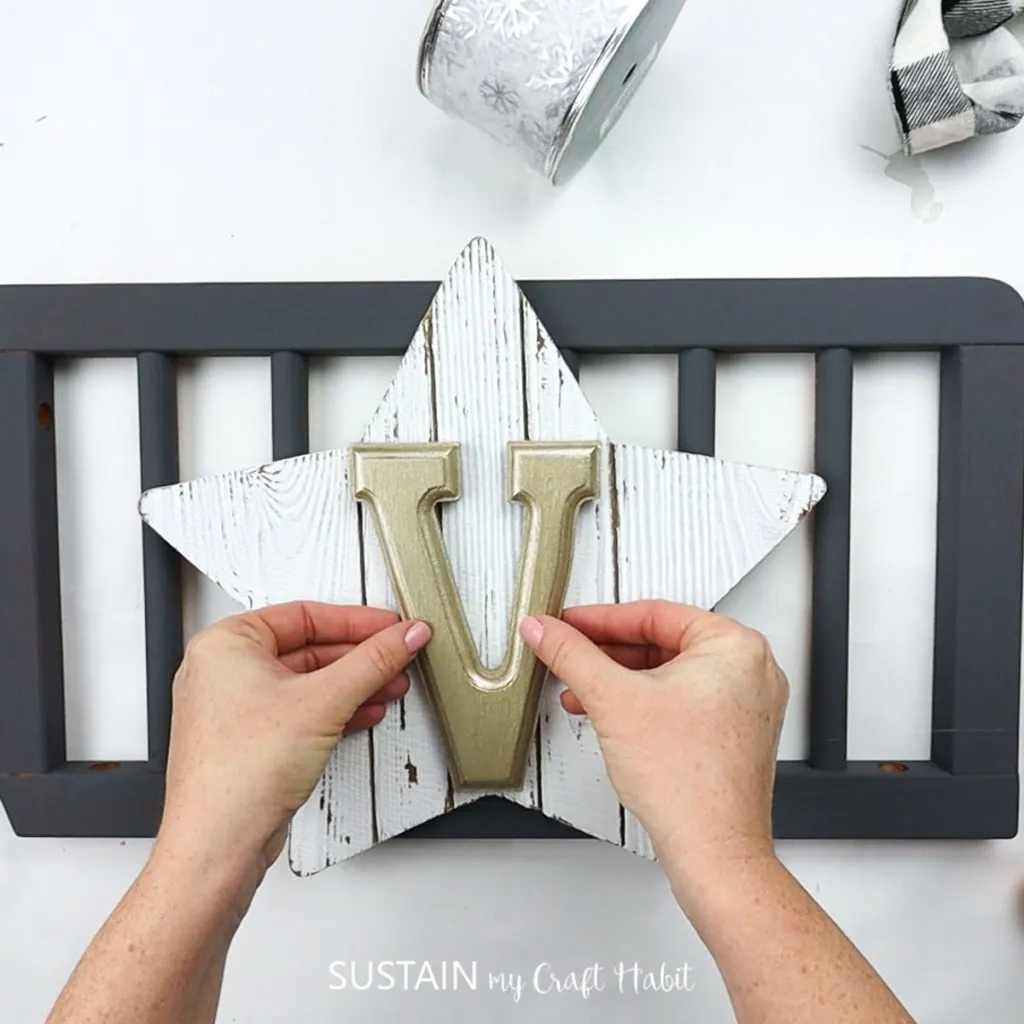
If needed, paint the wood letter. Mine was already painted as I repurposed it from this Valentine’s wood block decor idea.
Once painted and dried, glue it to the center of the star.


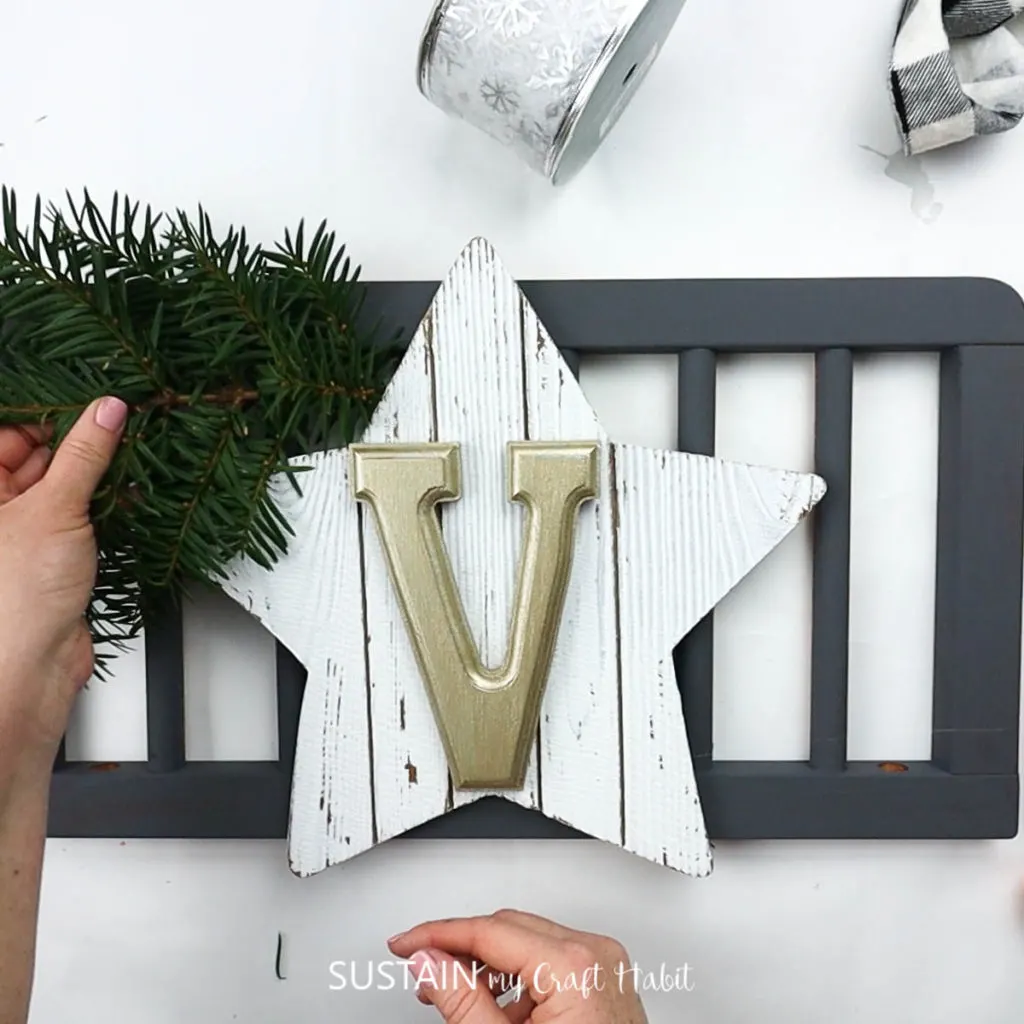
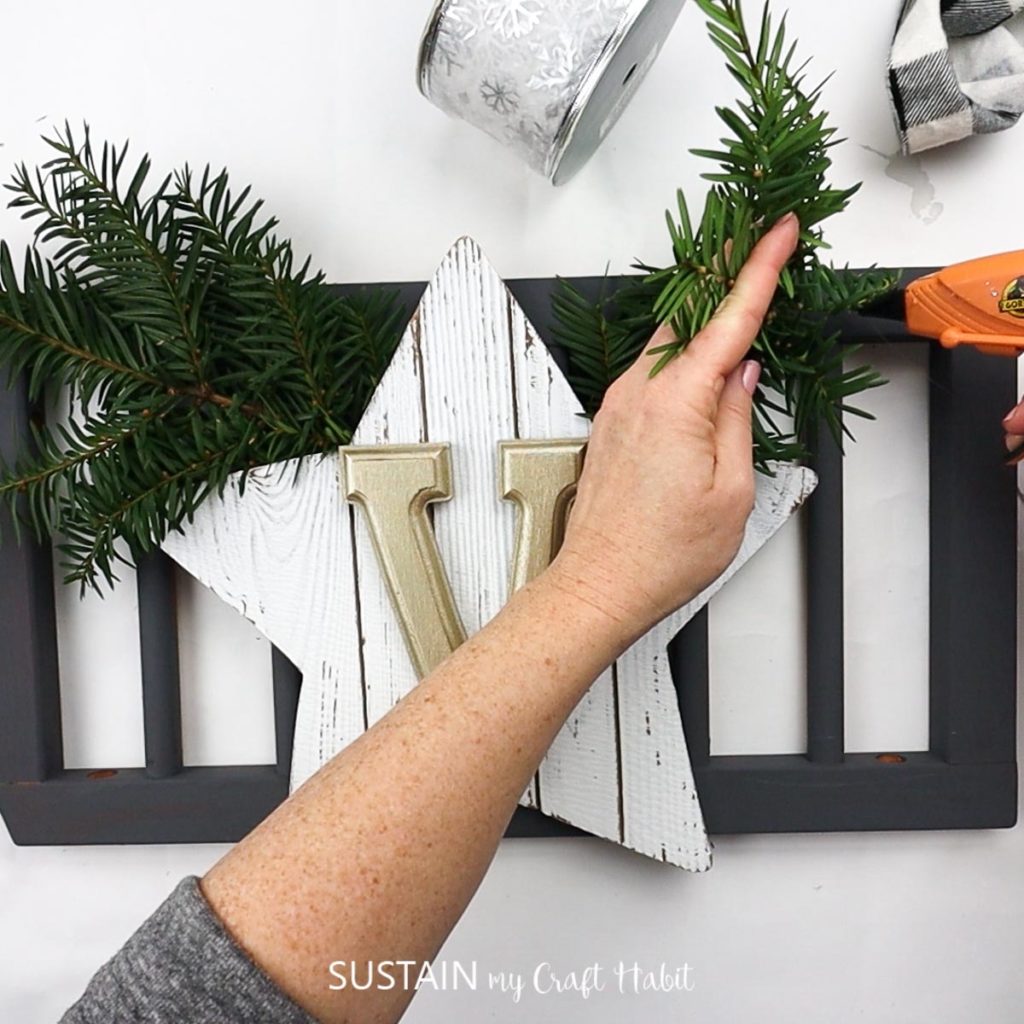
Next, tuck in some fresh or faux greenery to the top of the arrangement. Glue in place if needed.
I used cuttings from my juniper bush out front as I know they dry really nicely. As mentioned above I also plan to change things out in a few months, so I wasn’t too concerned with longevity.


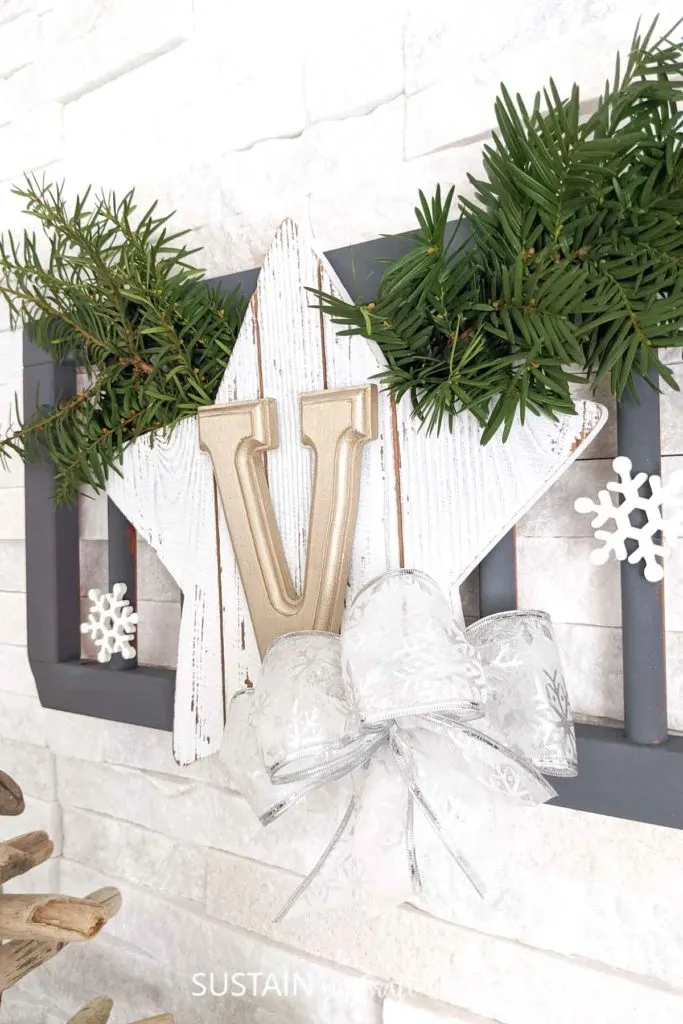
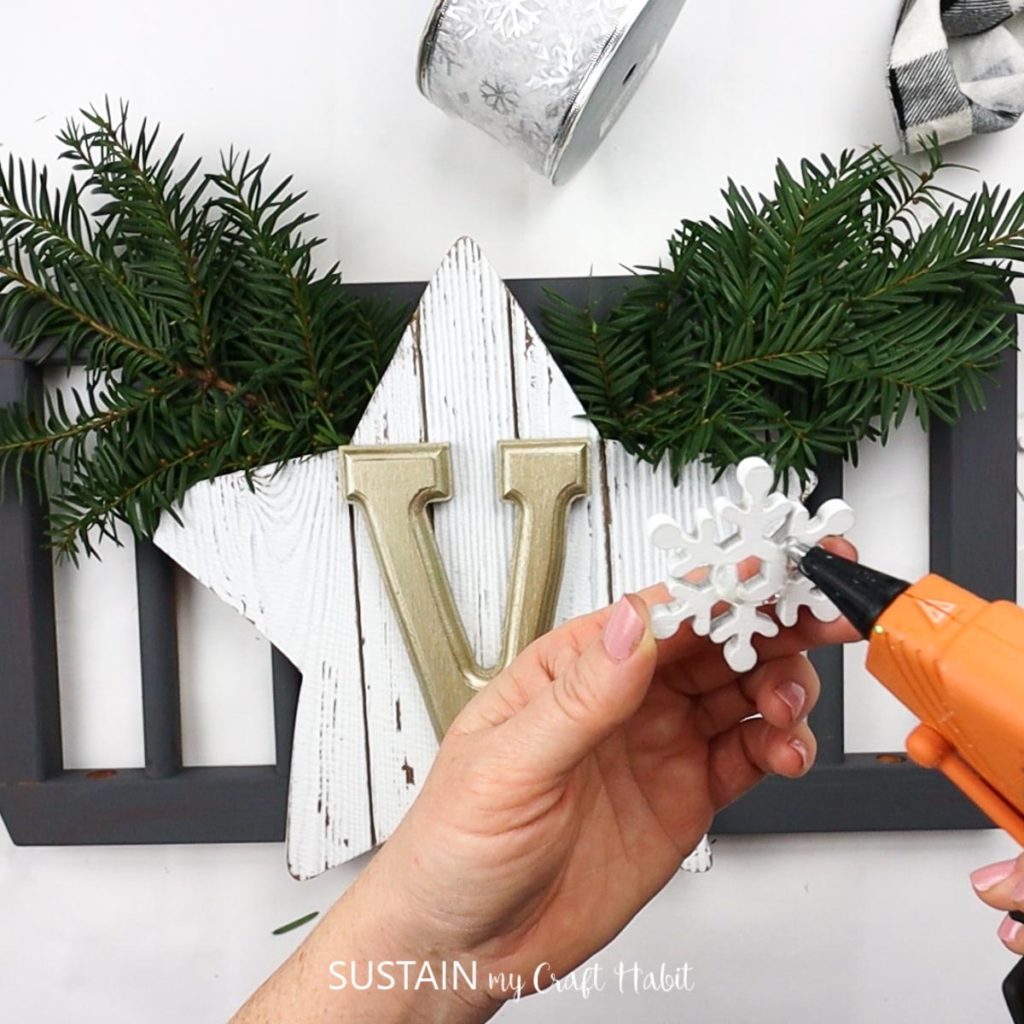
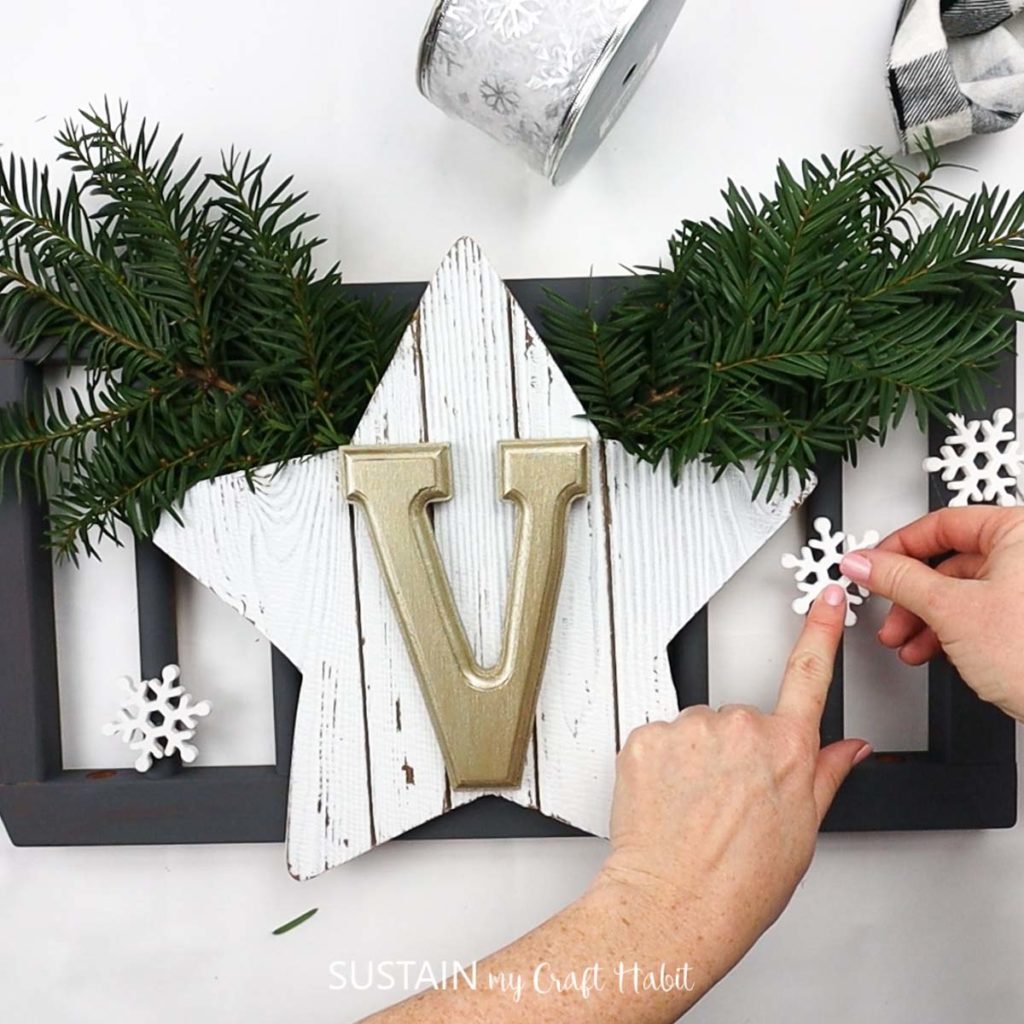
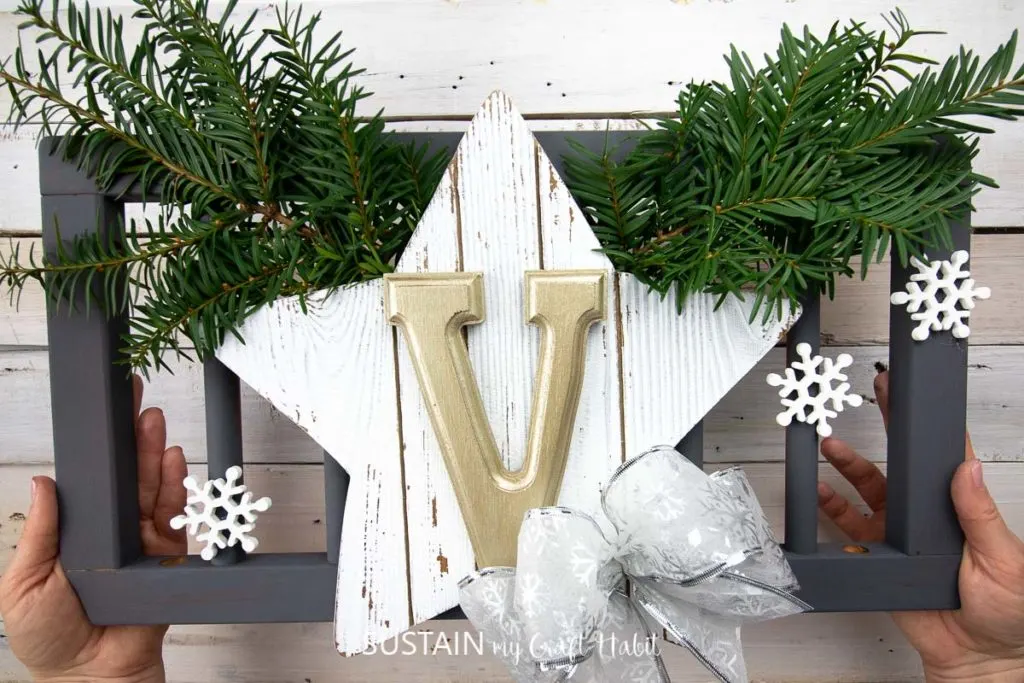
Next, add some decorative embellishments. I had these adorable wood snowflakes and really like the white contrast against the dark gray. But you can use whatever embellishments you have, or leave without.


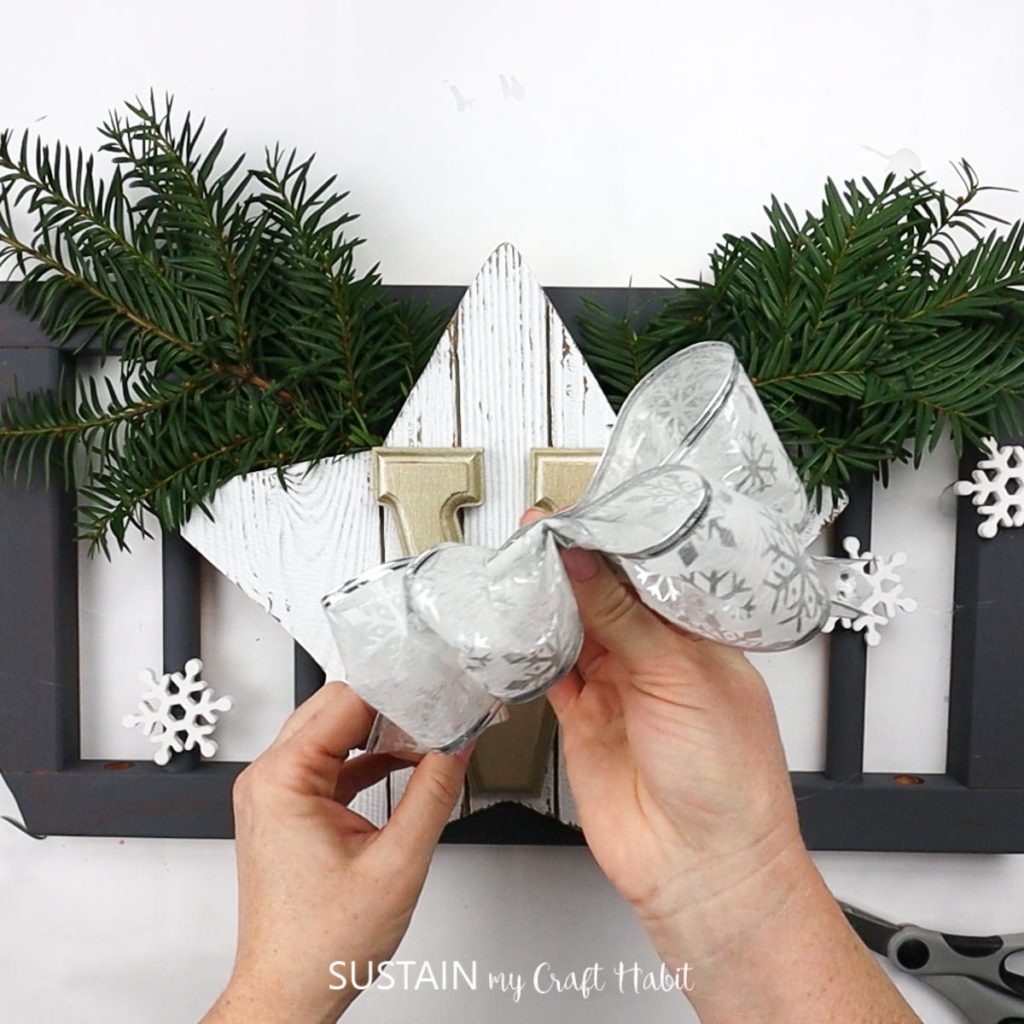
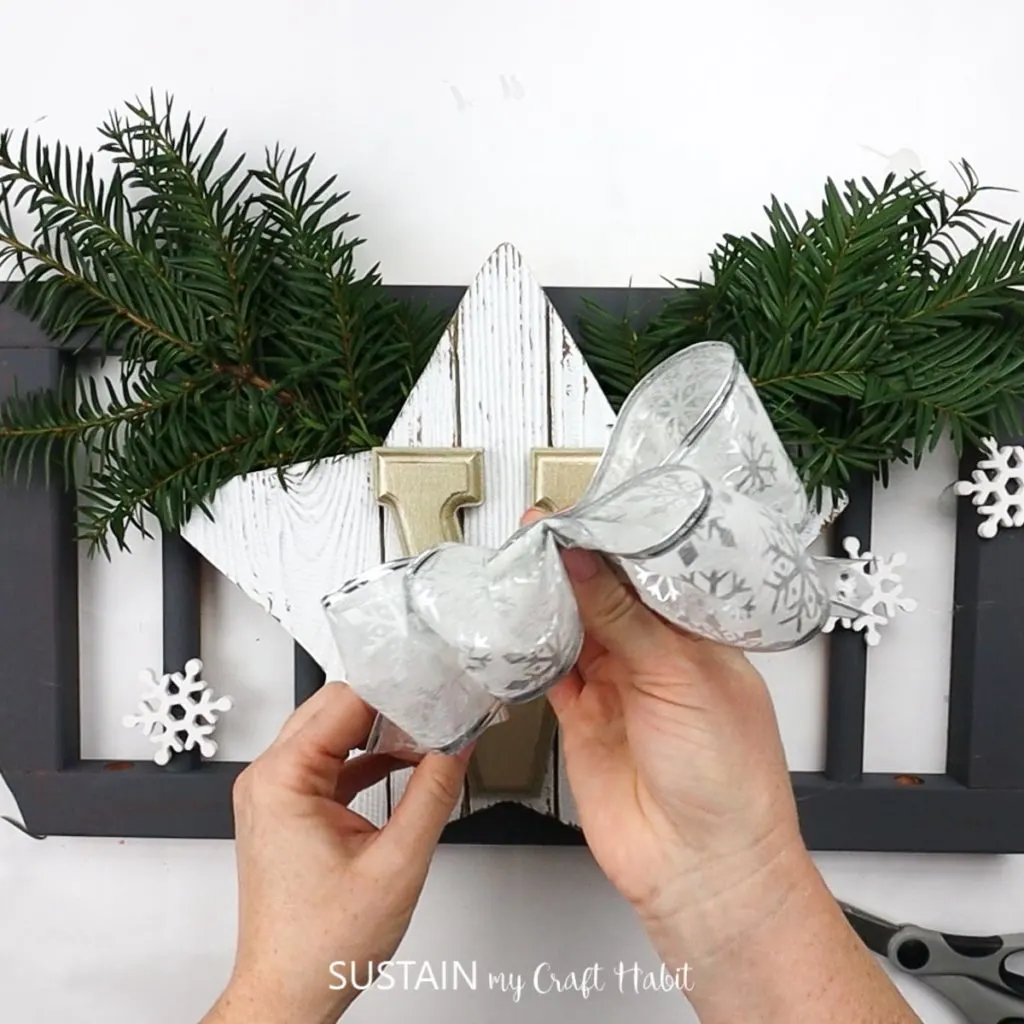
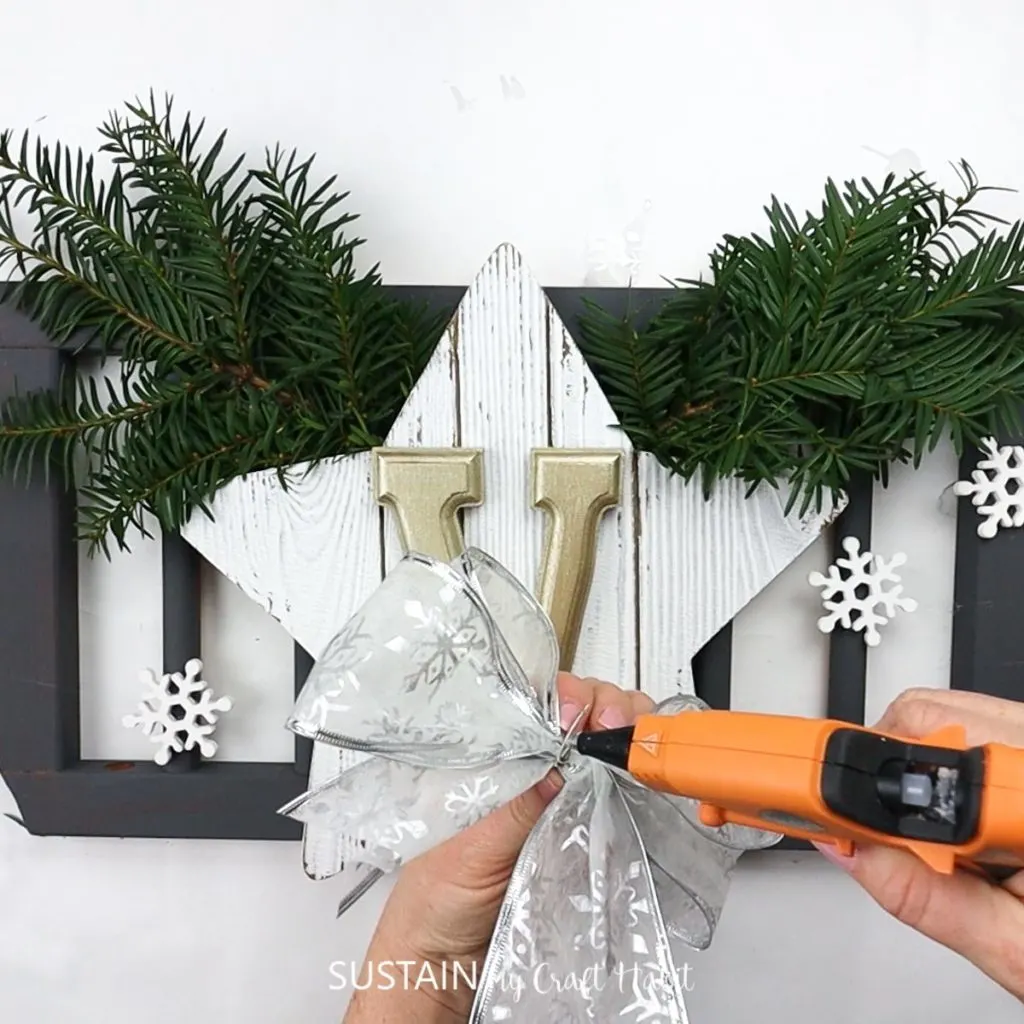
Finally, add the bow. I’ve had this wired snowflake ribbon in my craft drawer for YEARS! It felt so good to finally put it to use.
Cut about 24 inches of ribbon. Fold several times. Gather in the center and wrap with thread or a fine wire. Fluff up and glue the bow in place.

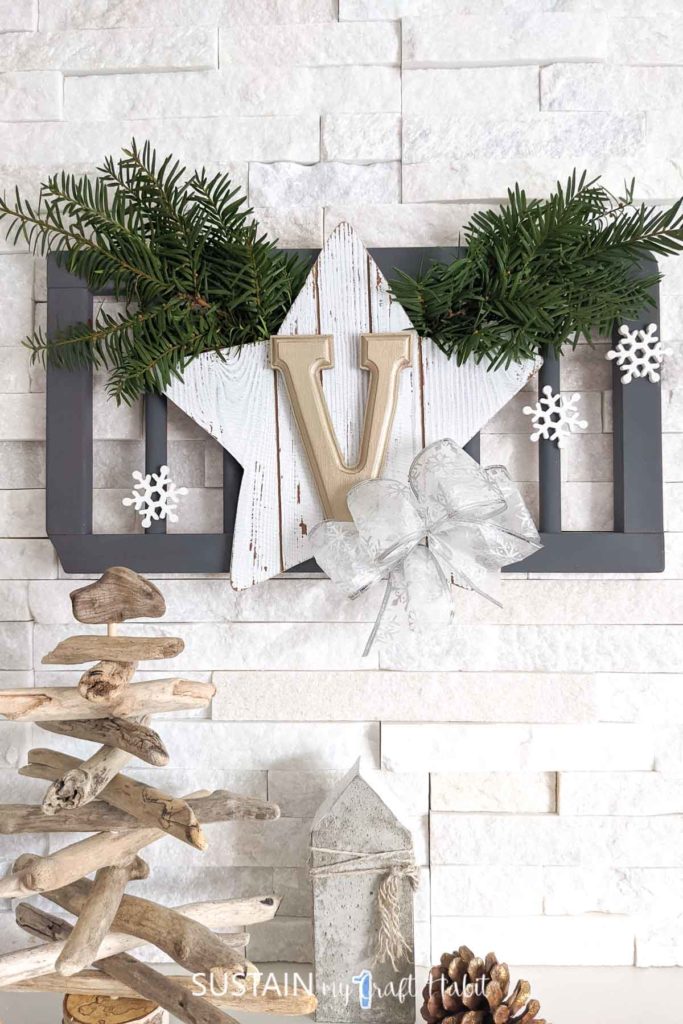
And there it is – beautiful upcycled Christmas/winter decor made from a piece of my kiddos baby-hood!

I hope you enjoyed this craft idea and I look forward to sharing reimagined versions of it in the coming months!
More Upycled Winter Decor Ideas:
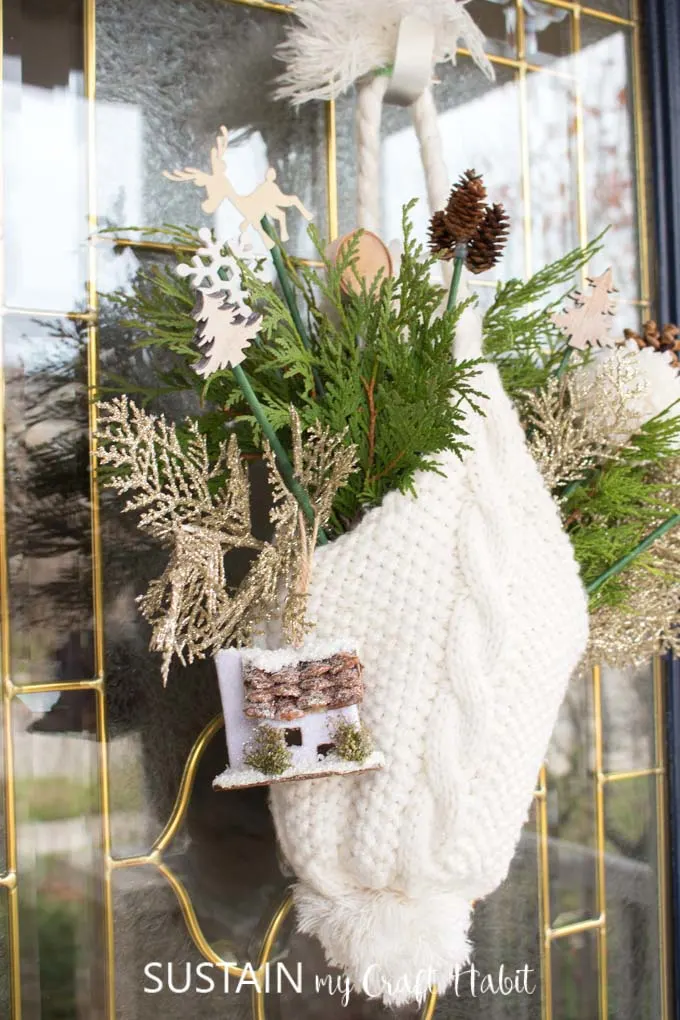
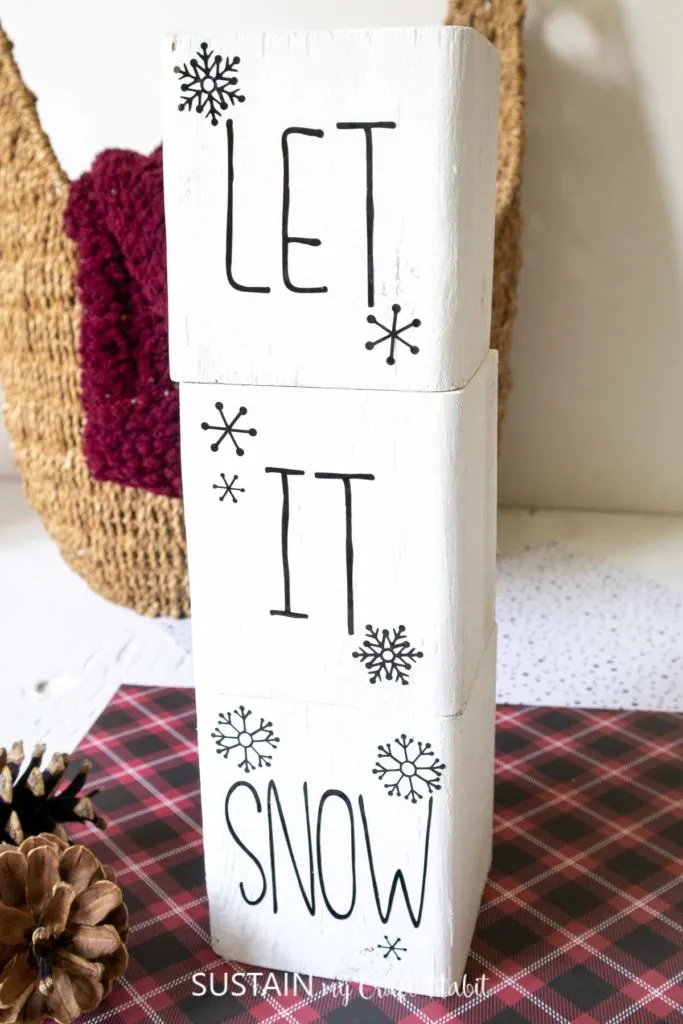
White this craft is perfect for Christmas, I like that it’ll look great for weeks to come. Our upcycled winter hat front door decor and reversible wood block snowman (the first project shared for the 25 Days of an Upcycled Christmas) are also great for beyond Christmas.


Winter Hat Front Door Swag 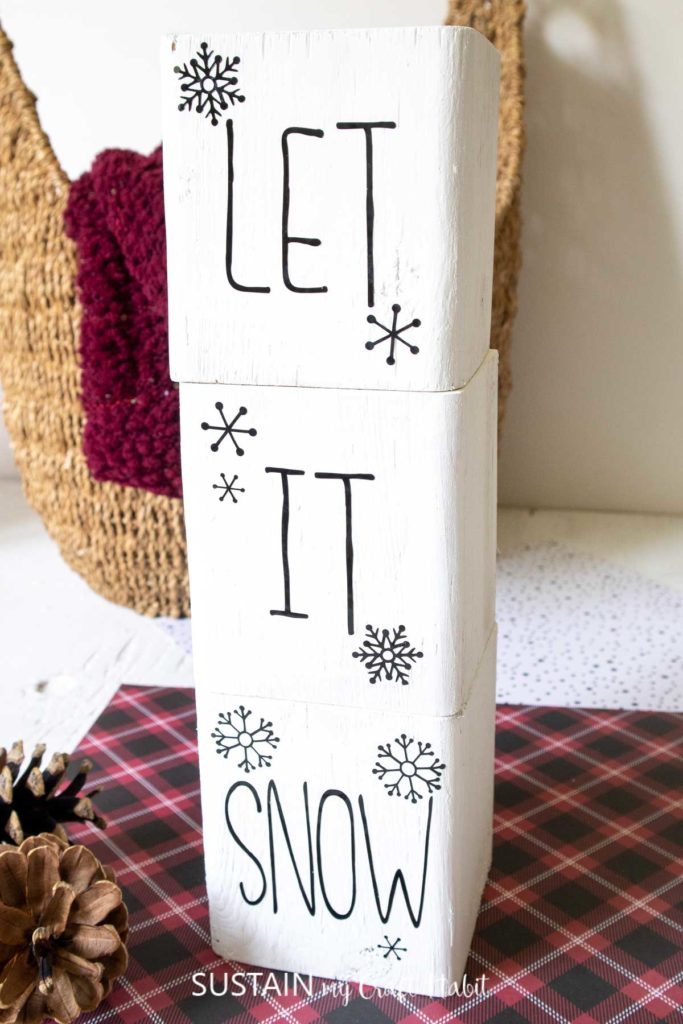

See you again tomorrow with the final craft of the month!
Like it? Pin it for later!