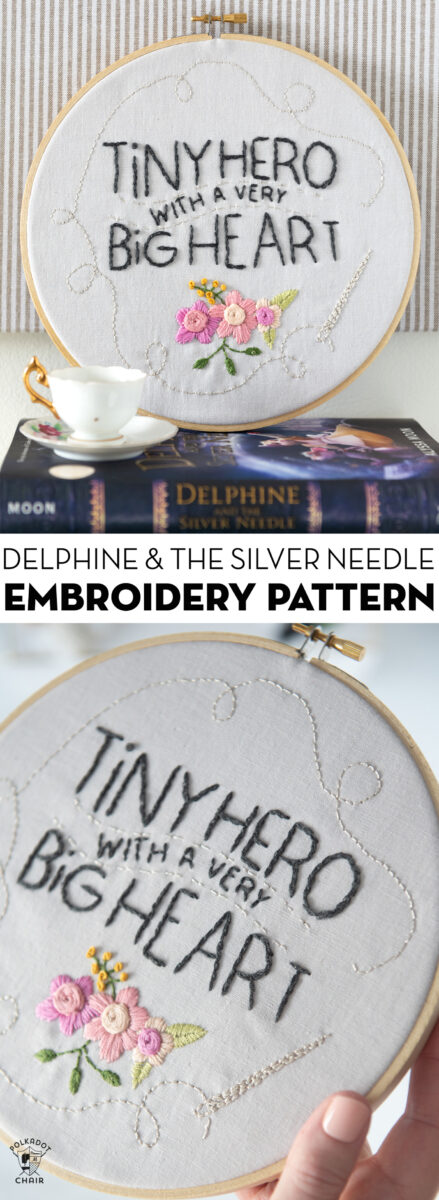
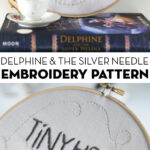
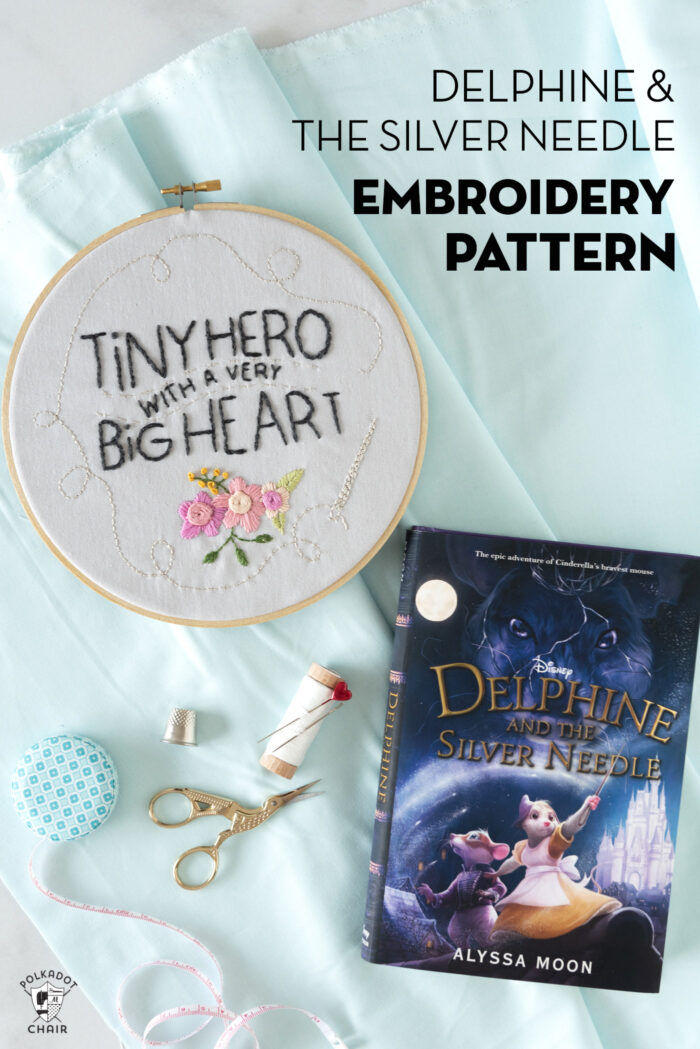
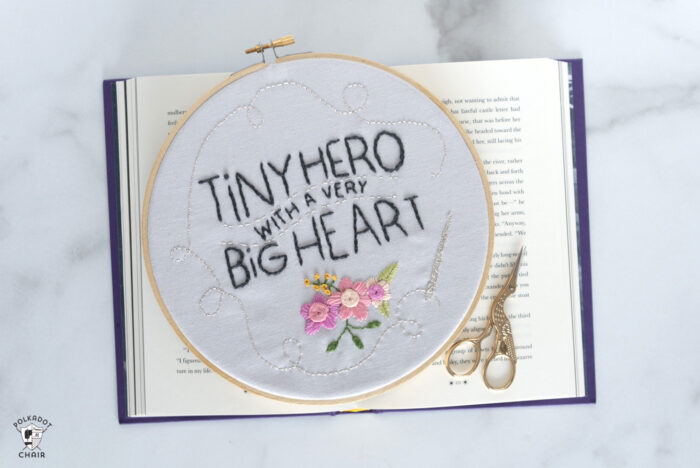
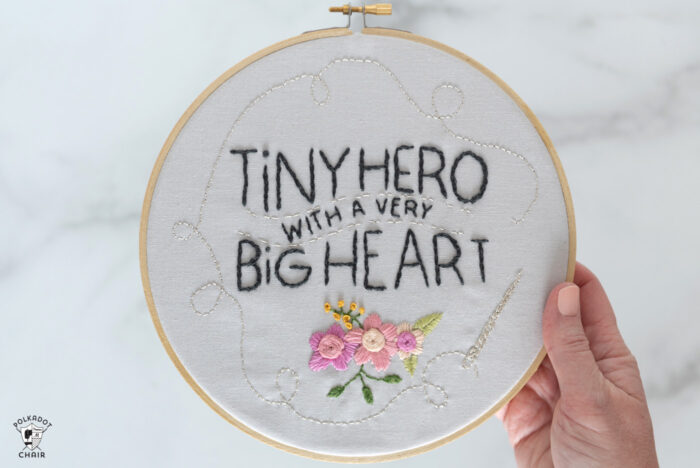
“Tiny Hero with a Very Big Heart” Hand Embroidery Pattern
Stitch up this inspirational saying perfect for a kid’s room with our free “Tiny Hero with a Very Big Heart” Hand Embroidery Pattern. This post is sponsored by Disney Book Group and inspired by their new book Delphine and the Silver Needle.
I have always loved the Disney Cinderella movie. It’s one of the films I remember most from my childhood. I remember being fascinated with the “world” created in the movie, from magic pumpkins to fairy godmothers and mice who sew.
A few years ago, I even dressed up as the sewing mouse from Cinderella for Halloween! It started as a joke since I’m always sewing for other people and turned out to be one of my favorite Halloween costumes ever.
About the Book
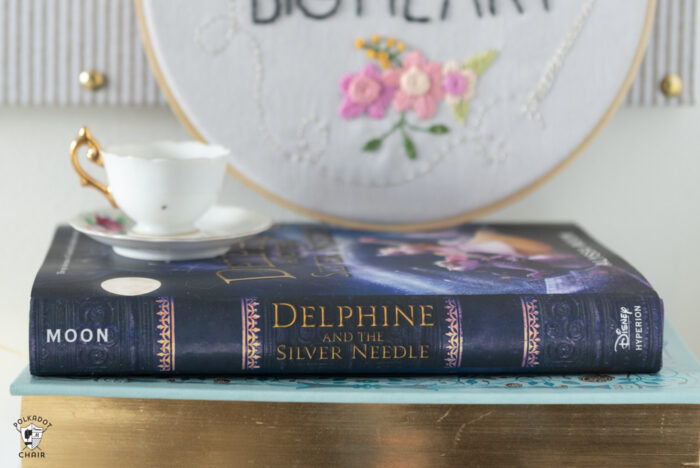
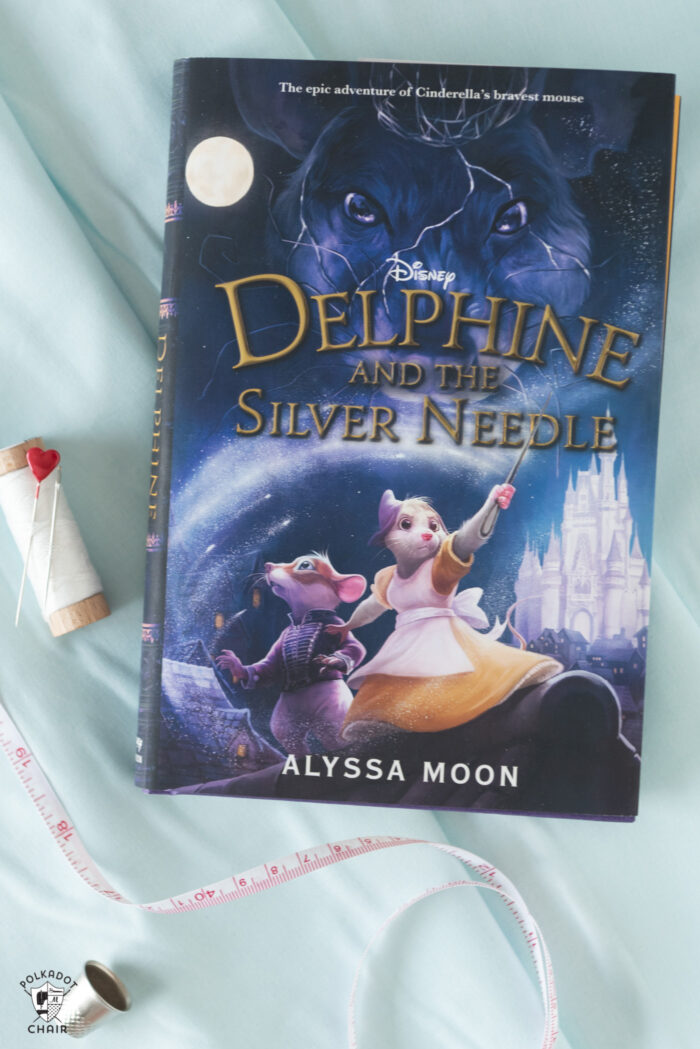
Recently I discovered a new book, “Delphine & the Silver Needle.” by Alyssa Moon. It was sent to me by Disney Books (I guess they heard about the Halloween costume *wink*) to review. The book just released March 2nd and is aimed at readers ages 8-12, but I read it and enjoyed it as an adult too! I was inspired to create the project in today’s post. I think it’s just the kind of book my kids would have loved when they were younger.
“Delphine and the Silver Needle” is the story of a very talented mouse named, Delphine, who loves to sew and lives in Cinderella’s chateau as a dressmaker. She finds herself in possession of a magic needle, and suddenly, she is thrown into an adventure to find out who she is, uncover the legend of the “magical tailor mice”, and possibly save the kingdom. The author does a fantastic job transporting you into the world of Delphine and her friends.
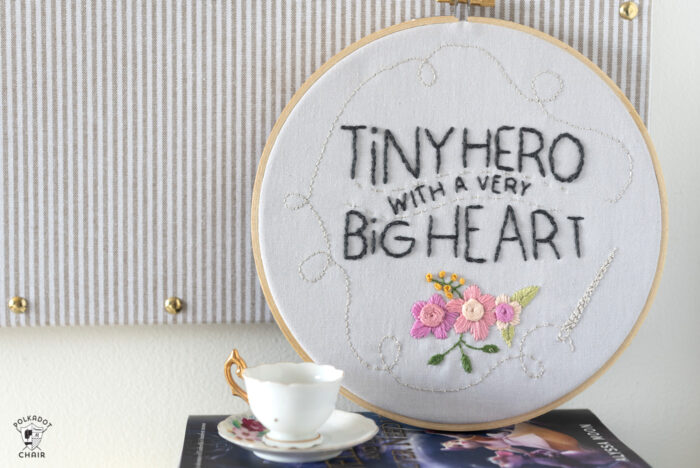
The book’s tagline, “Tiny Heroes with Very Big Hearts,” inspired me, and I have created an embroidery pattern with a variation of the phrase to share with all of you today.
Hand embroidery projects are great for kids looking for simple sewing projects. They help develop hand-eye coordination, finger dexterity, and most of all, patience.
If you’d like to stitch this embroidery design just like mine, follow the instructions below. If you’re brand new to hand embroidery and are confused by the different stitches, I recommend this YouTube series. Jessica is one of our Polka Dot Chair contributors and gives very detailed instructions in the video series.
About the Embroidery Pattern

How to Get the Printable Pattern
Fill out the form below and we will email you the pattern.
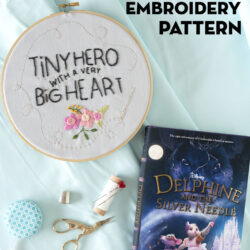
Tiny Hero with a Very Big Heart Free Hand Embroidery Pattern
Equipment
- Heavy Duty Thread
supplies
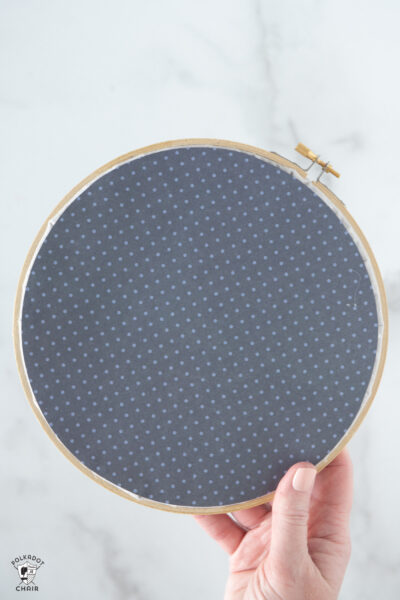
- 1 piece 12” x 12” piece of Linen I used a light gray
- 1 piece 12” x 12” piece of lightweight cotton fabric to be used as the lining
- 1 piece 12” x12” piece of scrapbook paper
- 1 8” Embroidery Hoop
- 1 Embroidery Needle
- 4-5 skiens Embroidery Floss specific colors are listed on the PDF
- PDF Pattern download here
Instructions
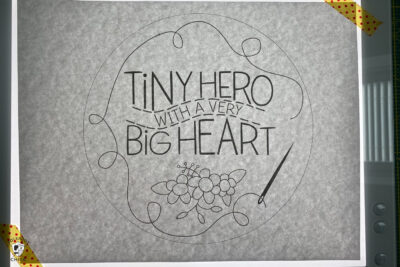
Step One: Prep
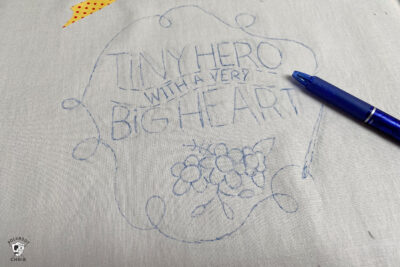
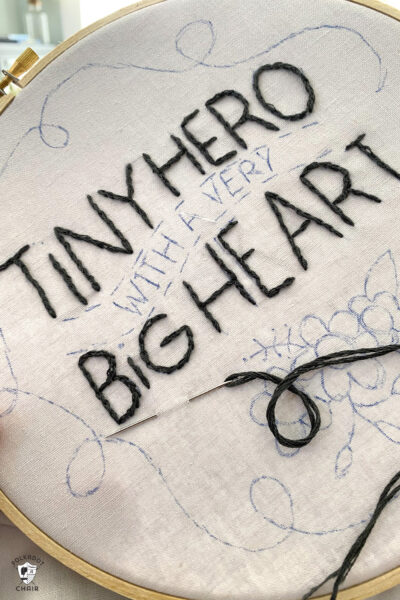
- Print out the Embroidery pattern. Place the pattern onto a lightbox and tape it in place. Place the linen on top of the paper and secure it in place with a bit of tape. Turn on the lightbox. Using your pen, trace the pattern onto the fabric.

- A note about tracing: I like to use Frixon pens to trace embroidery patterns; they are not made for fabric but disappear with heat; before you begin, test your pen on your specific material to make sure that it does indeed disappear with heat.
Step Two: Hoop
- Layer the linen (with pattern) on top of the lightweight lining fabric. Place both layers inside of your embroidery hoop. Center the design in the hoop. Tighten the screw, so the fabric is taught and without wrinkles.
Step Three: Embroider
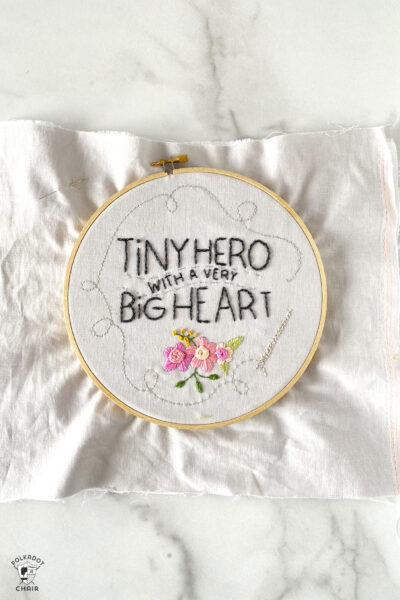
- Following the key on the pattern, embroider the design onto the fabric.

Step Four: Finishing
- When finished, remove the design from the hoop and very carefully press the fabric to remove the ink. Press on the wrong side of the design; don’t touch the iron to the front.
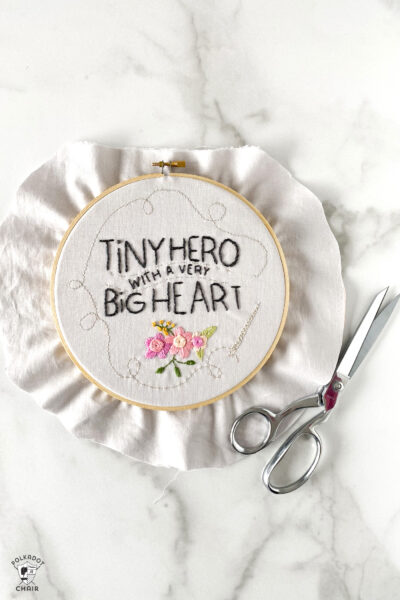
- Trace the inside circle from the embroidery hoop onto the scrapbook paper and cut out.
- Reinsert the fabric into the hoop. Make sure your design is centered. Trim the excess fabric so that you have a 2” border around your hoop.
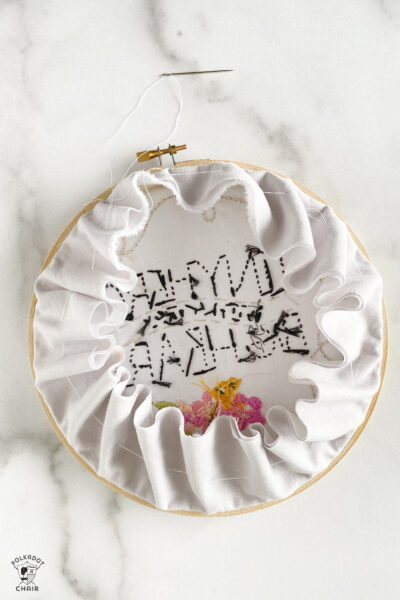
- Thread a needle with heavy-duty thread and gather up the extra fabric. Pull the thread to tighten. Secure.
- Using a hot glue gun, secure the paper backing onto the back of the hoop.
And there you have it! Don’t forget to look for “Delphine & the Silver Needle” at your favorite bookshop, or you can find your preferred retailer on the Disney website! It would make a wonderful gift for a young reader and is available in hardcover, e-book, and audiobook. This action-packed novel is sure to be a hit with readers who like magic, adventure, and very tiny heroes with very big hearts.