

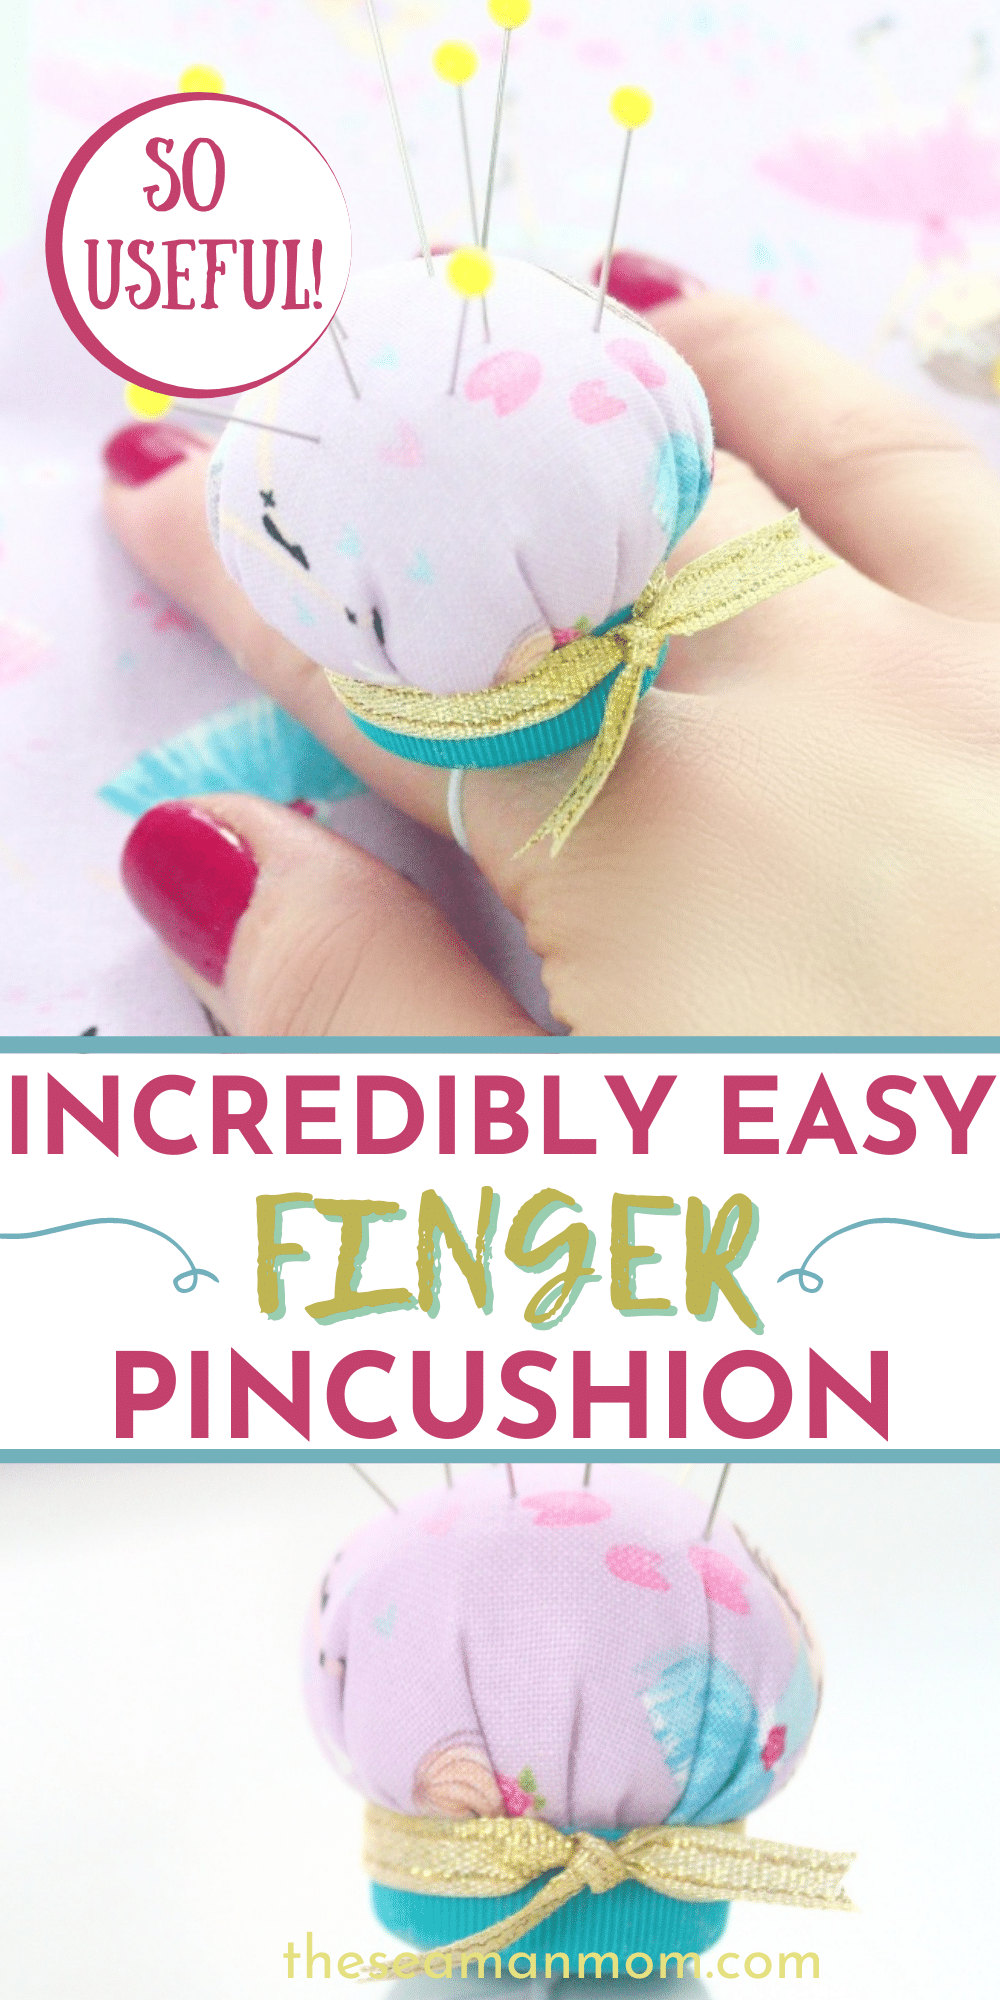
Super cute, easy and quick finger pincushion you need to make right now
Article may contain Amazon & affiliate links. As an Amazon Associate I earn from qualifying purchases at no additional cost to you.
Any sewist needs a pincushion to hold their pins together and on-hand. There are many kinds of pincushions, but a finger pincushion is definitely the cutest ever! This DIY pin cushion is like jewelry for your sewing fingers and is also super easy-peasy, so follow this tutorial to start making your own adorable finger pin cushion.
Finger pincushion
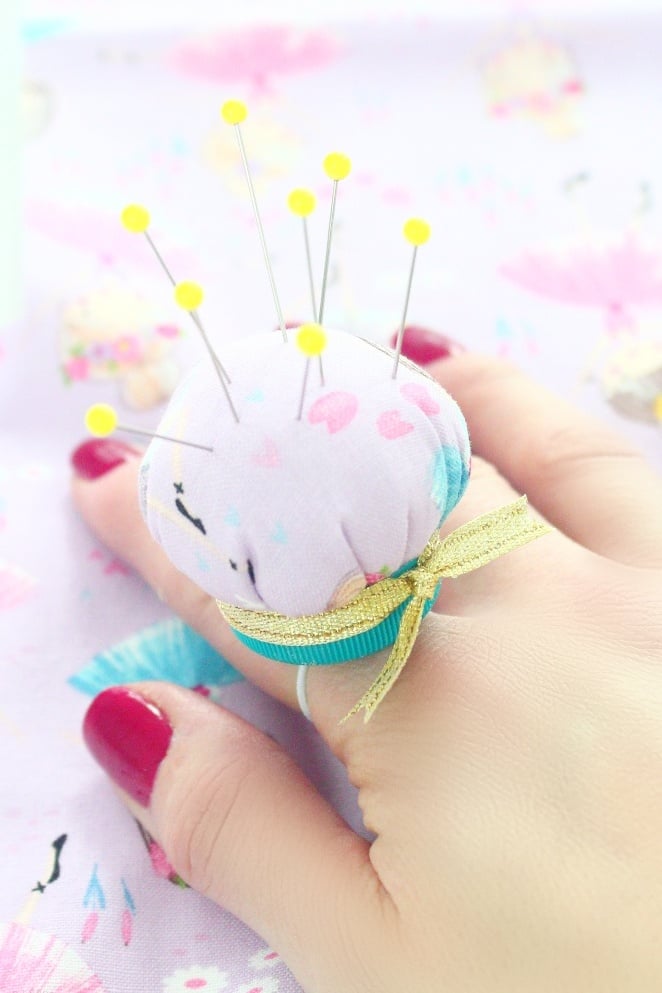
You can’t imagine how practical this little finger pincushion is! I only realized that after using it, it’s particularly useful for projects that require working with lightweight fabrics and small pins. This cute sewing pin cushion is the perfect small sewing accessory for small projects, where you don’t need many pins but having your pincushion in close proximity is essential!
This tutorial has been converted to a PDF file, available to purchase here. This article is completely free to read.
Other scrap fabric ideas you will love:
- Fabric covered buttons
- Easy fabric keychains
- Photo frame pincushion
- Fabric trivets with fabric twine
- Reusable fabric bowl covers
- Pumpkin pincushion tutorial
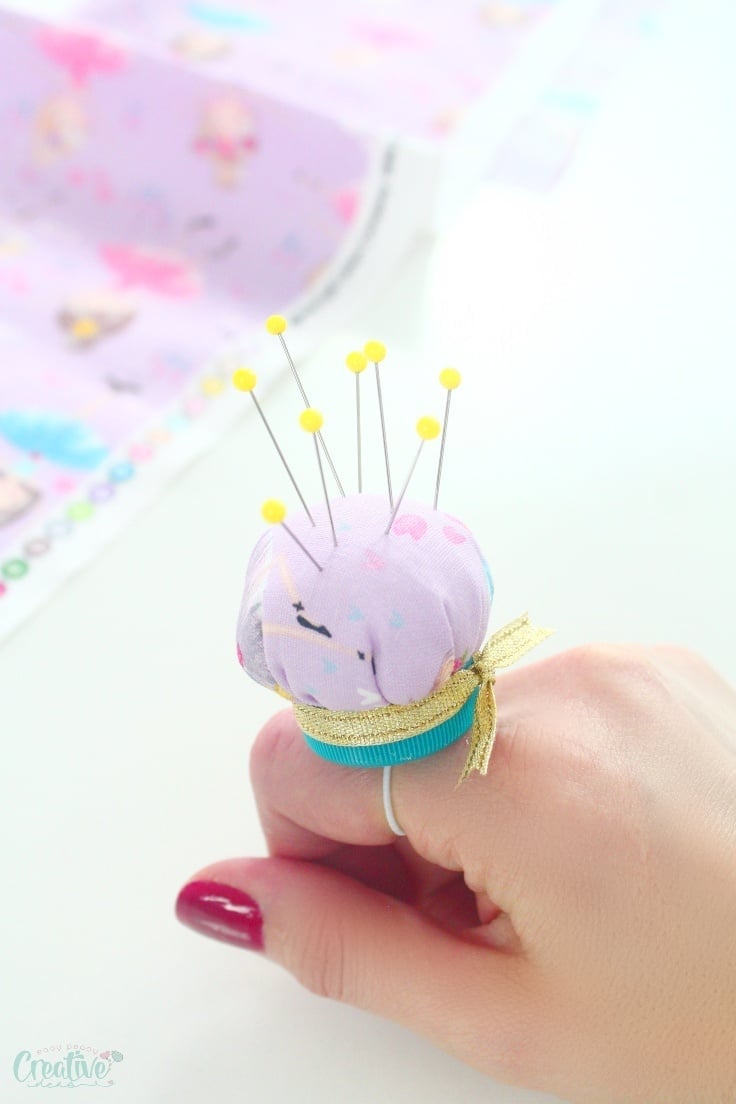
A finger pincushion is perfect to use up any scraps lying around, as it only requires small patches of fabric. It can be made pretty much like these wrist pincushions, with the main difference that this pin cushion is too small for jar lids. Instead, you will use bottle caps to protect your finger. Using bottle caps will also make your finger pincushions more eco-friendly, as they use up plastic that would end up in the trash otherwise.
Instead of sticking them to your finger, you can also stick these mini pincushions to your sewing machine as I did with this half square triangle pincushion, so that you have them handy when pulling out pins as you sew. No more scattered pins, yay!
What are the benefits of this pincushion?
- They’re very quick to make! Being so small, you can always hand sew a finger pincushion pretty quickly. This way, even beginner sewists can practice their hand sewing skills. Kids can also practice on this project, just make sure they don’t sew unsupervised.
- They are also great for keeping in your travel sewing kit, purse, car glove box or an overnight bag. You can also keep one of these little friends in several places so that you always have a mini pincushion at hand, like in your office drawer for any kind of emergency like small repairs around the house.
- Having one of these on, you won’t be tempted to stick needles and pins in nearby chairs, sofas or worse, in your mouth, which is really dangerous! I you get distracted by the doorbell, a phone call or other quick thing, you can safely take the pins away from toddlers or pets.
- These finger pincushions make great pretty presents for your sewist friends, for your mother or grandma, and you can also make some themed ones as holiday gifts. To make a complete handmade gift, use a DIY gift box in the same style.
What fabric is best to use for these pincushions?
As well as with larger pincushions, you can use several types of fabrics, like scraps of cotton fabric or felt. Make several finger pincushions to match your mood and outfits at any time, especially if you leave the house and forget the pincushion on. Still, they take up just minutes to make.
What can I stuff a pincushion with?
Poly-fill or similar filling is mostly used for pincushions but you can also fill it with steel wool to make it sharpen the pins as you use it.
If you have lots of fabric scraps you can use some as filling for your pincushions.
How to style your pincushion?
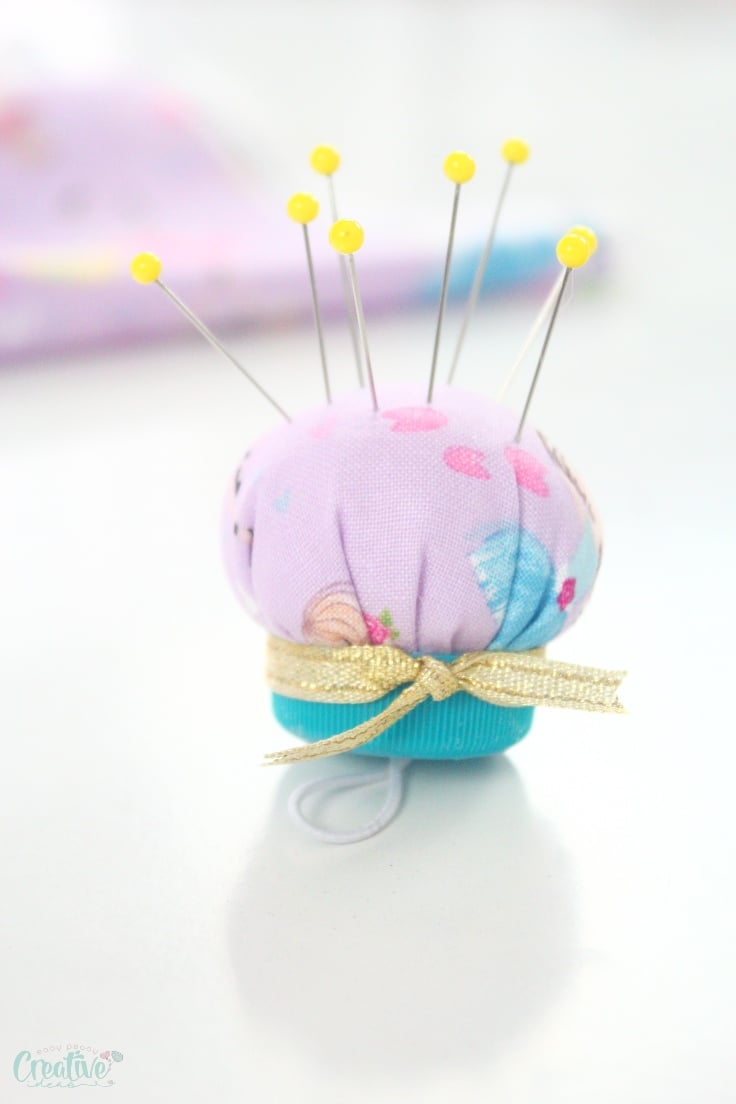
- Style them like pretty little pies, cupcakes, flowers, or any shape you like.
- You can add lace, ribbons, decorative trims or buttons to make them look prettier and suit your own style.
- Cover the cap in fabric instead of using it bare as I did.
There are endless possibilities, so begin experimenting and you will soon find yourself with a whole stockpile of finger pincushions.
I’d love to read your opinions on these cute finger pincushions, so please post them in the comments below.
DIY pin cushion
Materials:
- fabric circle of about 5″
- plastic bottle cap
- poking tool
- round elastic
- poly-fill or stuffing of choice
- ribbon
- scissors
- hot glue gun and sticks
- fabric glue
- hand needle
- matching thread
How to make a finger pin cushion?
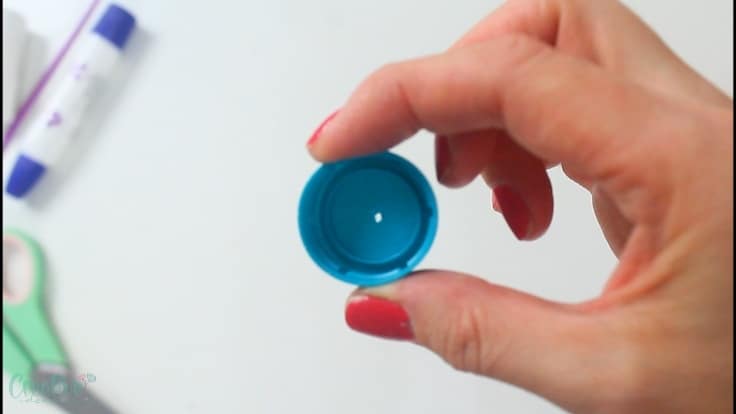
For the bottle cap
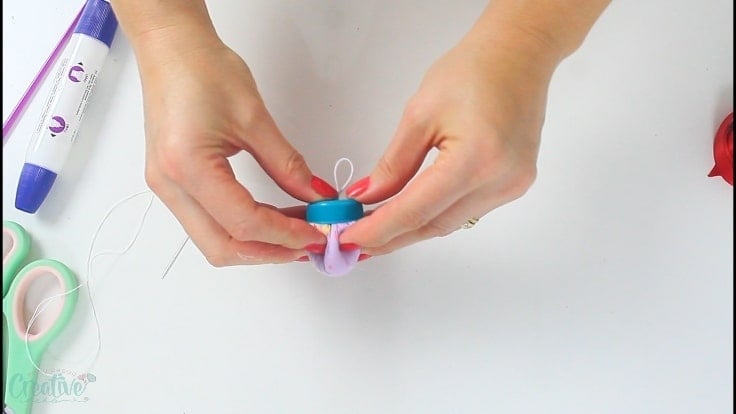
- Poke a hole into the middle of the bottle cap, large enough to fit the elastic, folded.
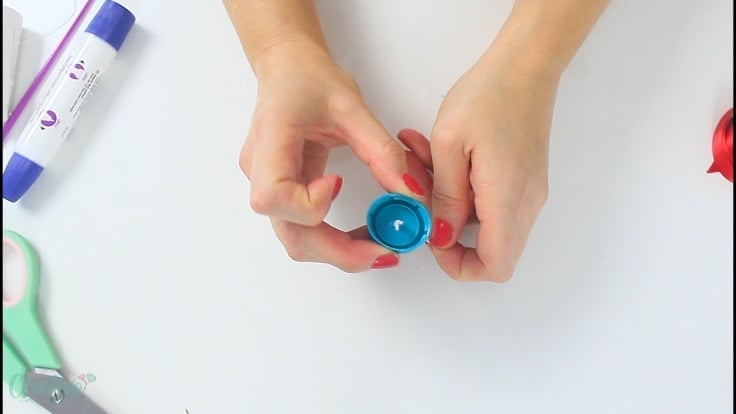
- Pass the folded elastic through and insert your finger into the loop, to measure the tightness and decide where you’ll tie the elastic
- Tie the elastic into a knot and adjust tightness as needed, testing on your finger until you find the right setting. Remove from cap if that’s easier for you.

- Insert the elastic back into the cap, with the folded end so the knot ends up inside the cap.
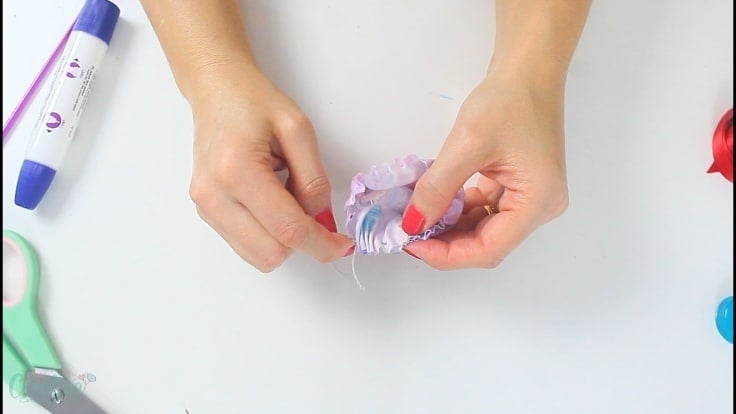
For the fabric cushion
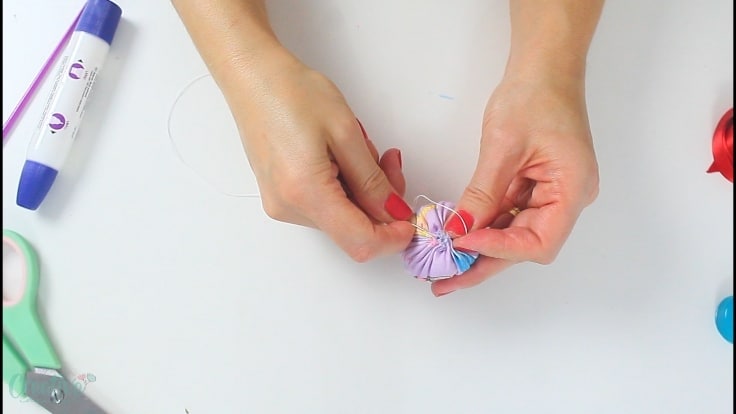
- Cut a circle of fabric of about 5″ (or larger, depending on the size of your cap). Thread a hand needle and start sewing the circle around the edges, onto the wrong side of the fabric.
- Add stuffing like poly-fill to the inside of the fabric (wrong side). Push the stuffing inside as much as possible while tightening the opening in the fabric circle by pulling the thread. Add as much filling as needed (I added about 3 handfuls of poly-fill); depending on the texture and thickness of your stuffing you might need more or less than I did.
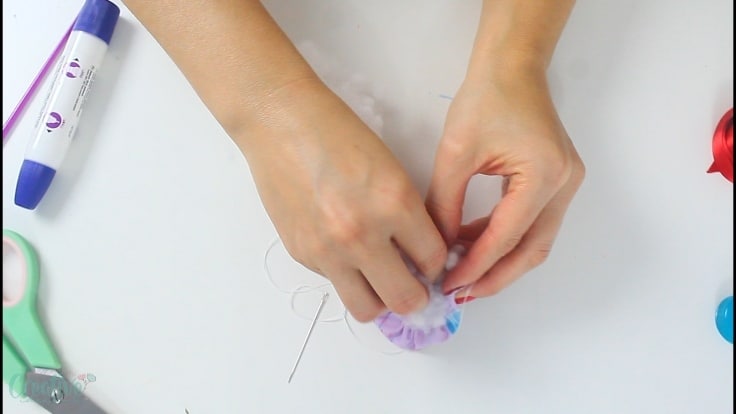
- When you’re happy with the thickness of your pincushion, pull the thread tight around the opening and start sewing to close the opening.
To attach both
- Add a generous layer of hot glue to the inside of the cap.
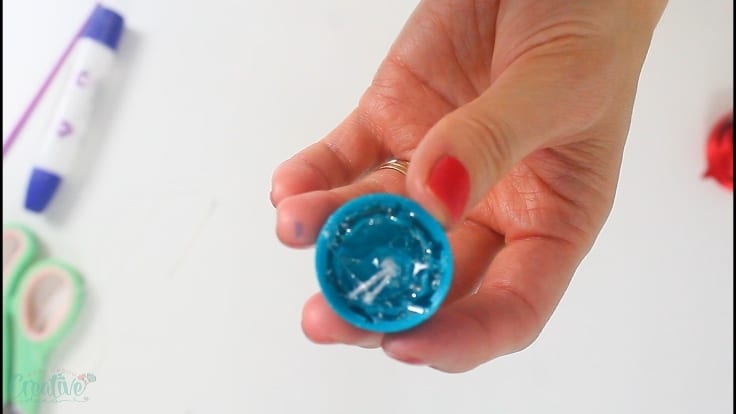
- Push the pincushion inside the cap, with the sewn end facing the inside of the cap. Keep it pressed until the hot glue has dried.
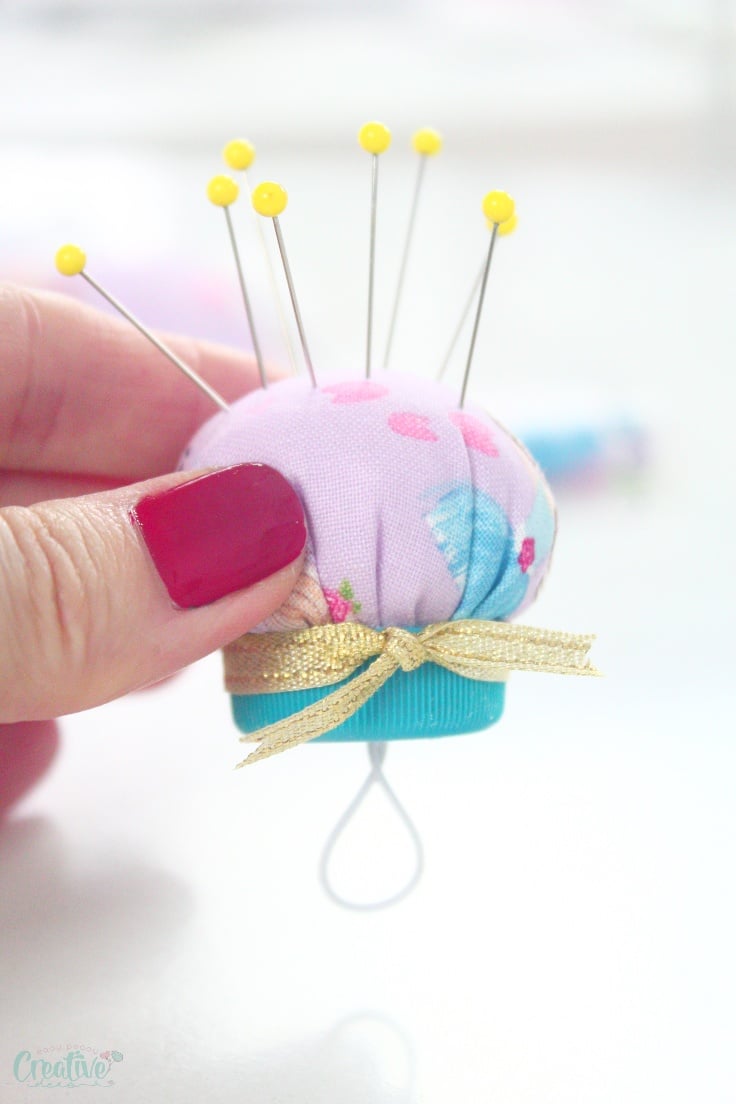
- Wrap some ribbon around the bottle cap and tie into a little bow.
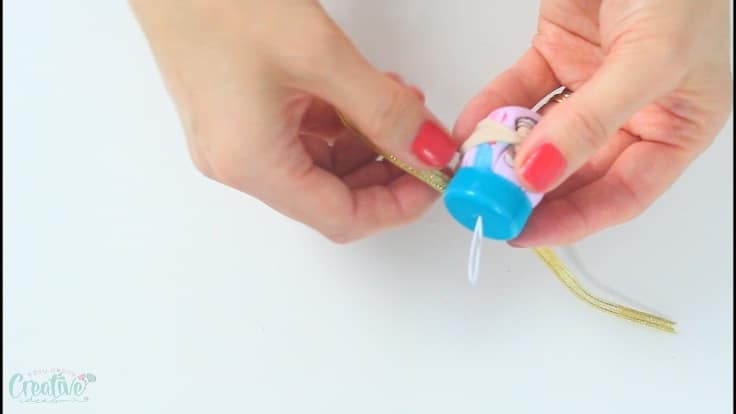
- Remove or push down the ribbon and add a thin layer of fabric glue at the base of the pincushion.
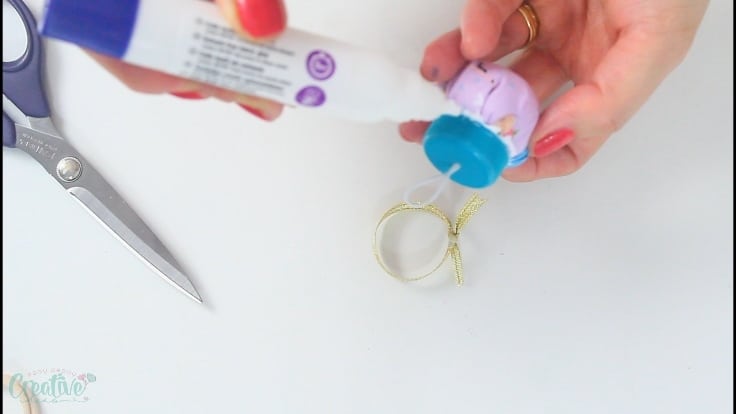
- Return the ribbon back onto the cap and push gently to cover the layer of glue. I used a small paint brush to push the ribbon so keep my fingers away from the glue.
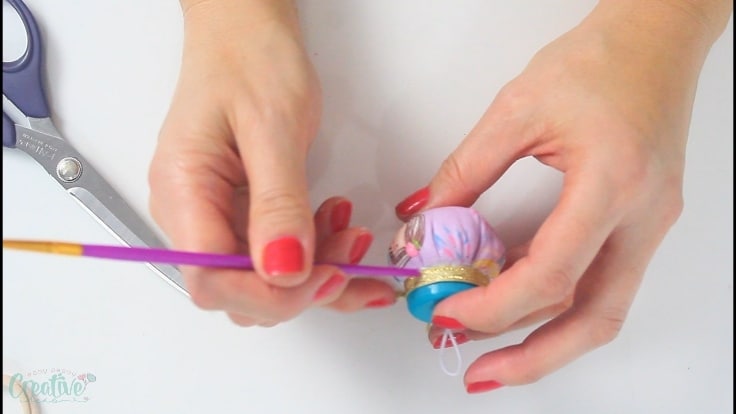
- Allow the glue to dry completely before using the pincushion.
And you’re pretty much done! All you need now is a bunch of cute pins, like these adorable glass headed pins from Prym that I’m super excited about! Great quality and look adorable on my finger pincushion!
Pin to save for later
Most popular sewing projects:
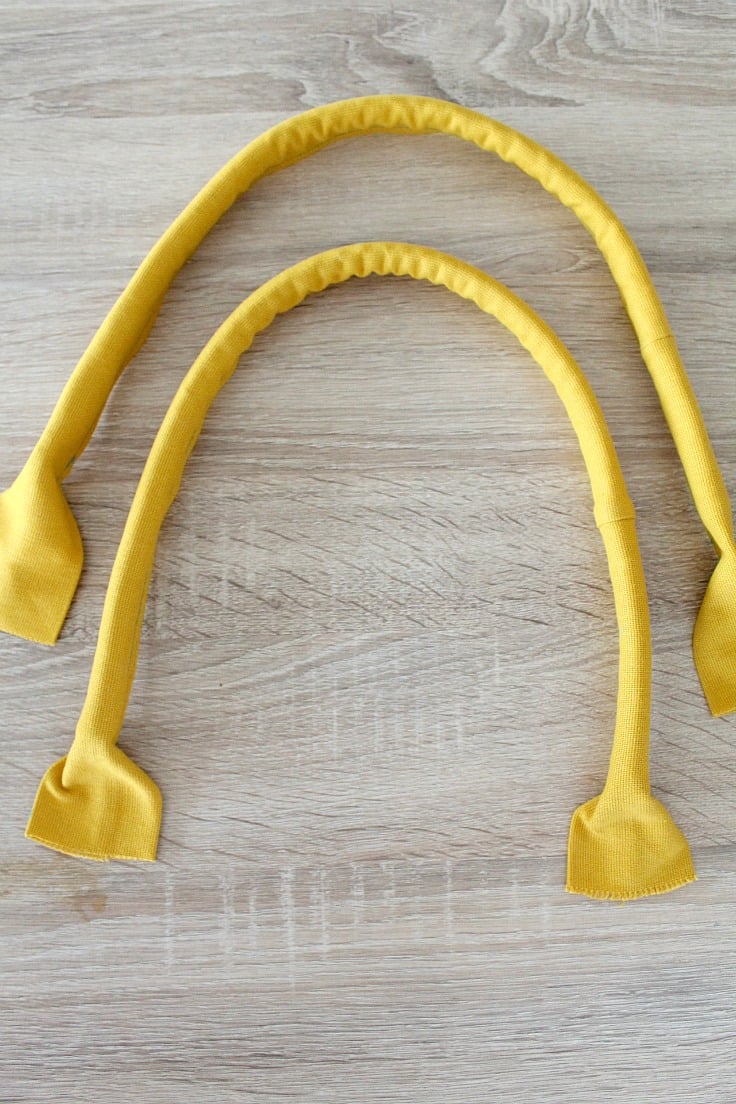
- Corded bag handles tutorial
- How to sew a round hem
- Flutter sleeve dress pattern
- Laminating cotton fabric


ABOUT PETRO
Hi, I’m Petro, author and founder of Easy Peasy Creative Ideas. Sewist, crafter, avid DIY-er, foodie, photographer, homemaker and mommy to one. I’m an expert at coming up with quick, clever sewing tips, recycling crafts and simple, easy recipes! You can find my ideas featured in reputable publications such as Country Living, Good House Keeping, Yahoo News, WikiHow, Shutterfly, Parade, Brit & Co and more. Thanks for stopping by and hope you’ll stay for a while, get to know me better and come back another time. Stick around for real fun projects! Read more…