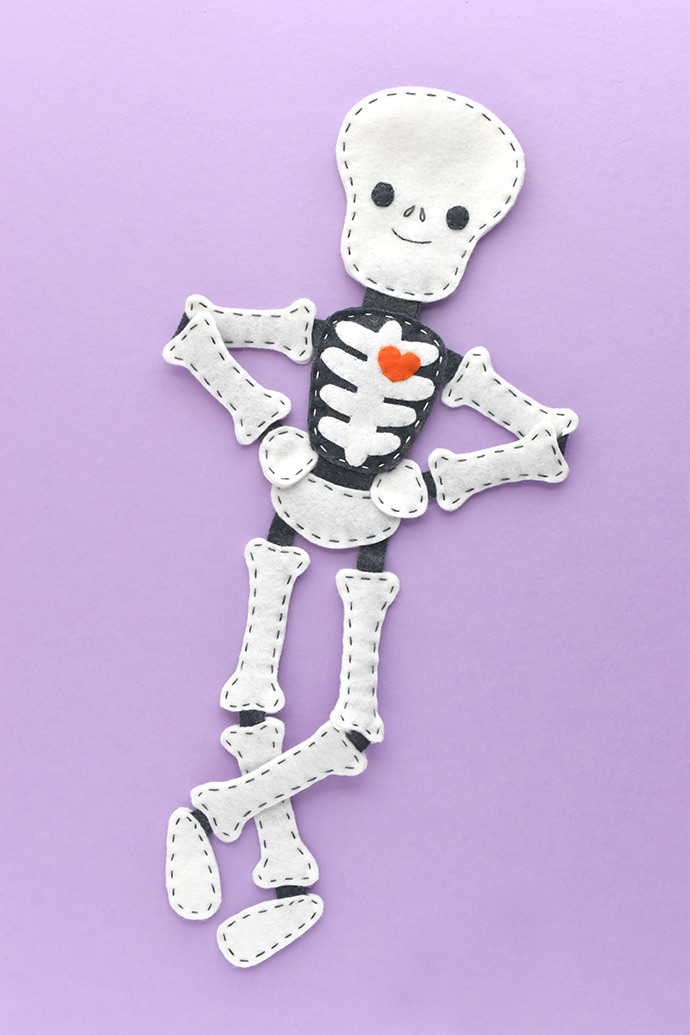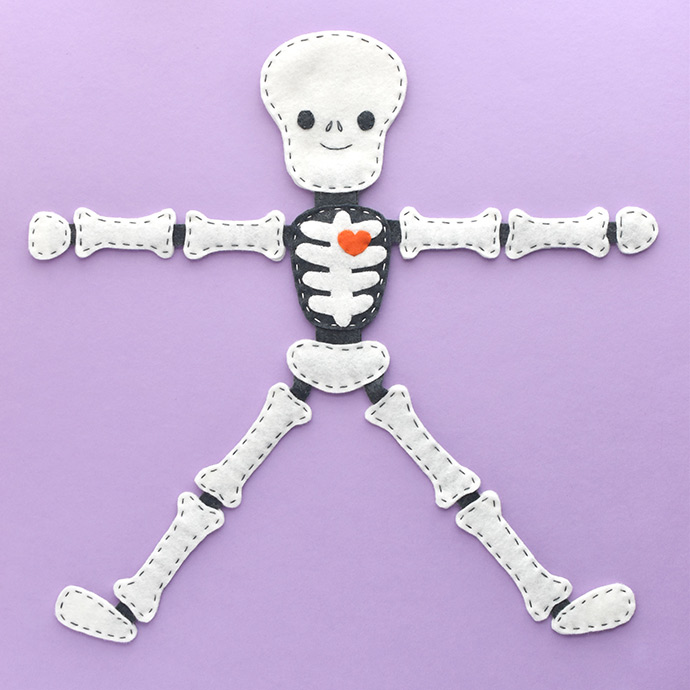
Spooky season is here and it’s a perfect time to make a fun and floppy skeleton plush! This DIY project uses simple sewing to join all the bones together into a Halloween decoration that doubles as a soft toy.
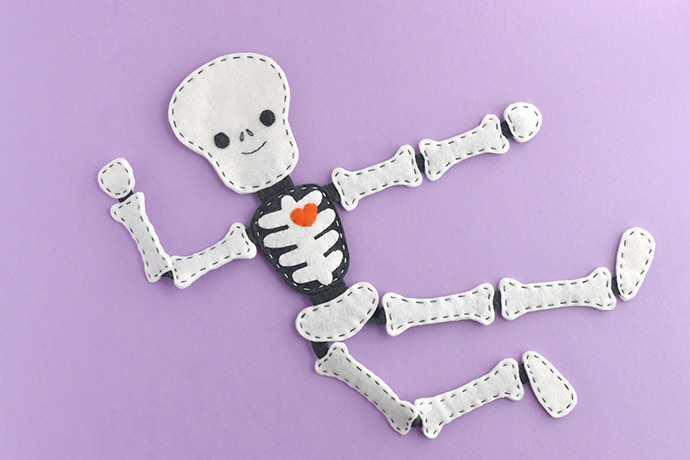
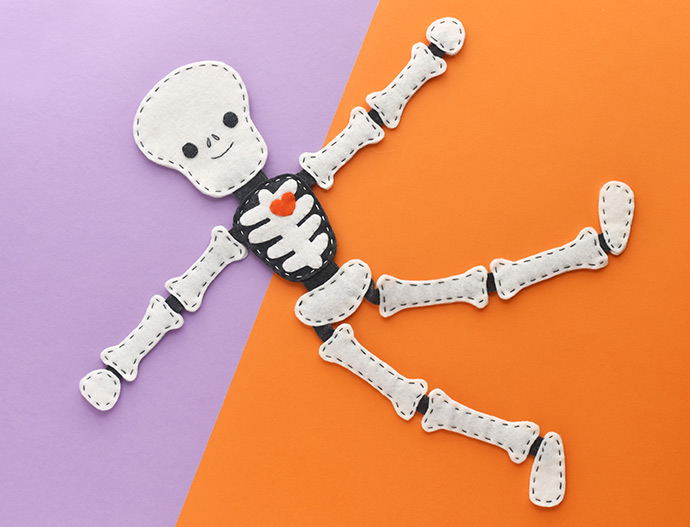
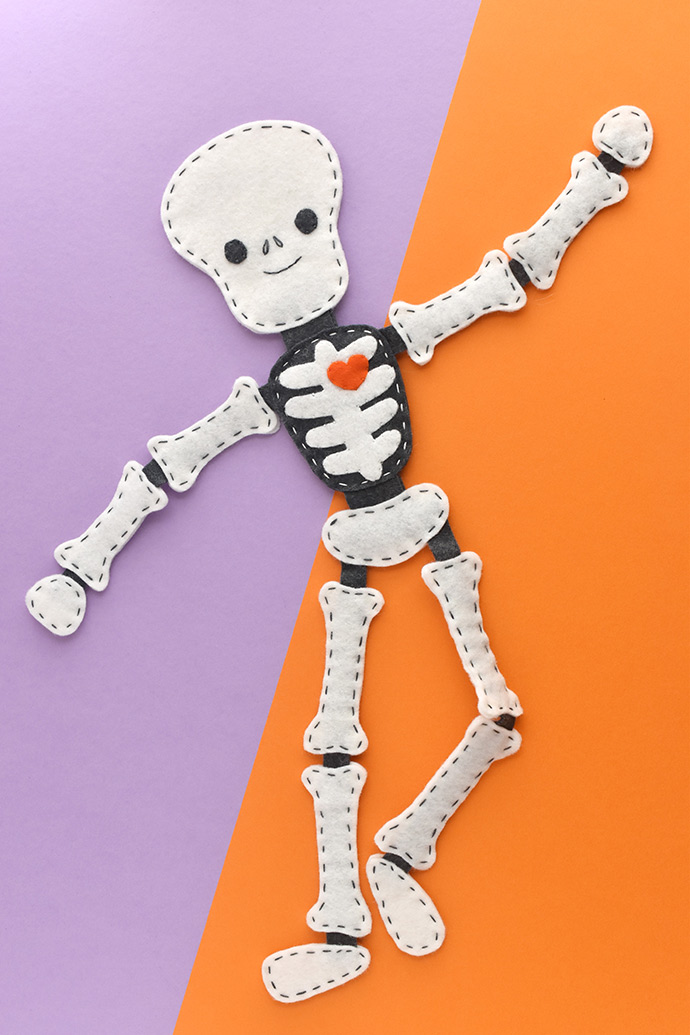
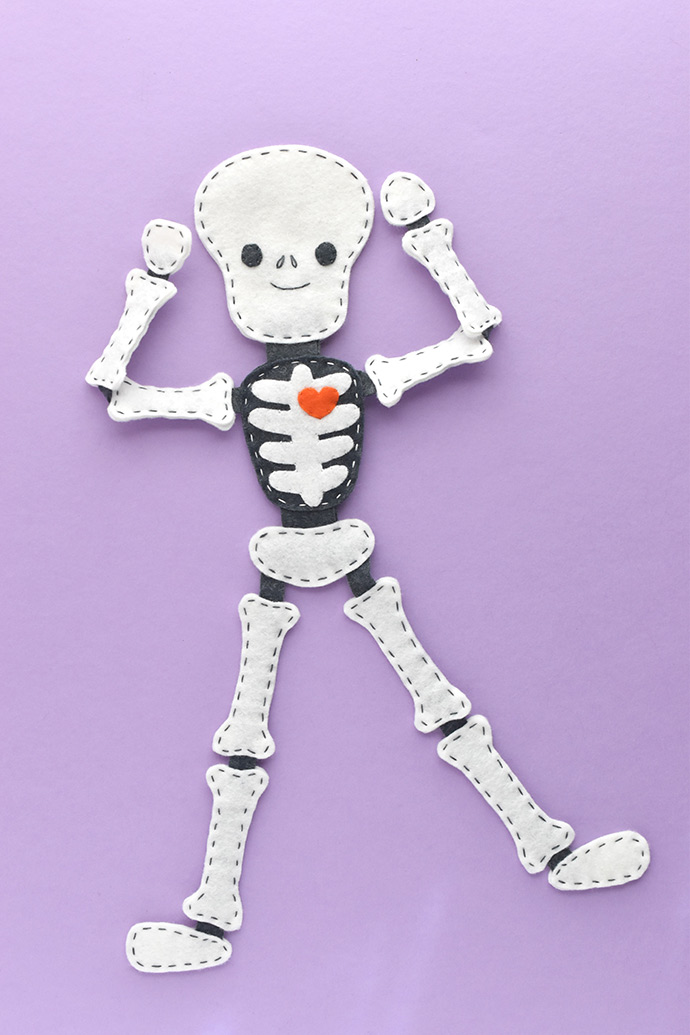
Made entirely from felt, the bones have strips that join them together. Your skeleton softie friend can flop around, form different poses, and even sit with just a little help.
It may be one of the cutest and cuddliest skeletons you’ll ever meet or make!
No bones about it…it’s time to start sewing a skeleton!
what you need:
- White and Black or Dark Gray Felt
- A Scrap of Colored Felt (for the heart)
- Embroidery Floss
- Freezer Paper and Iron (optional, but helpful)
- Pencil
- Scissors
- Needle
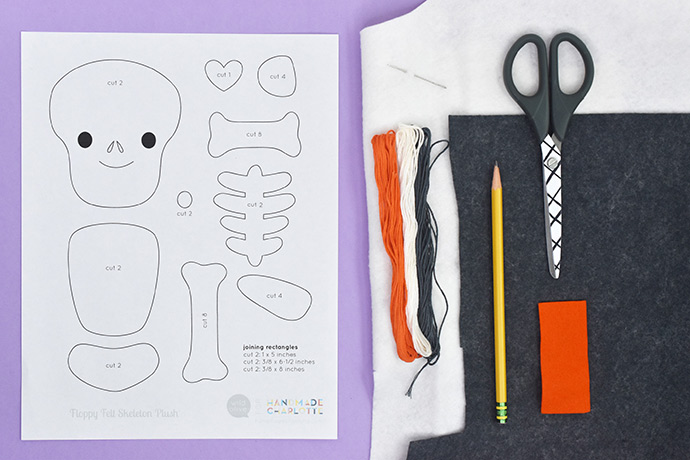
- Printable skeleton pattern
what you need:
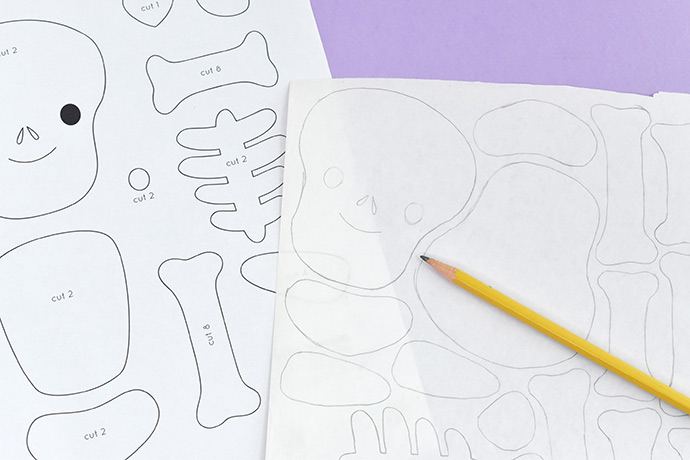
Print the template page. If you have freezer paper and an iron, trace the pattern pieces on the non-shiny side of the freezer paper. Trace as many as shown on the patterns.
The eyes and torso pieces will go on the dark felt and the heart will go on the colored felt. Be sure to trace these on their own pieces of freezer paper.

Iron the freezer paper to the felt. Make sure you match the shapes to the correct colors.
Attaching the paper to the felt makes it so much easier to cut out the pieces!
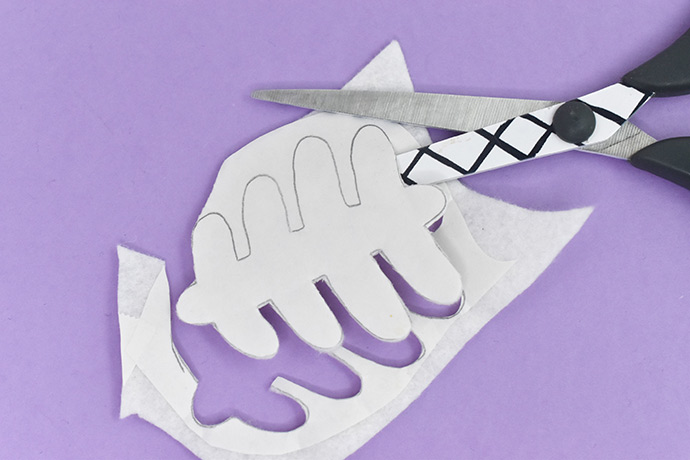
Cut out the felt shapes.
From the dark felt, cut the felt joining strips. Cut 2: 1 x 5 inches, cut 2: 1/2 x 6-1/2 inches, and cut 2: 1/2 x 8 inches.


Sandwich the hand bones and the short arm bones around a short thin strip.
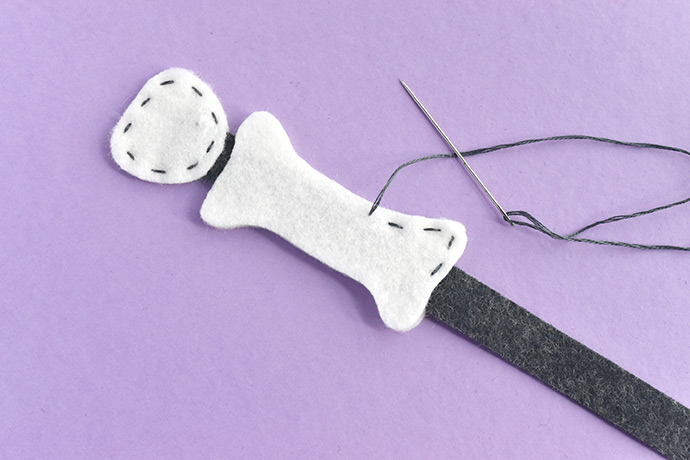
For all the sewing on this project, you can divide the embroidery floss so you are using just three strands of the thread. Start and end your sewing on each bone with a knot on the back.
Repeat this step for the other arm, and then with the foot and leg bones on the long thin strips.
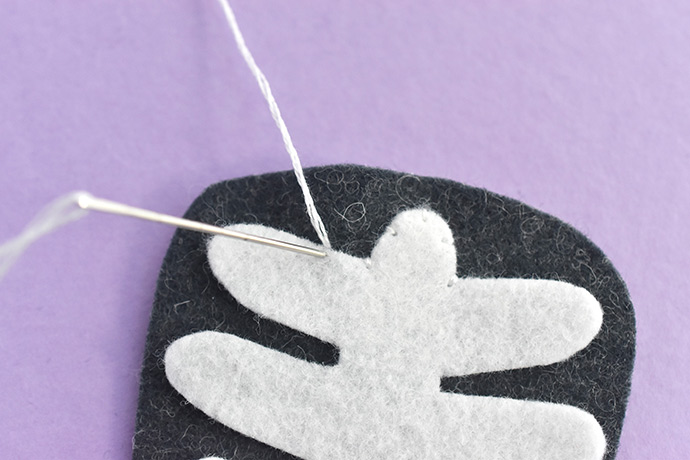
Stitch the ribs to the dark torso pieces, then sew the heart on top of one rib/torso piece. You can stitch around the edge with matching embroidery thread like you see here, or use contrasting embroidery floss and running stitch right down the center of each rib.
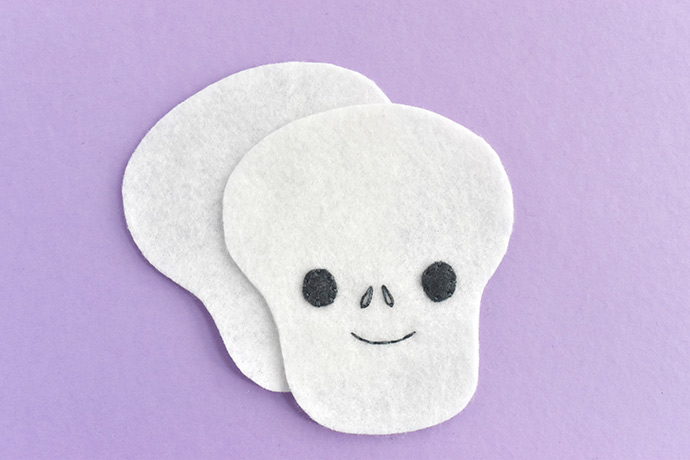
Stitch the eyes onto one skull piece, then embroider the rest of the face. Use lazy daisy stitches for the nose and back stitch for the mouth.
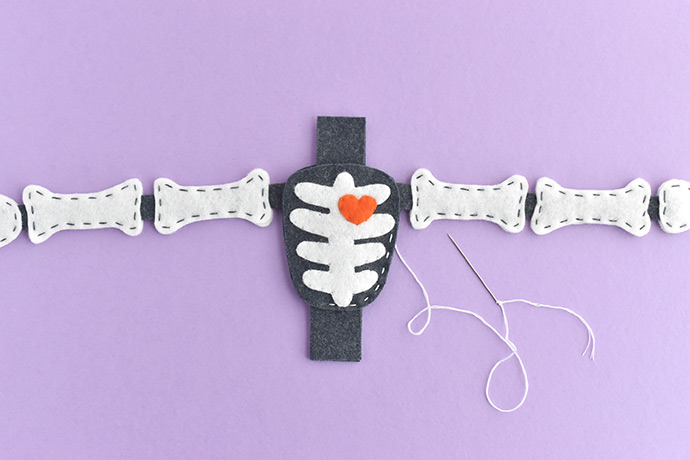
Layer the two wide joining strips on top of each other. Sandwich the strips between the torso pieces, then add the arms near the shoulder area. Stitch around the torso pieces so that you also stitch through the joining strips.

Sandwich the skull pieces around the joining strips above the torso. Sew around the edges with running stitch.


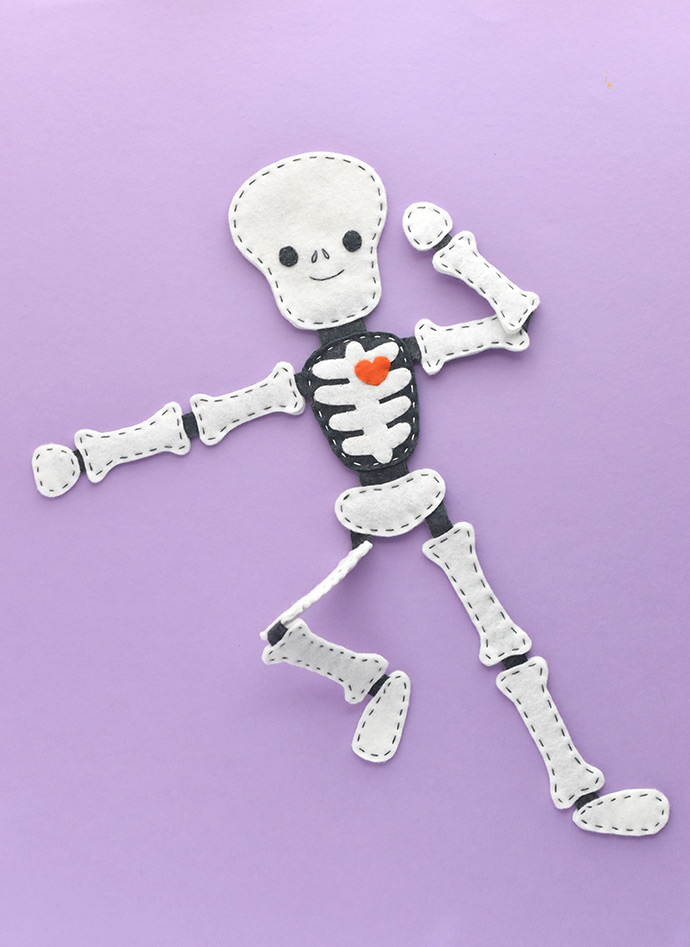
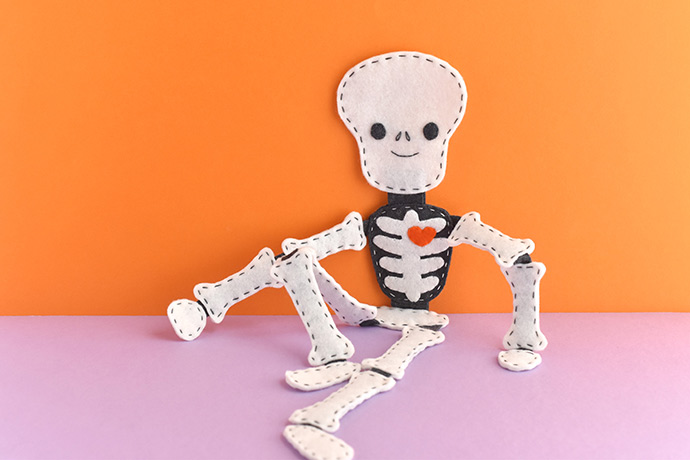
The fun of this plush is that it’s extra floppy, but also pretty easy to move and pose in different ways. With a little support from a wall or items on a shelf, you can even make it sit up!
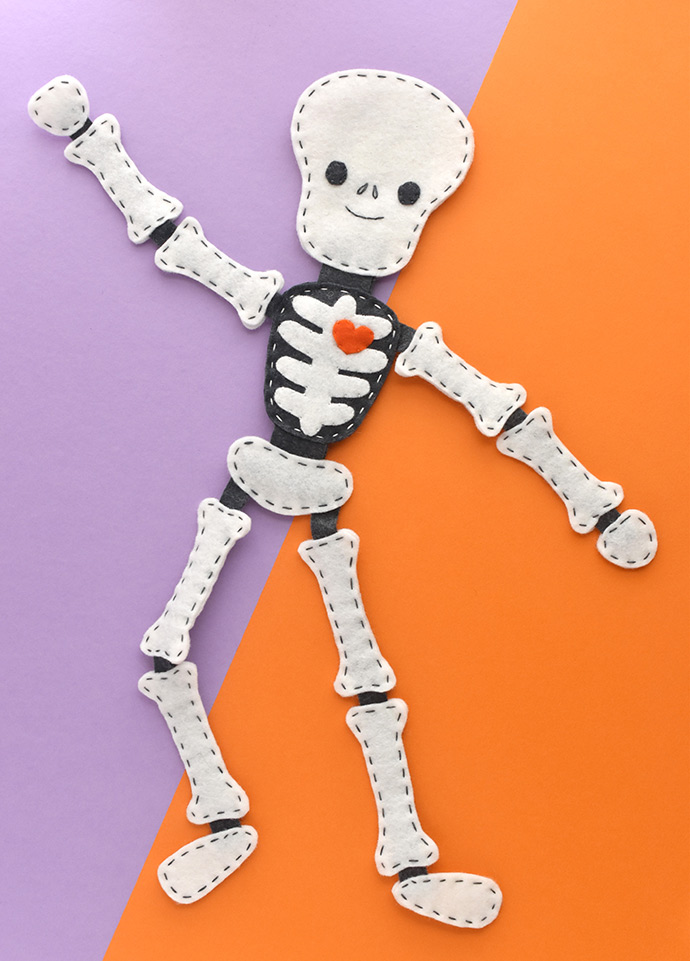
Of course, you can hug this skeleton, make two for some Halloween play, or even help them dance together. And while we haven’t tried it yet, you could probably add some strings to transform this into a marionette!