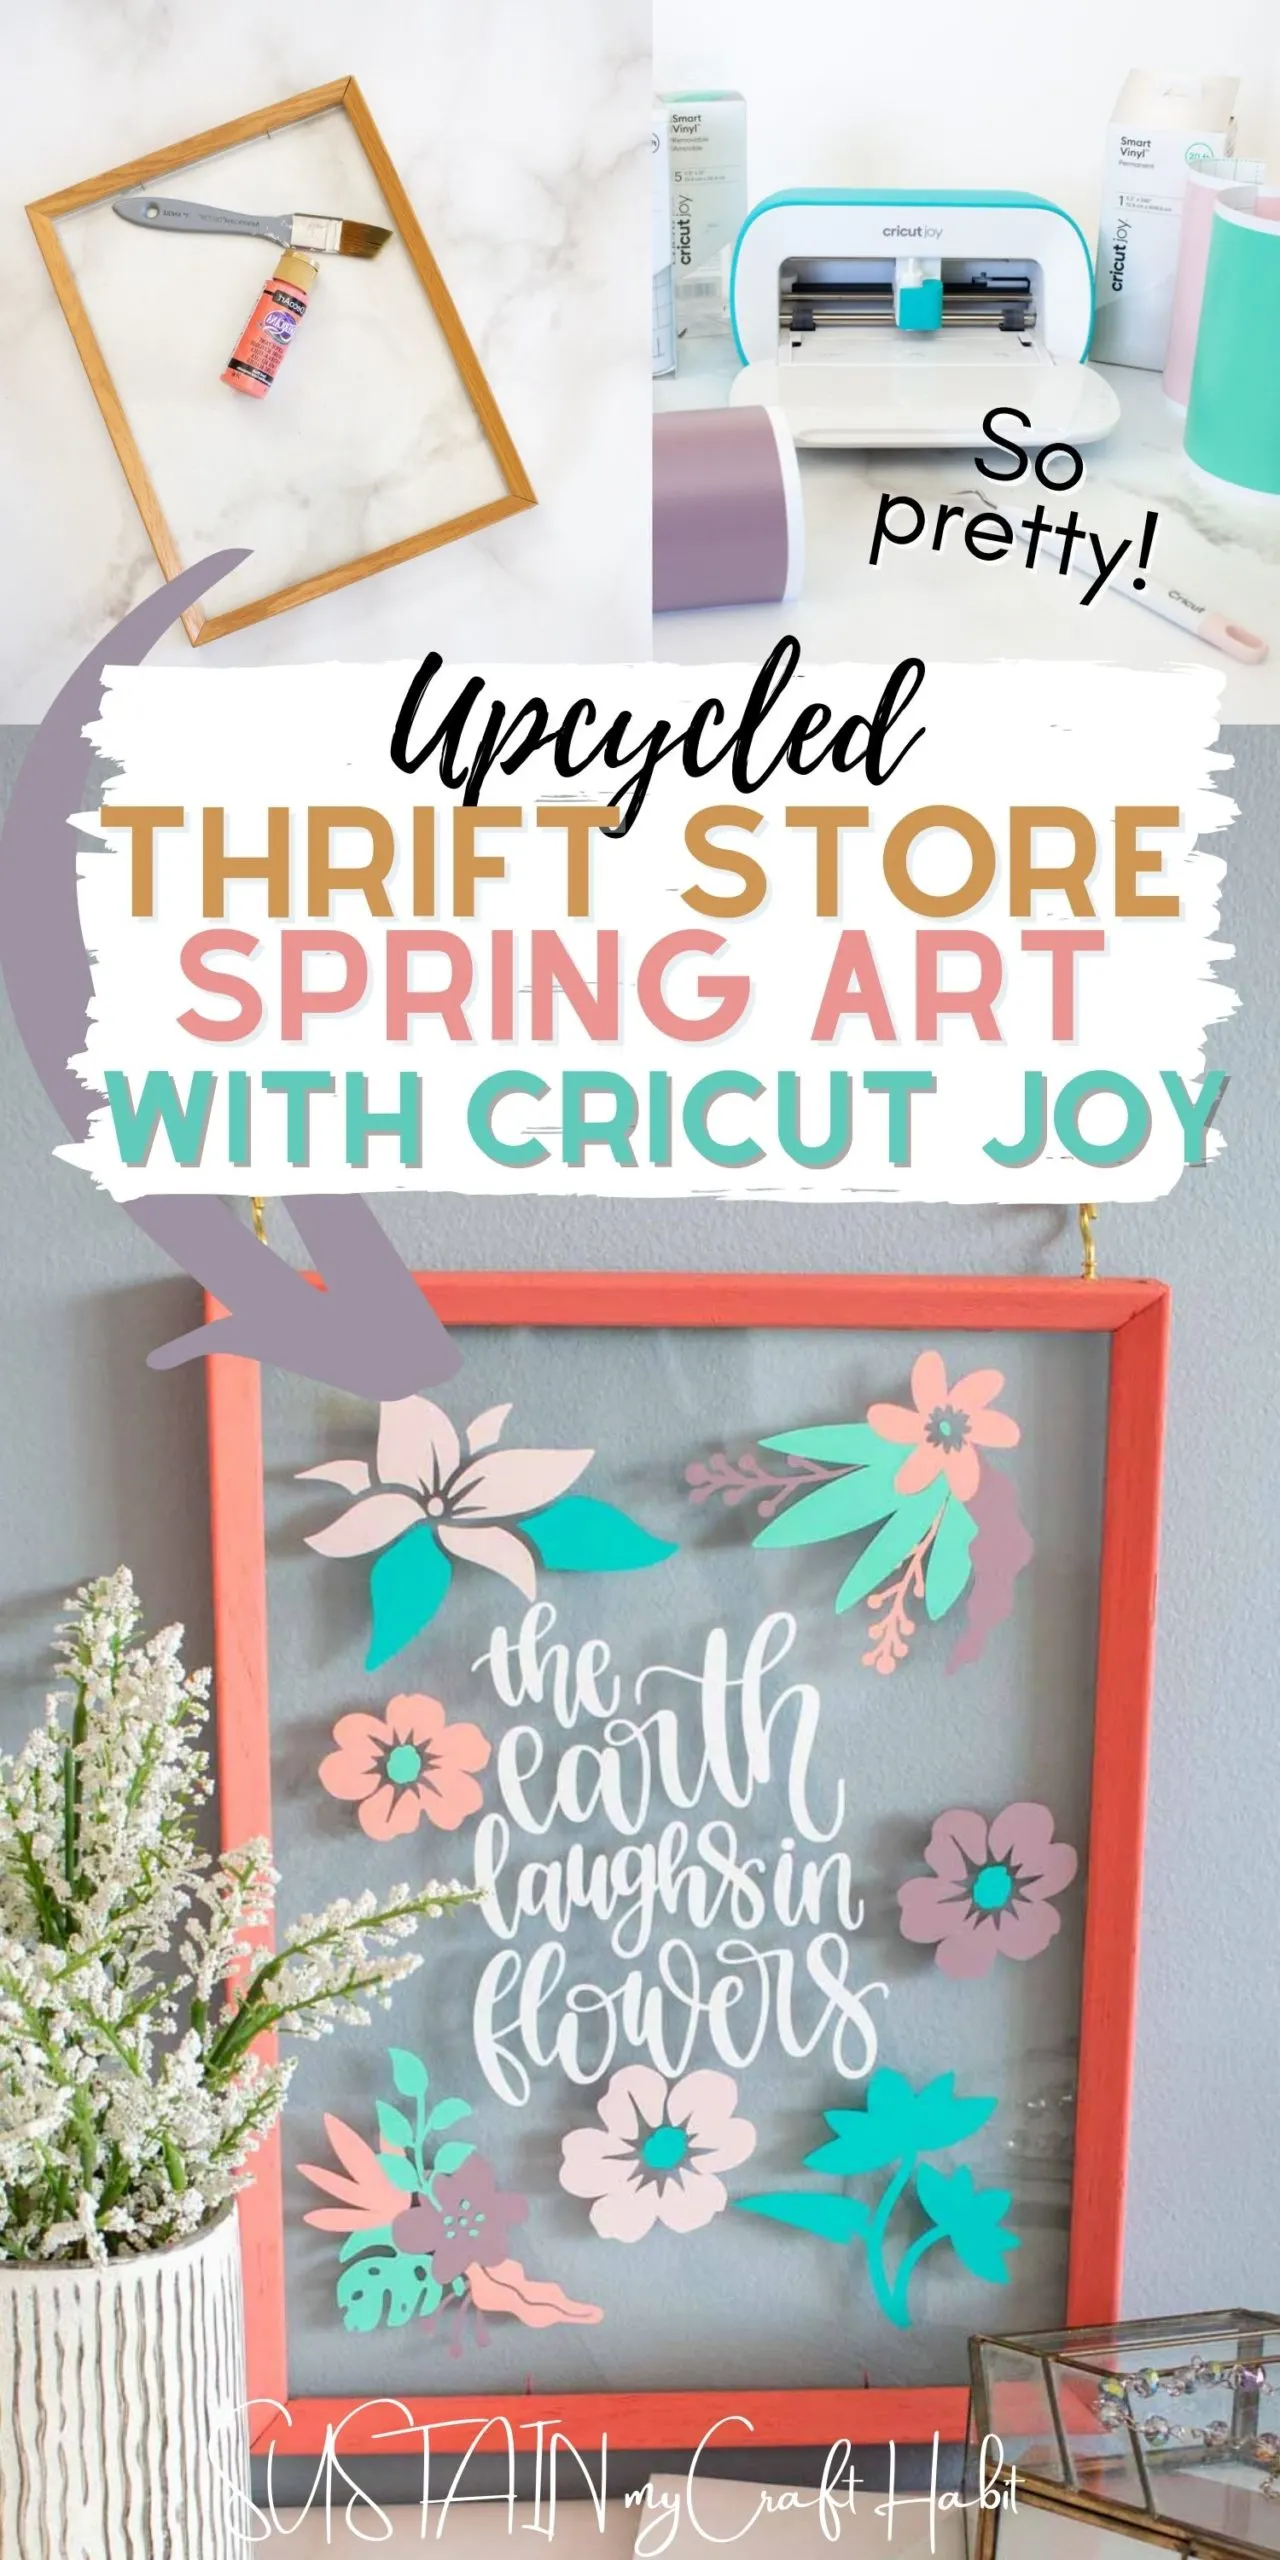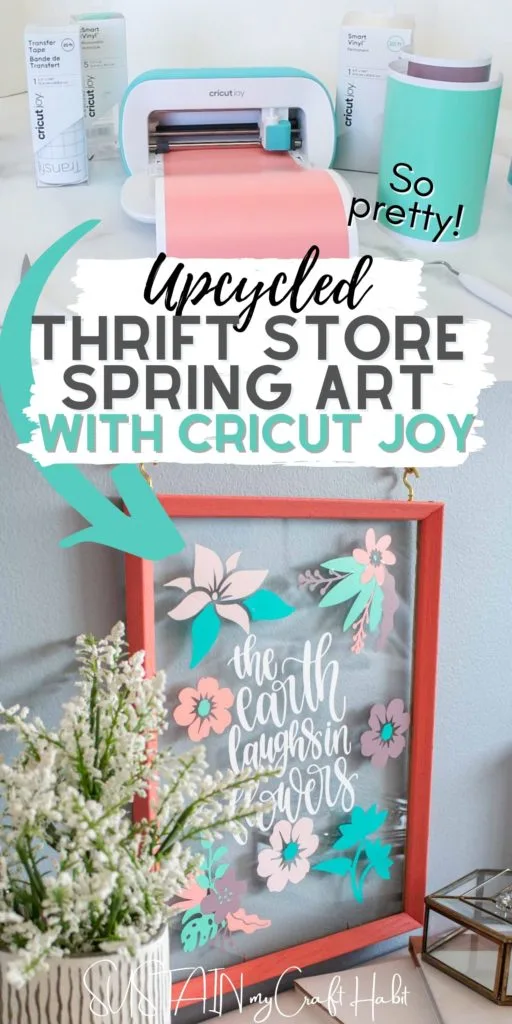
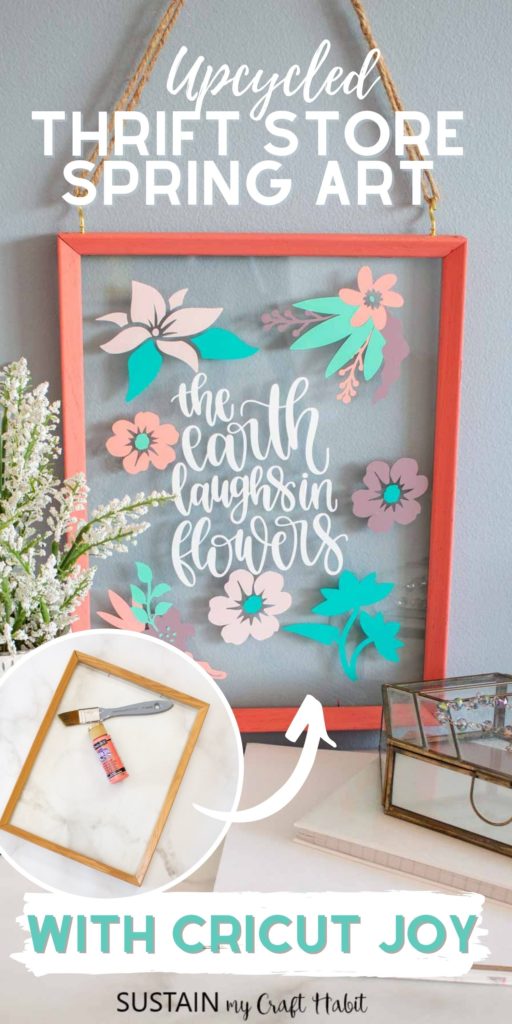


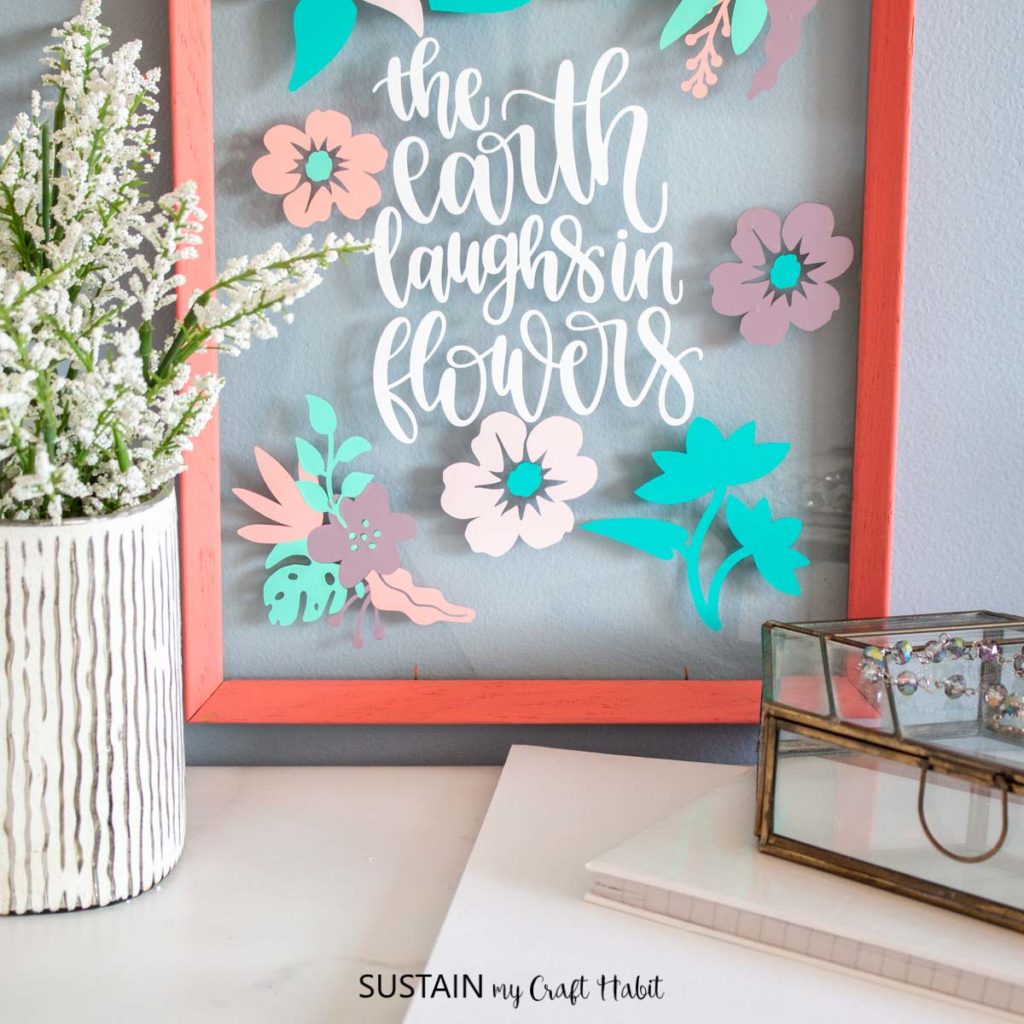
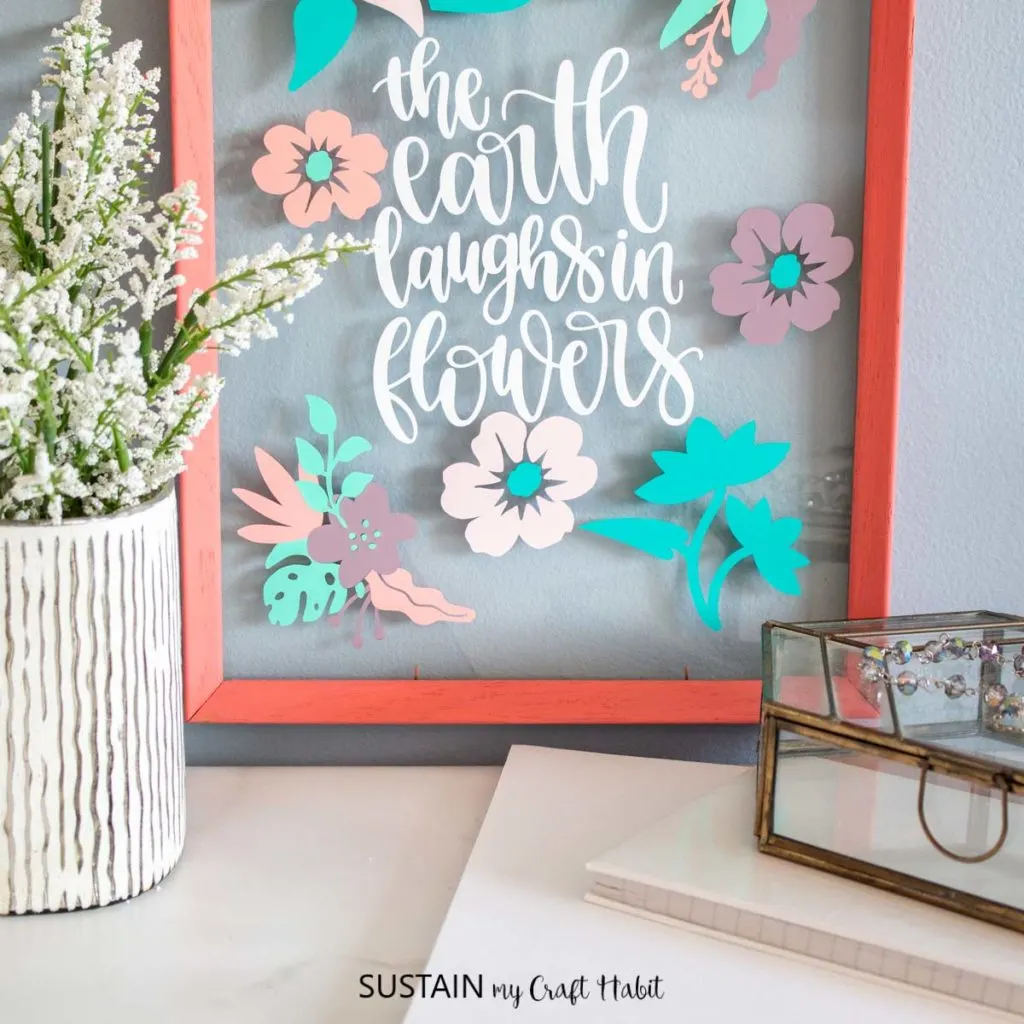
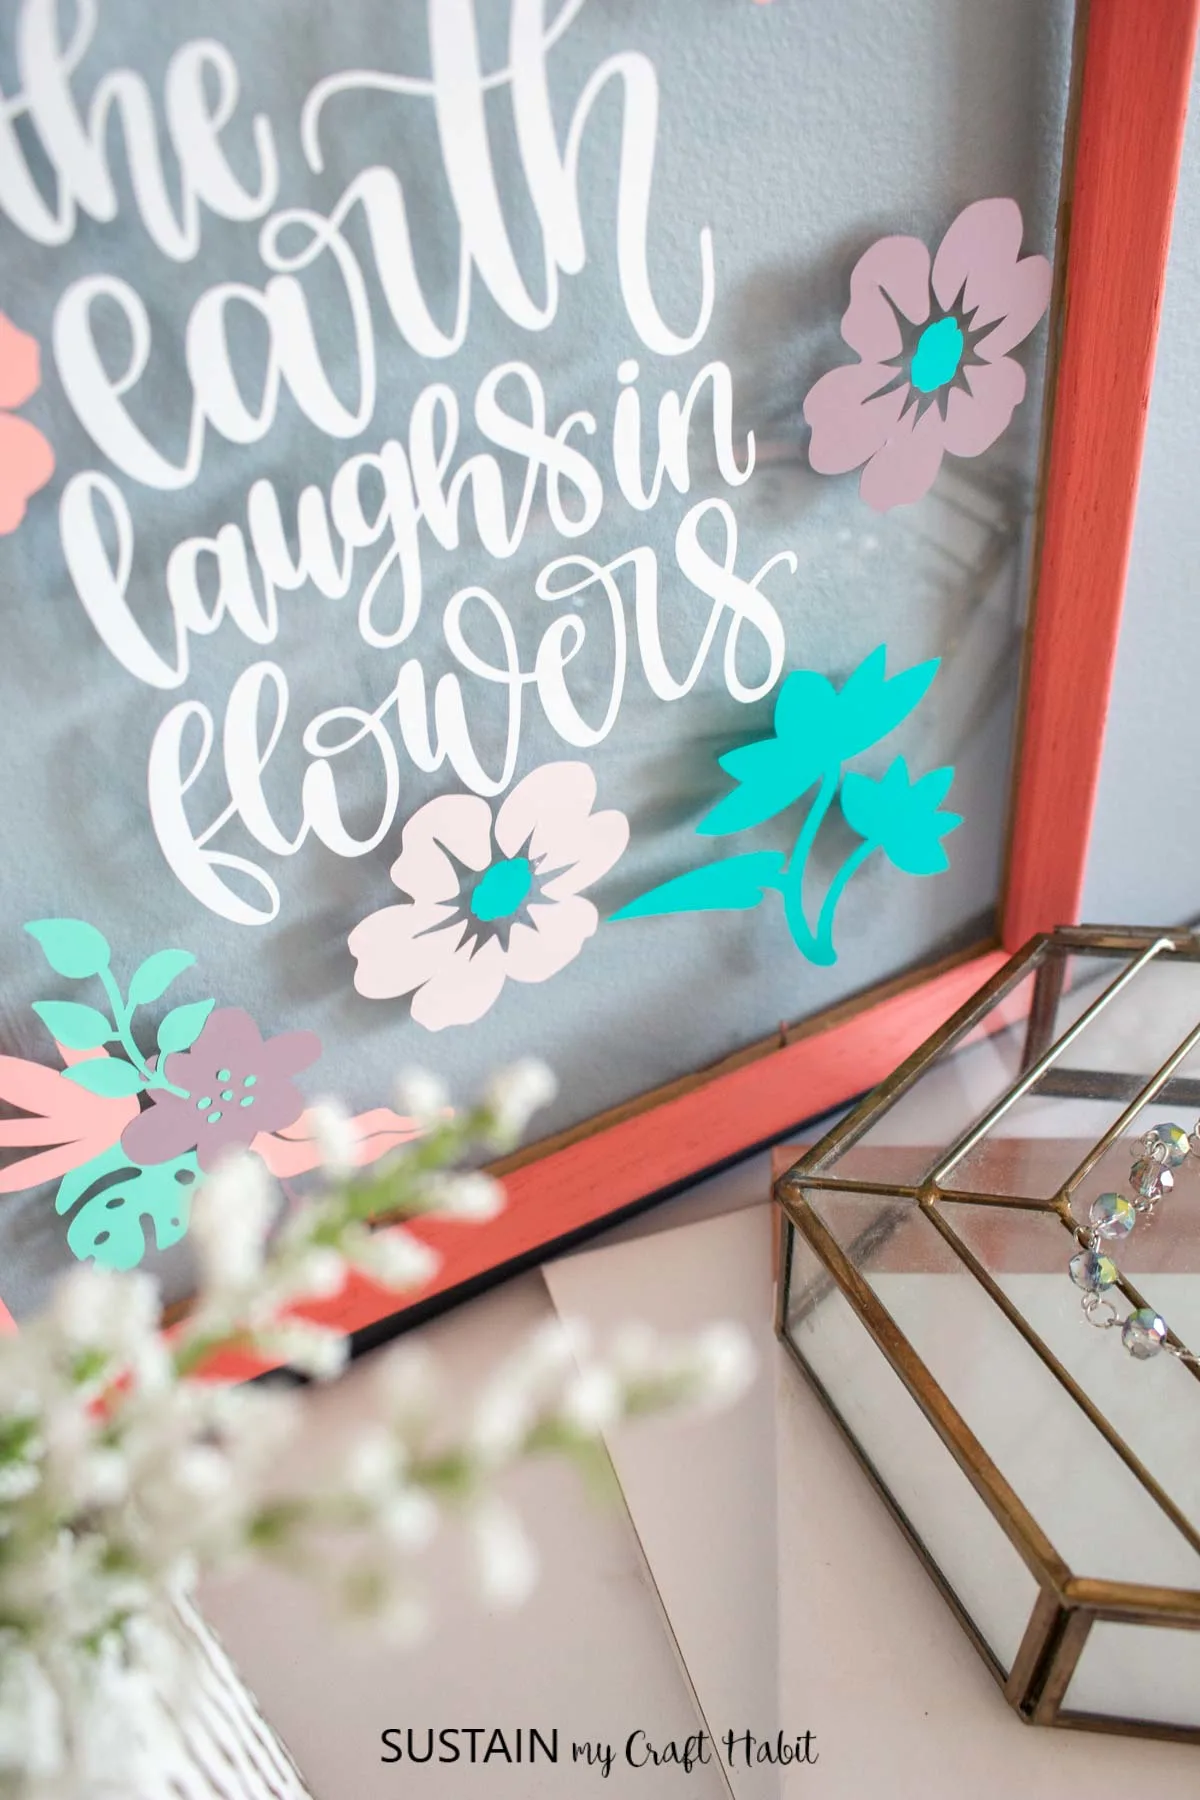
With the warmer weather upon us, we find ourselves energized to get crafting. So today we’ll show you how to make a beautiful spring-themed thrift store craft using an inexpensive thrifted picture frame, our Cricut Joy and some colorful vinyl. This floral wall decor idea is perfect for any room in your home!
This is a sponsored conversation written by us on behalf of Cricut. The opinions and text are all our own.

CRICUT PROJECTS: Get access to our resource library filled with SVG cut files and other Cricut craft ideas!
Colorful Thrift Store Craft!
Taking a trip to our community thrift store for inexpensive craft supplies really gets our creative juices flowing. It’s so fun to see what items with loads of potential can be found on a budget.
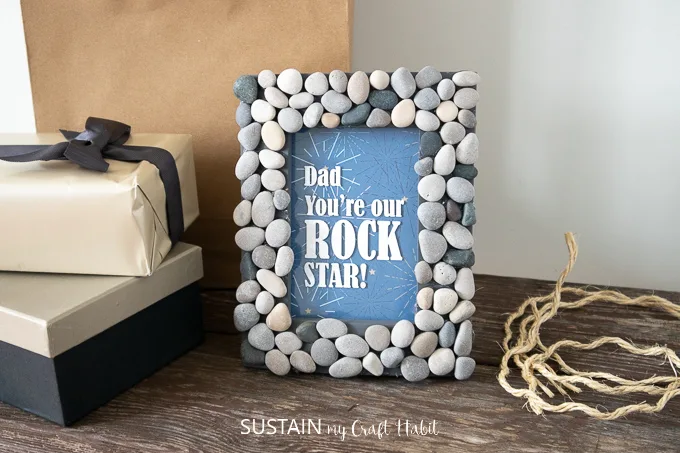
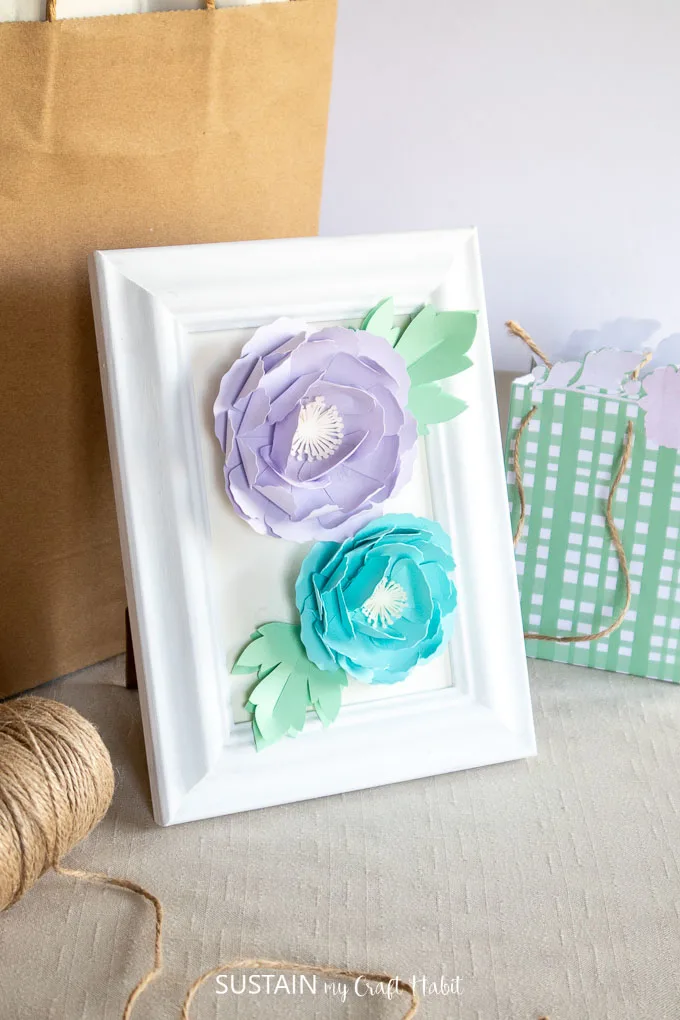
We’ve shared many DIYs using materials we’ve upcycled over the years and old picture frames have definitely been one of our go to supplies. Take this rock’n Father’s Day frame and this framed paper peony flowers for a couple of examples.
In fact, we scooped up this particular wood picture frame that didn’t even have a backing to it for just $0.25! For that price, how could we pass it up? And lucky for us we held on to it until inspiration struck since it was the perfect size and look for this thrift store picture frame craft.

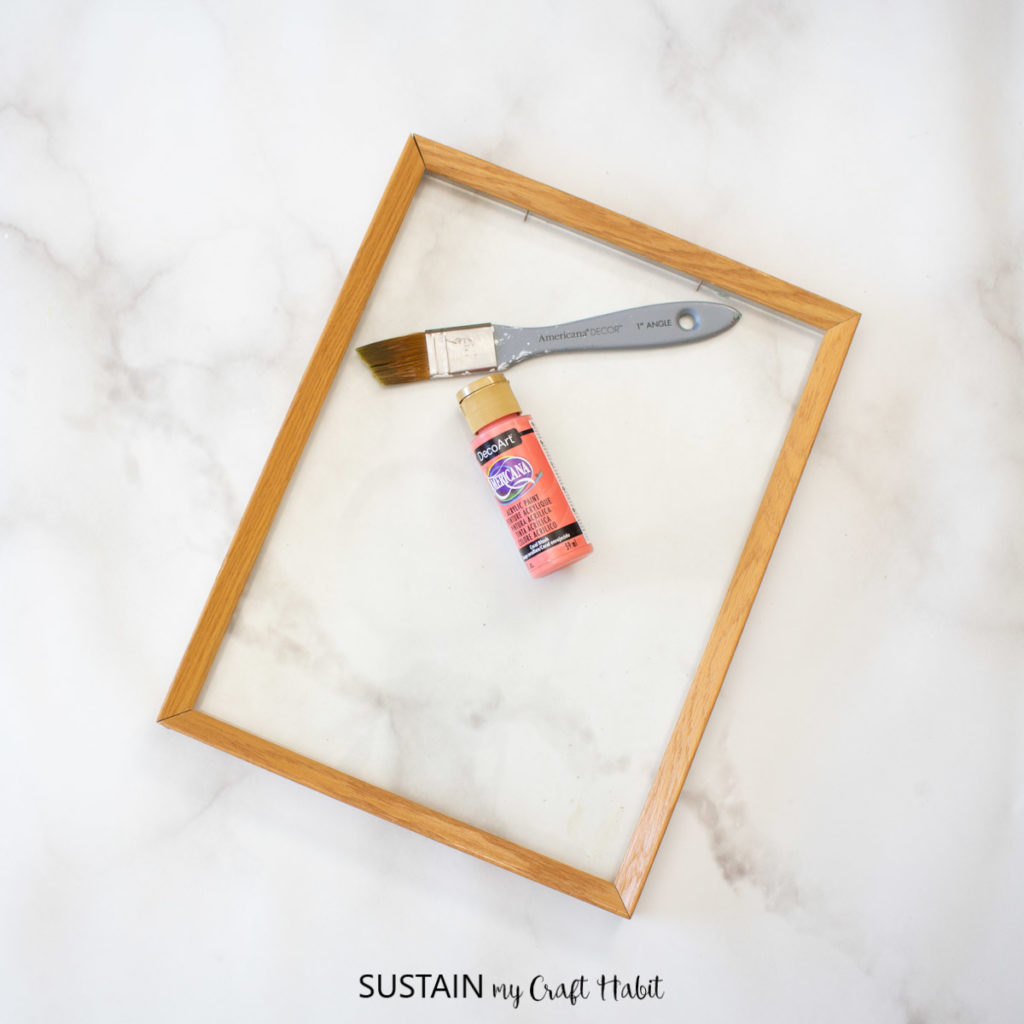
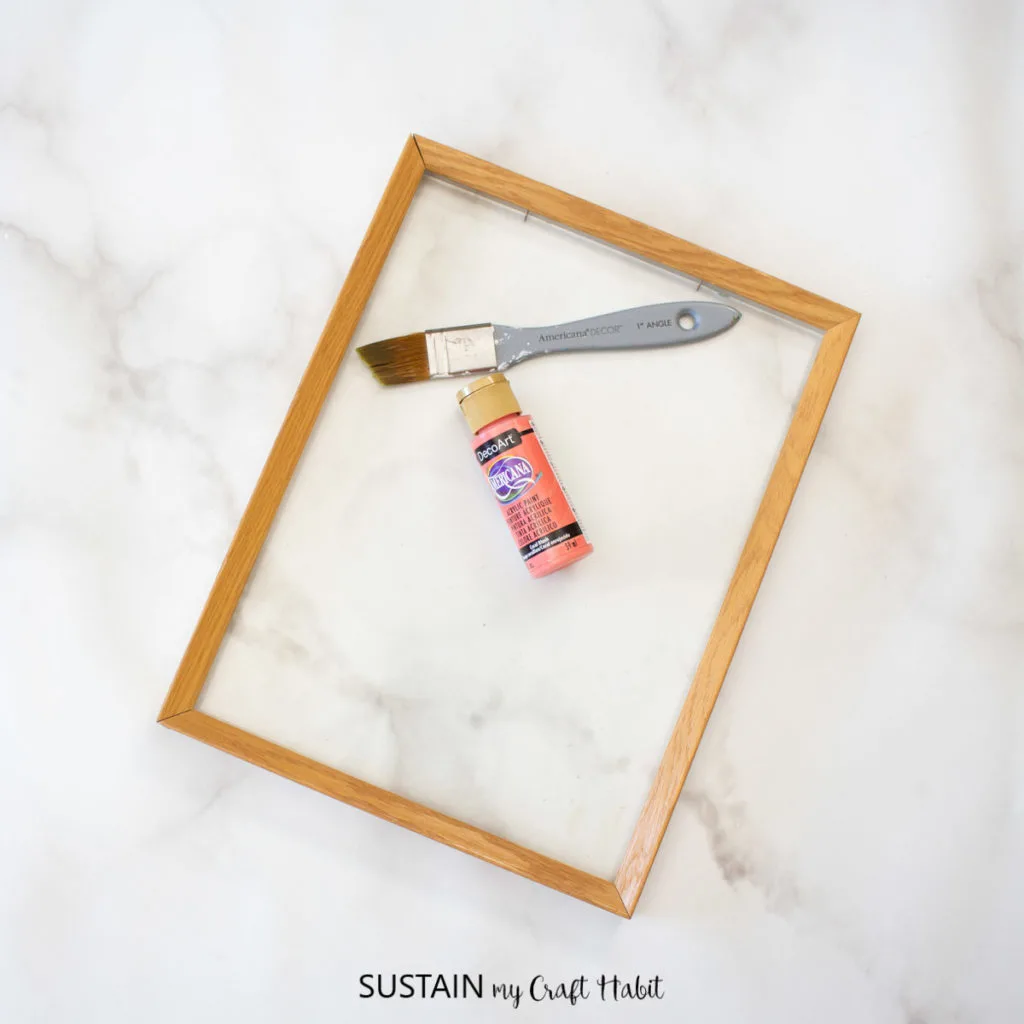
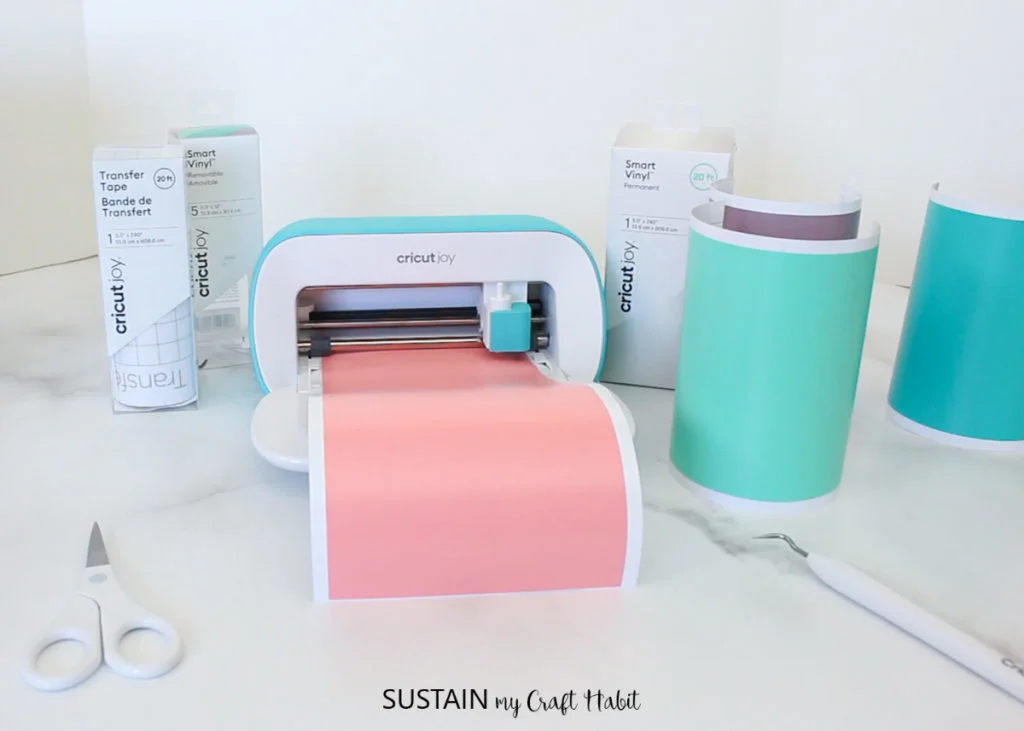
Materials Needed:
Disclosure: This post continues affiliate links for your shopping convenience. You can find our full disclosure policy here.
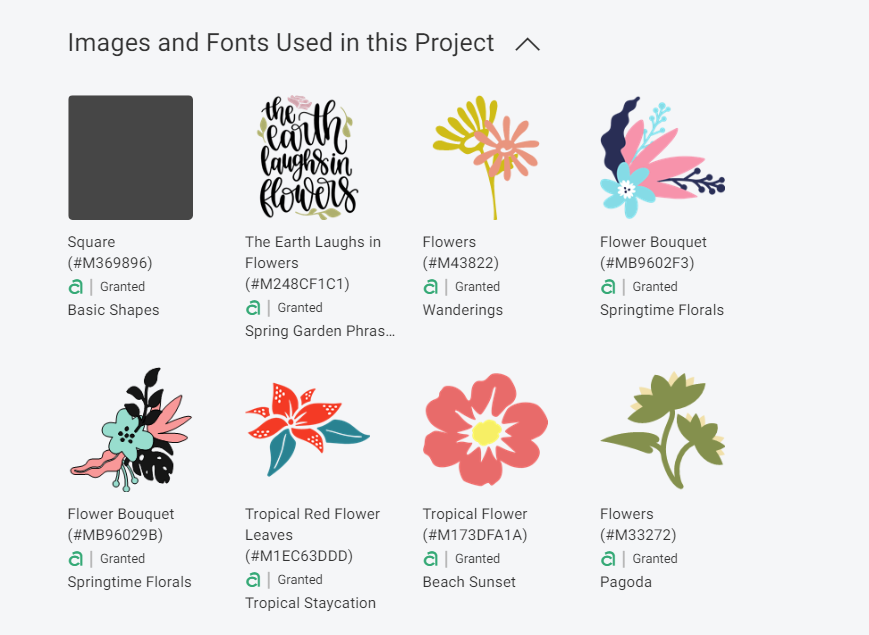
- Design Space Images #M248CF1C1; #MB9602F3; #MB96029B; #M1EC63DDD; #M173DFA1A; #M33272
- Open Back Photo Frame measuring 10”x13”
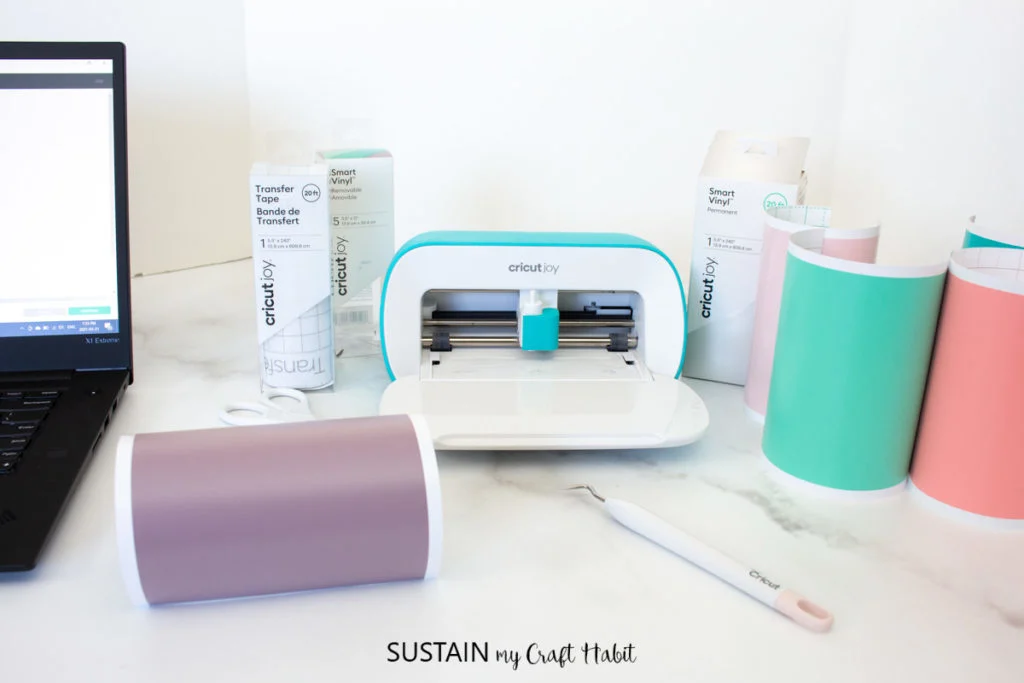
- Cricut Joy
- Permanent Smart Vinyl in White
- Removable (or Permanent) Smart Vinyl in Hydrangeas Sampler
- Weeder
- Cricut Transfer Tape
- Scissors
- Crafter’s Acrylic paint in Coral
- Paintbrush
- Hanging hardware (we used gold screw hooks and twine)

How to Make:
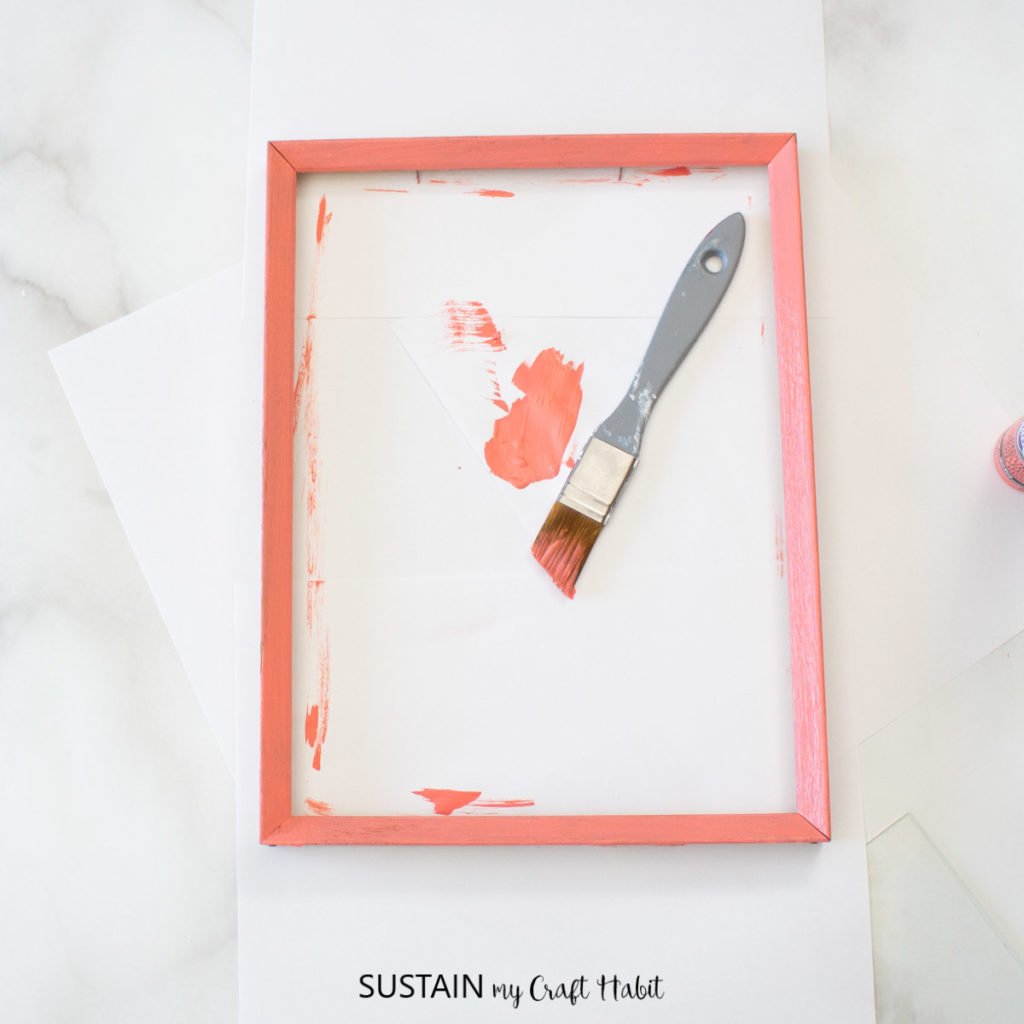
Prepare the Thrifted Picture Frame
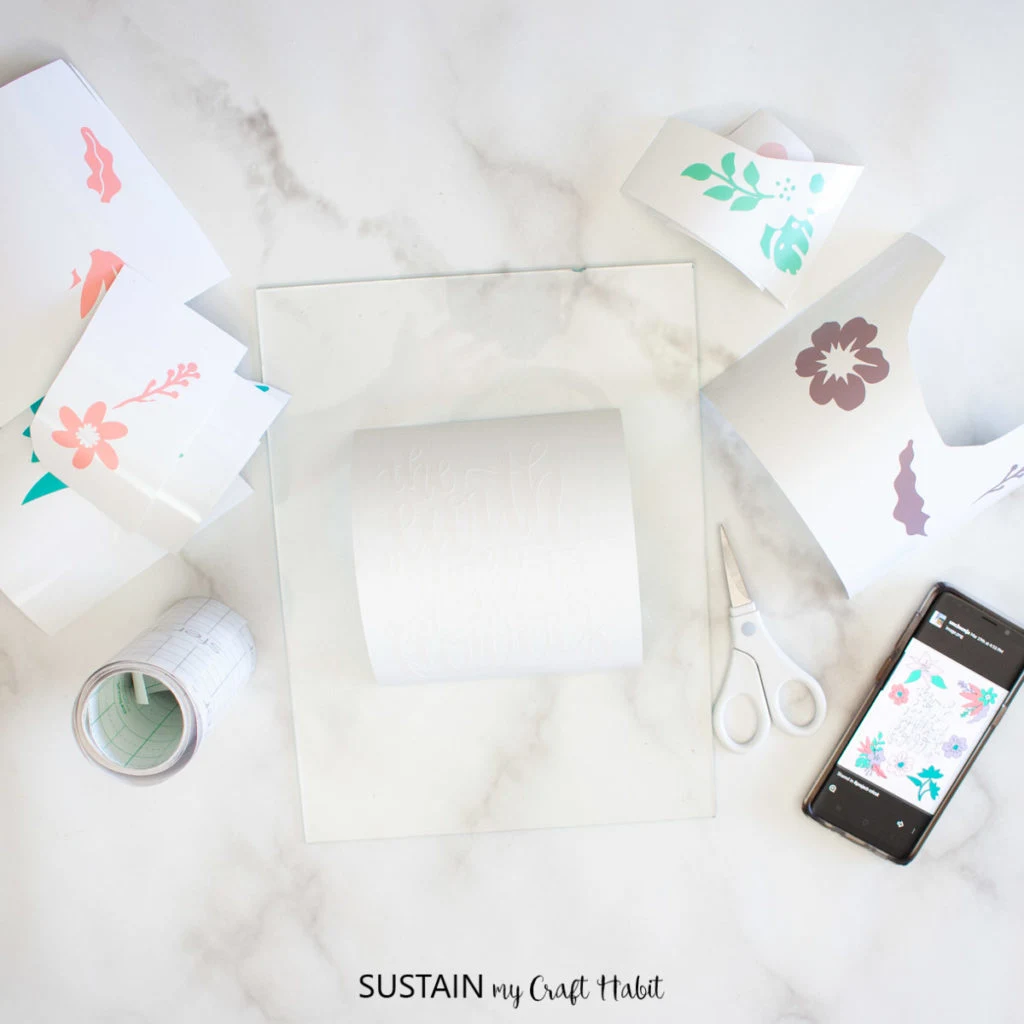
Carefully remove the glass from the open back thrifted picture frame and clean the glass if needed before putting aside for later use. Next, apply a coat of paint to the frame and let the paint dry before reassembling the frame.

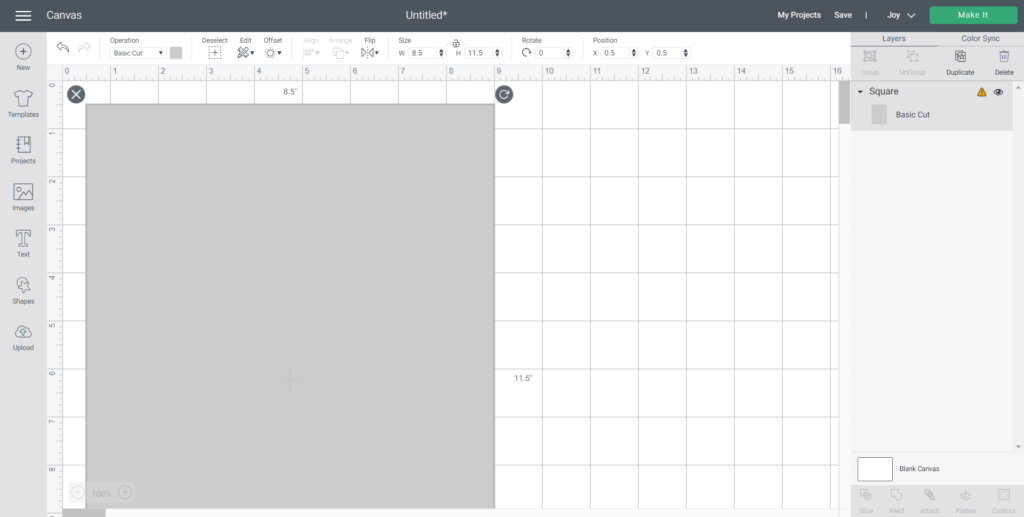
Creating the Art in Design Space
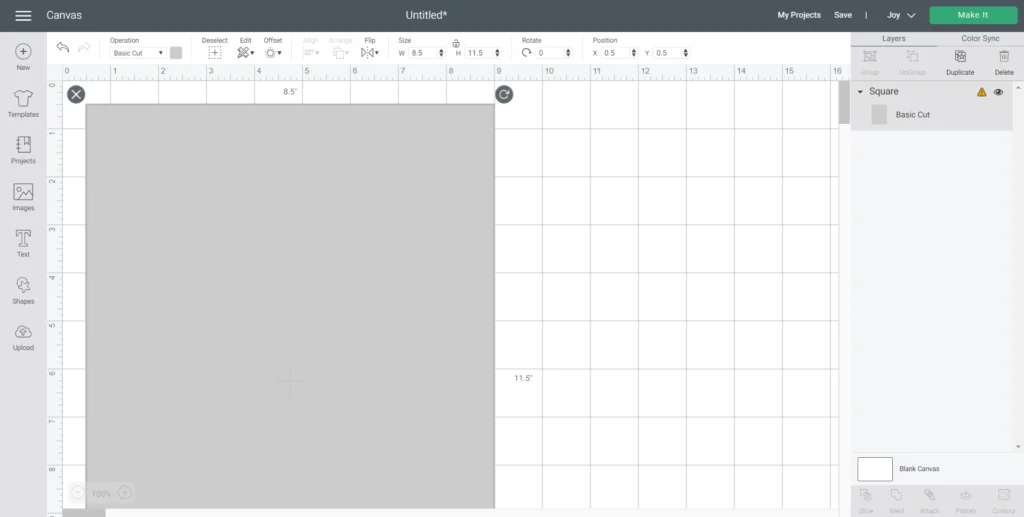
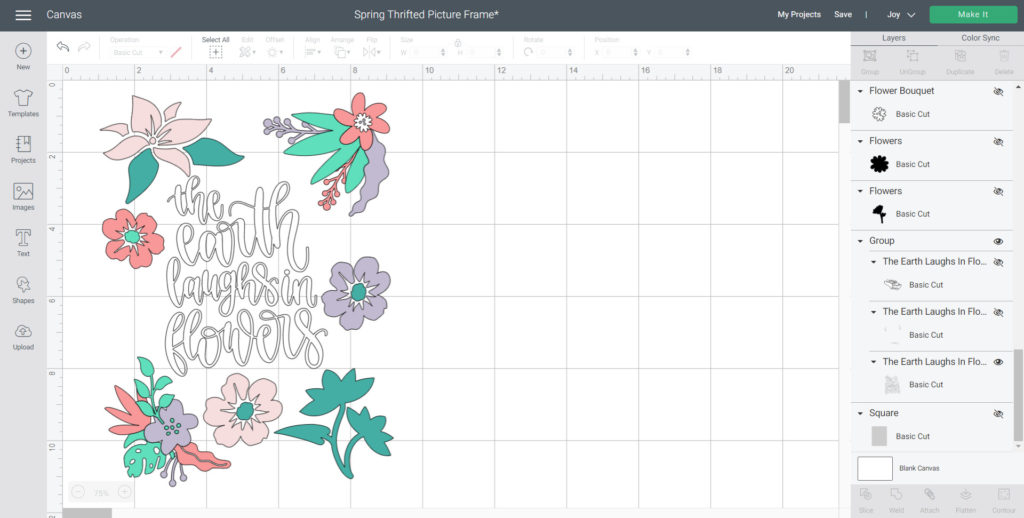
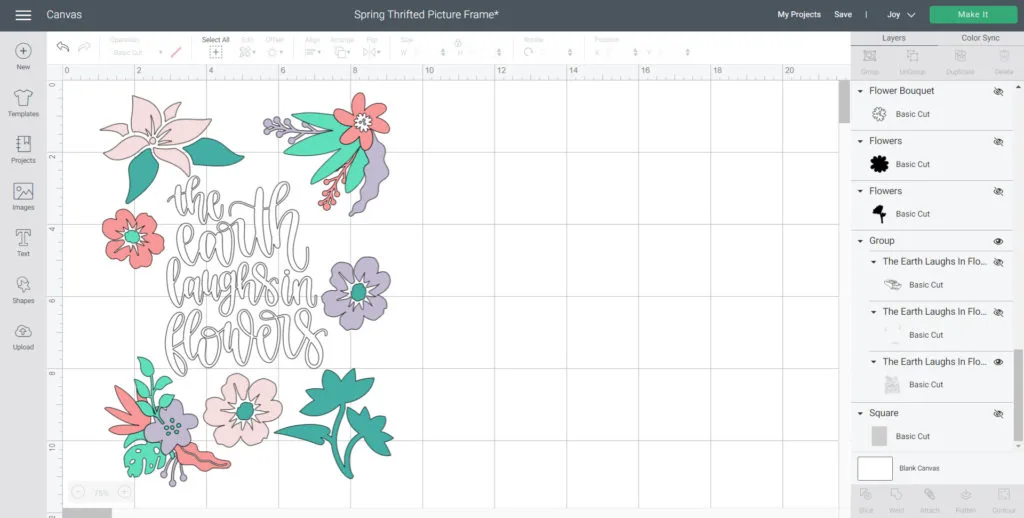
Open Cricut Design Space and click on the “+” sign to start a new project, opening up a blank canvas.
Insert a rectangle shape measuring the same as the glass from the picture frame. In our case, it was 8.5” wide x 11.5” high.
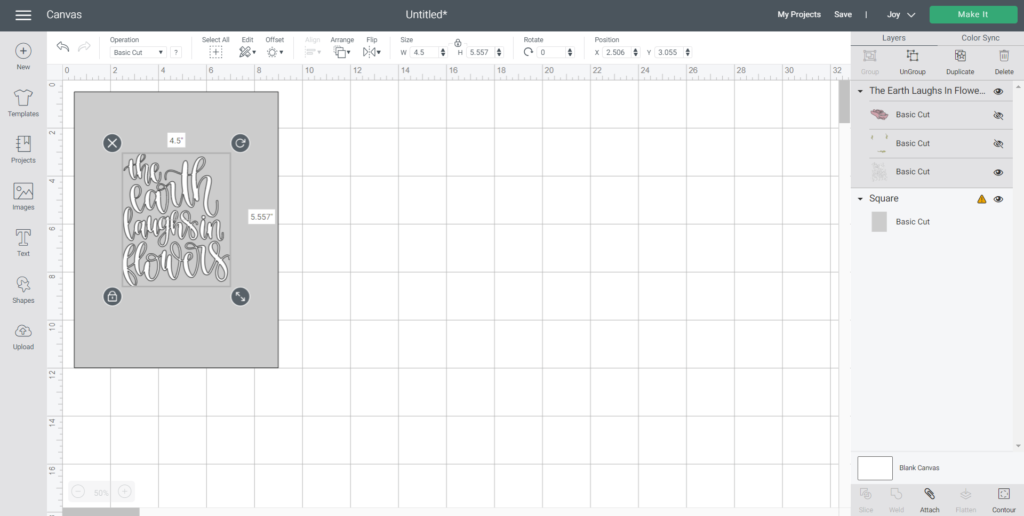
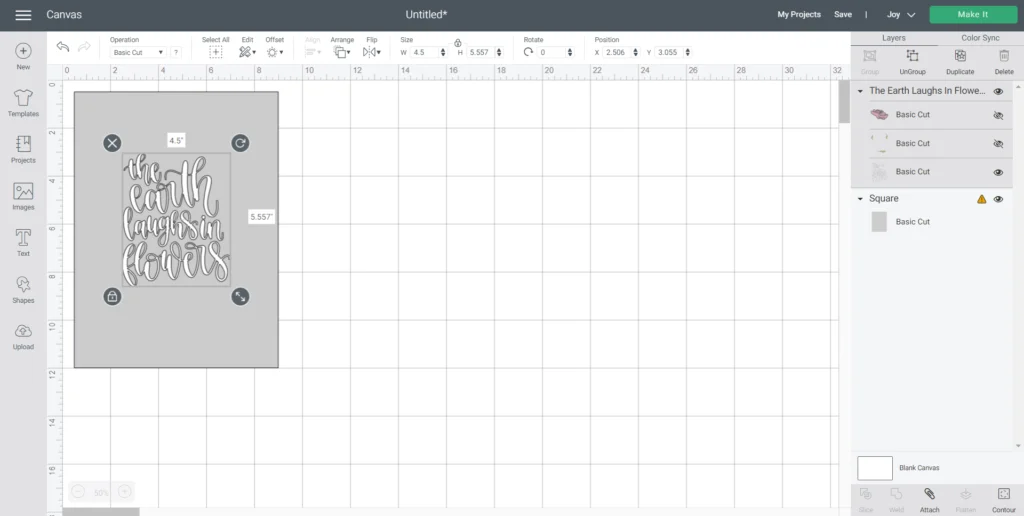
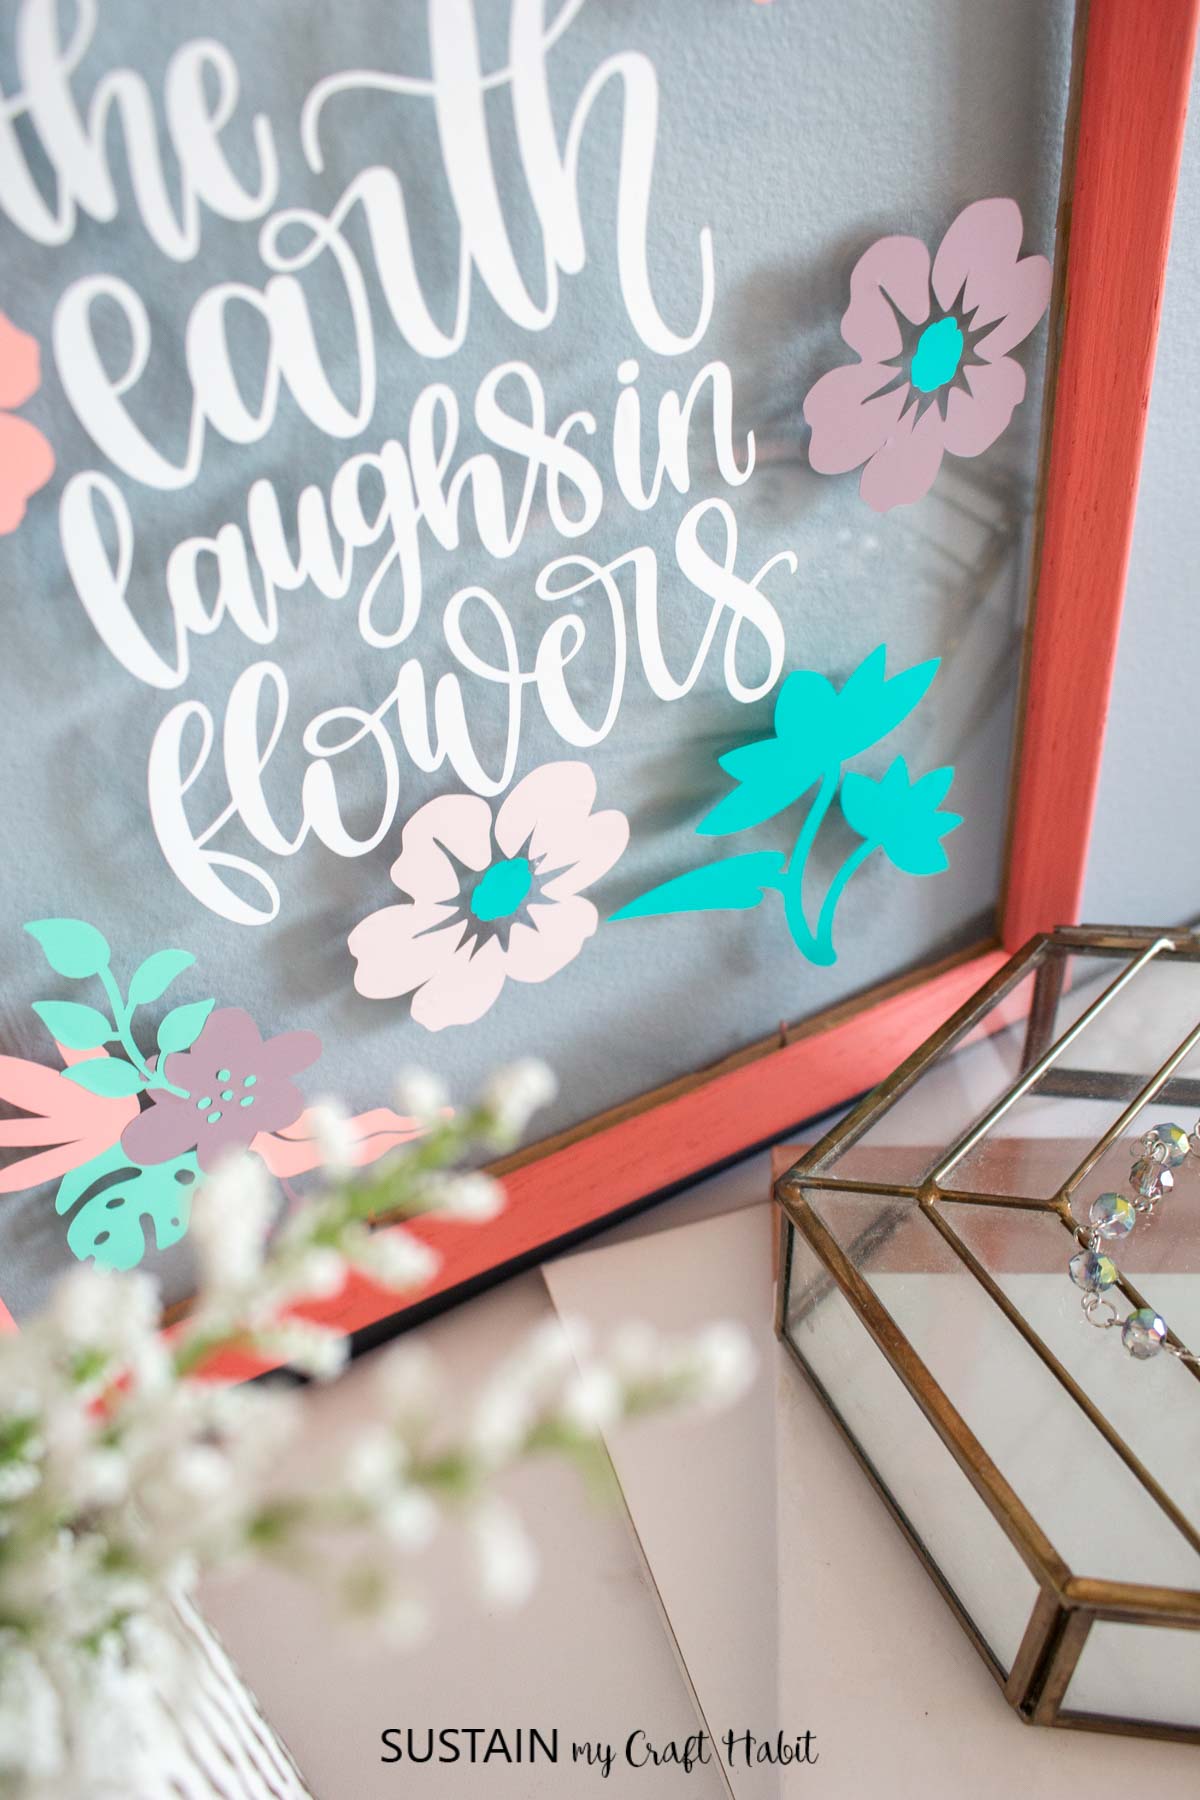
Click on the Images button from the toolbar to search the flower phrase (#M248CF1C1) and insert it on to the canvas. Hide the leaves and rose from the flower phrase and resize to 4.5” wide (same width as the Smart vinyl). Change color to white and place the phrase in the center of the rectangle.
Next, search and insert the flower patterns (#MB9602F3; #MB96029B; #M1EC63DDD; #M173DFA1A; #M33272) on to the canvas.

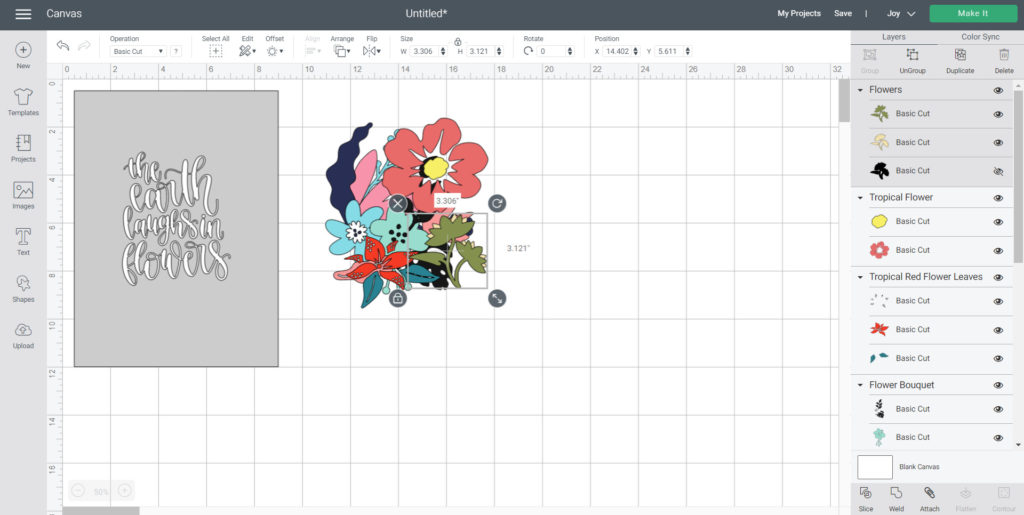

Hide any unwanted flower layers to simplify the cutting and transferring of the images.
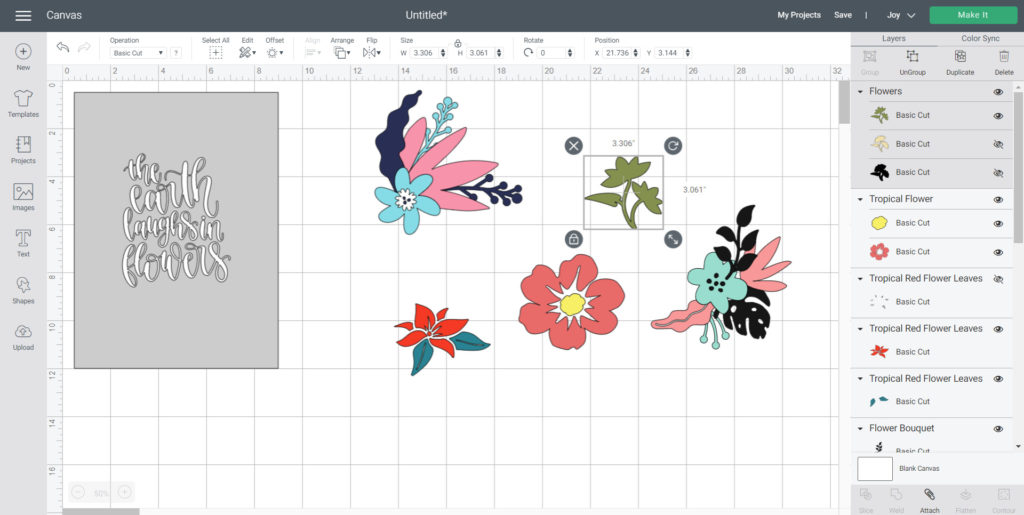

Resize the flower patterns and position them around the phrase but with the rectangle shape and adjust the color of the flower pieces to match the Smart Vinyl material colors.
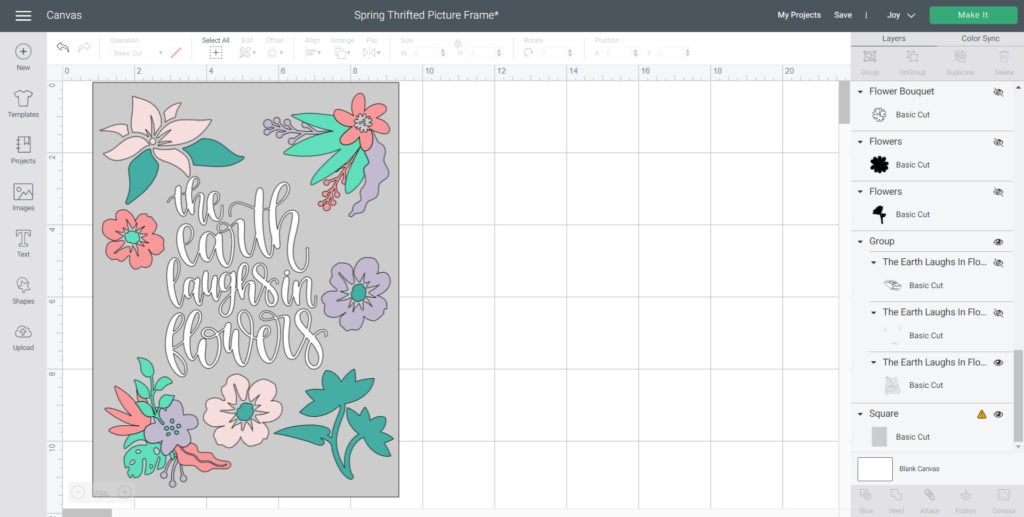
Attach same color flower pieces together to be cut, maintaining the positioning and spacing as placed. To save on vinyl you can avoid this step and position the cut vinyl flowers afterwards.
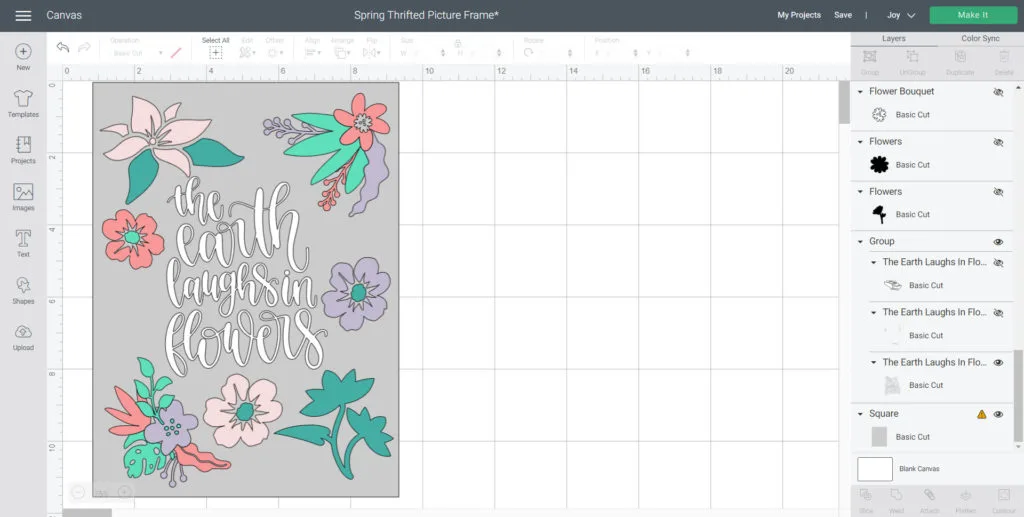
Hide the rectangle shape (this was just the guide for placement and size of the flower patterns).
Cutting the Smart Vinyl with Cricut Joy
Ensure the machine is set to Cricut Joy and select “Make It” in Design Space. Choose “Without Mat” as the option for cutting when using Smart Vinyl.
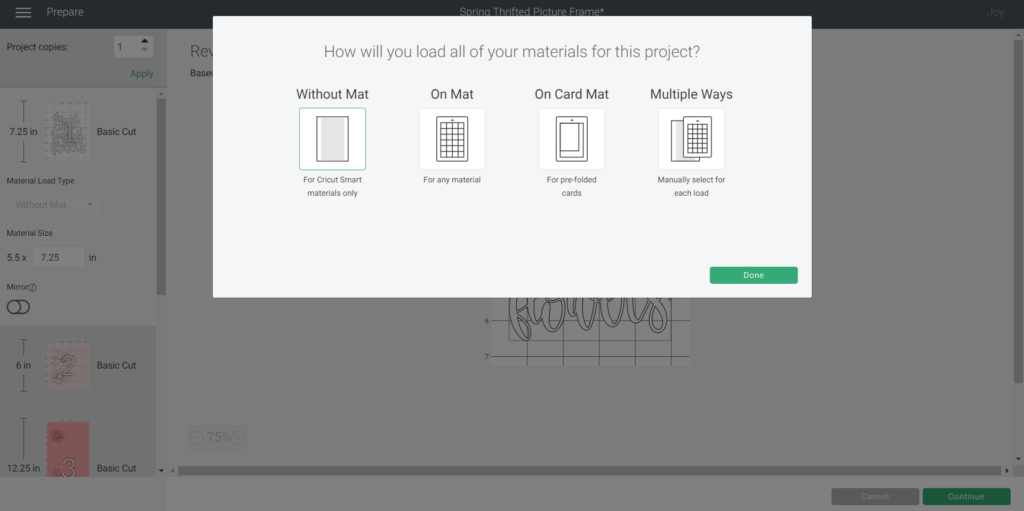
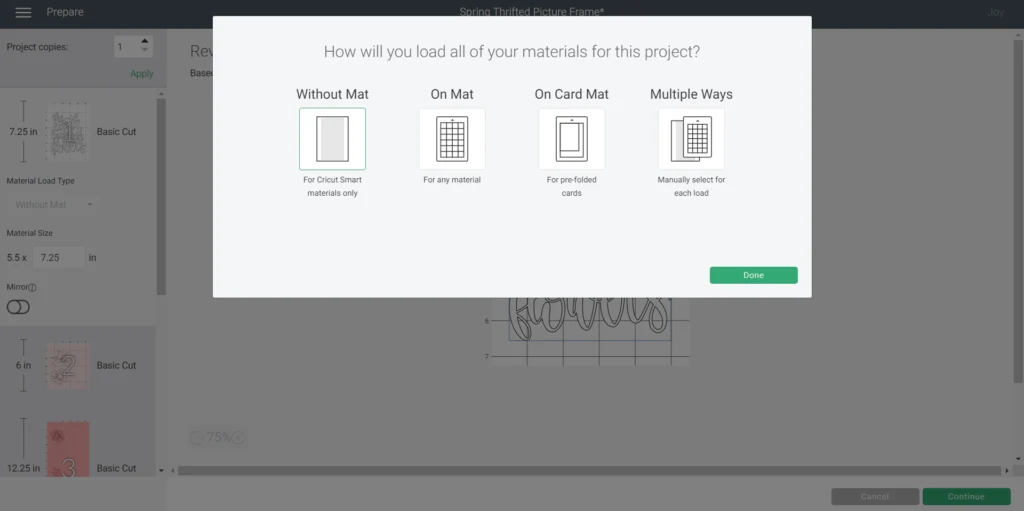
Set material type to Smart Vinyl (removable or permanent depending on what you’re using) and follow the prompts for loading the mat into the Cricut Joy and cutting the Smart Vinyl. Unload the Smart Vinyl when finished from the cutting machine.

Applying the Vinyl to the Thrifted Picture Frame Glass
Peel away the excess vinyl around the images and discard. Use a weeding tool for smaller pieces that can’t be peeled off by hand.
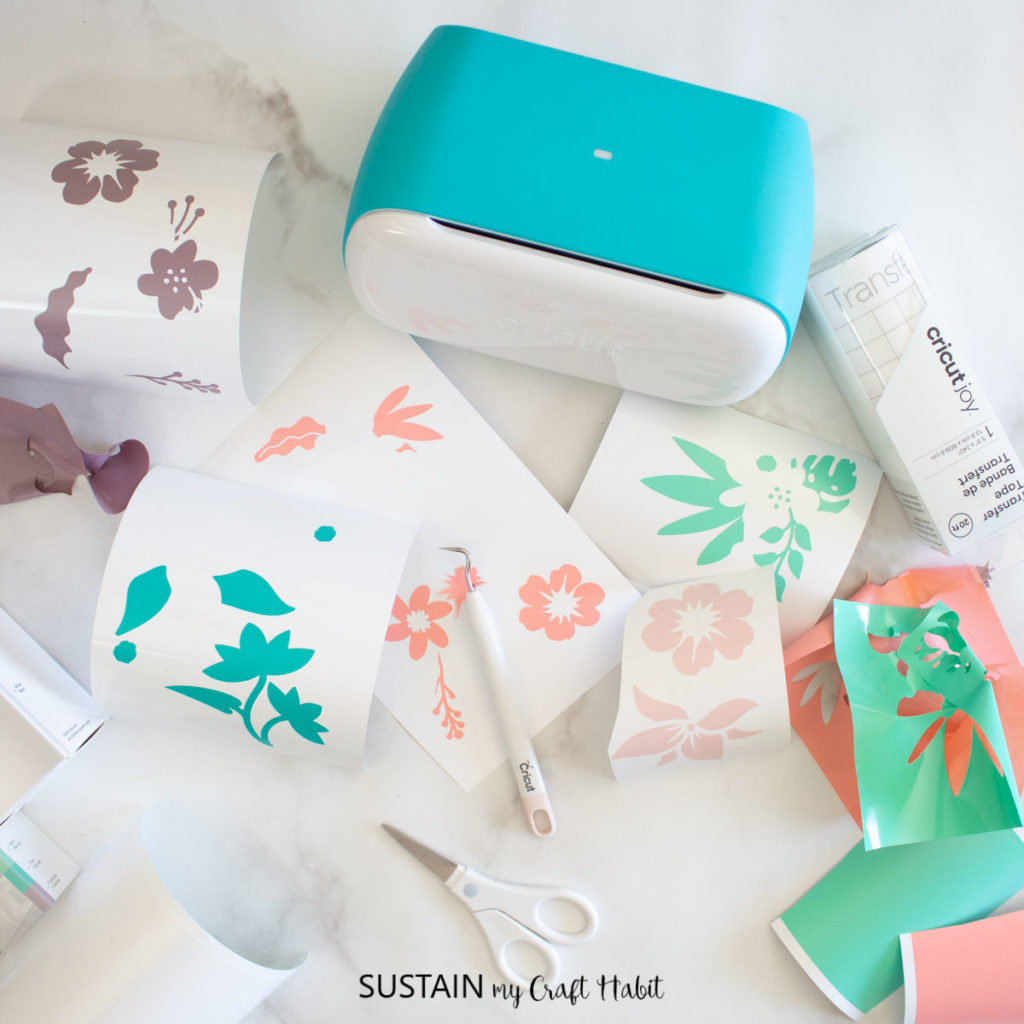
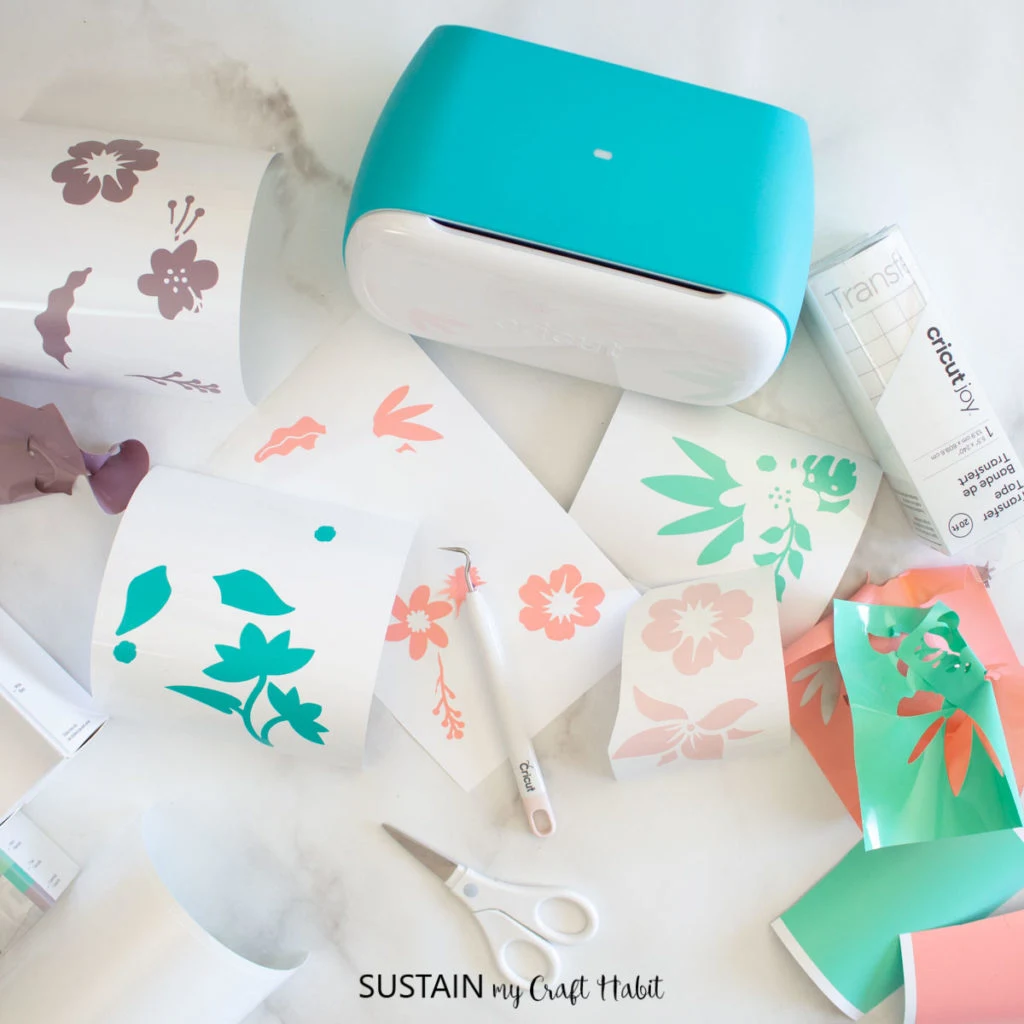
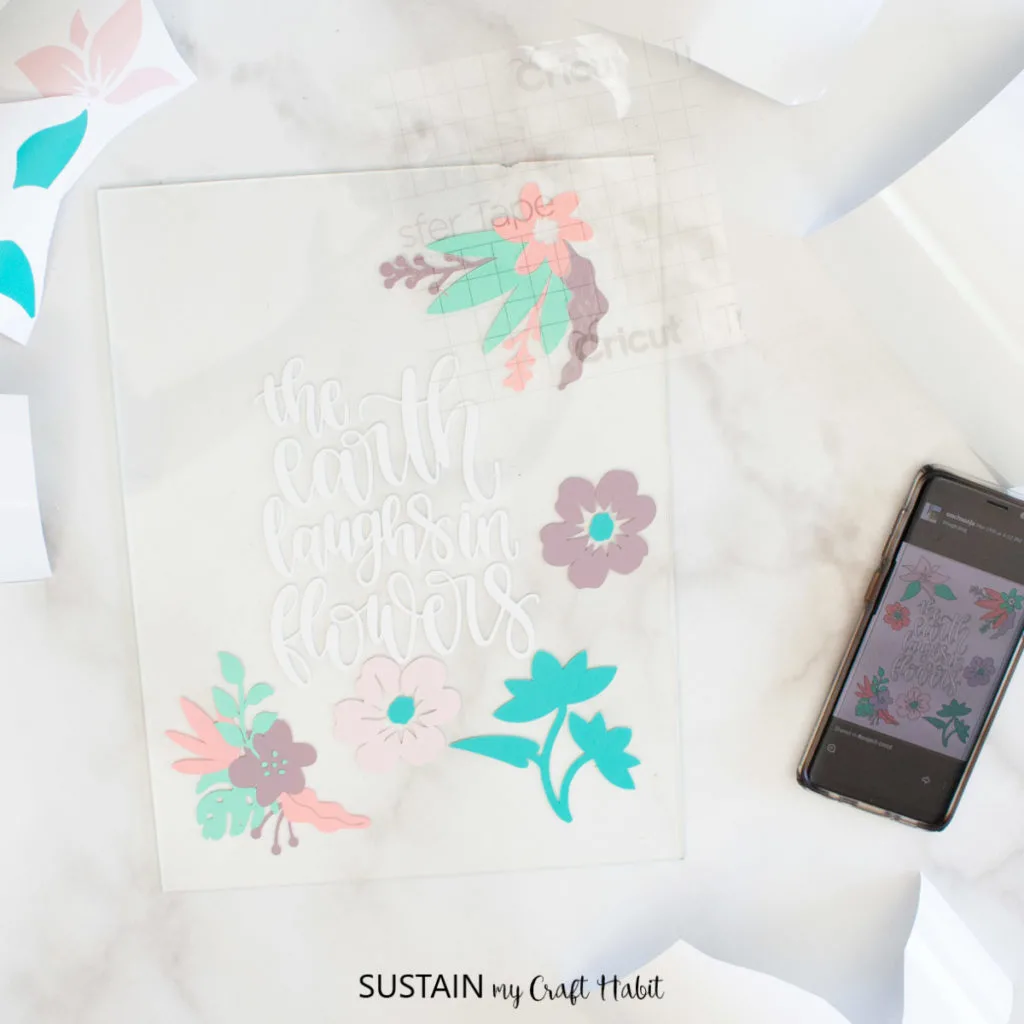
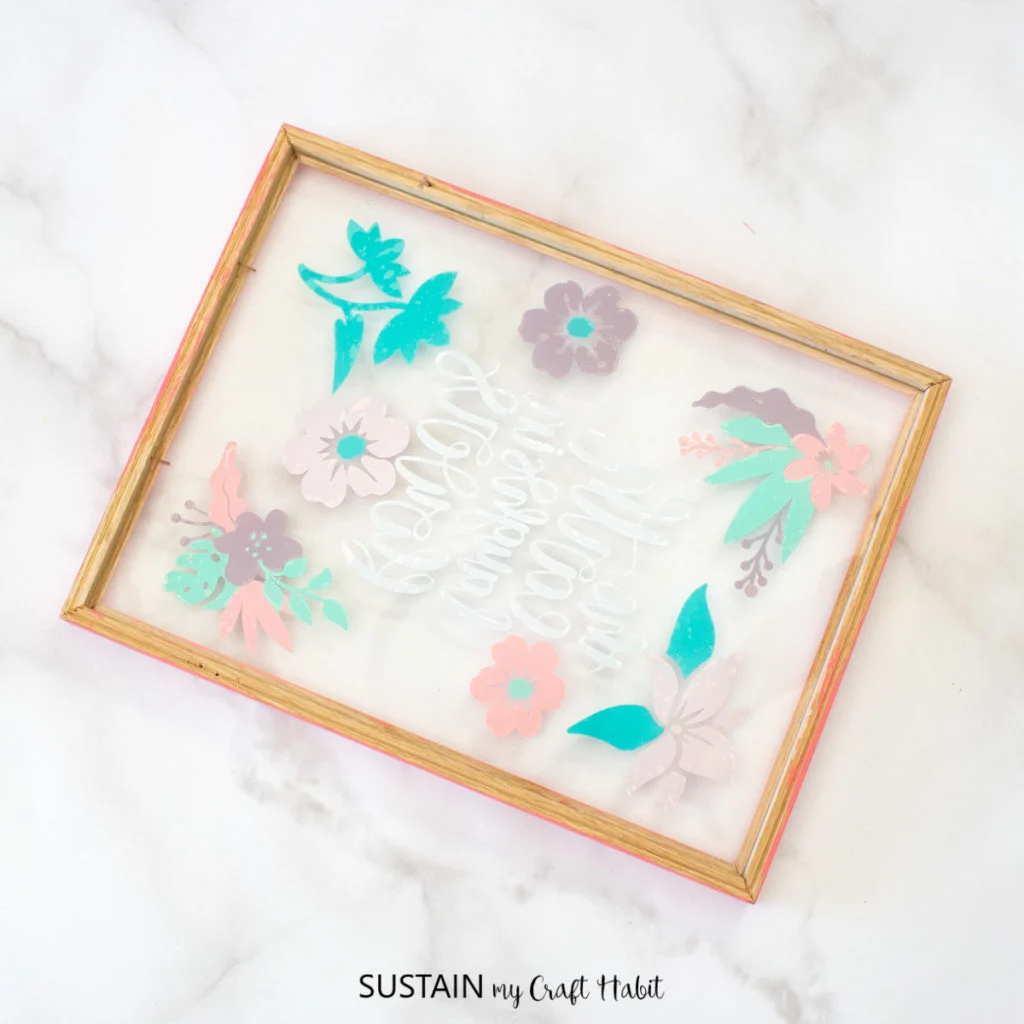
On a flat surface, roughly position the images to match the placement of your artwork but don’t worry about getting the exact placement.
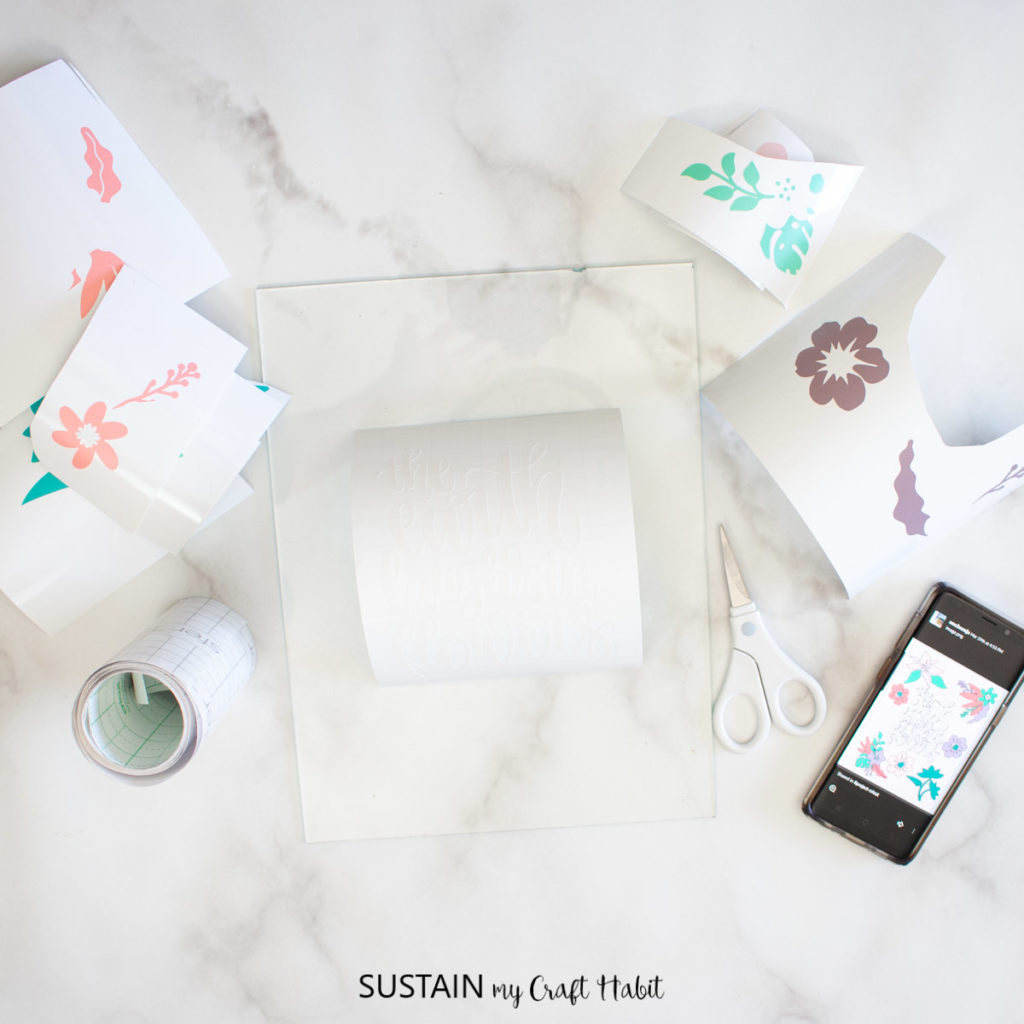
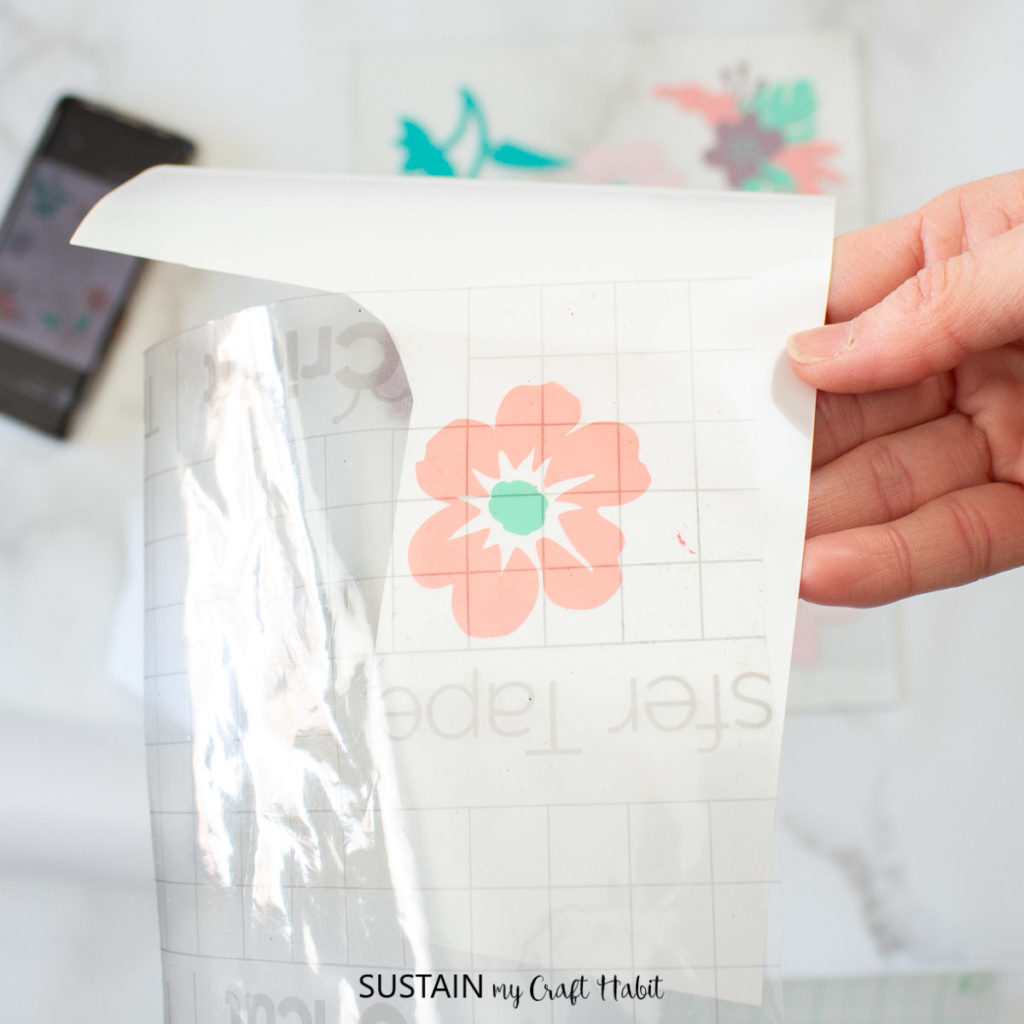
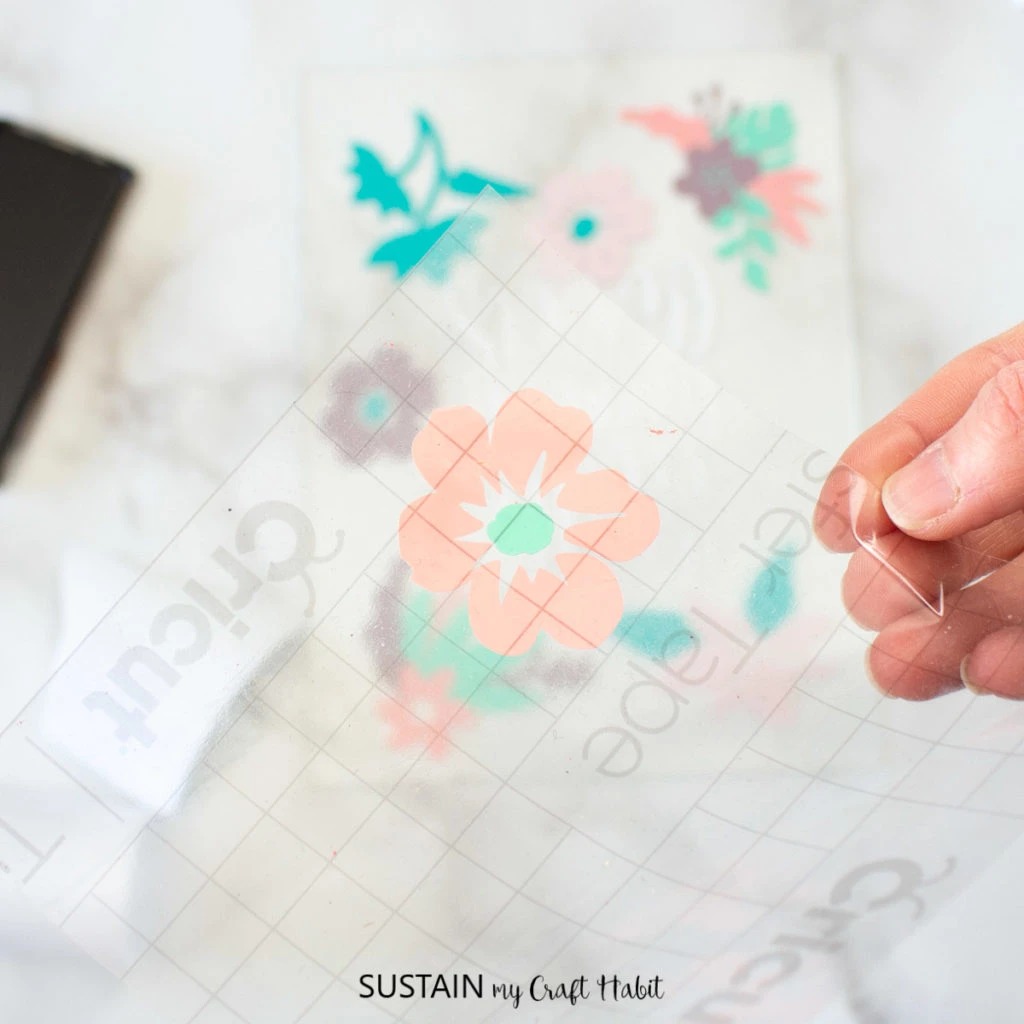
Start with the flower phrase and cut a piece of transfer tape a bit larger than the phrase. Peel away the transfer tape backing and place the transfer tape overtop of the phrase. Gently rub the vinyl to help it stick to the transfer tape.
Peel away the vinyl backing and place the image in the center of the glass. Gently rub the vinyl to help it stick to the glass and carefully and slowly peel away the transfer tape.
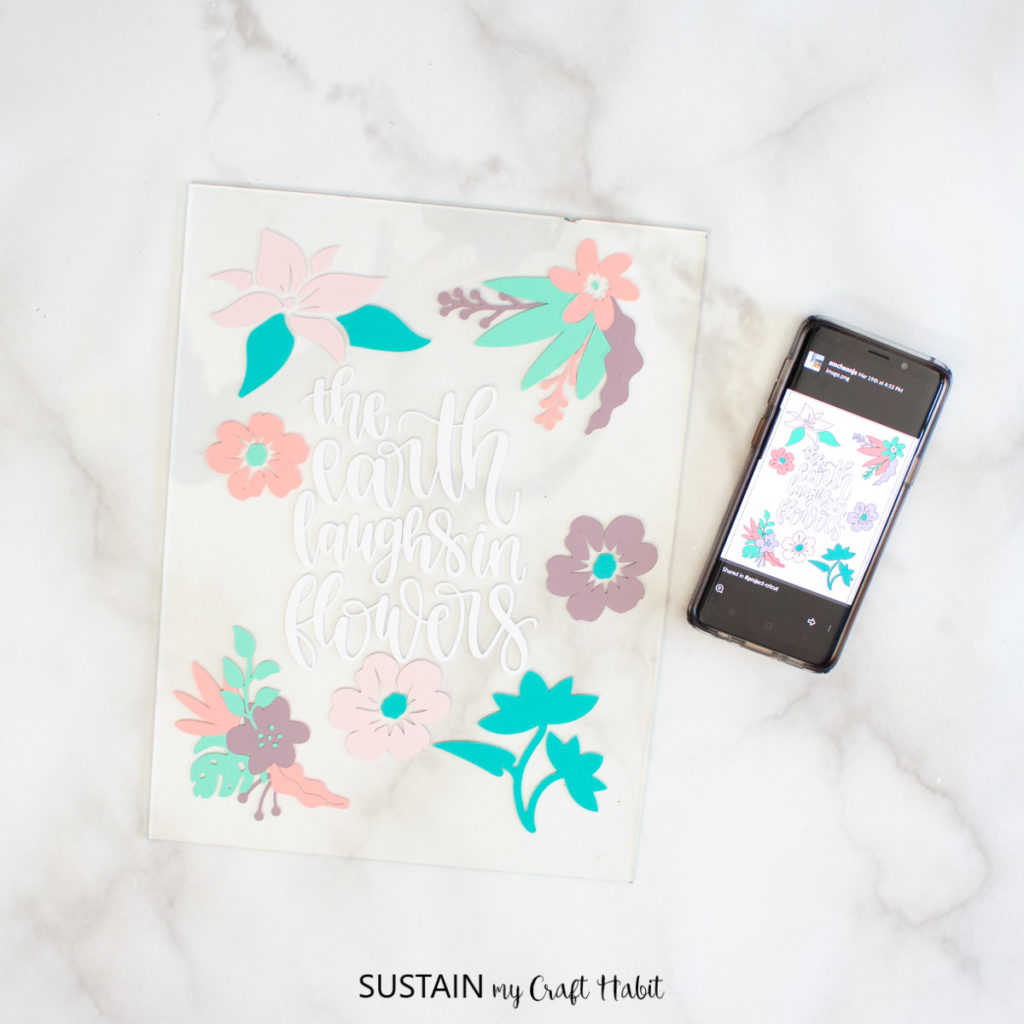
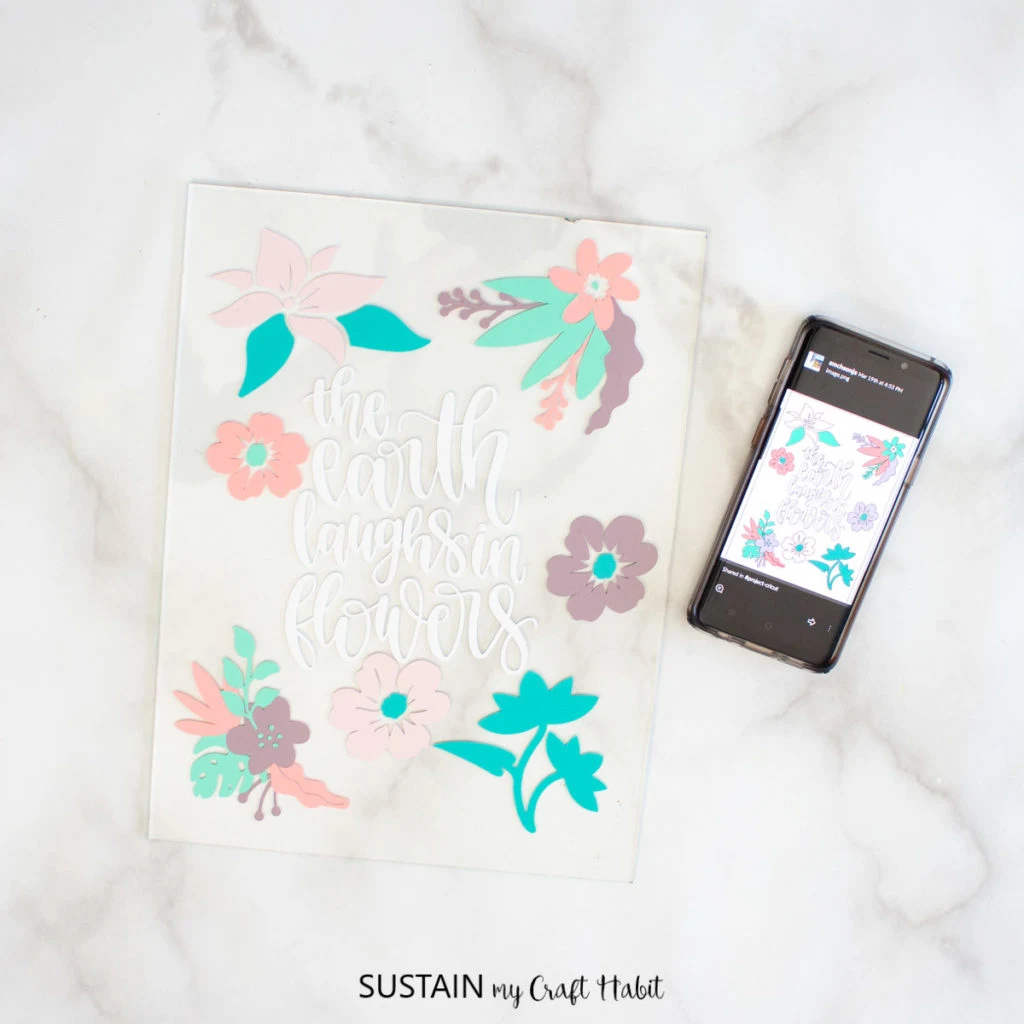
Repeat with the remaining vinyl flower shapes placing them around the phrase. Use a picture of the art in Design Space as a reference of the placement. I used my phone and had it sitting beside my work space.

Layer the different pieces of the flowers on to your transfer tape and then place them on the glass.
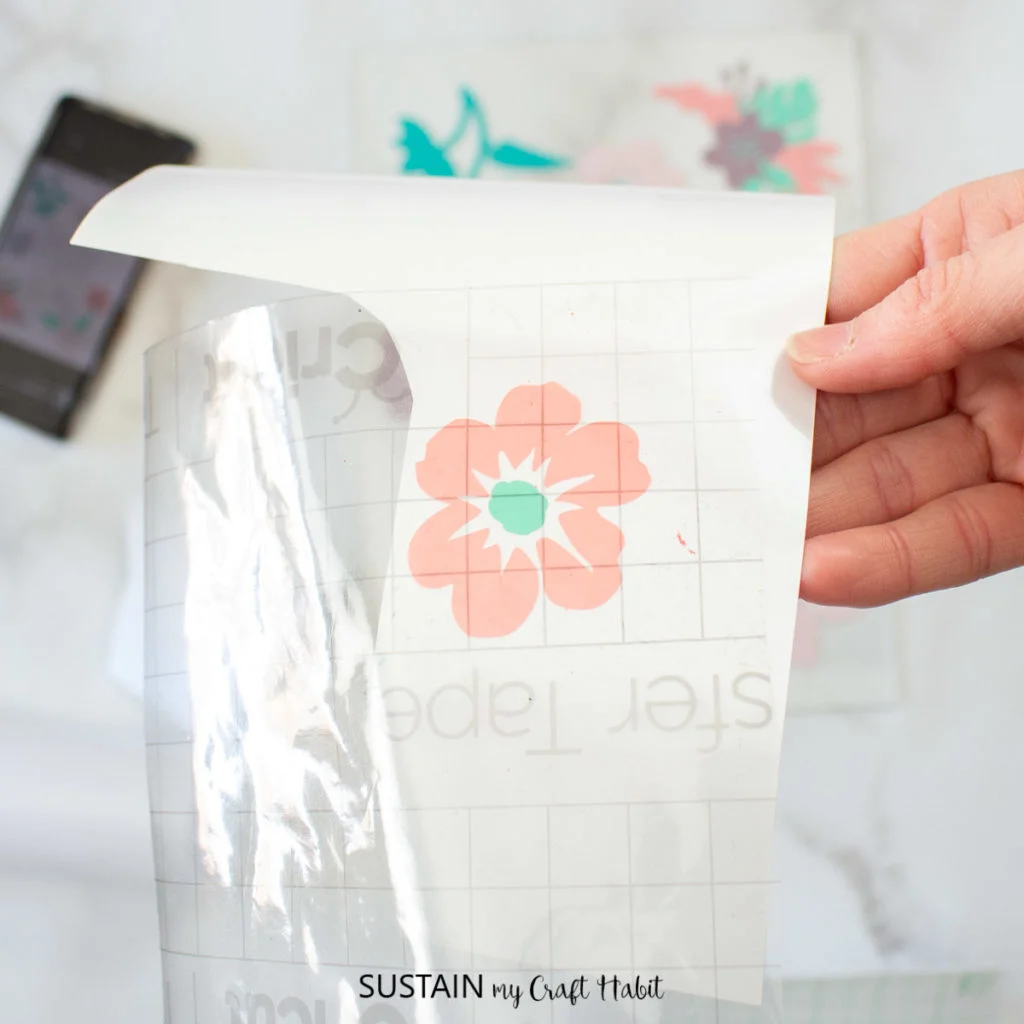

Continue until all the pieces are placed.
Finishing the Spring Thrifted Picture Frame
Place the glass back into the painted frame and secure. I first screwed some gold hooks to the top of the wood frame and then used some wood glue to hold the glass in place around the edges.
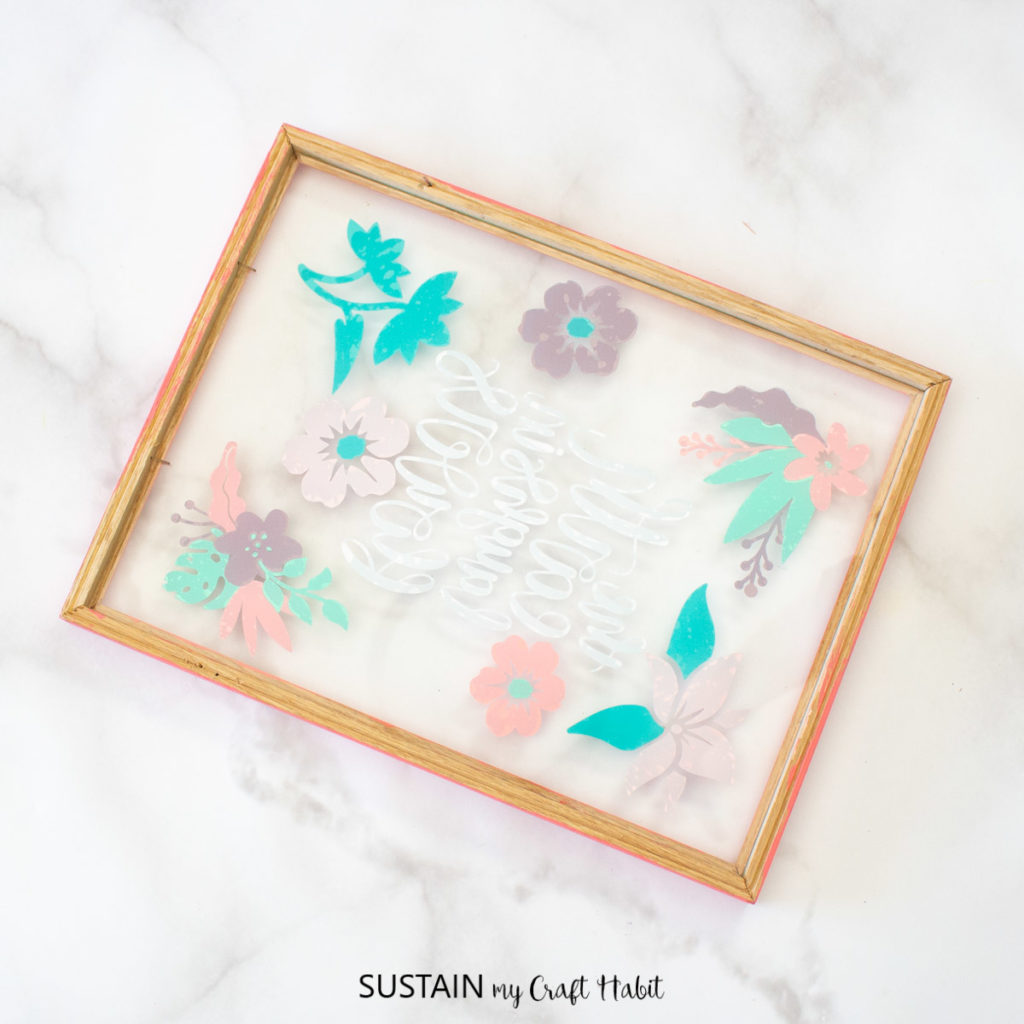
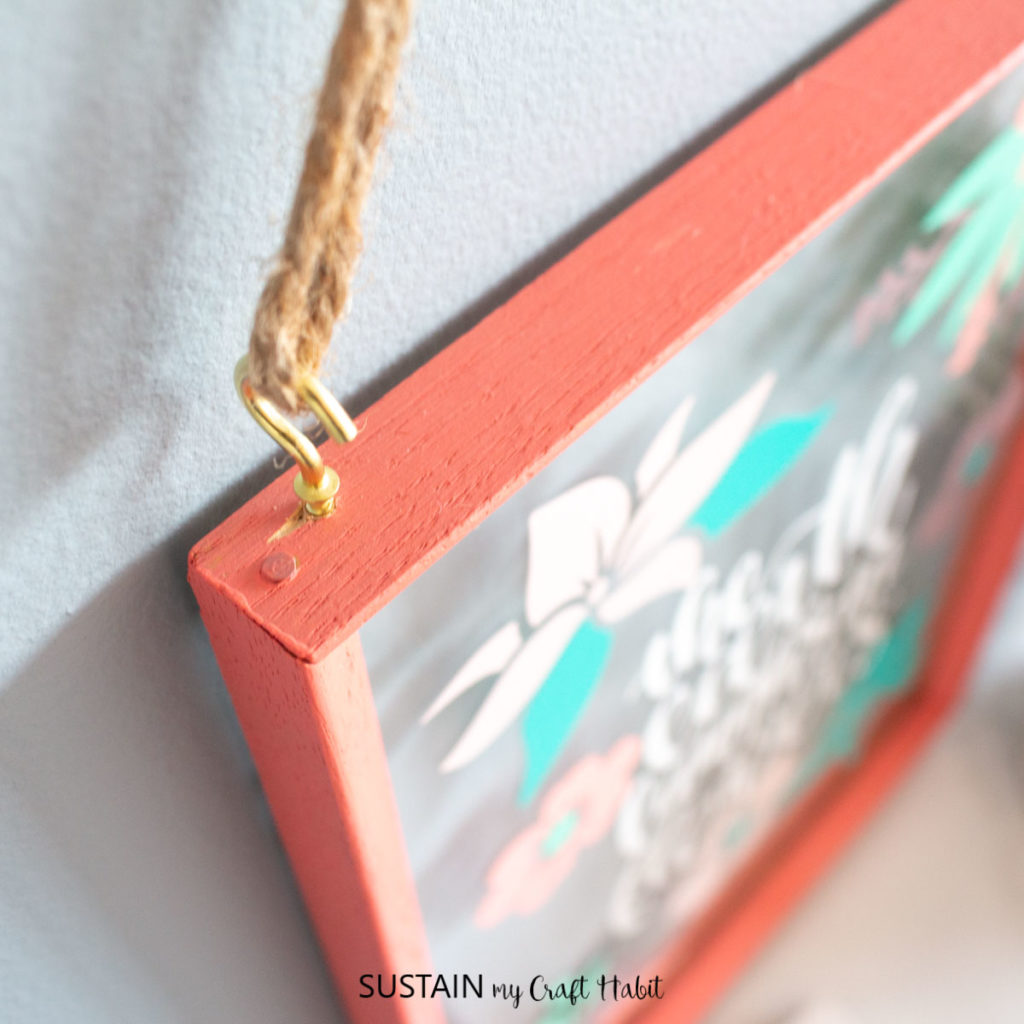

Hang on the wall to enjoy!

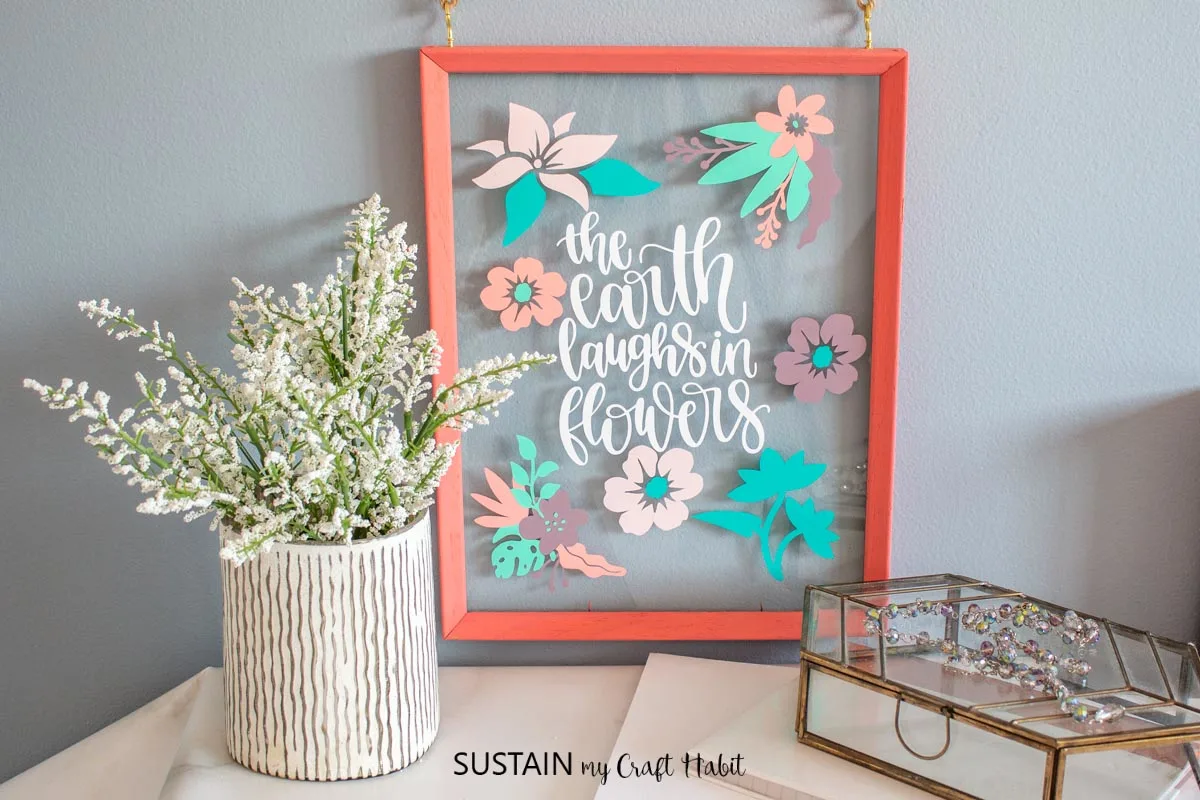
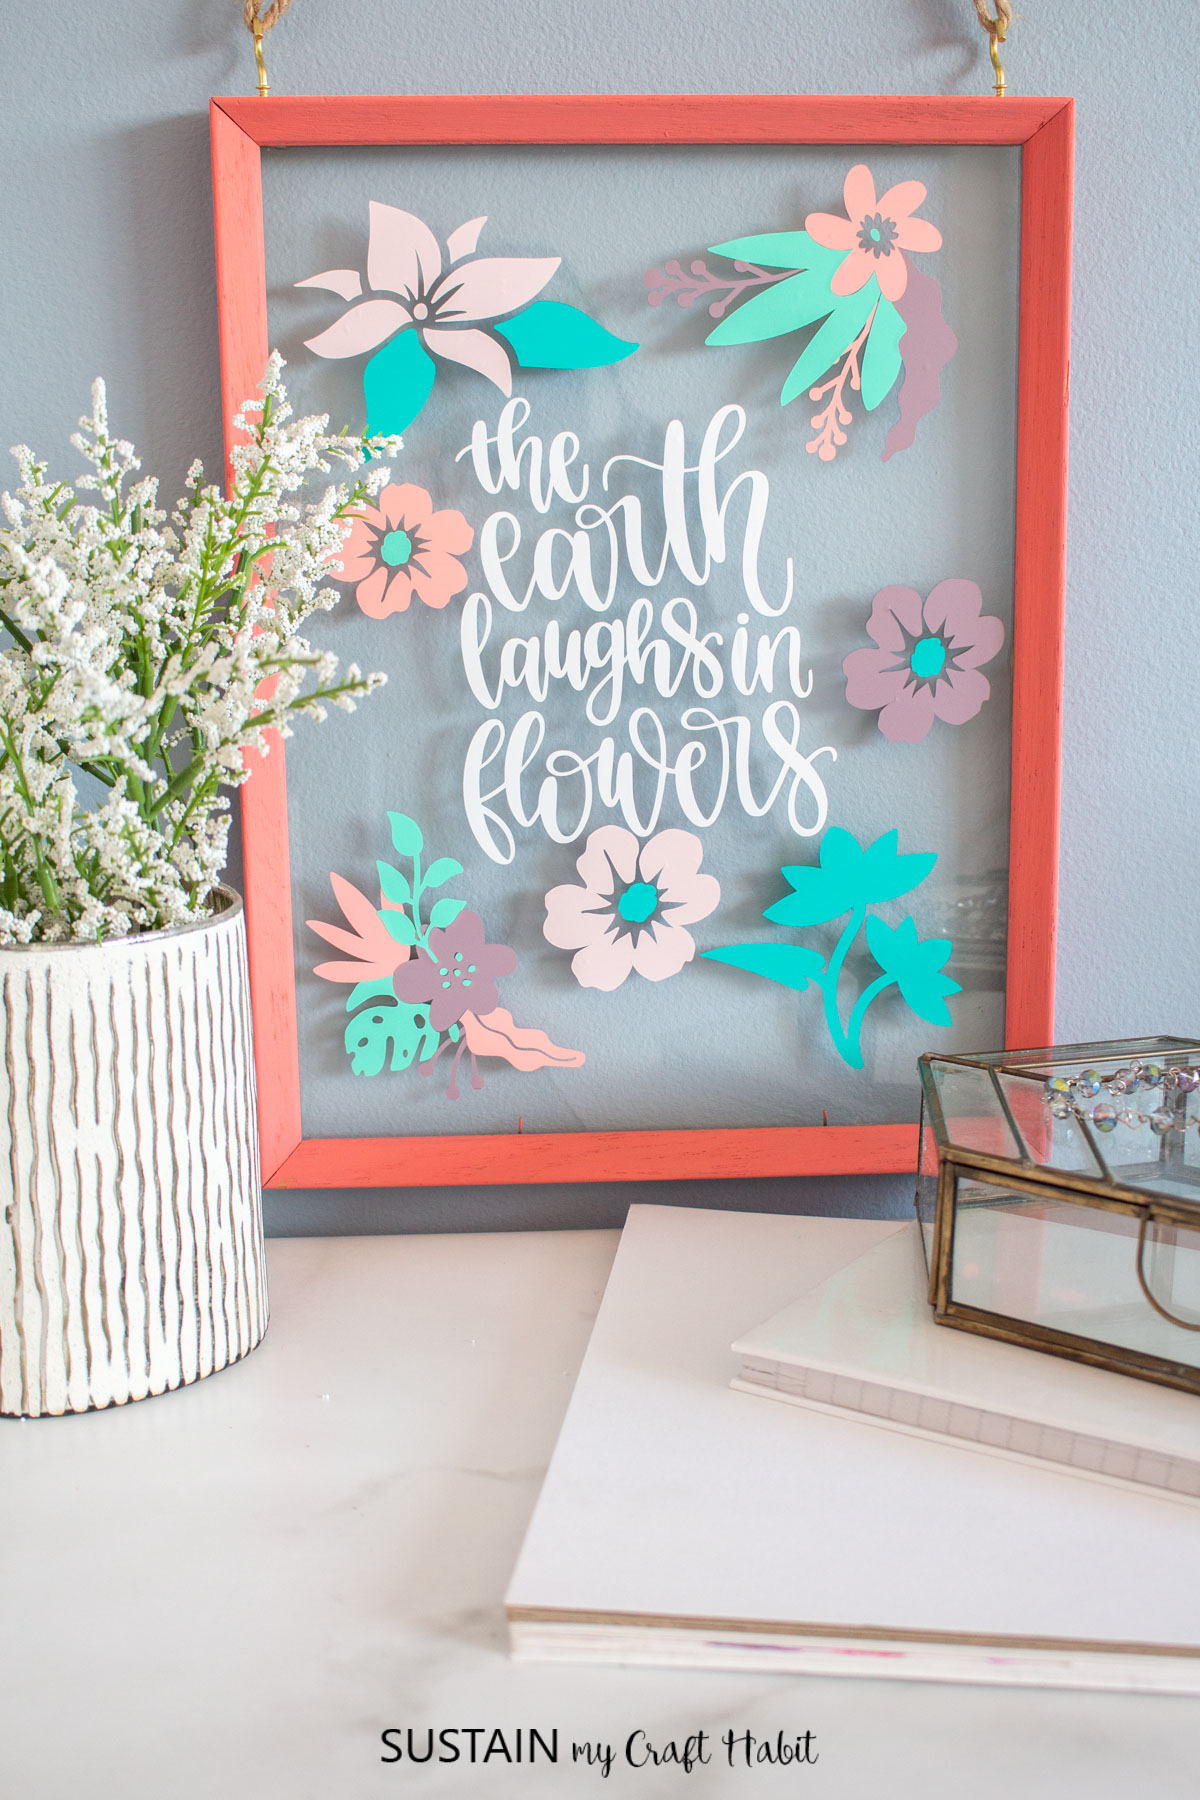
We just love the bright colors and happy sentiment of this thrift store craft idea! It’s perfect for a home office, bedroom or craft room. You can even make and sell this simple Cricut craft idea!
Looking for More Thrift Store Picture Frame Crafts?
The local thrift store always has plenty of old picture frames that can be used for crafting. Here are some other fun ways to upcycle these inexpensive frames:
- Framed St Patrick’s Day craft
- Upcycled rustic photo frame
- Decorative photo frame with Mod Podge
- Family Tree craft with Cricut Foil
- Pretty photo display with felt flowers
- Simple DIY pebble art craft
- Glitter painted wedding table number frame
- Modern framed beach stones
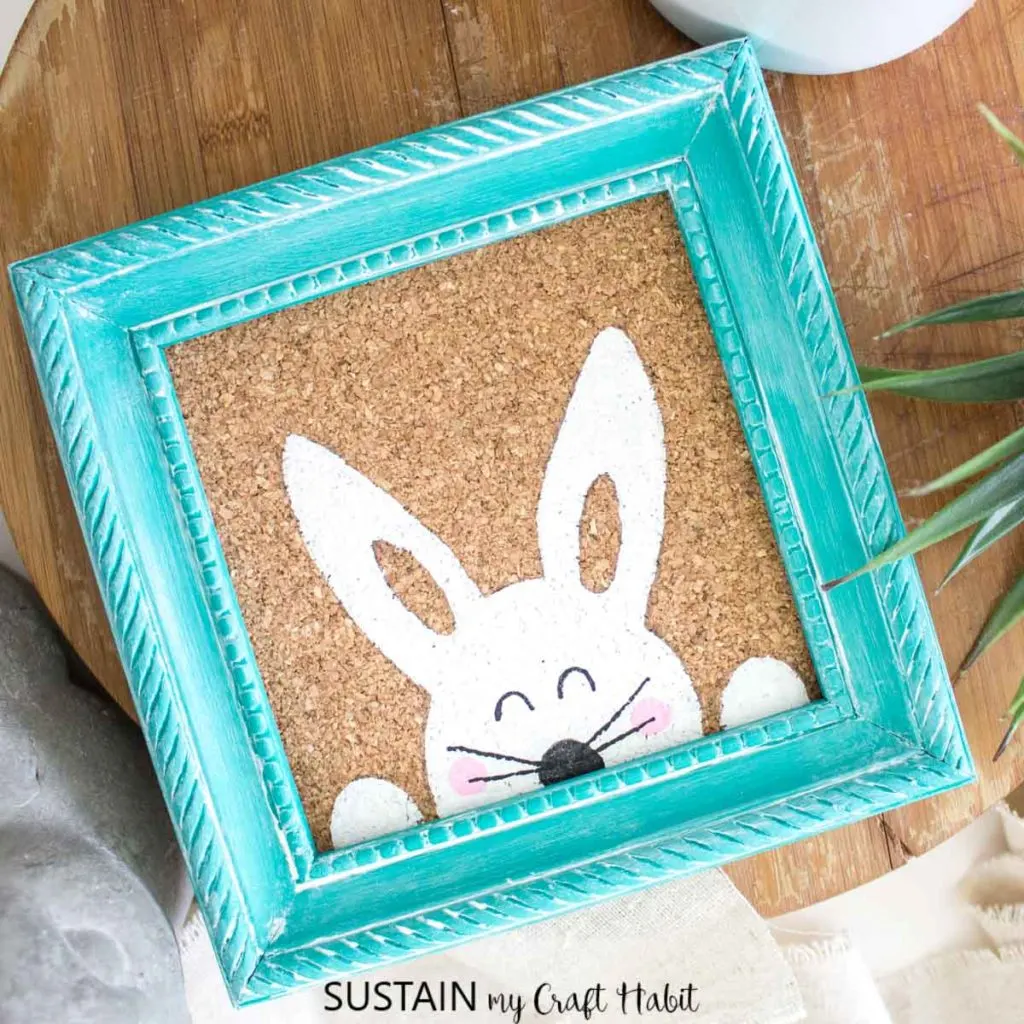
- Framed Bunny Art for Easter (coming soon)
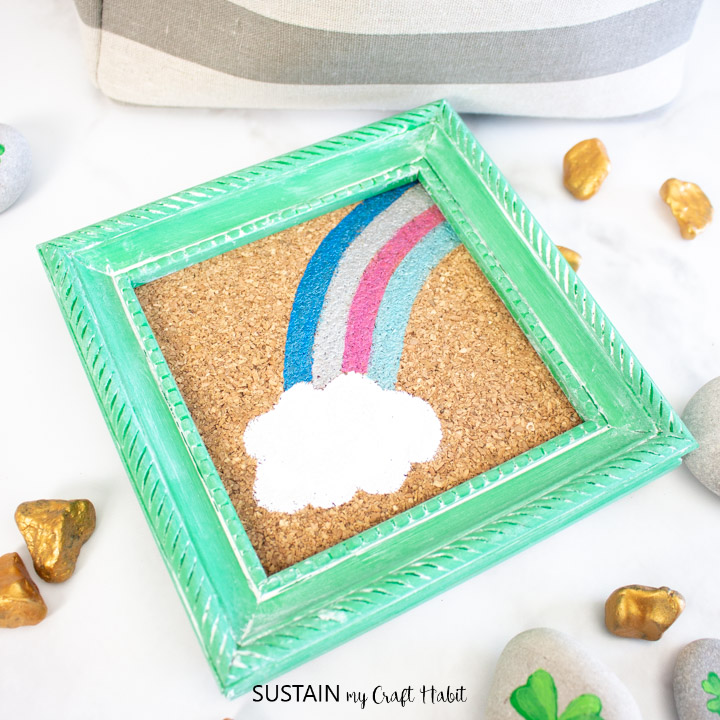

St Patrick’s Day Craft 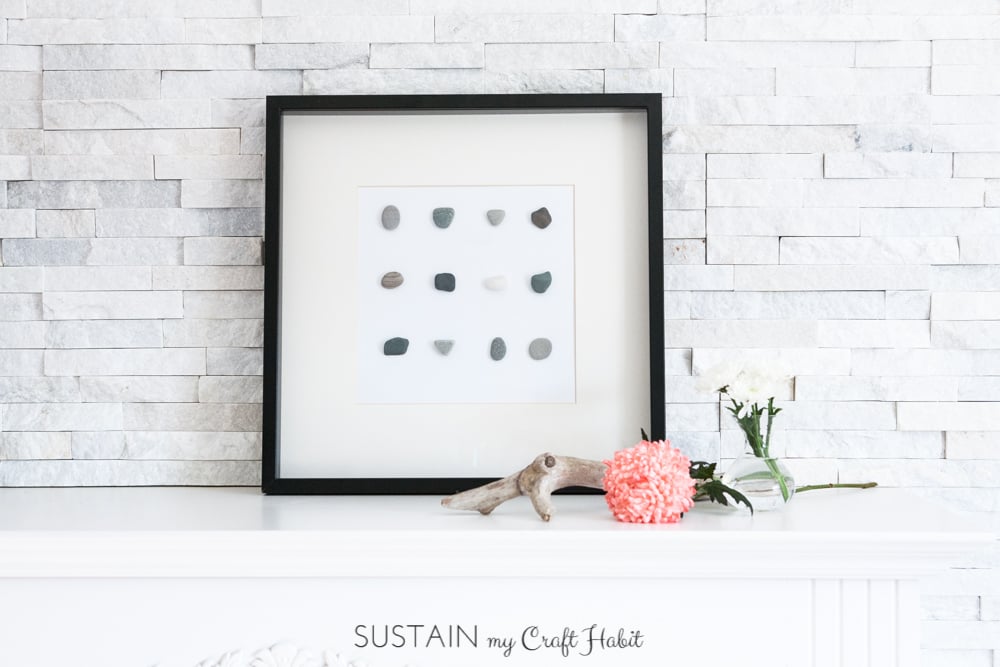

Framed Rock Art 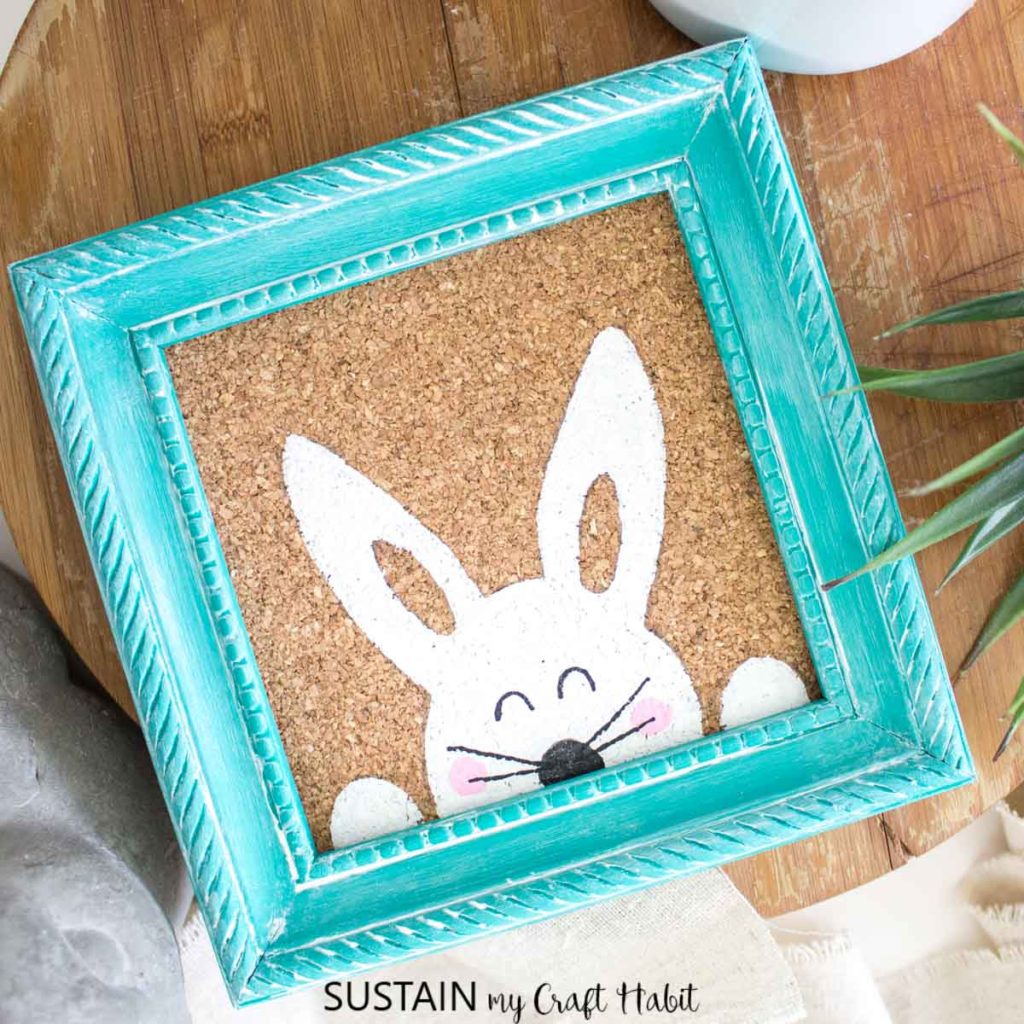

Framed Bunny Art 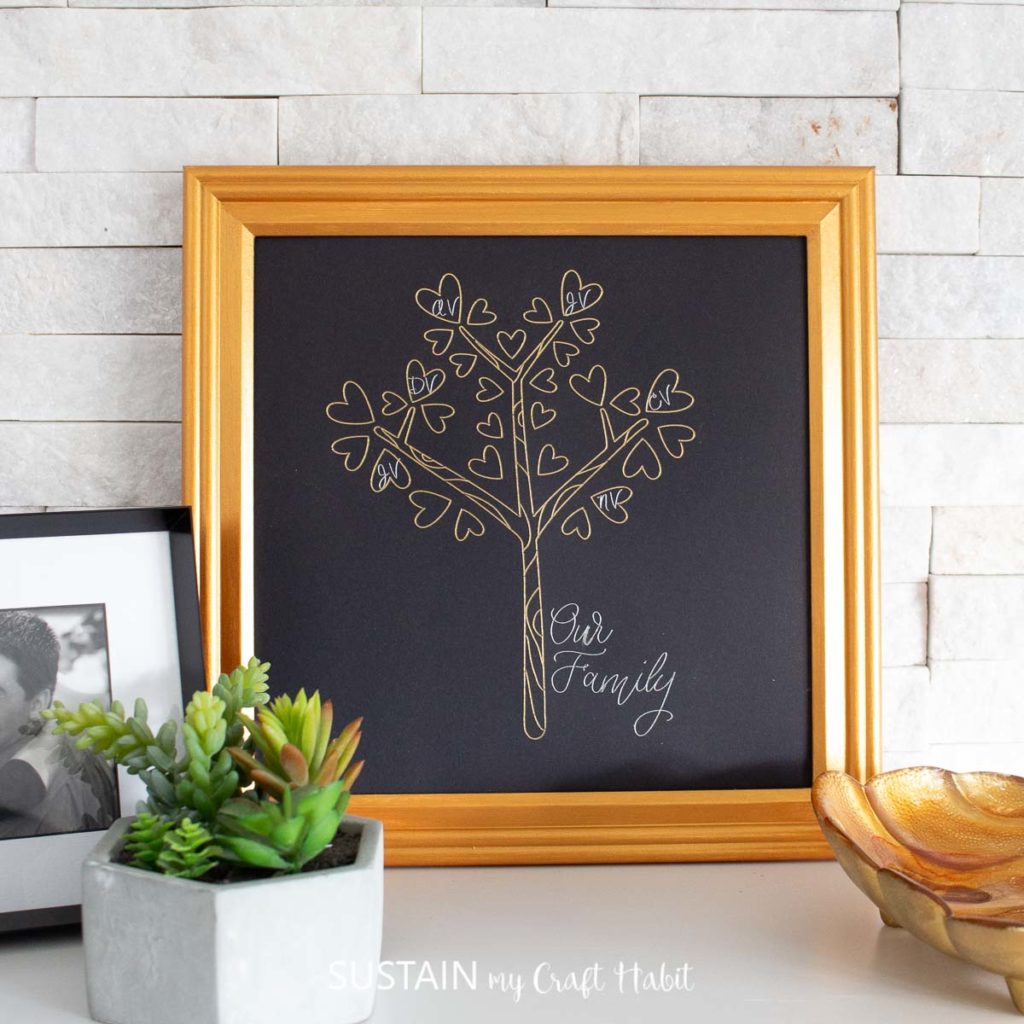
Family Tree with Cricut Foil 

ock’n Father’s Day Frame 

Framed Paper Peony 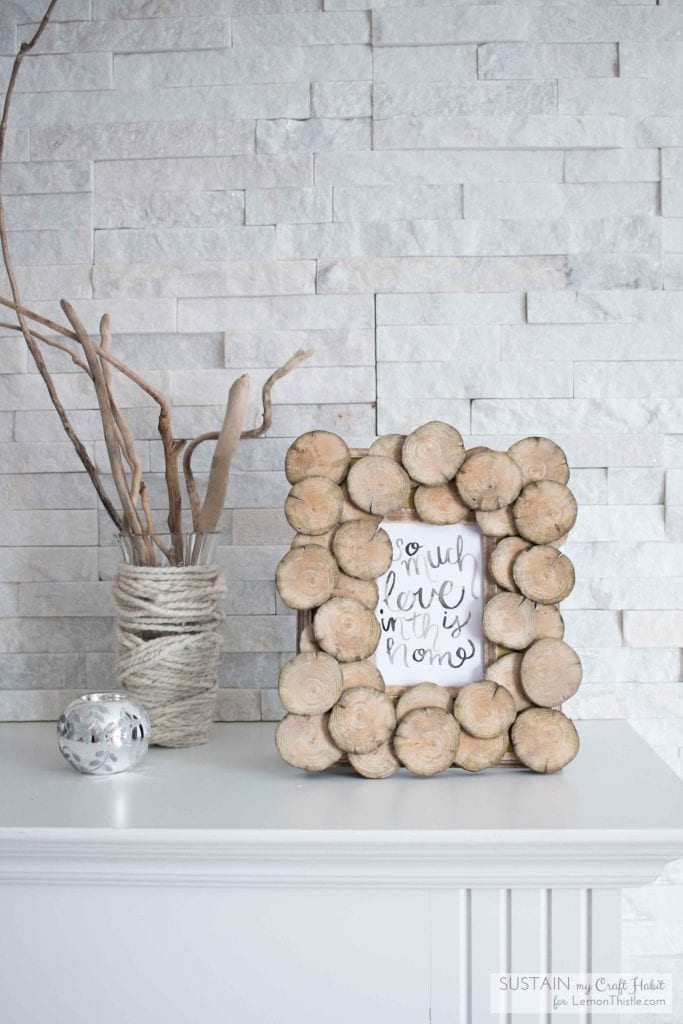

Rustic Wood Slice Photo Frame 

Picture Frame with Mod Podge 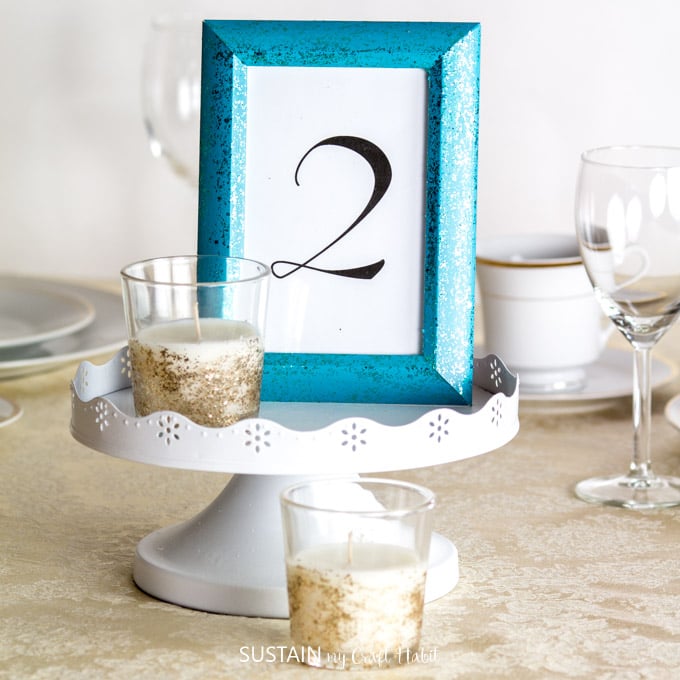

Wedding Table Number Frame


Want to receive a ton of inspiration and money saving ideas for decorating, gift-giving and crafting? Join HERE!
Like it? Pin it for later!