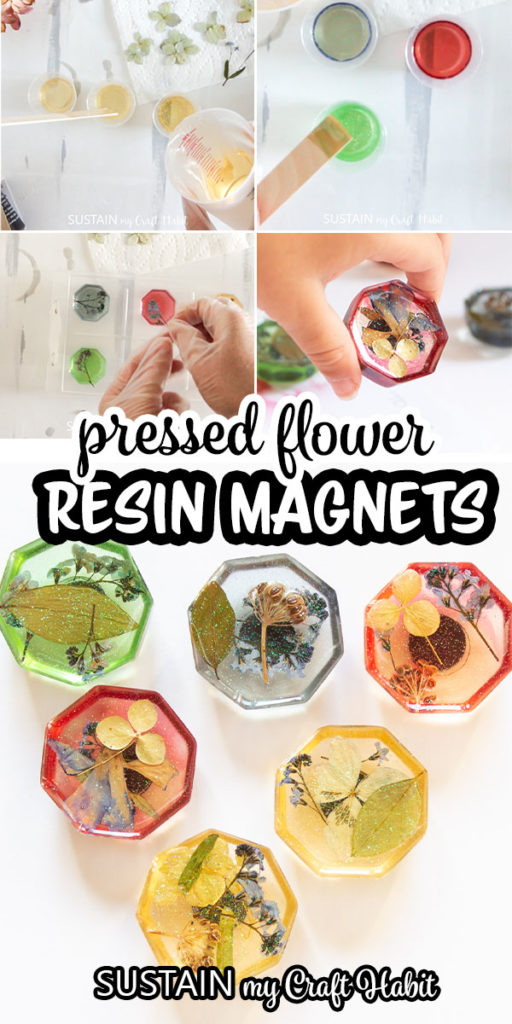

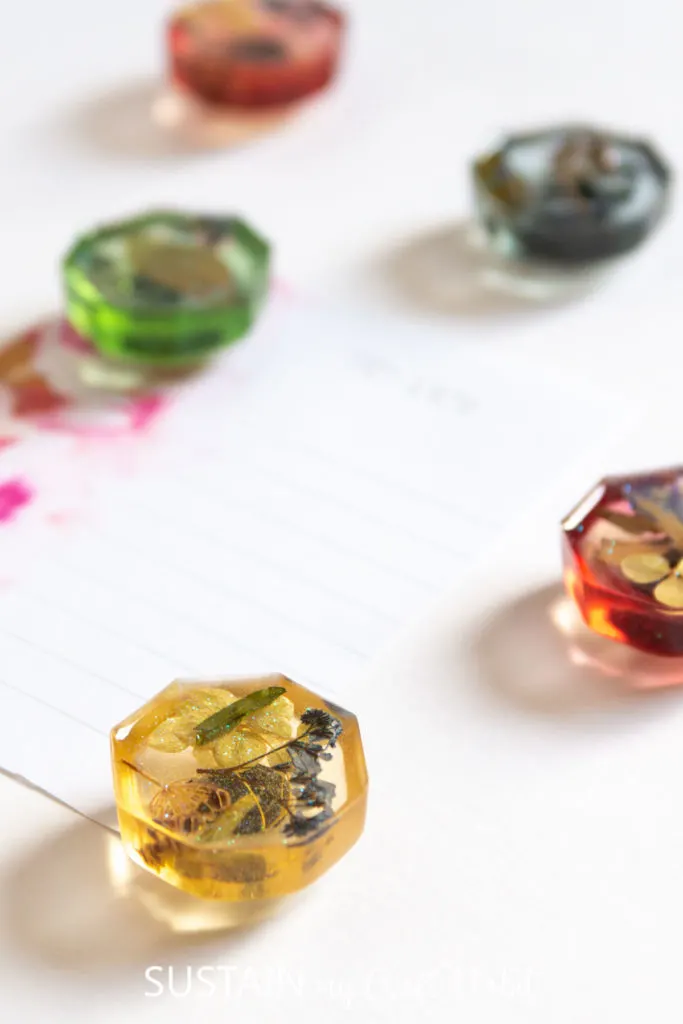
Create your own unique resin fridge magnets using pretty pressed flowers from your garden with this step by step tutorial.
Resin Fridge Magnets with Pressed Flowers
Let me start off by saying, we love the look of these resin fridge magnets! Having created dozens of resin crafts over the last few years, we’ll be the first to admit that crafting with resin poses an element of surpise. For any brand new project, the final result is always a little bit of a mystery. But that is true with most art and in many cases the fun part about resin!

Using dried and pressed flowers in crafting is not new for us. We’ve used them in making wall art, bath steamers, scented sachets and most often in jewelry. If you’re still wondering about all the ways to use pressed flowers, check out this post for some inspiration. But like any new project, it’s always exciting to see how the color choices and flower choices all come together in the end!
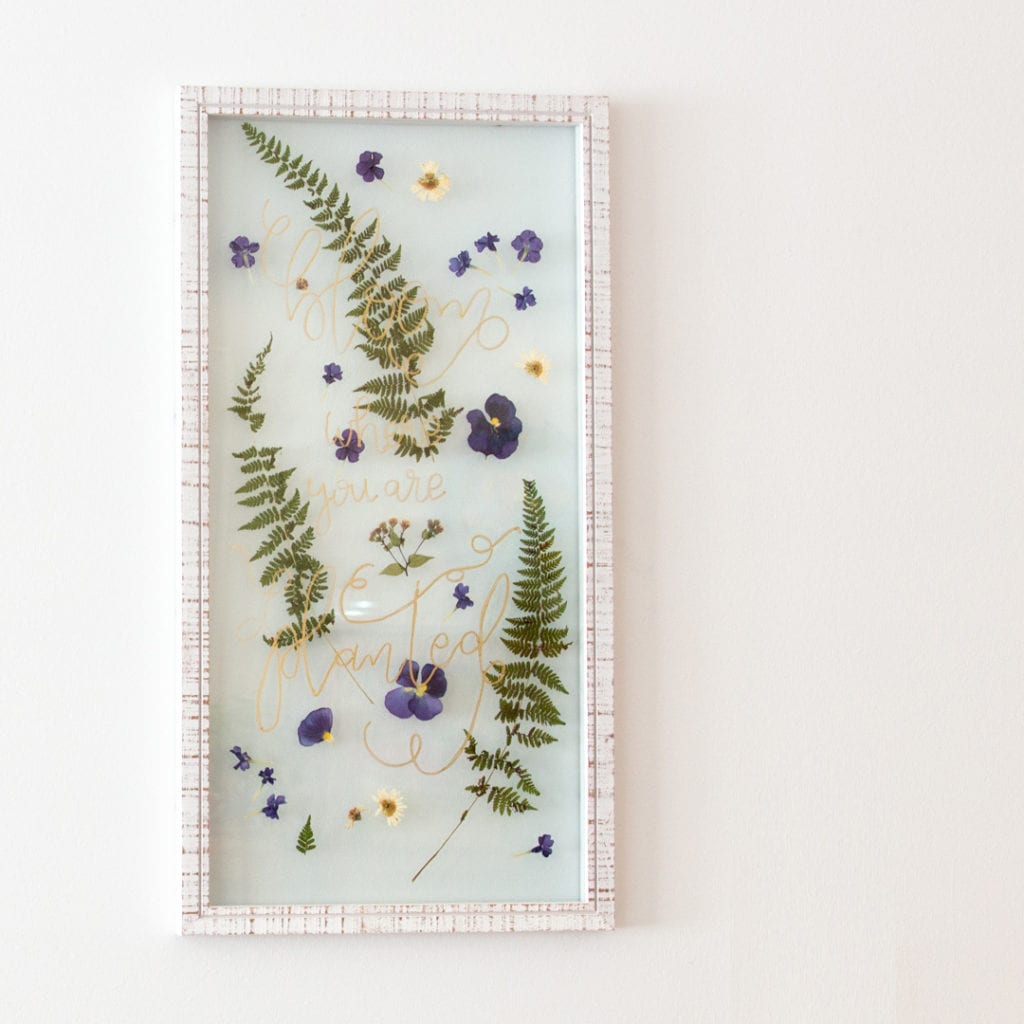

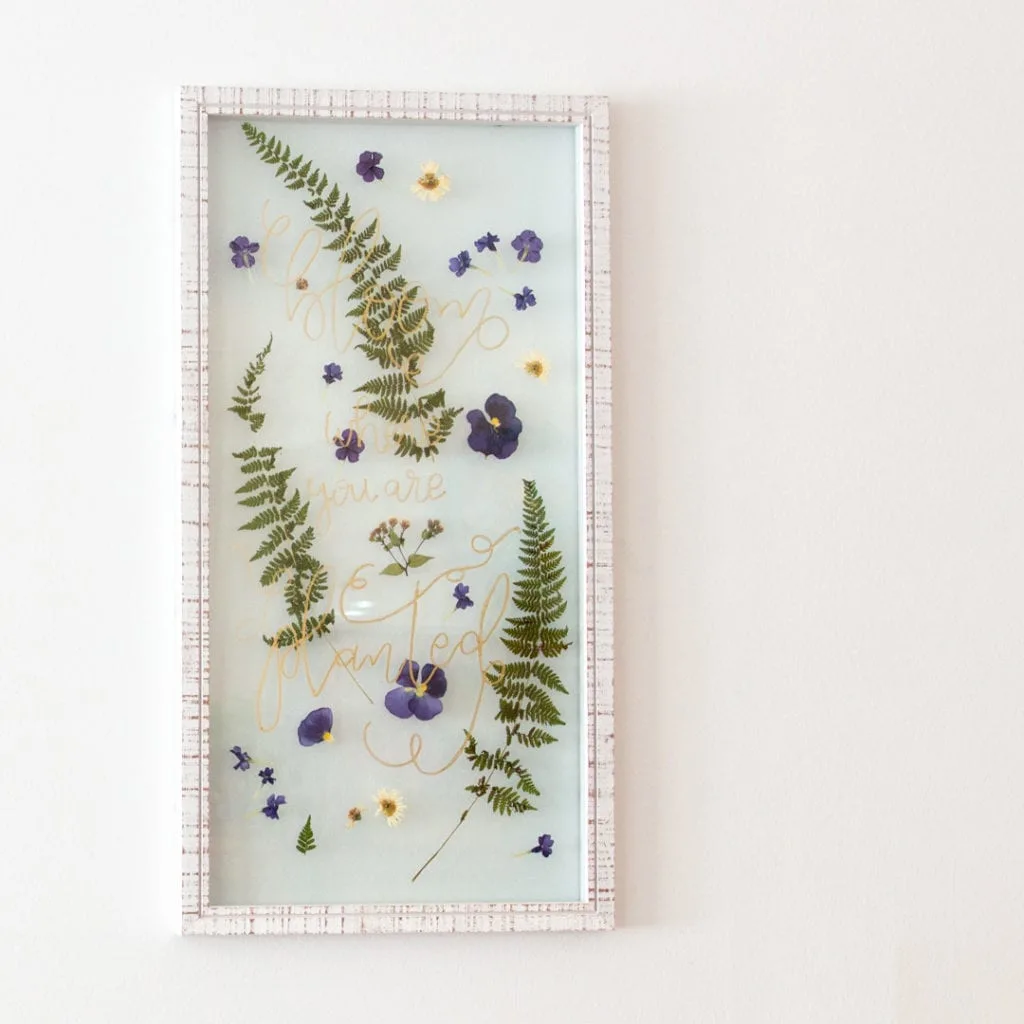
Pressed Flower and Fern Sign 

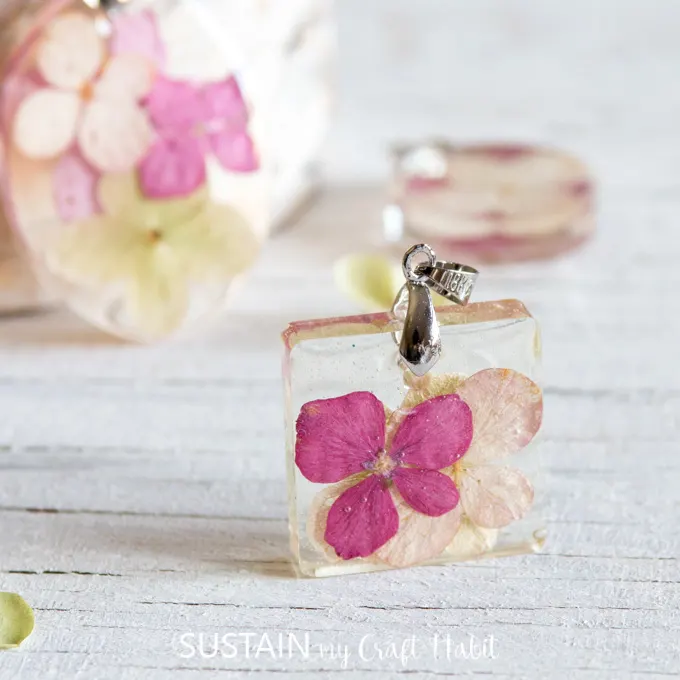
Pressed Flower Jewelry Pendants 
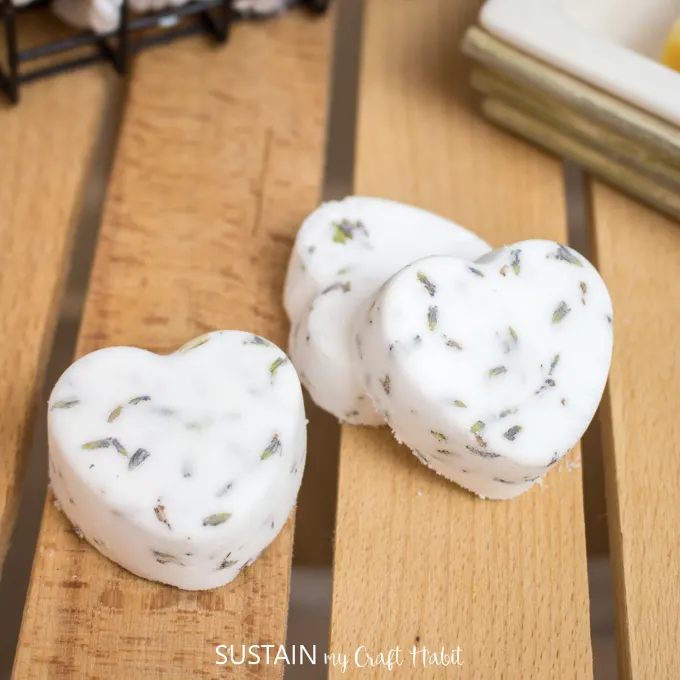
Bath Steamers with Lavender 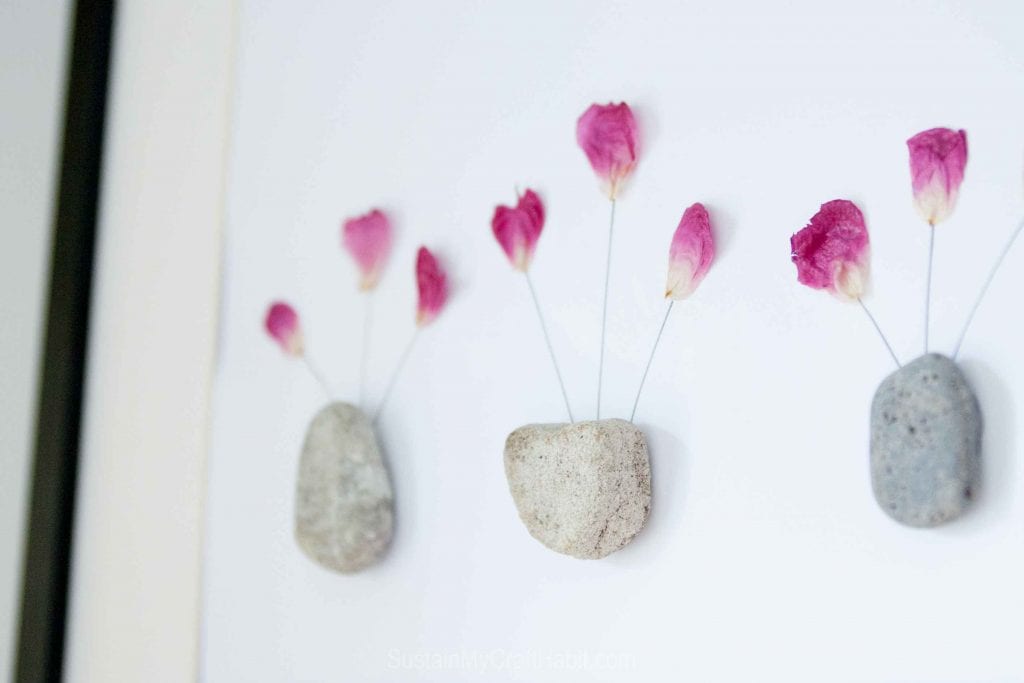

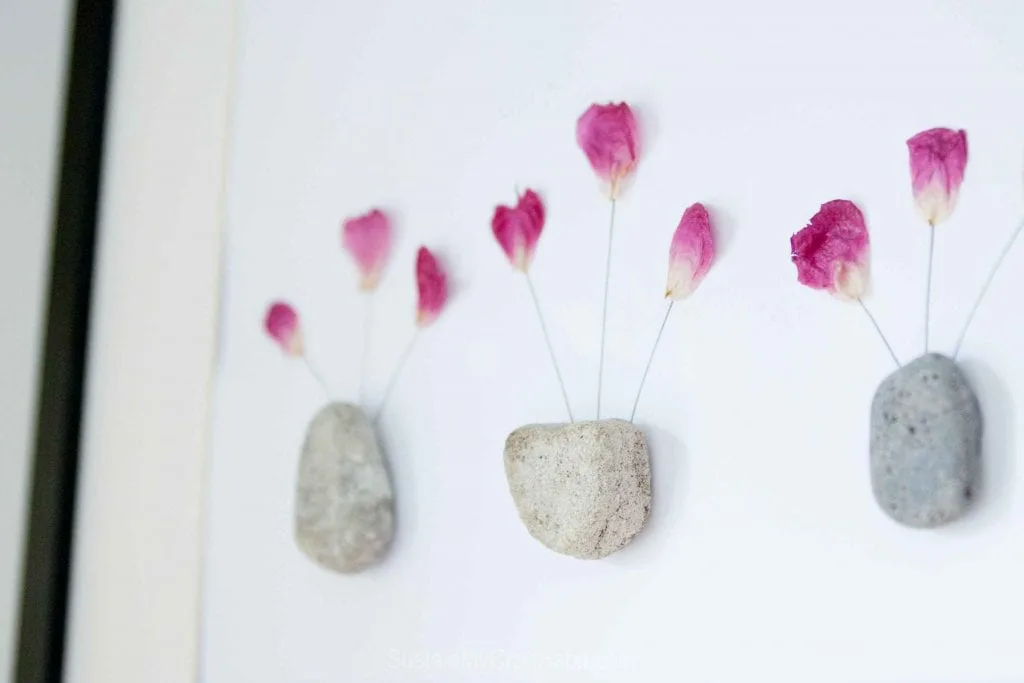
Pressed Flower Art 
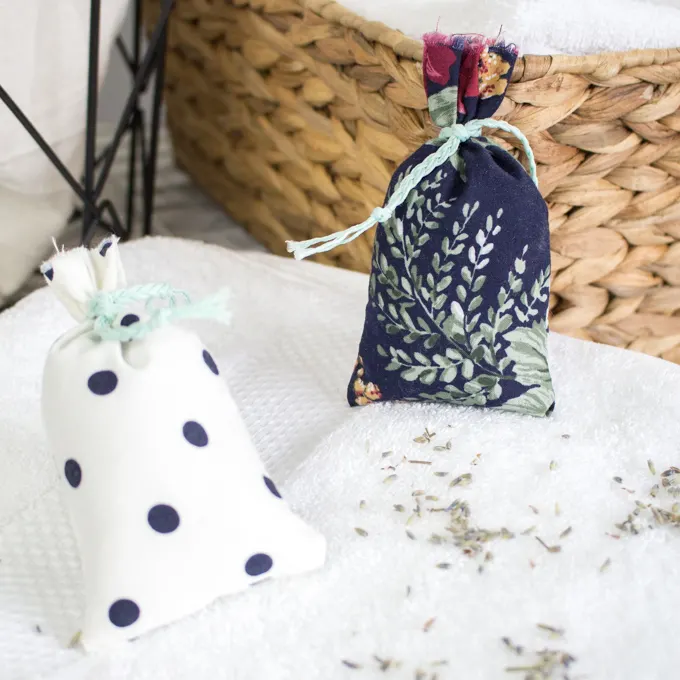
Lavender Sachet
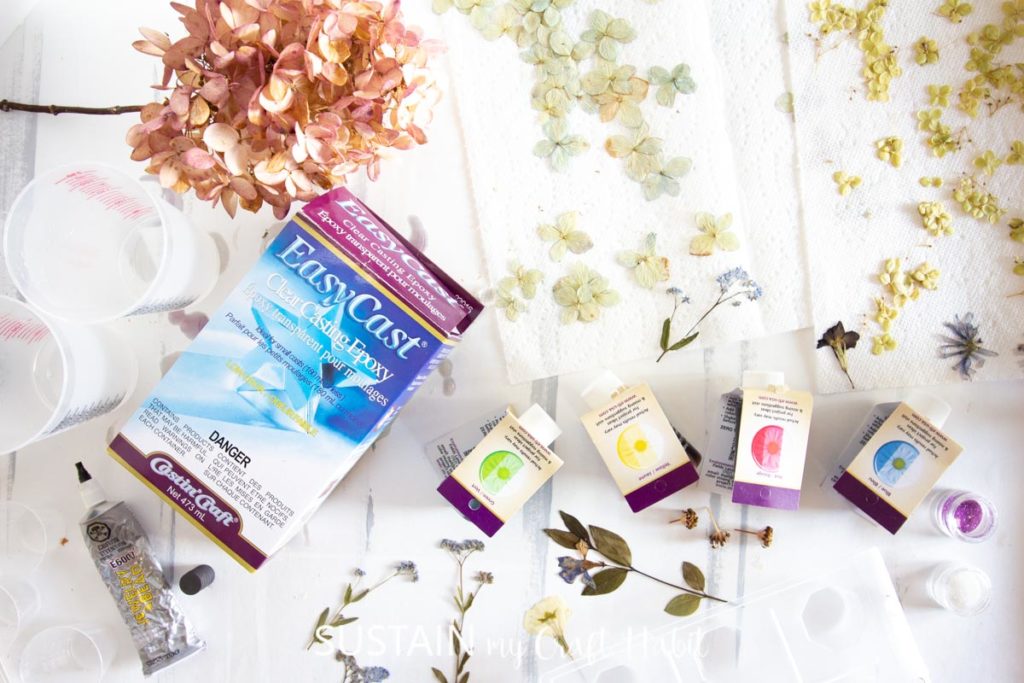
Materials Needed:
Disclosure: This post contains affiliate links for your shopping convenience. Should you choose to purchase through them, we will make a small commission at no extra cost to you. You can read our full disclosure policy here.
- EasyCast Clear Casting Epoxy
- Octagon Reusable Knob Mold
- Mold Release and Conditioner
- Transparent Pigment
- Measuring cups, wooden craft sticks, gloves, straw, paper towels
- Straw or small kitchen torch
- Pressed or dried flowers
- While and purple fine glitter
- Small round magnet
- E6000 adhesive

How to Make Resin Fridge Magnets
To prepare for this project, first, spray Mold Release and Conditioner onto your Cabinet Knob Molds. Since this mold is rigid this step is super important for helping to release your finished knob once it is cured.
Always read the instructions for your resin project. Protect your work surface and work in a well ventilated area.
Start by mixing equal parts of EasyCast Clear Casting Epoxy and hardener in a small mixing cup.

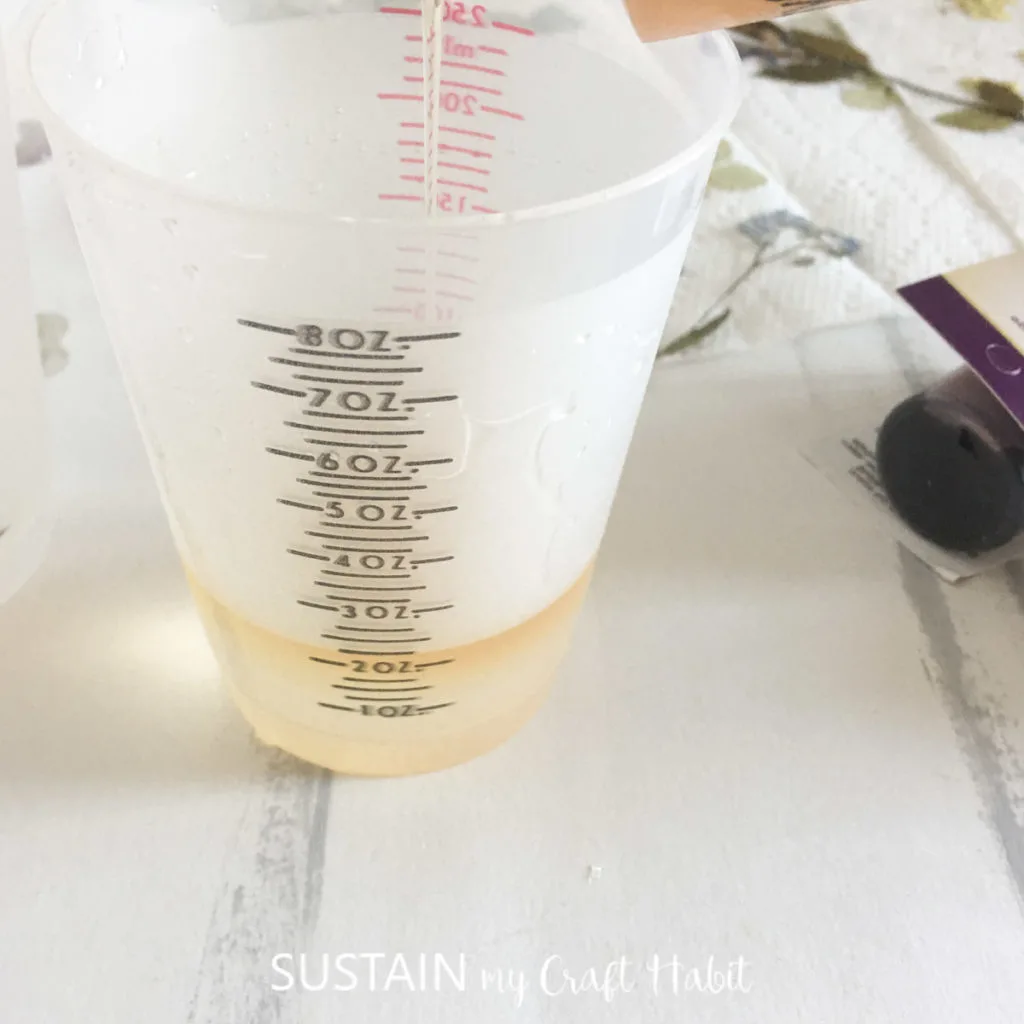
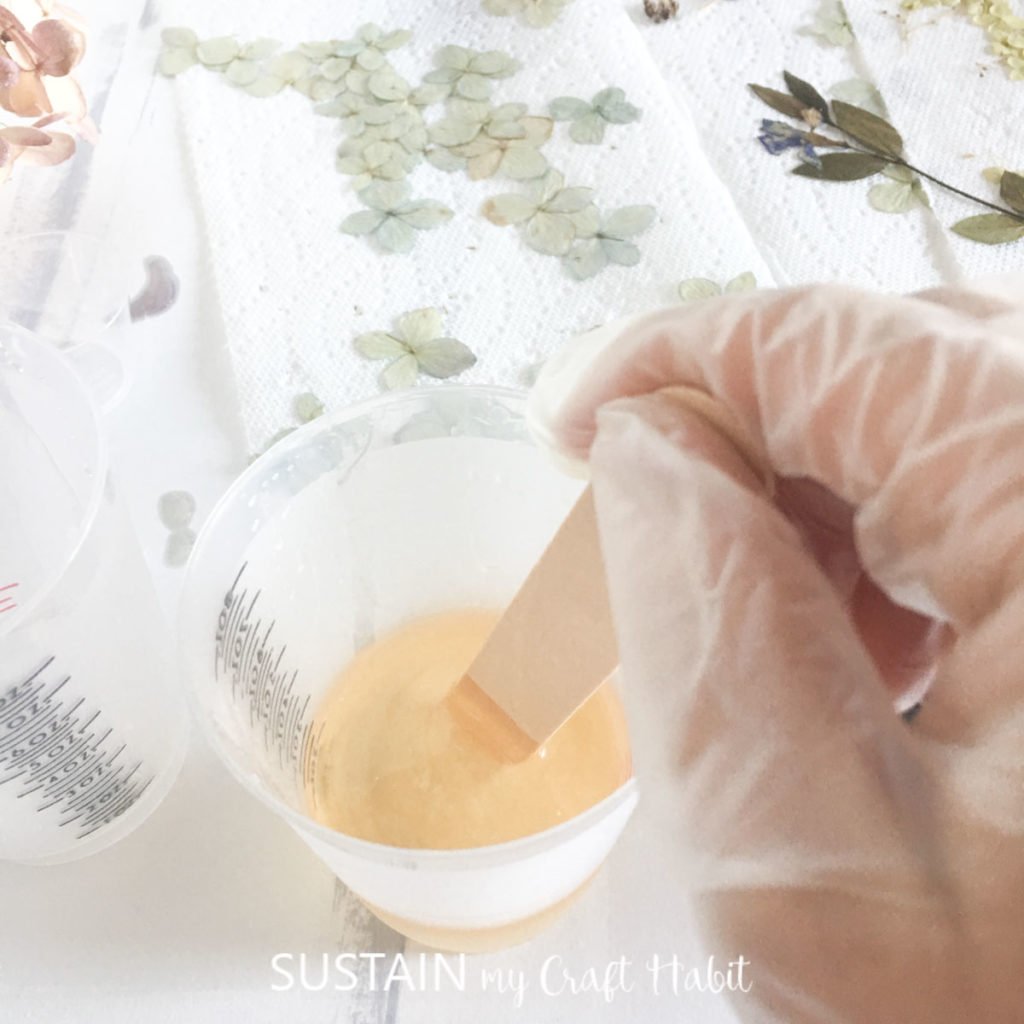
Mix for a full two minutes with a wooden craft stick. Then pour the mixture into a 2nd cup and continue stirring for an additional minute.


Evenly divide the resin into two additional cups.
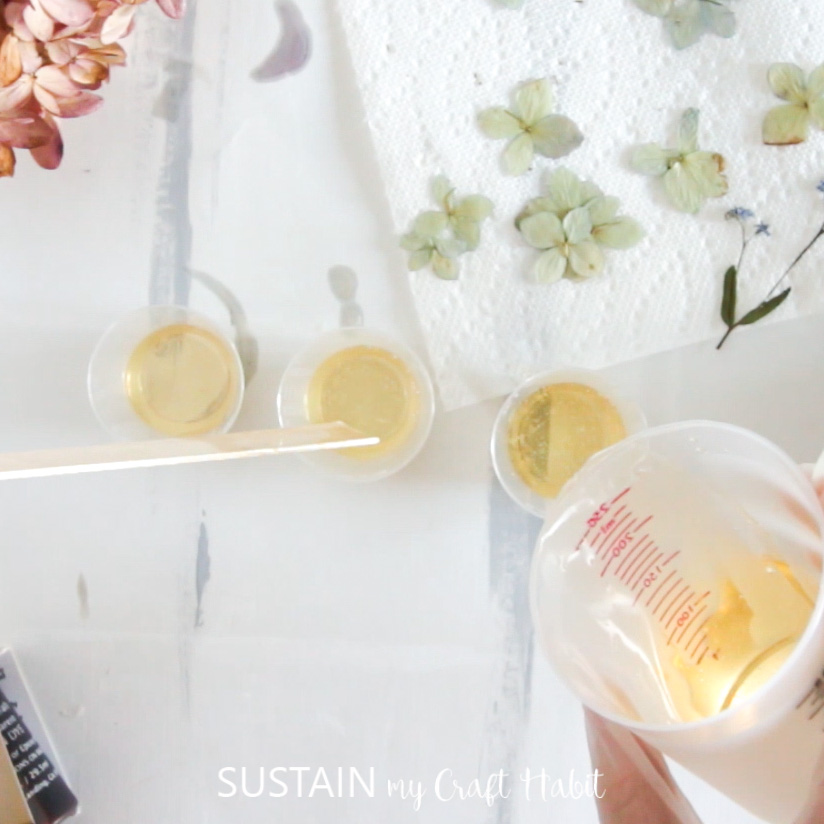
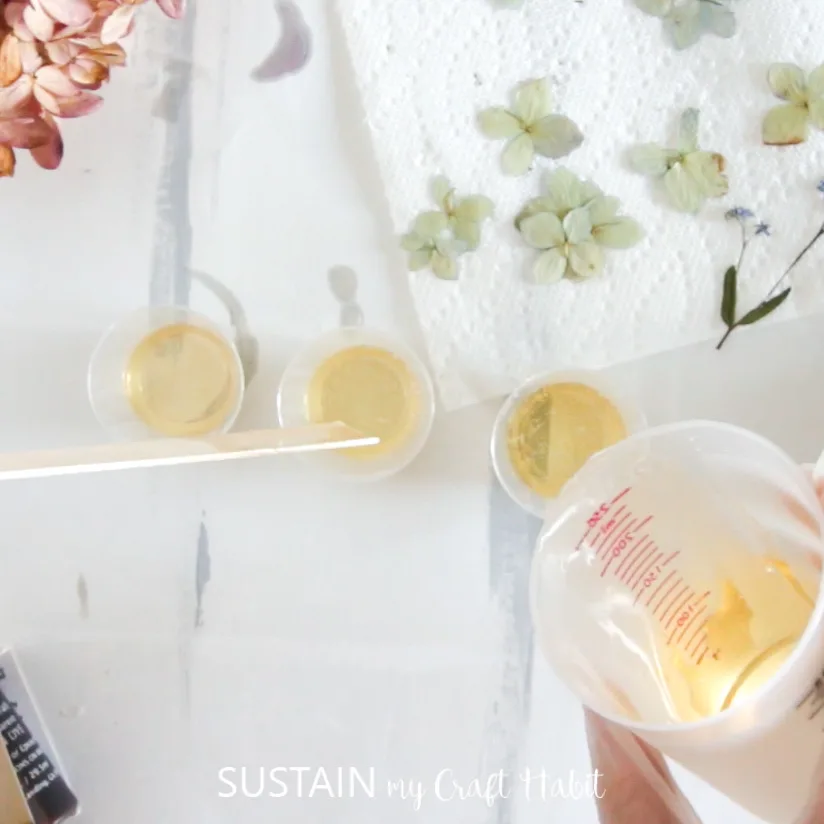
Add different small embellishments such as glitter into each of the three cups. Stir.
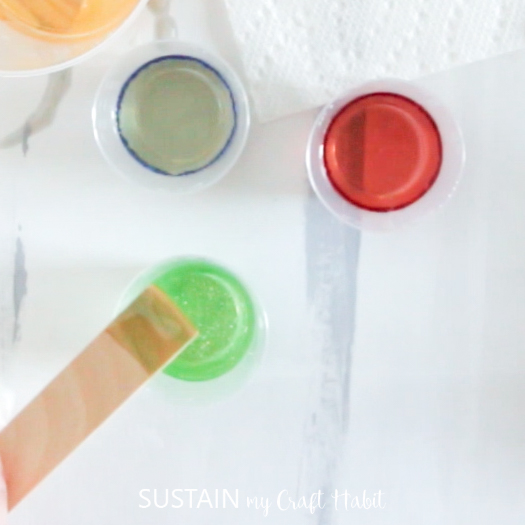

Pour the different colors of resin into different mold compartments to about 2/3 full.


Sprinkle a bit of fine glitter over top of each 2/3 full poured resin molds. Then place a mix of pressed floral and leaves inside each mold.
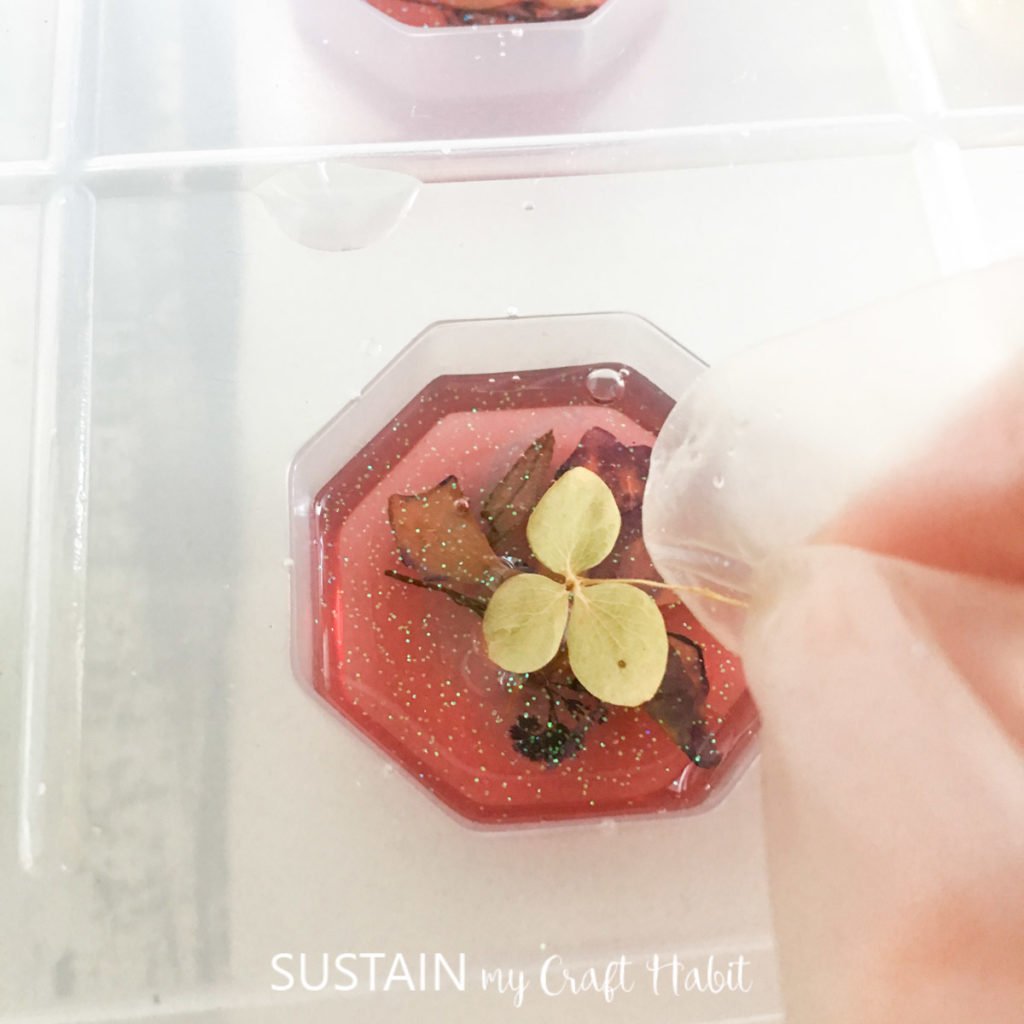

Pour more colored resin into each of the molds to the top while at the same time covering the pressed flowers.
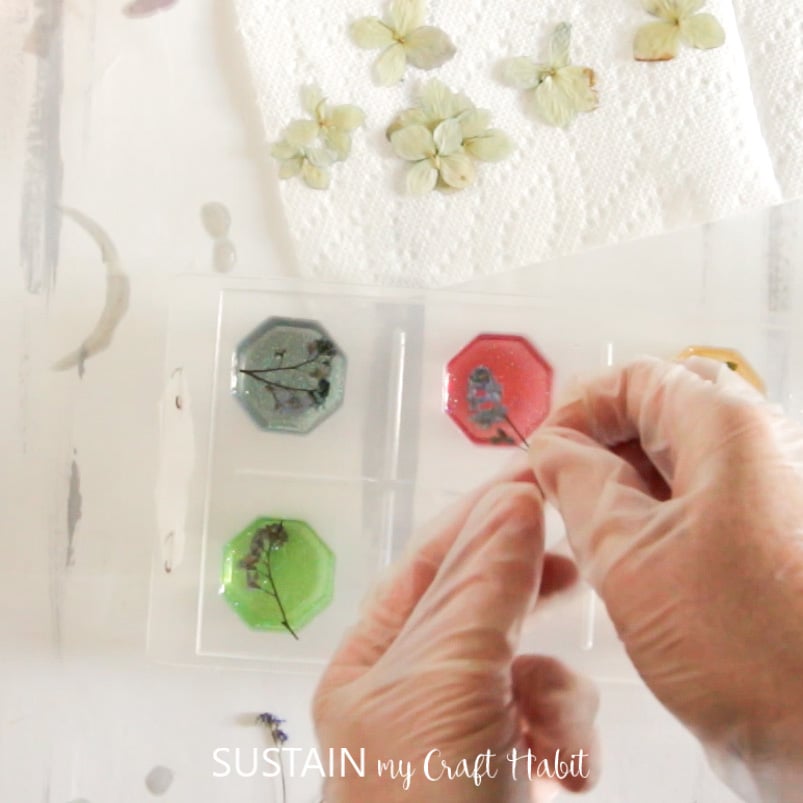

After about 15 minutes use a small kitchen torch or straw to blow off any air bubbles that arise to the surface.
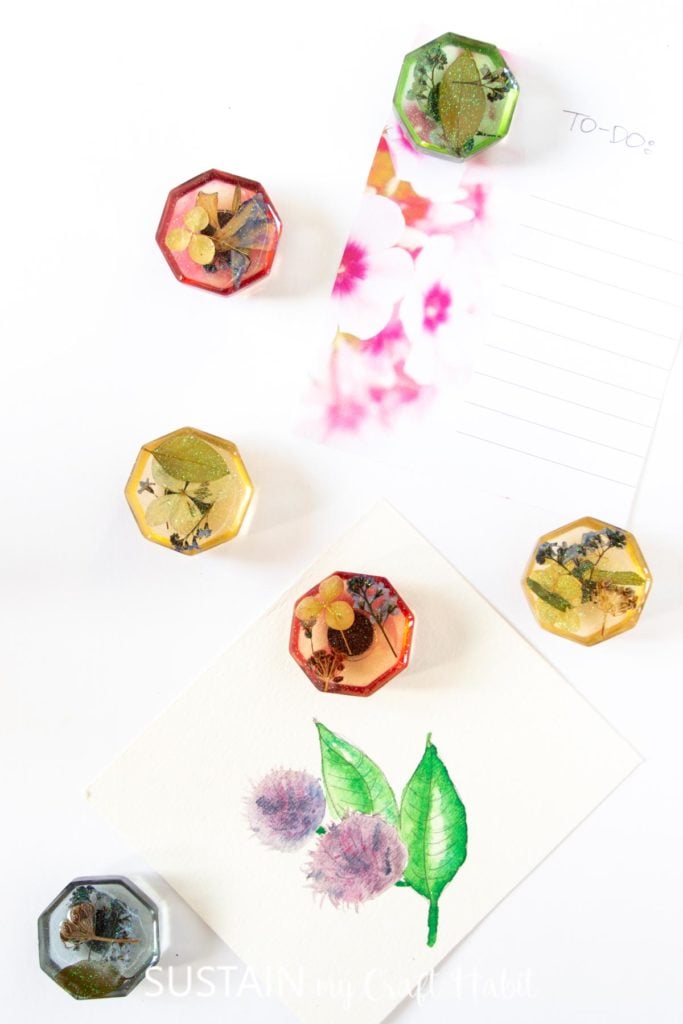
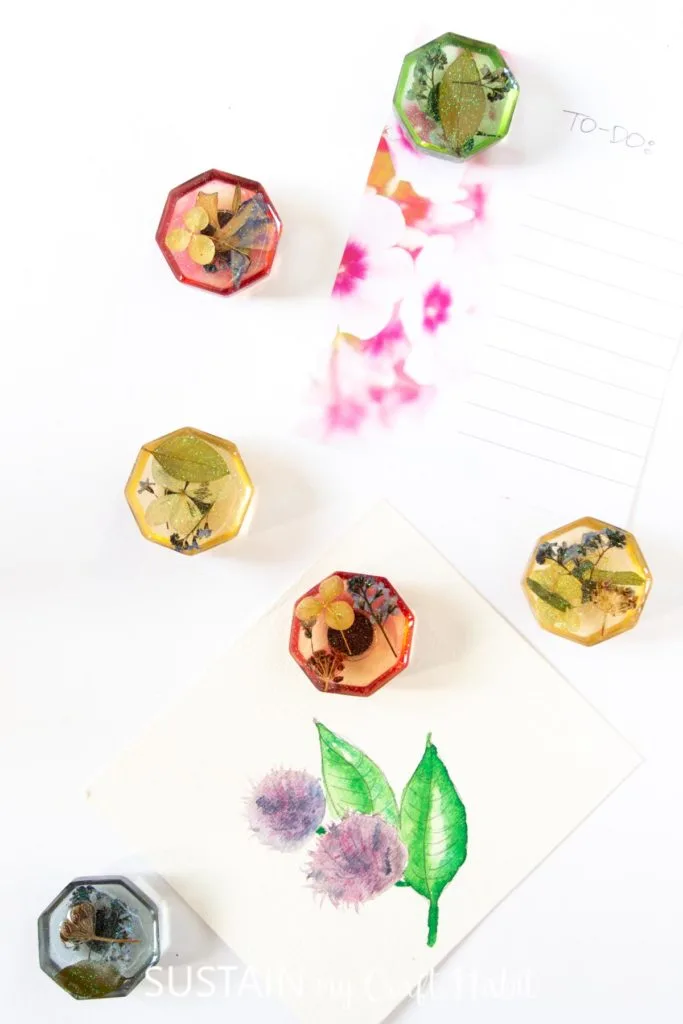
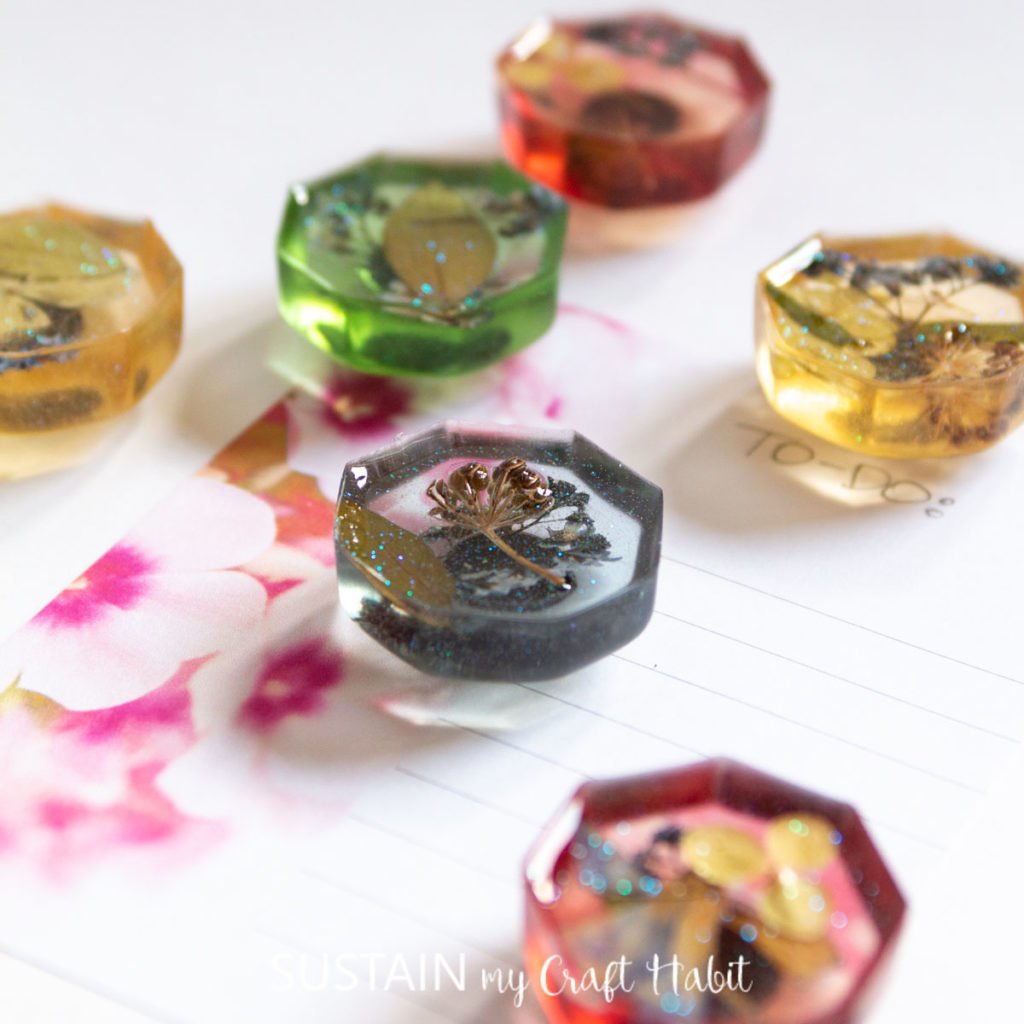
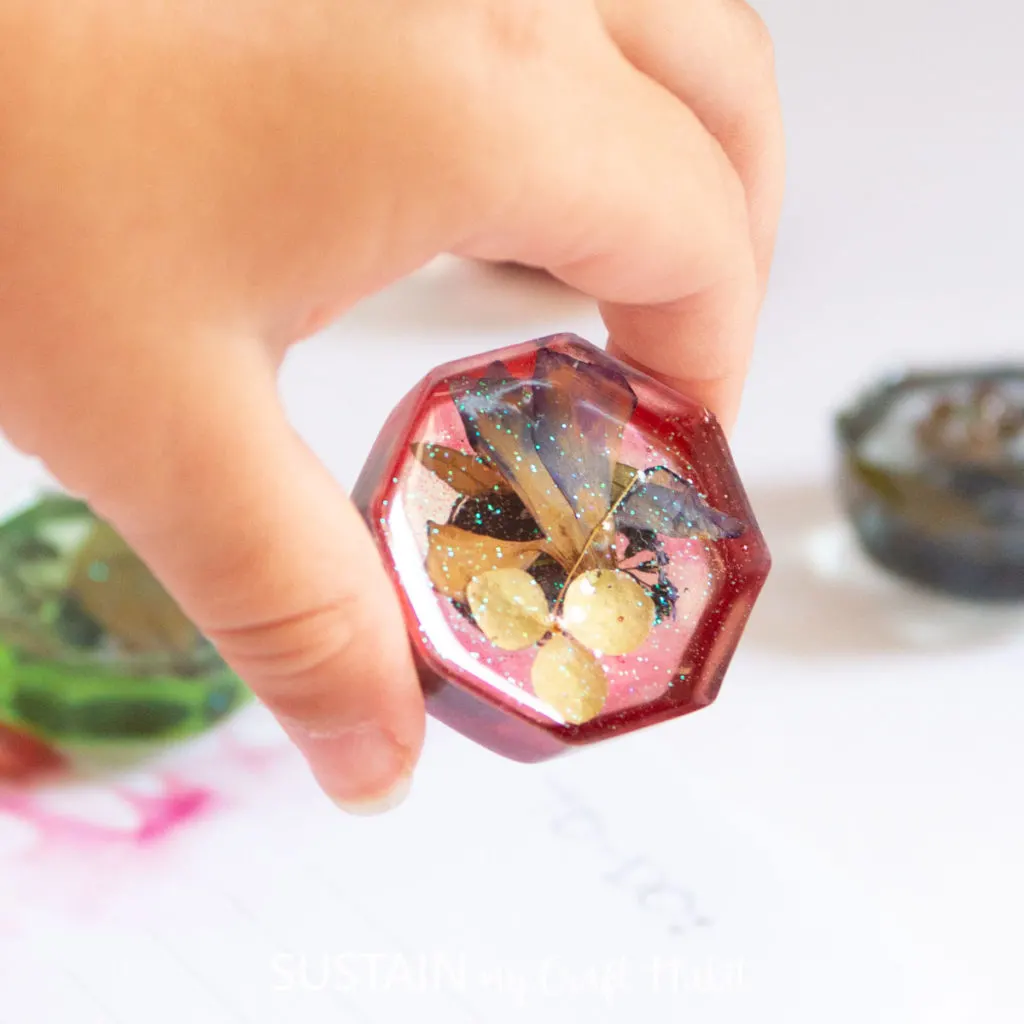
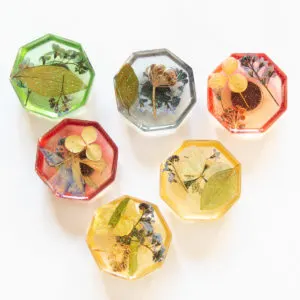
Cover and let cure overnight. Once cured, remove the resin from the molds. They look so pretty with each one looking is so unique!

Squeeze out a dab of E6000 adhesive on to the magnet and press the magnet on to the center of the resin (the side that was inside the mold). Repeat for all the magnets.


This craft originally appeared on Crafts by Amanda.

Have you ever used pressed flowers in your craft projects?
Like it? Pin it for later!

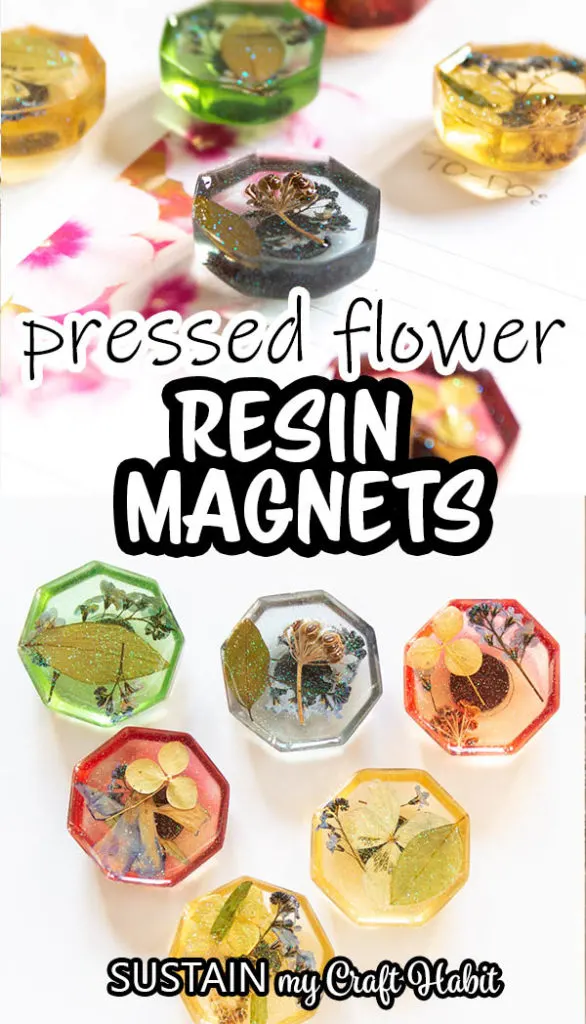

Resin Fridge Magnets
Materials
- EasyCast Clear Casting Epoxy
- Octagon Reusable Knob Mold
- Mold Release and Conditioner
- Transparent Pigment
- Measuring cups wooden craft sticks, gloves, straw, paper towels
- Straw or small kitchen torch
- Pressed or dried flowers
- Fine glitter while and purple
- Small round magnet
- E6000 adhesive
Instructions
- First spray Mold Release and Conditioner onto your Cabinet Knob Molds.
- Start by mixing equal parts of EasyCast Clear Casting Epoxy and hardener in a small mixing cup.
- Mix for a full two minutes with a wooden craft stick. Then pour the mixture into a 2nd cup and continue stirring for an additional minute.
- Evenly divide the resin into two additional cups.
- Add different small embellishments such as glitter and beads into each of the three cups. Stir.
- Pour the different colors of resin into different mold compartments to about 2/3 full.
- Sprinkle a bit of fine glitter over top of each 2/3 full poured resin molds. Then place a mix of pressed floral and leaves inside each mold.
- After about 15 minutes use a small kitchen torch or straw to blow off any air bubbles that arise to the surface.
- Pour more colored resin into each of the molds to the top while at the same time covering the pressed flowers.
- Cover and let cure overnight.
- Remove the resin from the molds.
- Squeeze out a dab of E6000 adhesive on to the magnet and press the magnet on to the center of the resin (on the side of the resin that was inside the mold). Repeat for all the magnets.