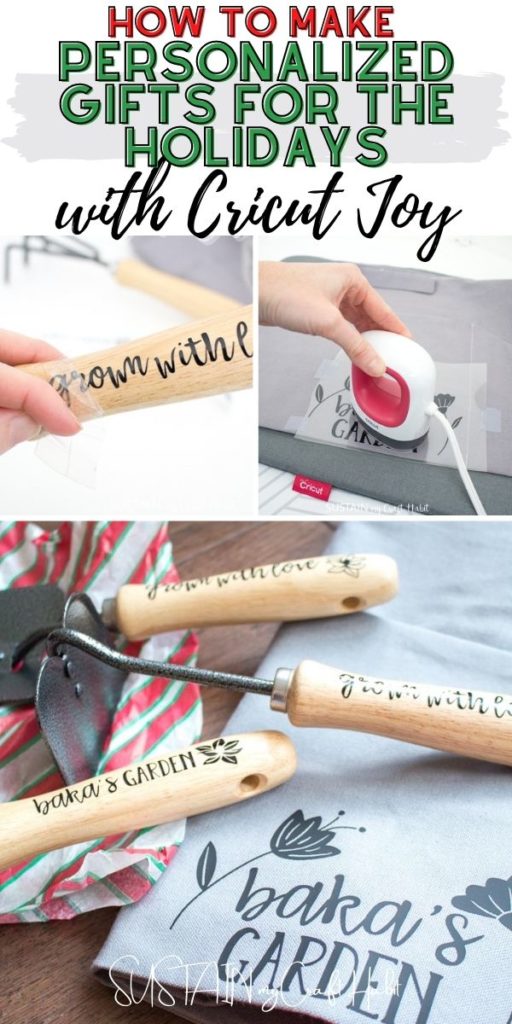

Gift giving and receiving is so much sweeter when it’s personalized, don’t you think? And we’ll show you just how easy it is to make personalized gifts for the holidays using a Cricut Joy cutting machine.
Get updates on the latest posts and more from Sustain My Craft Habit straight to your inbox by joining our weekly newsletter. We promise to send you only the good stuff.

A Gift Personalized for Someone Special
Our mom is the ultimate gardener. It seems everything she touches thrives, grows and blooms like these mason jar flower vases indicate. With the amount of love and attention she gives to her plants, it’s no wonder she has such a beautiful flower garden.
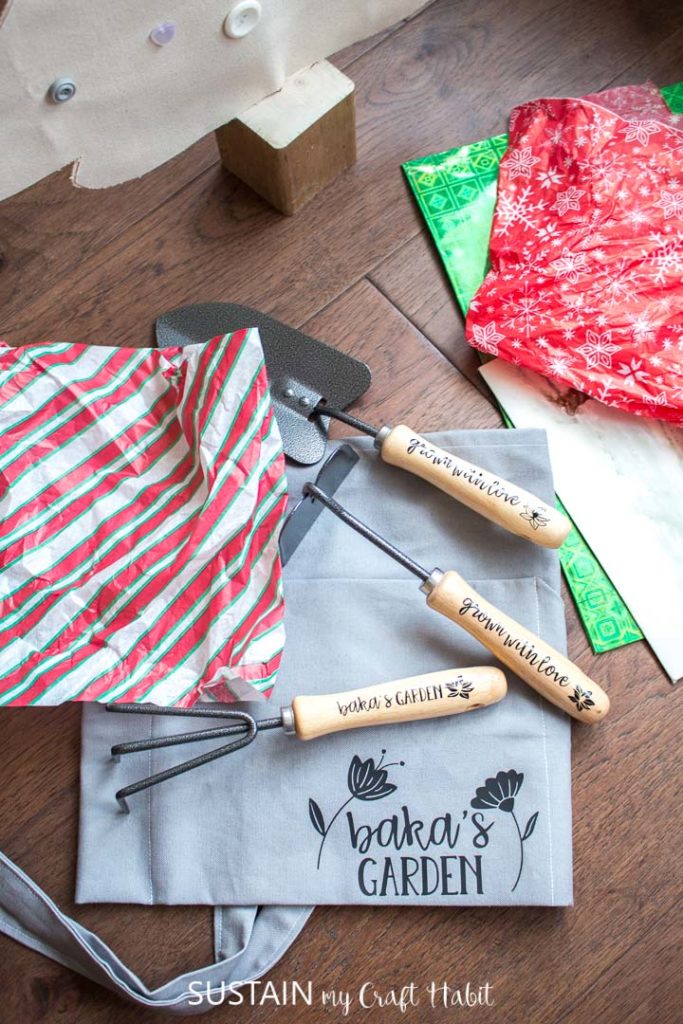
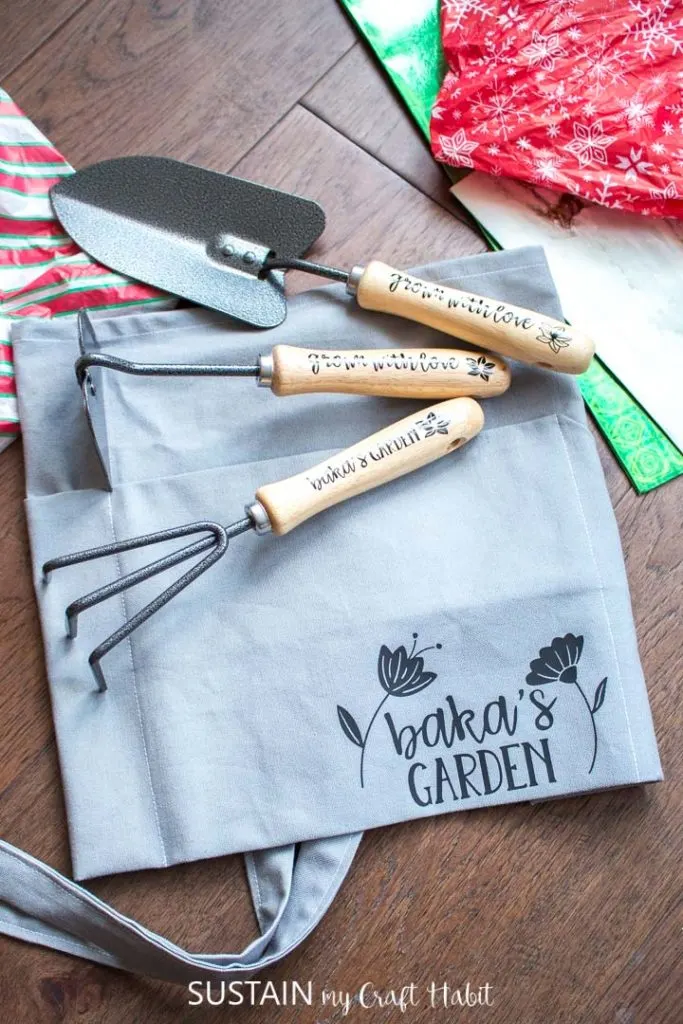
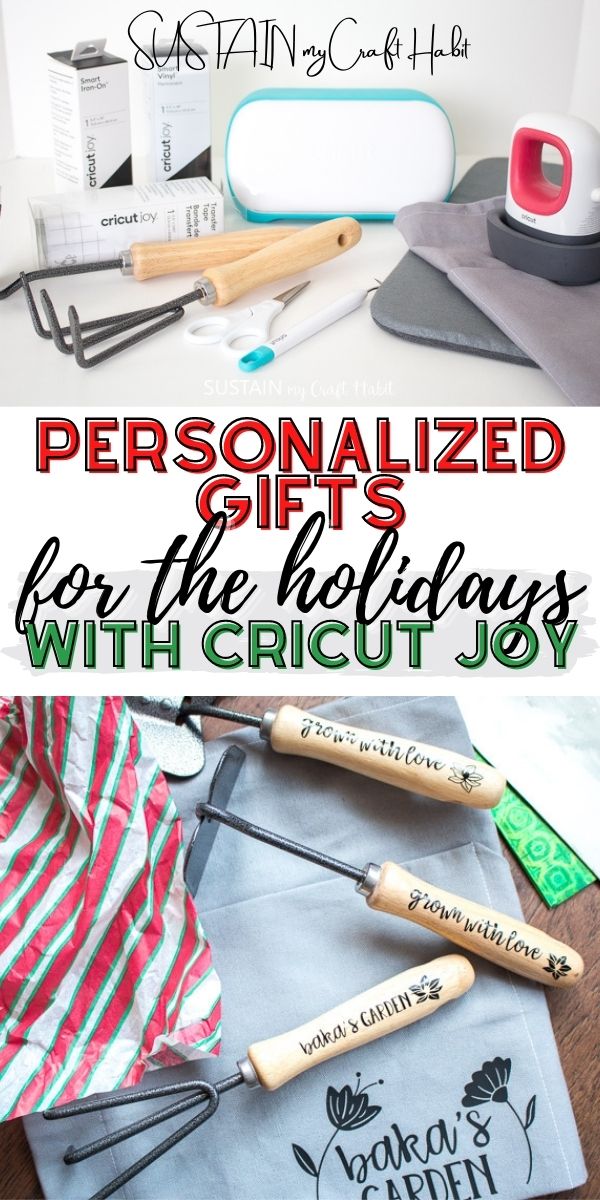
This year for the holidays, we wanted to give our mom a personalized gift that she would appreciate, use and enjoy. The idea of a gardening tool set was both practical and thoughtful, especially knowing we could personalize it for her using our Cricut Joy.

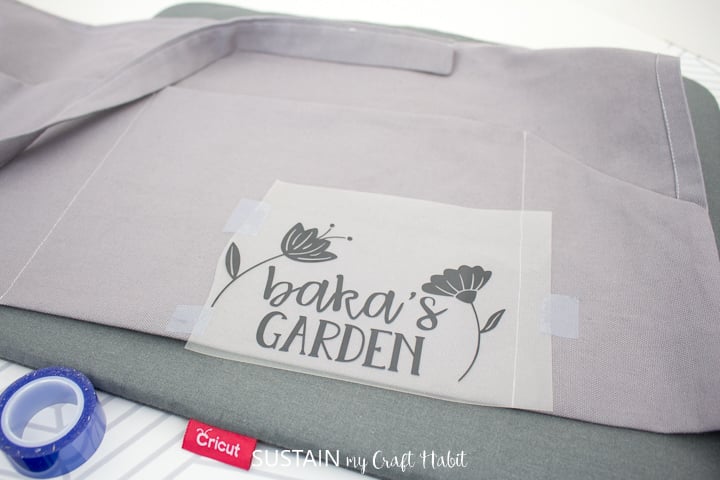
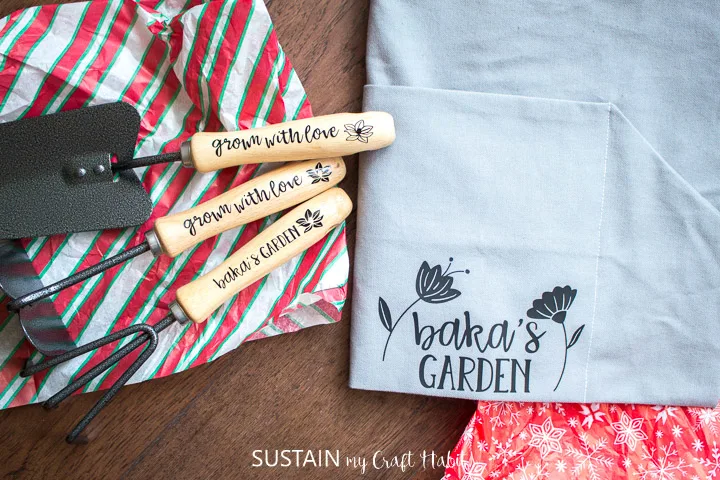
Within Cricut’s Design Space, we came up with this design that says “baka’s garden” (baka means grandma in Croatian) and “grown with love”. Earlier in the year I shared this free half apron sewing pattern and decided
it would be the perfect addition to this gardening-themed gift. Using our EasyPress Mini, we added the same design to the apron using black Cricut Joy Smart Iron-On.

The Cricut Joy makes it fun to personalize all sorts of gifts from clothes to accessories like these BBQ seasoning jars and this father’s day coffee mug.
When deciding on gifts, we suggest to start by considering someone’s favorite hobbies and then take it one step further and ask yourself “how can I make this more personal?”. Since the Cricut Joy is small and compact, it can easily be taken out to use whenever inspiration strikes!
Disclosure: This post contains affiliate links for your shopping convenience. Should you choose to purchase through them, we will make a small commission at no extra cost to you. You can read our full disclosure policy here.
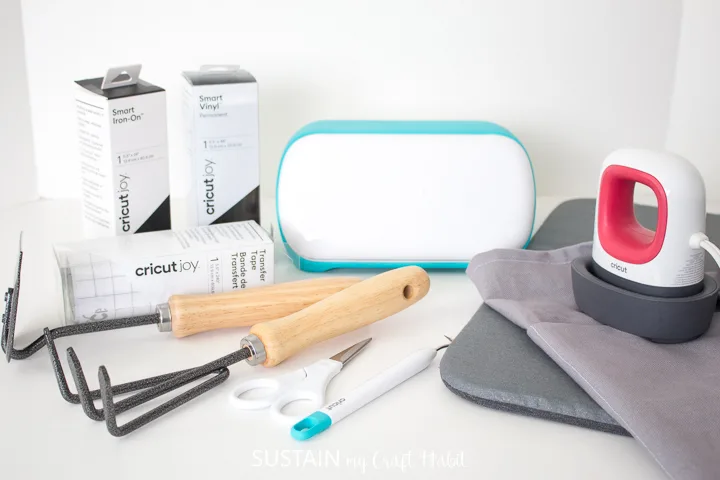
Materials Needed for Gifting a Personalized Apron:
- Cricut Design Space Images #M14791877 / #M147918AD / #MA165FDB
- Gardening apron (make your own or buy one like this)
- Cricut Joy with Fine Point Blade
- Smart Iron On Vinyl, in Black
- Weeding Tool
- Scissors
- EasyPress Mini
- EasyPress Mat or Towel
Materials Needed for Gifting a Personalized Gardening Tool Set:
- Cricut Design Space Images #M94CA101 / #MA165FDB
- Gardening Tools with wooden handles
- Cricut Joy with Fine Point Blade
- Permanent Smart Vinyl, Black
- Weeding Tool
- Scissors
- Cricut Transfer Tape

Instructions:
Preparing the Images:
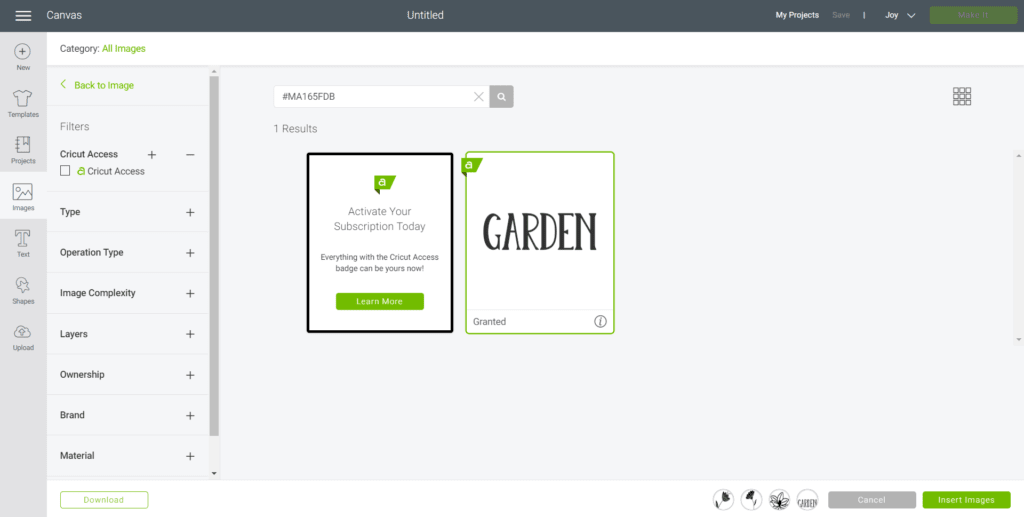
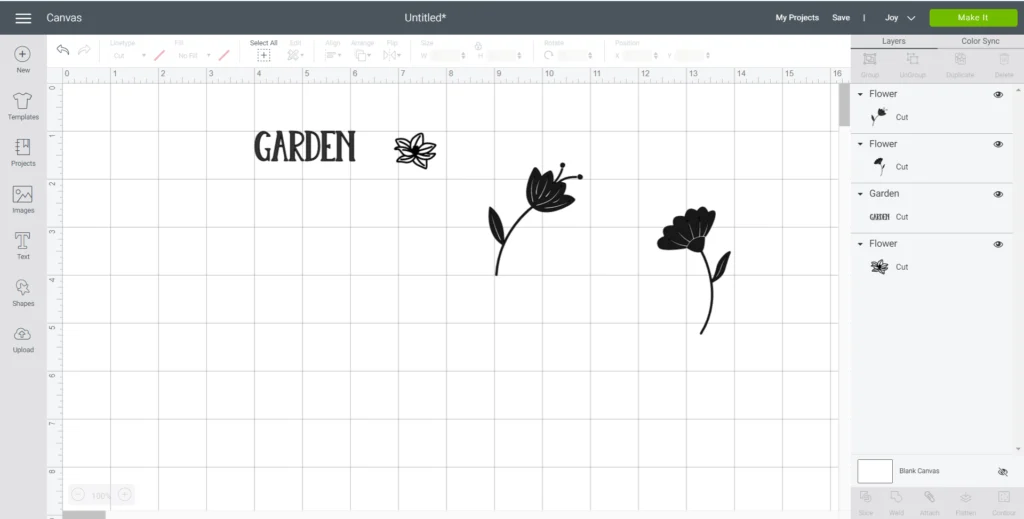
Open Cricut Design Space and click on the “+” sign to start a new project, opening up a blank canvas. Then click on the images button from the toolbar.
Search images #M94CA101 / #MA165FDB #M14791877 / #M147918AD and then insert them on the canvas.

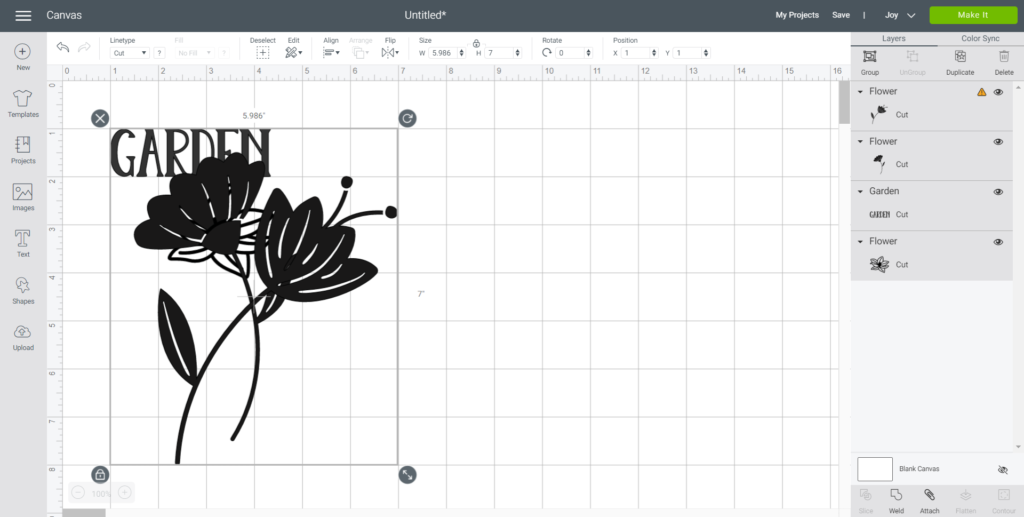
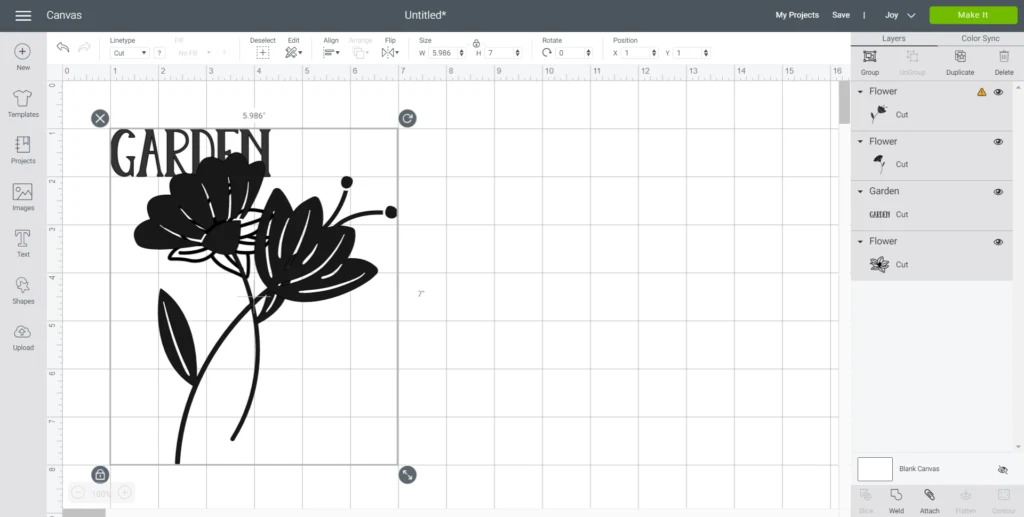
Reduce the sizes of the images to suit your project.

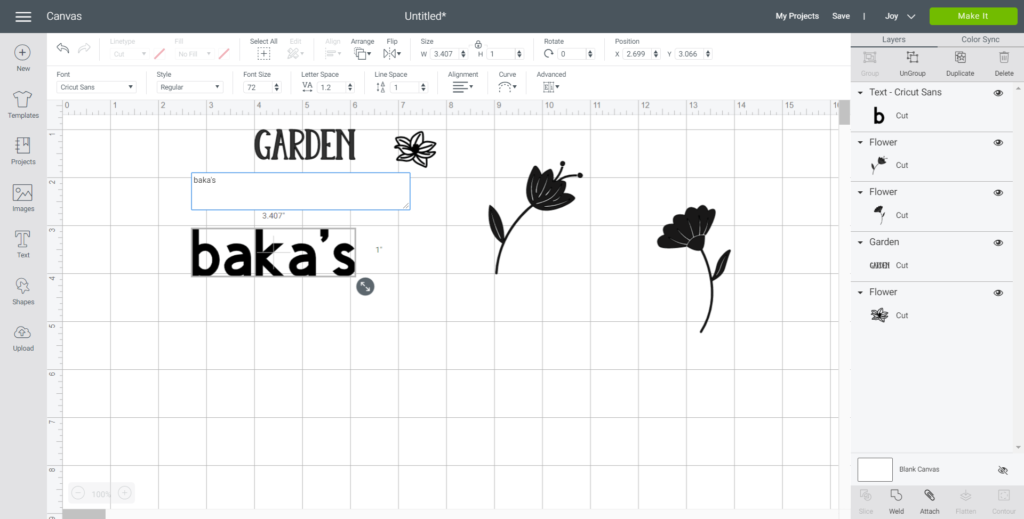
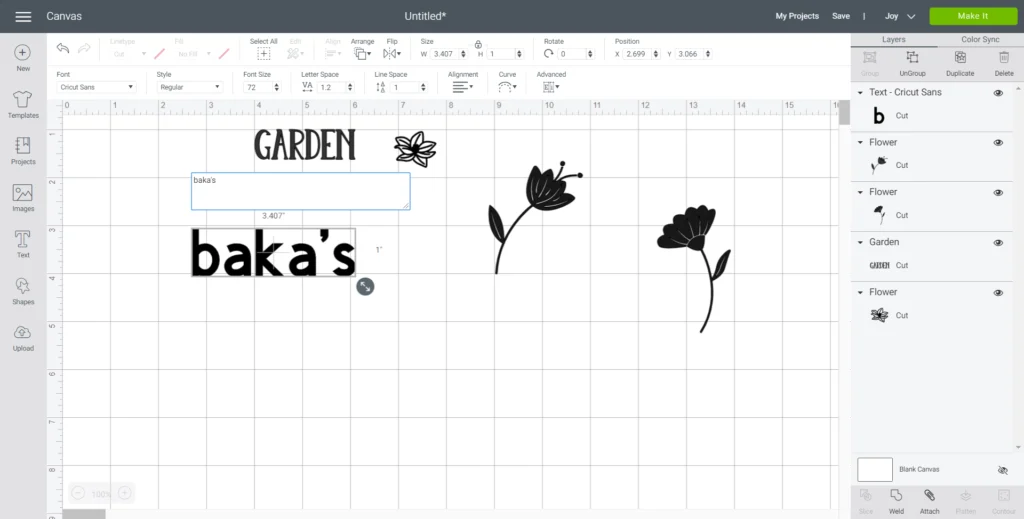
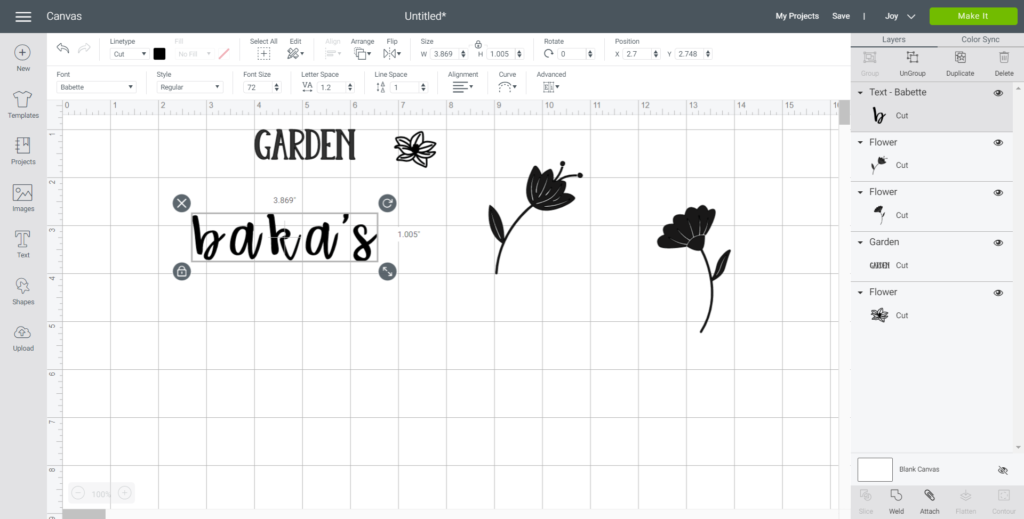
Click on the text icon and type out the name you want to add, in our case, we chose “baka”. Change the font type to Babette and then click ungroup to be able to move the letters around. Click on the letters and move them closer to each other. Once in place, highlight the word and select weld to fuse all the lettering together for cutting.
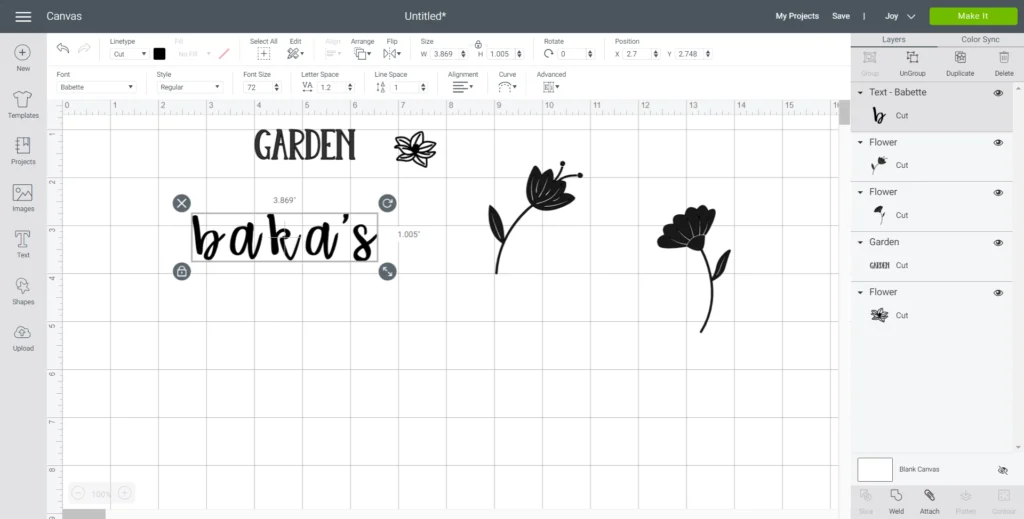
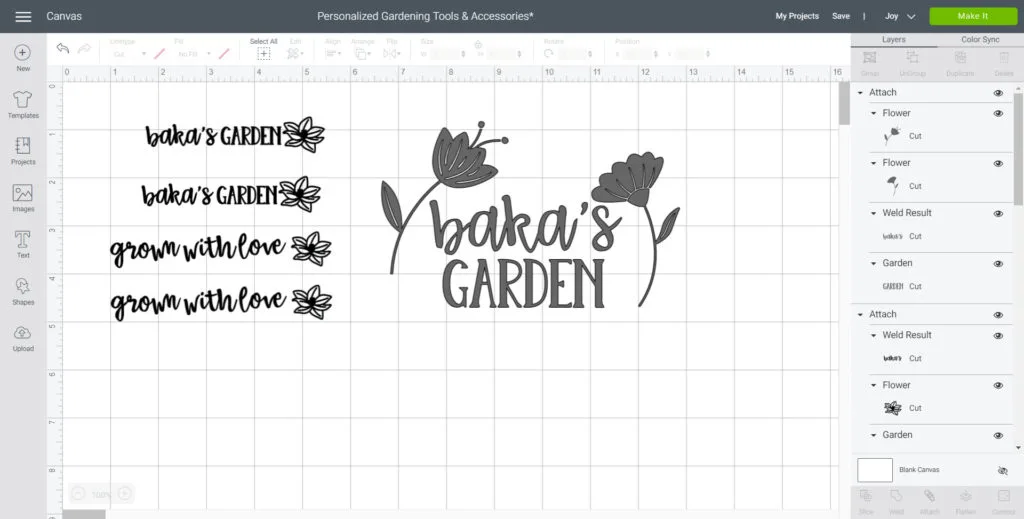
Reposition the phrase as you wish, I did a combination of horizontal and stacked images.
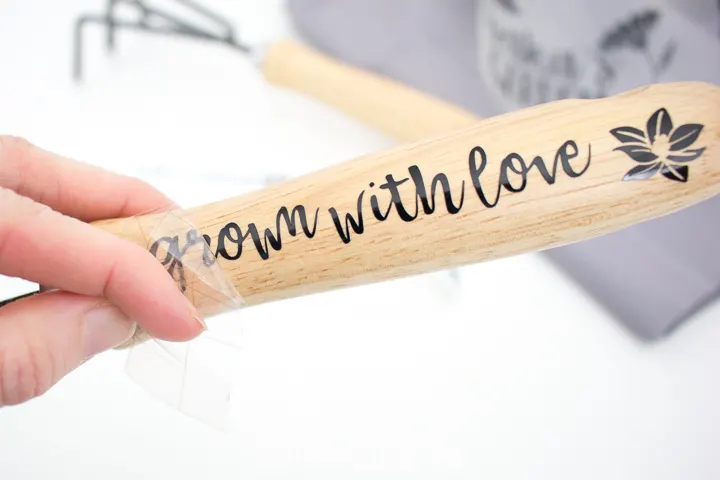
I also added an extra phrase “Grown with Love” in the same Babette font type.
Duplicate the phrases to make as many as needed and change the color for the phrases to be cut in a different material type, like Smart Iron On Vinyl.

Cutting the Images
Ensure the machine is set to Cricut Joy and select “Make It” in Design Space.
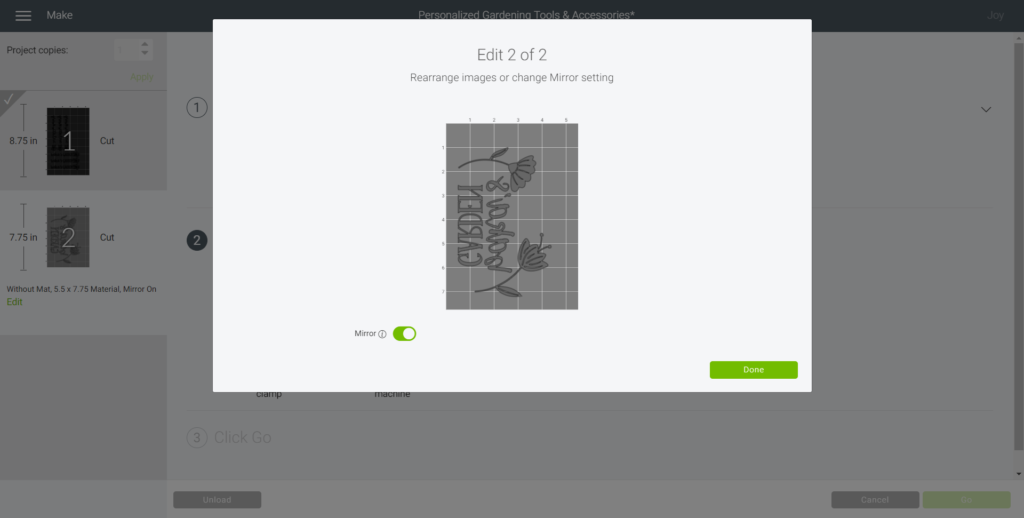
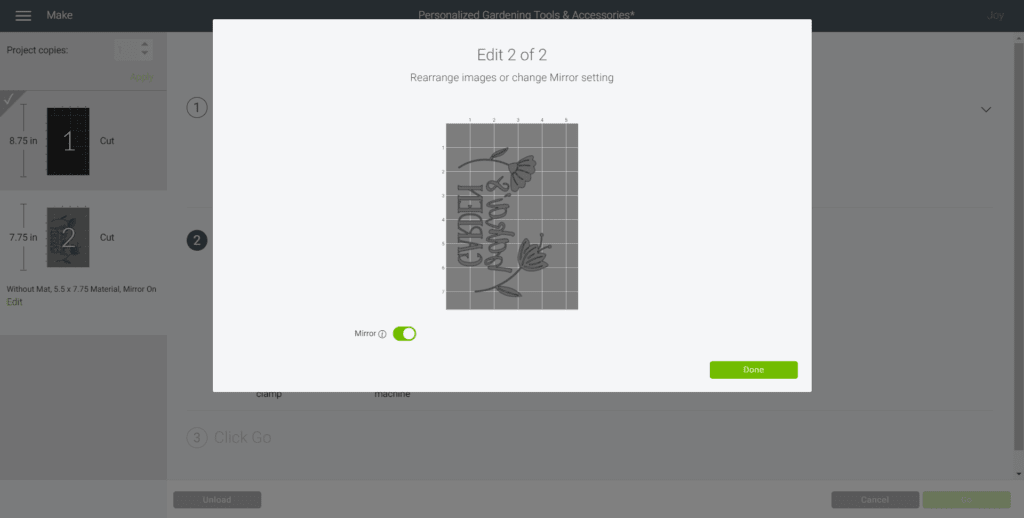
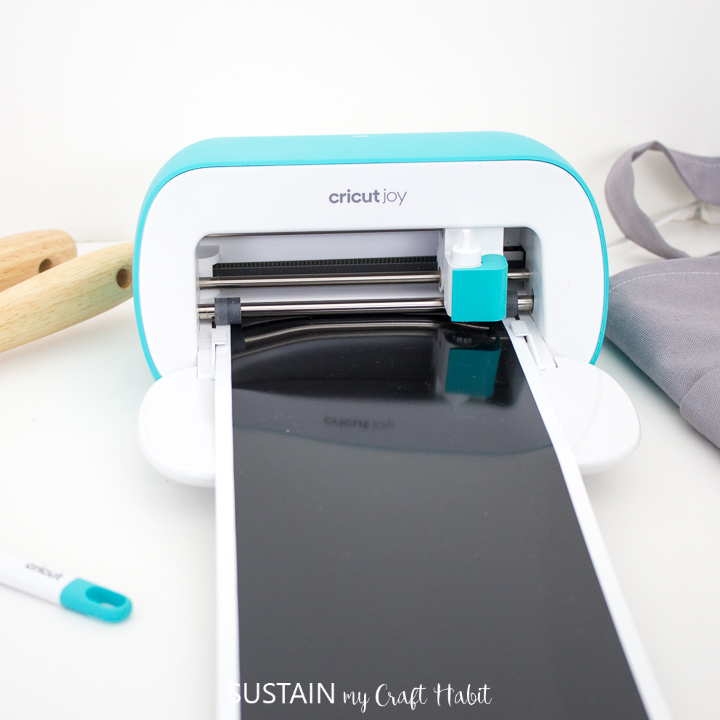
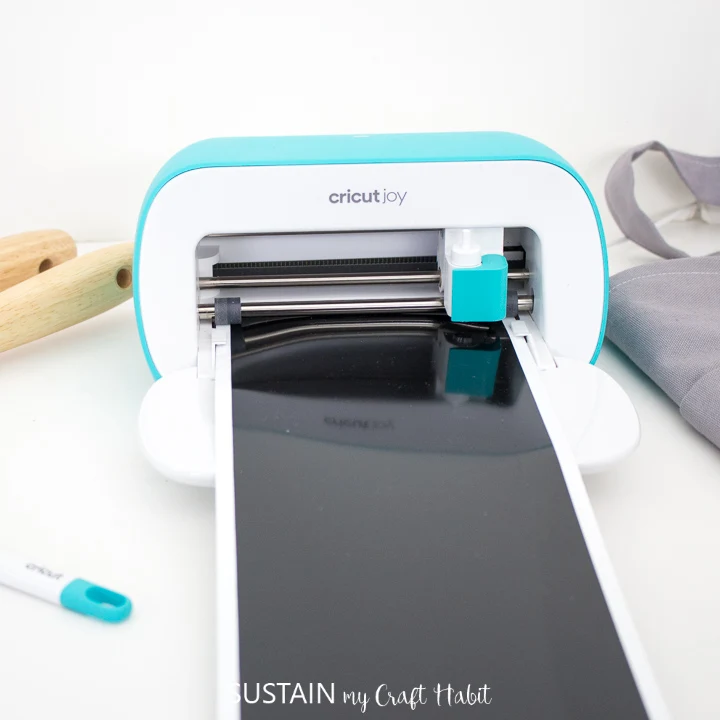
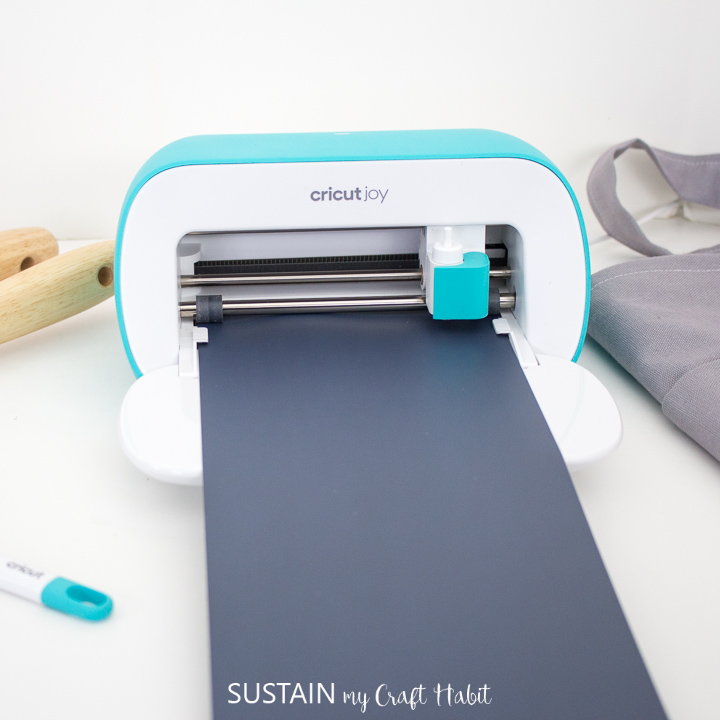
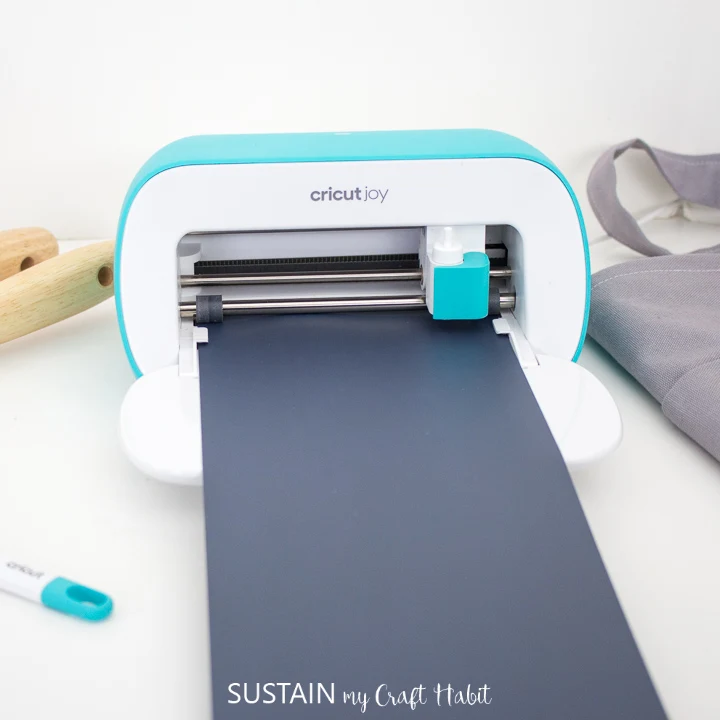
Choose “Without Mat” as the option for cutting when using Smart Vinyl.
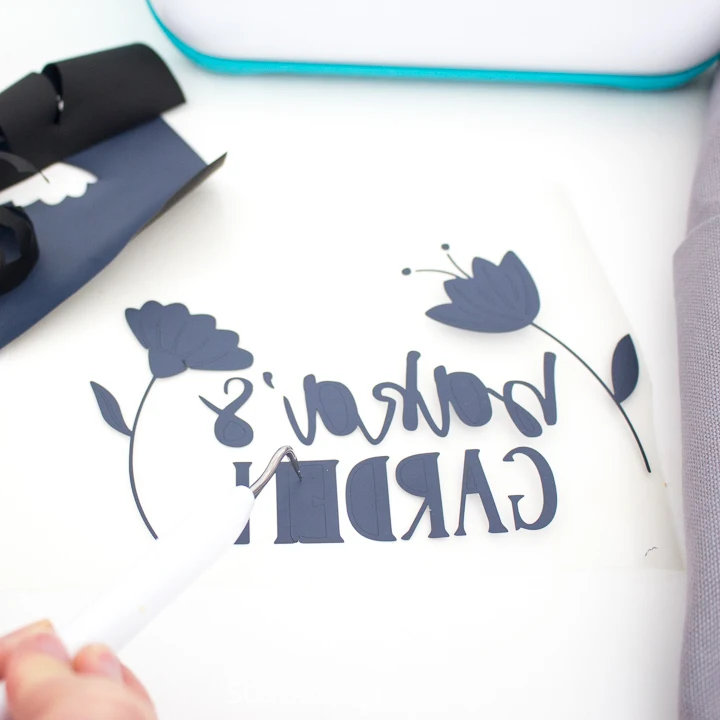
When cutting the vinyl for the gardening tools, set the material type to Smart Vinyl and when cutting the vinyl for the apron, set the material type to Smart Iron On Vinyl. Be sure to click the “Mirror” toggle button to on. This is necessary for ALL iron on vinyl cuts.
When prompted, unload the vinyl from the cutting machine.
Weeding the Cut Images:
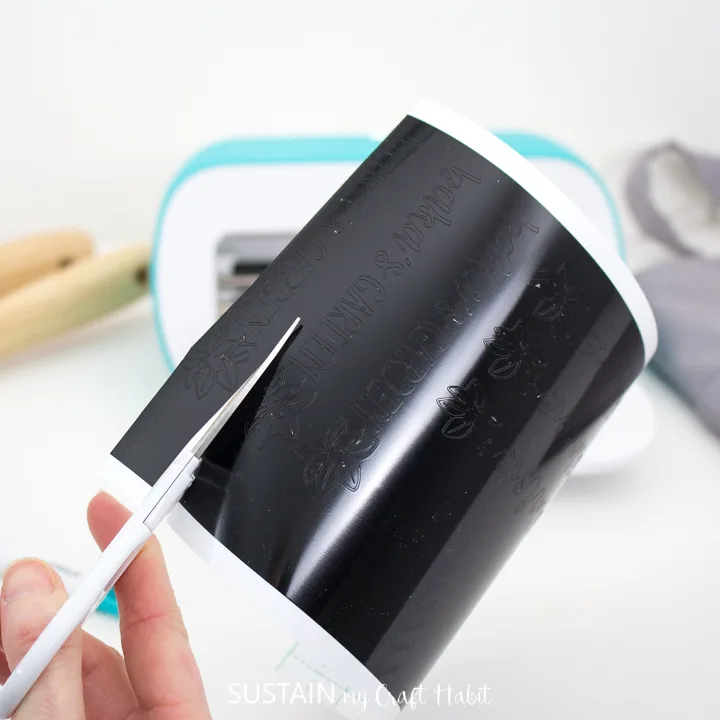
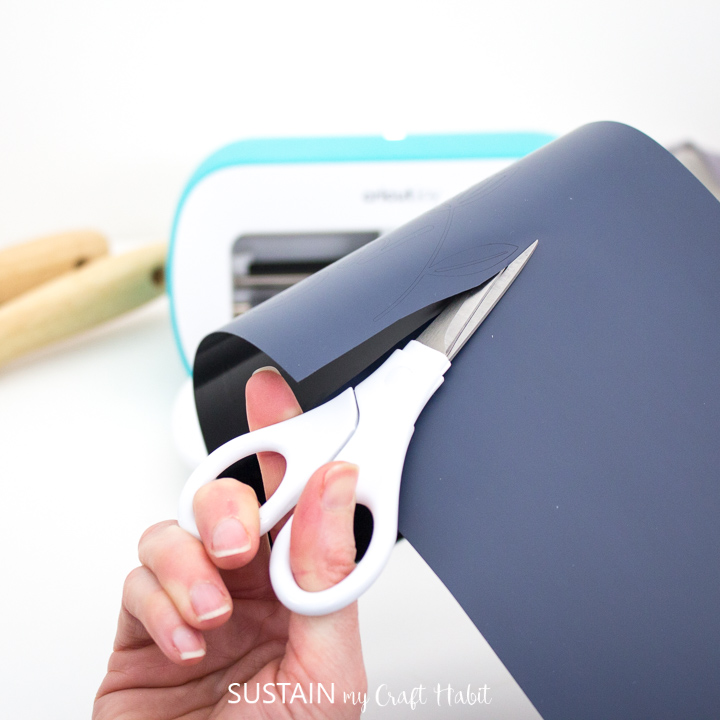
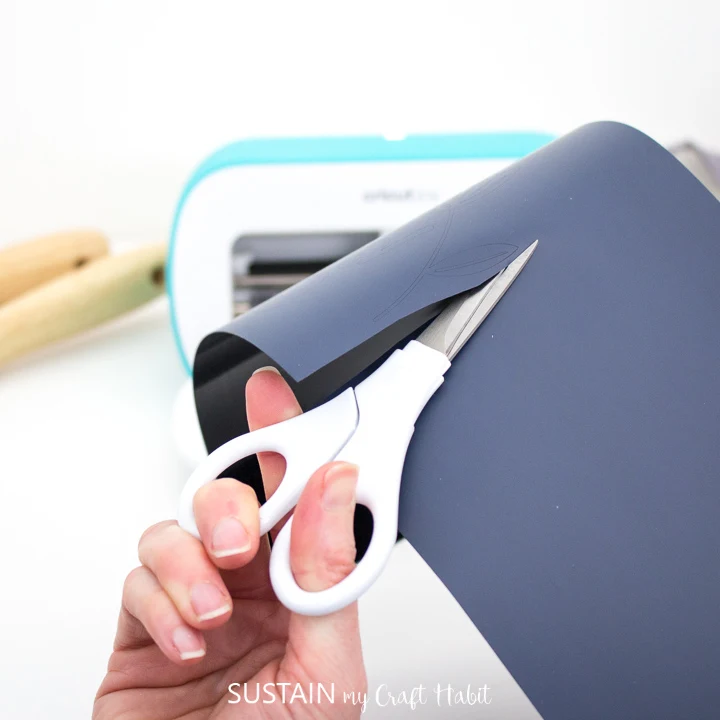
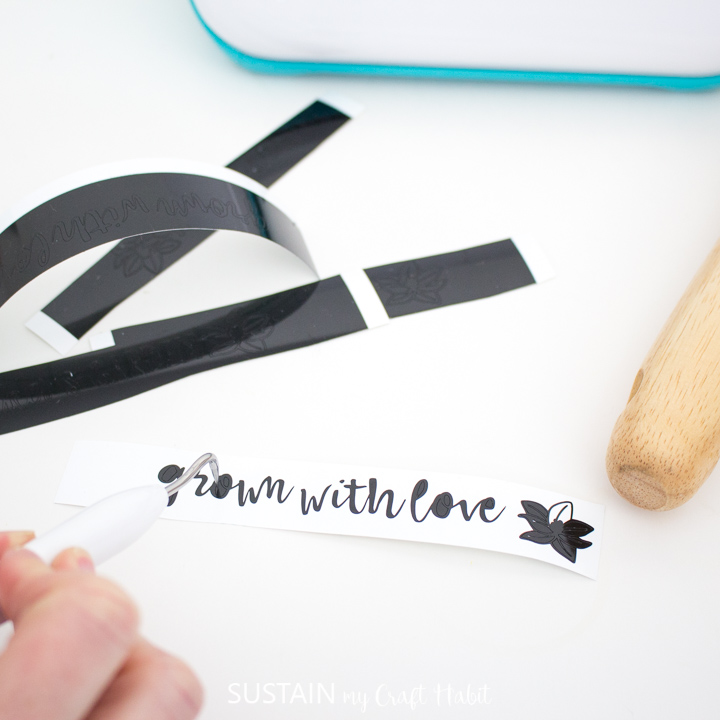
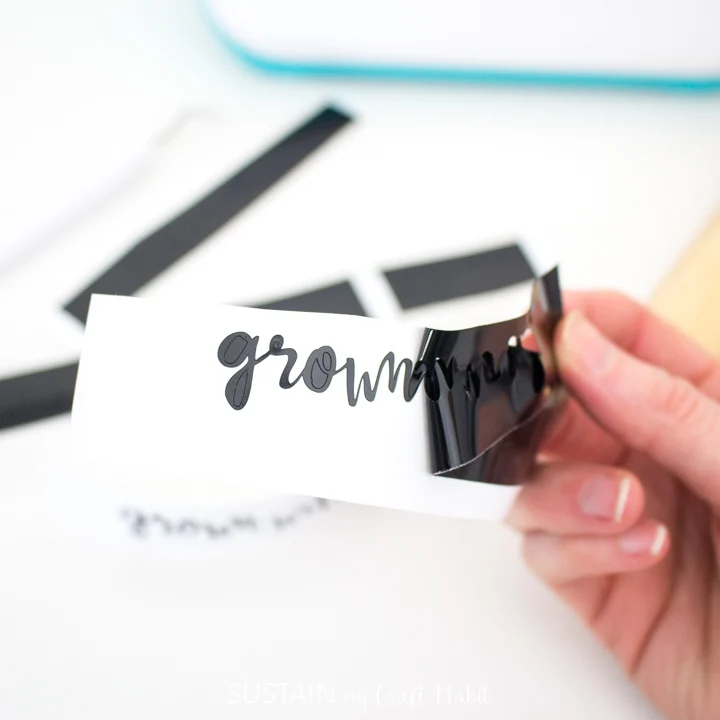
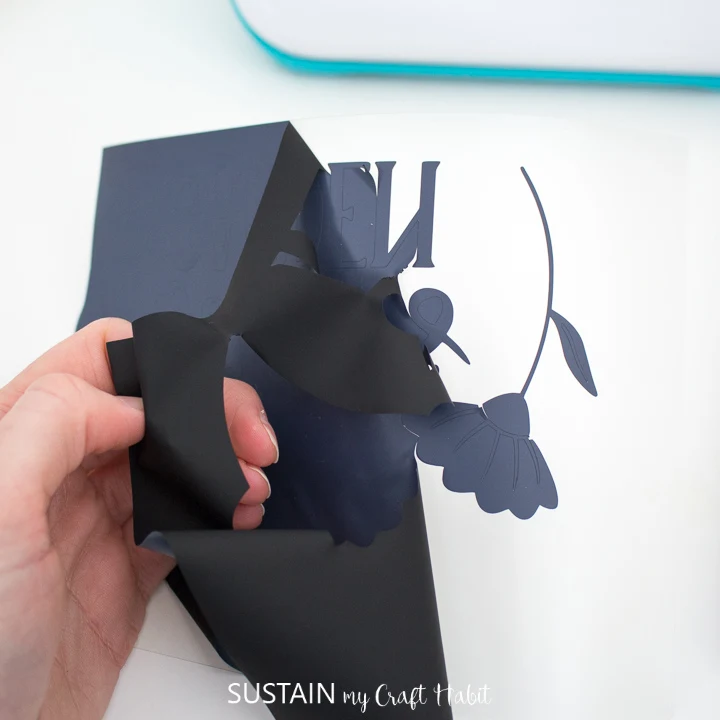
Cut around the phrases and then peel away the excess vinyl. Afterwards, use a weeding tool to remove the smaller vinyl pieces within the images and discard.


Applying the Vinyl to the Gardening Tools
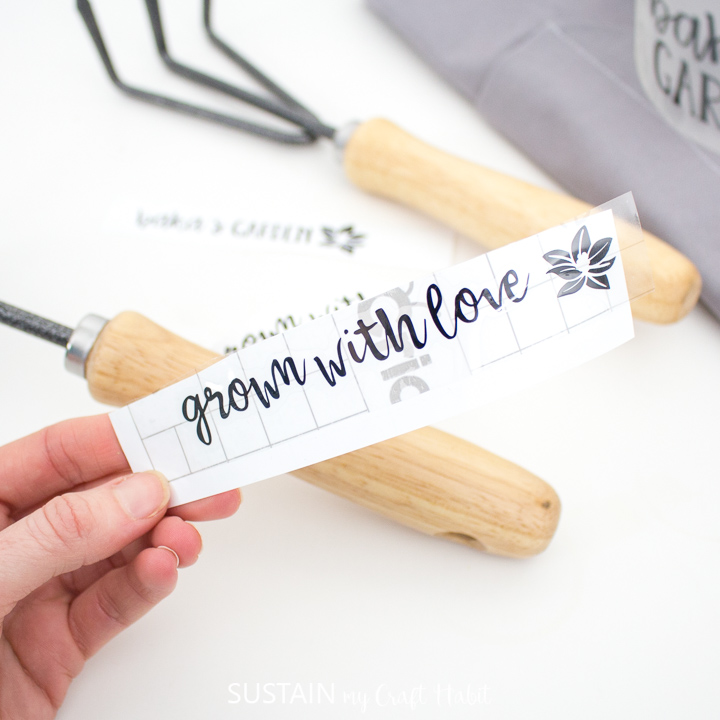
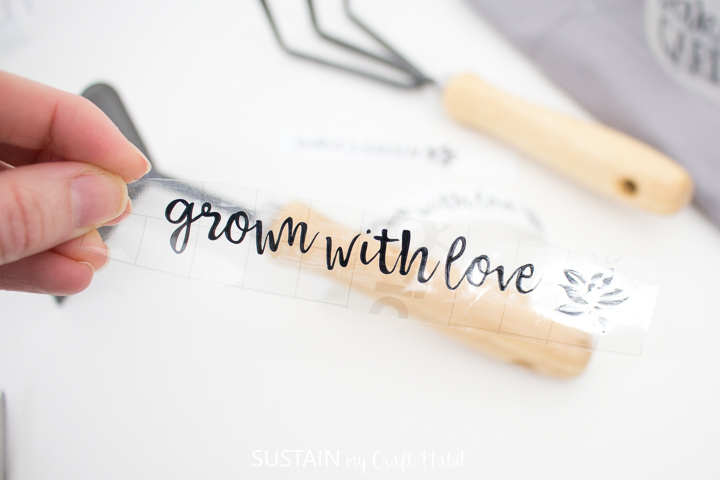
Cut a piece of transfer tape a bit larger than the size of the phrase. Peel away the transfer tape backing and place the transfer tape overtop of the phrase. Gently rub the vinyl to help it stick to the transfer tape.

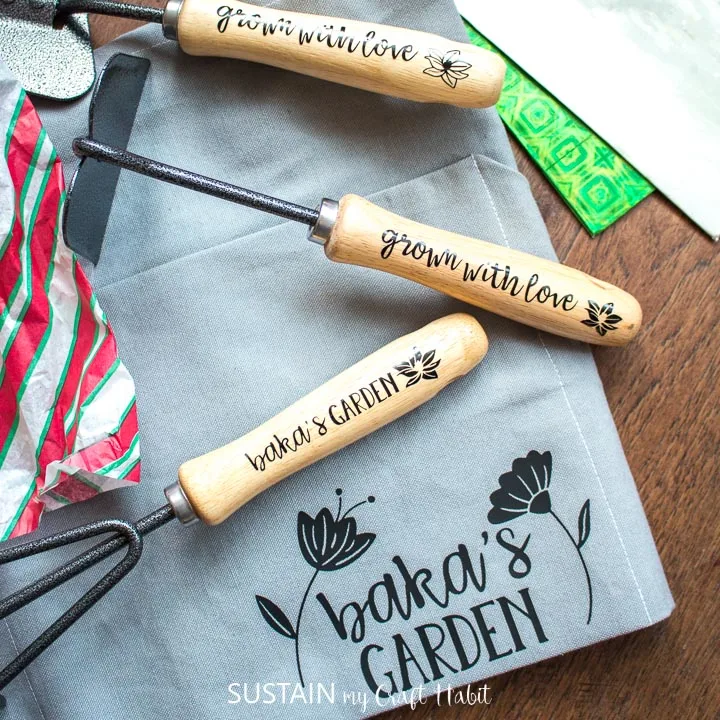
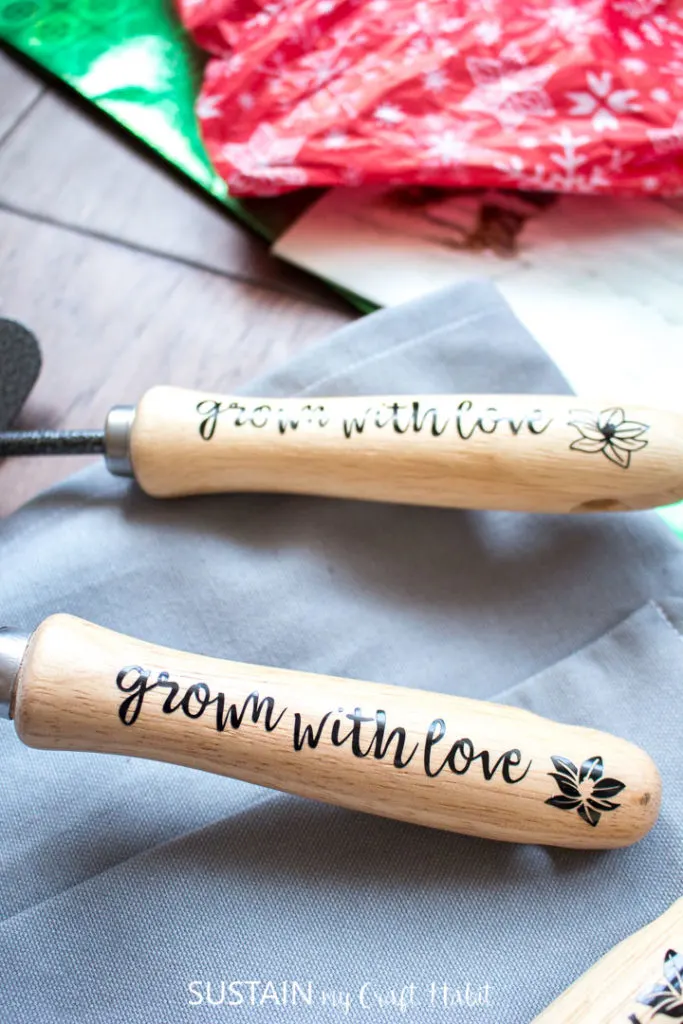
Another nice thing with the Design Space images is you can alter the look of them just be weeding away the outline or the filled in sections. See the difference between the two weeded Smart Vinyl images below, how cool!


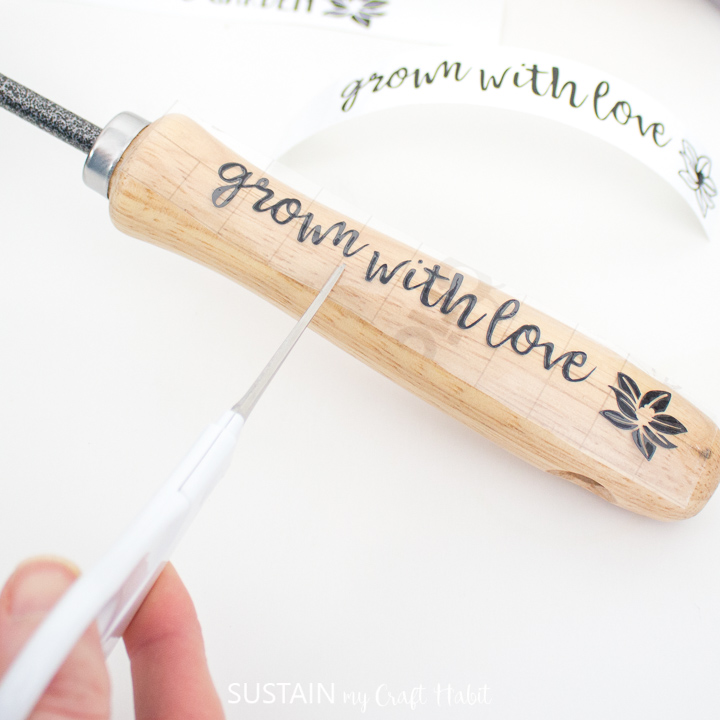
Peel away the vinyl backing and place the image on to the wooden handle. Since the handle is curved, I had to clip the transfer tape around the phrase to help it lay flat.

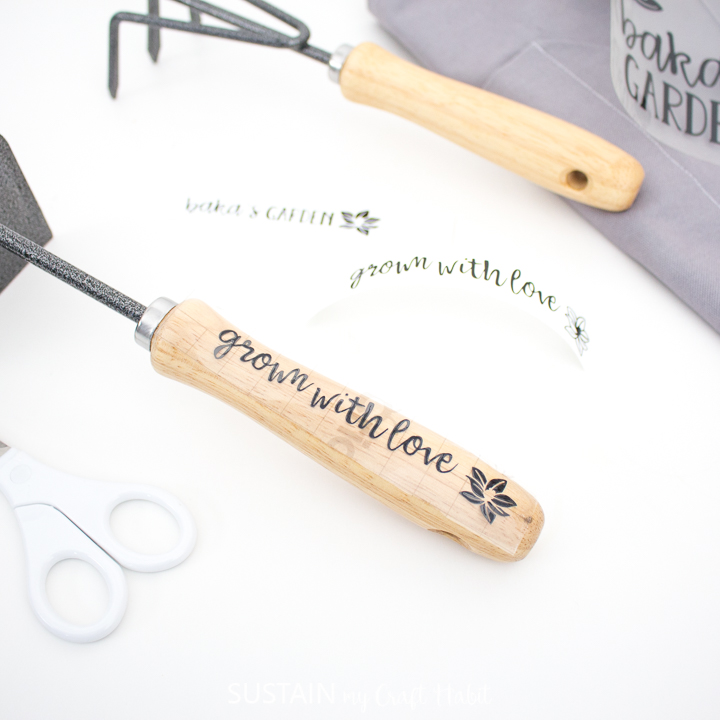
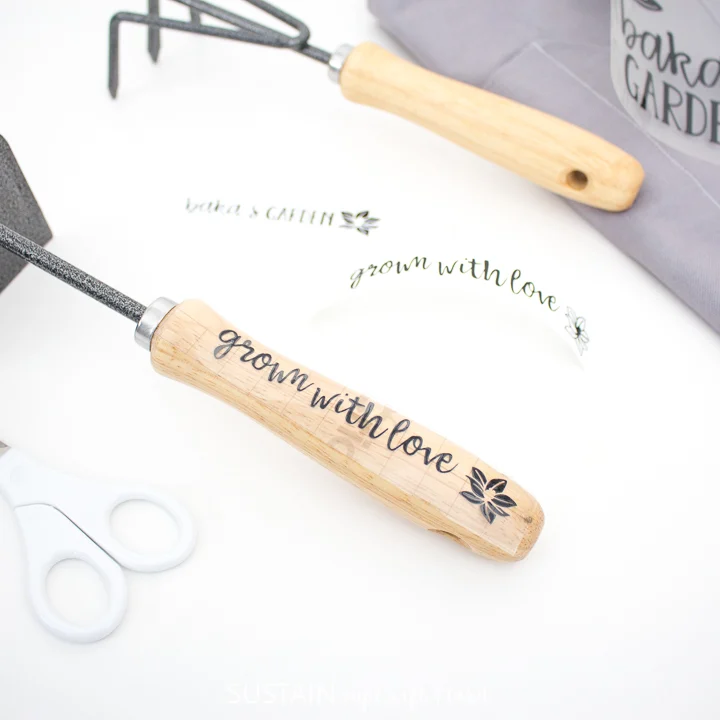

Peel away the transfer tape.

Applying the Image with the Cricut EasyPress Mini:
Position the mat or a towel on a flat surface. Set the temperature and time on the machine following the chart for the type of vinyl and material being used or use this EasyPress Interactive Quick Reference Guide. For a 100% Cotton apron and Smart Iron-On Vinyl, set the EasyPress Mini to medium heat.
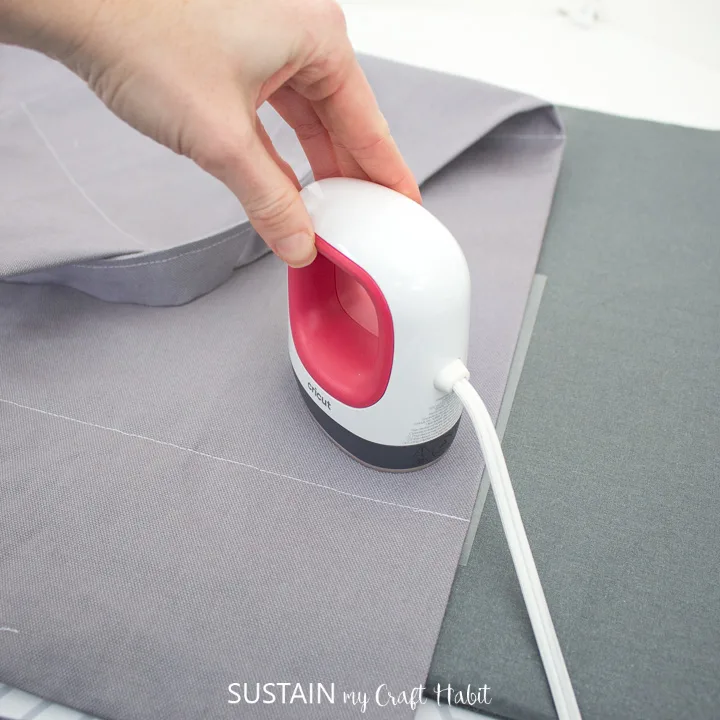
Determine where you will be placing the image and preheat the apron in that spot for 5 seconds. This will prep the fabric for the vinyl, removing all excess moisture as well as help to remove any creases and wrinkles from the fabric.
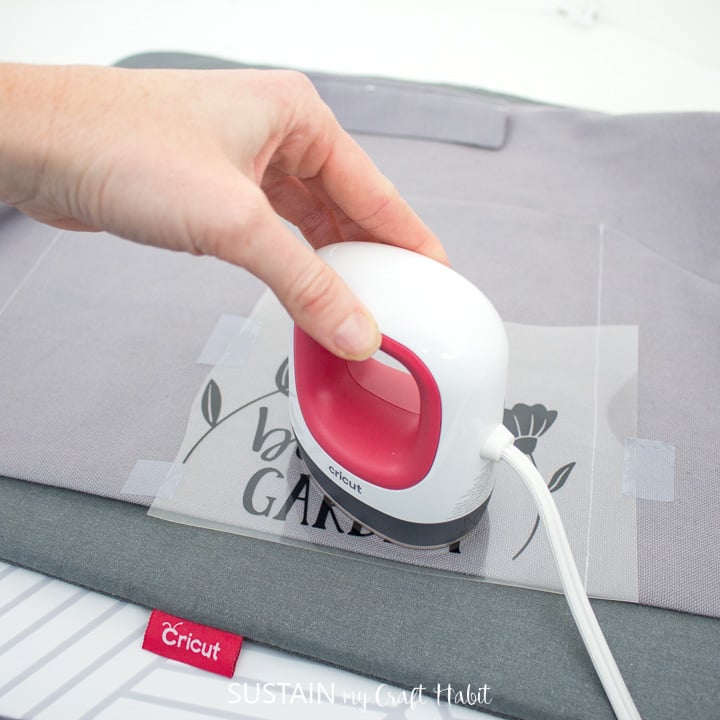
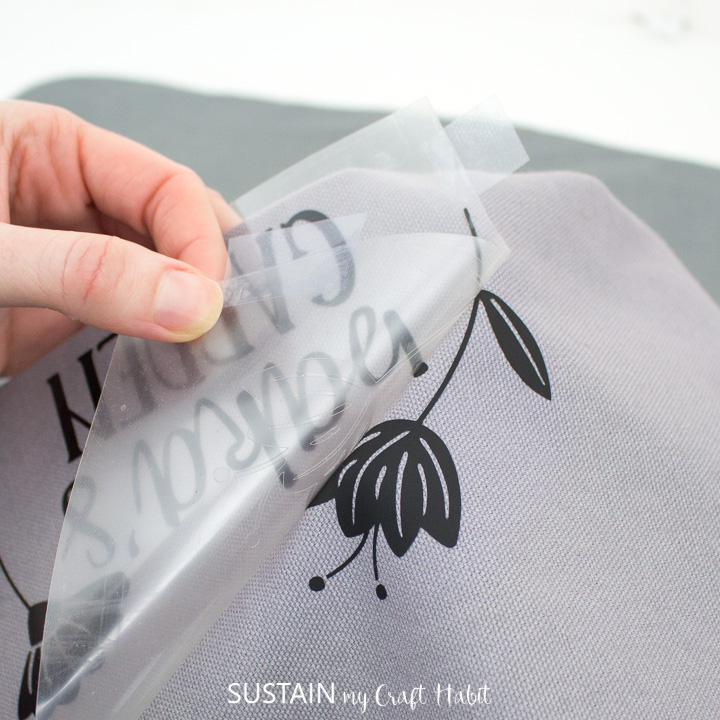
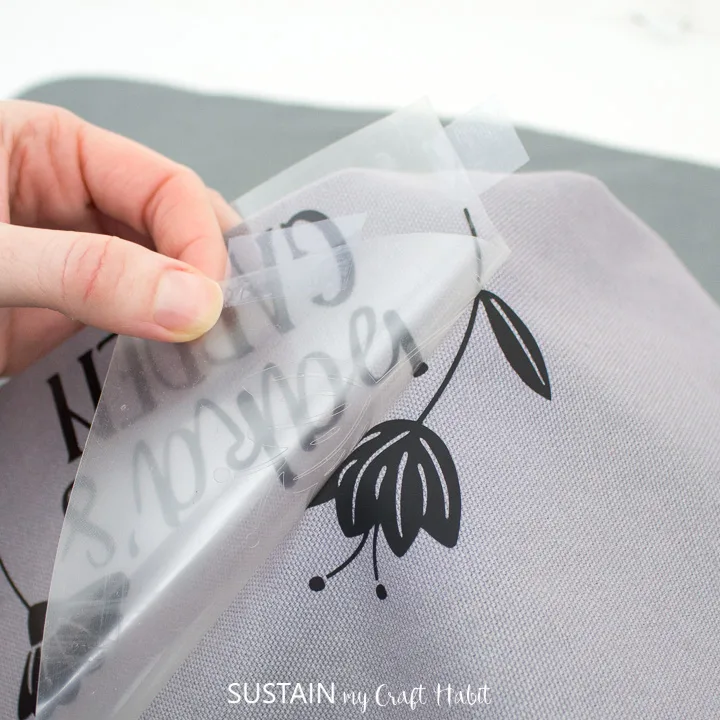
Place the phrase on the apron with the shiny side up.

Press the image on to the apron for 25 seconds, constantly moving EasyPress Mini as you press.

Turn the apron upside down and apply heat for another 15 seconds.

When cool, carefully peel away the plastic cover and discard. Tip: Make sure you do not place an iron or the EasyPress Mini directly over the vinyl without the protective plastic cover.
We can’t wait to put all the gardening tools and apron in a gift bag to give to our beautiful and talented mom!

And if you’re looking for something for dad, we have a whole collection of personalized gifts for him using the Cricut Maker.

Like it? Pin it for later!

CRICUT PROJECTS: Get access to our resource library filled with SVG cut files and other Cricut craft ideas!


Personalized Gifts with Cricut Joy
Materials
- Apron / Gardening Tools
- Design Space Images #M94CA101 / #MA165FDB / #M14791877 / #M147918AD
- Cricut Joy
- Smart Vinyl, Permanent in black
- Smart Iron On in black
- Weeding Tool
- Scissors
- EasyPress Mini
- EasyPress Mat
- Cricut Transfer Tape
Instructions
Preparing the Image:
- Open Cricut Design Space and click on the “+” sign to start a new project, opening up a blank canvas.
- Search images #M94CA101 / #MA165FDB #M14791877 / #M147918AD and then click on the images to insert it on the canvas. Reduce the sizes of the images to suit your project.
- Click on the text icon and type out the name you want to add. Change the font type to Babette and then click ungroup to be able to move the letters around. Click on the letters and move them closer to each other. Once in place, highlight the word and select weld to fuse all the lettering together for cutting.
- Reposition the phrase as you wish. Duplicate the phrases to make as many as needed.
Cutting the Smart Vinyl and Smart Iron On:
- Click on Make It and then choose “Without Mat” as the option for cutting when using Smart Vinyl.
- Set the material type to Smart Vinyl.
- And when cutting the Smart Iron On, set the material type to Smart Iron On Vinyl. Be sure to click the “Mirror” toggle button to on.
- Place the Smart Iron-On vinyl in the color of your choosing directly onto the standard grip mat with the SHINY SIDE DOWN.
- When prompted, load and unload the vinyl from the cutting machine.
- Choose Everyday Iron-On Vinyl from the list of options in the drop down menu and following the instructions prompted on the screen, cut out the vinyl.
Preparing the Cut Image:
- Cut around the images and using a weeding tool, peel away the excess vinyl.
Applying the Smart Iron On image with the Cricut EasyPress Mini:
- Position the mat or a towel on a flat surface. Set the temperature and time on the EasyPress 2 machine.
- Determine where you will be placing the image and preheat the fabric in that spot for 5 seconds.
- Place the pieces on to the fabric with the shiny side up.
- Press the image on to the fabric for 25 seconds with light pressure.
- Turn the fabric upside down and apply heat for another 15 seconds.
- Peel the plastic part of the vinyl off carefully once it cools and discard.
Applying the Smart Vinyl image:
- Cut a piece of transfer tape a bit larger than the size of the phrase.
- Peel away the transfer tape backing and place the transfer tape overtop of the phrase. Gently rub the vinyl to help it stick to the transfer tape.
- Peel away the vinyl backing and place the image on to the wooden handle. Peel away the transfer tape