 Hello friends! I wanted to share a few tips around making your own vinyl decal for a mirror (or window). This is one of those little projects that absolutely anyone can do and it can add so much personalty and joy to a space.
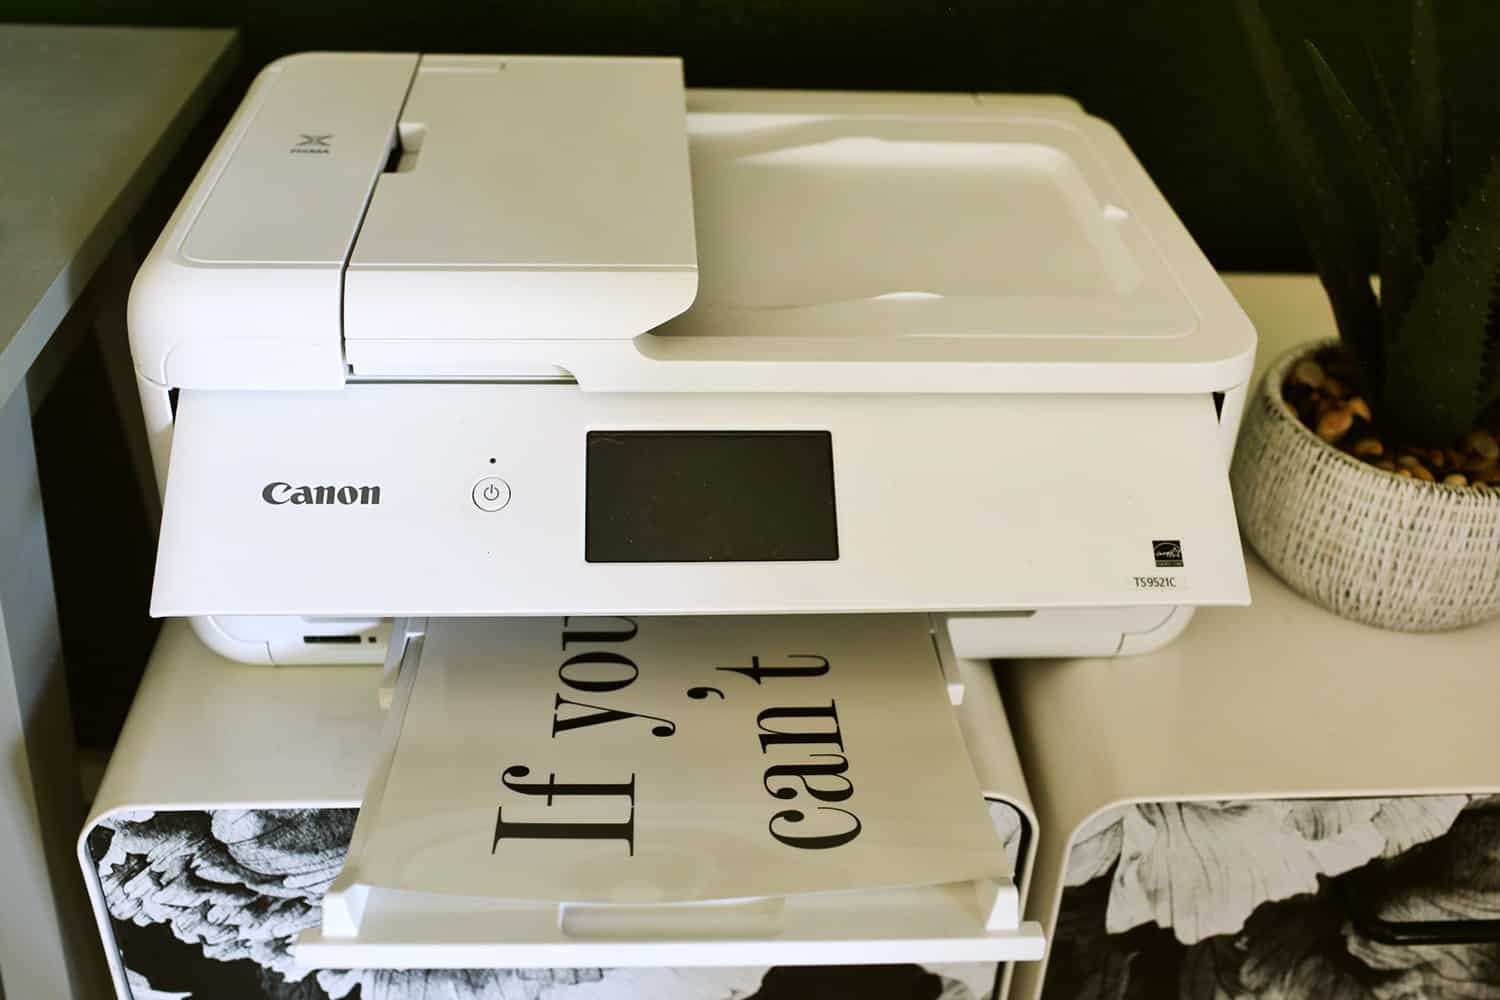
I worked with Canon USA to create this post, printing with my trusty PIXMA TS9521C. I know you’ve heard me talk about this printer before because I’ve had it a long time and I use it for EVERYTHING. I print small little projects like this, personal photos, and also work-related documents and things. I love this printer for its function, but I also love the sleek look and the fact that it comes in white. It sits right beside my home office desk as I use it nearly every day (especially this year!).
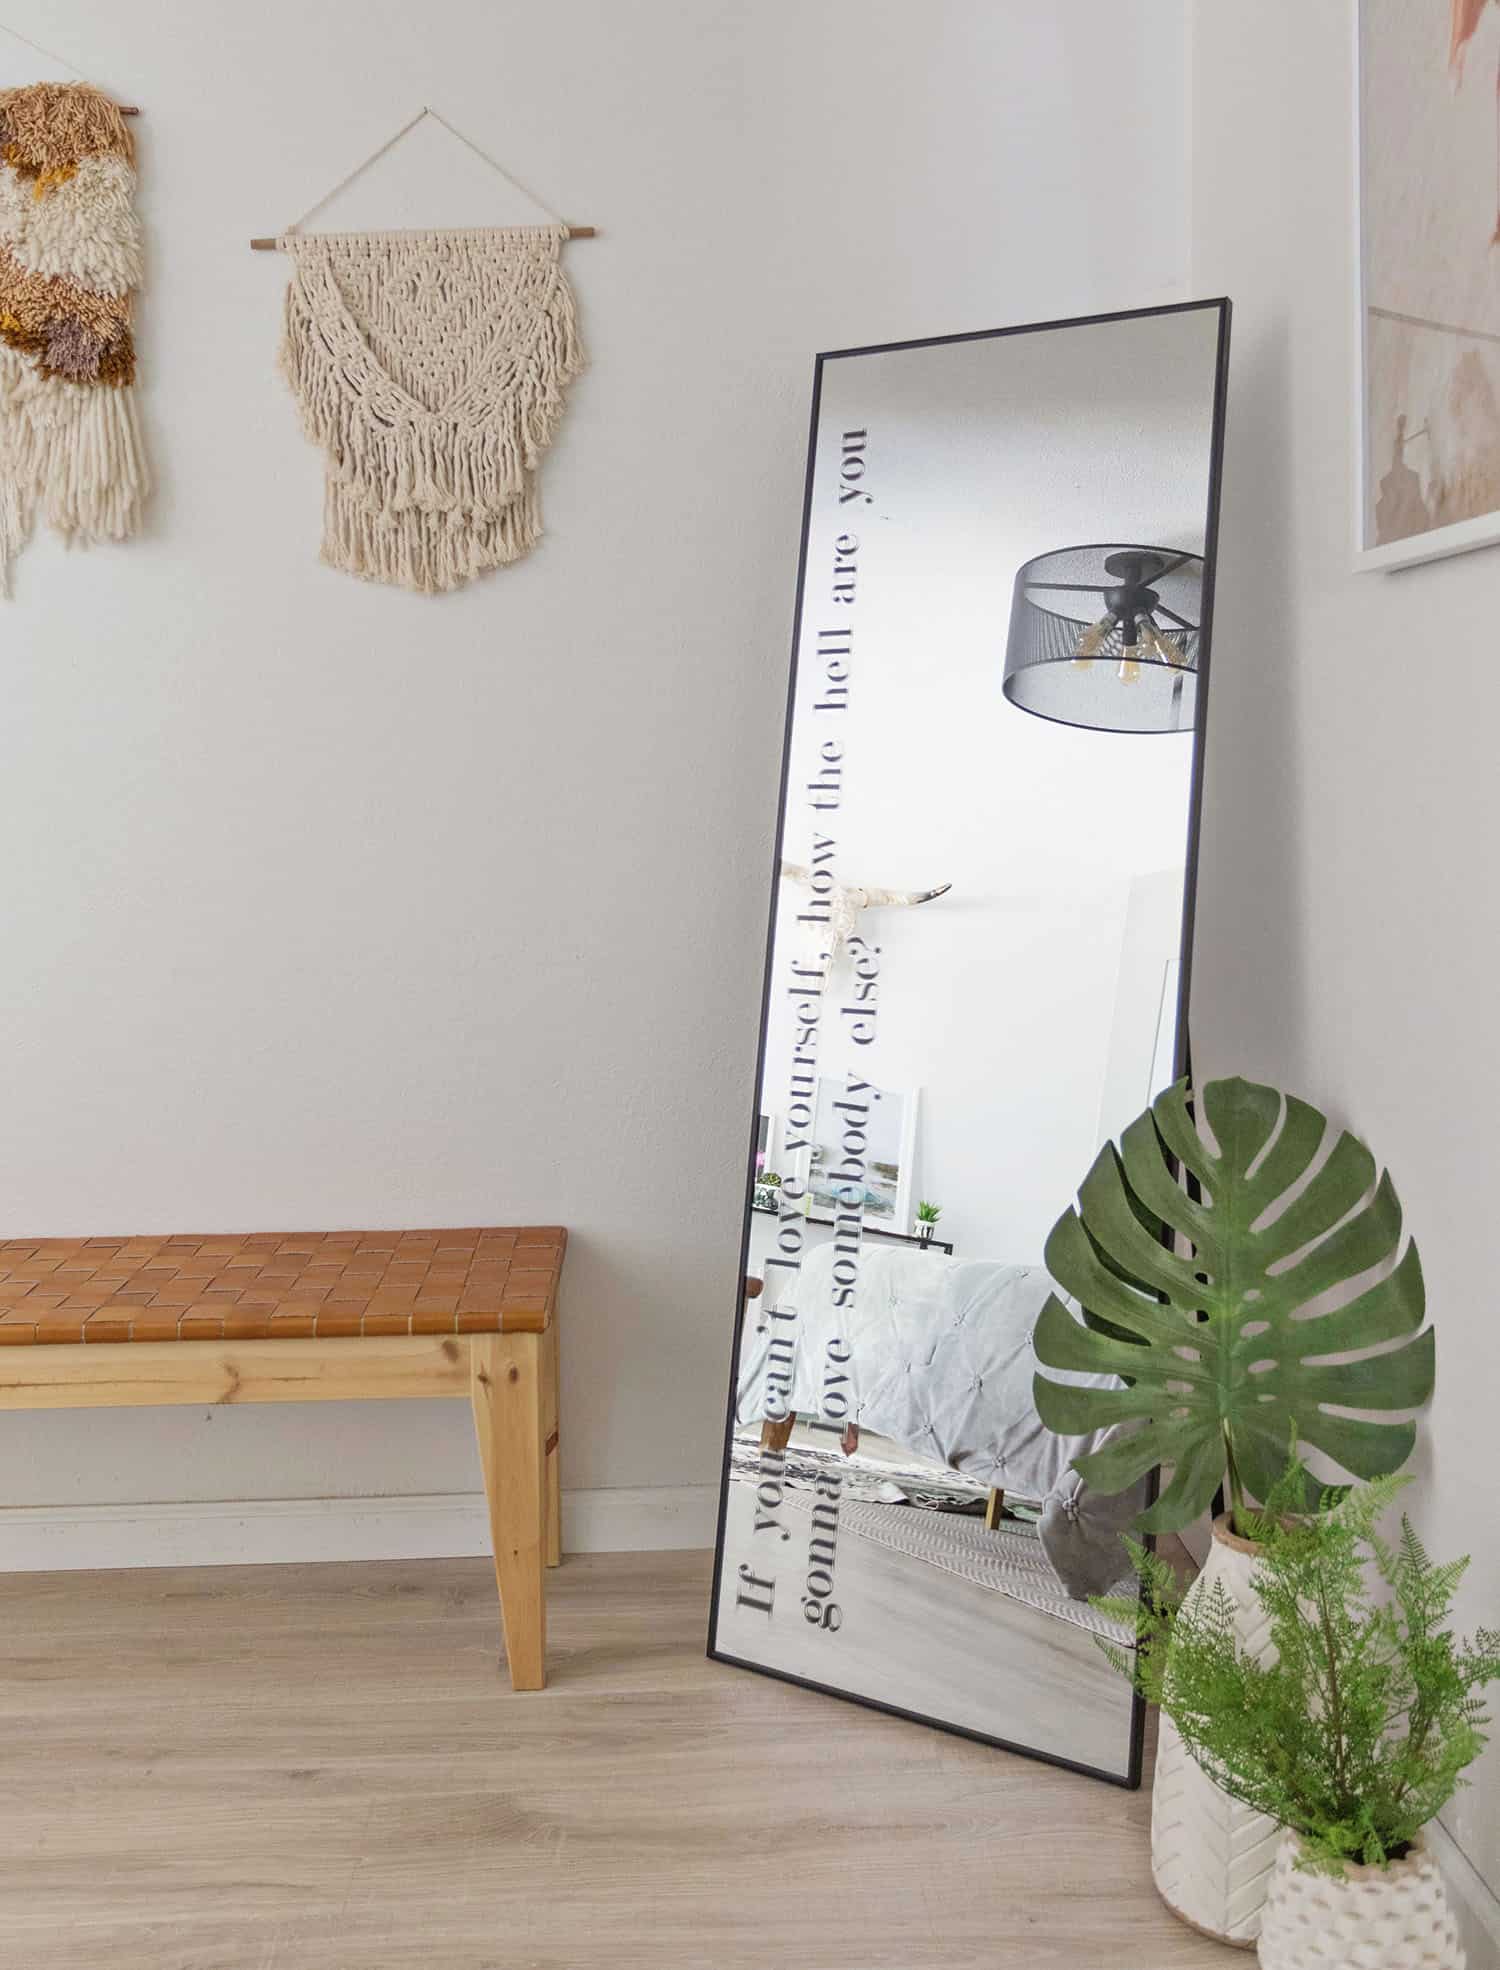
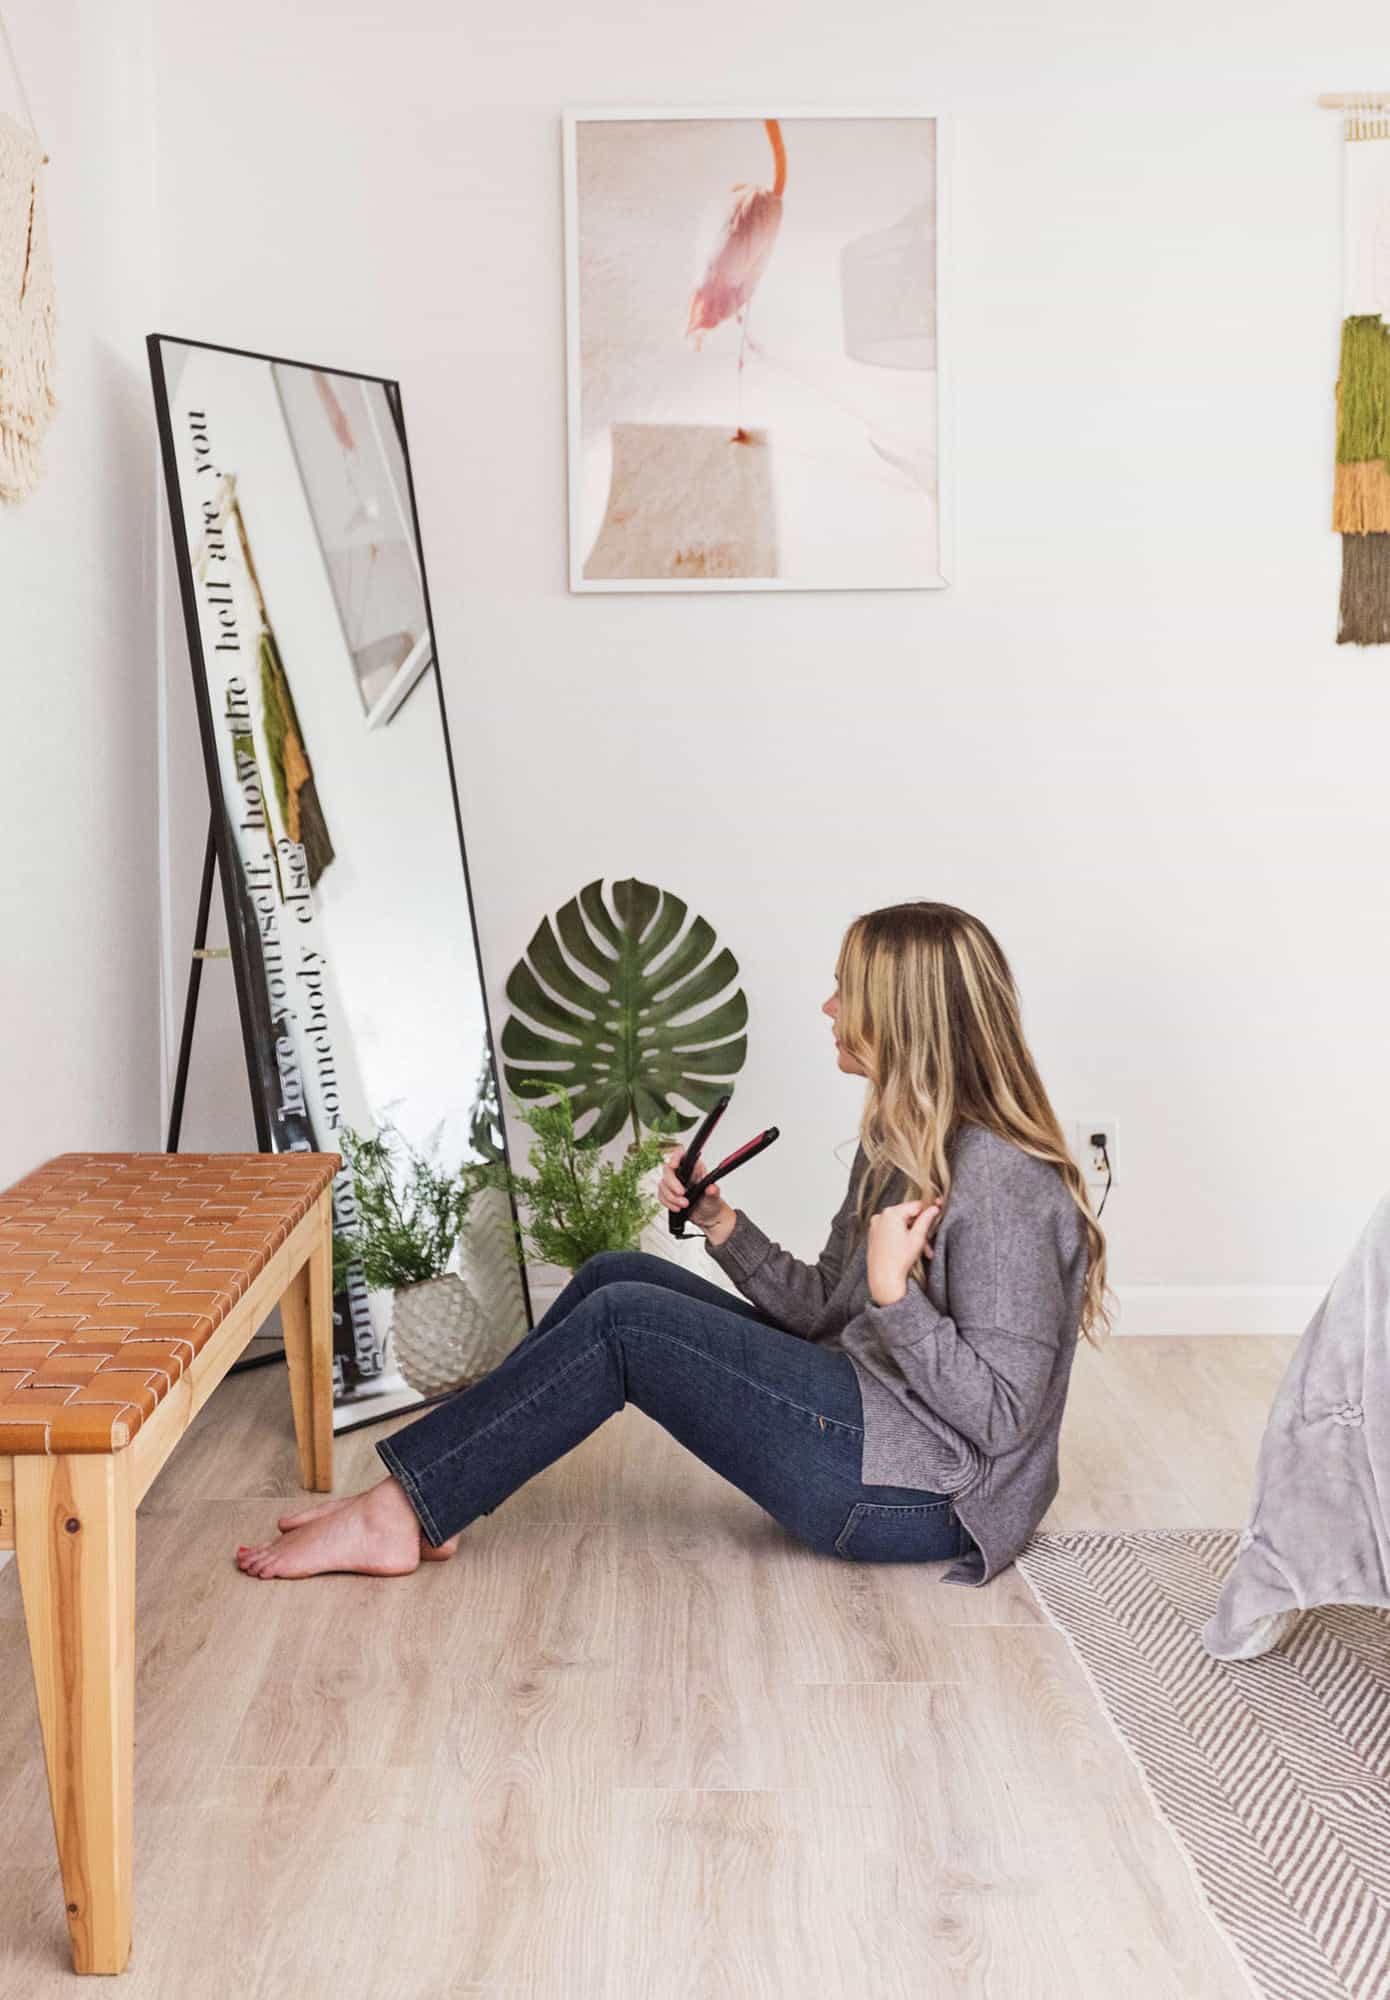
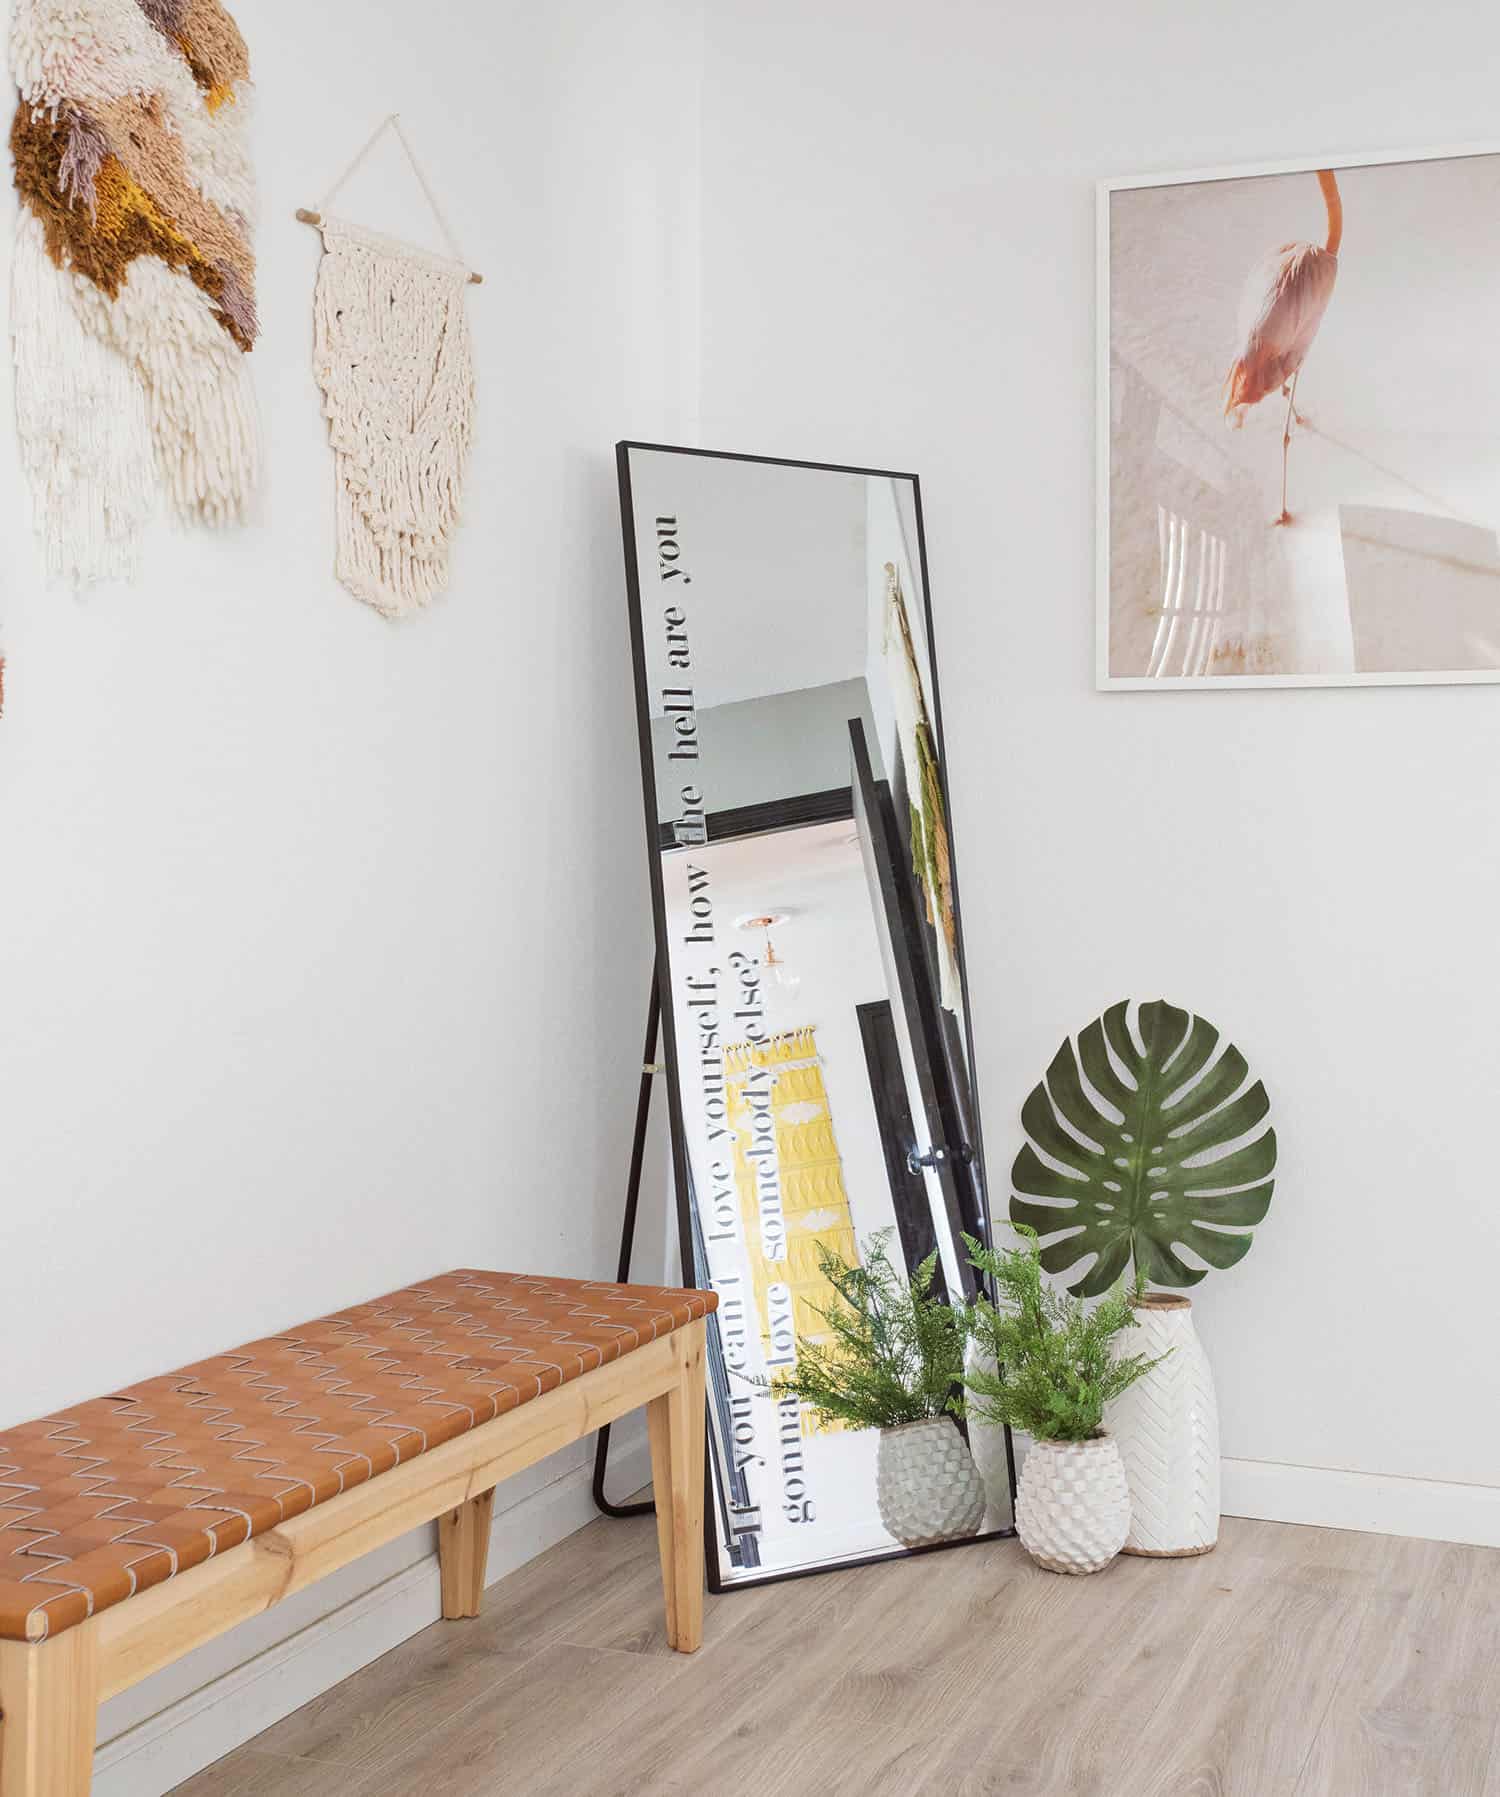
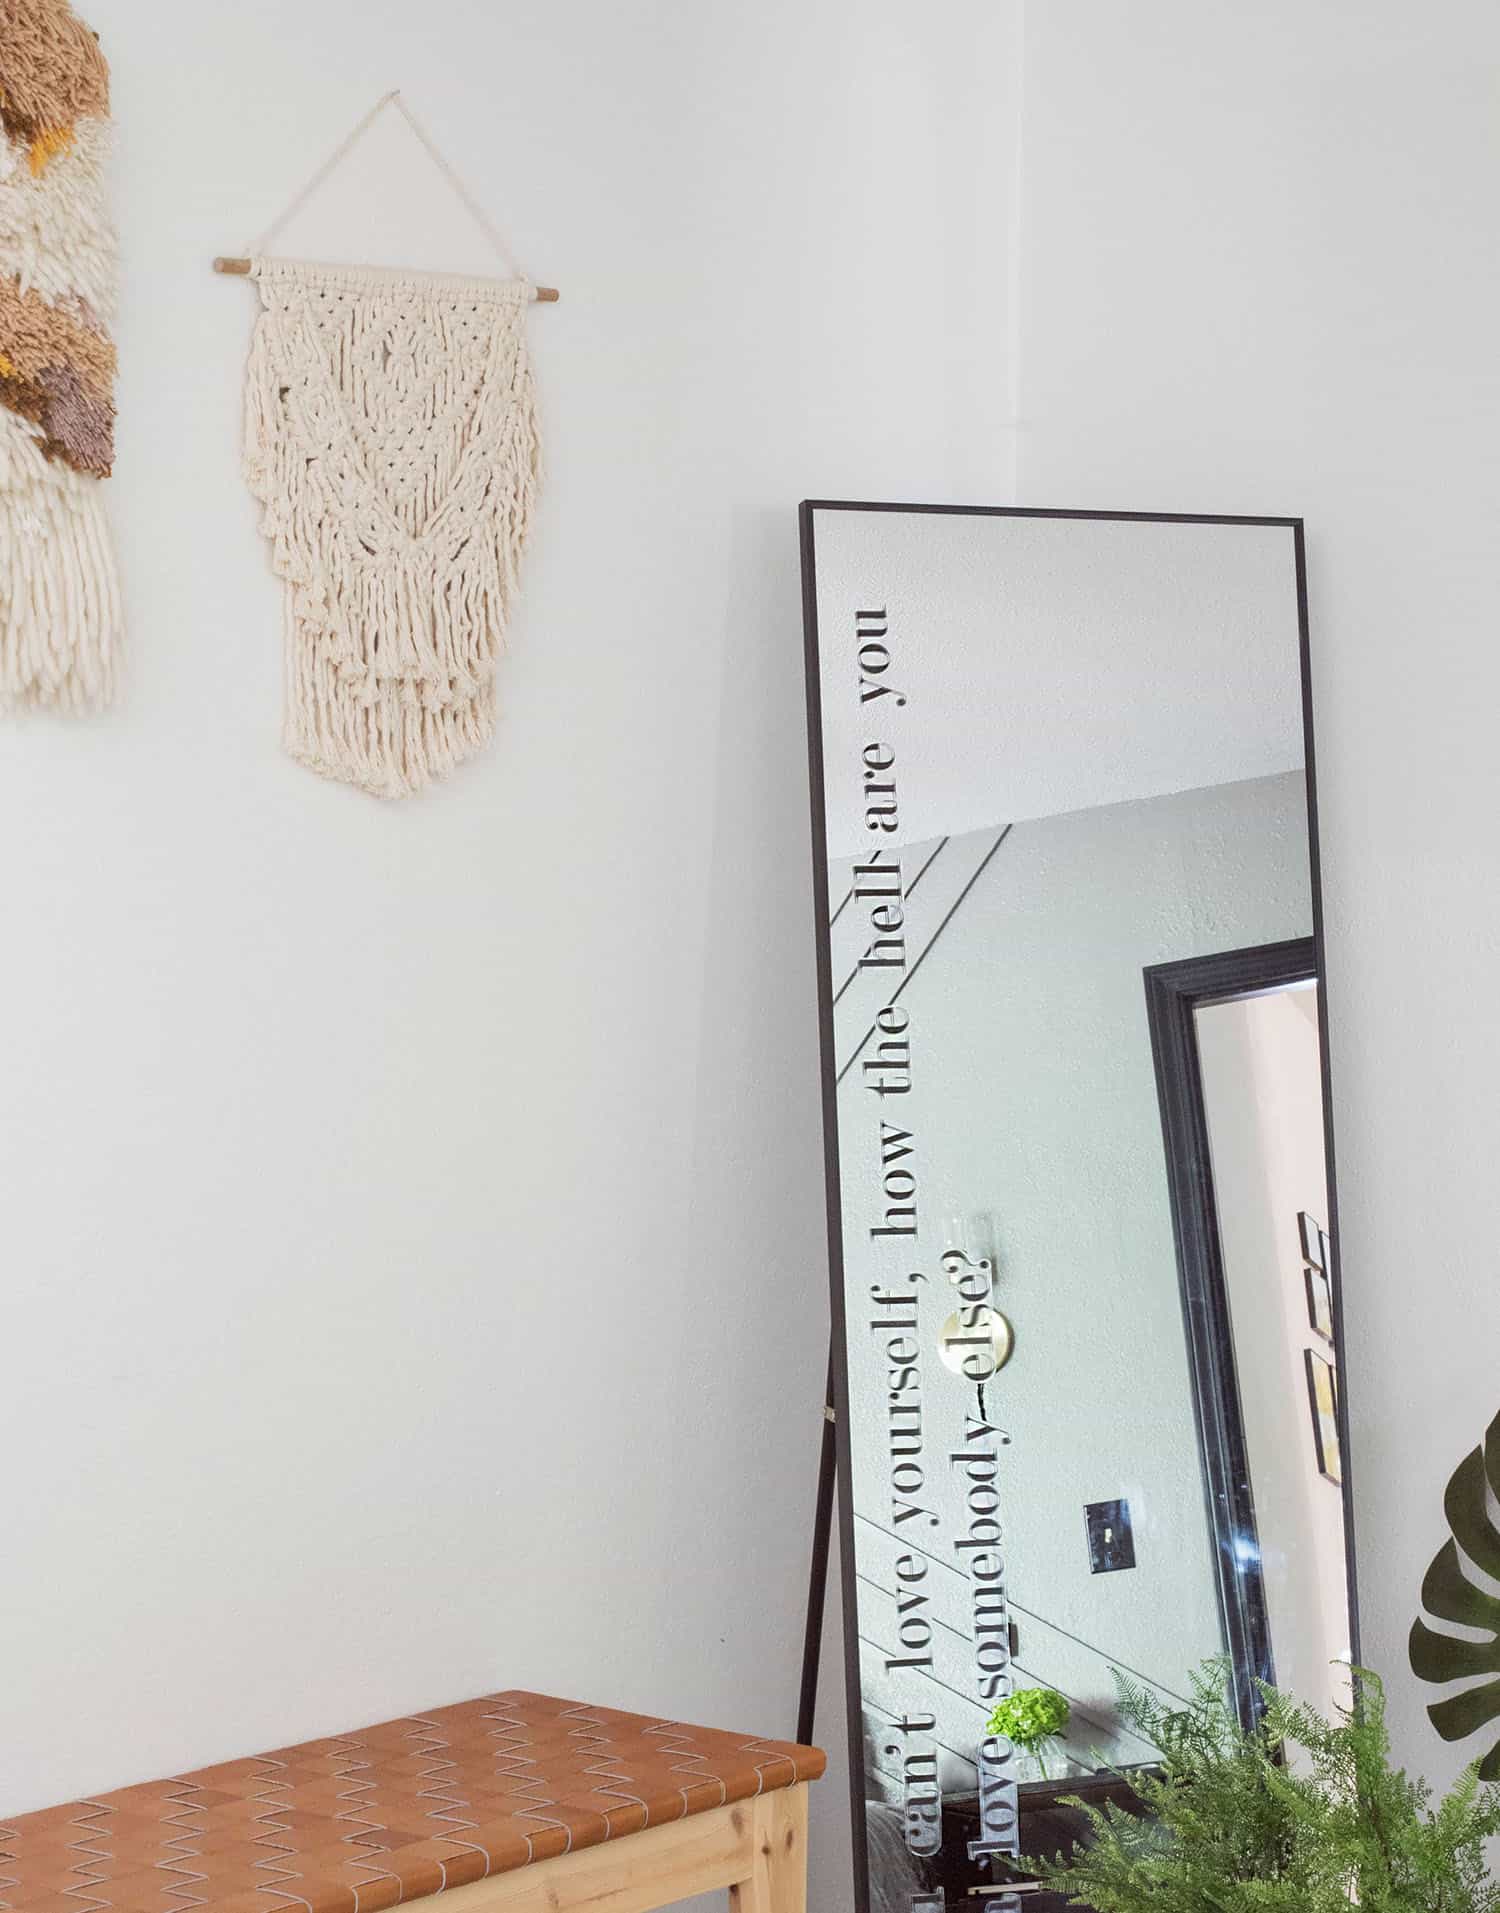 It’s a little tricky to photograph text on a mirror (as there is always something reflecting in the background, since, well, it’s a mirror). It looks great in our bedroom, but if you can’t make out all the words it’s a quote from RuPaul that says, “If you can’t love yourself, how the hell are you gonna love somebody else?” Which I love! It’s such a simple and powerful statement. Plus, it doesn’t hurt to have a little reminder to love yourself when looking at yourself in the mirror. Like most people, I struggle with some self doubt and negative self talk now and again, so I love having RuPaul telling me to knock that off. Ha. I for sure want to live a life full of love for others and so I think he’s right, it has to start with ourselves first.
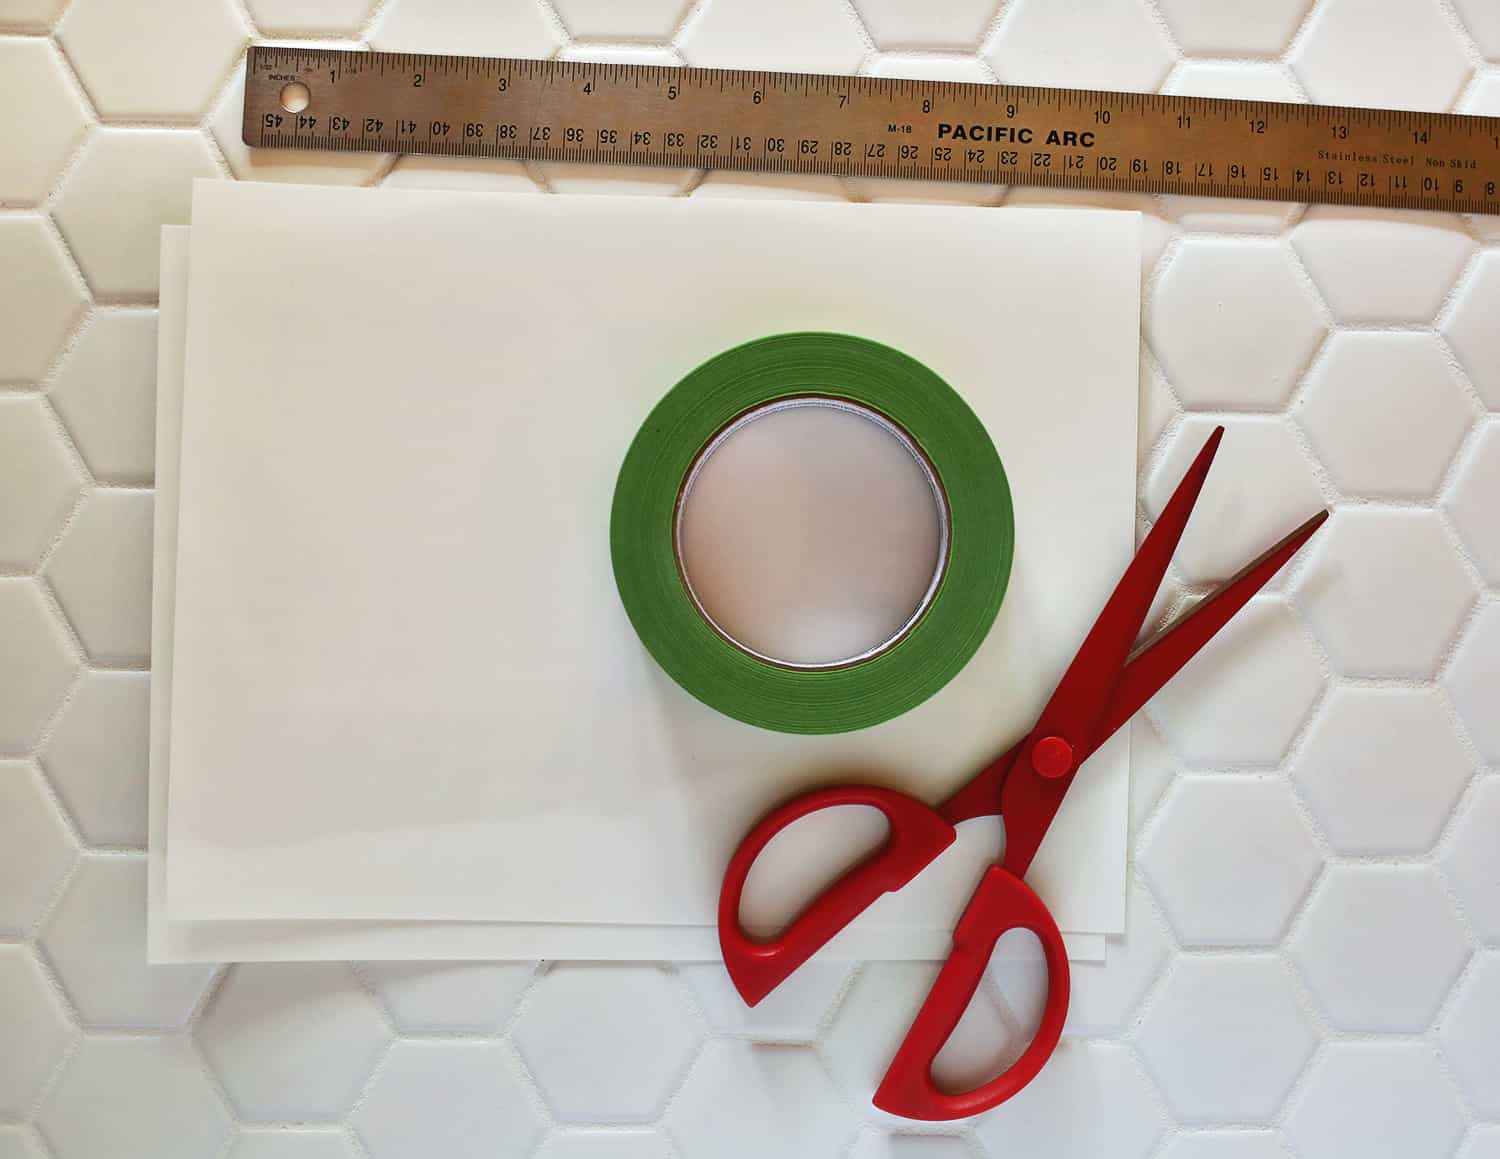 As I mentioned above, this project is super simple. Here’s what you need:
–Canon PIXMA TS9521C
–inkjet compatible vinyl paper
-scissors or X-Acto knife
-masking or painter’s tape
-ruler
And of course you’ll also want to know what mirror or window you plan to add your design to. You could also add this to the inside of a window or other glass or non-porous surfaces. Anyway, slick where you feel you need to add a little pep talk. 🙂
 Step One: Plan your design. You may want to print a few of the words or a portion of the design on plain copy paper first to make sure it’s the size you want for your mirror/surface.
Step Two: Once you have your design ready, print to your vinyl paper.
 Step Three: Cut out your design. This is where you may want scissors or even an X-Acto knife if you want to get super precise so only your printed design will show. Up to you.
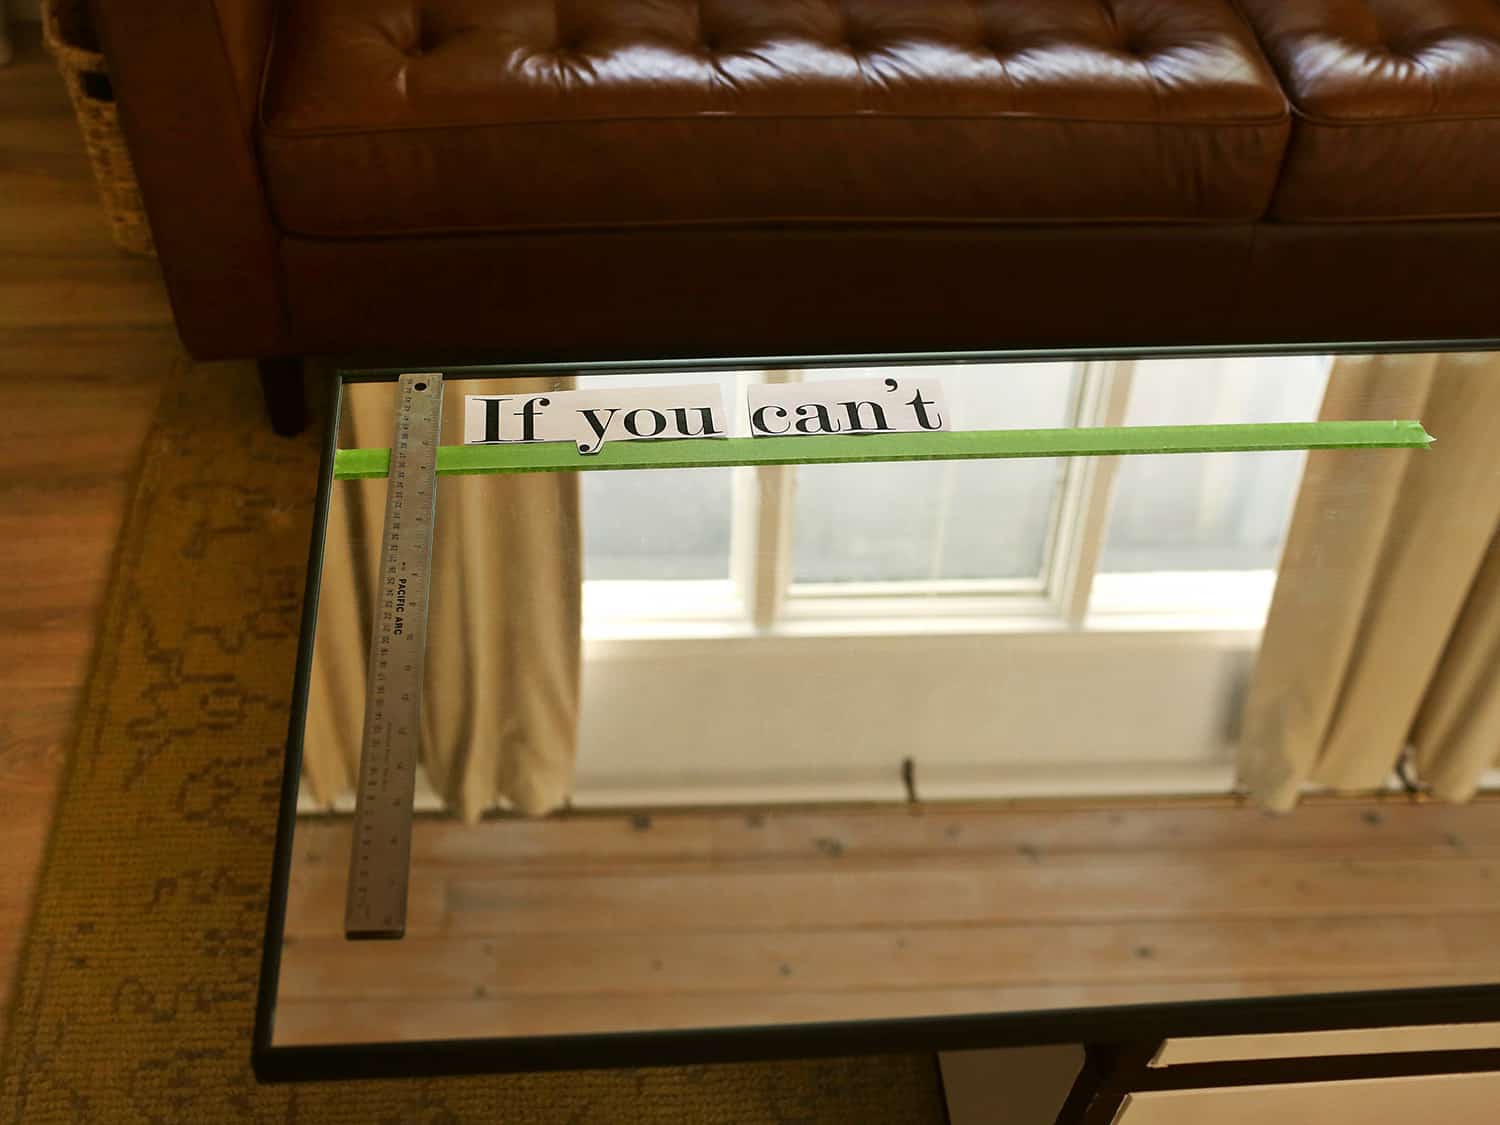
Step Four: Add the design to the mirror. To make sure the words were straight, I measured from the side of my mirror and added painter’s tape so I could use that as a guide while I adhered the vinyl pieces. Then peel the tape away once you’re done and clean the glass gently to remove any fingerprints or smudges from working.
 That’s it—simple! You could do any quote or phrase you want (and here’s a roundup of our favorite full length mirrors). You could also print a design or a mixture of the two. With my leftover vinyl papers, I was thinking about making a moaning Myrtle decal for my bathroom mirror for Halloween next month (all you Potter fans will get that reference). Lots of ways to change this up. Enjoy and remember to love yourself, friends! -Emma
Credit // Author: Emma Chapman. Photography: Janae Hardy and Emma Chapman. Photos edited with A Color Story Desktop.

AMEN! 😀
If you get that Myrtle decal you should do a copy for the Harry Potter Air BnB!
You read my mind. 🙂
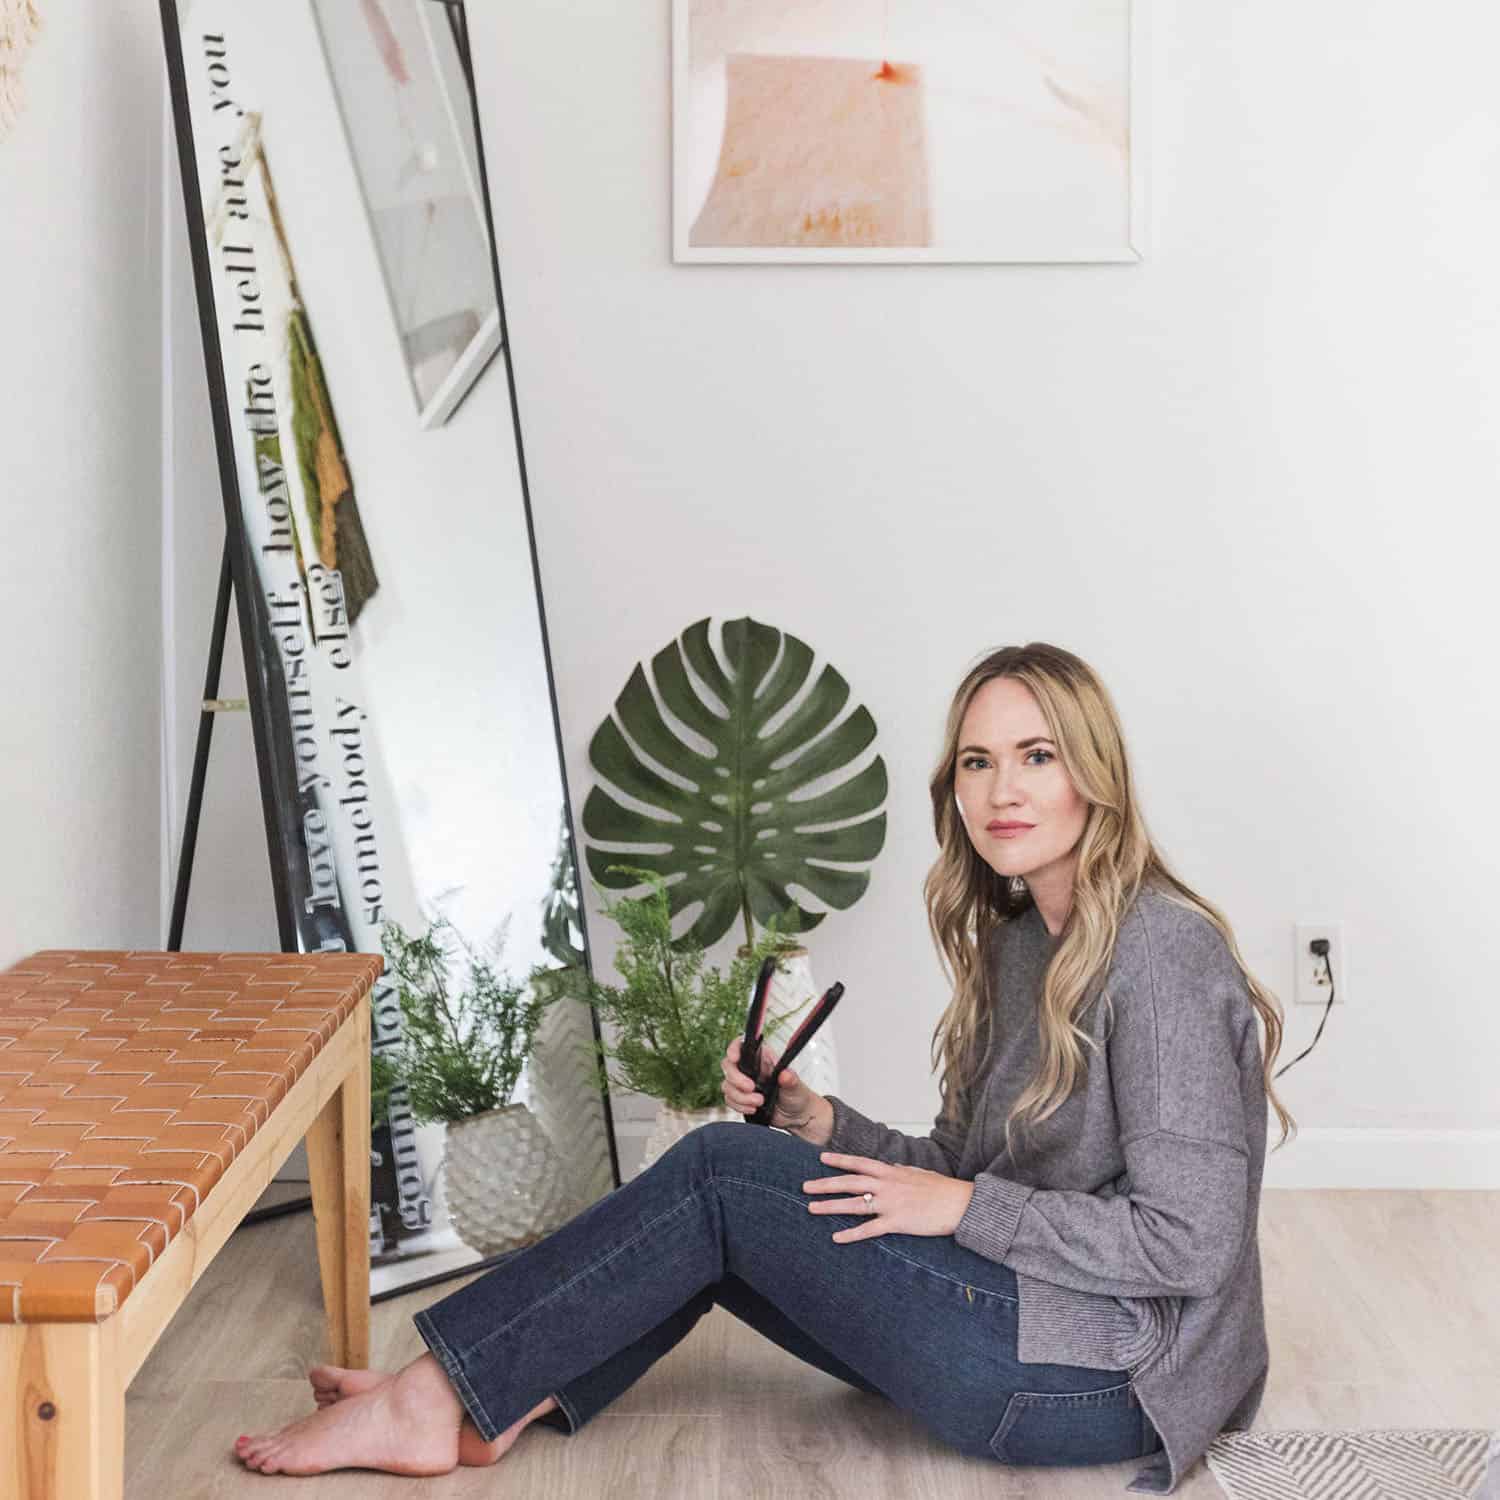
Emma, you look stunning in these pictures! I love the outfit you have on here—so simple and stylish.
Thank you! You just made my day!
What a cool project! I can see so many applications for this! I don’t have a cricut or silhouette machine, but could do similar projects this way. Great for DIY labels too, art journaling, scrapbooking. My mind is spinning with ideas, thanks so much for the inspiration and technique. So this vinyl paper is sticky on the back correct? Do you know if these can be removed easily and if they leave a residue? For projects you might want to change out and not be permanent. Thanks again, very creative!
Yes, it’s sticky on the back (you don’t have to print text ‘mirrored’ like you do a fabric transfer).
Yes, it can be removed if you want to change out the design.
Good luck! Can’t wait to see what you create.
Thanks so much for your reply Emma!