How to stencil concrete with spray paint
Want to learn How to stencil concrete with spray paint? We’re spilling all of our tips and tricks and It’s easier than you think!
How to Stencil Spray paint concrete
Let’s first talk stencils. Lolly Jane is no stranger to stenciling. Besides making signs from stencils for the last decade, we’ve stenciled nearly every surface from walls to rugs and furniture and floors and have learned a thing or two along the way! First, quality is key to keeping this simple how-to simple! Don’t skimp on a flimsy stencil or cheap paint, the real deal will make your project go much smoother and much faster, guaranteed! This is the first time we’ve spray painted over a stencil vs. latex paint and you guys: GAME CHANGER. No more gallon of paint, paint tray, paint roller, painters tape and paint brush for bloopers… hello spray paint and spray adhesive. Yes, that’s really it. Well, that and a stencil. 😉
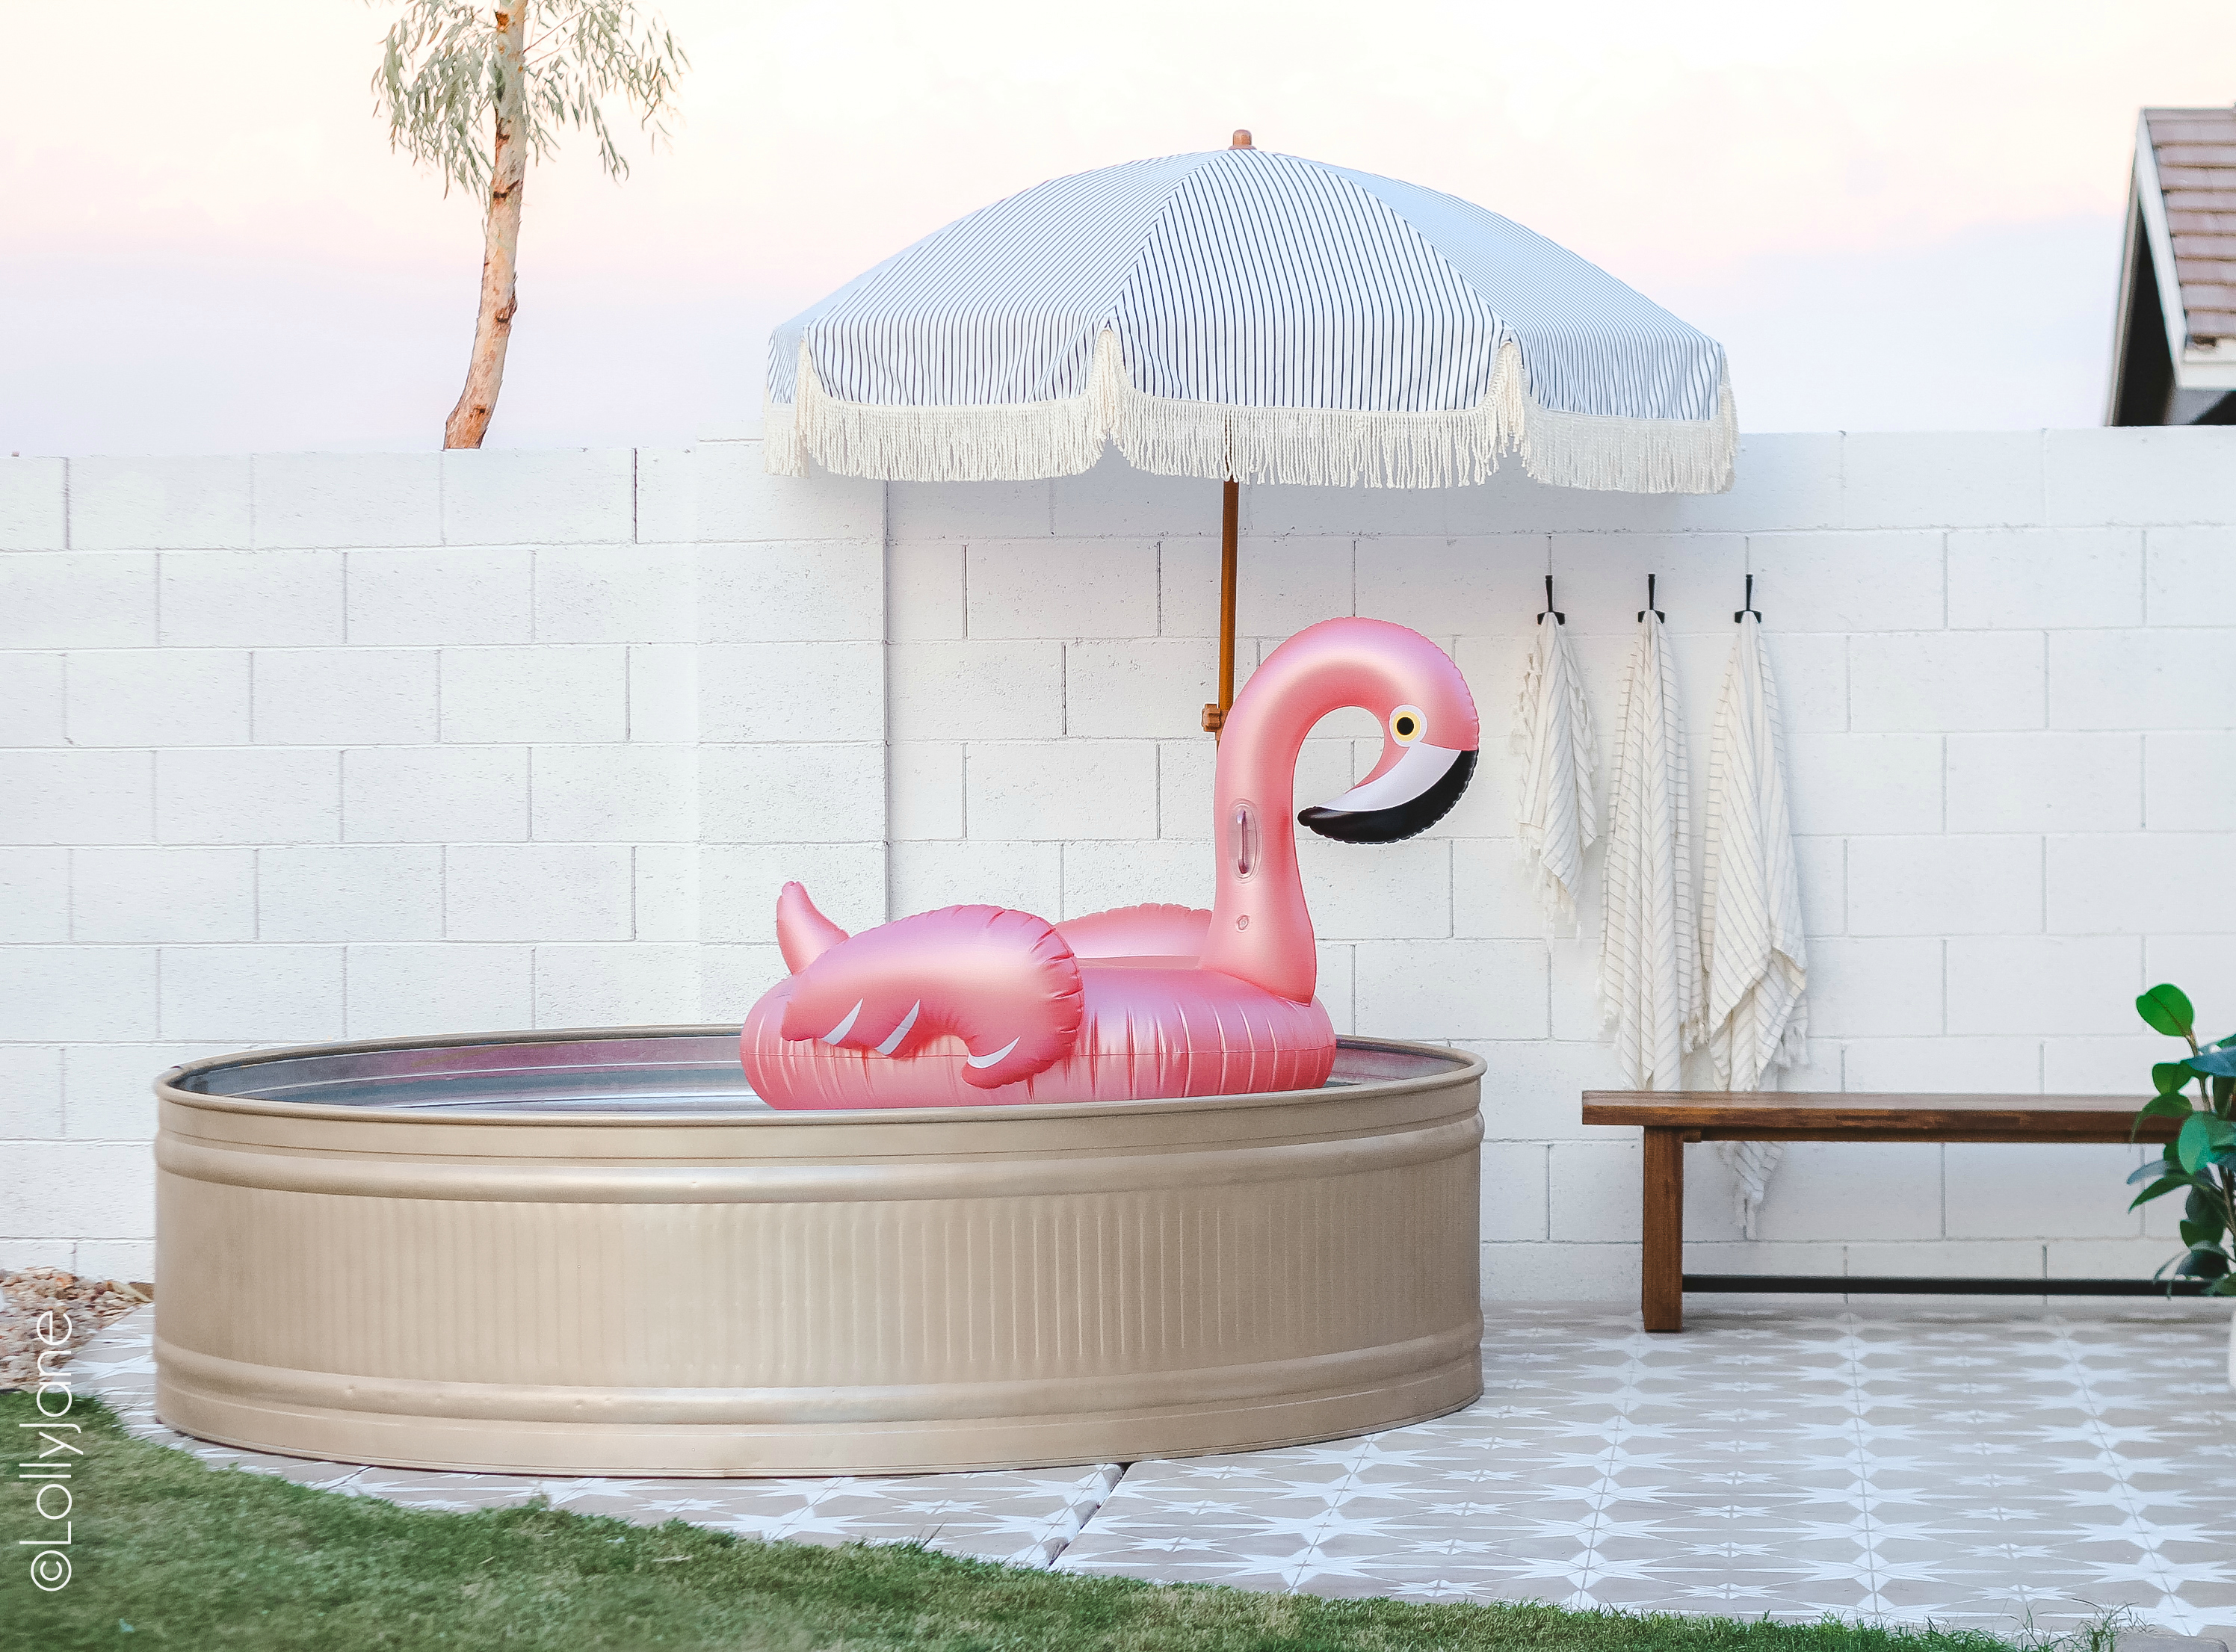
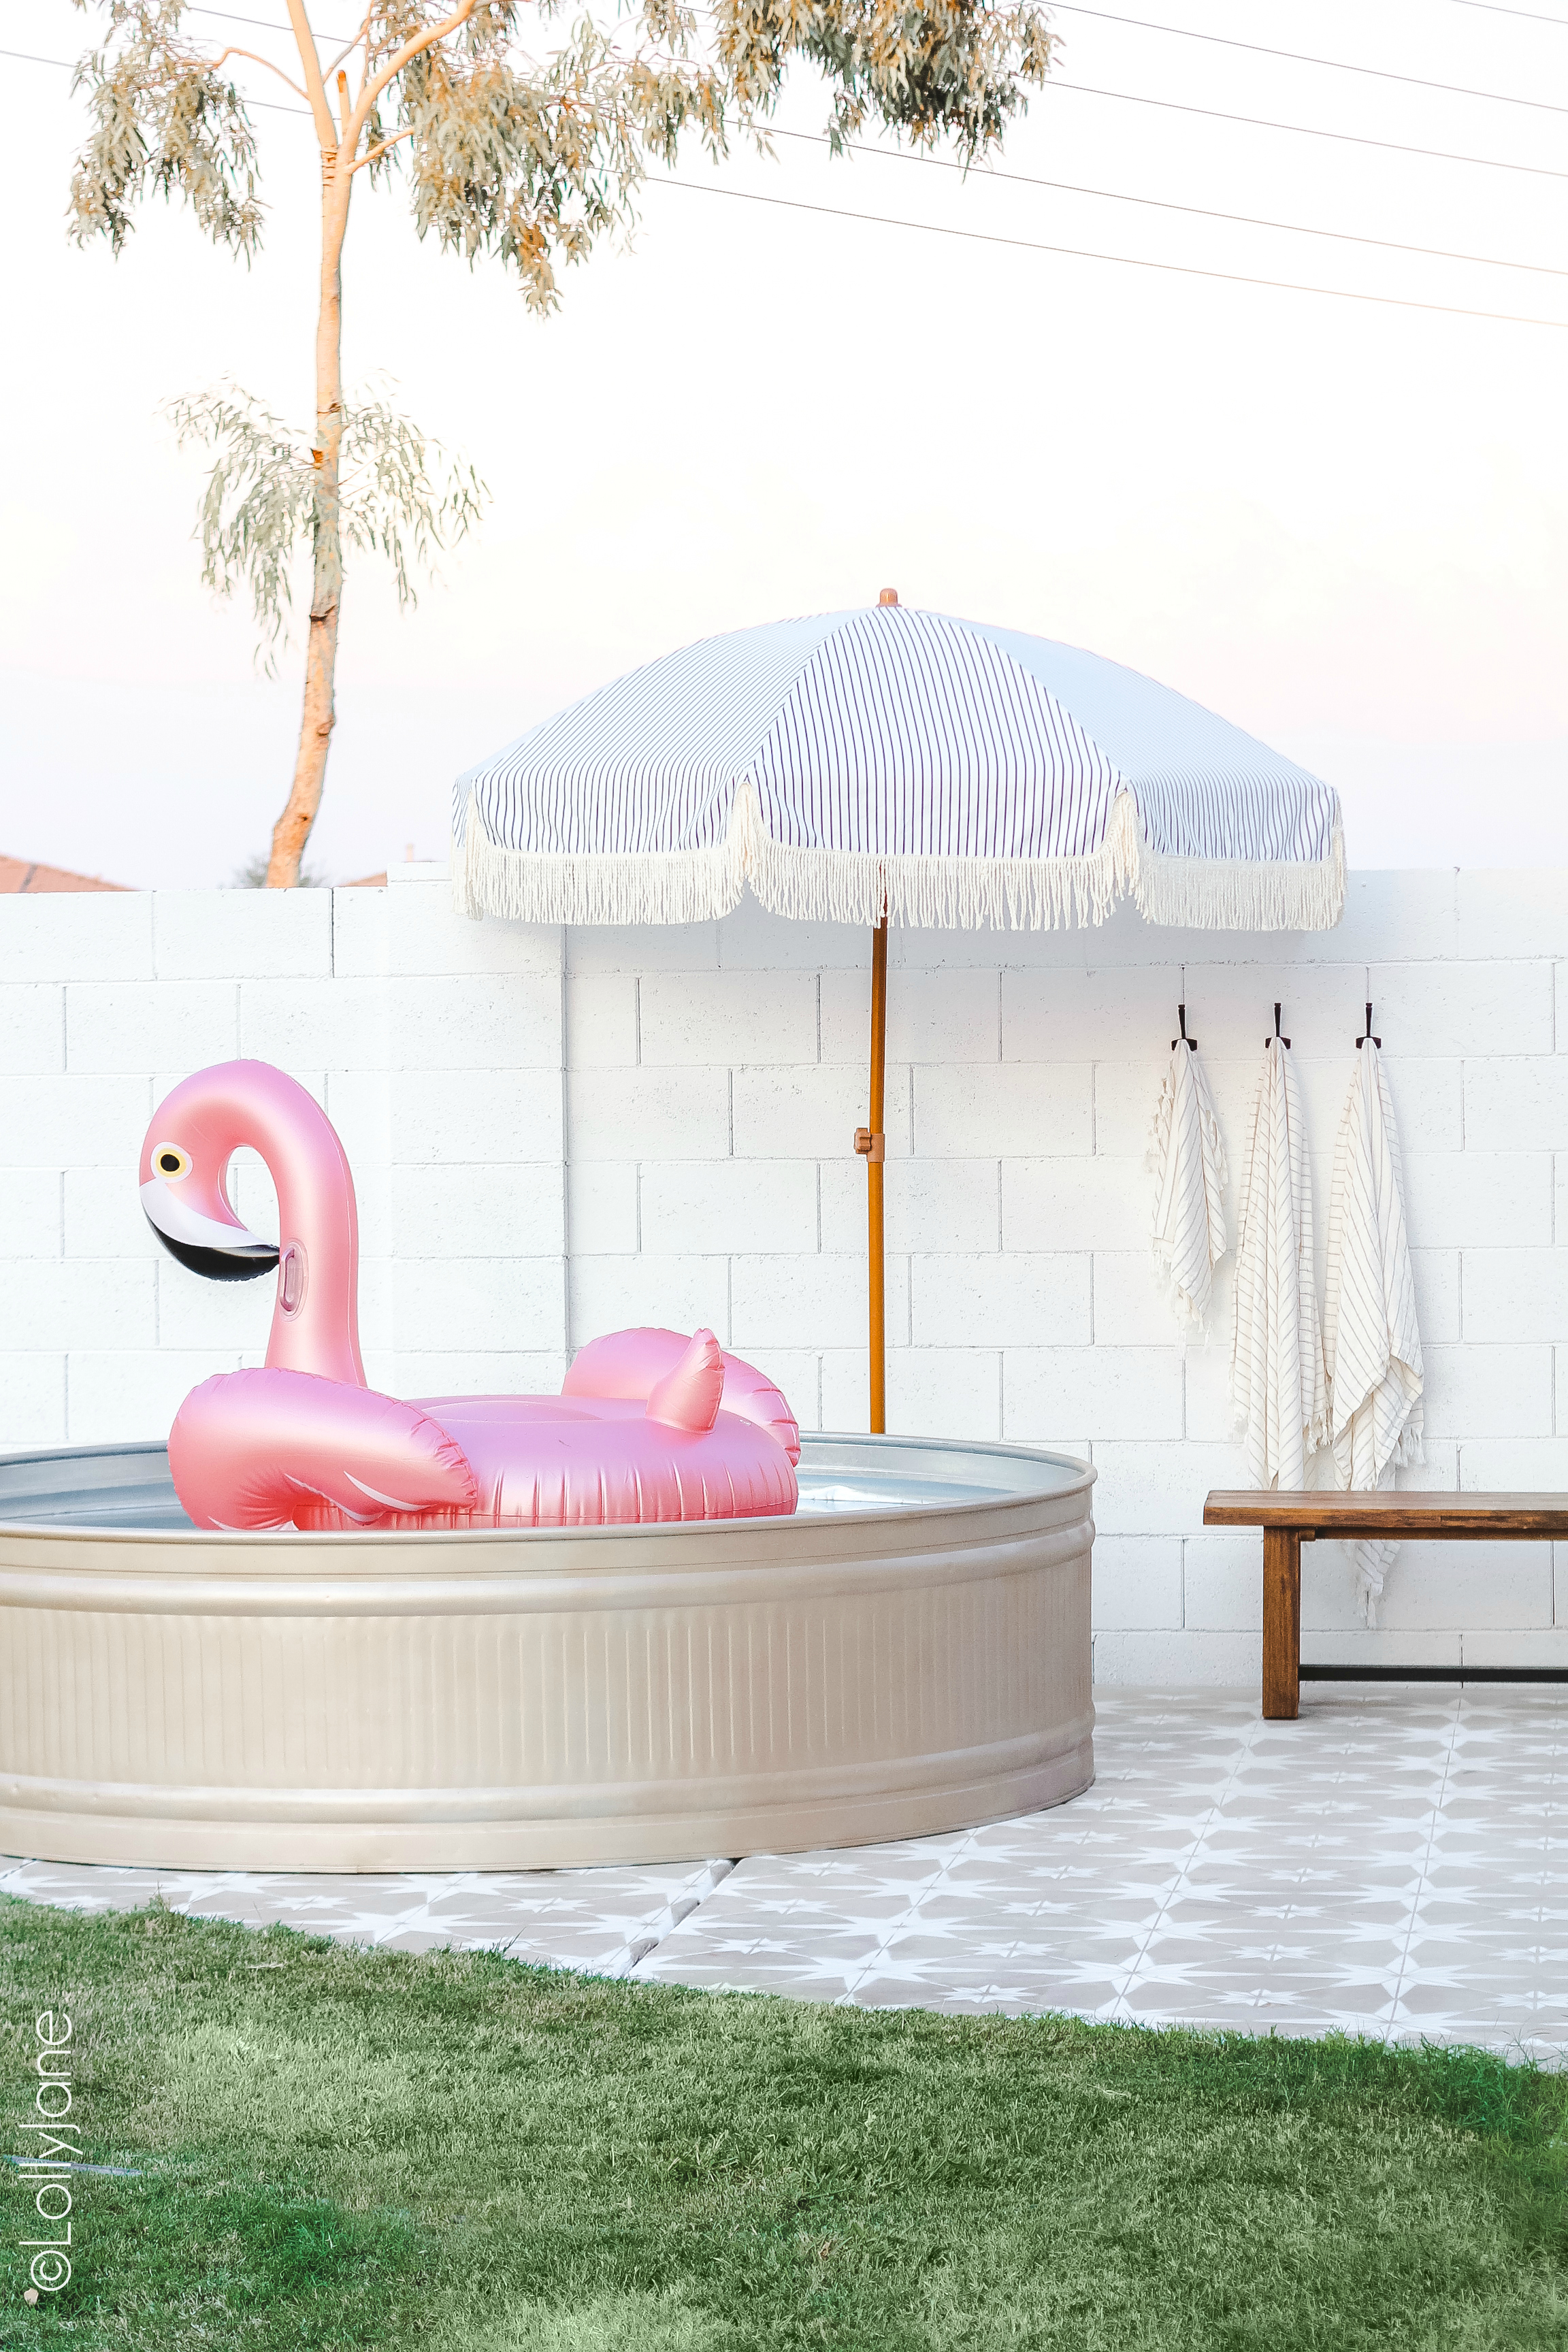
Speaking of paint, we cannot brag enough about the coverage of COLORSHOT spray paint. This is a crisp white called Marshmallow (cutest name) and I love it against the creamy greige concrete! How darling is it paired with our recently painted stock tank pool in this dreamy hue called Cheers?
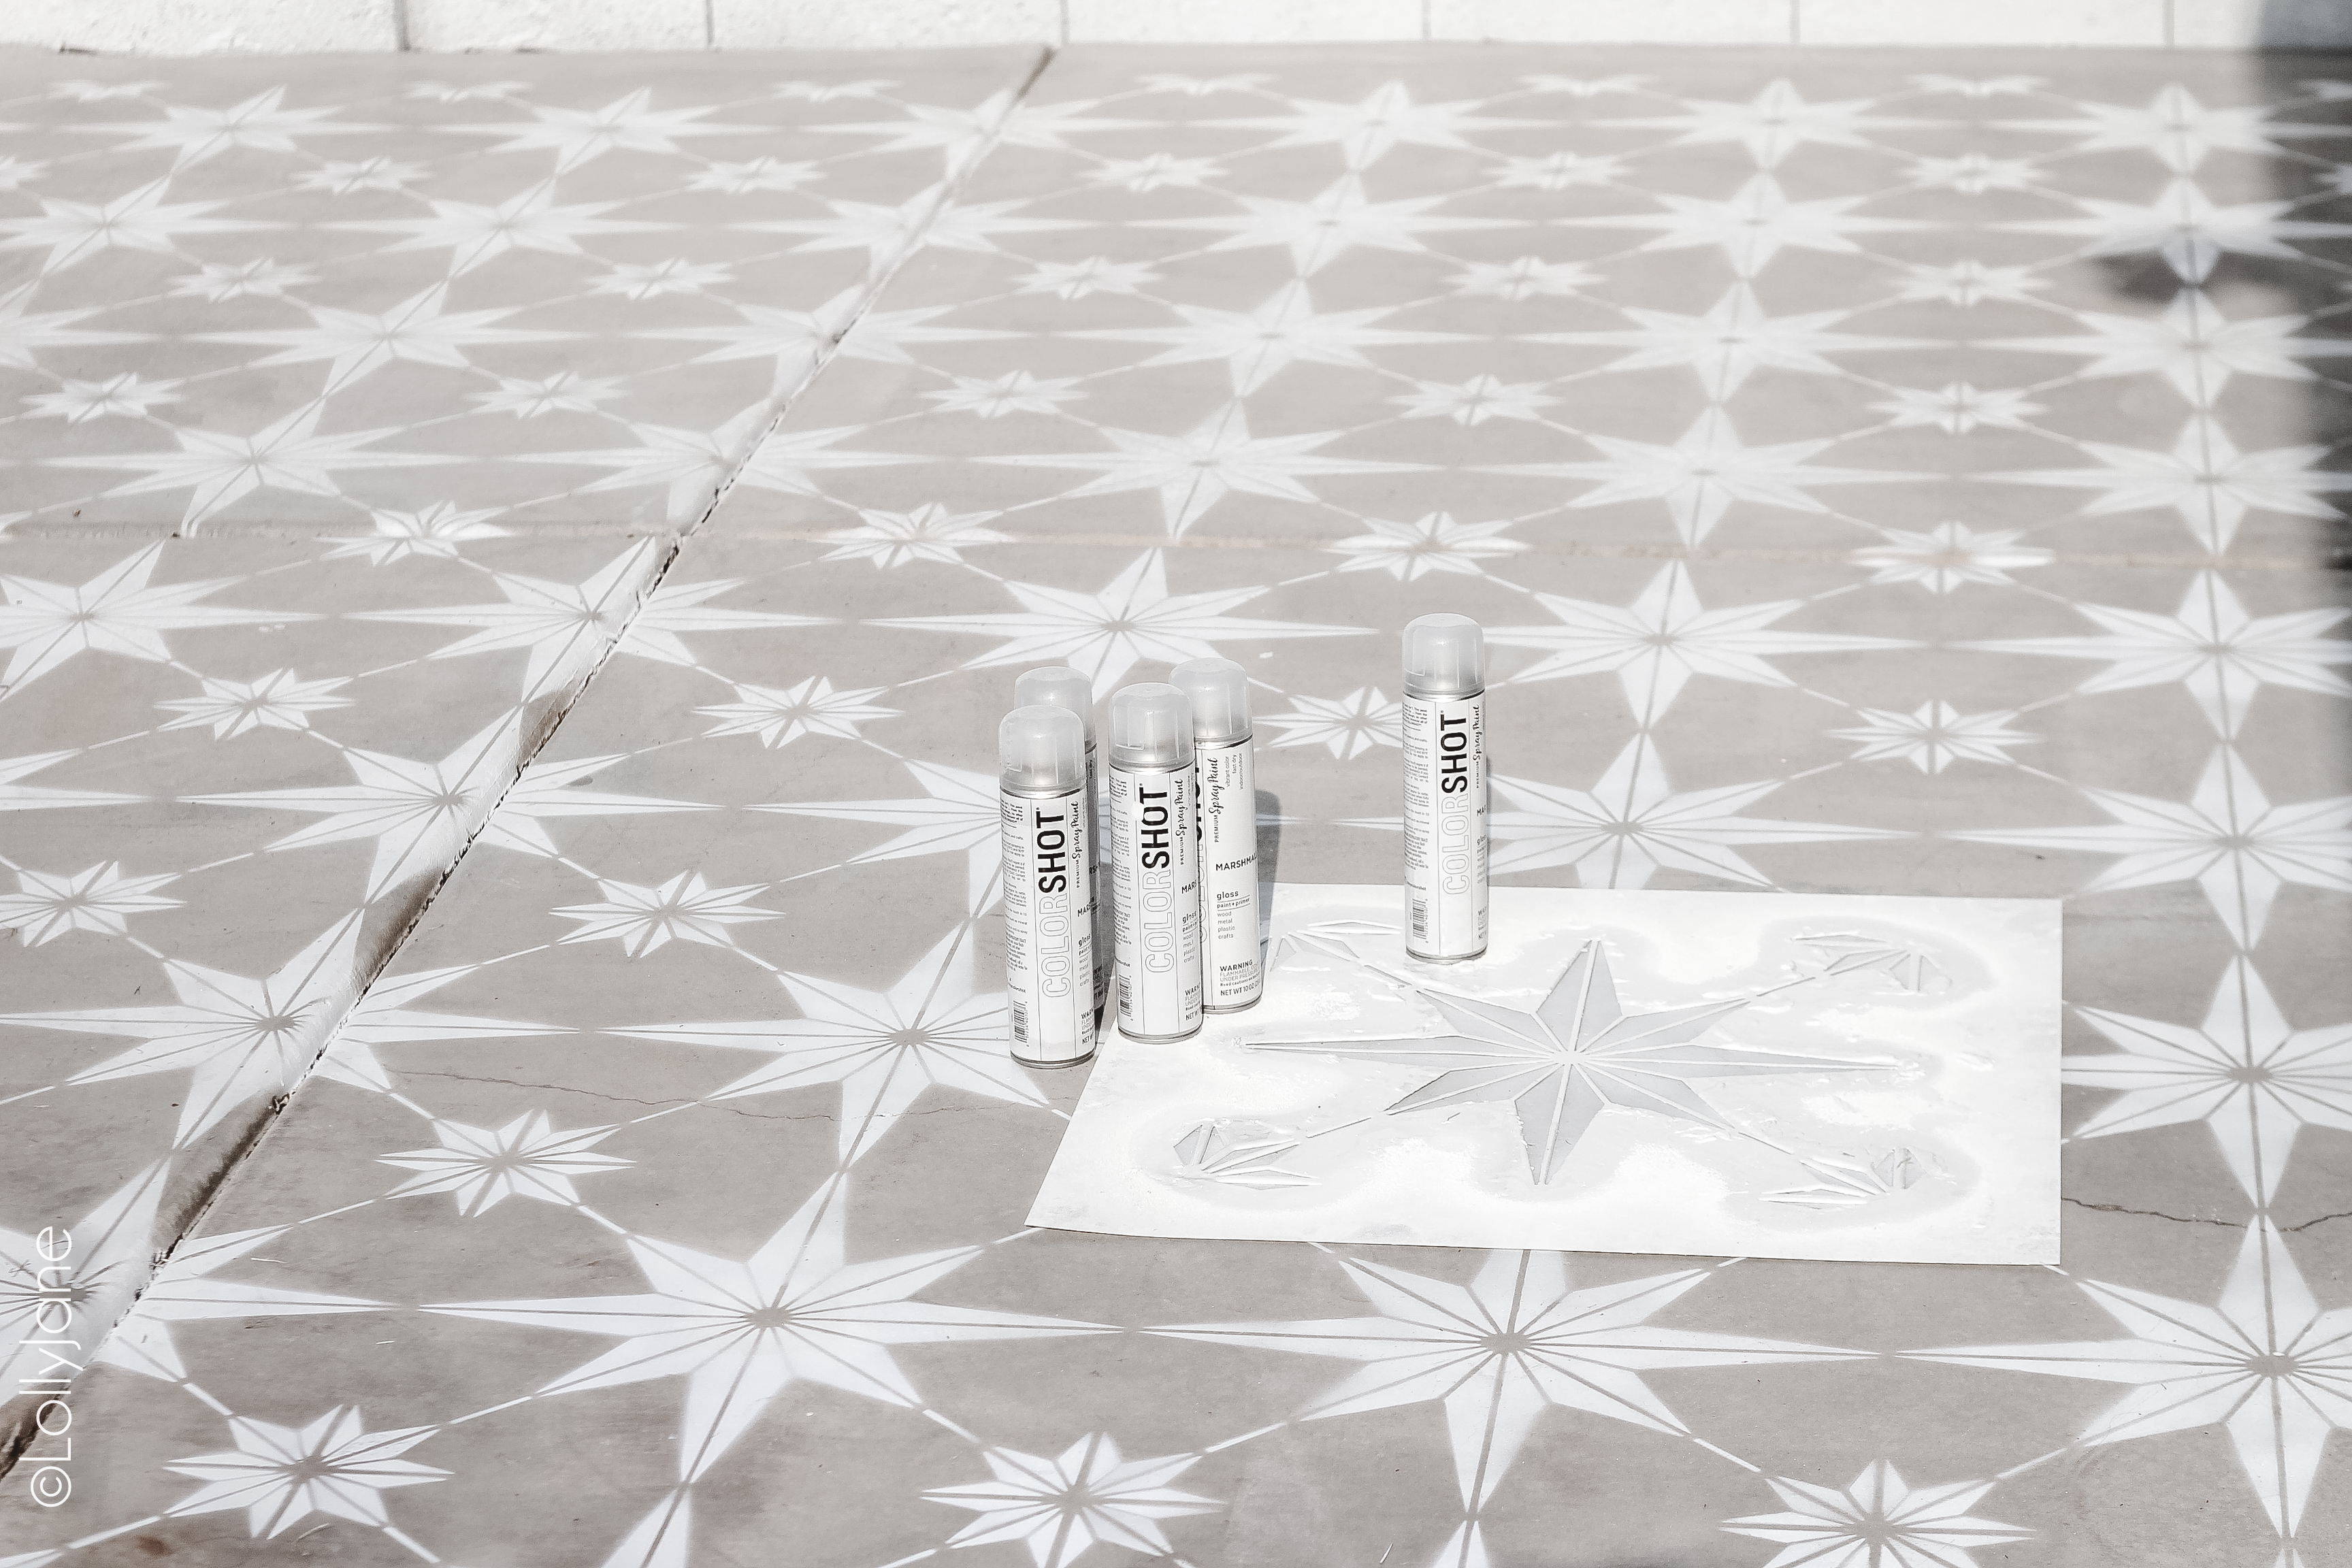
Supplies you need to stencil a surface:
You only need 3 supplies to create this look: spray paint, stencil, and spray adhesive to help keep the stencil in its place. Here’s what we used:
- COLORSHOT “Marshmallow” Spray Paint (how many cans you need depends on your own space.)
- Star Tile Stencil (I used 16×16)
- Stencil Adhesive (1 can is plenty)
HOW TO stencil over concrete
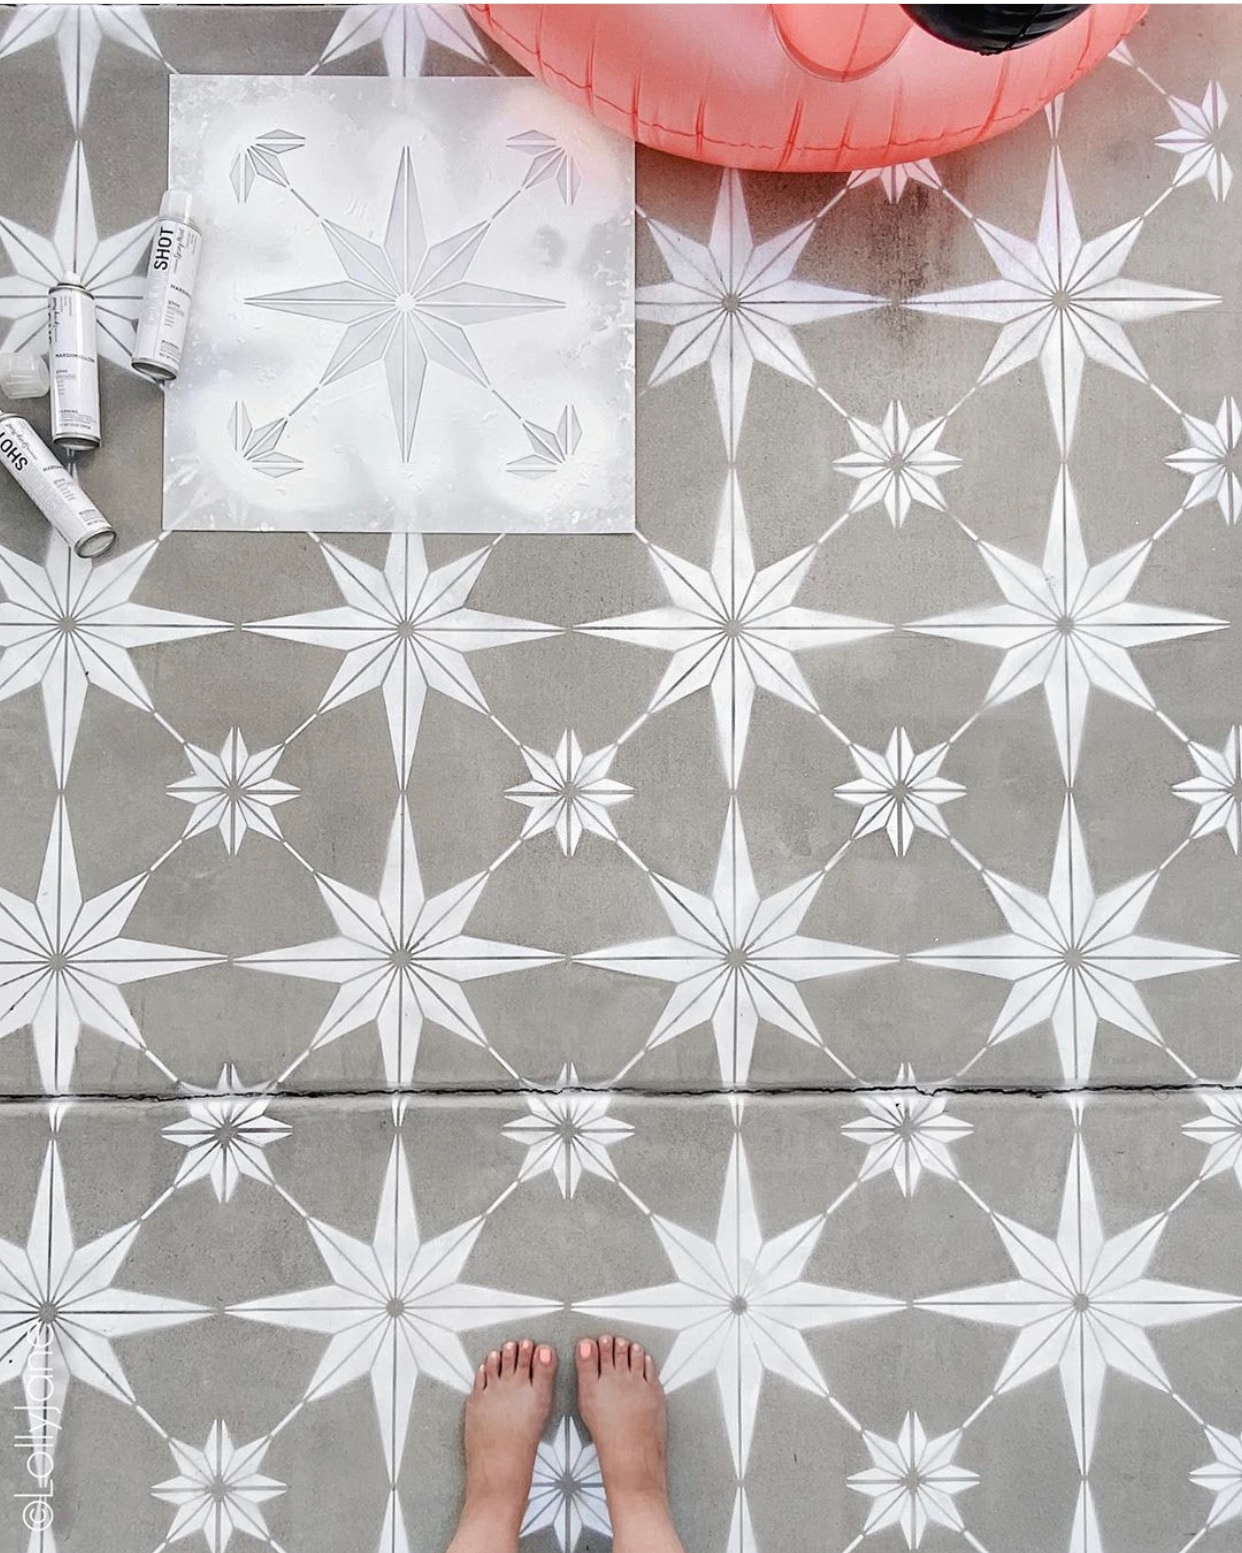
- The first step is to prep. If your concrete is old and dingy, I would suggest de-greasing before power washing. If not, give it a good rinse with a power washer (use the soap feature!) and let your concrete surface dry out completely… paint does NOT like wet surfaces!
- Once your surface is clean, start in a corner and work your way out. Lightly spray the back side of your stencil with repositionable spray adhesive and push down so the stencil is as close to the concrete as humanly possible. LIGHTLY spray your spray paint over the stencil but not around the edges. (Note: my particular stencil has a nice wide space without a design near the edge; if your design is close to the edge of the stencil, I would suggest putting a poster board edge around it to avoid overspray.) I love COLORSHOT because the overspray was very minimal and the paint only went where I wanted it to. Reminder: quality paint is a must-have to avoid drips!
- Repeat, repeat, repeat. After awhile, the back of my stencil stayed somewhat sticky because of the spray adhesive so I was able to only spray it every 3rd or 4th time I moved the stencil. It goes really quickly and because of the comfort tip on the COLORSHOT spray paint, my finger never got sore! Once your design is done, let the paint dry completely then seal.
HOW TO sEAL PAINTED CONCRETE
Sealing concrete takes minutes but makes all the difference for your paint staying put. Don’t let all of your work go to waste: seal that design in! Make sure to use a sealant that’s made for concrete/masonry surfaces. (After you’ve picked up your COLORSHOT spray paint at Home Depot, head over to the next aisle for Behr’s Wet-Look Sealer.) I chose high-gloss for this specific project because the stock tank will be sitting over it and it will help resist water; Kelli used Behr’s Protector and Waterproofer Seal on her striped painted concrete and that formula would have worked well here, too.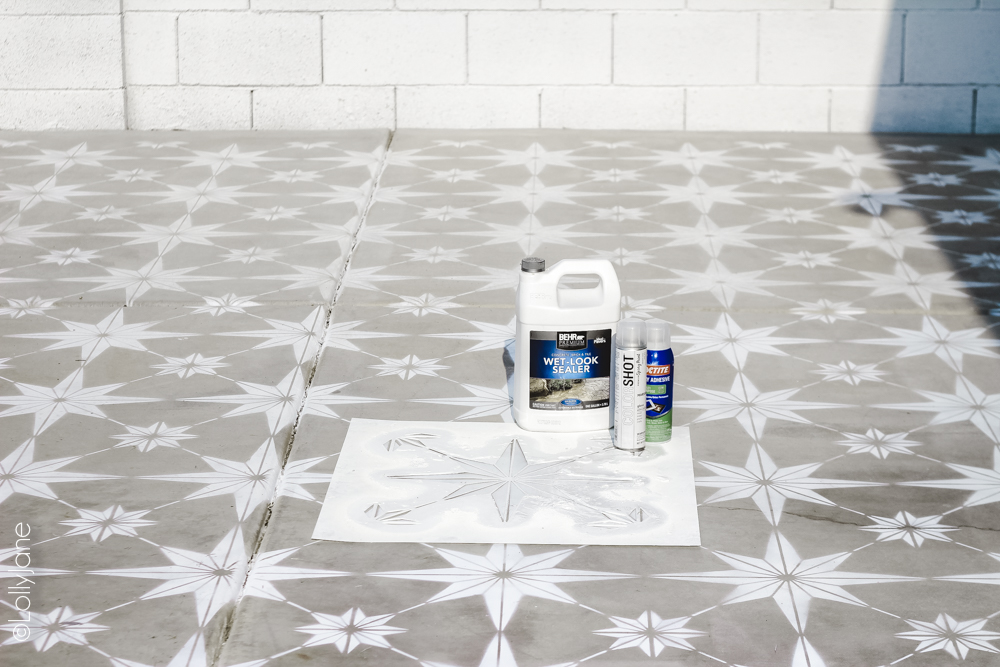
How to to apply the sealer over concrete:
- Pour sealer into paint tray.
- Roll onto stenciled paint.
- Let dry completely. Reapply for maximum coverage.
- Let dry according to product instructions before use. (I waited 24 hours.)
That’s all there is to it!
Check out some of our other favorite stencil projects!
We hope we’ve inspired you to stencil all. the. things! If so, please PIN to save for when you’re itching to stencil a surface!
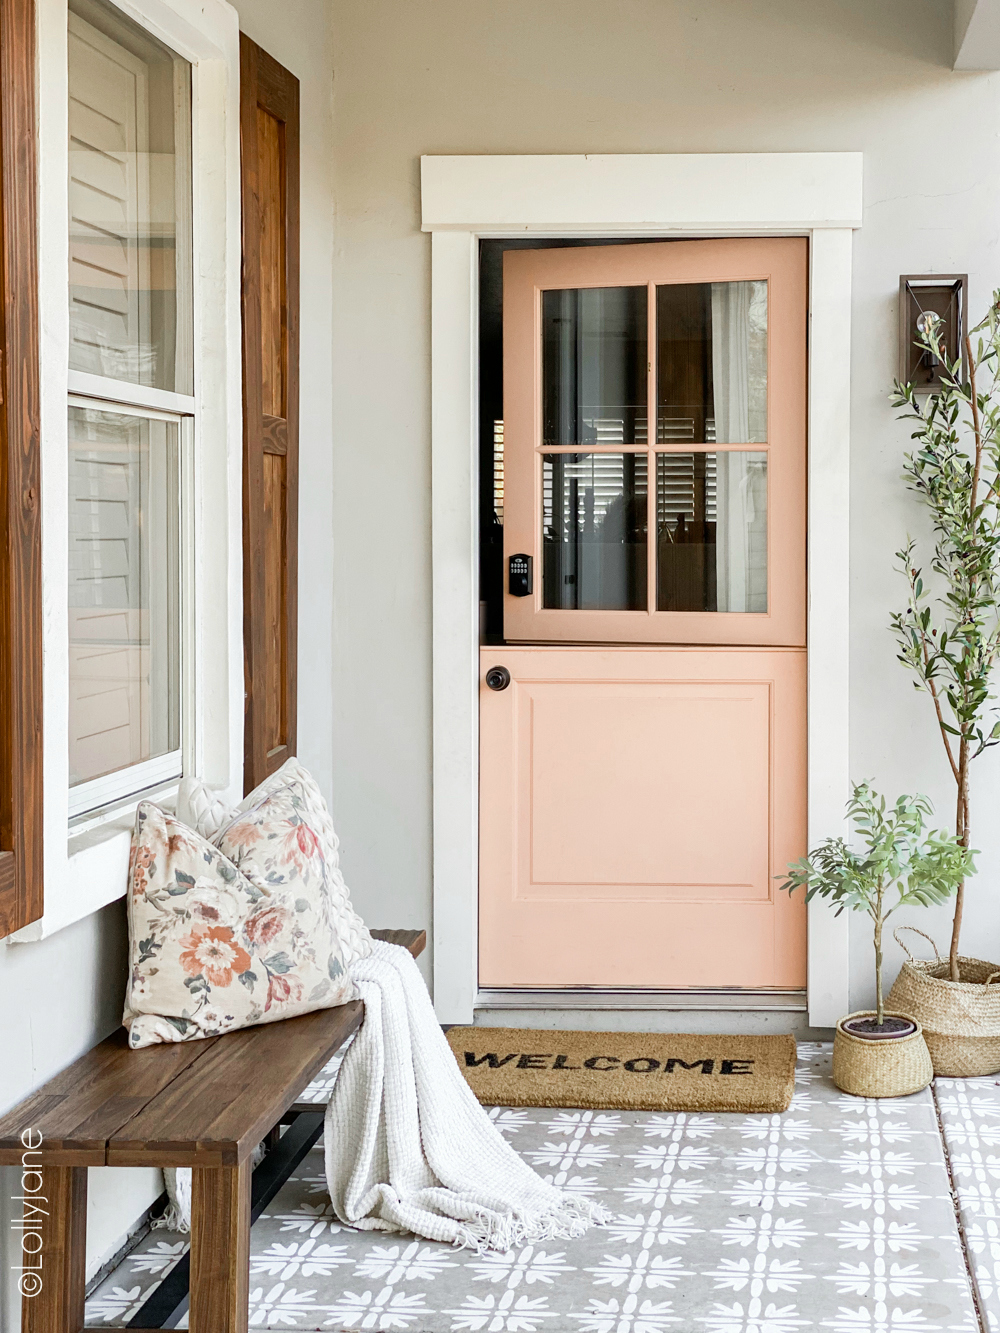
- DIY Stencil on my front porch makeover
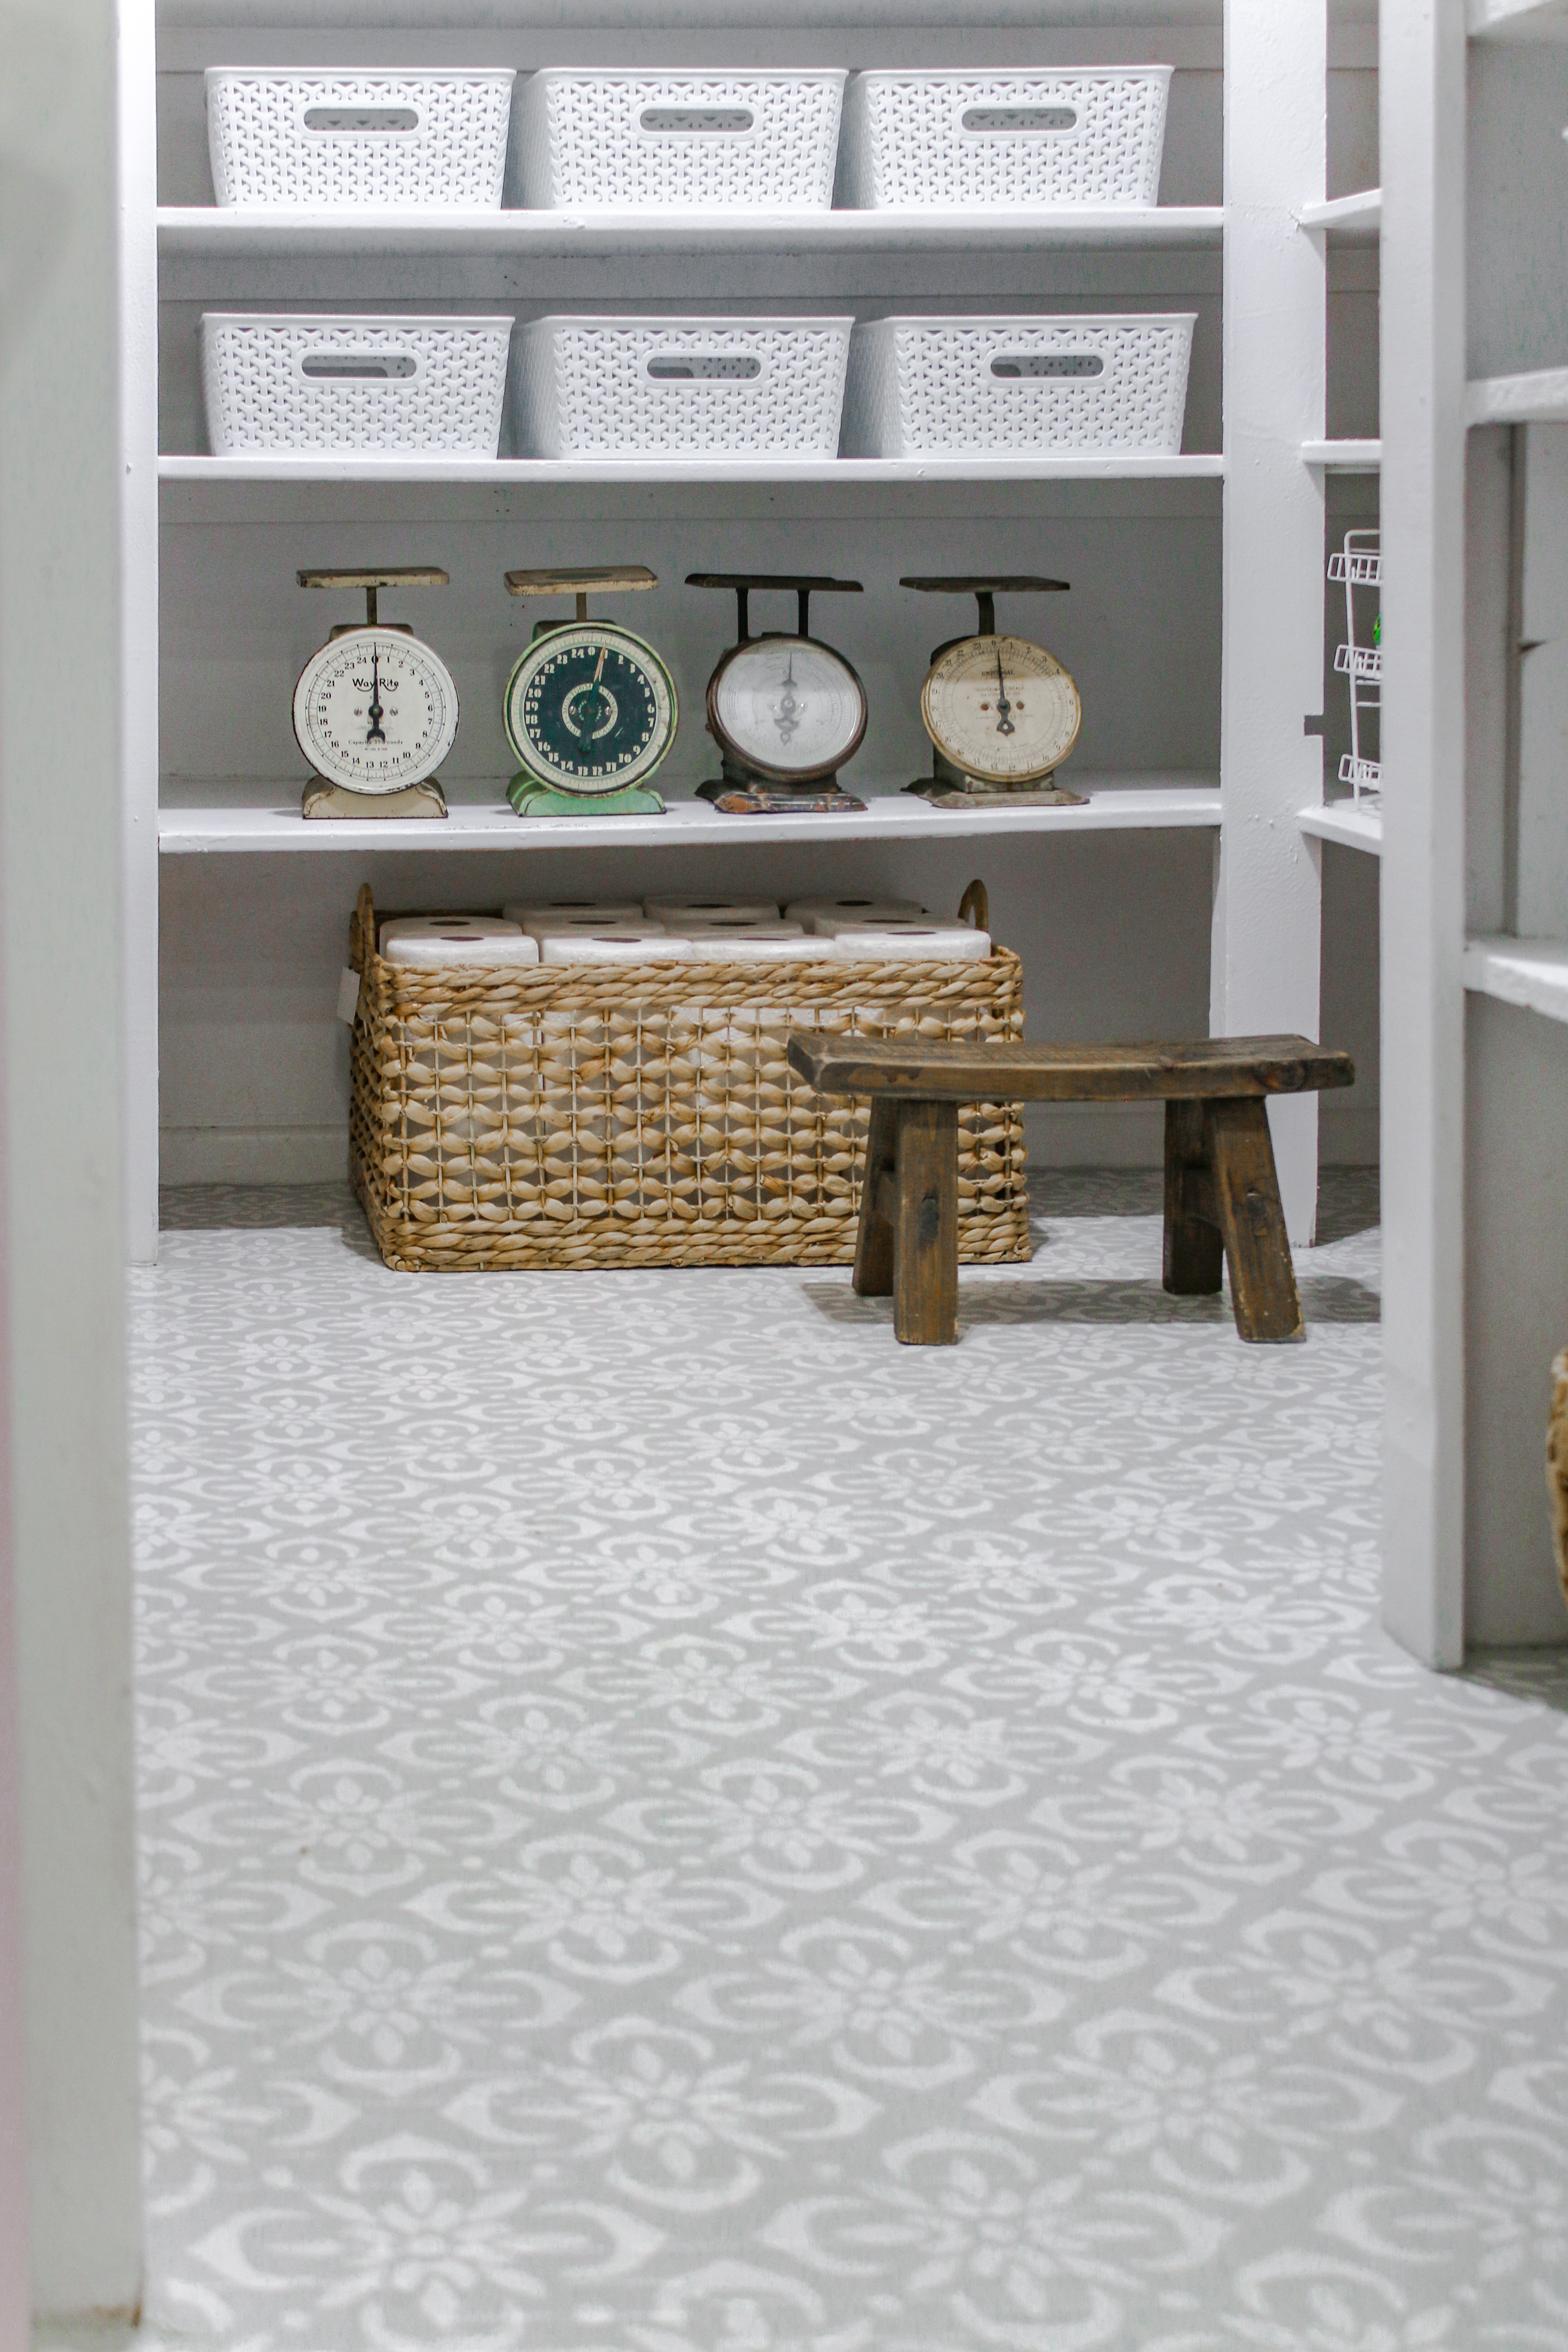
- Stenciled Flooring in Kelli’s pantry
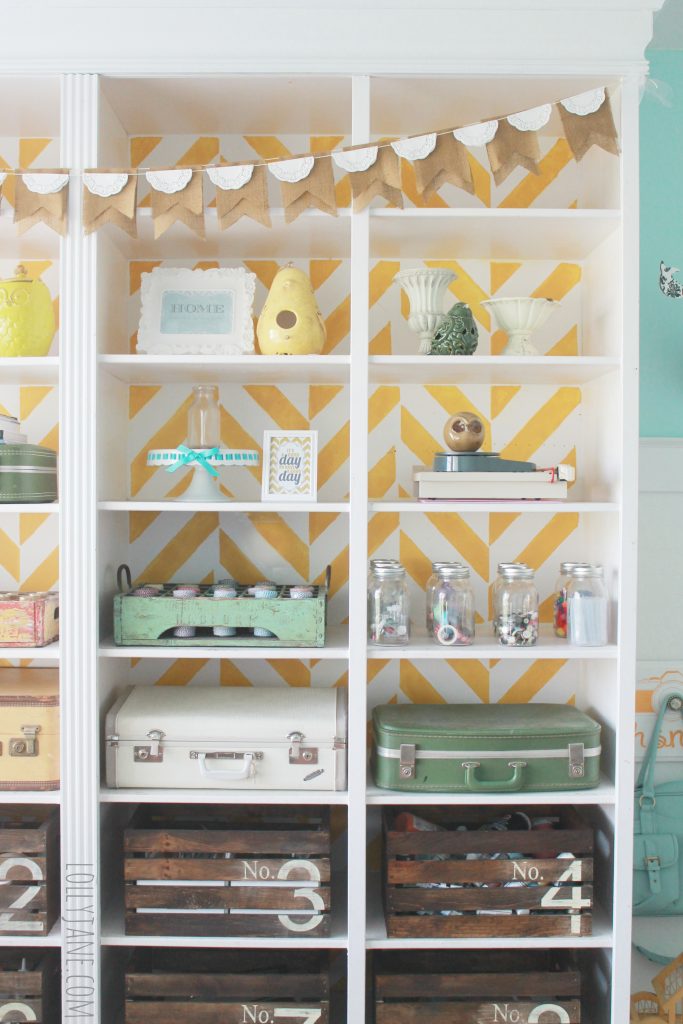
- Stenciled Bookcase
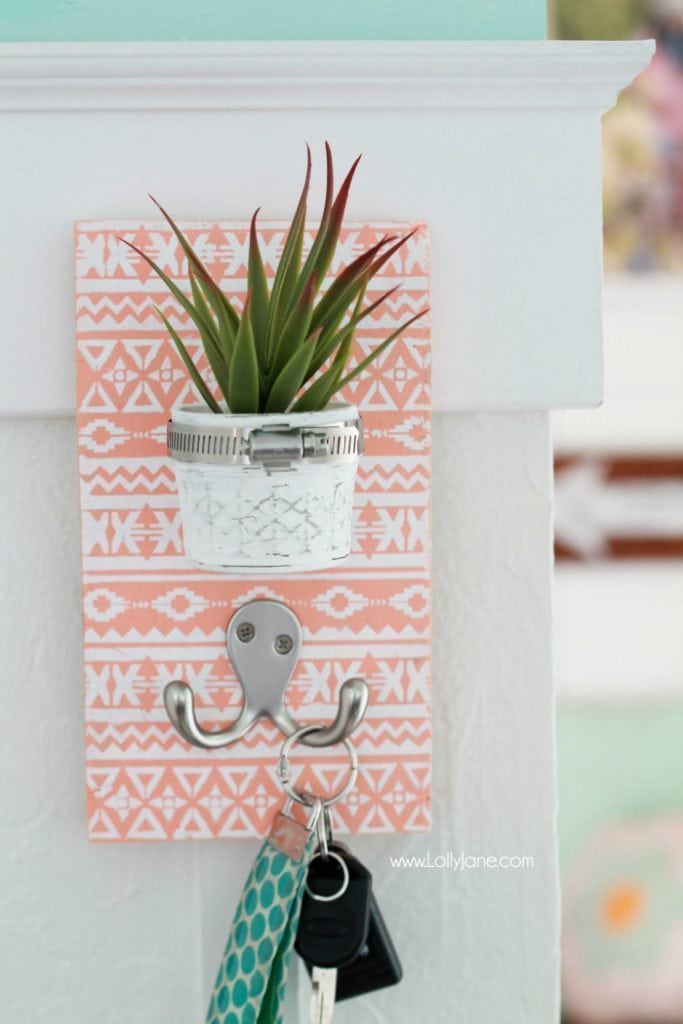
- Stenciled Key Holder
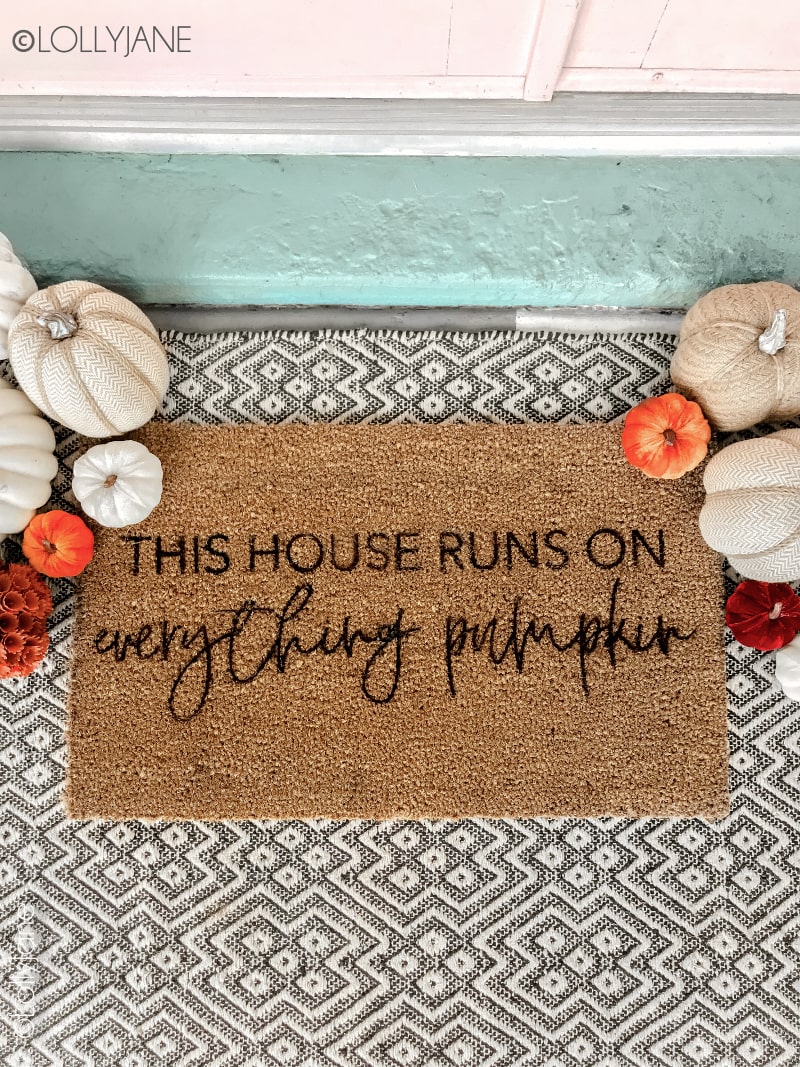
- Stenciled Fall Rug


For anyone attempting do not do black and white 😂 the overspray makes everything grey and it’s so hard to line up and omg the smell from the colorshot spray paint
Anyway loving the look even though mine is a hot mess
Wishing I had gone with white
Sorry you had a hard time with it! We love ours 🙂
Hi! Love this idea!! Wondering how it has held up to the sun and weather?
Hi Jessica, so well! We live in extreme sun (Arizona) and it hasn’t chipped or faded at all. The one spot that has lightened up is in direct contact with the water. We plan on sealing it a 3rd time to prevent this.