

I can hardly believe how long I’ve been without a storage solution for my knitting supplies. Today, I’m sharing this simple tutorial for making a knitting needle organizer to finally keep supplies in order. This step-by-step photo tutorial includes a free printable knitting needle case pattern.

This post is sponsored by Canvas Etc. All opinions are our own.
Much-Needed Knitting Needle Storage
Over the years, I’ve accumulated almost every size and type of knitting needle, although it seems I never have the right one when I start a new project!
But that could very well be because of my lack of knitting needle storage. I have them all thrown loosely about in a few different bins and boxes around the house so it’s no wonder I can never find what I need, when I need it.
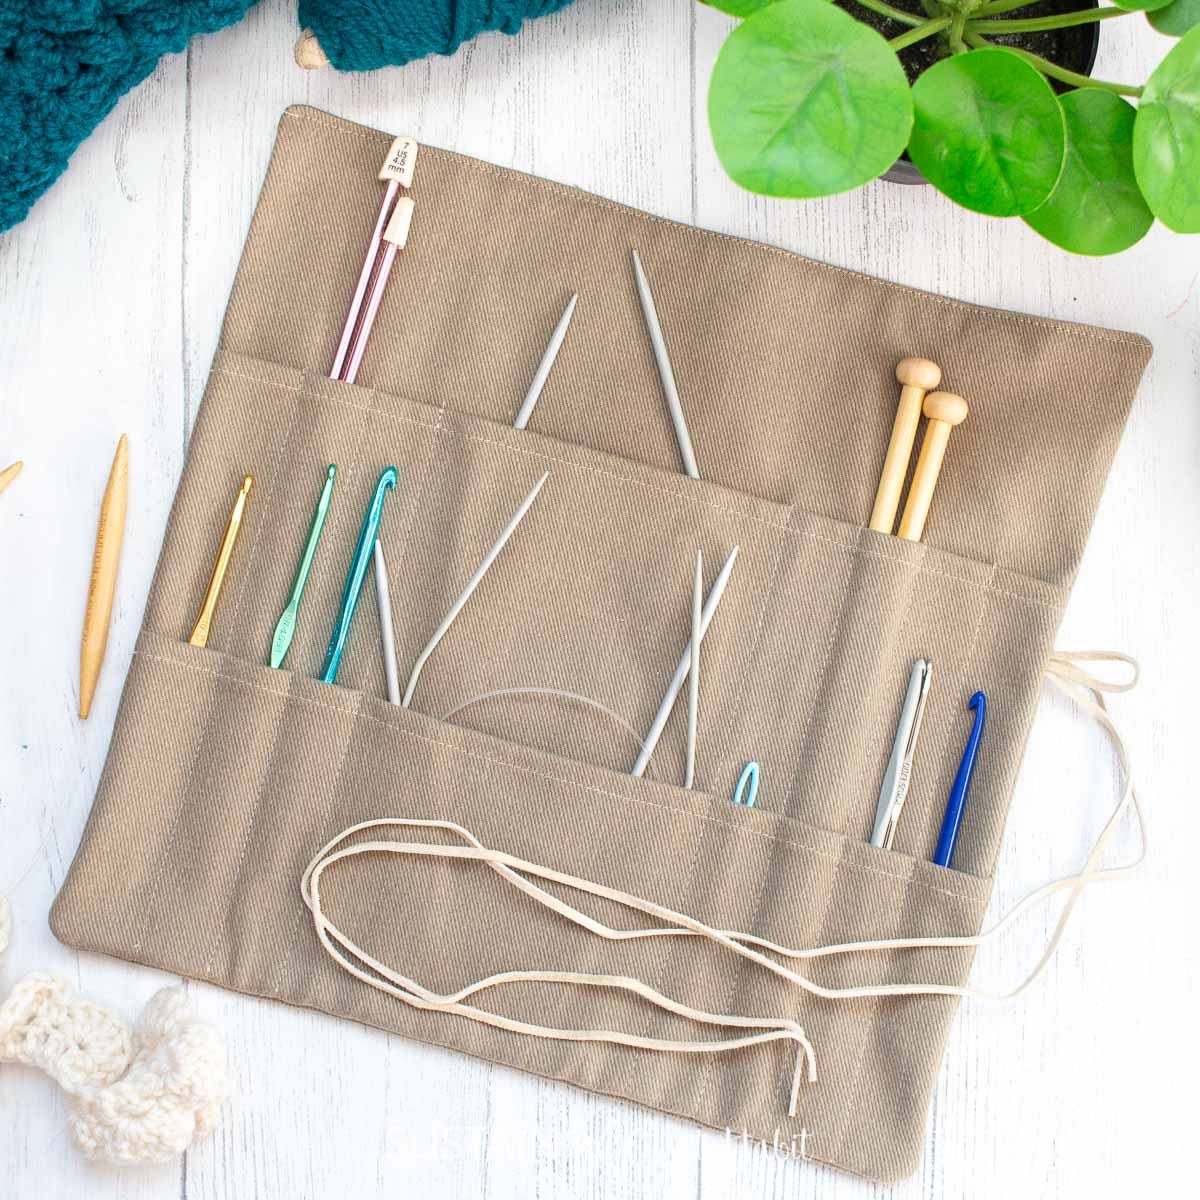

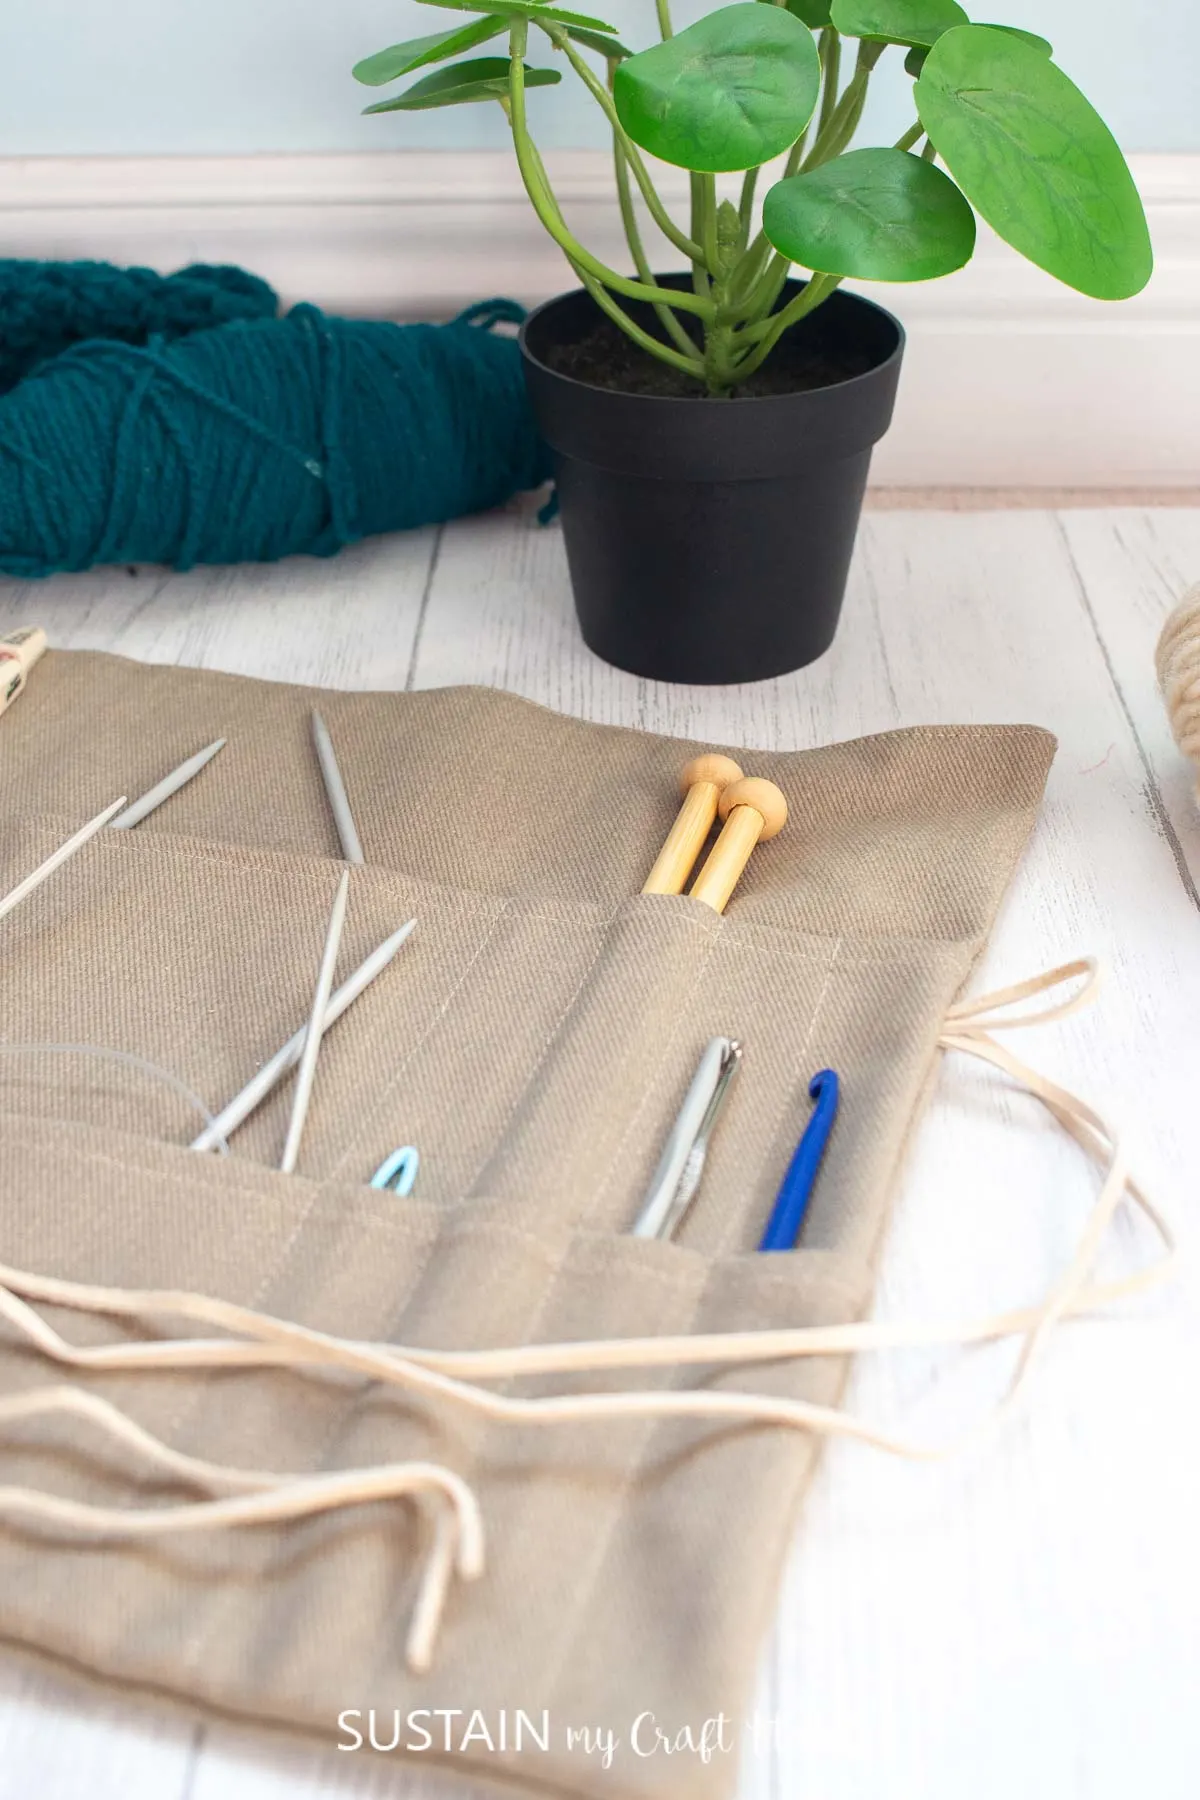
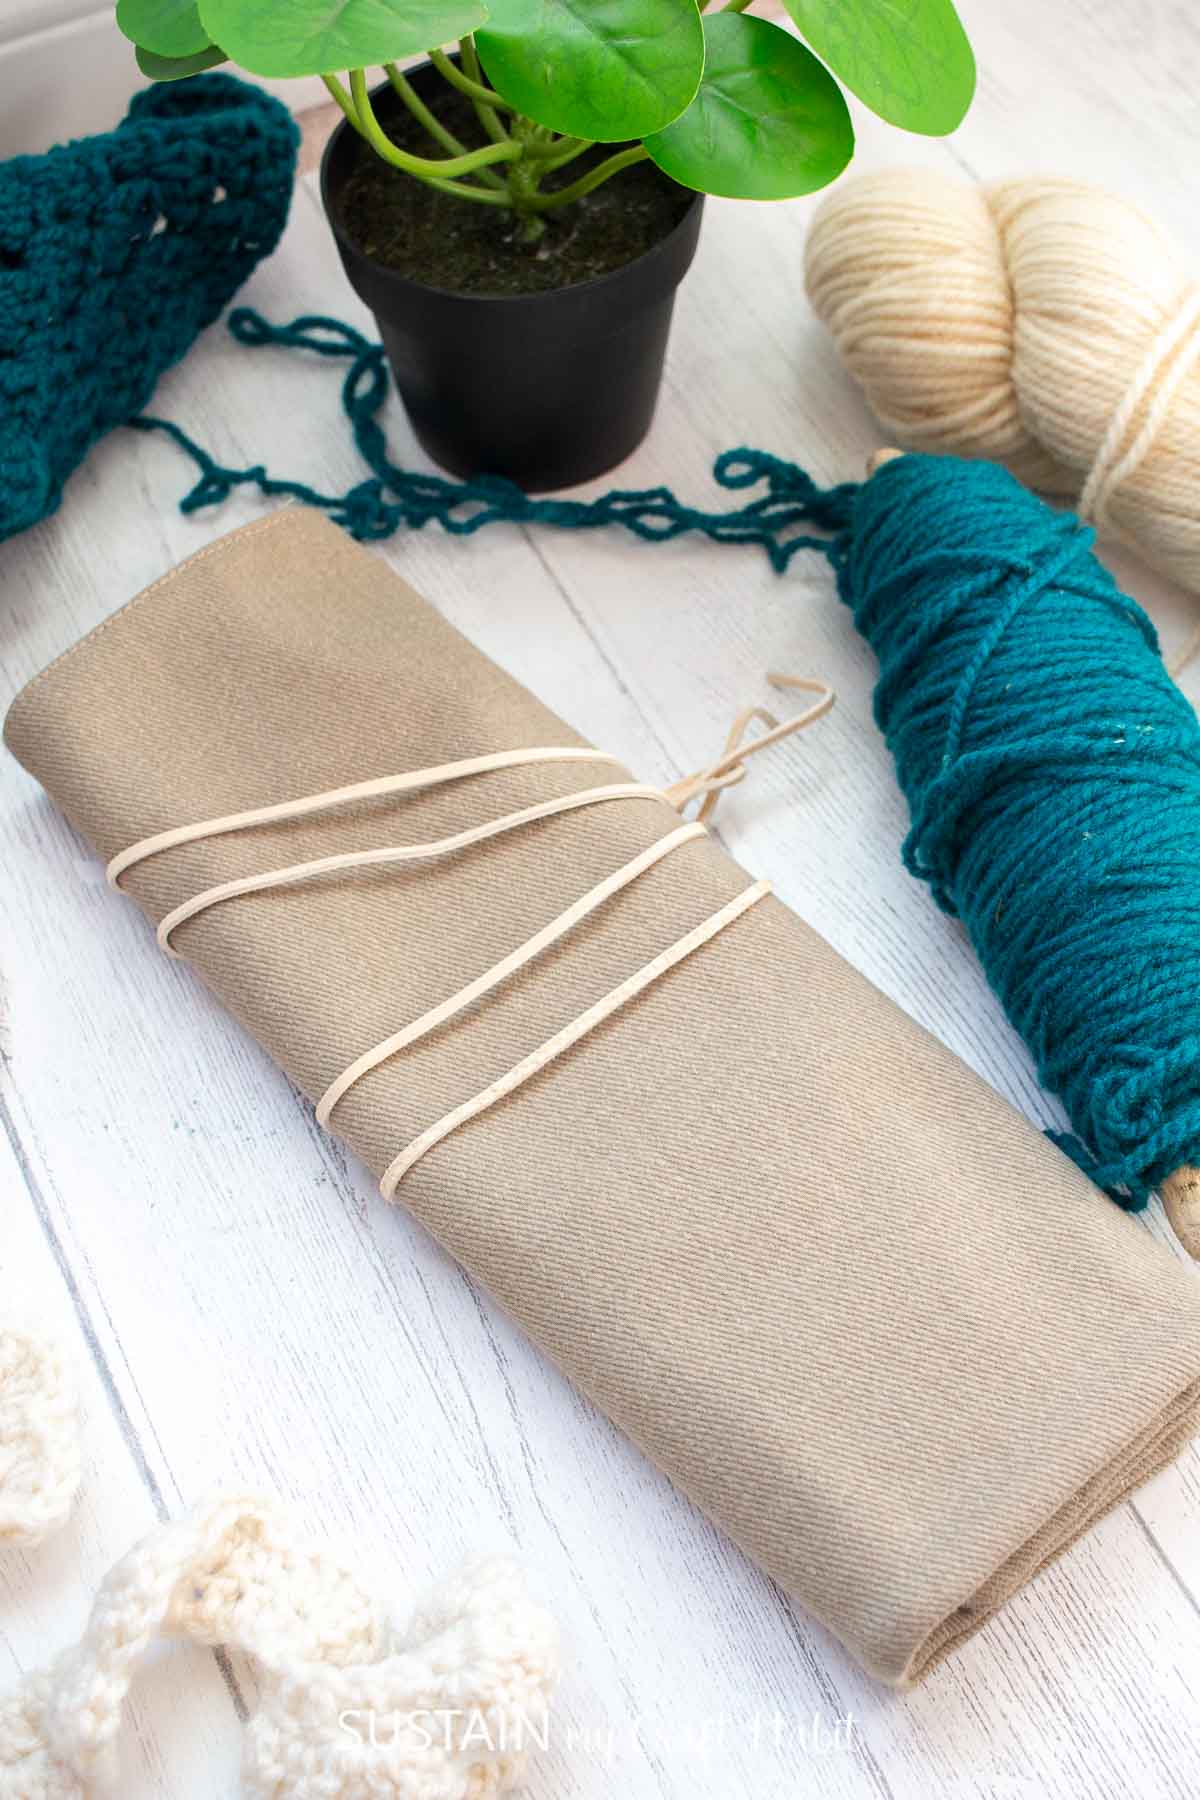
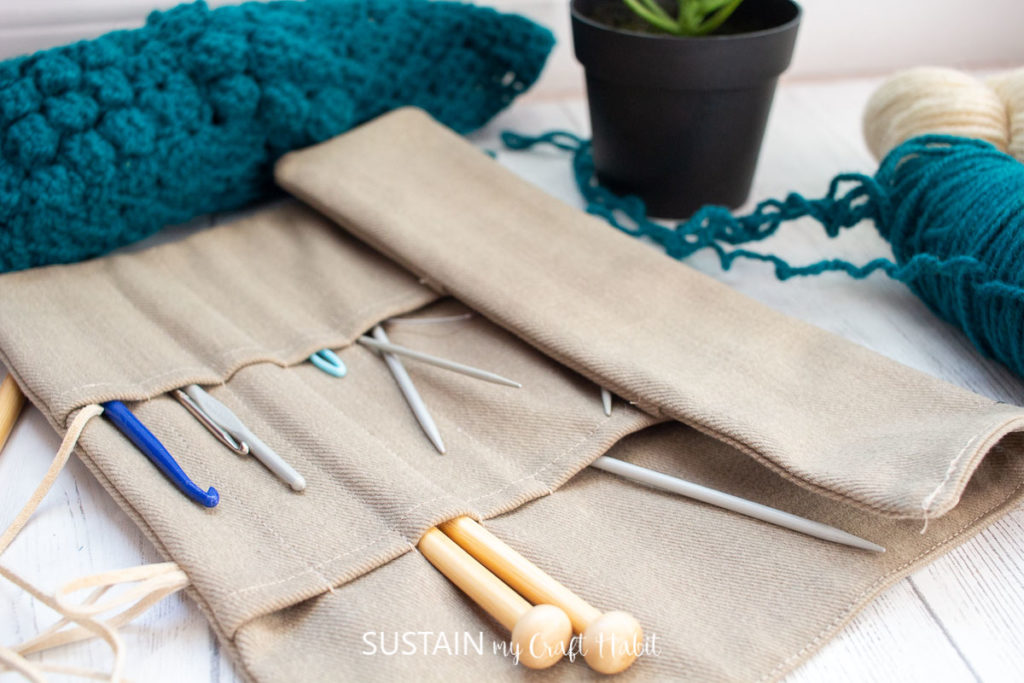
So I set out to make myself a knitting needle organizer to help corale all those supplies. With this handy knittle needle case I can neatly tuck away all the knitting needles, darning needles, measuring tools and stitch markers like these pretty ones we made out of resin for safe keeping. When it’s time toput it aside, I’ll simply roll it up and wrap the suede lace around to secure the supplies inside.

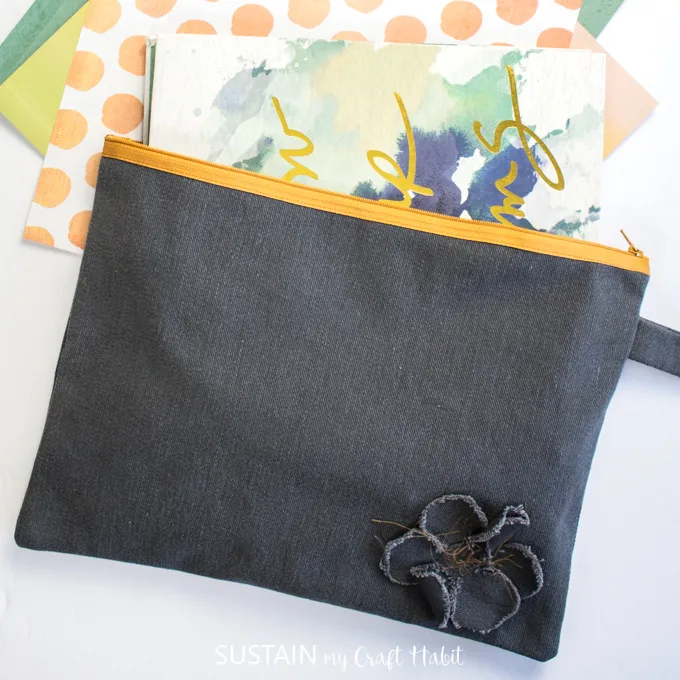
We previously used this same bull denim fabric for making a large oversized pencil case.
Available in a bunch of colors, the fabric from Canvas Etc is a heavier weight material, durable and has a super soft hand feel on the one side. We even got some yardage in navy to upholster a tufted bench.

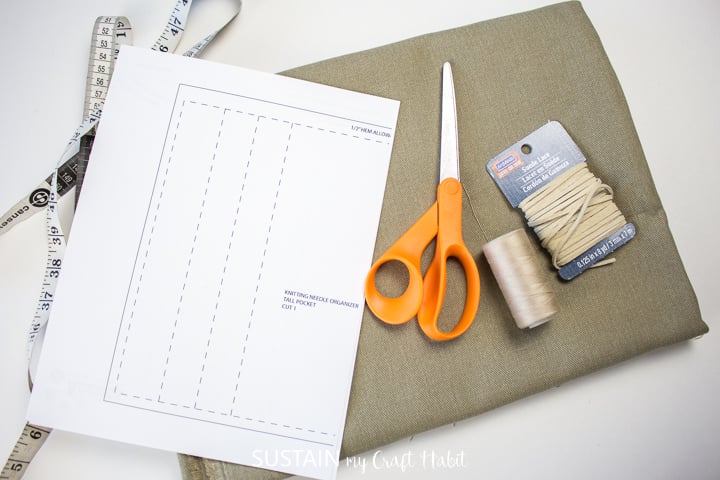
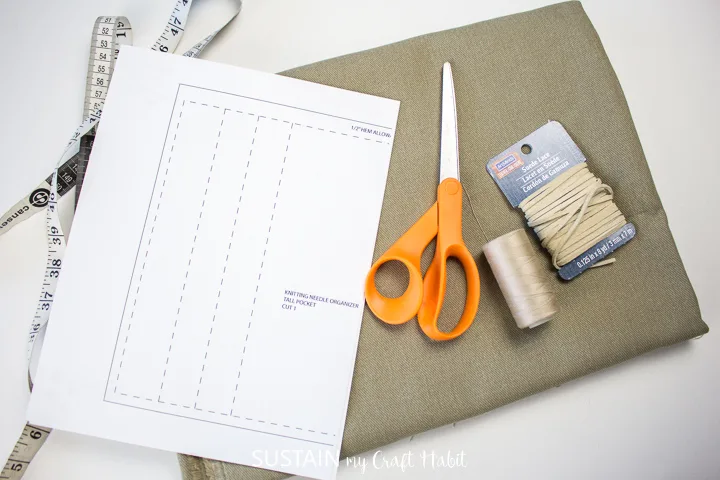
Materials Needed:
Disclosure: This post contains affiliate links for your shopping convenience. Should you choose to purchase through them, we will make a small commission at no extra cost to you. You can read our full disclosure policy here.
- 100% Cotton Canvas, ¼ yard Bull Denim (in Tan but you can use any color of your choosing)
- Printable Knitting Needle Organizer Sewing Pattern
- Fabric scissors
- Iron and ironing board
- Sewing machine and matching thread color
- Suede Lace in Ivory color; ⅛” wide
How to Make a Knitting Needle Organizer:
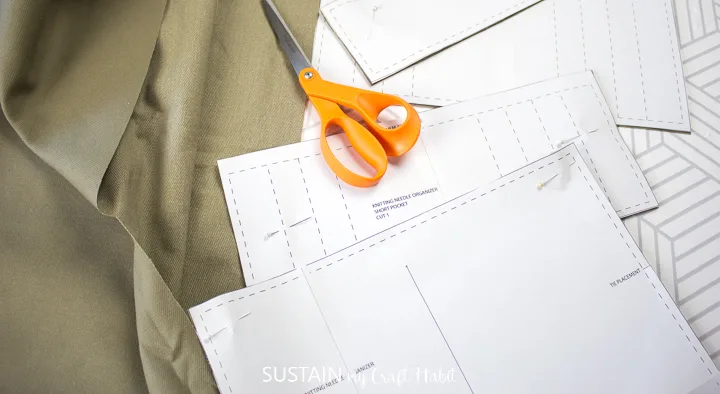
Cutting
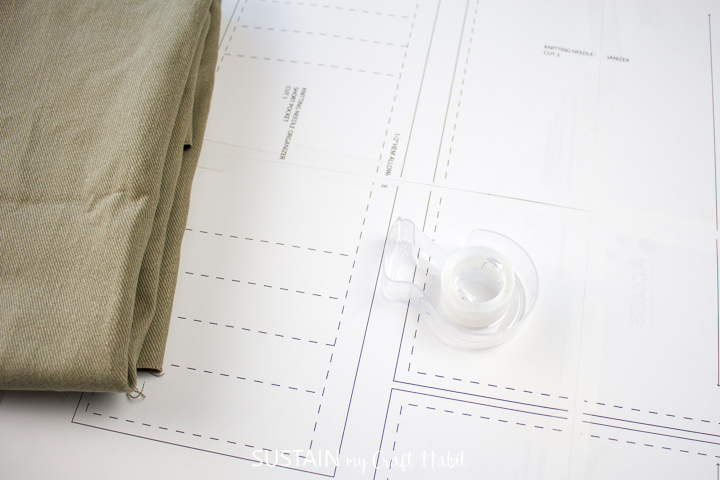
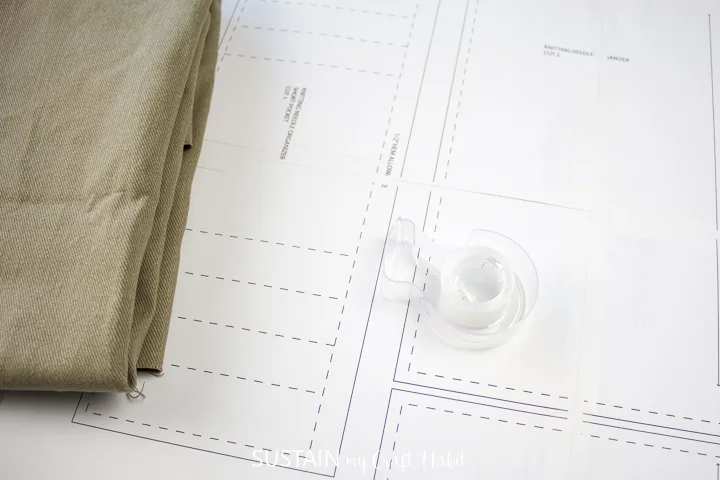
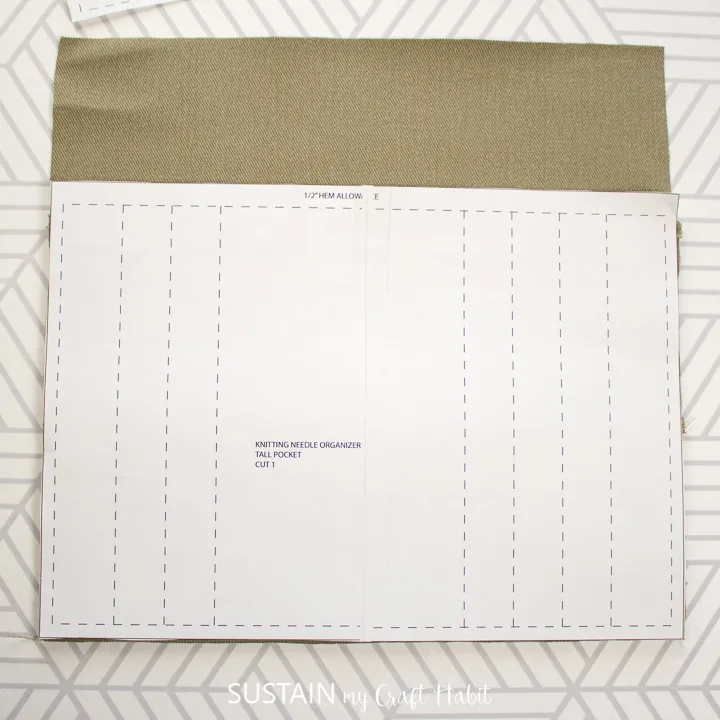
Print off the knitting needle case sewing pattern on 8.5×11 paper. Align the paper edges and tape the pieces together as shown.
Position pattern pieces over top of the fabric and pin in place aligning the grain lines.
Cut along the solid line (the dashed lines represent the sew lines) and clip any notches.

Sewing
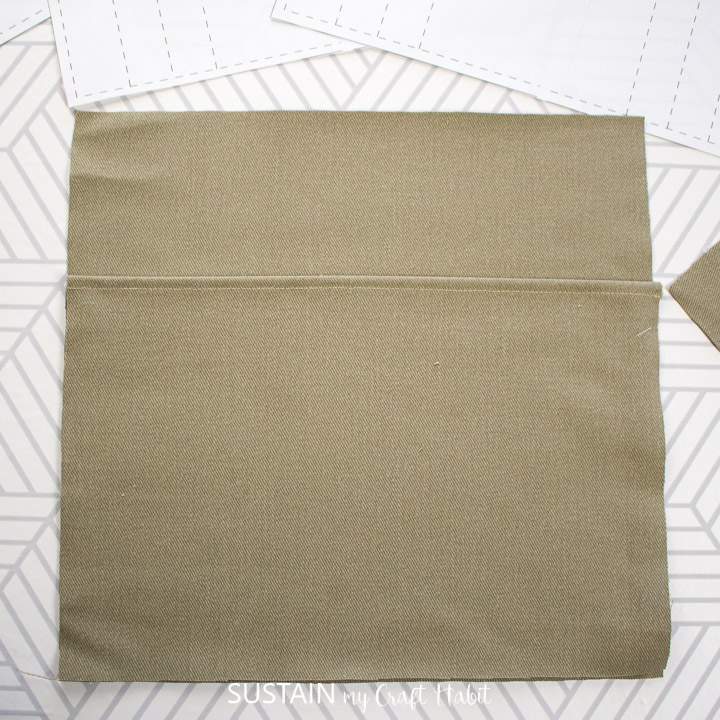
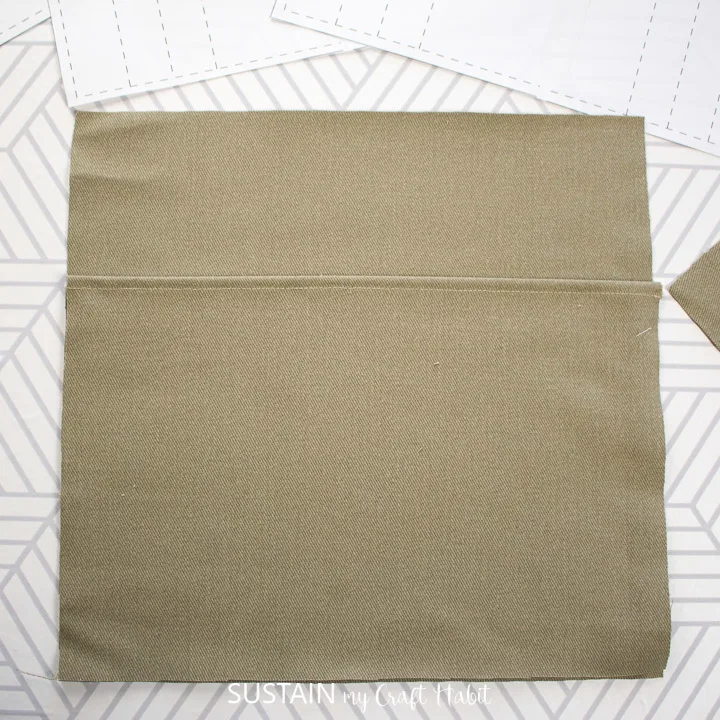
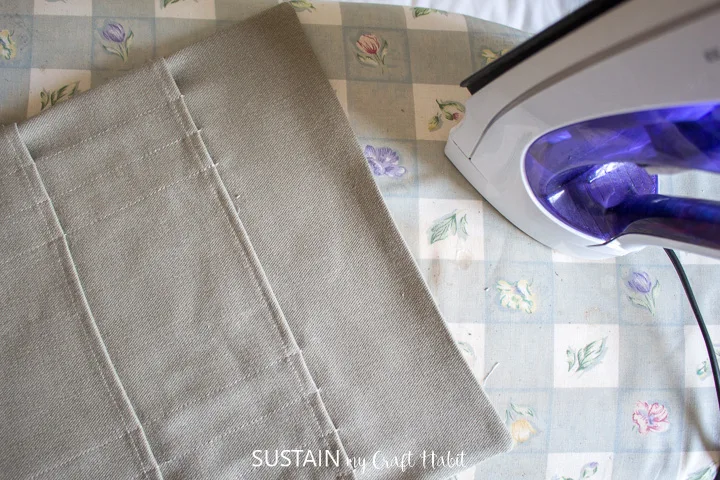
Starting with the tall and short pocket pieces, finish the pocket opening edges by folding over the top edge ¼” and pressing with an iron.
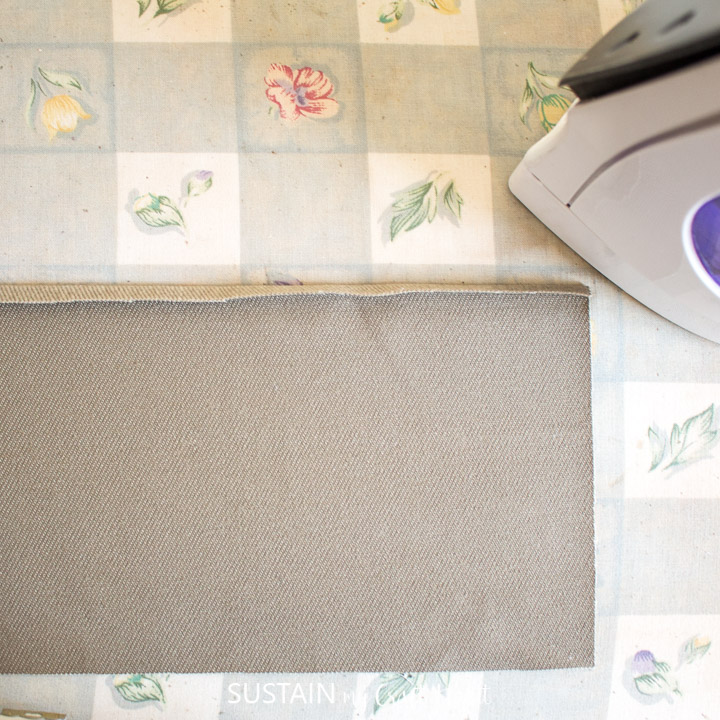

Fold the edge over again and topstitch in place.

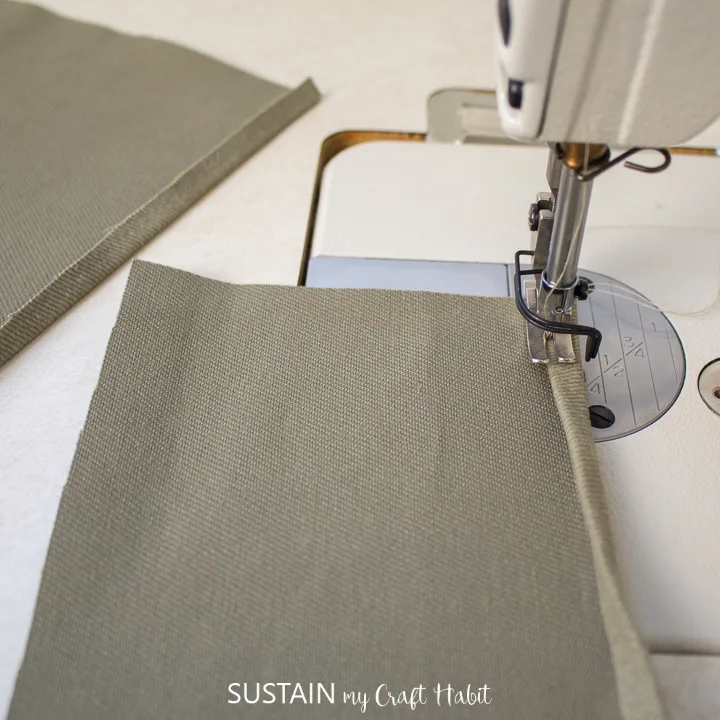
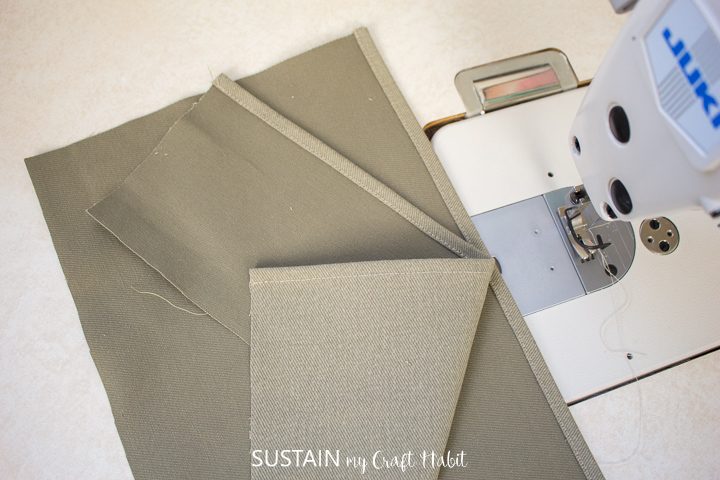

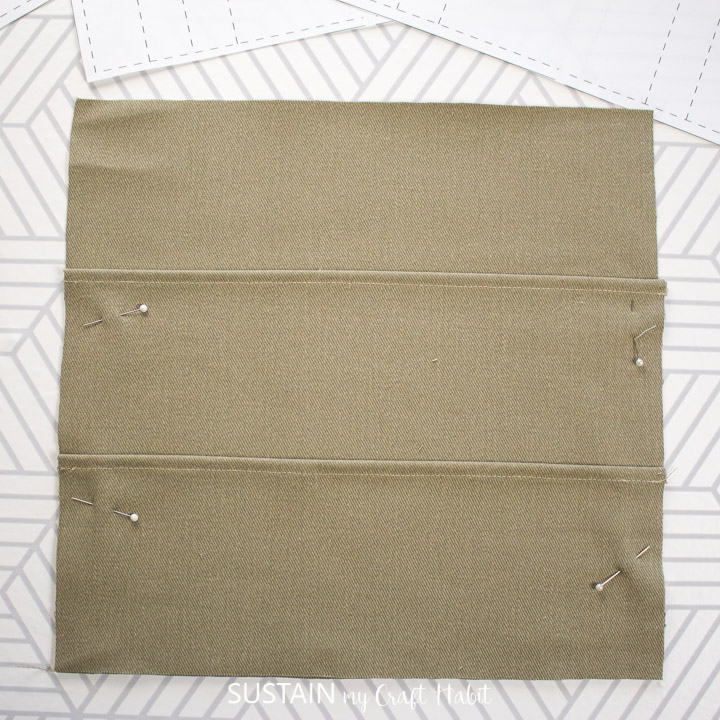
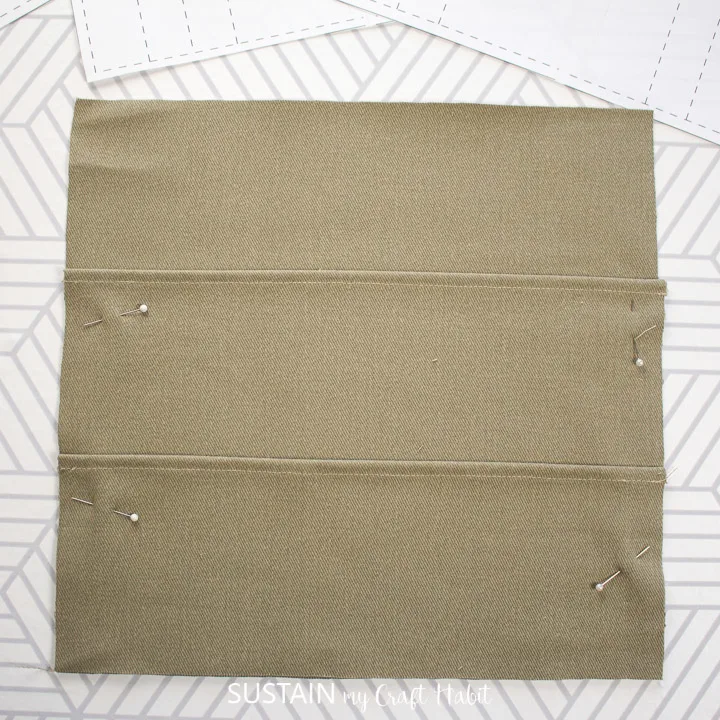
Stack the pattern pieces in this order: with RIGHT sides facing up, place the largest piece on the bottom; tall pocket piece in the middle and the shortest pocket piece on top. Aligning the bottom edges.
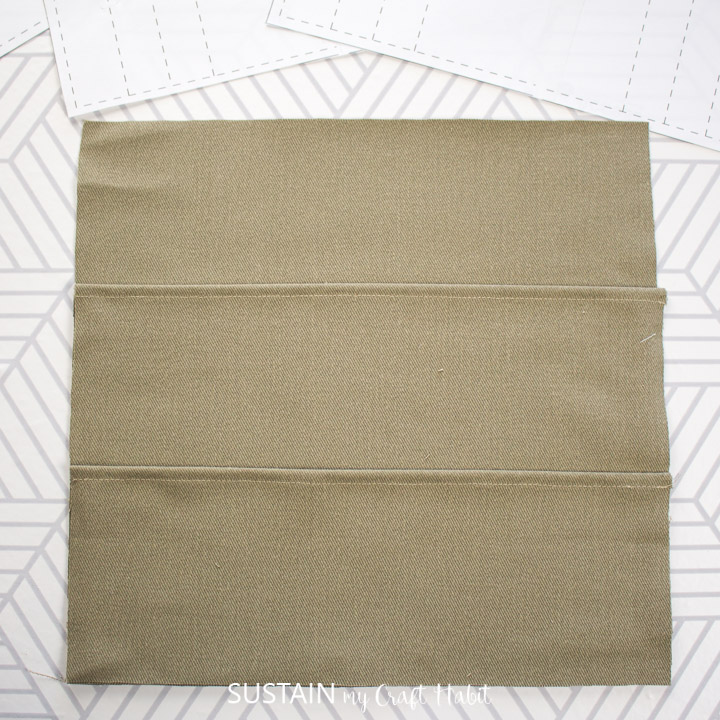
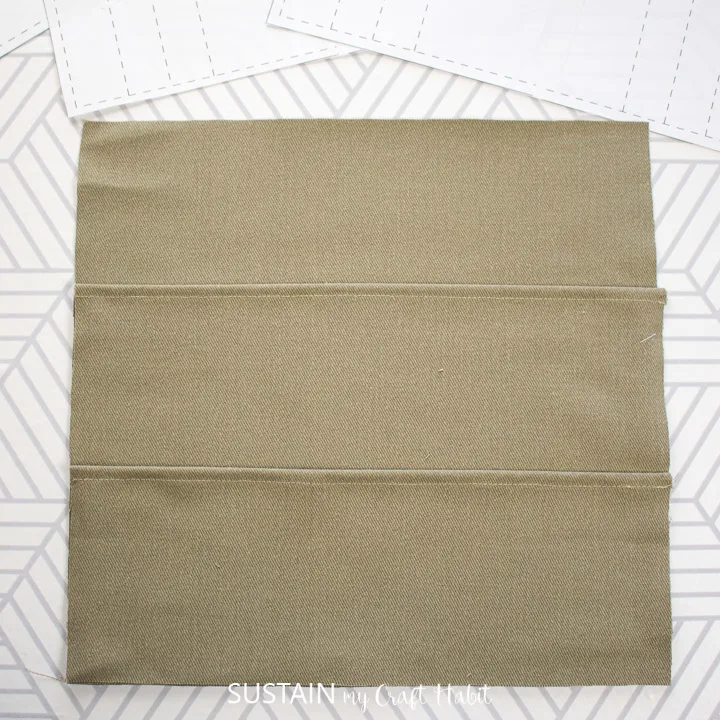
Pin together and baste stitch them along the sides to hold in place.
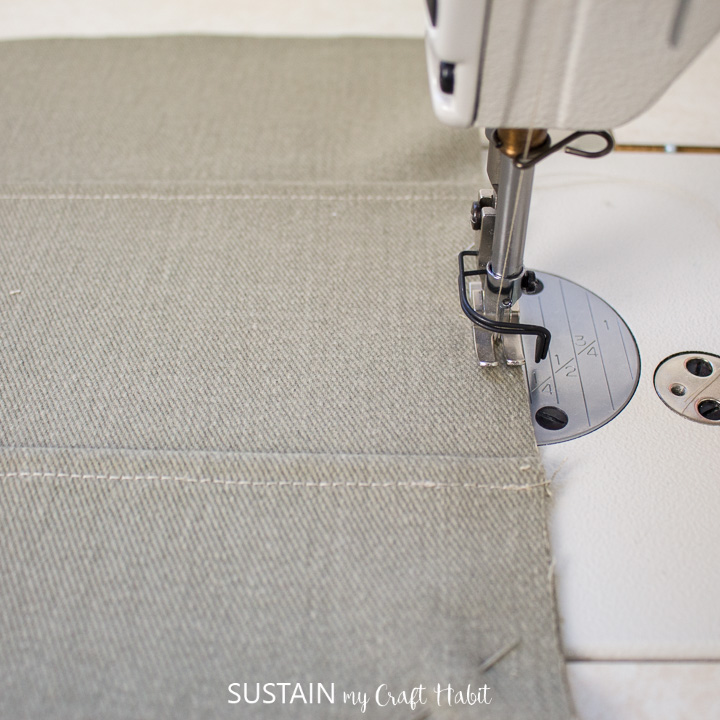
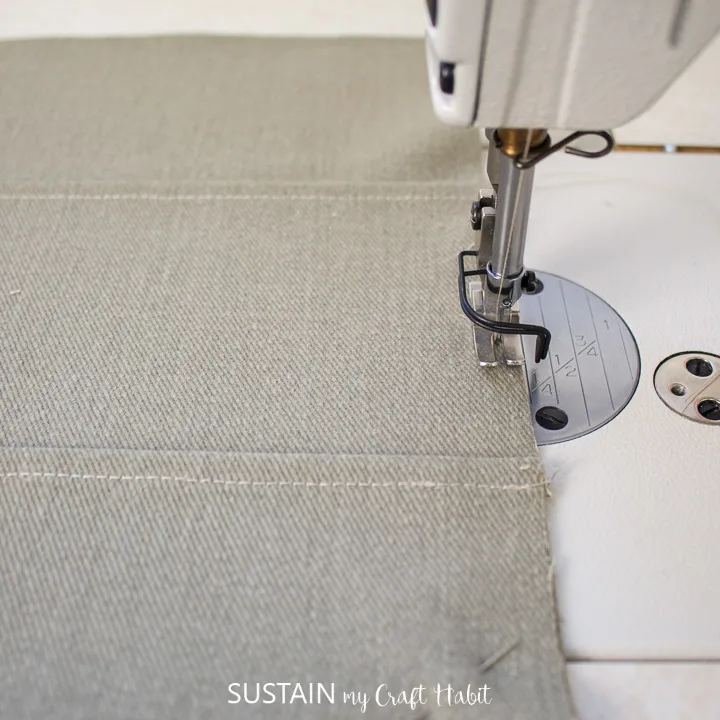
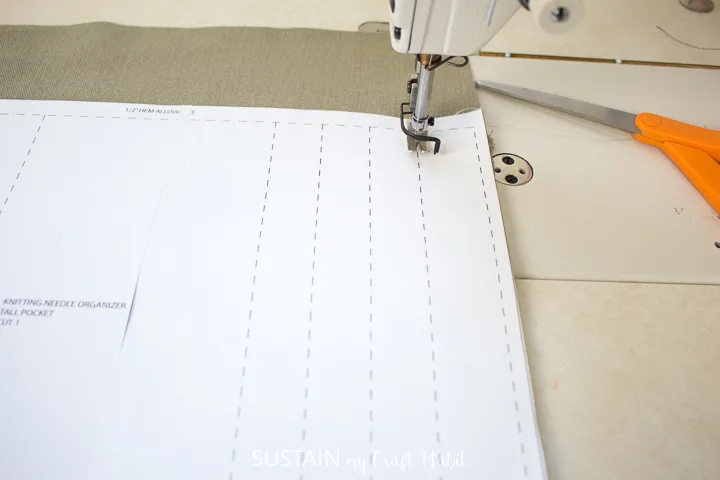
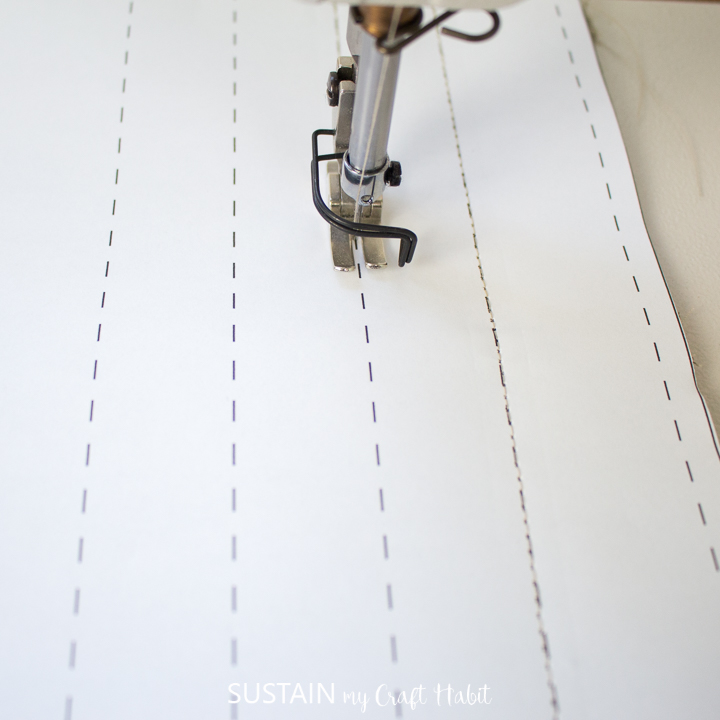
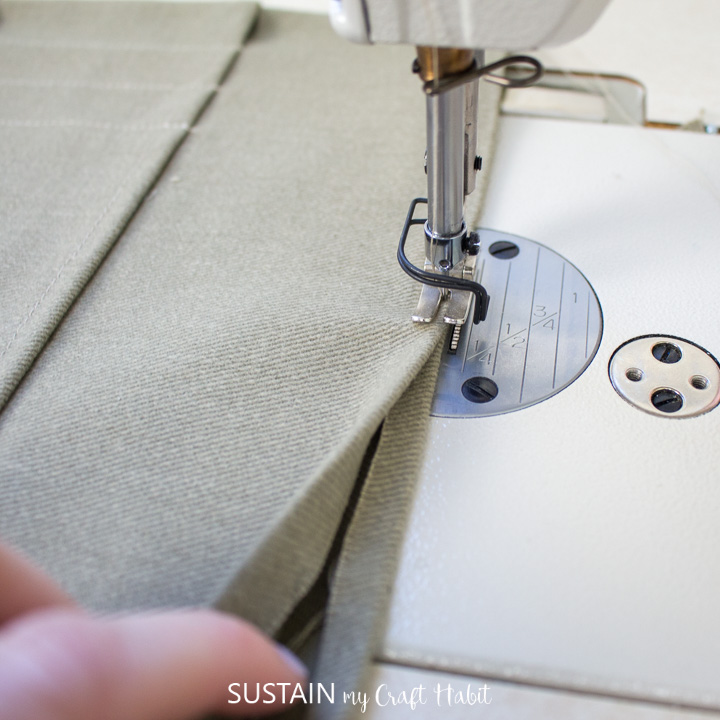
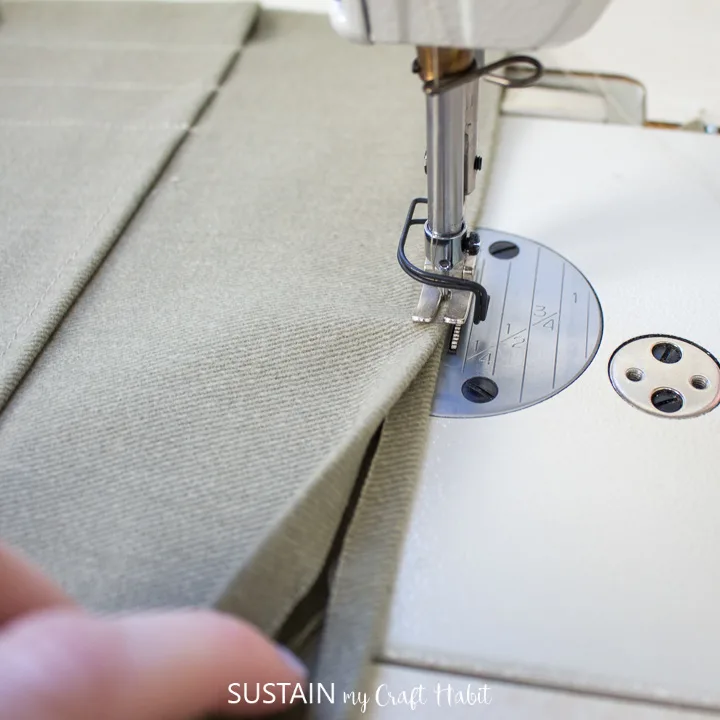
Next, place the tall pocket pattern piece on top as shown and use this as the guide for stitching the knitting needle pockets. You can also stitch them by eye if you feel confident to sew several straight lines.

Hold the pattern piece in place as you stitch over top of the paper and the 3 layers of fabric. It is best to use emore stitches per inch and have a good tension, not loose.


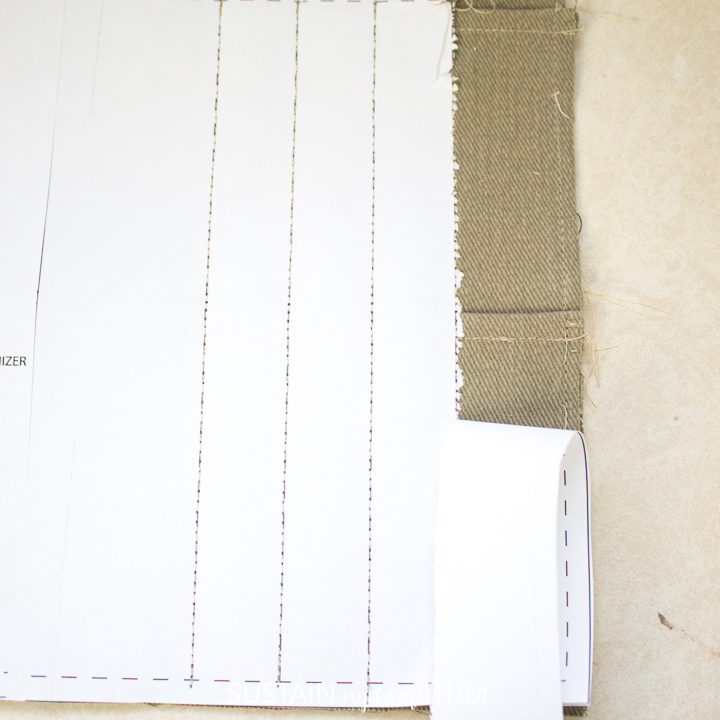
Carefully, remove the paper pattern to reveal the stitched knitting needle pockets and peel away the excess paper.

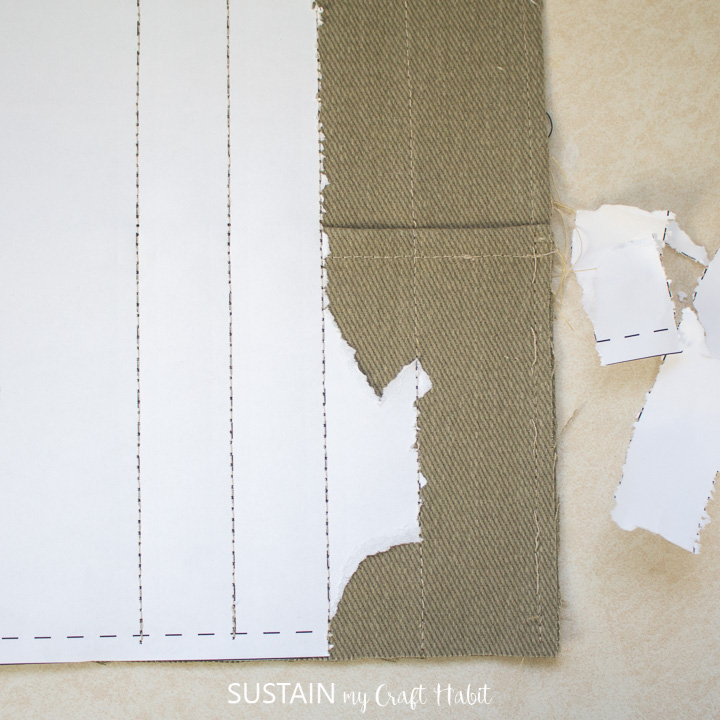

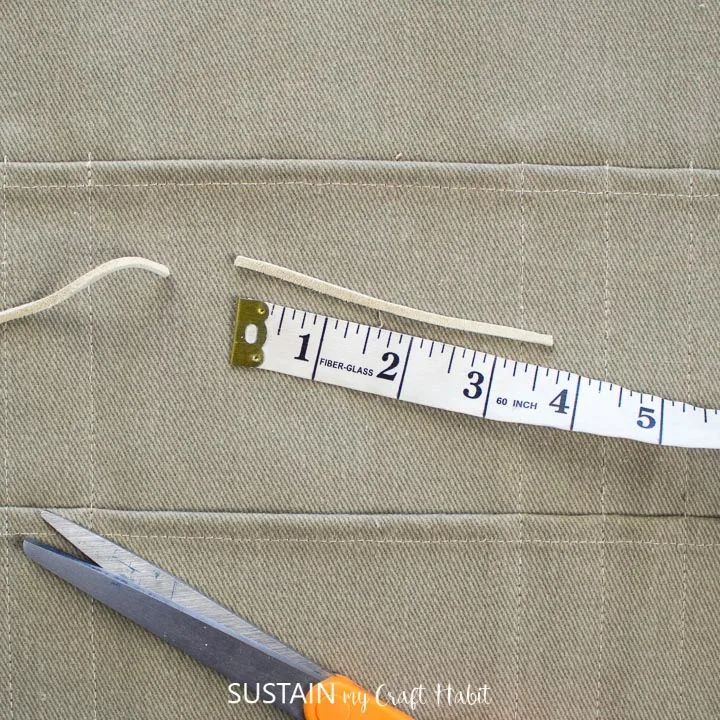
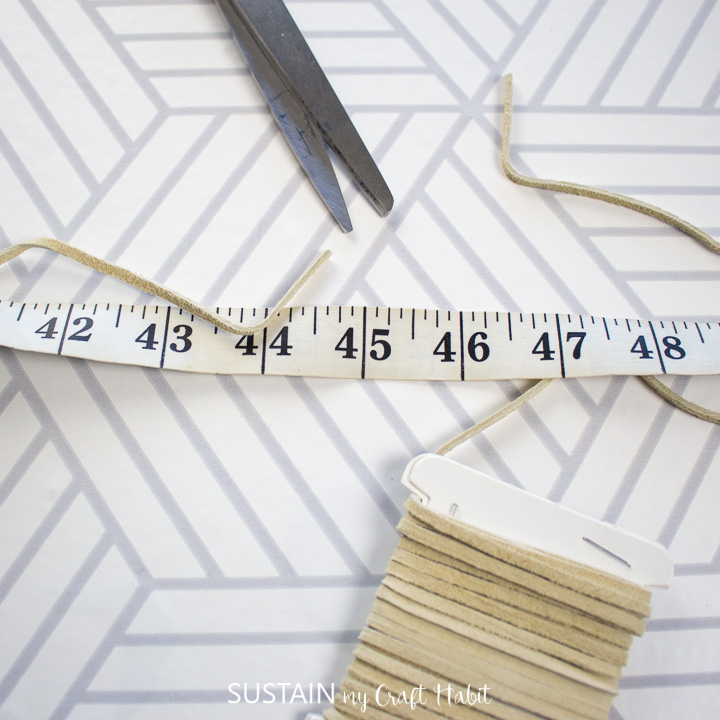
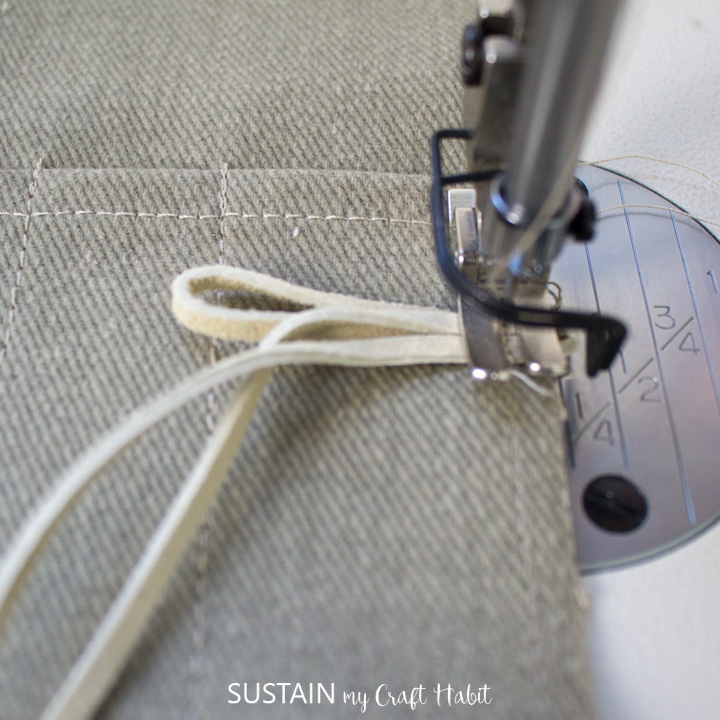
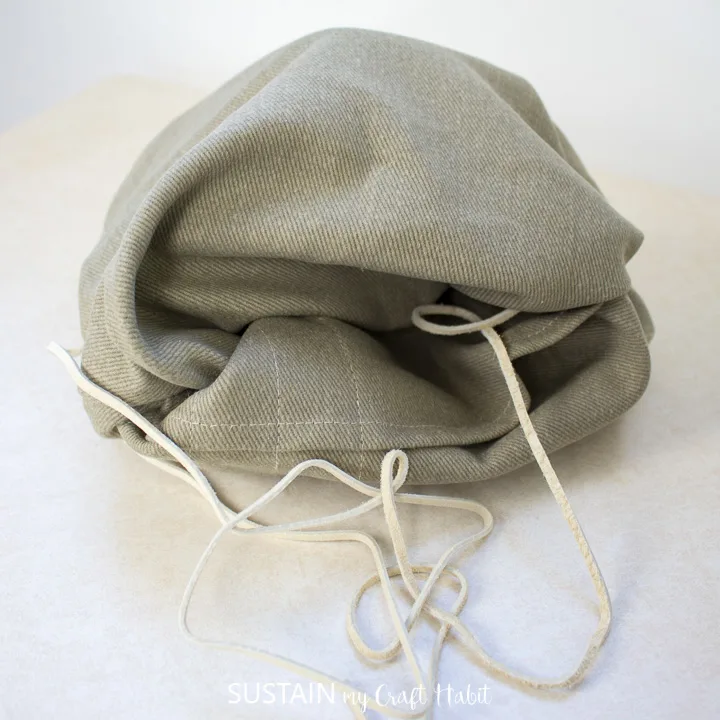
Cut a piece of suede 3” long. Cut another piece of suede 45” long.
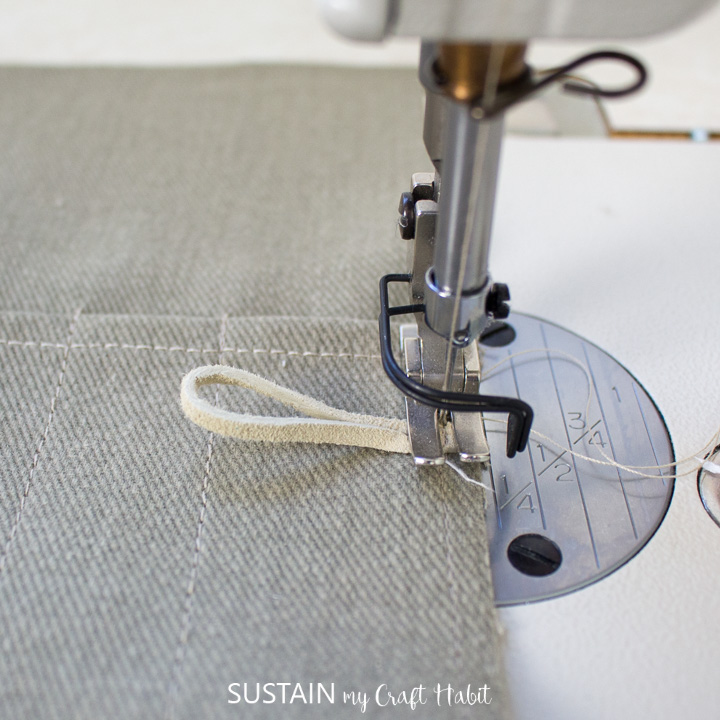
Fold both ties in half.


Align the cut ends of the small suede loop to the notch along the right side. Stitch in place. And then align the looped end of the long suede tie with the same notch and stitch in place.


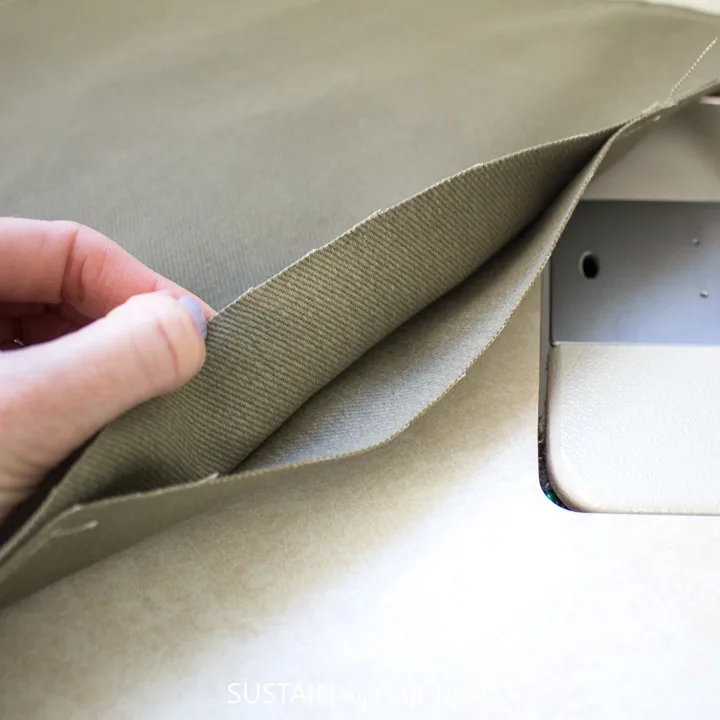
Next, place the remaining large piece over top with RIGHT side together. Pin together and sew along the outer edges with a ¼” seam allowance.

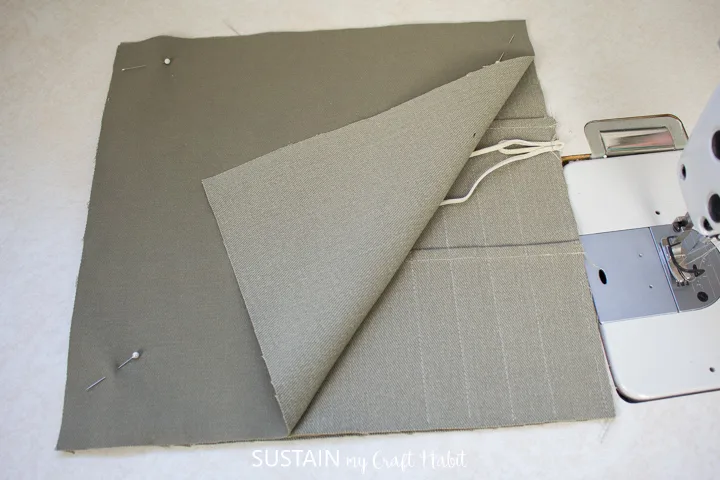
Leave an opening at the top about 4” long to turn the piece right side out. Clip the corners and true the layers to reduce bulk.

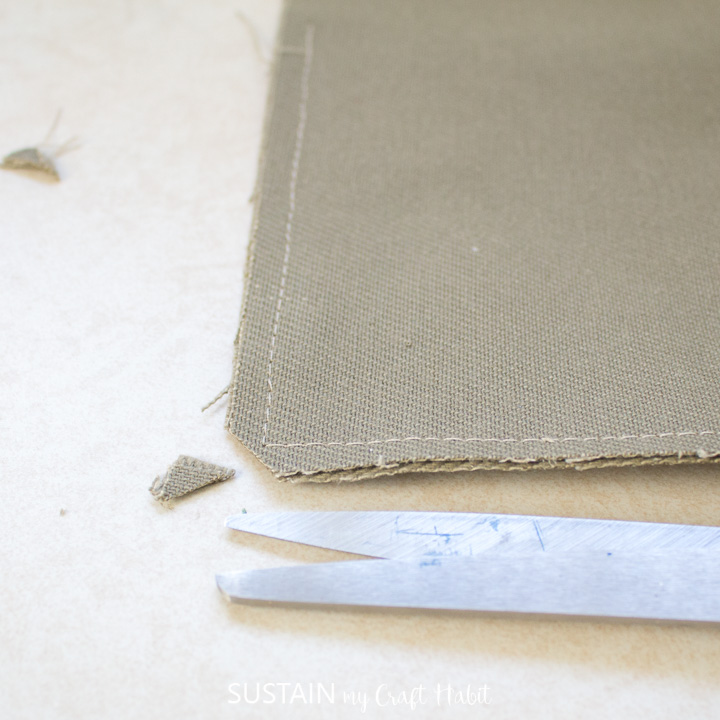
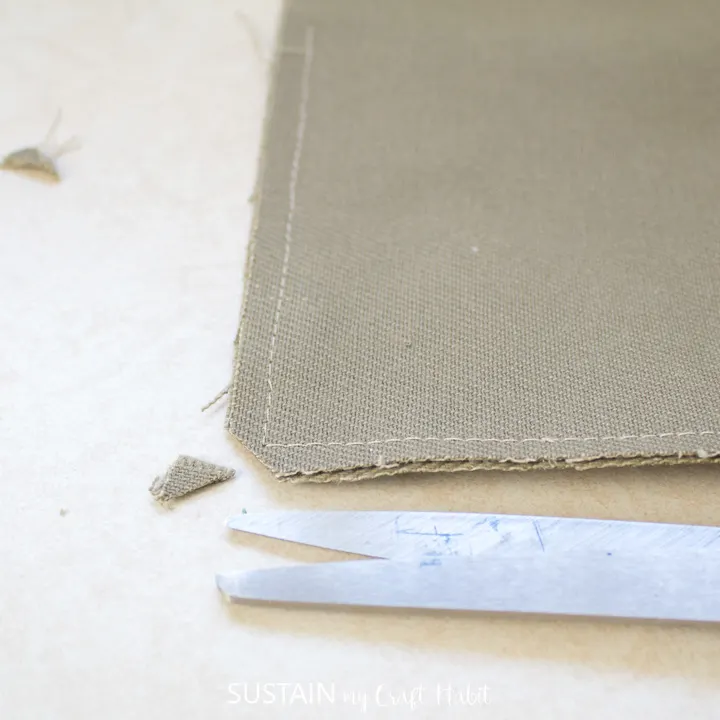
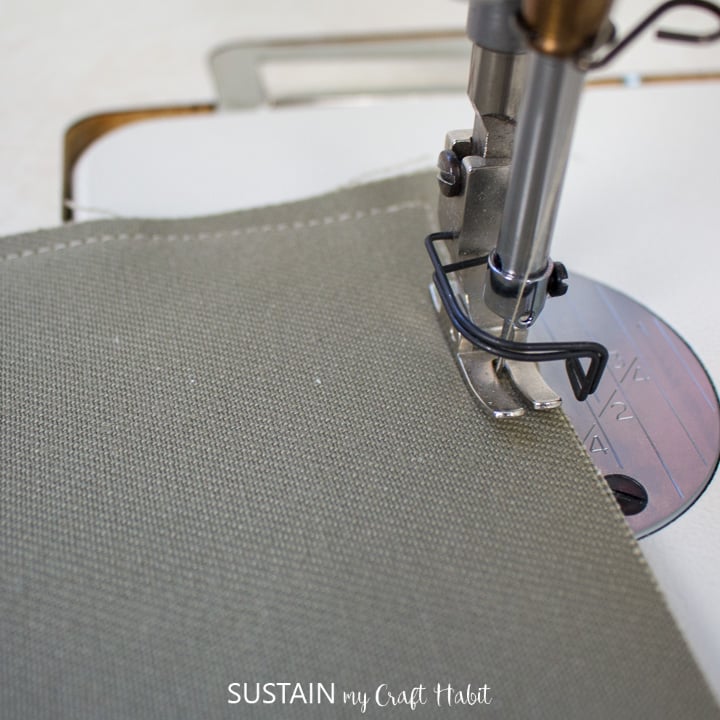
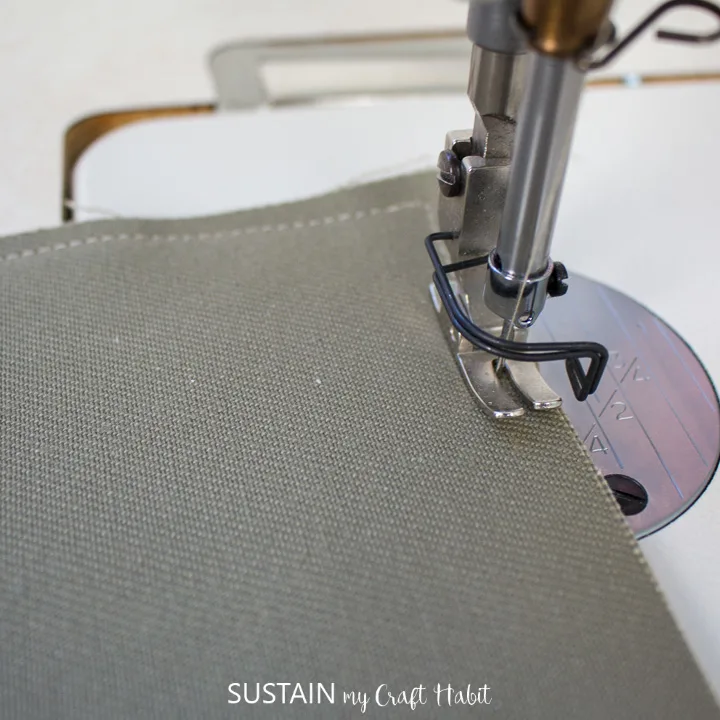
Turn the piece right side out and press edges flat.


Finishing the Knitting Needle Organizer
Sew the top edge closed with an edge stitch.
When finished, insert your knitting needles, crochet hooks, darning needles and any other loose items into the pockets and enjoy the feeling of being organized!

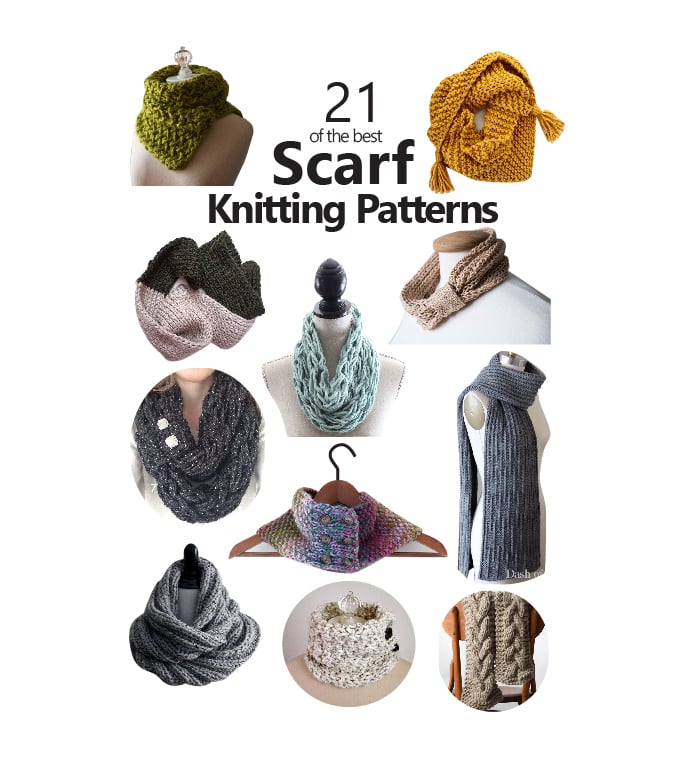
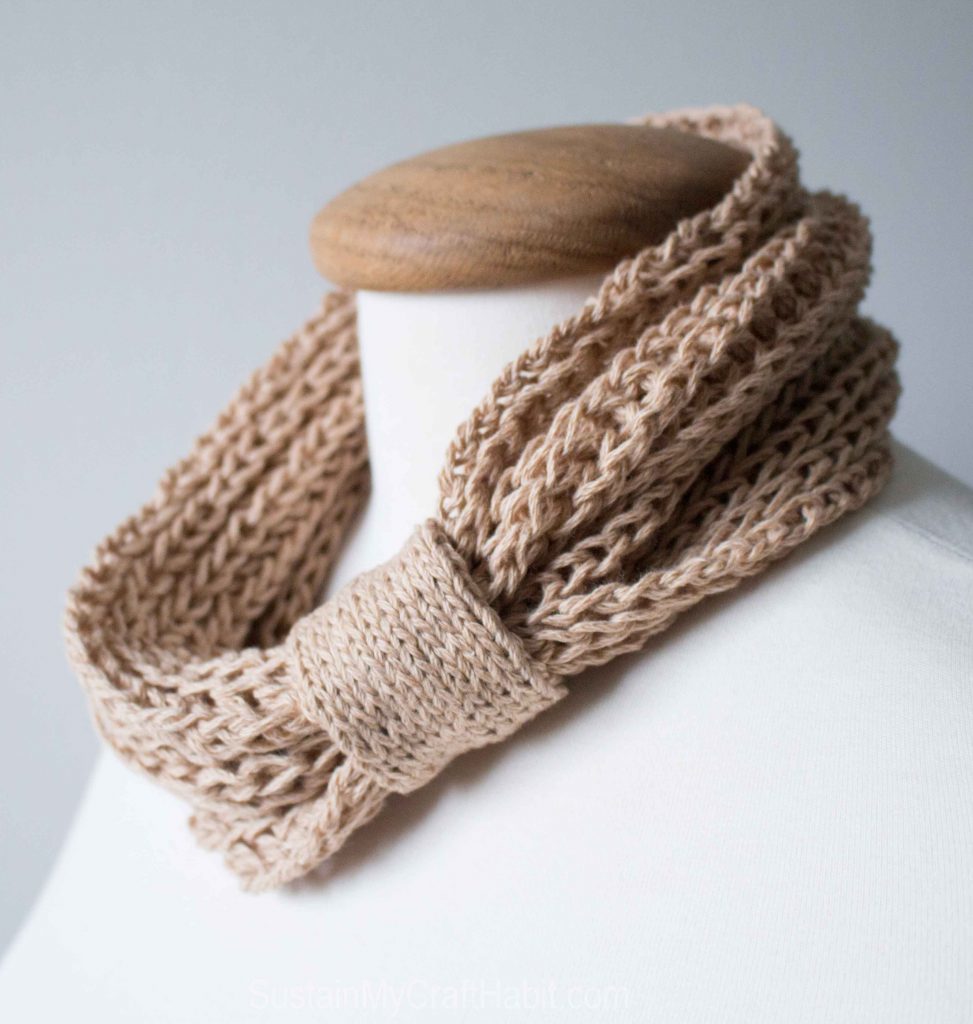
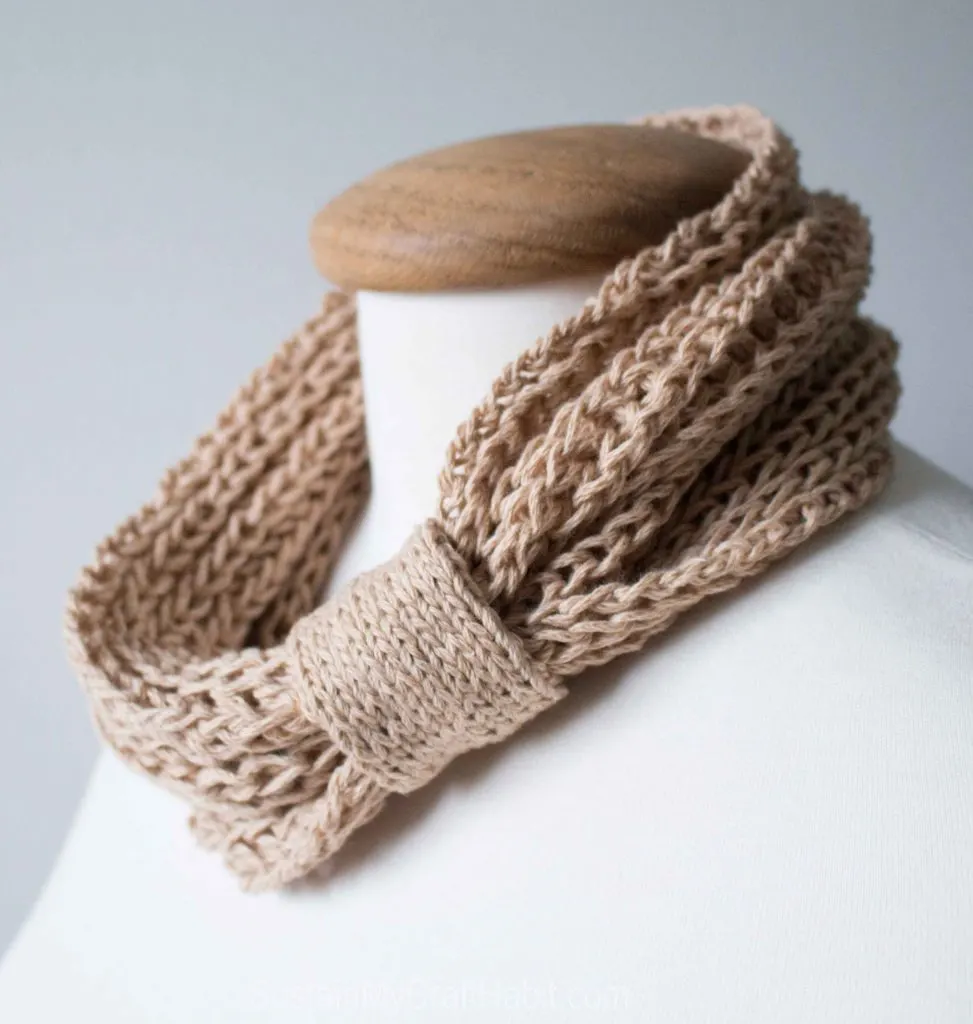
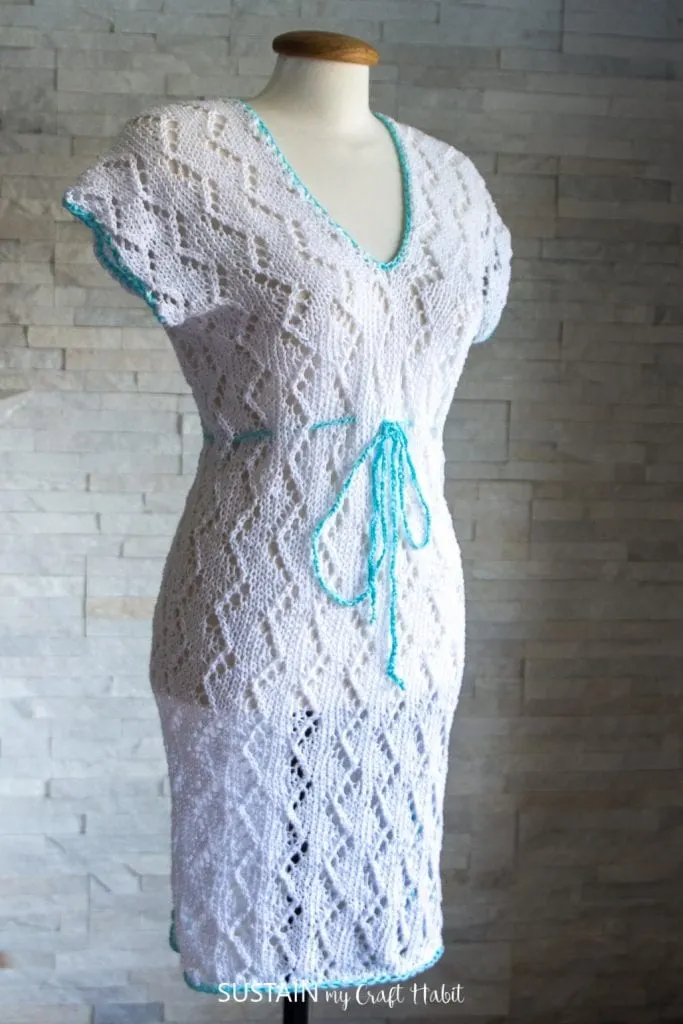
Looking for Knitting and Crochet Patterns?
We hope you enjoyed this knitting needle case pattern. Now that your knitting supplies are organized, check out these pretty knitting projects to keep you busy!


Like it? Pin it for later!
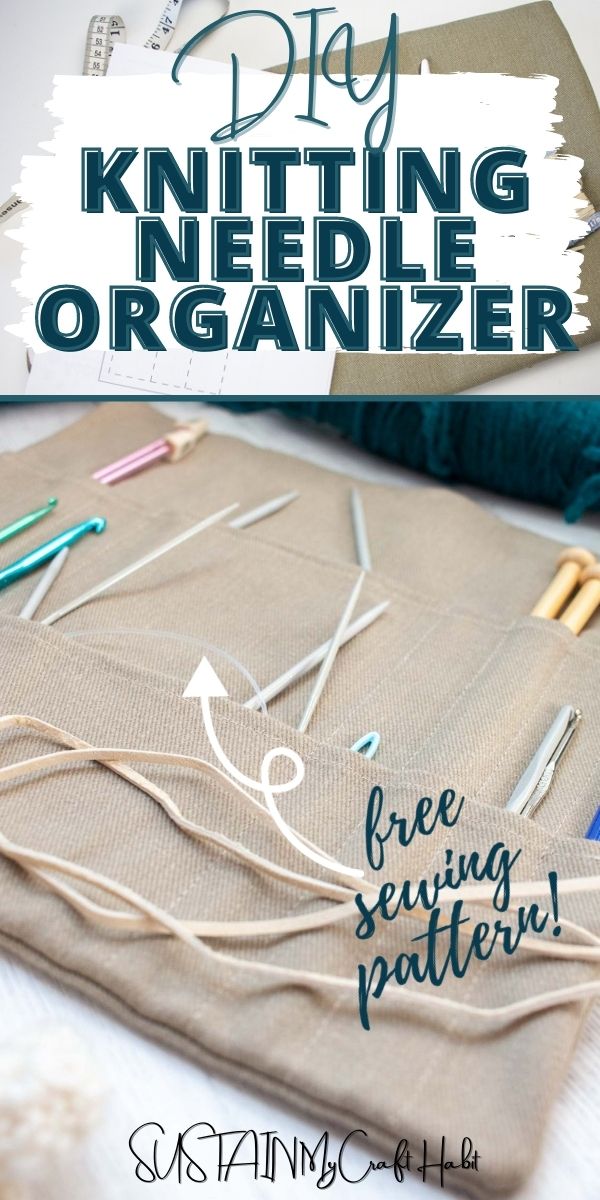


DIY Knitting Needle Organizer with Free Sewing Pattern
Materials
- 1/4 yard 100% Canvas, ¼ yard Bull Denim in Tan but you can use any color of your choosing
- Printable Knitting Needle Organizer Fabric
- fabric scissors
- Iron and ironing board
- Sewing machine and matching thread color
- 50 inches Suede Lace; ⅛” wide in Ivory
Instructions
Cutting
- Print off the knitting needle organizer sewing pattern on 8.5×11 paper and tape the pieces together.
- Position pattern pieces over top of the fabric and pin in place aligning the grain lines and cut along solid lines.
Sewing
- Starting with the tall and short pocket pieces, finished the pocket opening edges with a 1/2" folded hem.
- Stack the pattern pieces in this order: with RIGHT sides facing up, place the largest piece on the bottom; tall pocket piece in the middle and the shortest pocket piece on top. Aligning the bottom edges.
- Pin together and baste stitch them along the sides to hold in place.
- Next, place the tall pocket pattern piece on top as shown and use this as the guide for stitching the knitting needle pockets.
- Hold the pattern piece in place as you stitch over top of the paper and the 3 layers of fabric.
- Carefully, remove the paper pattern to reveal the stitched knitting needle pockets.
- Cut a piece of suede 3” long. Cut another piece of suede 45” long.
- Fold both ties in half. Align the cut ends of the small suede loop to the notch along the right side. Stitch in place. Align the looped end of the long suede tie with the same notch and stitch in place.
- Next, place the remaining large piece over top with RIGHT side together. Pin together and sew along the outer edges with a ¼” seam allowance. Leave an opening at the top about 4” long to turn the piece right side out.
- Turn the piece right side out and press edges flat and sew the top edge closed with an edge stitch.