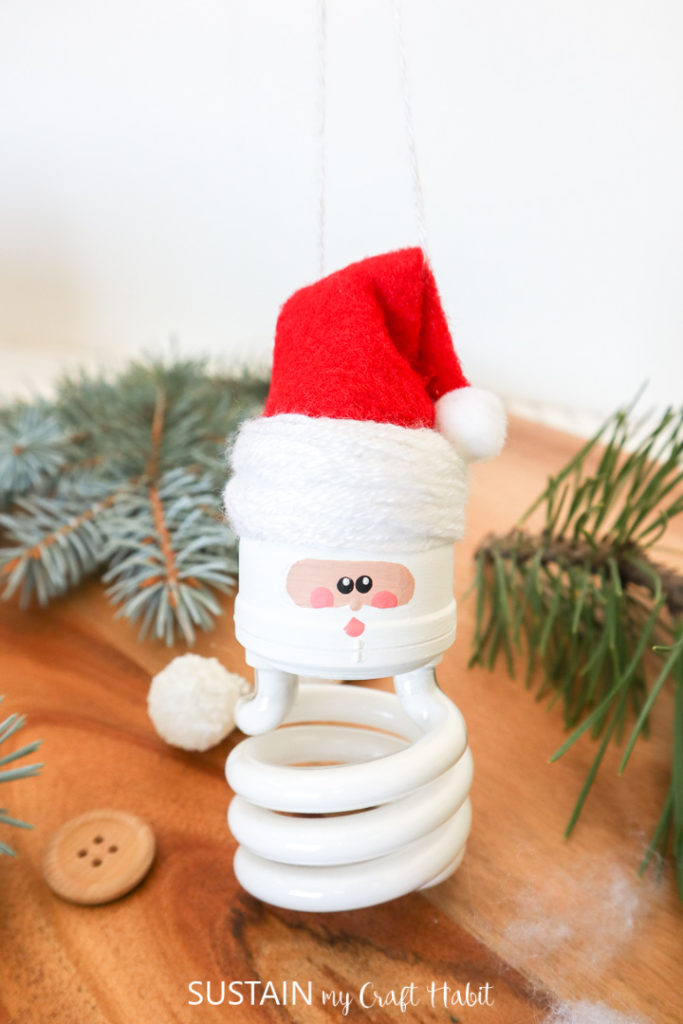
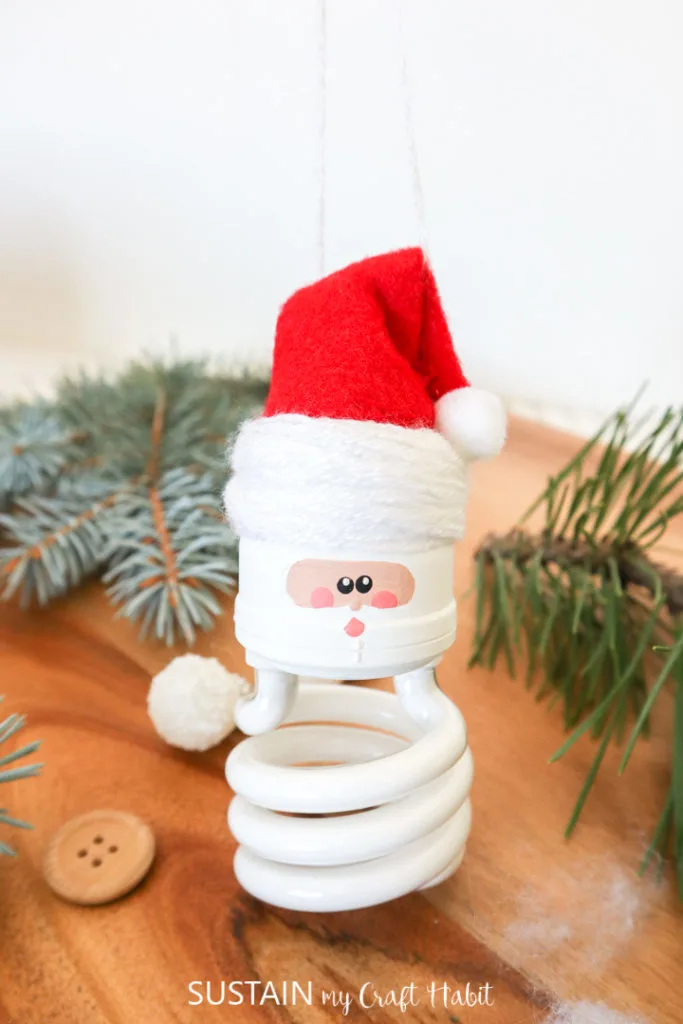
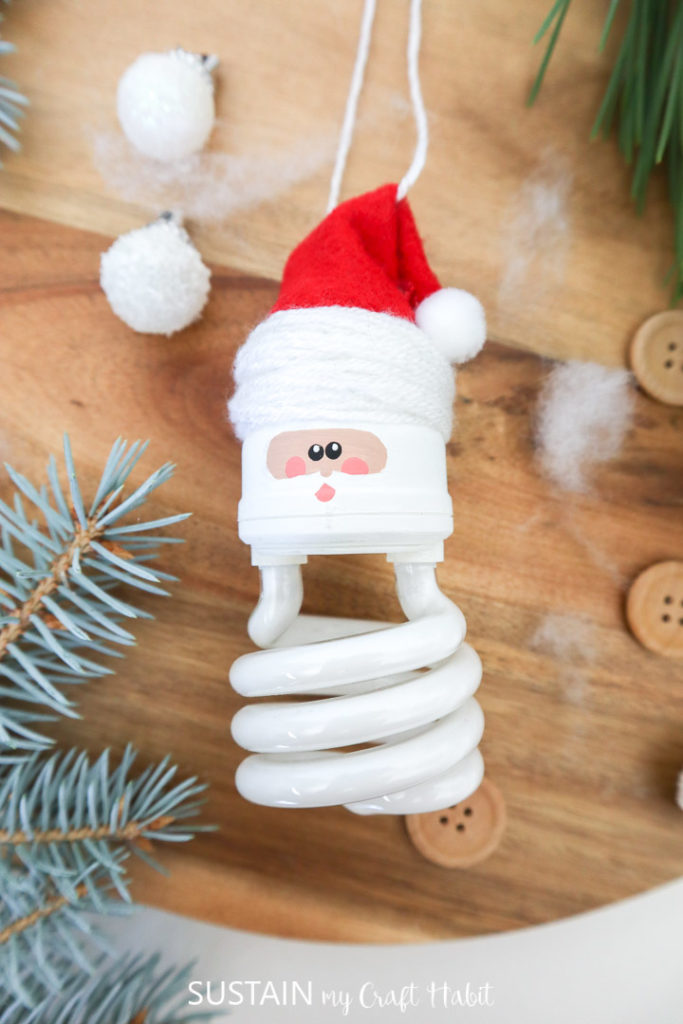
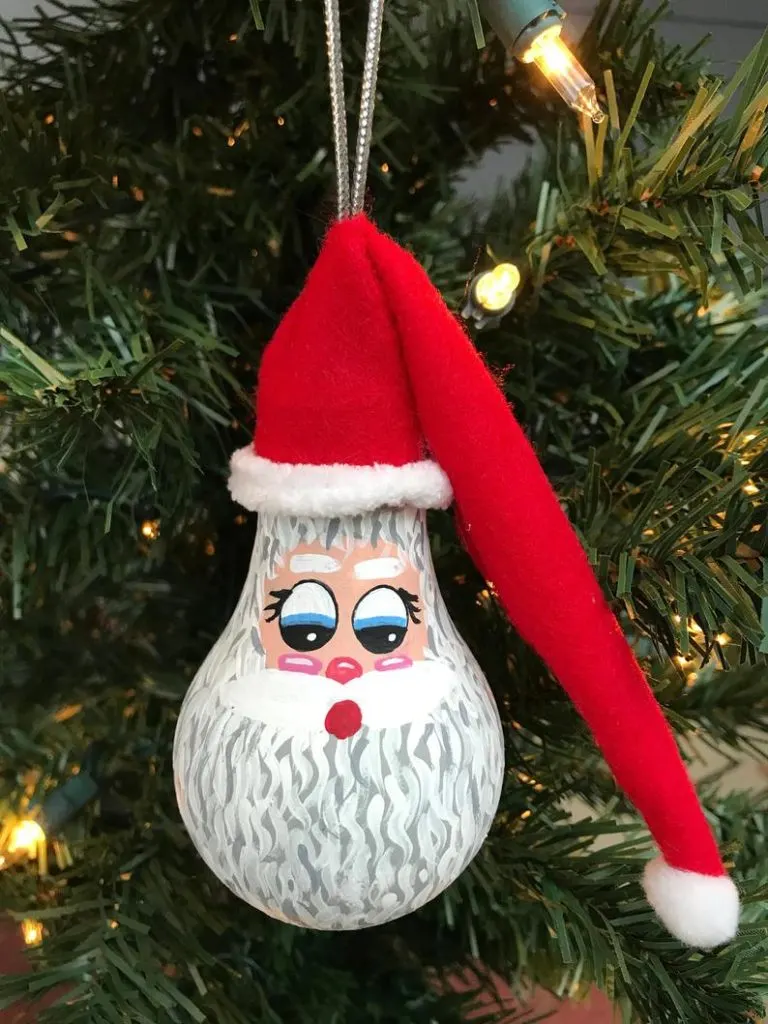
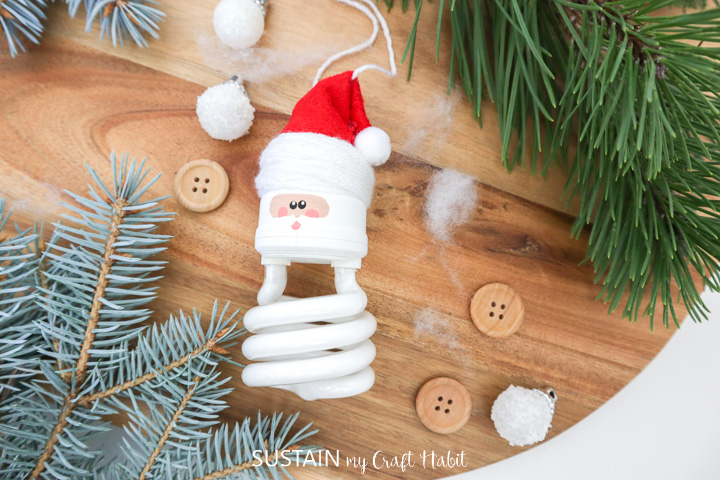
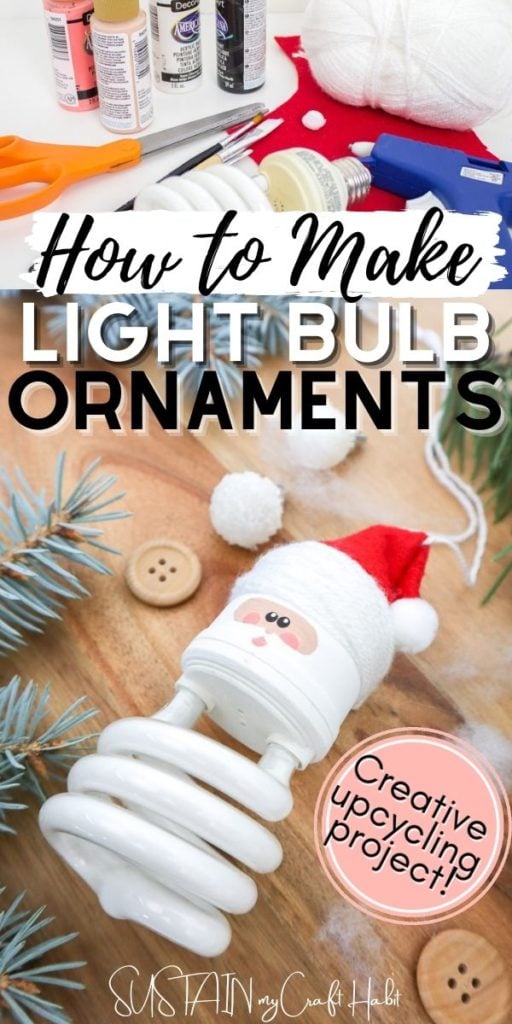
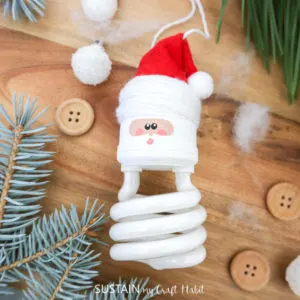
Turn your old spiral bulbs into adorable Santa light bulb Christmas ornaments with this fun upcycling craft idea.
Light Bulb Ornament Craft
All of the options of light bulbs quite honestly makes my head spin. What is the difference between warm white, soft white, bright white, daylight, cool light, etc etc, anyways? I can’t even tell you the number of times I’ve had to return bulbs to the store because the color was not right.
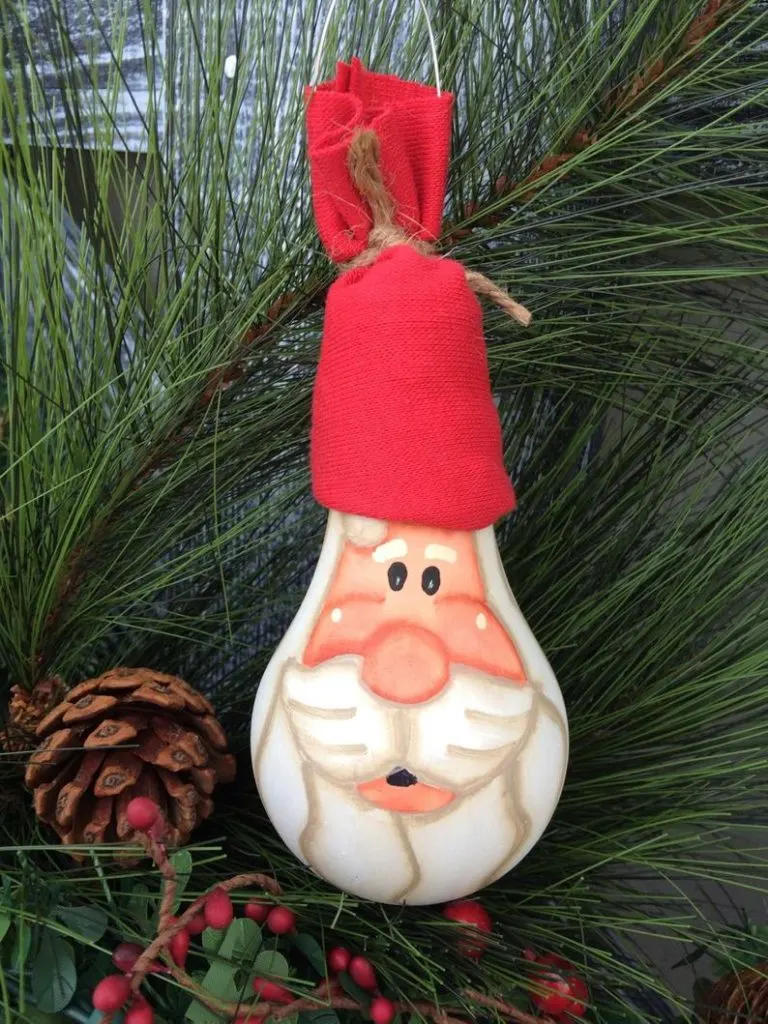
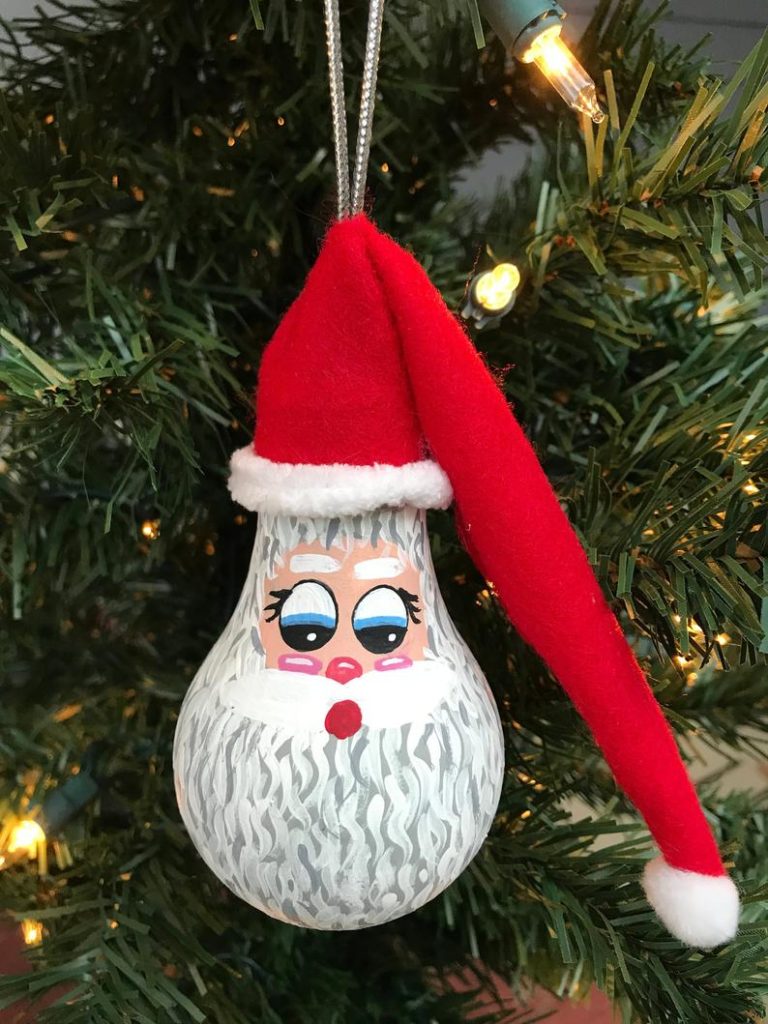
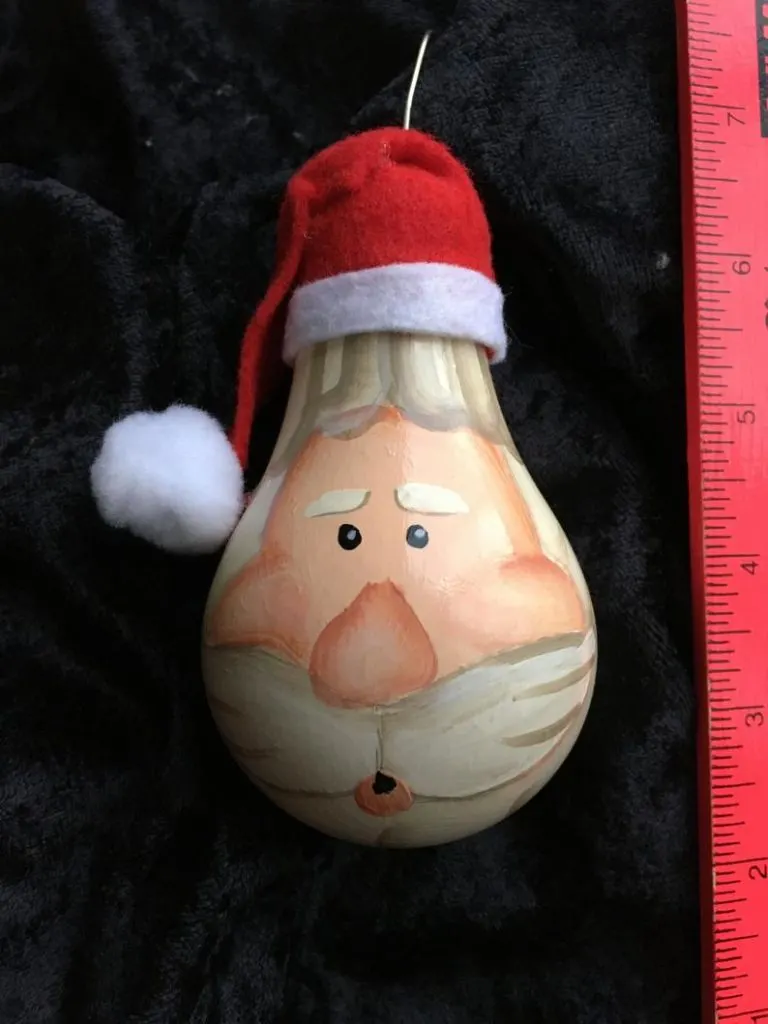
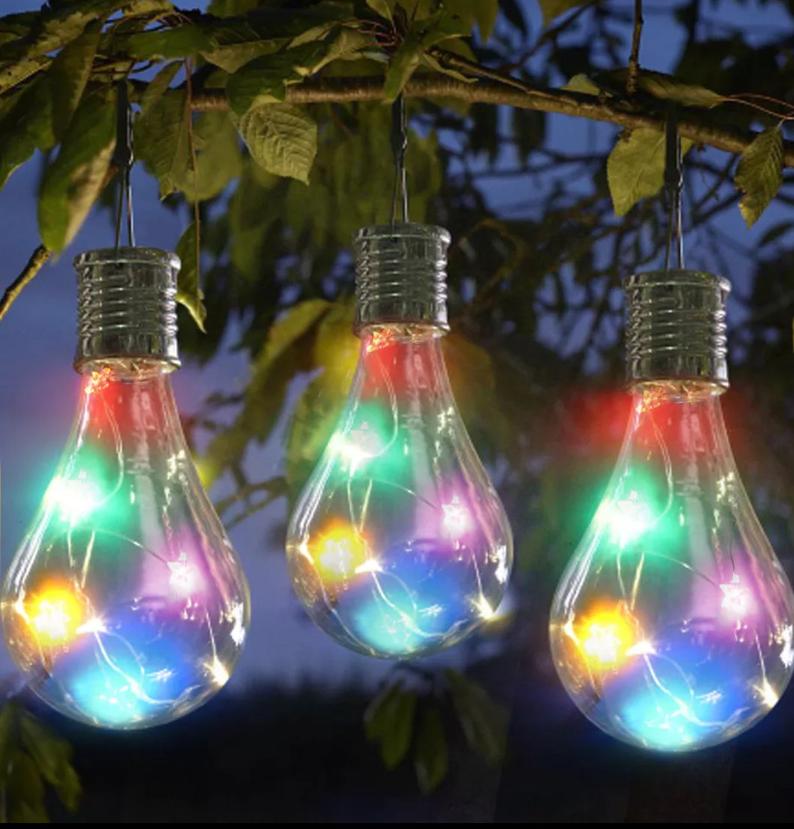
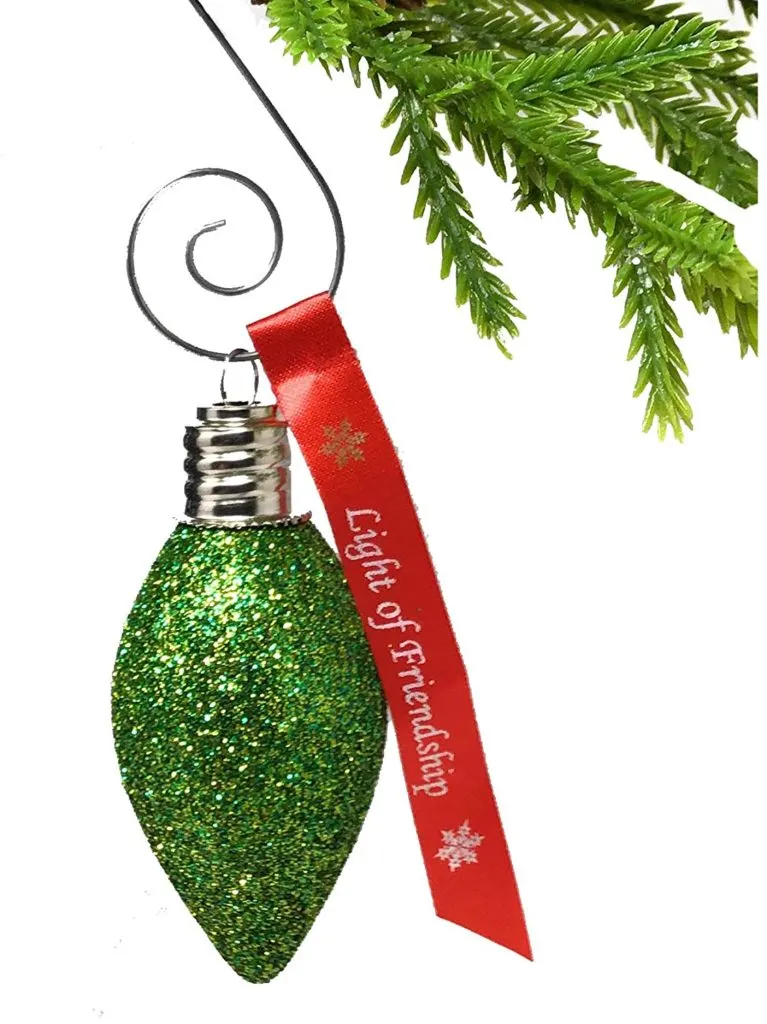
So with so many different bulbs at home, I decided to make these super cute Santa Clause light bulb Christmas ornaments! Although I used my spiral shaped bulbs, the regular shaped bulbs would also work out really nicely. And if you prefer to buy, there are even some links below to creative bulb ornaments that you can even buy!


These handmade ornaments are so much fun to make and will beautiful on your Christmas tree year-after-year. Or make a set of these festive Christmas ornaments to give as gifts to coworkers and neighbors.
This easy Christmas craft idea is also a fun way to spend an afternoon crafting with friends for the holiday season.
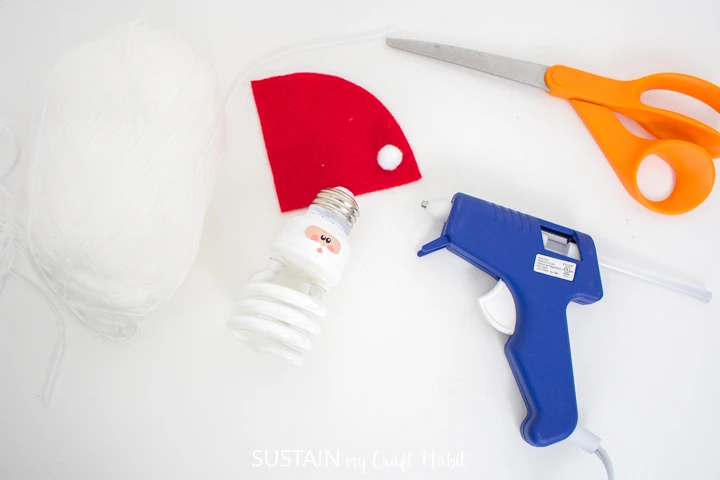
Materials Needed:
Disclosure: This post contains affiliate links for your shopping convenience. Should you choose to purchase through them, we will make a small commission at no extra cost to you. You can read our full disclosure policy here.
- Spiral Lightbulb
- Paintbrush, fine tip
- DecoArt Americana Acrylics
- Red Felt
- White yarn
- Fabric Scissors
- Hot Glue Gun, clear glue sticks


How to Make Light Bulb Christmas Ornaments
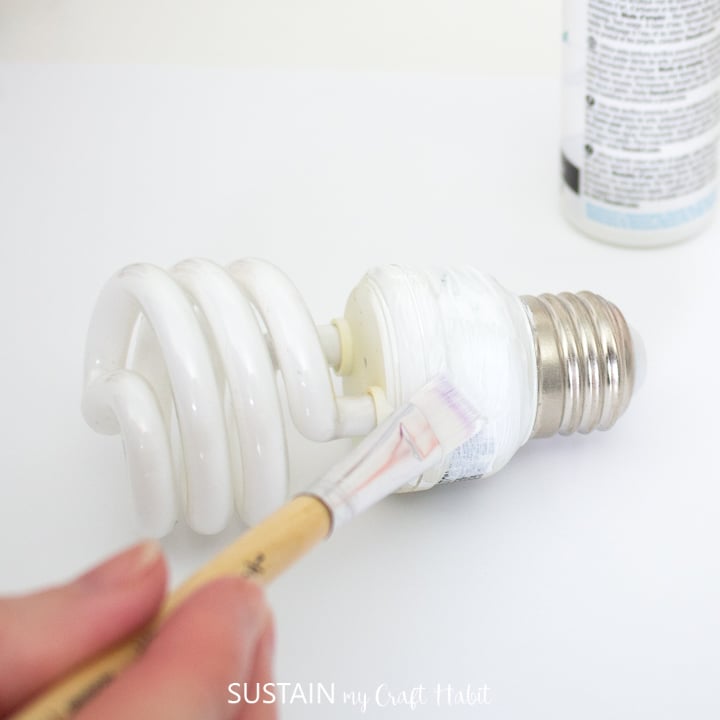
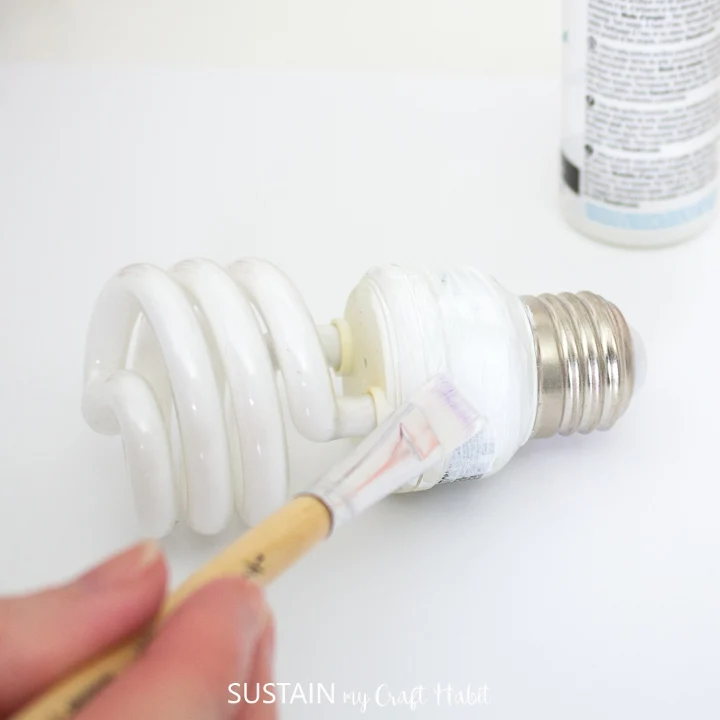
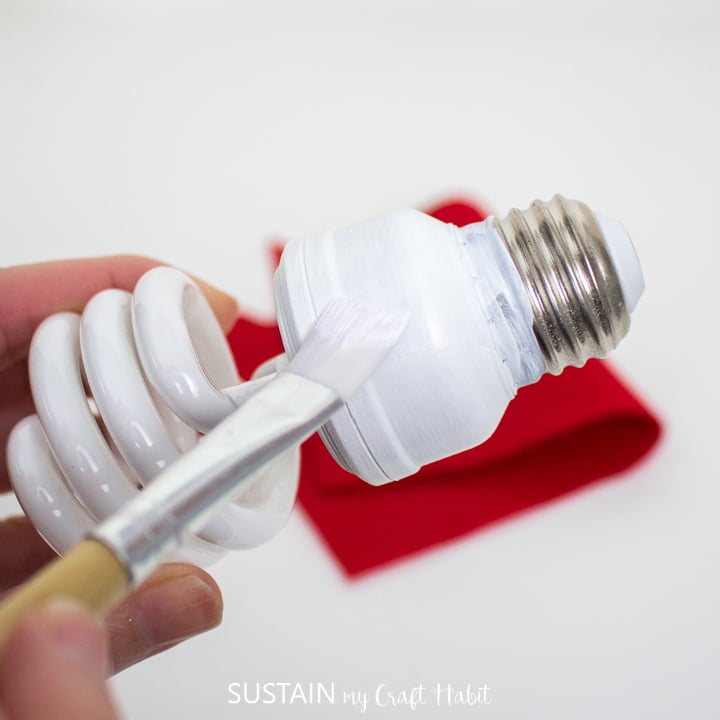
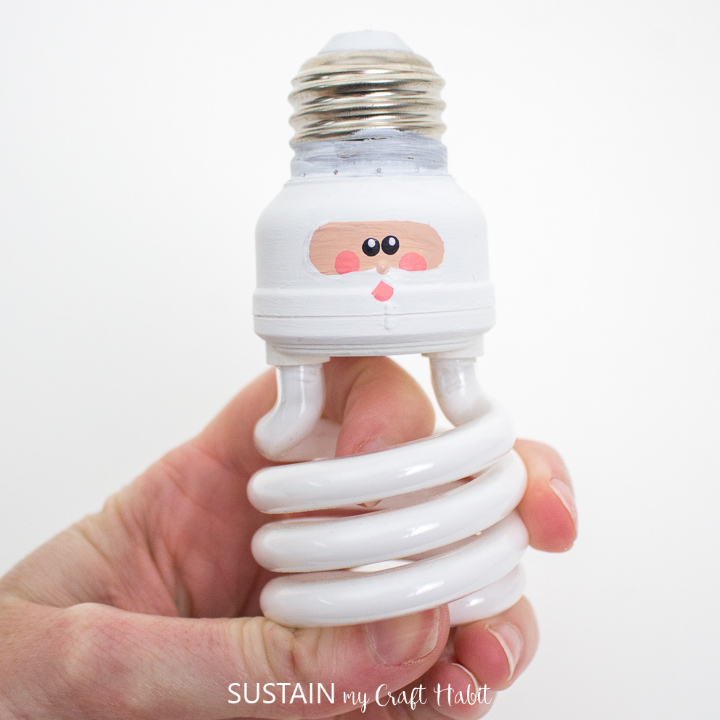
Paint the plastic portion of the light bulb in white acrylic paint. Leave it to dry and reapply additional coats as needed for enough coverage. I needed about 4 coats of paint to cover the black markings on the bulb.

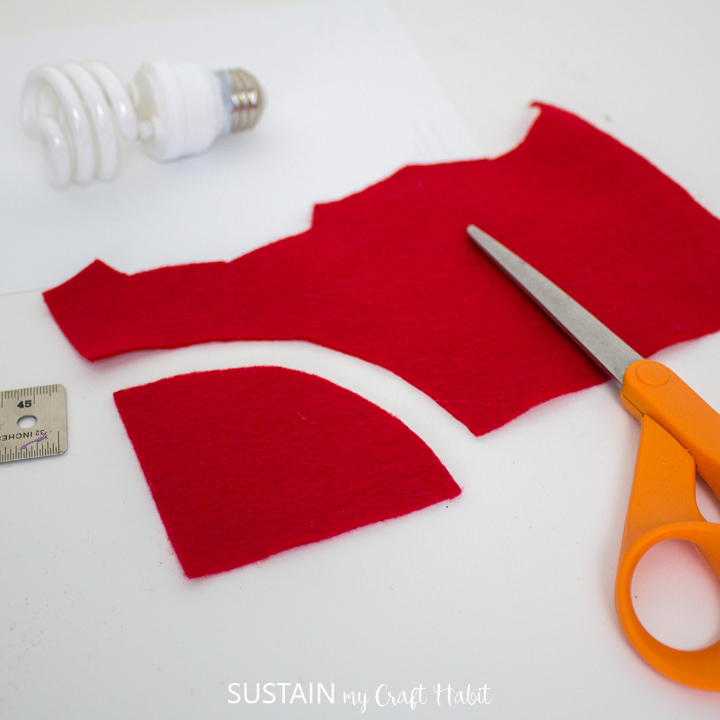
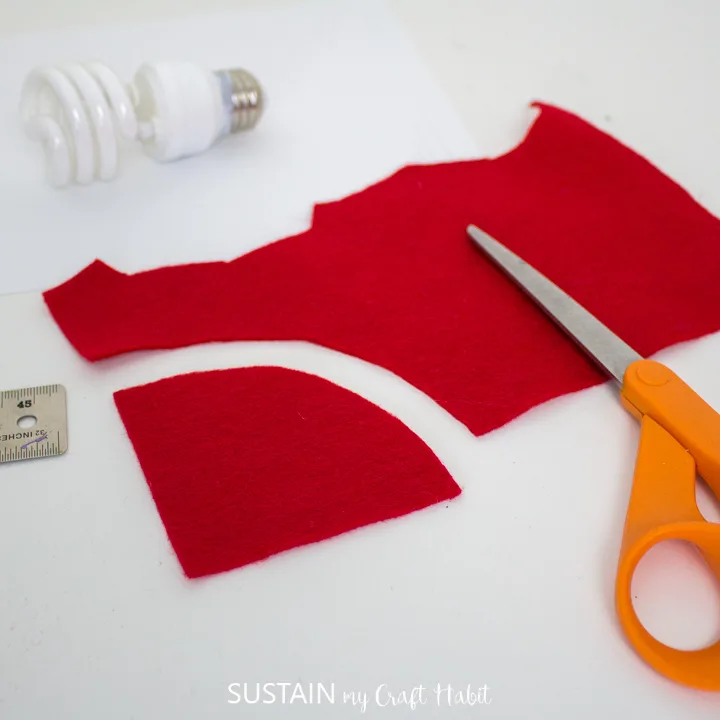
Cut a ¼ circle shape in red felt, with a height of 3”.
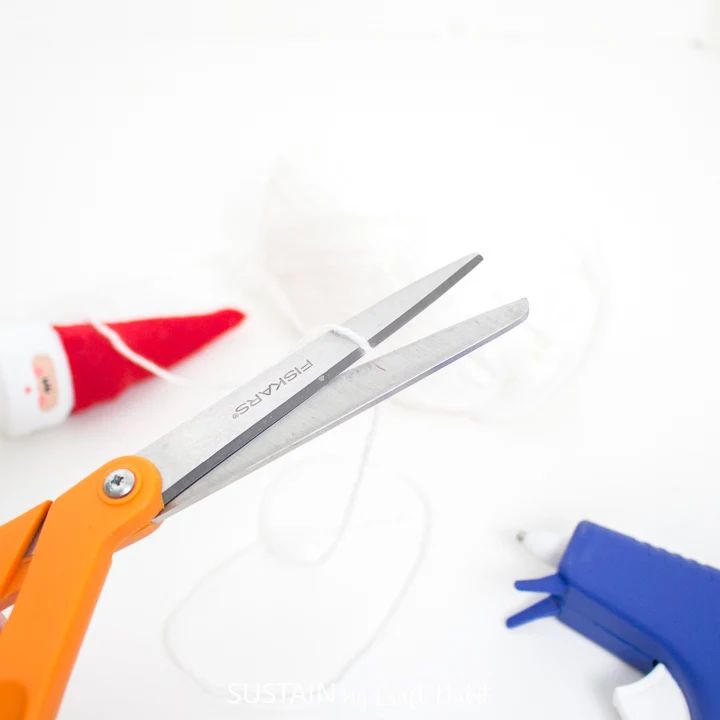
Cut a piece of white yarn 12” long.

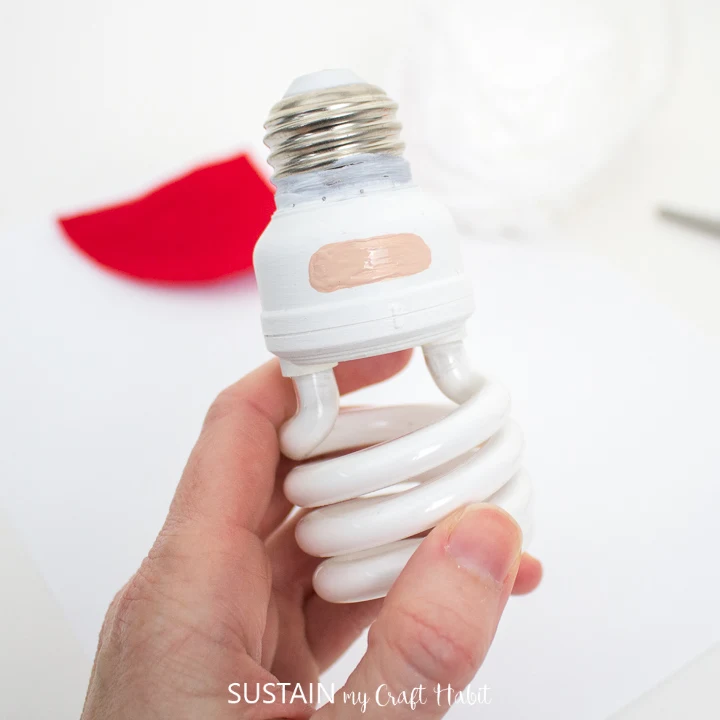
Choose one side of the painted bulb for Santa’s face.
Paint a long rounded rectangular shape in Warm Biege as shown. Apply extra coverage as needed.

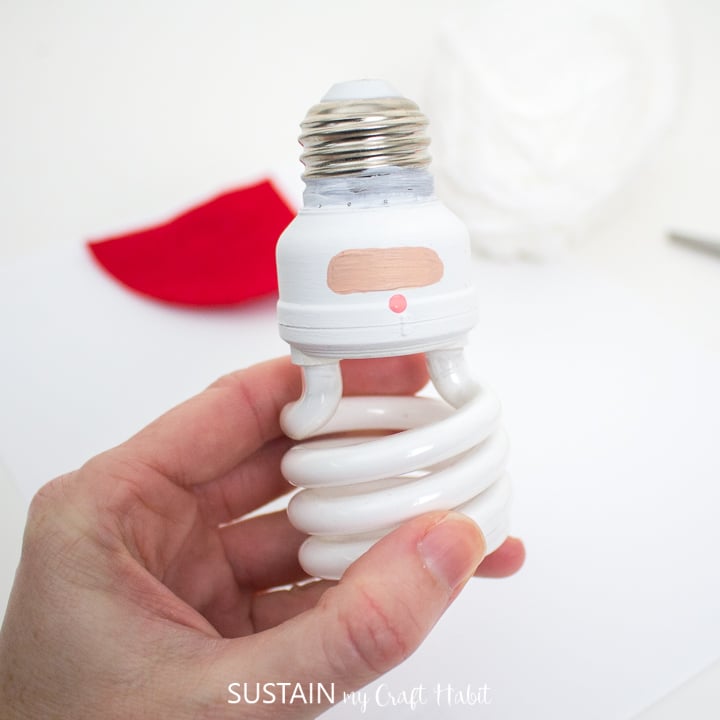
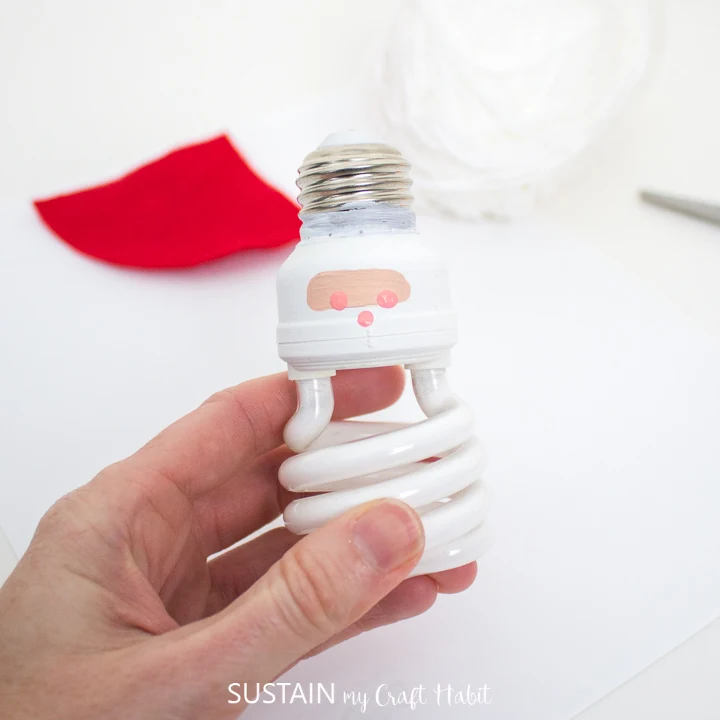
Using the back end of the fine tip paint brush, dip it in Melon and apply two small dots for the cheeks and one dot for the mouth.


Similarly, dab two small dots in black for the eyes. Add two smaller circles inside for the highlights.
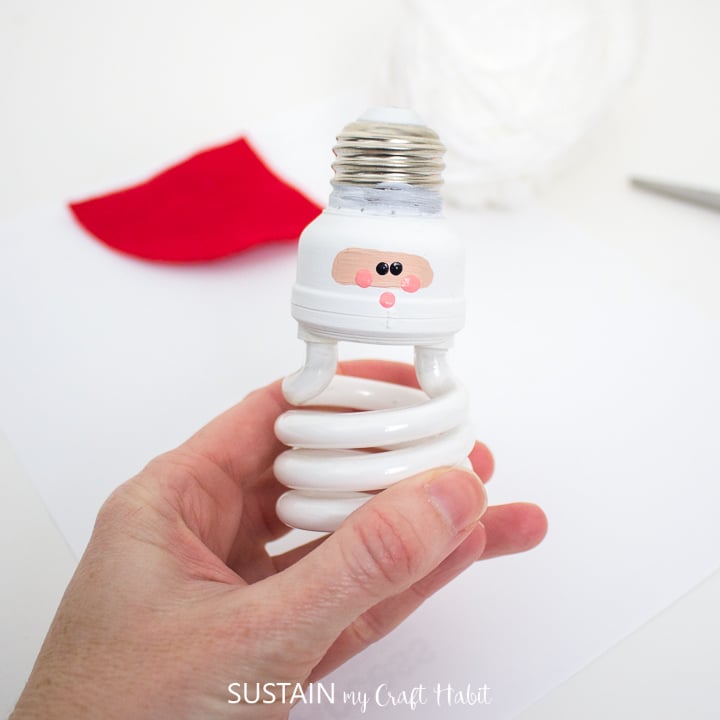


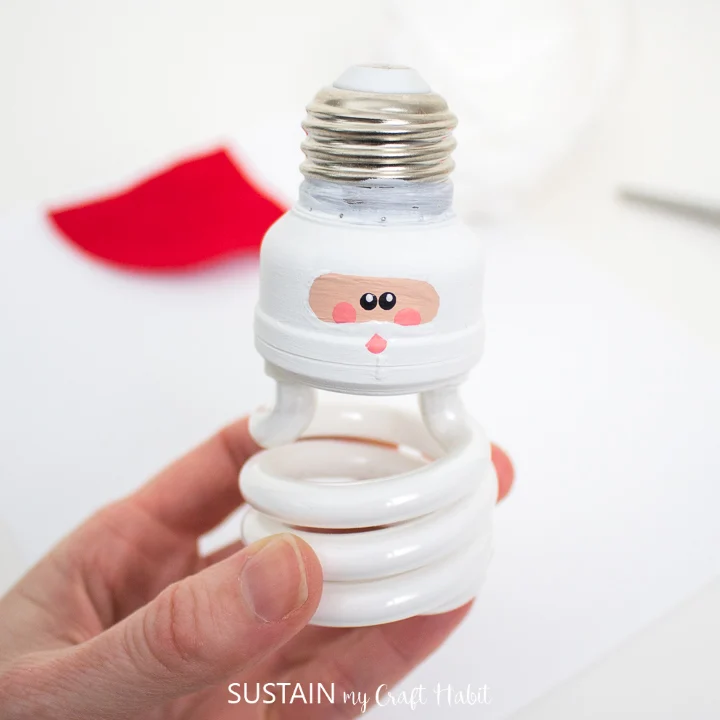
Fill in around the mouth using white paint for the moustache and then lastly, dab a dot for the nose using Warm Biege.
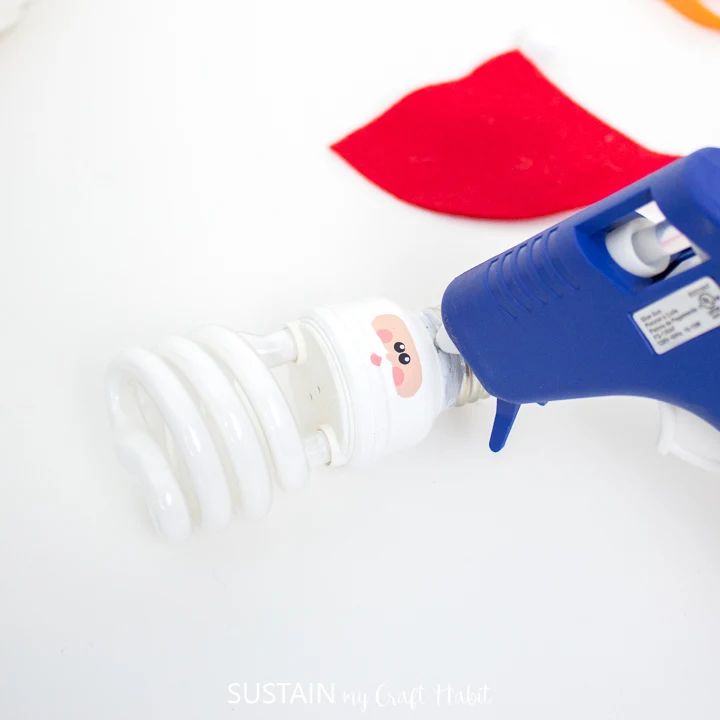
Preheat glue gun.
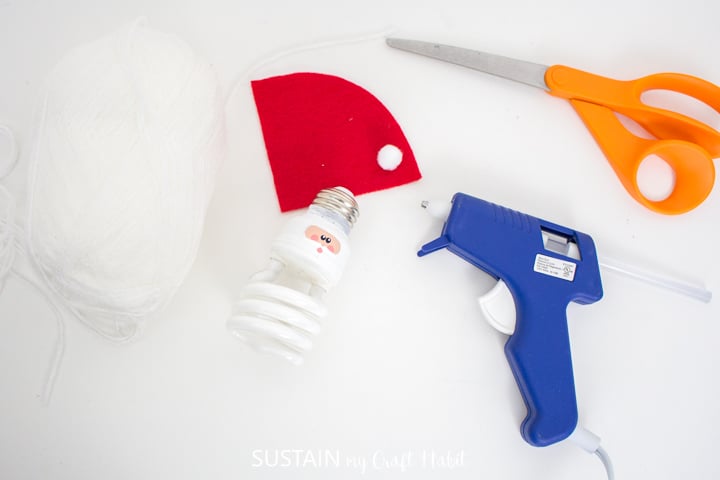
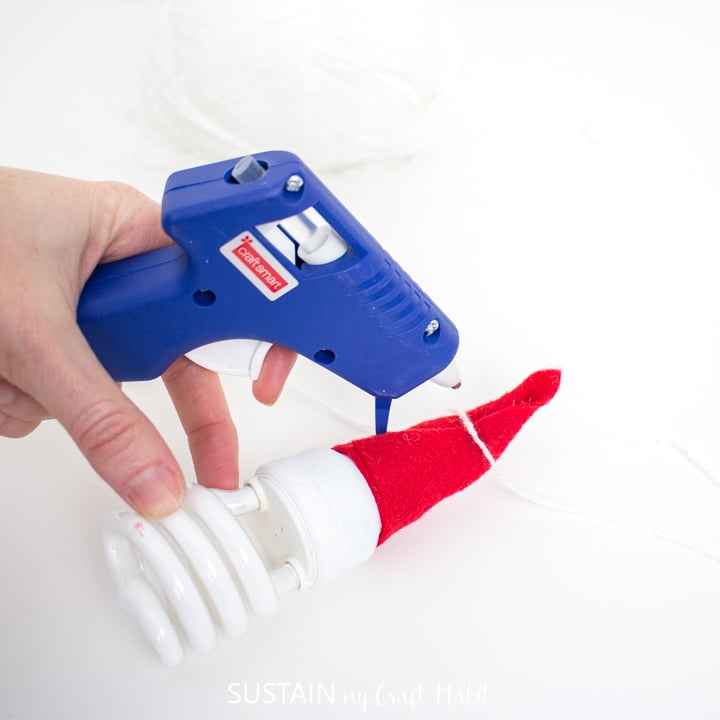
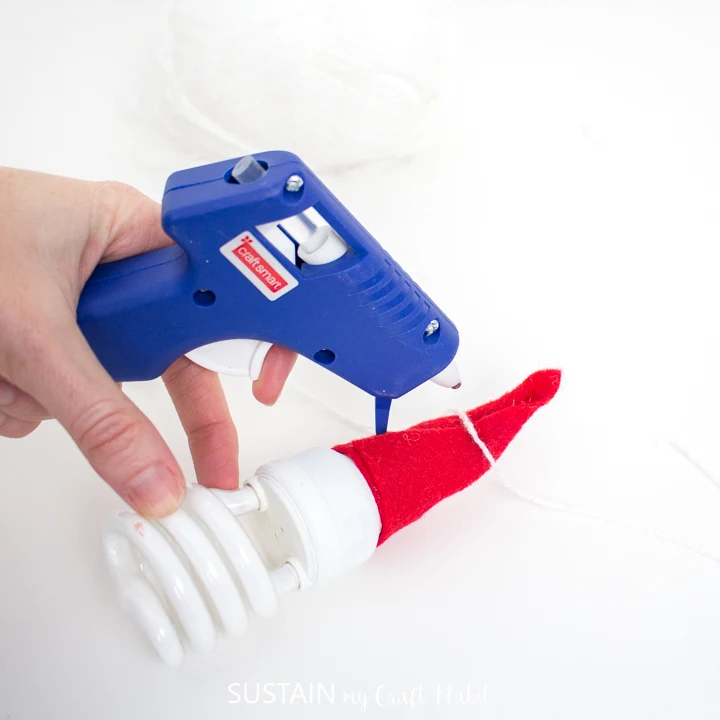
Apply a dab of hot glue to the metal portion of the lightbulb and wrap the quarter circle felt piece around the bulb.

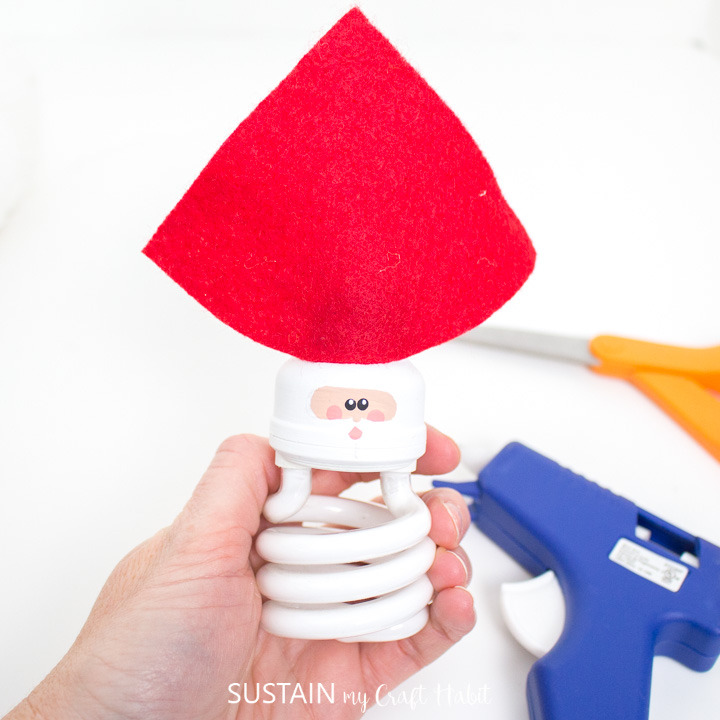

Glue the open side of the felt together to form Santa’s hat.

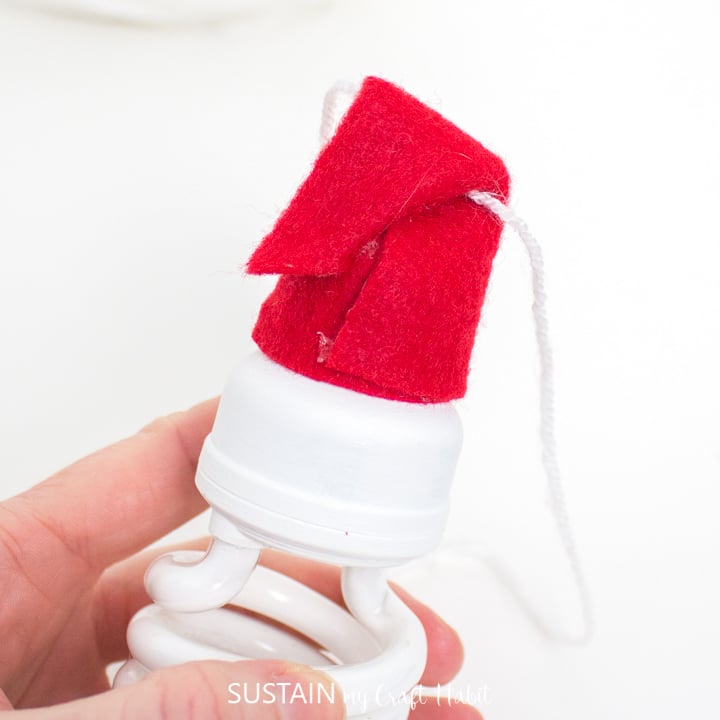
Take the 12” strand of yarn and place it half way up the length of the hat.
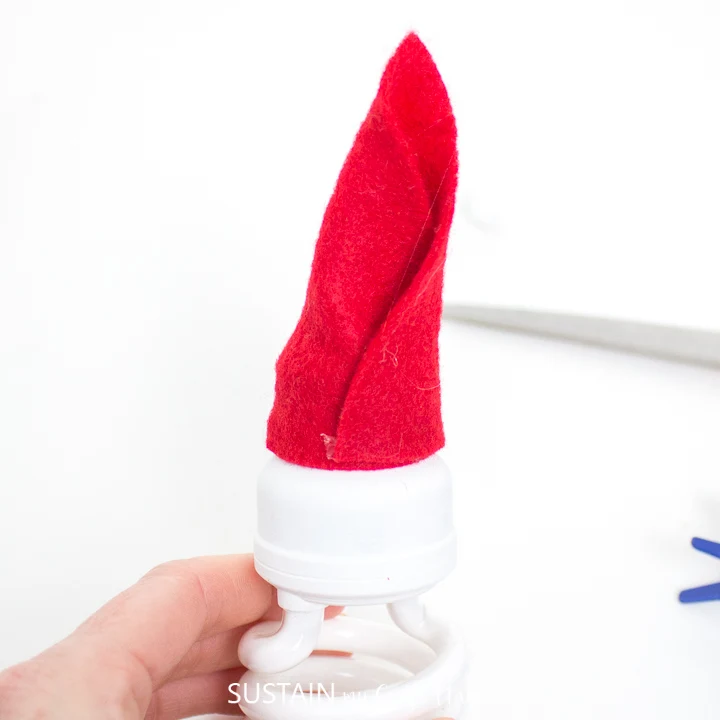
Fold over the peak of the hat towards the side and glue in place.

Glue the white pom-pom to the tip of the hat.

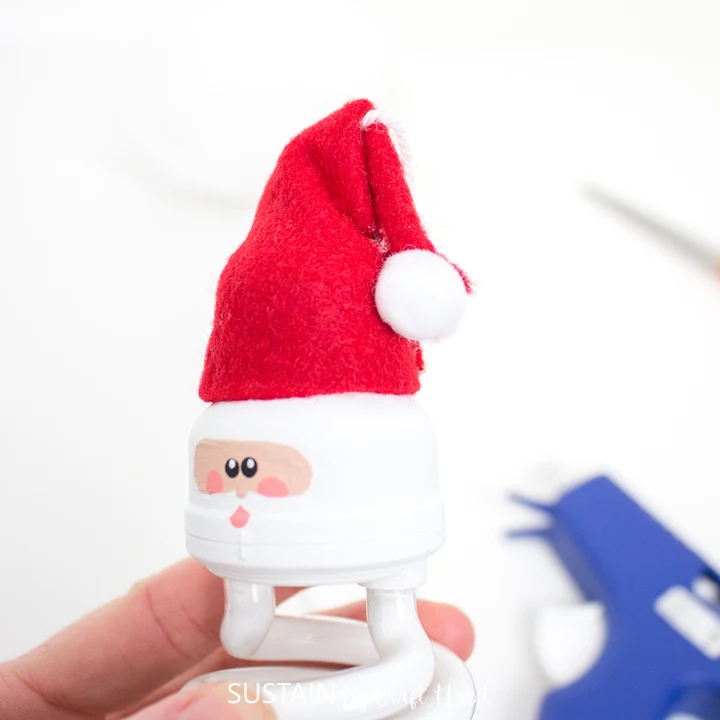
Tie the yarn into a knot at the ends forming a loop for hanging.
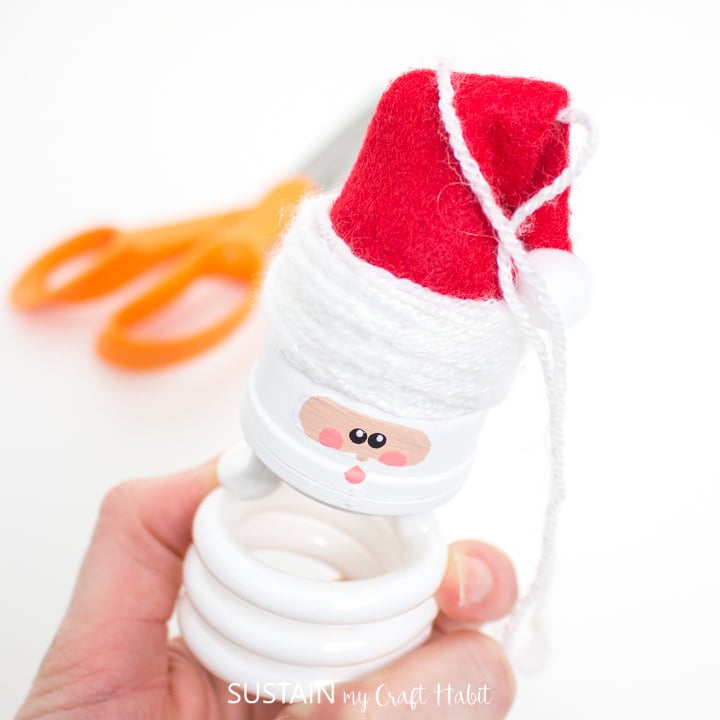

Wrap additional strands of yarn around the base of the hat and glue ends to secure in place.

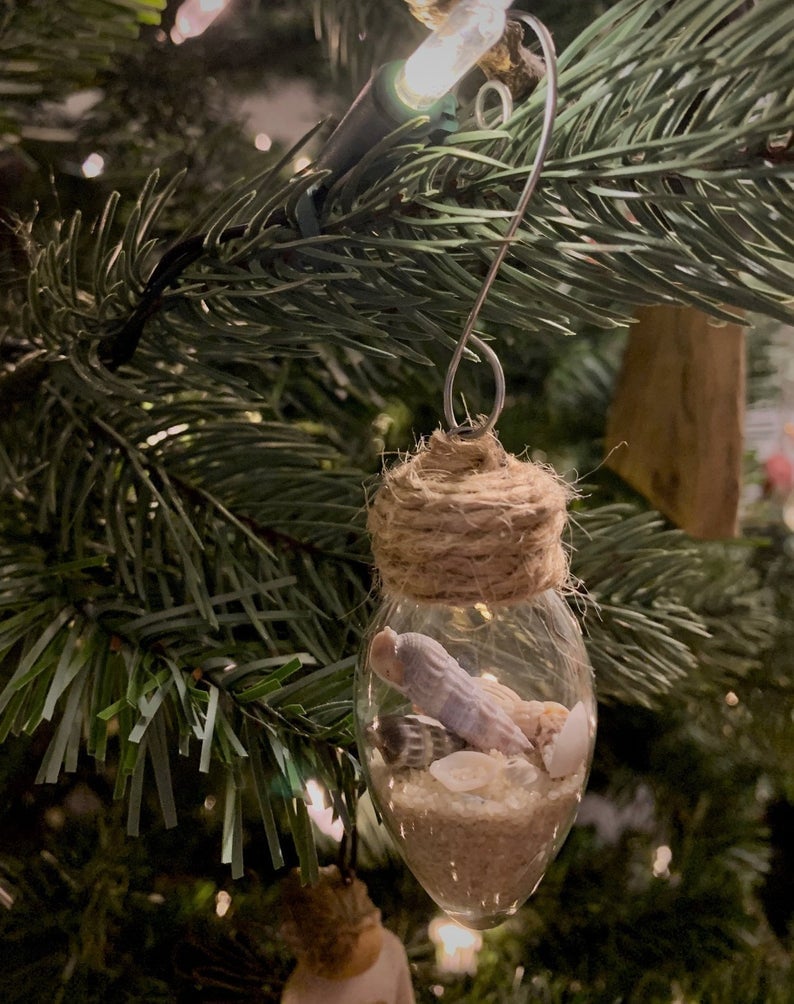
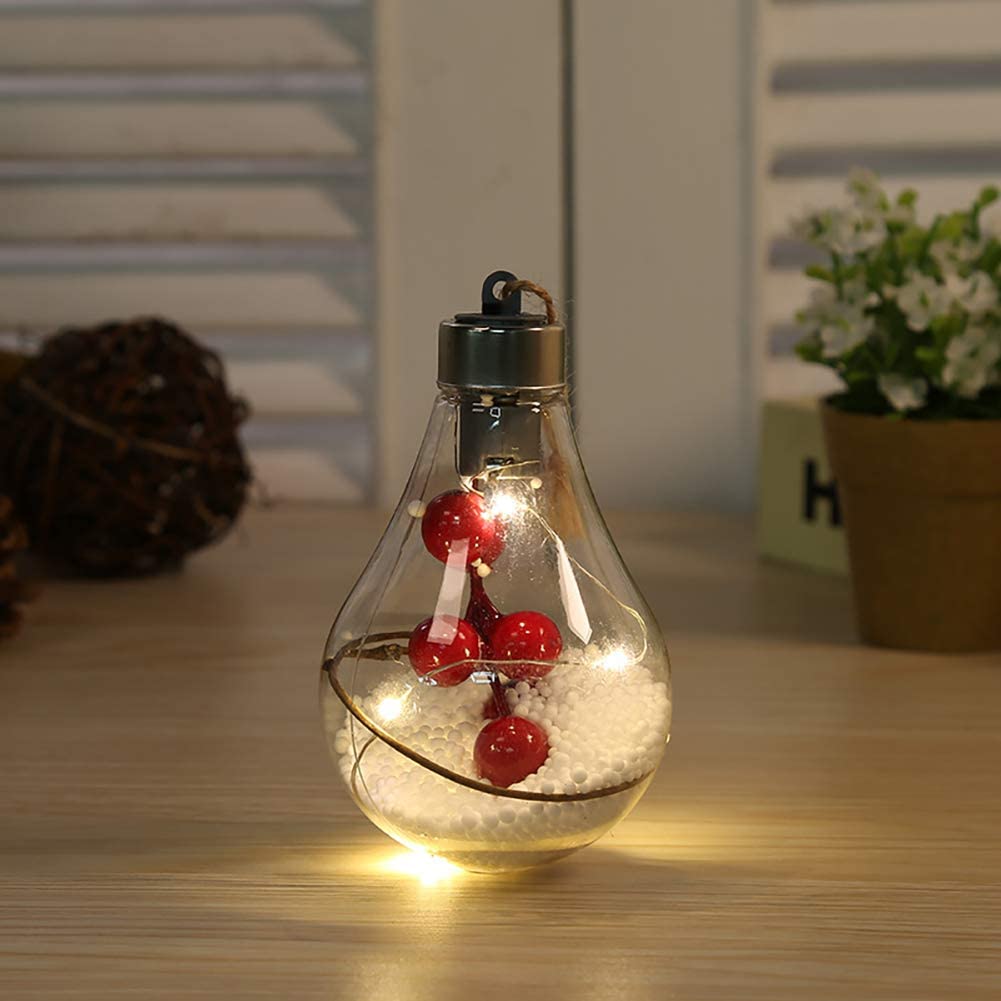
Where to Buy Light Bulb Christmas Ornaments:


Looking for more Upcycled Christmas Crafts?
You’ve come to the right place! This month we’re hosting our first ever 25 days of upcycled Christmas crafts. Here are just a few projects you can make with supplies you have at home:
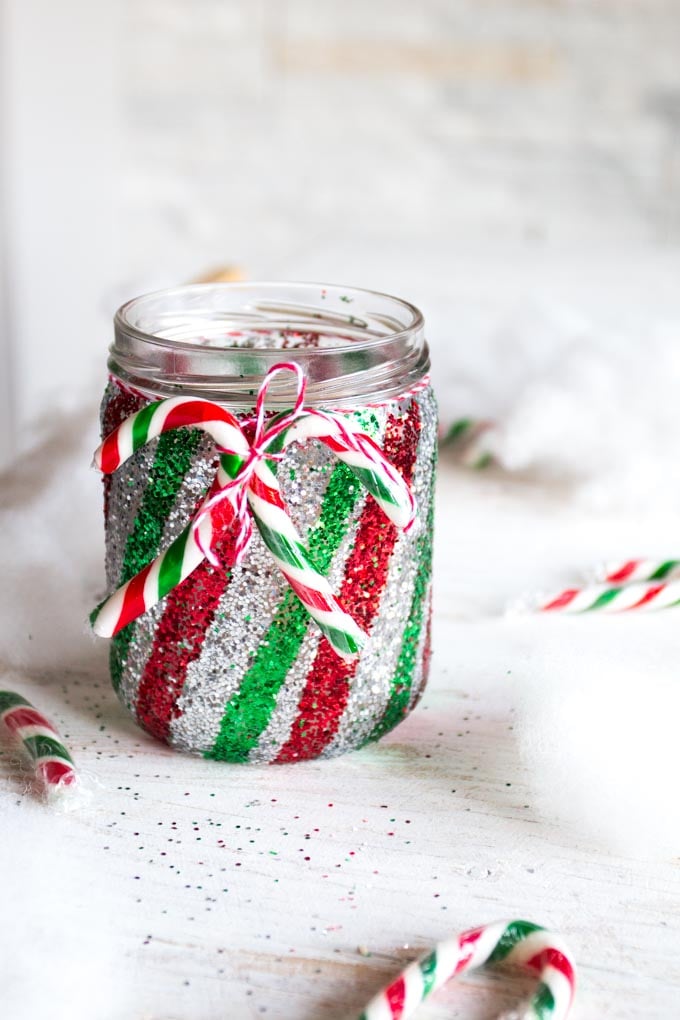

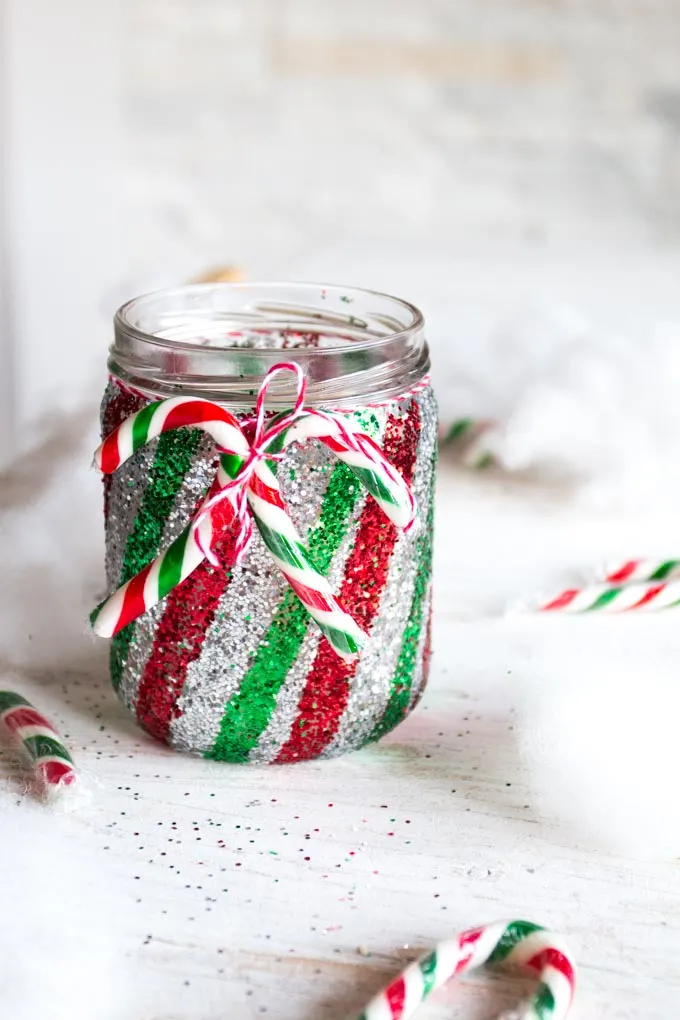
Glittering Candy Cane Decor 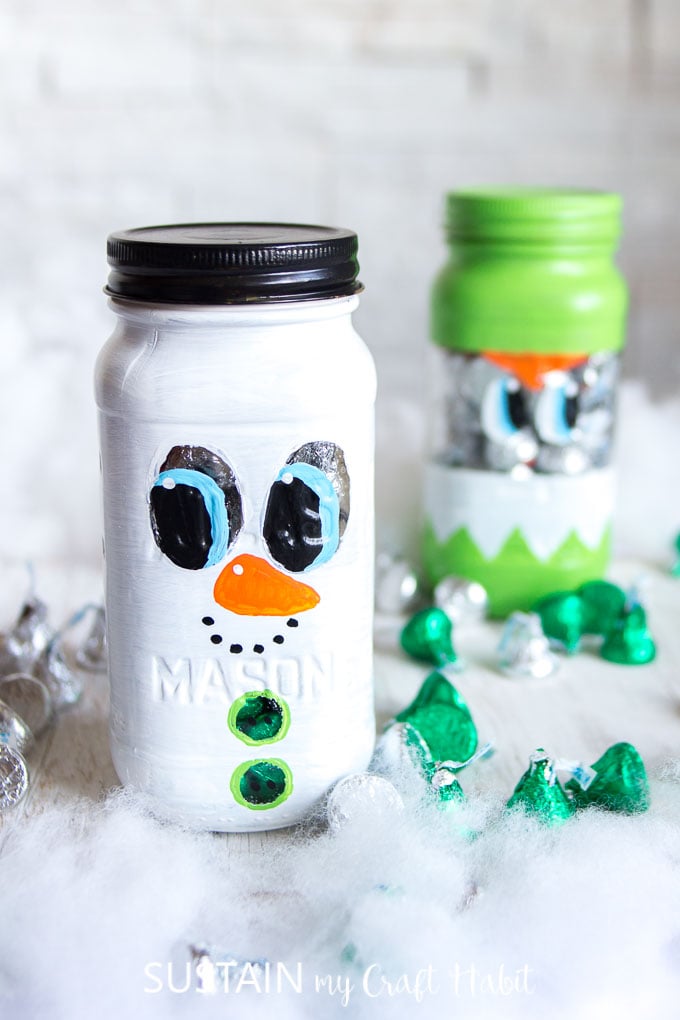
Christmas Painted Mason Jars 

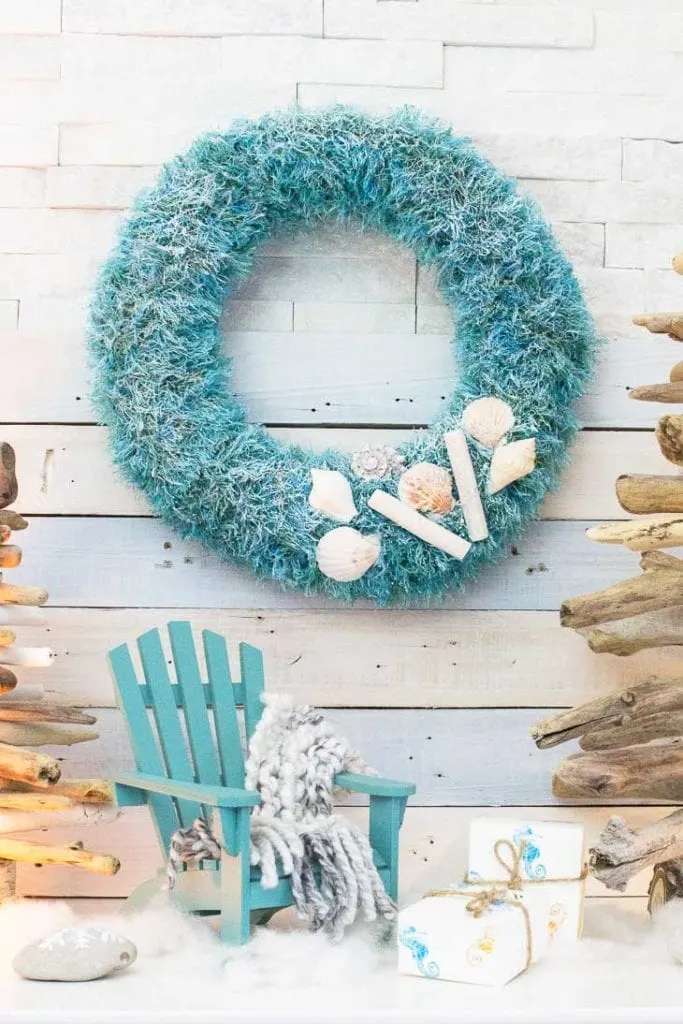
Scarf Wrapped Beachy Christmas Wreath 
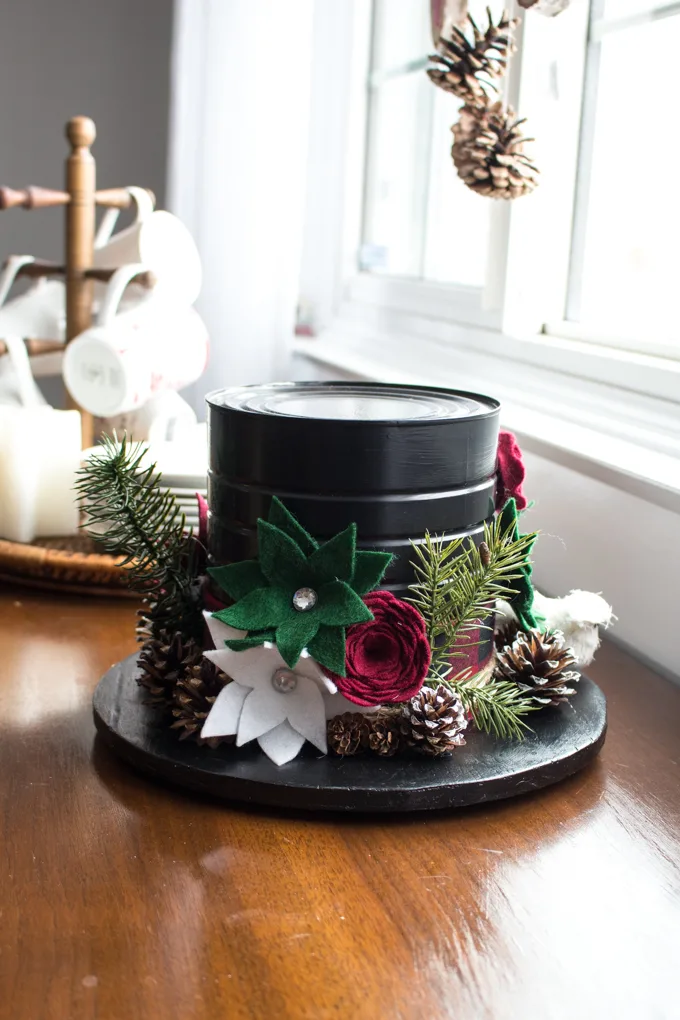
Upcycled Coffee Tin Centerpiece

Happy crafting, friends!

Like it? Pin it for later!


How to Make Light Bulb Christmas Ornaments (and where to buy)
Materials
- Lightbulb
- Paintbrush fine tip
- DecoArt Americana Acrylics White Titanium Snow, Warm Beige, Lamp (Ebony) Black, Melon
- Red Felt
- White yarn
- Fabric Scissors
- Hot Glue Gun clear glue sticks
Instructions
- Paint the plastic portion of the light bulb in white acrylic paint. Leave it to dry and reapply additional coats as needed.
- Cut a ¼ circle shape in red felt, with a height of 3”.
- Cut a piece of white yarn 12” long.
- Paint a long rounded rectangular shape in Warm Biege.
- Using the back end of the fine tip paint brush, dip it in Melon and apply two small dots for the cheeks and one dot for the mouth.
- Similarly, dab two small dots in black for the eyes. Add two smaller circles inside for the highlights.
- Fill in around the mouth using white paint for the moustache and then lastly, dab a dot for the nose using Warm Biege.
- Apply a dab of hot glue to the metal portion of the lightbulb and wrap the quarter circle felt piece around the bulb.
- Glue the open side of the felt together to form Santa’s hat.
- Take the 12” strand of yarn and place it half way up the length of the hat.
- Fold over the peak of the hat towards the side and glue in place.
- Glue the white pom-pom to the tip of the hat.
- Tie the yarn into a knot at the ends forming a loop for hanging.
- Wrap additional strands of yarn around the base of the hat and glue ends to secure in place.