

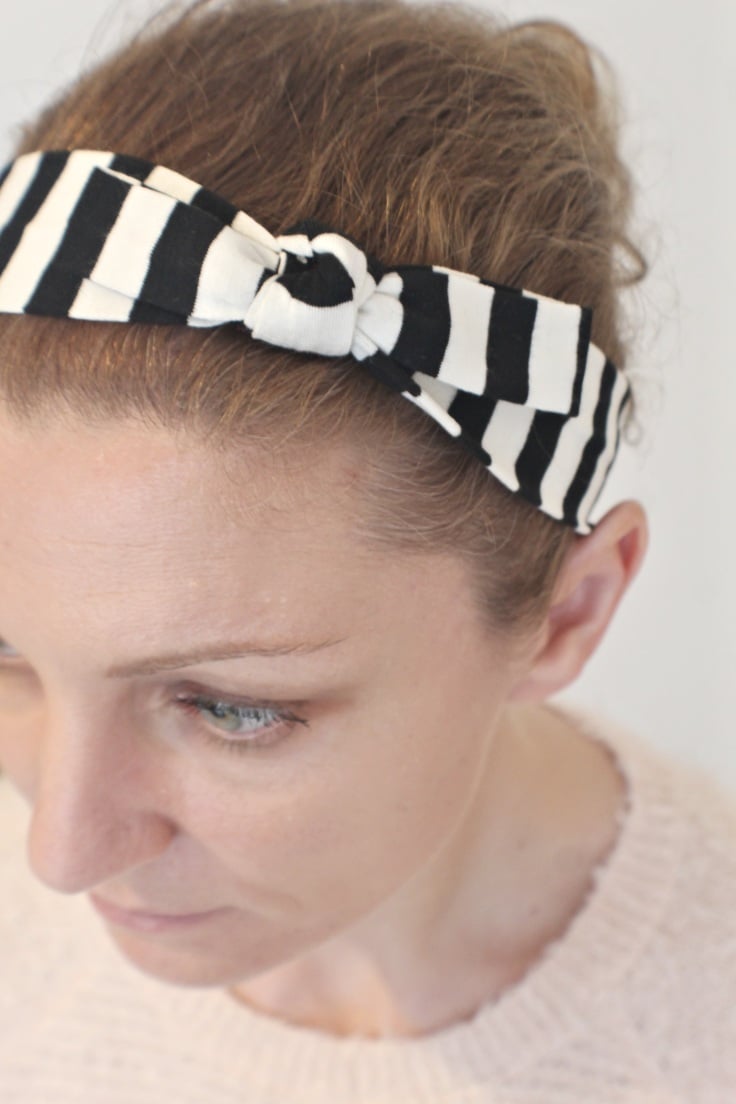
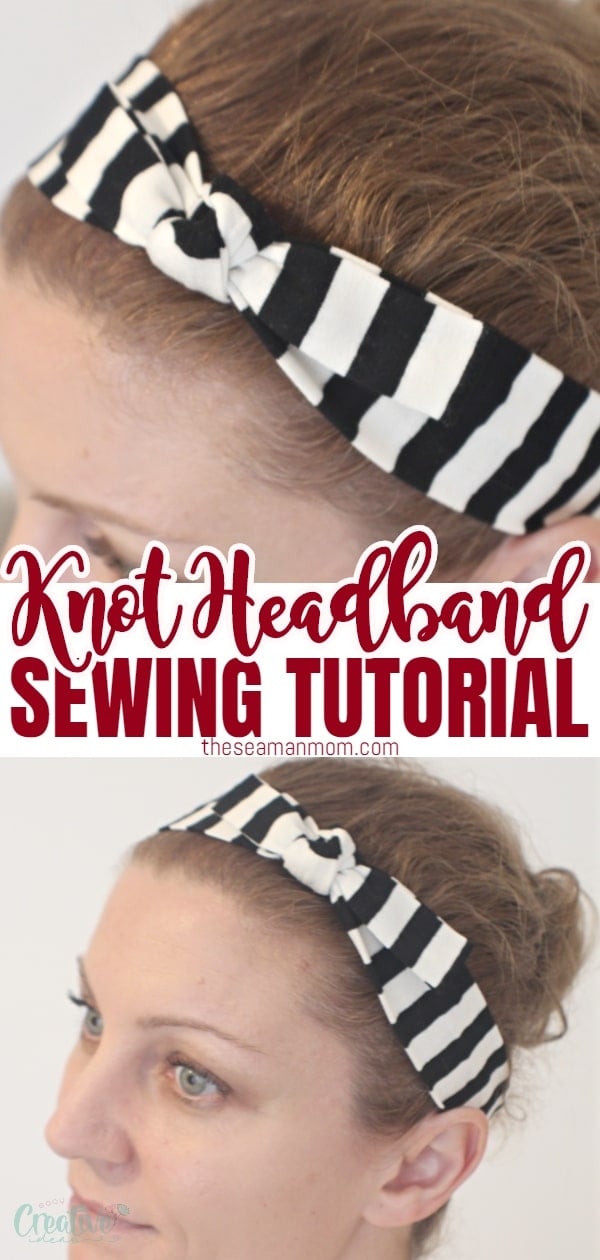
How adorable is this easy and quick knot headband?
Sewing headbands has never been easier with this free and quick DIY knot headband tutorial! Quickly create a knit headband to match any outfit all year round, from spring to winter! This simple DIY headband is a great project to get kids hooked on sewing.
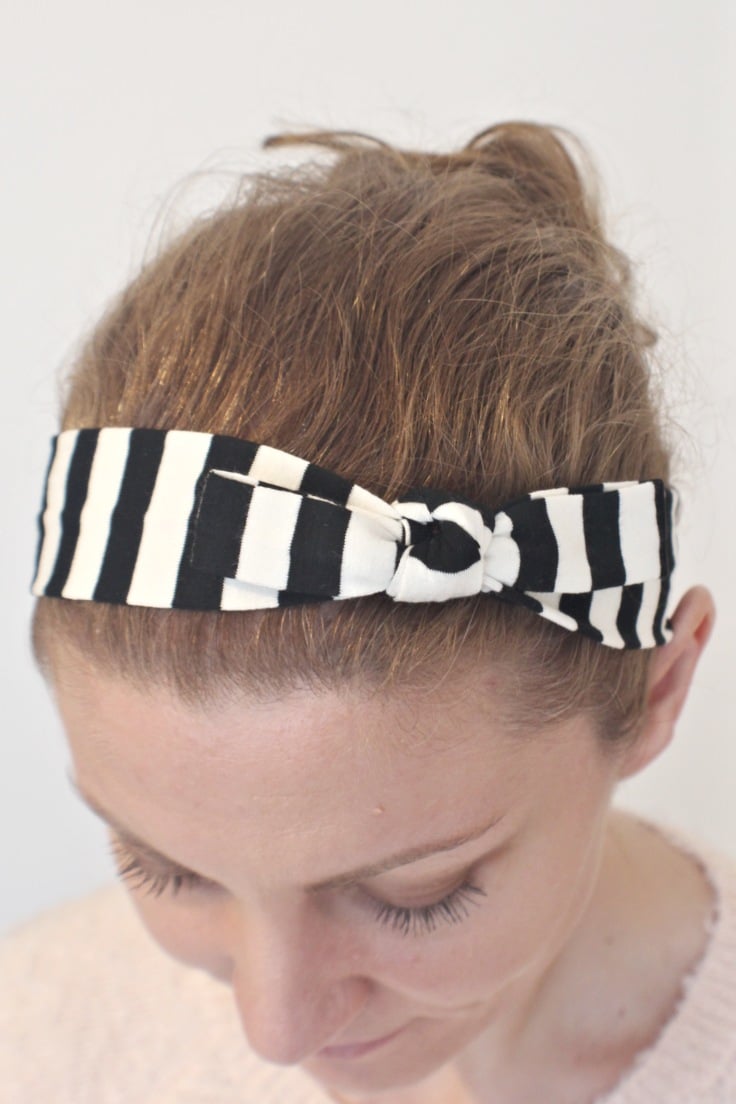
Knotted bow headband
Remember when I showed you how to match striped fabric strips and join the patterns perfectly? I told you I had a good reason to make a tutorial on that quick sewing tip and here it is: this adorable DIY knot headband is the culprit! And it’s one of the quickest things I’ve ever sewn!
Also, they are super easy to put on and off, so they are great for kids that can’t be bothered tying a real knot themselves.
To me making headbands always seems like an easy peasy project but this DIY knot headband makes it all even easier, if that’s even possible (but it is, trust me on this!)! You’ll love this simple but cute knotted bow headband, whether you’ve sewn headbands before or you’re a complete novice who wants to learn how to make a headband! This is a great project for scrap fabric and if you don’t have enough to make a whole strips, use the tutorial mentioned above to make a continuous strip in just a couple of minutes.

Actually, this can be a great project to clean that bin up and make tons of cute headbands for you or your friends and family as gifts. There is nothing cuter than two sisters wearing a matching headband, or themed ones for Christmas or other holidays.
I love headbands and I’m totally smitten with this DIY knot headband! Not only because it was so easy I felt like I was done before I even started! But also because it didn’t involve any complicated skills, sewing is pretty much minimal and adding a simple knotted bow brings the cuteness factor to a whole new level!
Other accessories you might like:
- Headband with buttons for nurses
- Fabric headband pattern
- DIY wire headband
- Lace headband tutorial
- Fabric flowers for headbands
- Bunny hair clips
- No elastic face mask with filter pocket
- Twist wire headband
Headbands are such cute hair accessories which can enhance the look of any outfit. And, why buy a ready-made one when you can make a bunch of them for free and in no-time? Bonus, you get to make a headband in your favorite patterned fabrics that match a previously made clothing item.
For a nicer effect, try making a matching scrunchie from the same fabric. Or a cute knotted hair tie like these ones!
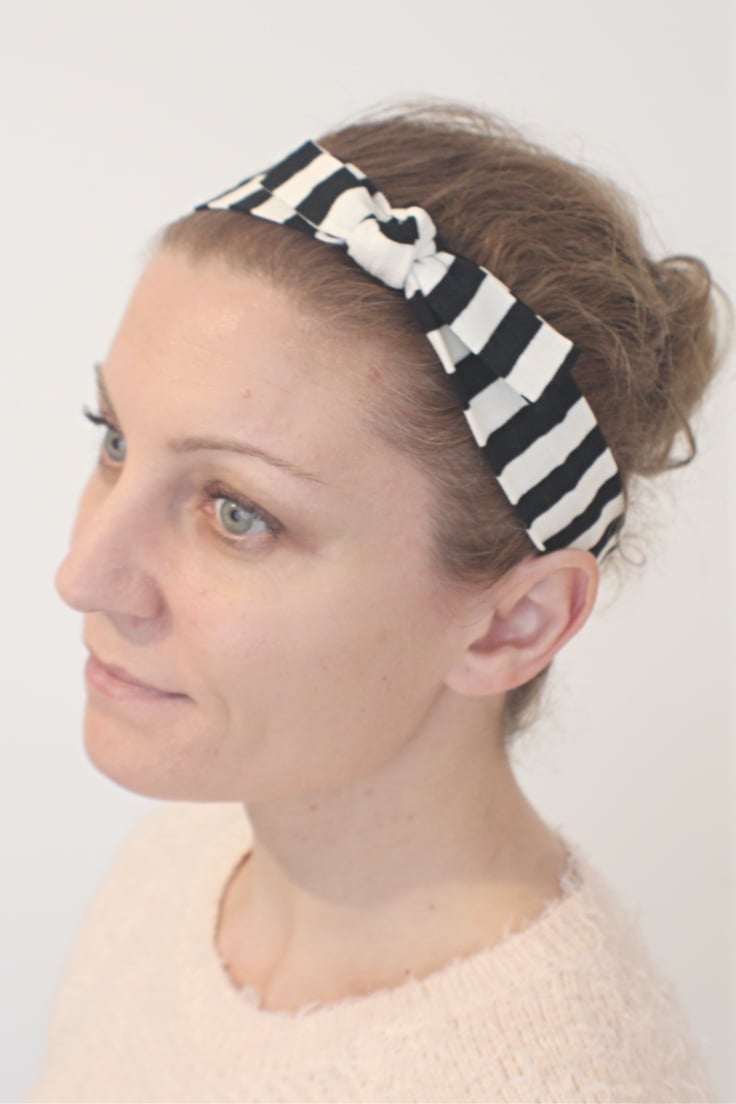
My hair is a wavy/curly mess for like 99% of the time and I find it real hard to make it look at least nice, I need something to help me hide that permanent bed head! Or at least distract the eyes away from it! And this pretty DIY knot headband does a perfect job (I like to trick myself into believing that lol).
I find that those black on white stripes (or is it white on black? lol) are pretty hard to resist and quite eye catching (some might even say confusing! lol). While the simple little bow/knot adds so much interest making the headband super cute and irresistible!
How to personalize your knot headband?
- You can use different fabrics for both sides, just make sure they have the same stretch to make the headband look even.
- Feel free to get creative and add anything you like instead of the bow: cute flowers, brooches, pompom’s or nothing, if you like to leave it plain. Maybe you can make a more versatile headband and switch the decorations to fit all your moods and outfits.
- Make it as wide or narrow as you like, there’s no need to follow my exact measurements.
- Add an oversize bow instead of a small one like mine.
- You can also make a braided headband. Just cut tree strips of fabric, sew them like you would sew the tube of a normal headband, braid and sew the ends together.
What fabric is best for a knotted headband?
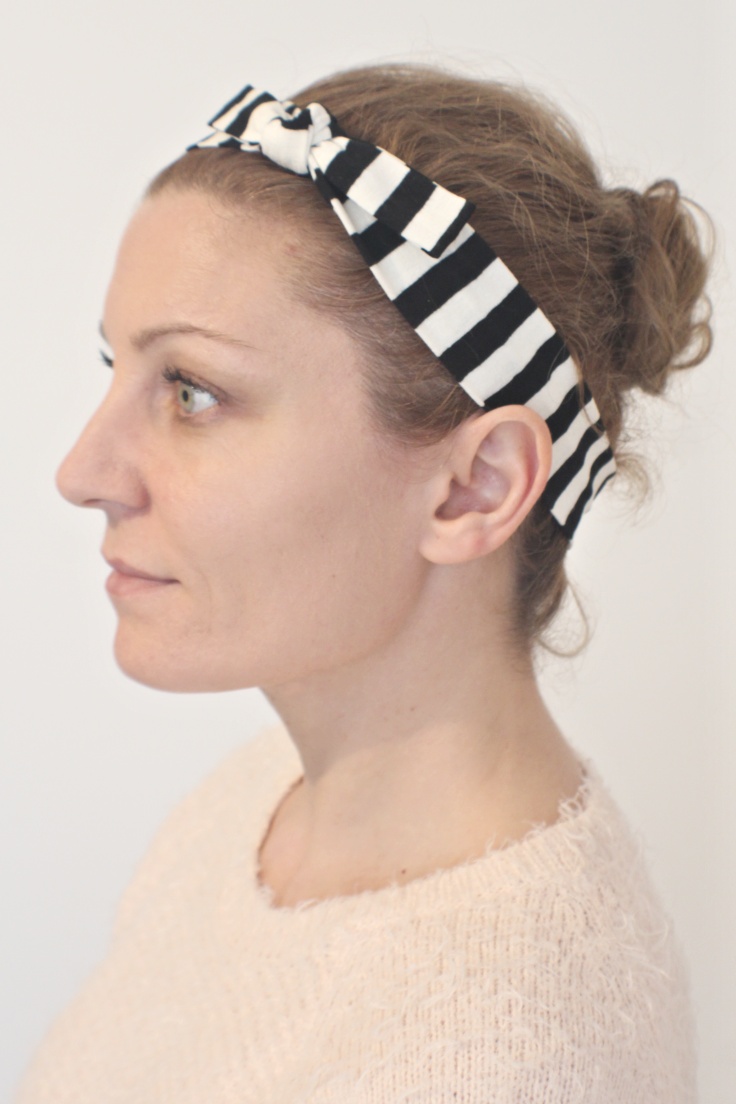
To make my headband I used stretchy knit fabric because I wanted to be able to make my DIY knot headband in just a few steps, without adding unnecessary items like an elastic. I made this knit headband with lightness in mind because sometimes (like once in a blue moon), I work out and when I do, I can’t stand anything heavy or feeling any pressure on my head. With this type of fabric I can barely feel the headband on my head! But it’s sitting securely so it won’t fall when I exercise or do strenuous activities like gardening or lifting wood logs in the back yard.
I didn’t want a big bow on my DIY knot headband so I used a small strip of knit fabric for the bow but if you like oversize bows, feel free to make one for your DIY headband. Just make sure it will keep shape when wearing the headband or add some interfacing to make it just a little stiff.
DIY knot headband
Materials:
- knit fabric
- scissors
- ruler
- fabric pen
- ball point needle
- optional – roller foot
- matching thread
- pressing iron
How do you make a knotted headband?
- You need fabric with a good stretch and that is not losing the stretch easily with wearing.
- Measure your head circumference and add 1/2″. This is the length of your knit fabric strip. If you want to make your headband slightly tighter than mine, remove the additional 1/2″ from the length.
- Decide the width of your headband and double it then add 1/2″. This final number is the width of your strip.
- Lay your knit fabric on the table mark the measurements you just took above, using a fabric pen, then cut out.
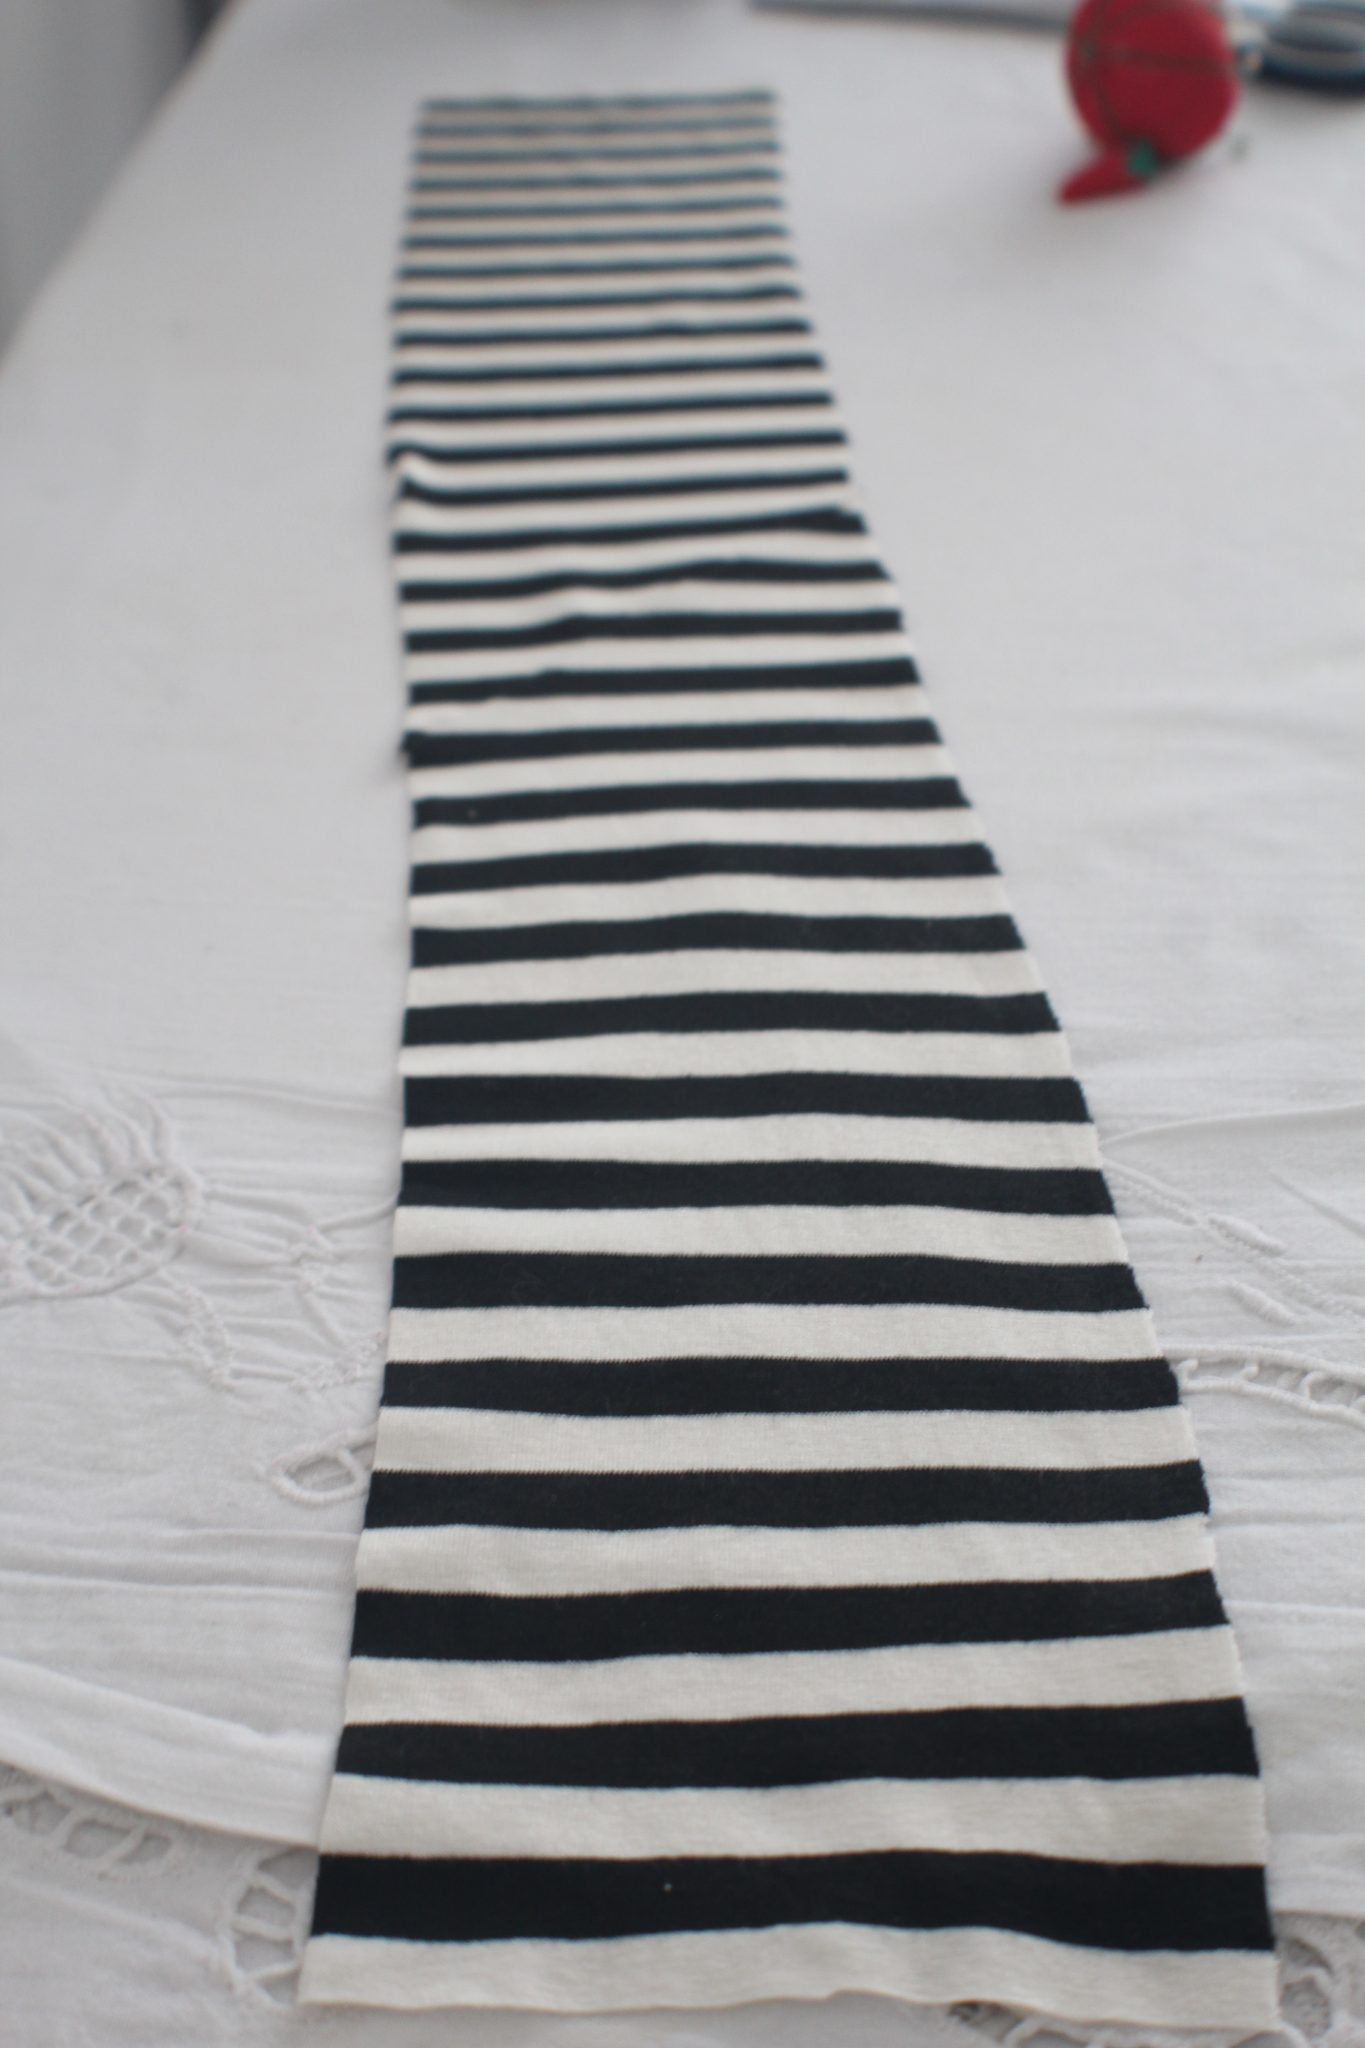
- Fold the strip in half, wrong side out.

- Sew along the raw edges with 1/4″ allowance.
- Using your scissors trim the seam as much as possible.
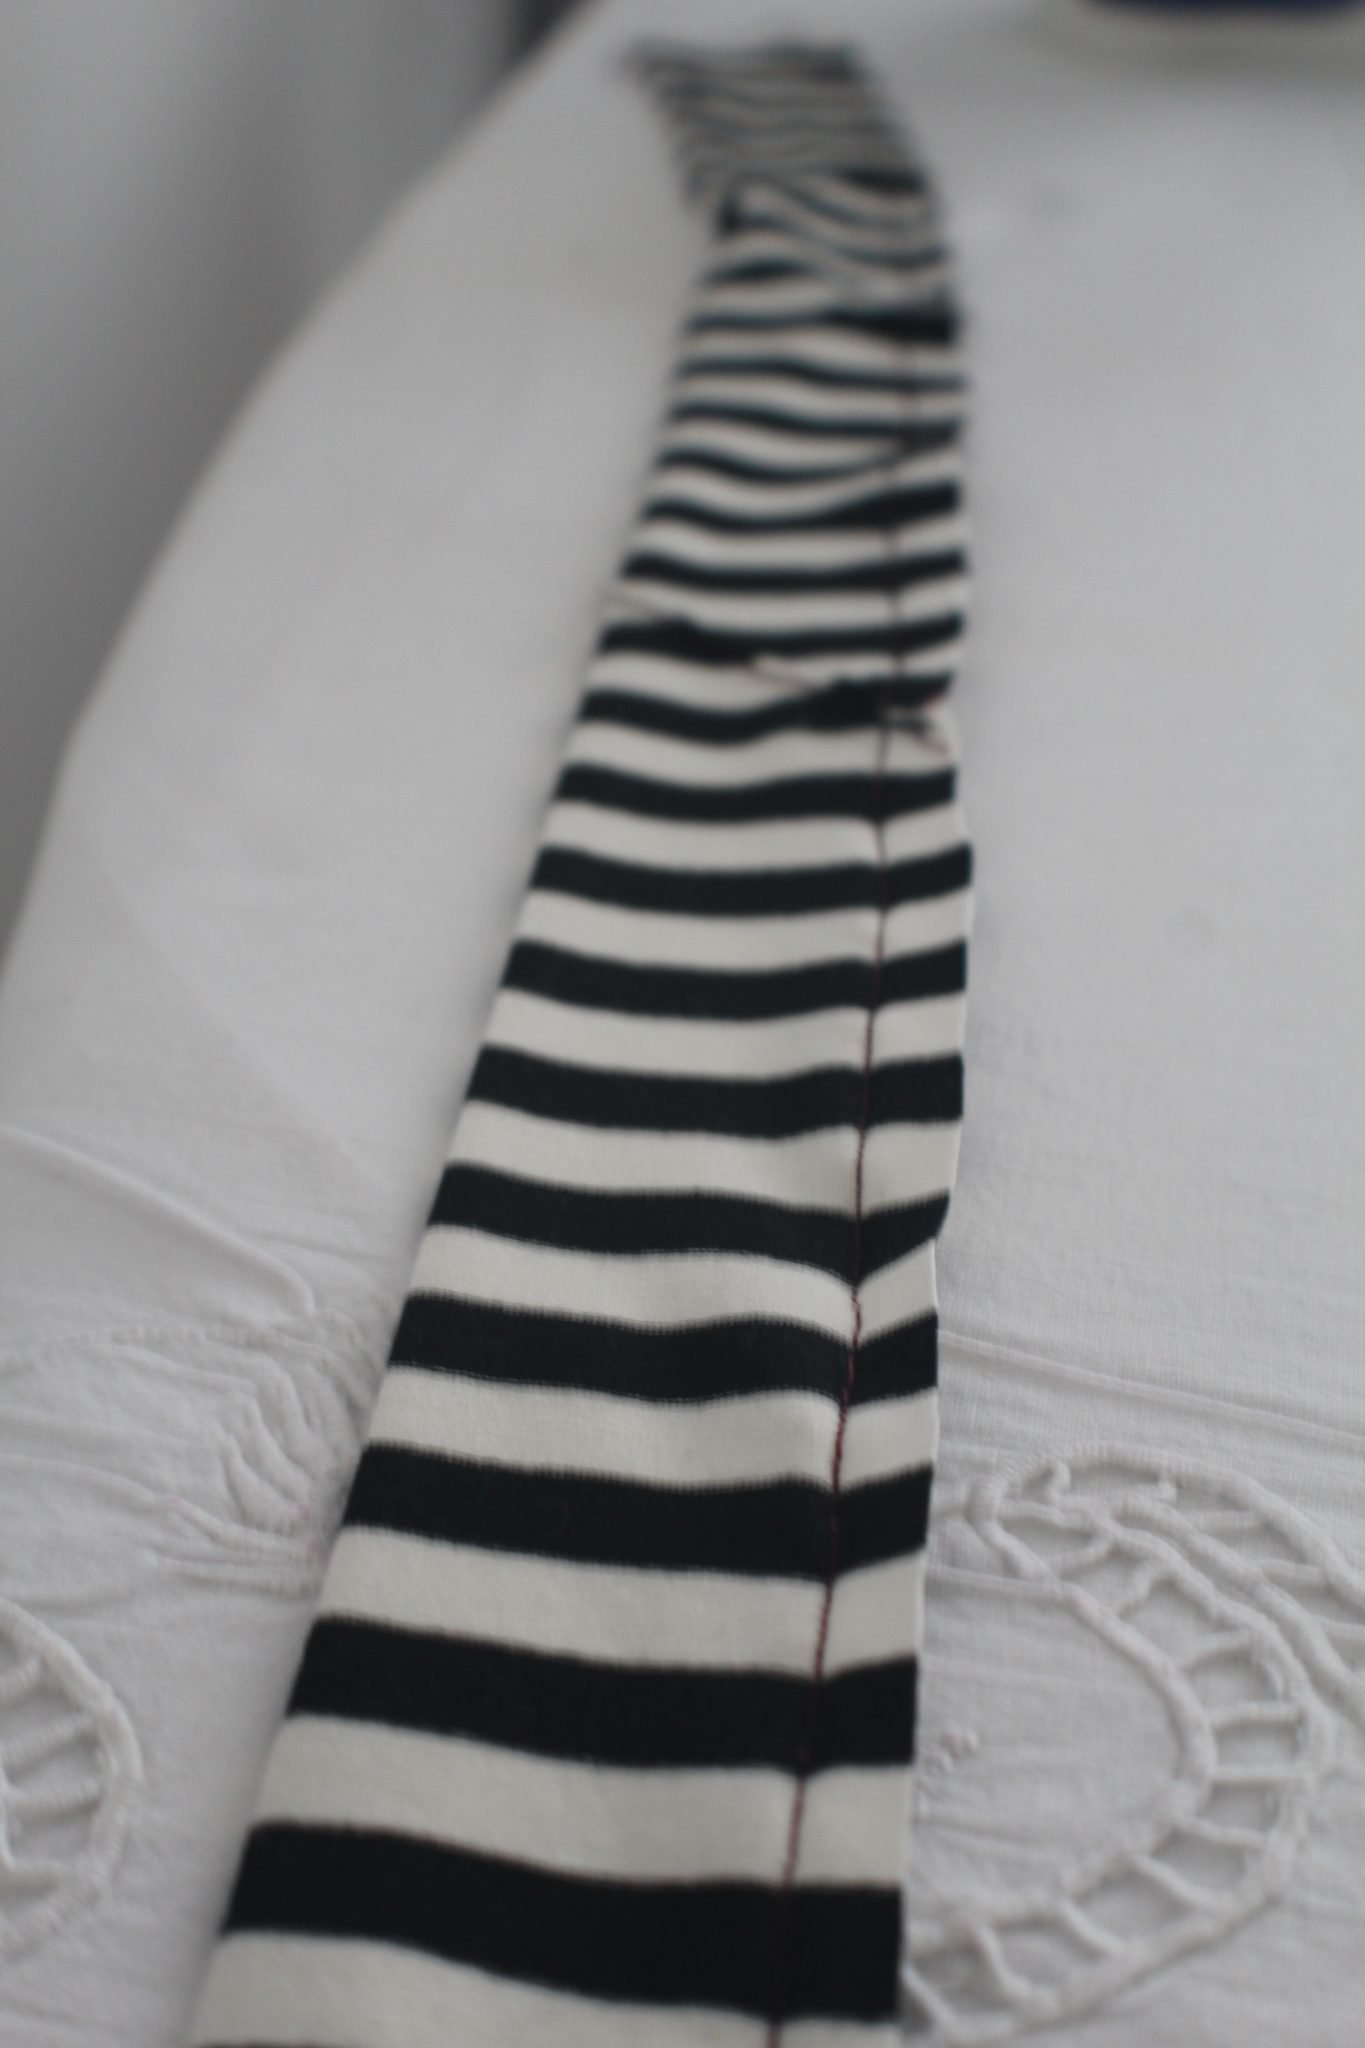
- Turn the tube right side out.
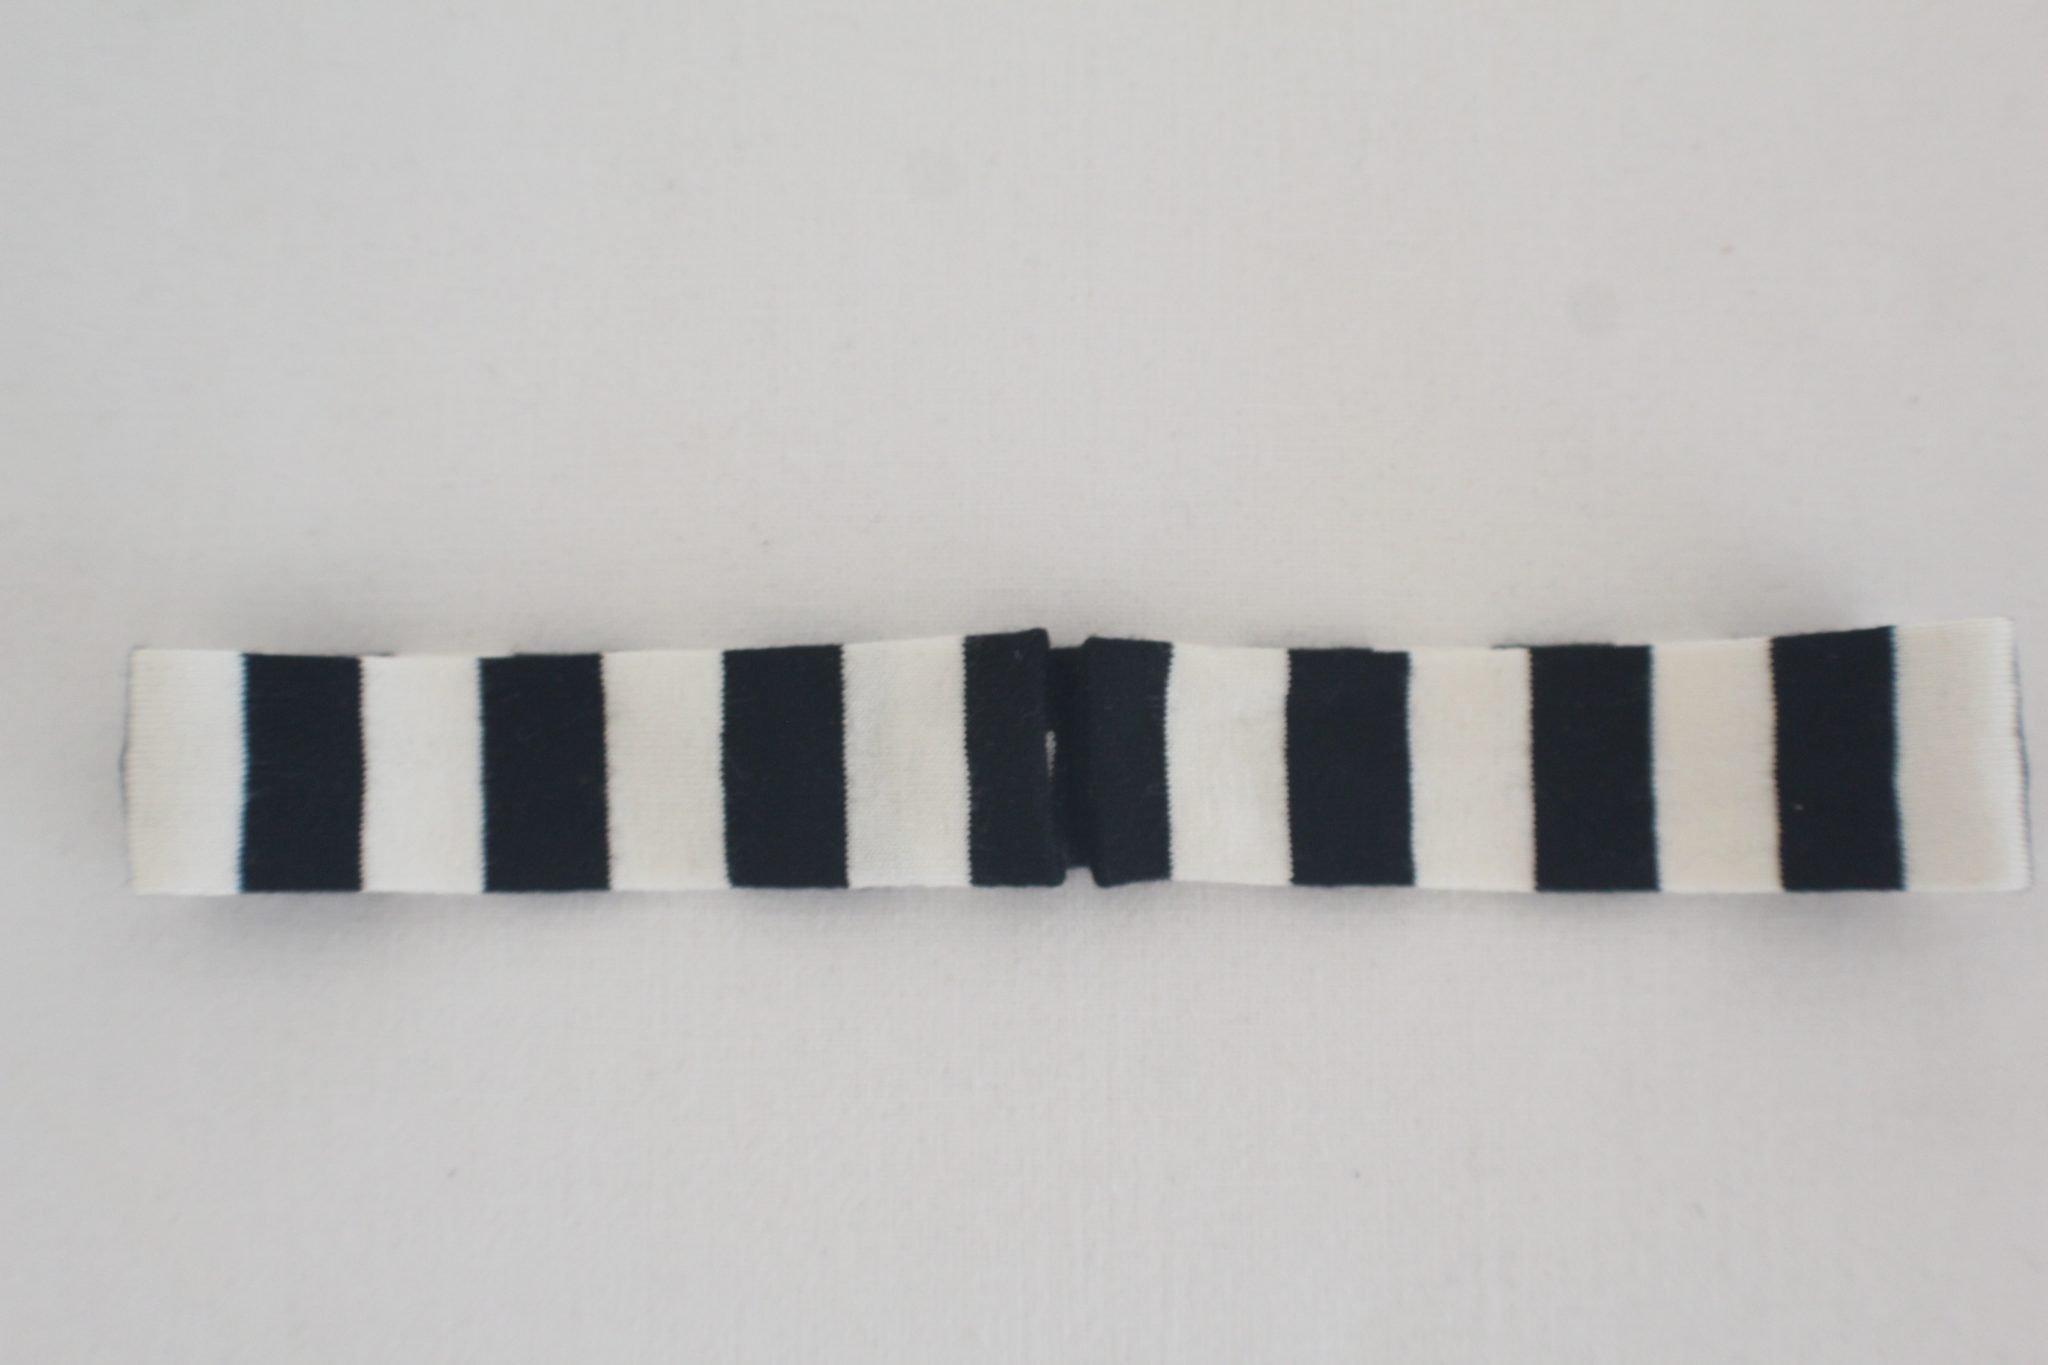
- Fold the tube so the seam falls in the middle of the strip and press well.
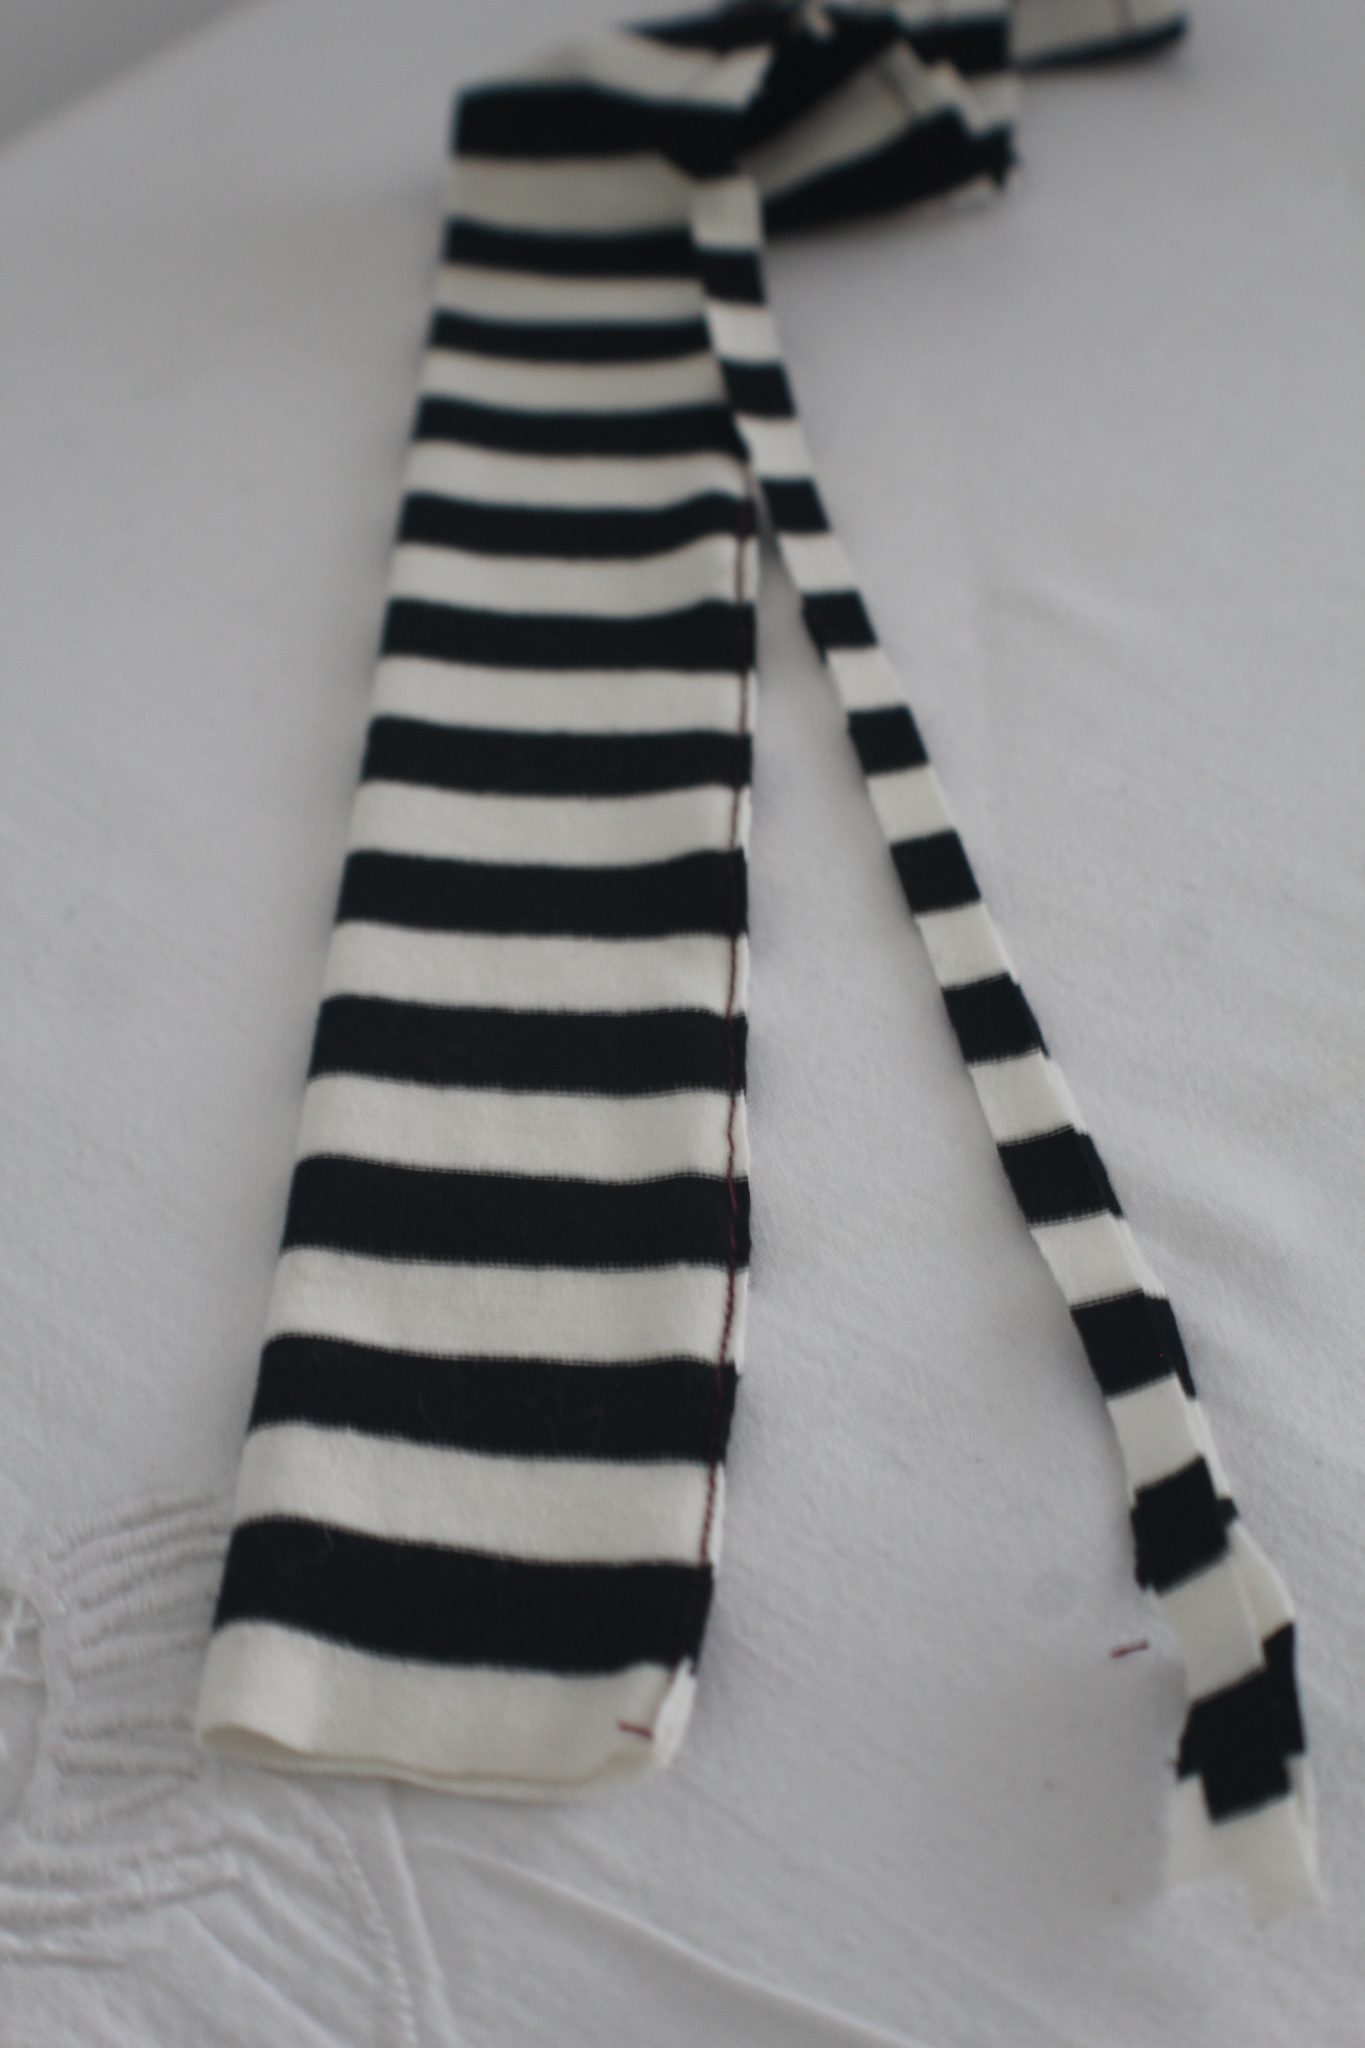
- Fold one end in, about 1/2″ and press well.
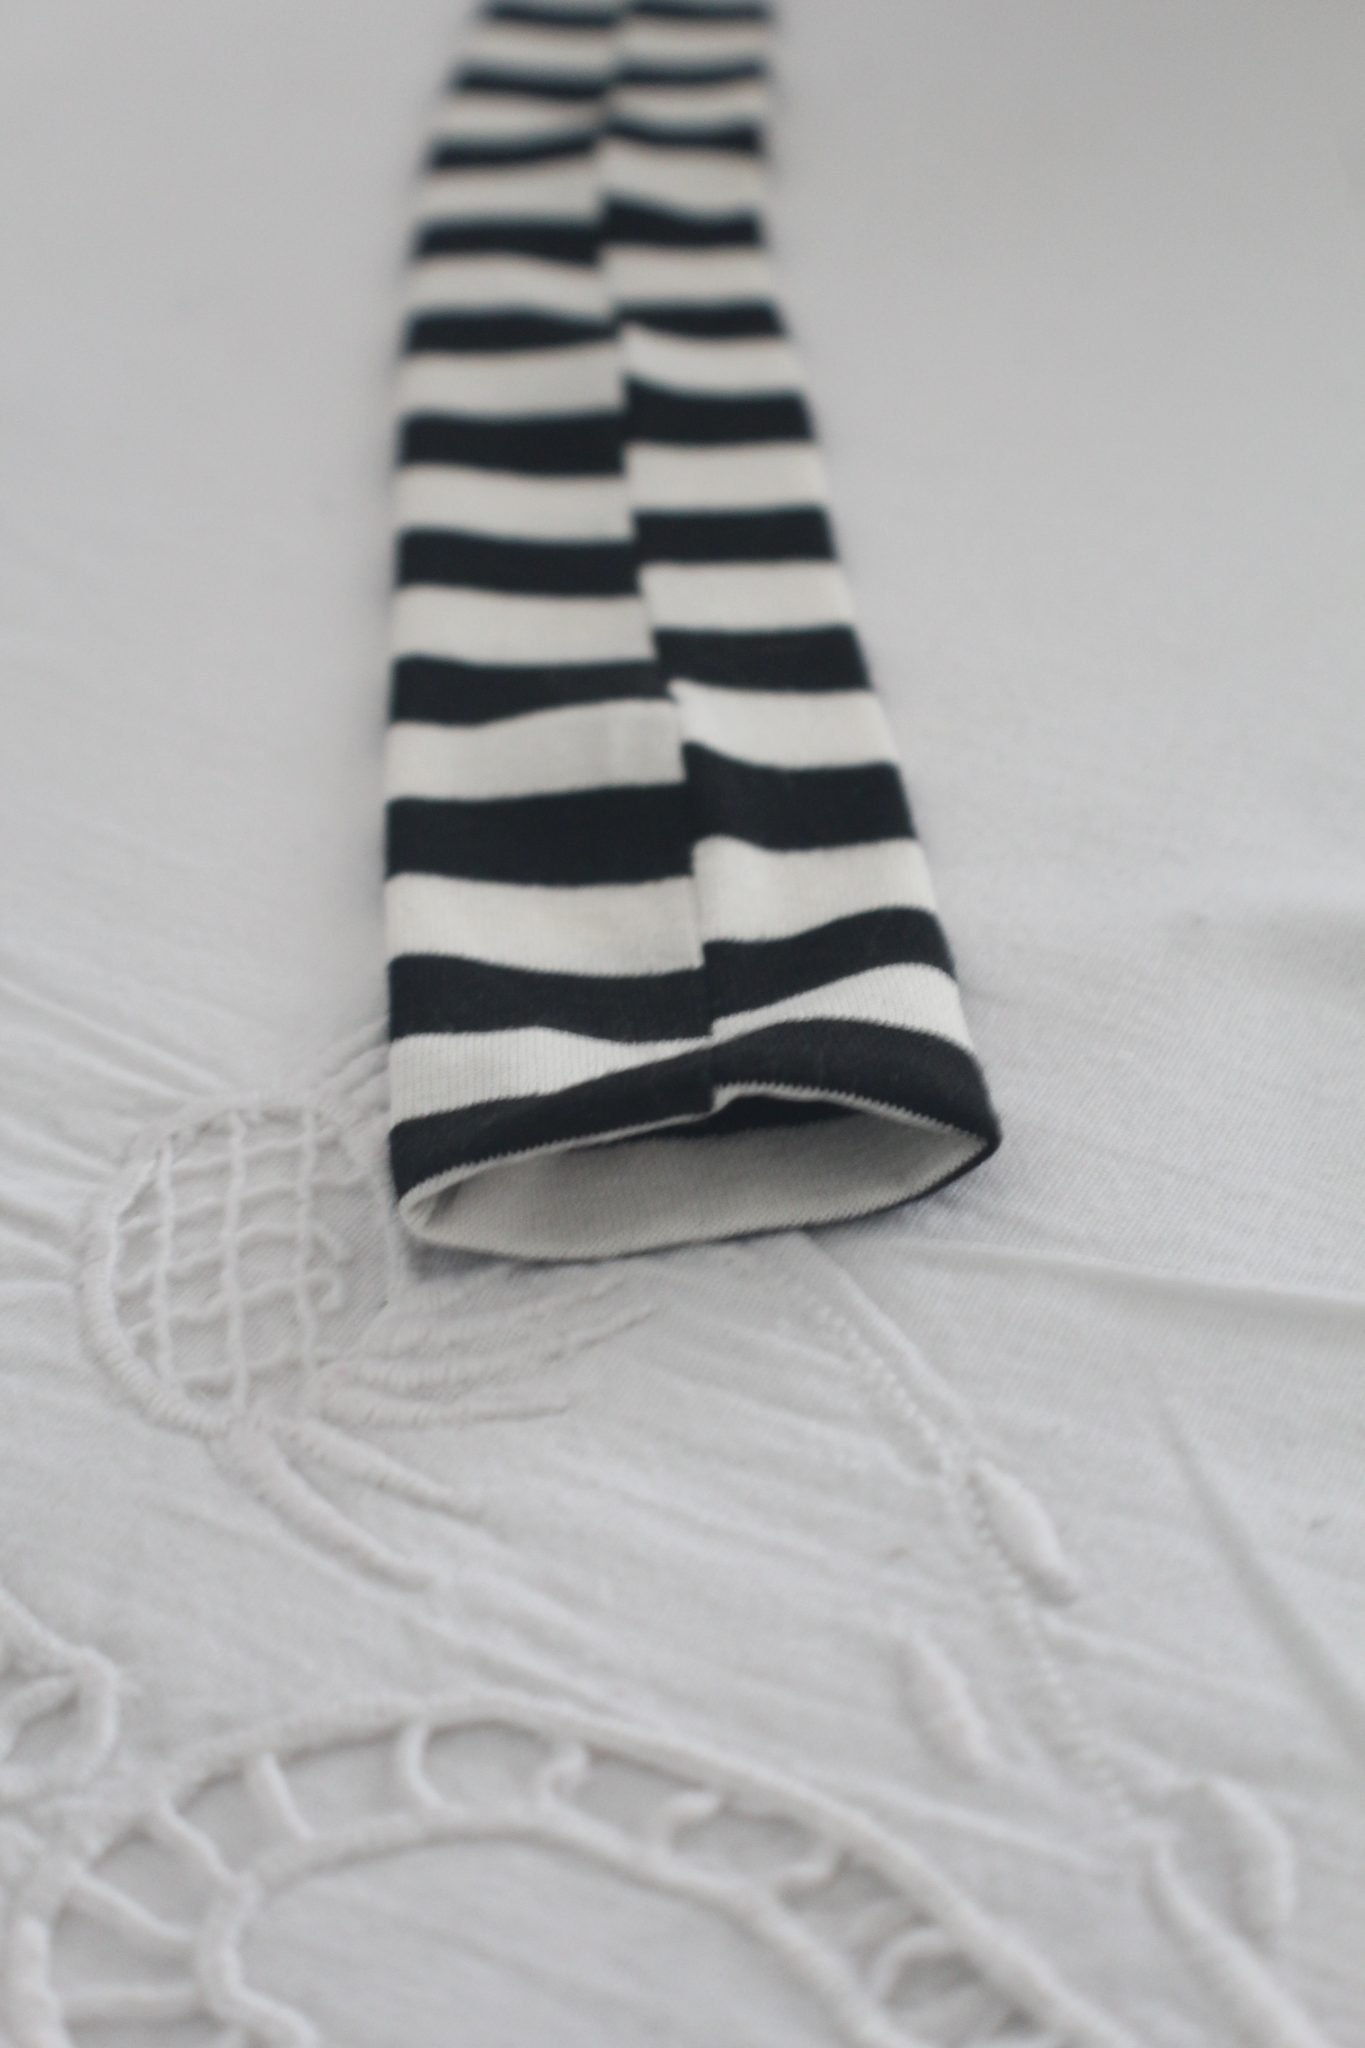
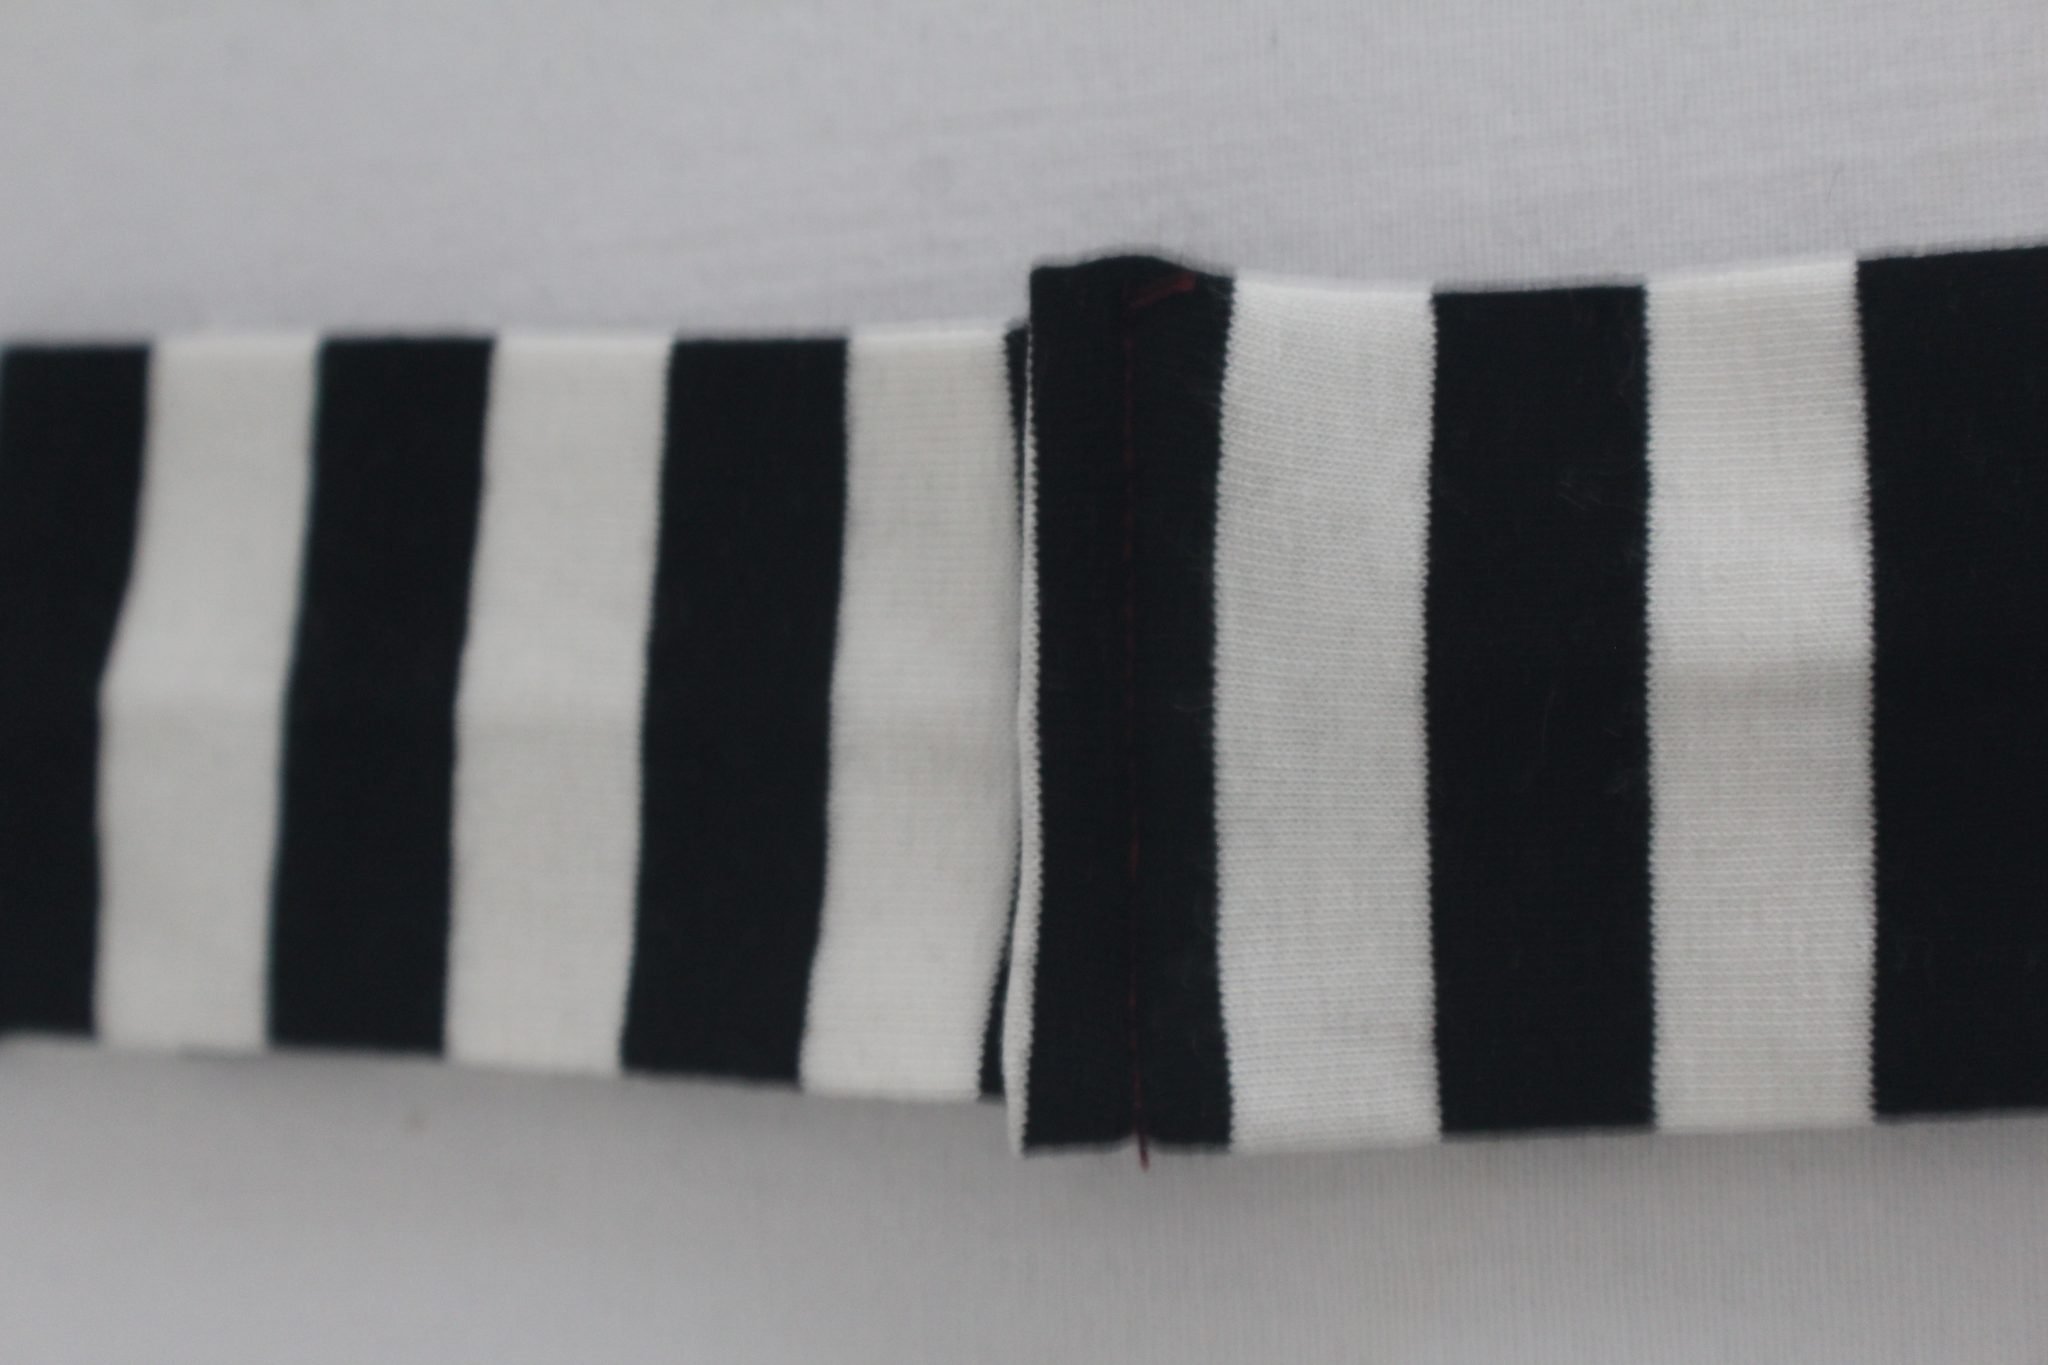
- Take the other end and slide it inside the folded end, about 1/2″.
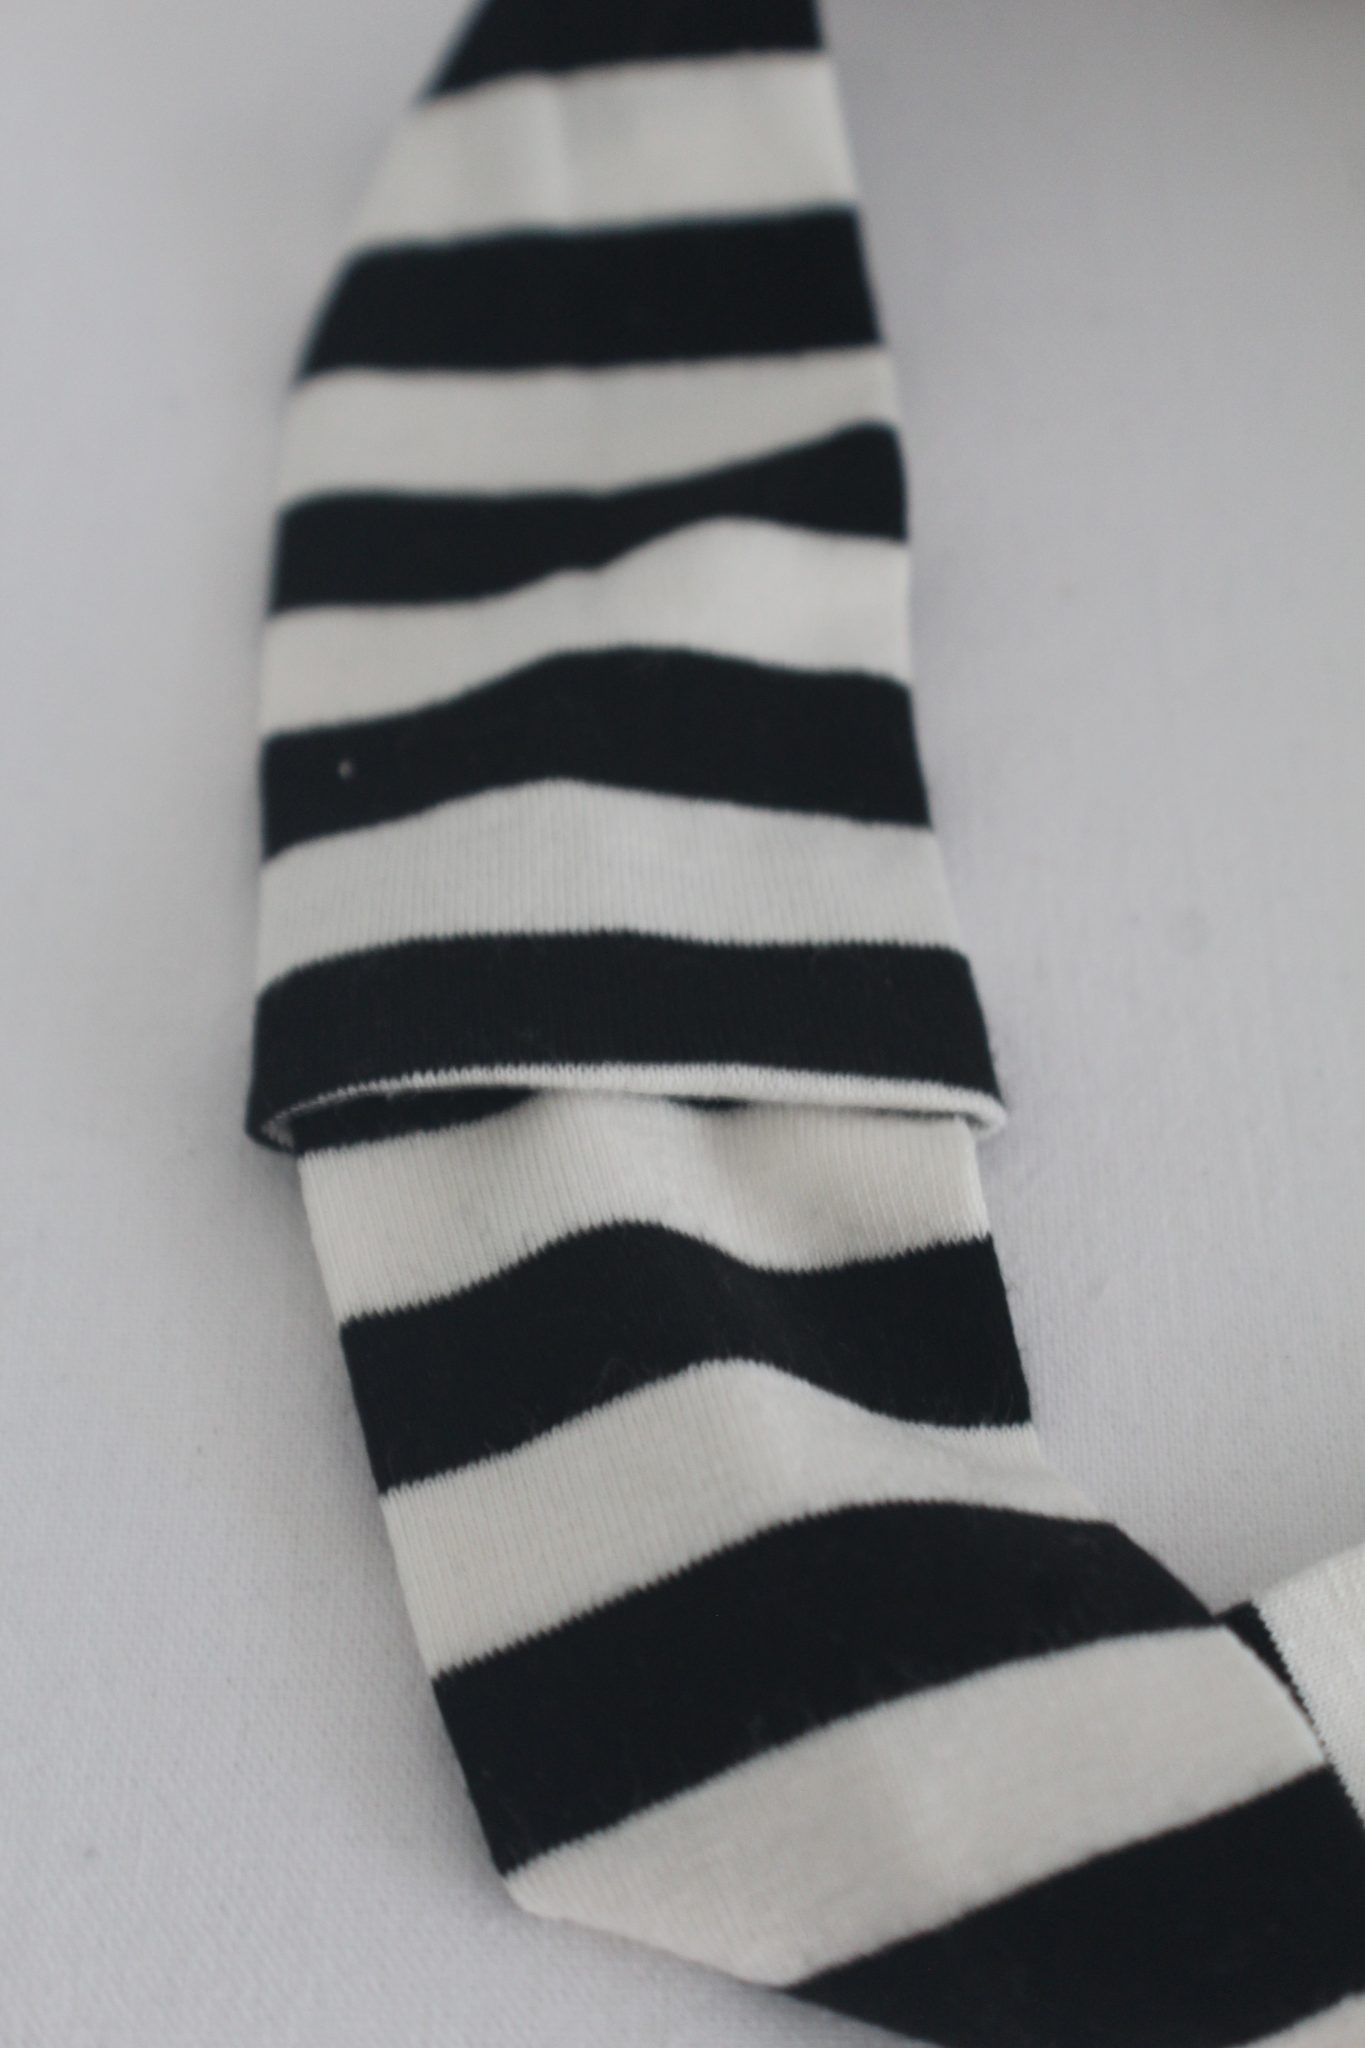
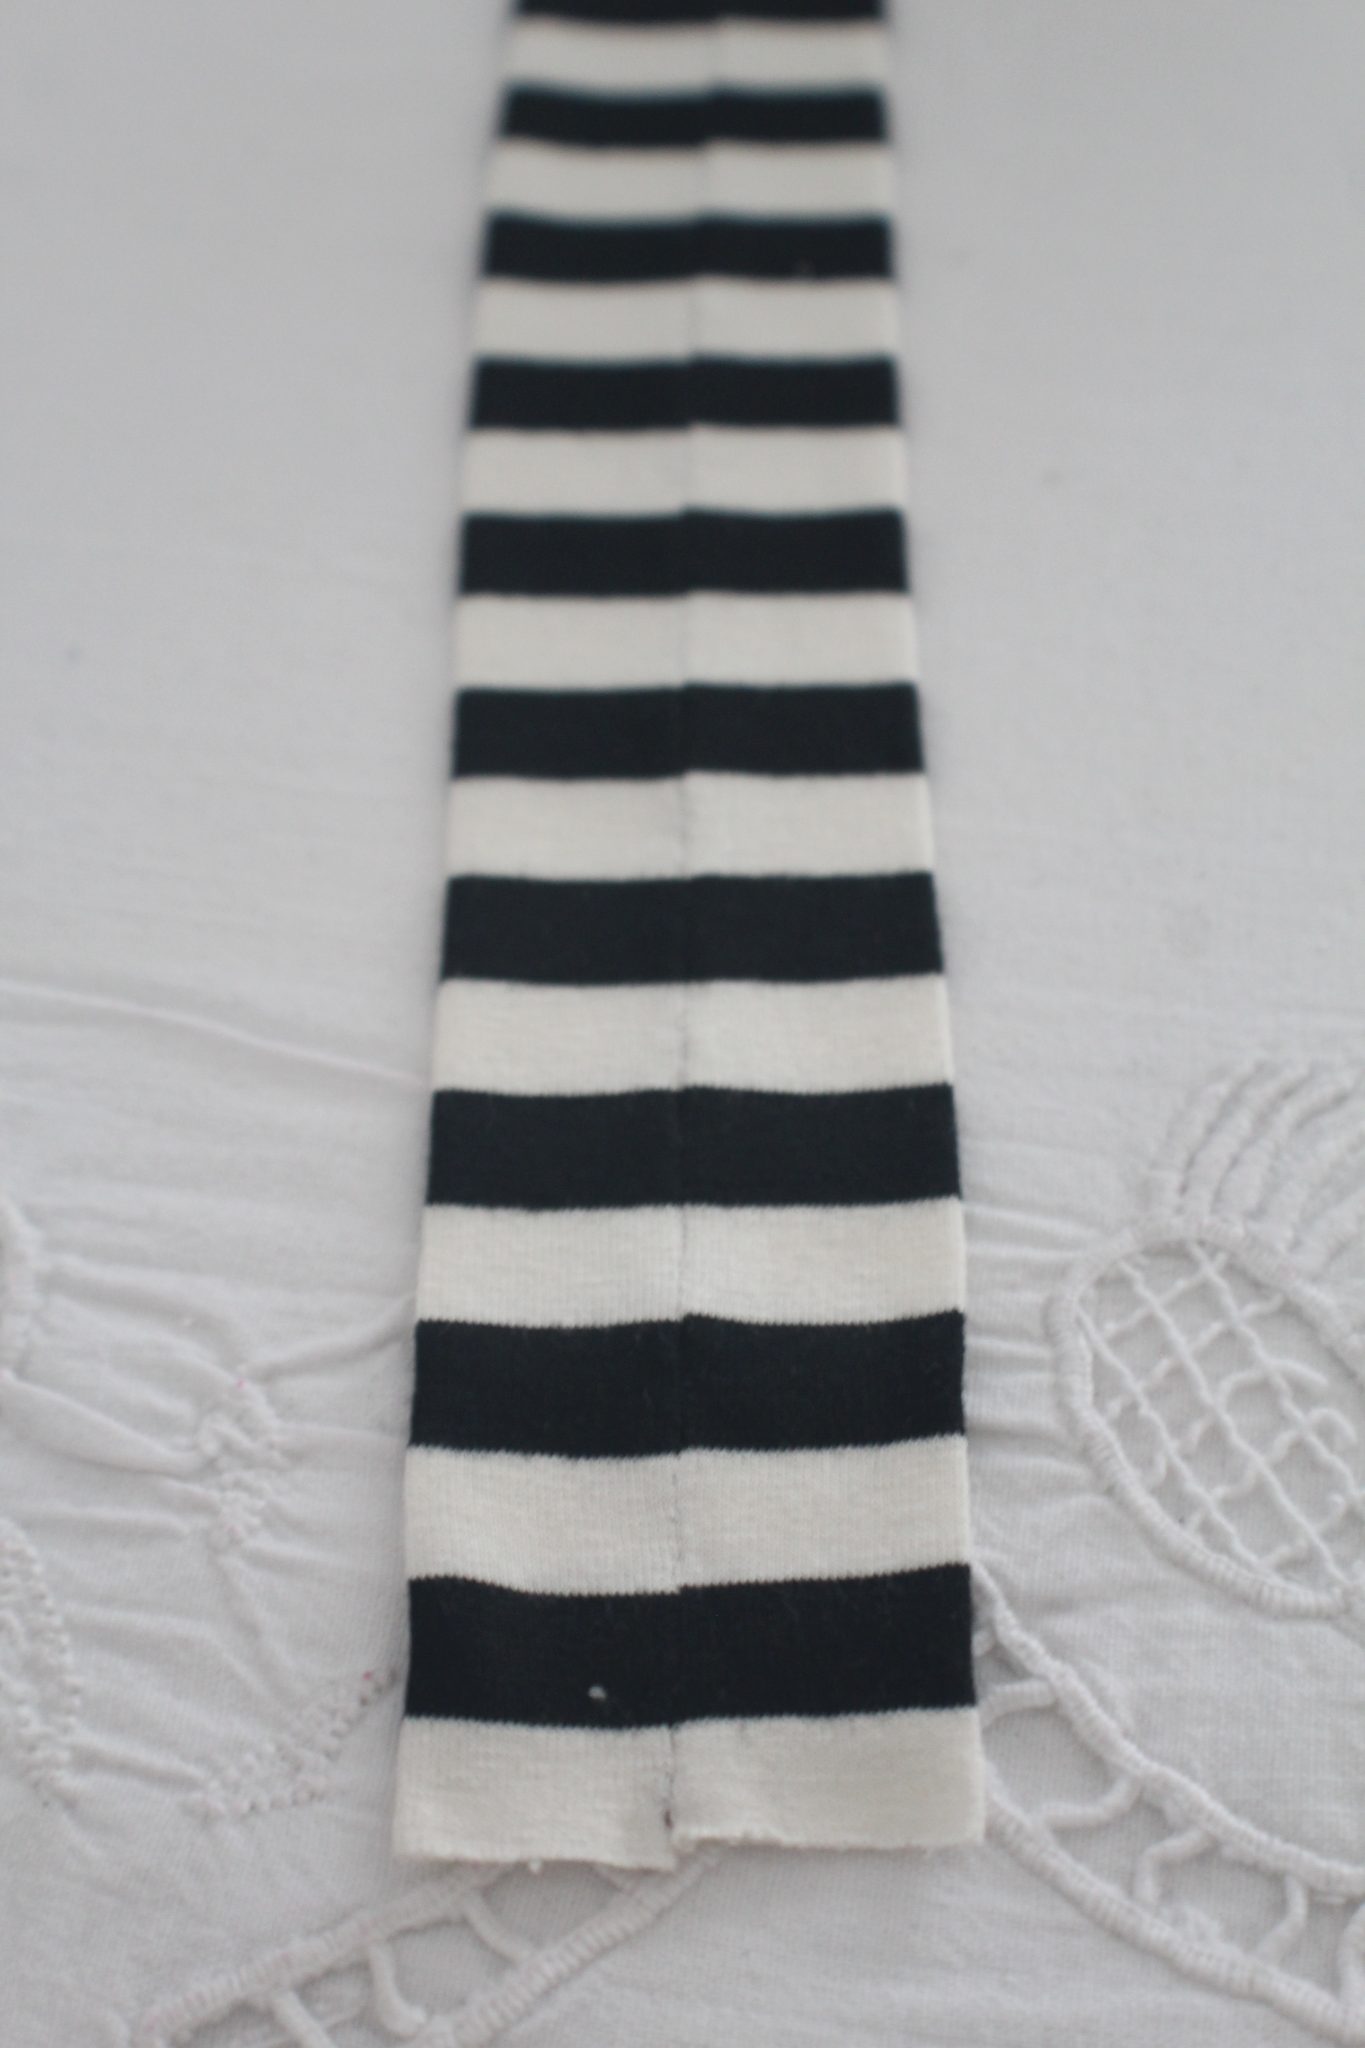
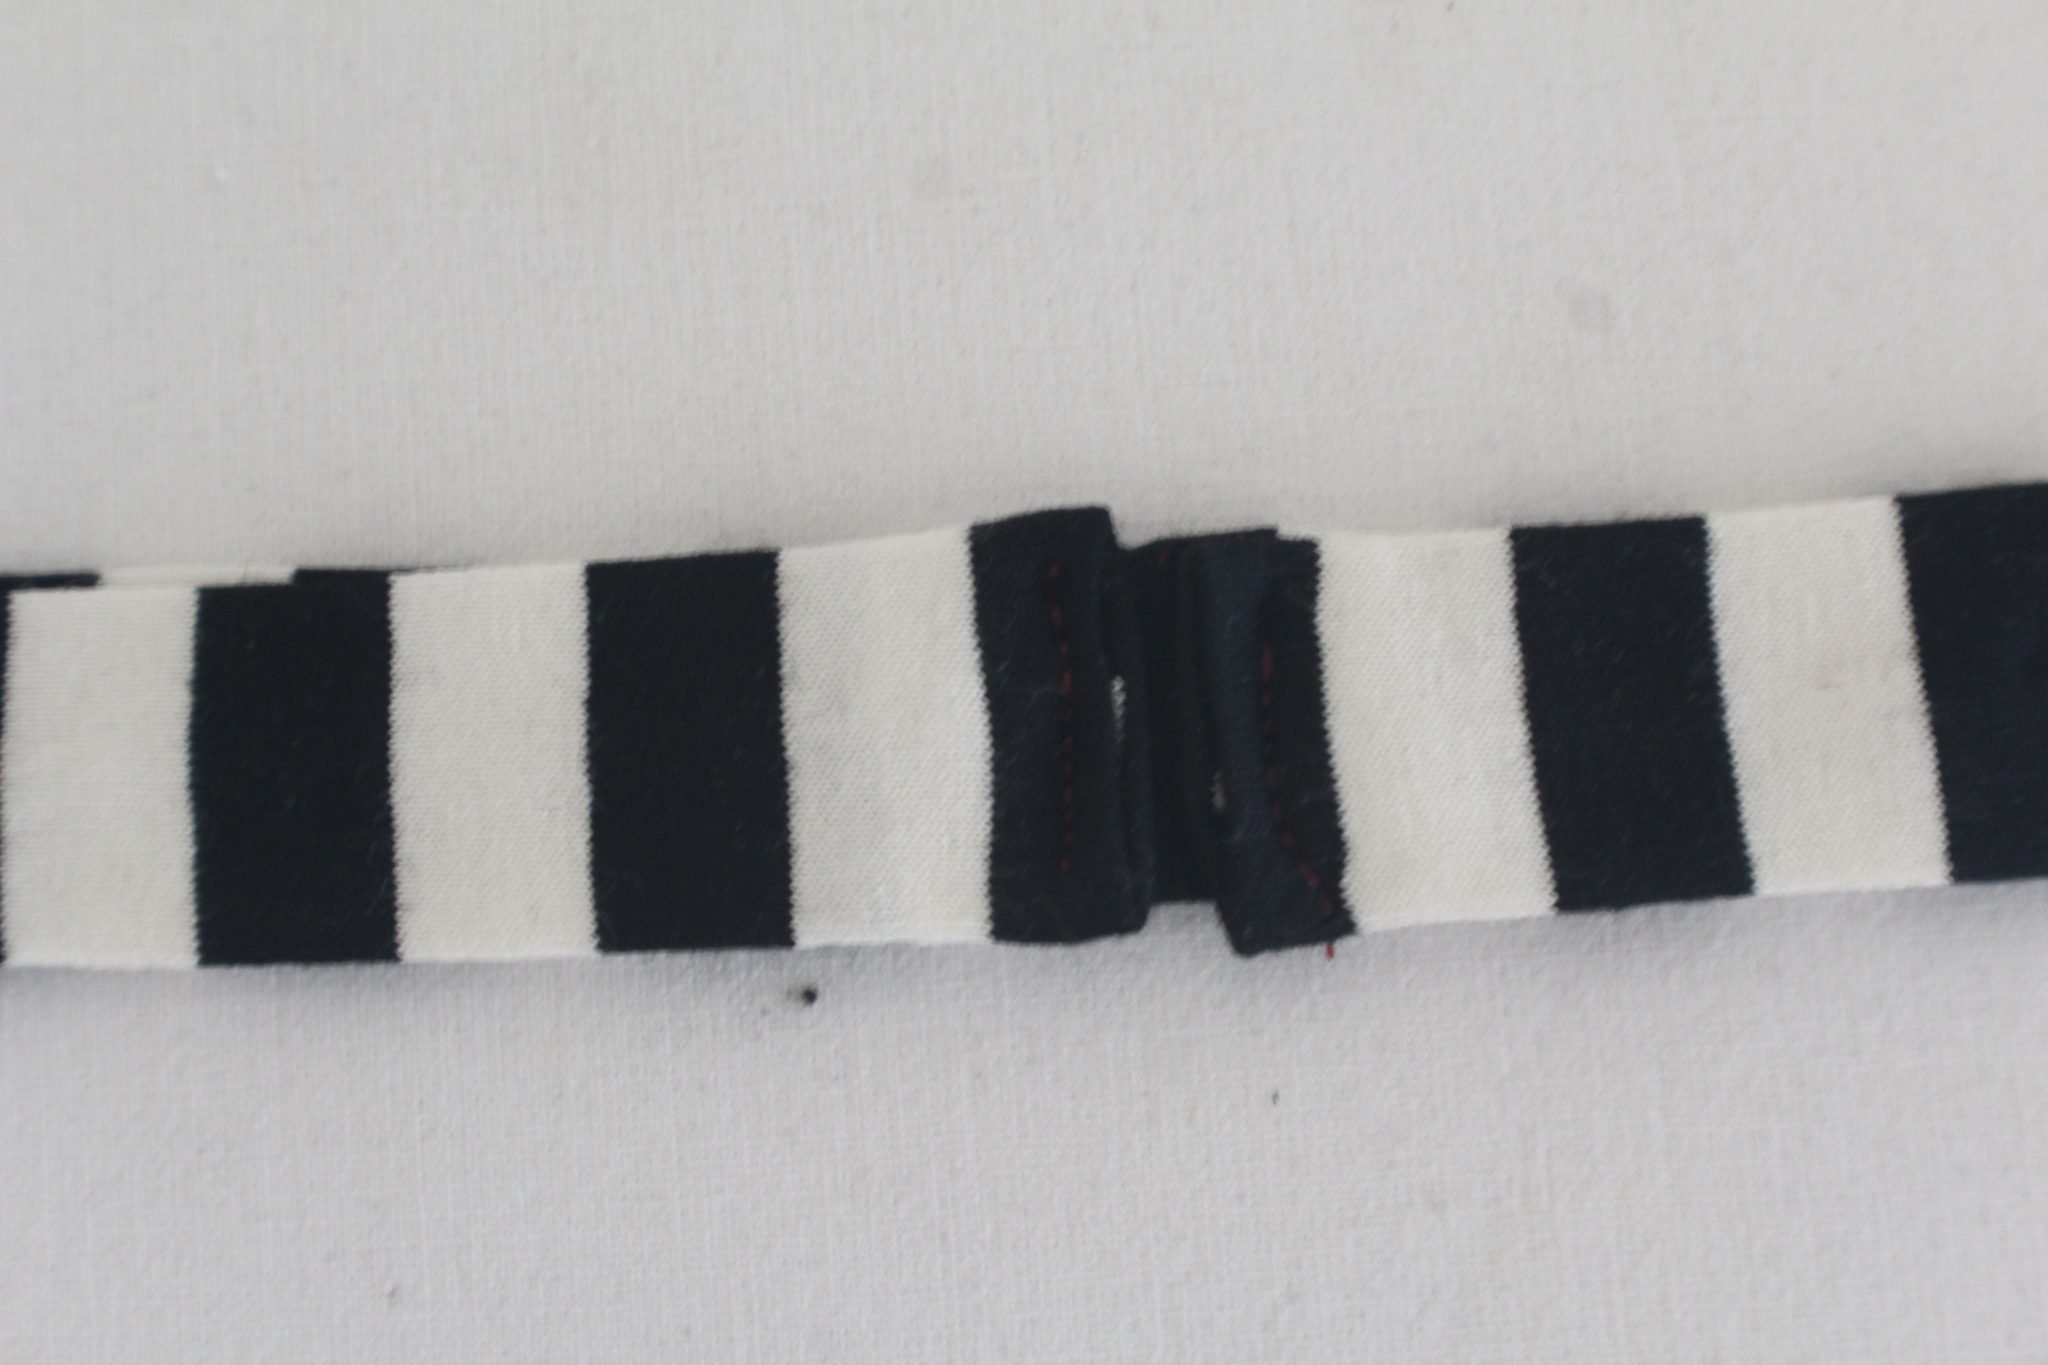
- Sew the two ends together with 1/4″ allowance, sewing a single, straight seam through all layers of fabric.
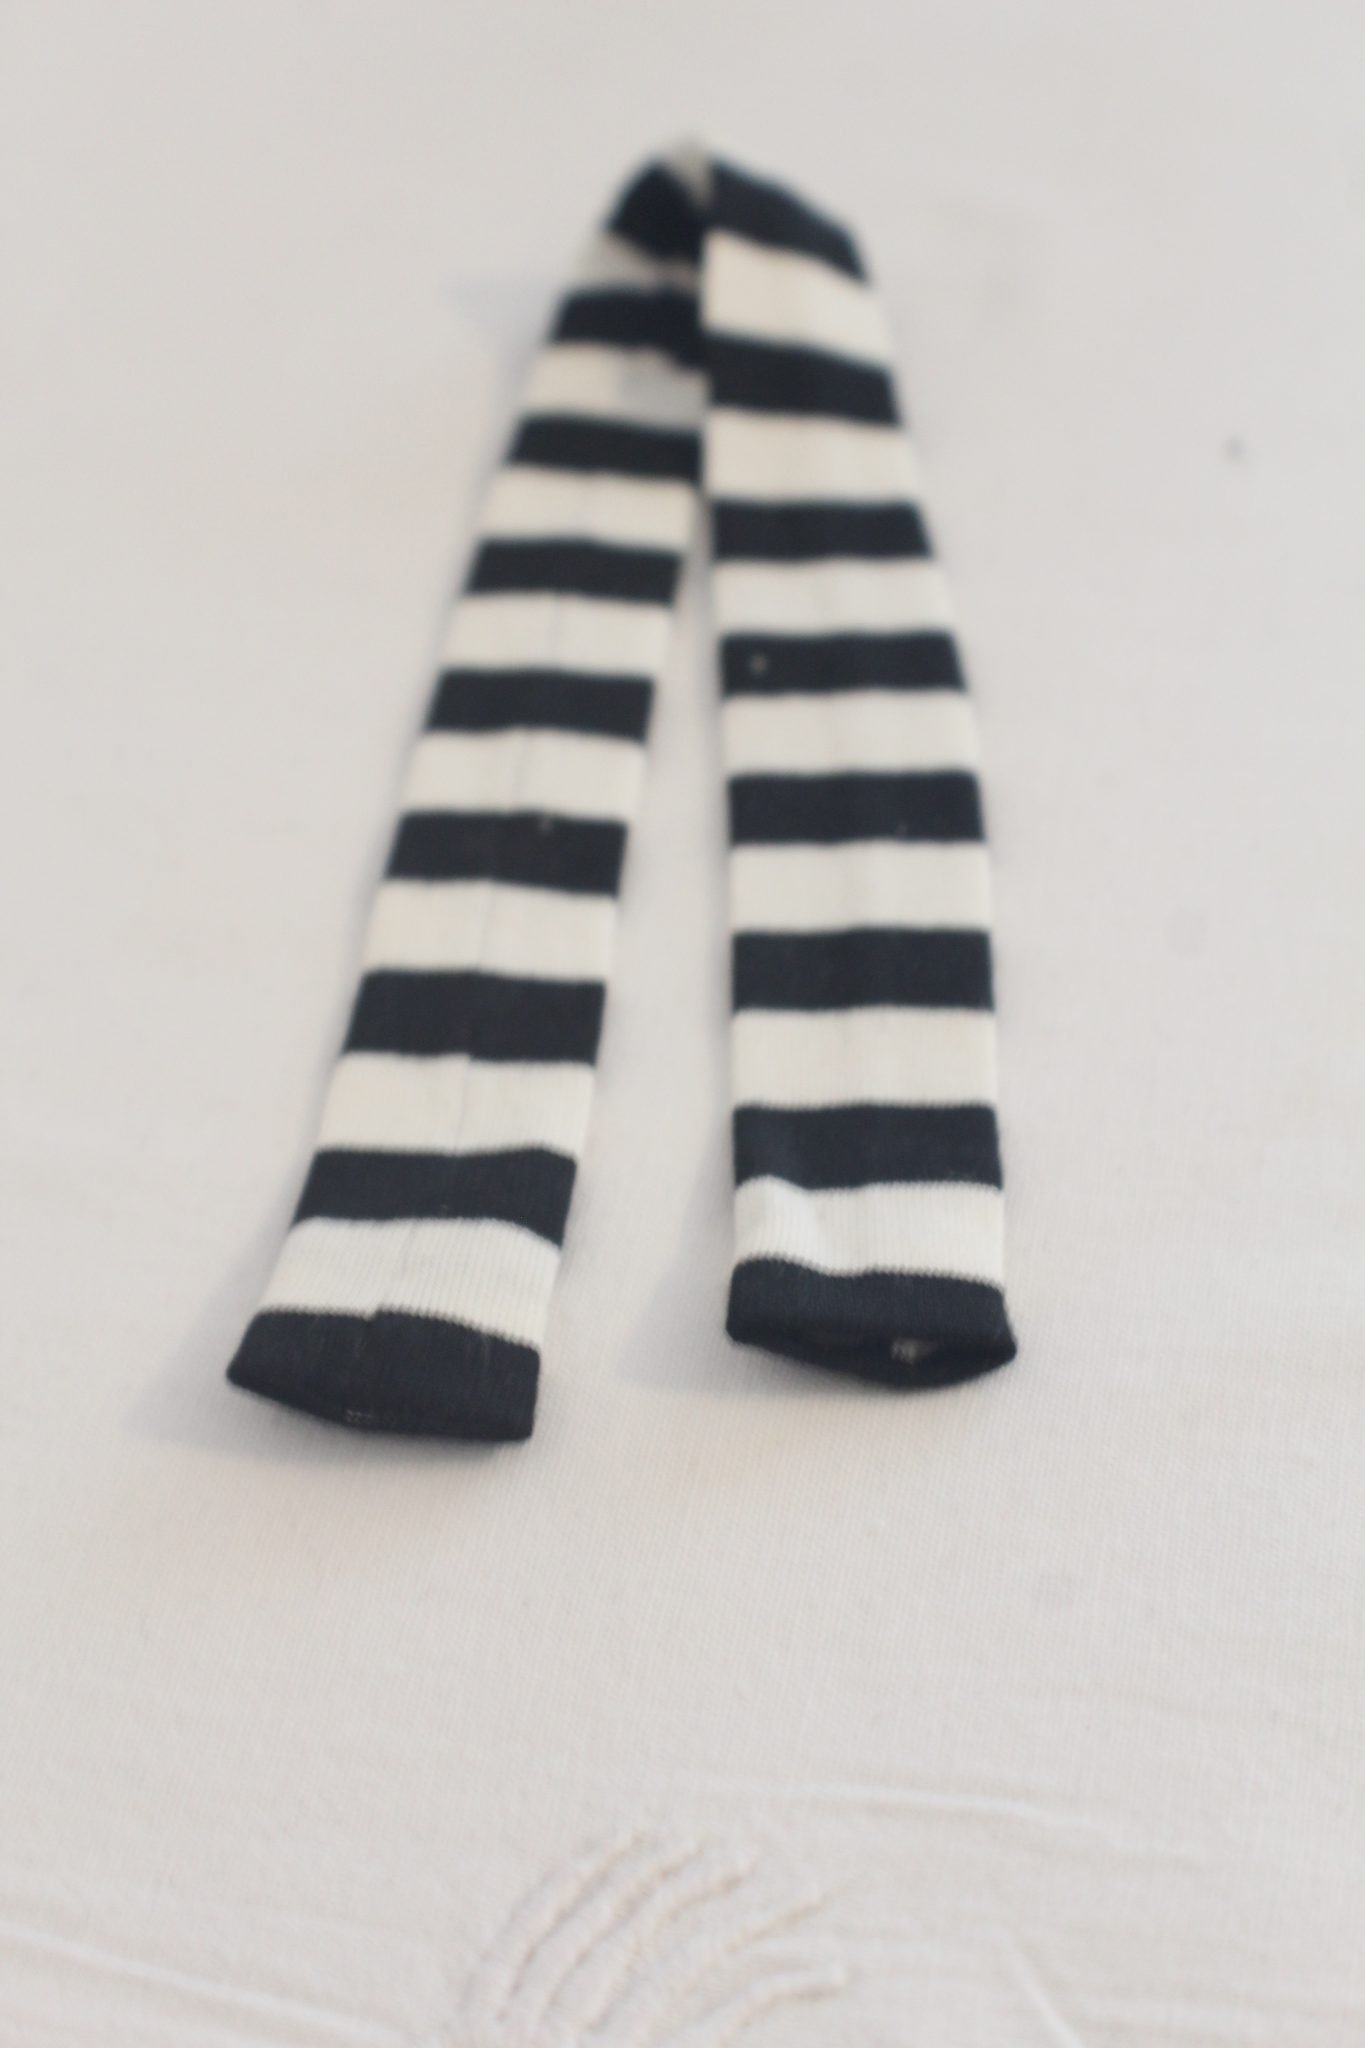
- Keep aside for now.
- From your knit fabric, cut a strip of 16″ long and 2 1/2″ wide.
- Repeat the above steps: fold in half, sew along raw edges, trim the seam, turn tube right side out (you might need to use this method), fold tube so seam is in the middle, press.
- Fold both ends in about 1/4″ and press well.
- Fold both sides of the strip to the middle until they meet, without overlapping.
- Press well.
- Pin the halves.
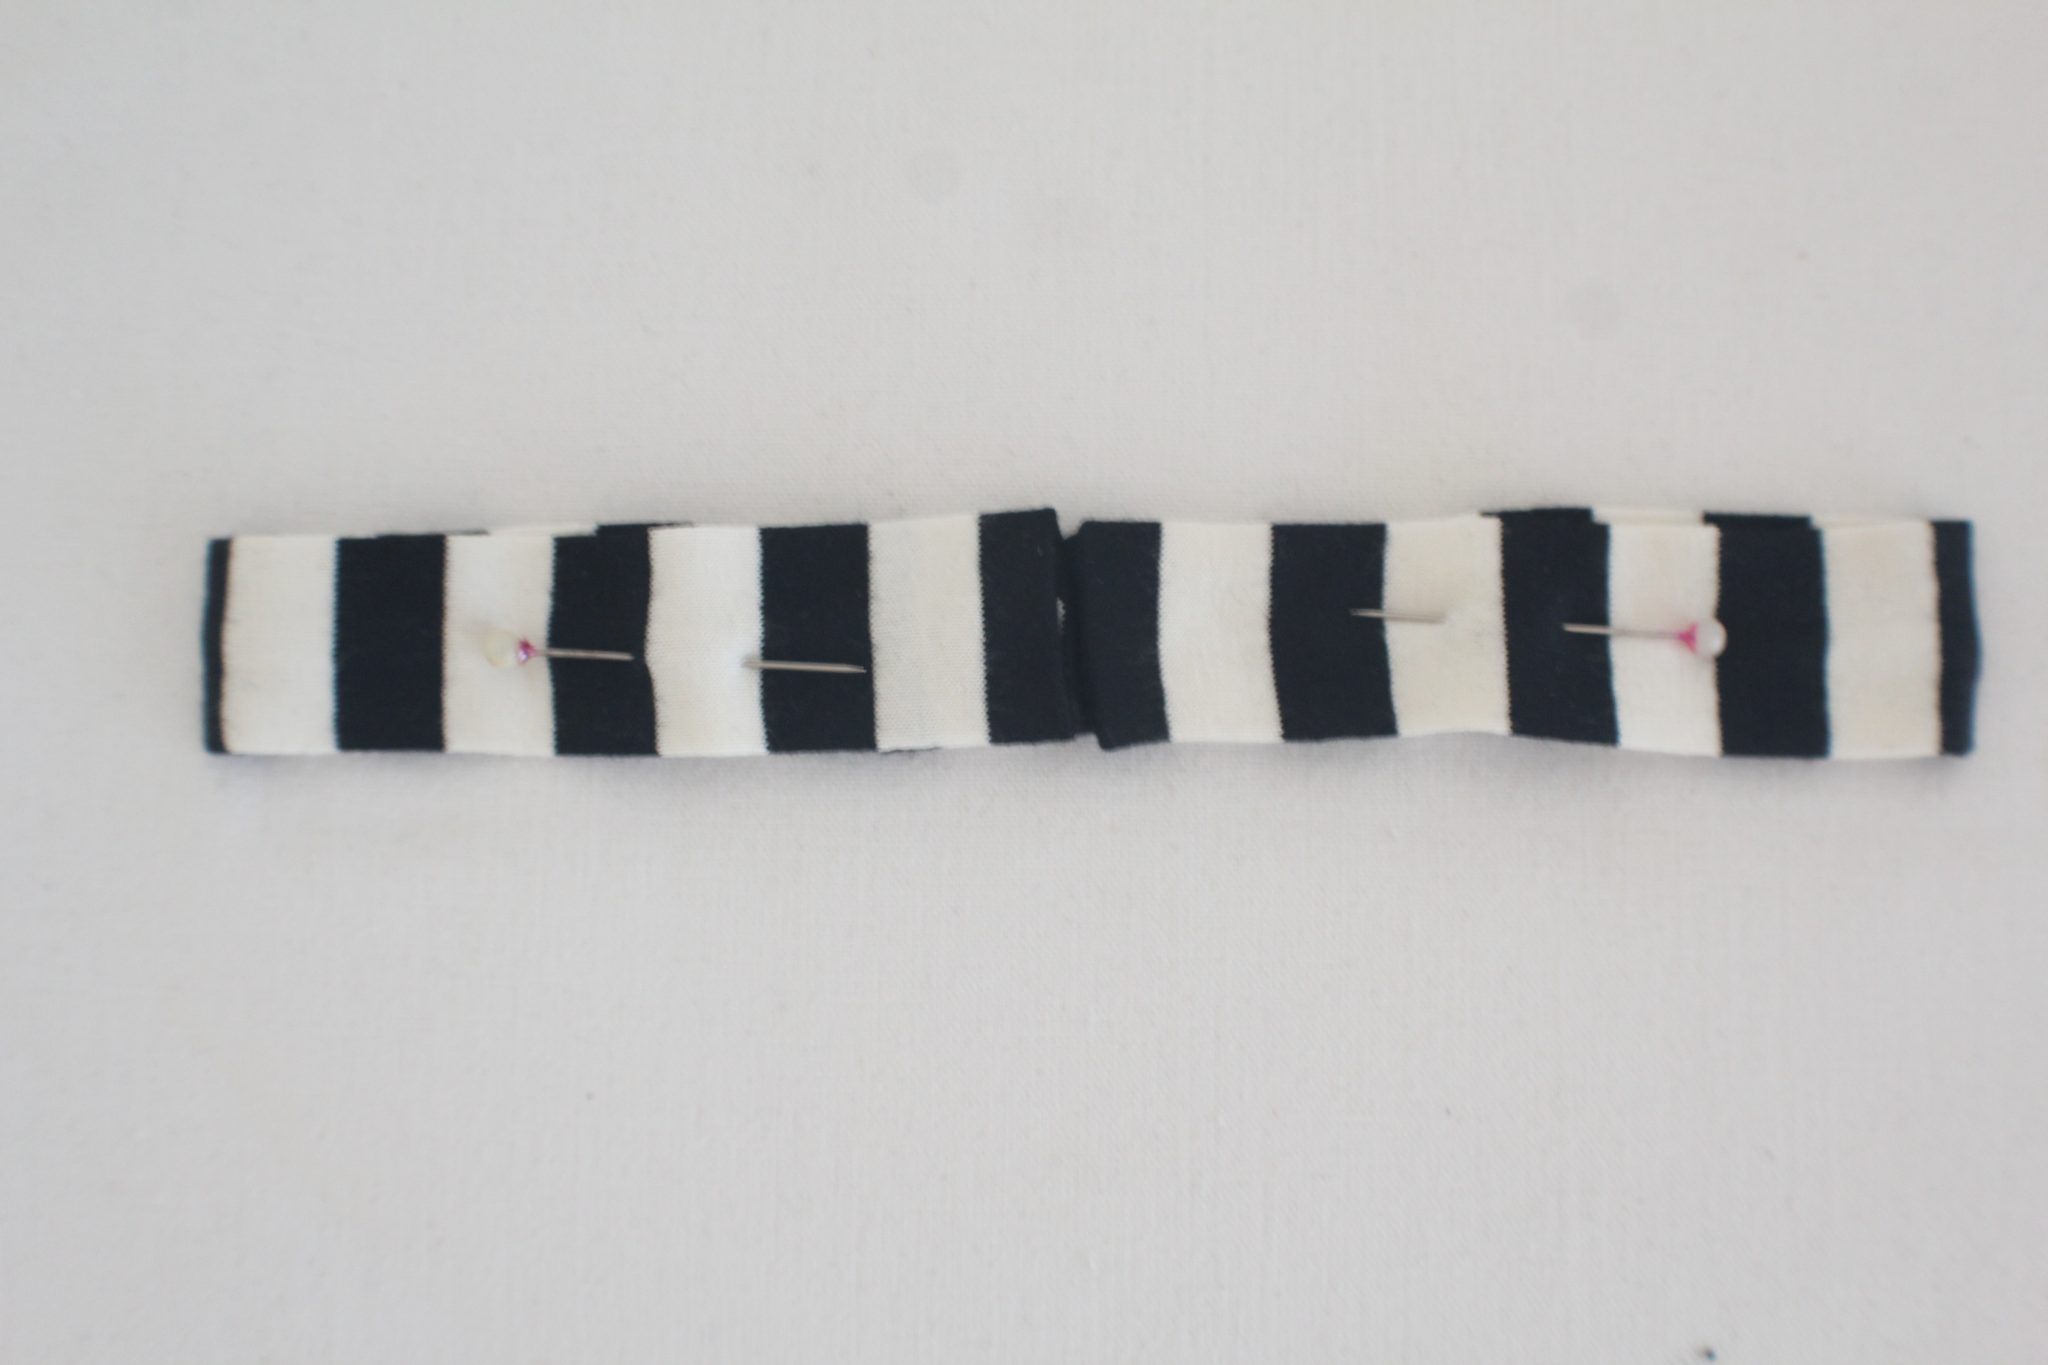
- Then sew the ends to the middle.
- Tie this small strip around the headband, concealing the seam in the long tube and the two seams in the bow.
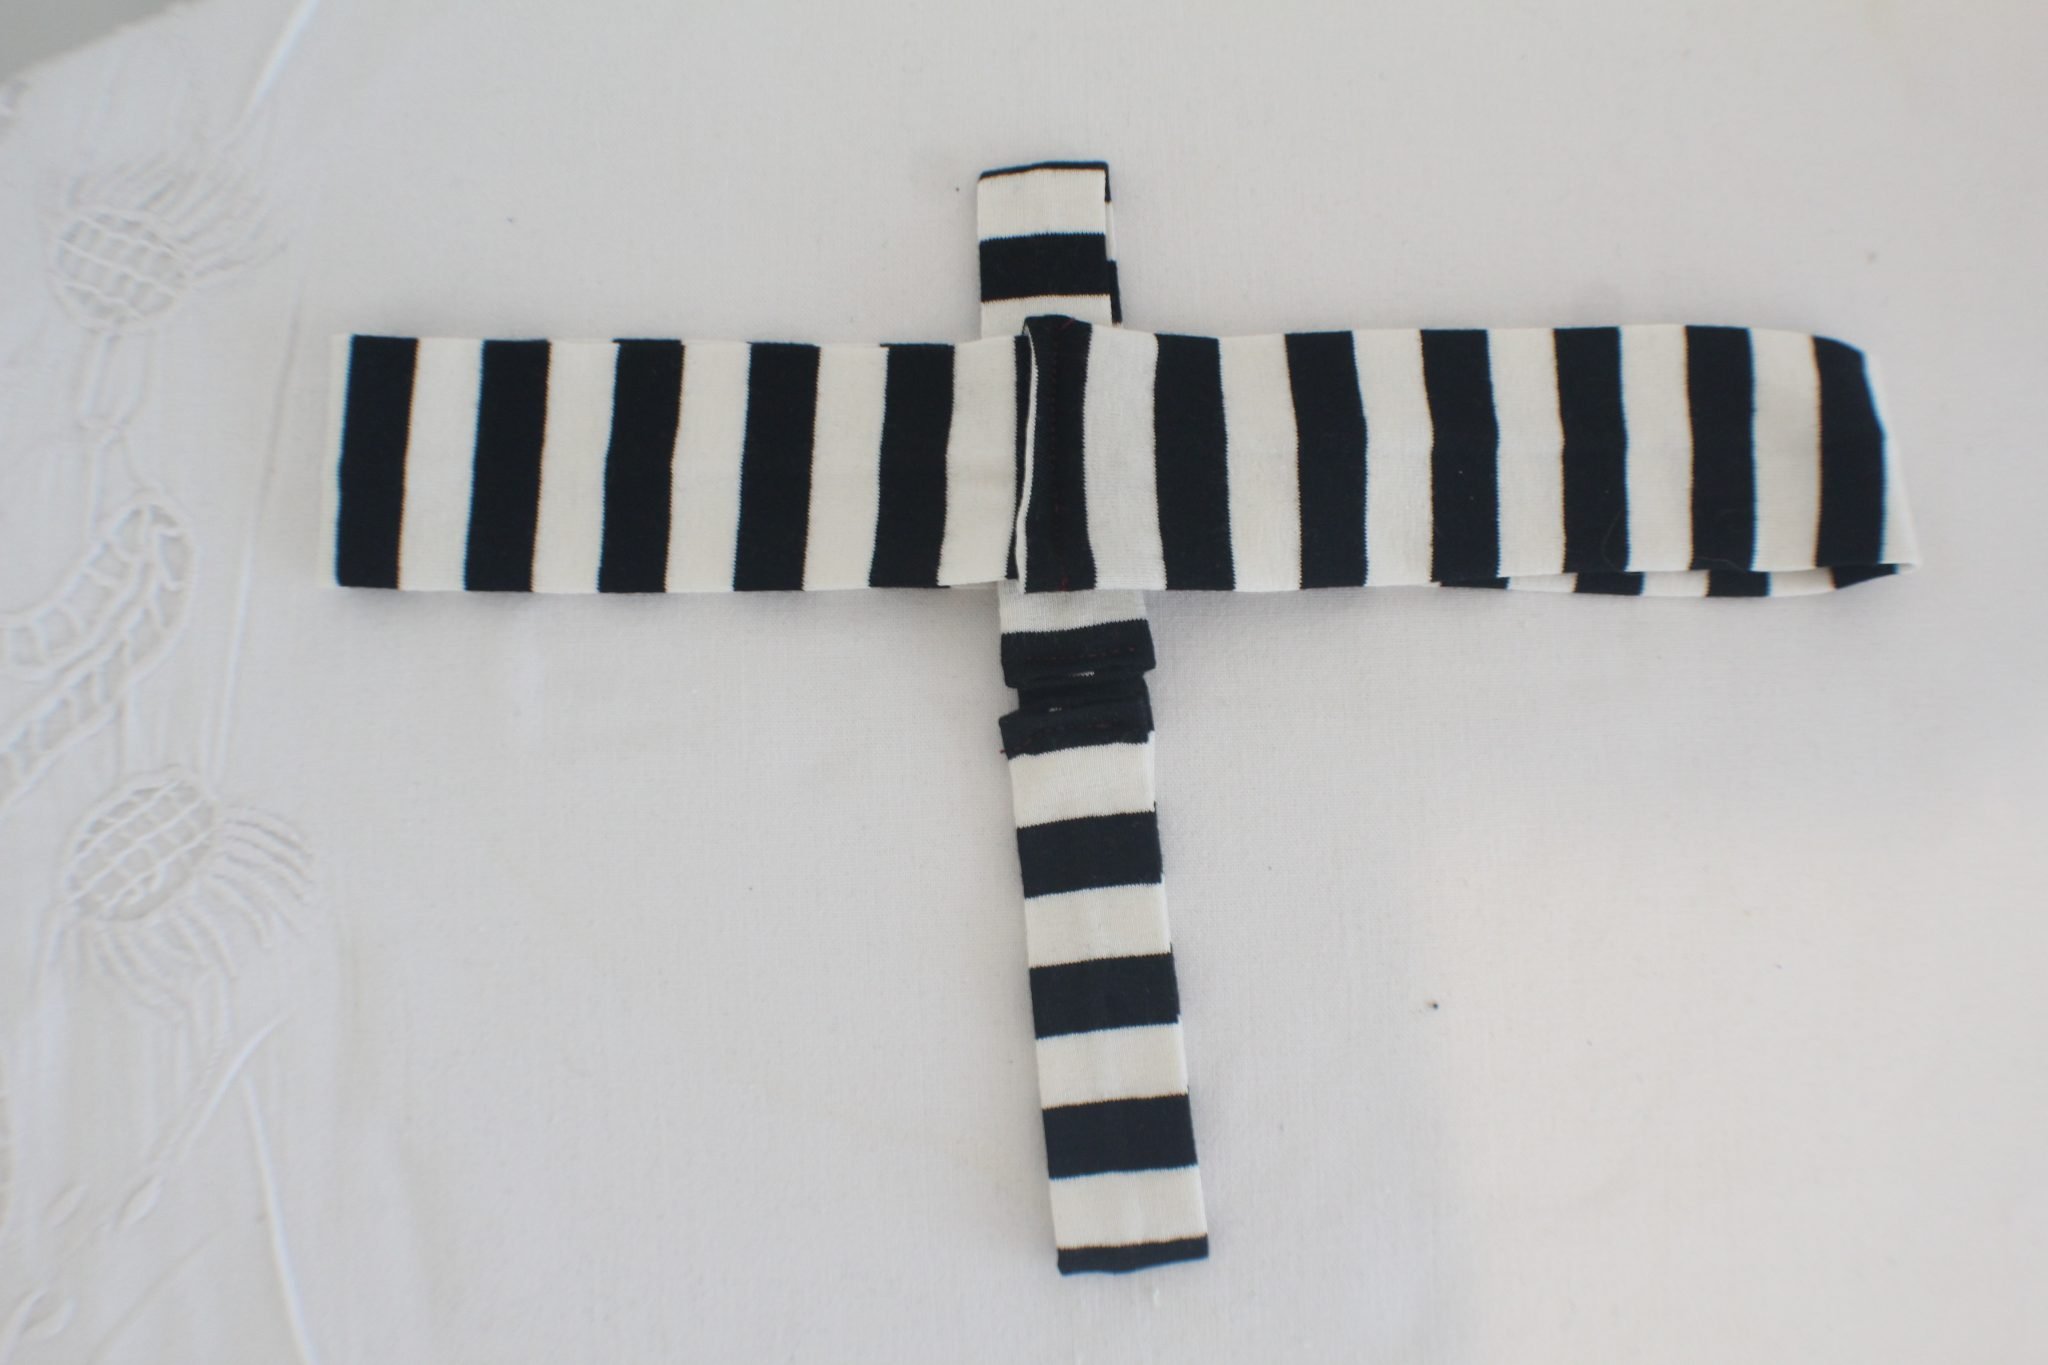
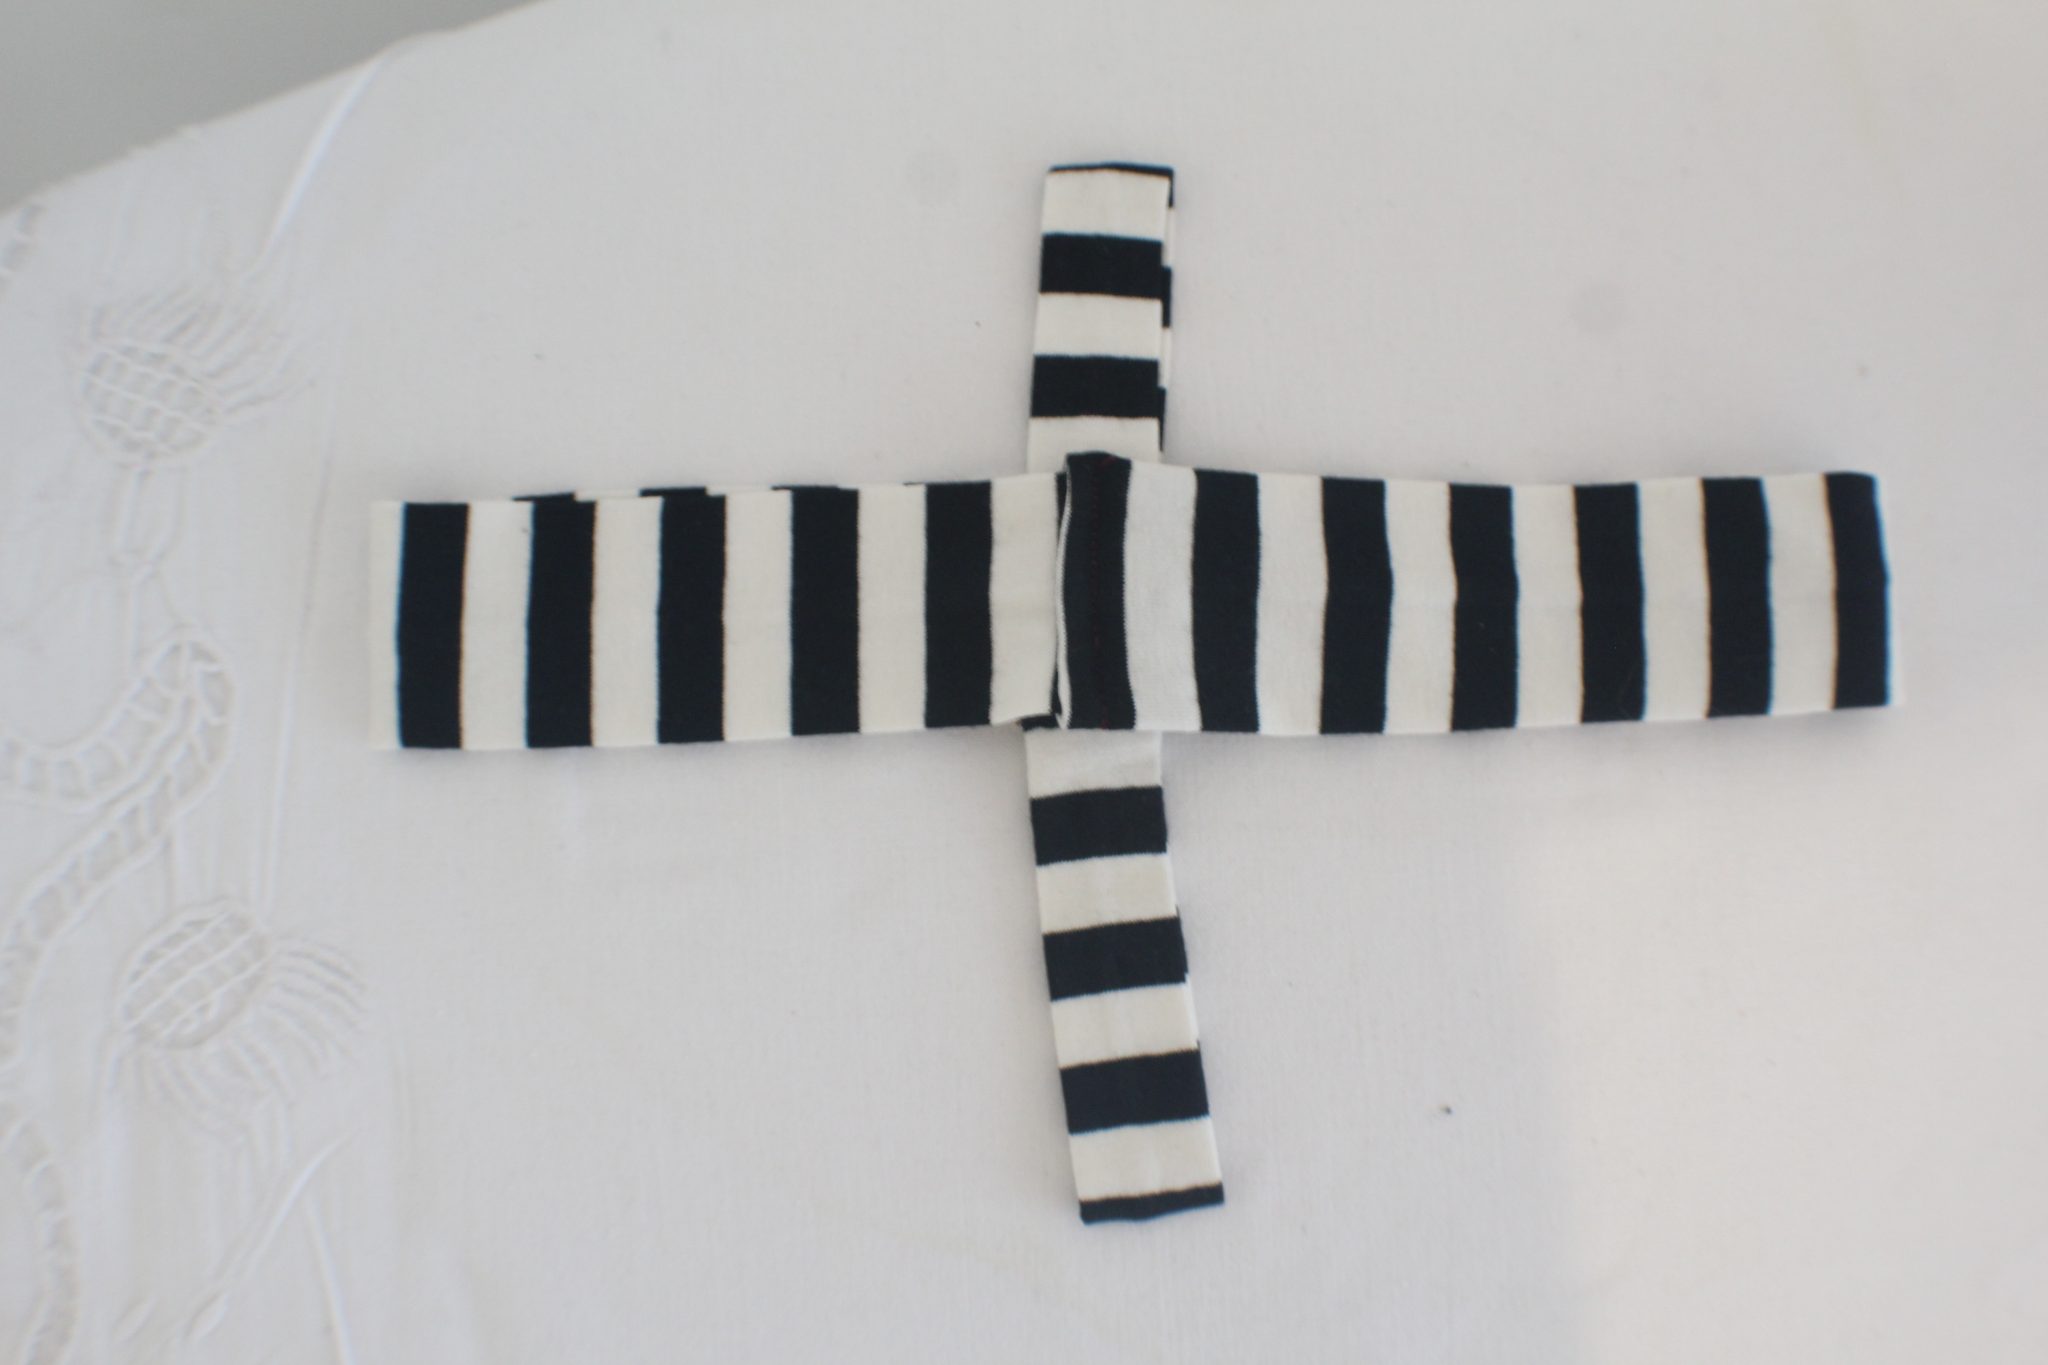
- Form the bow and arrange as desired.
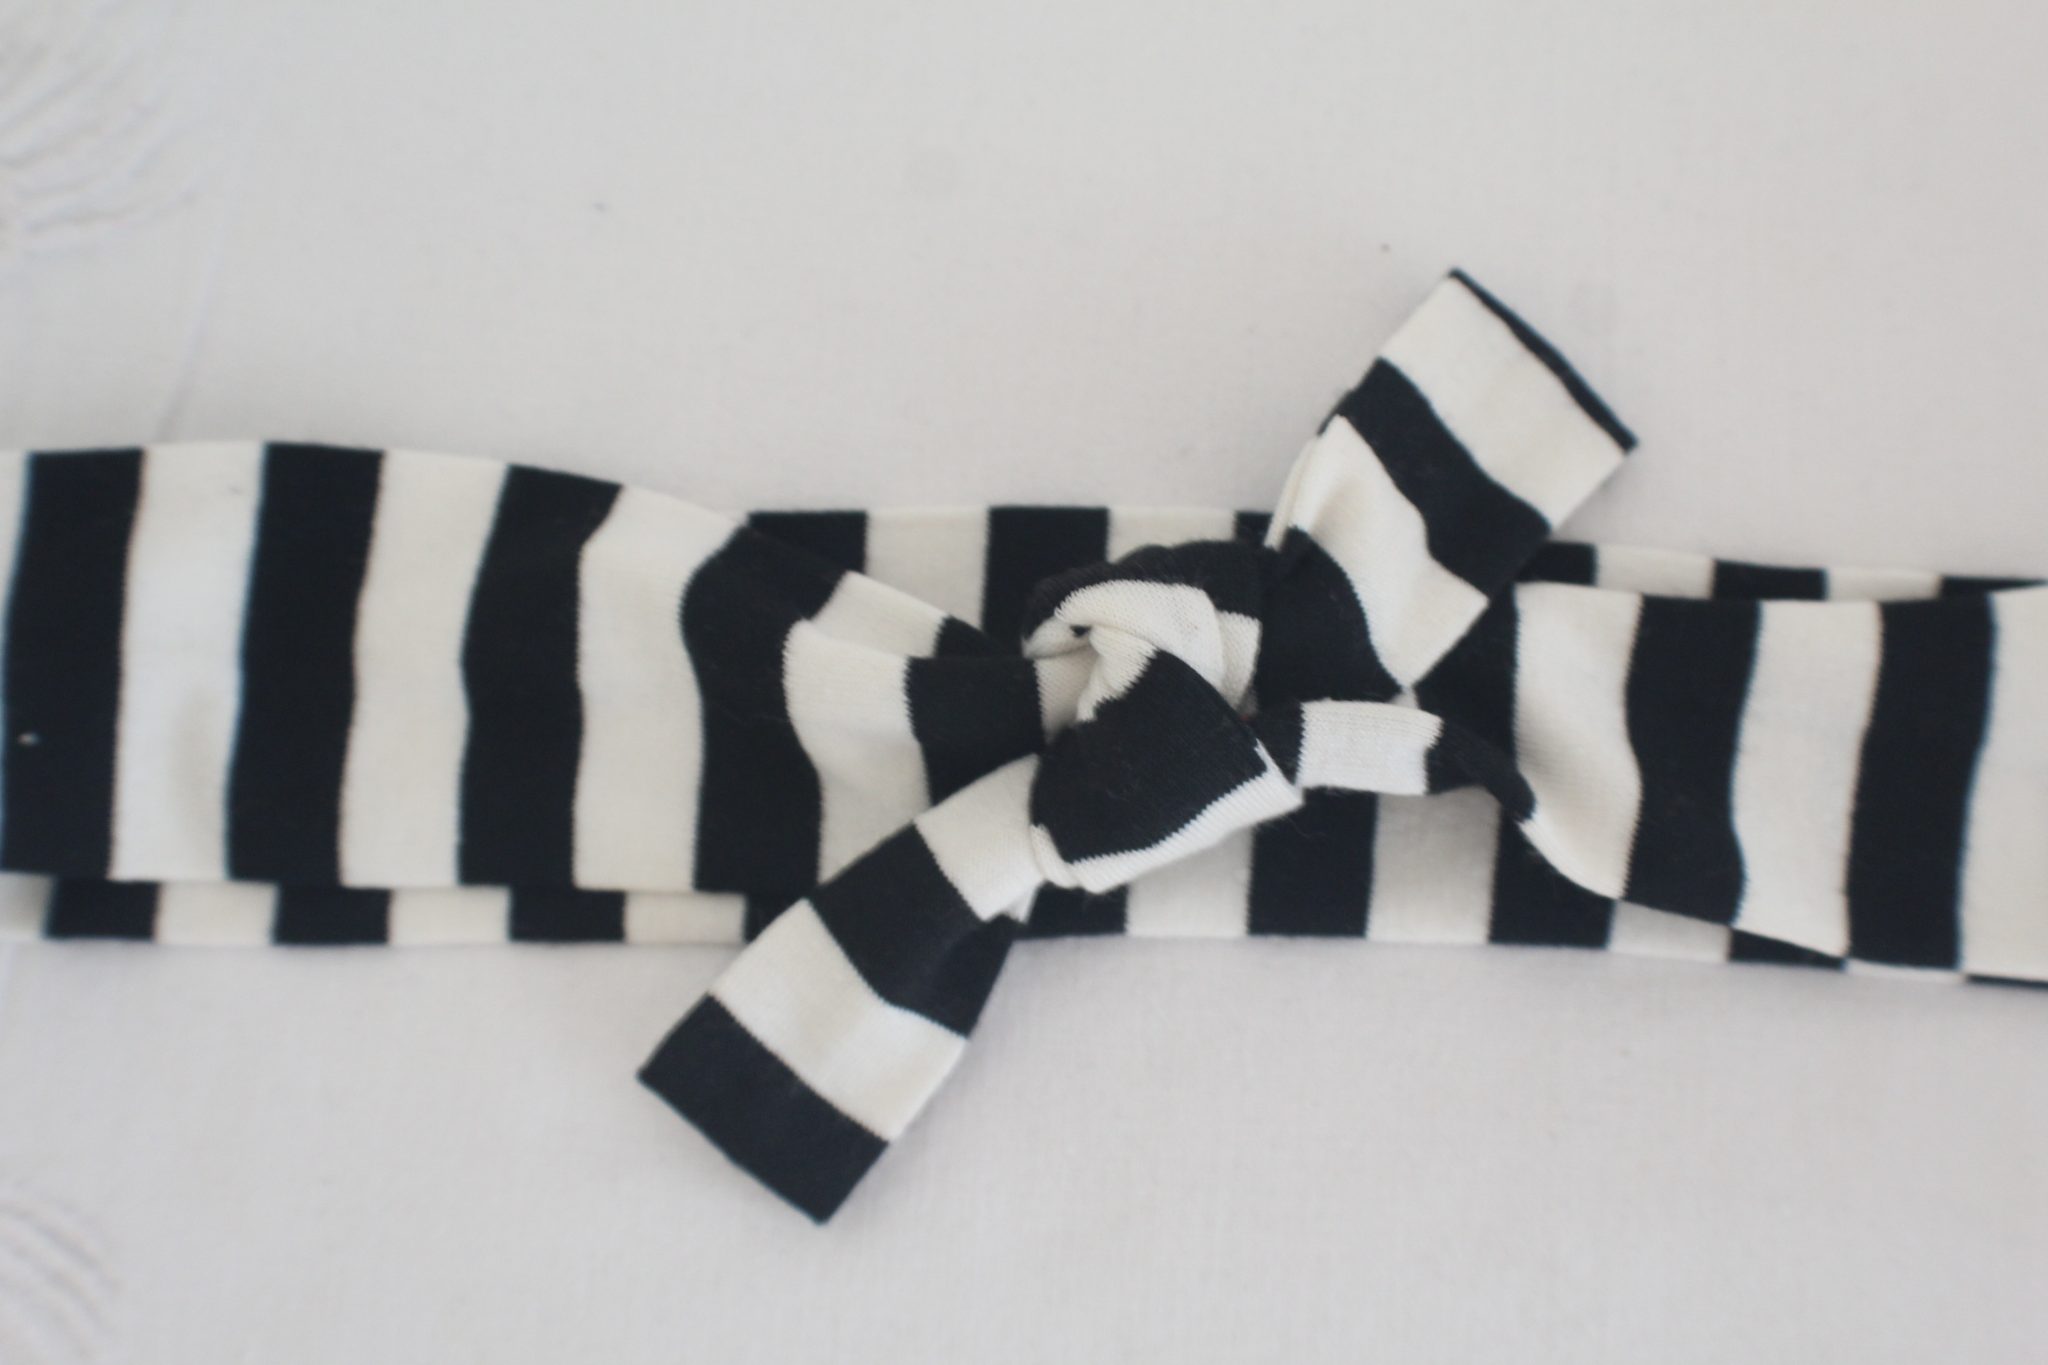
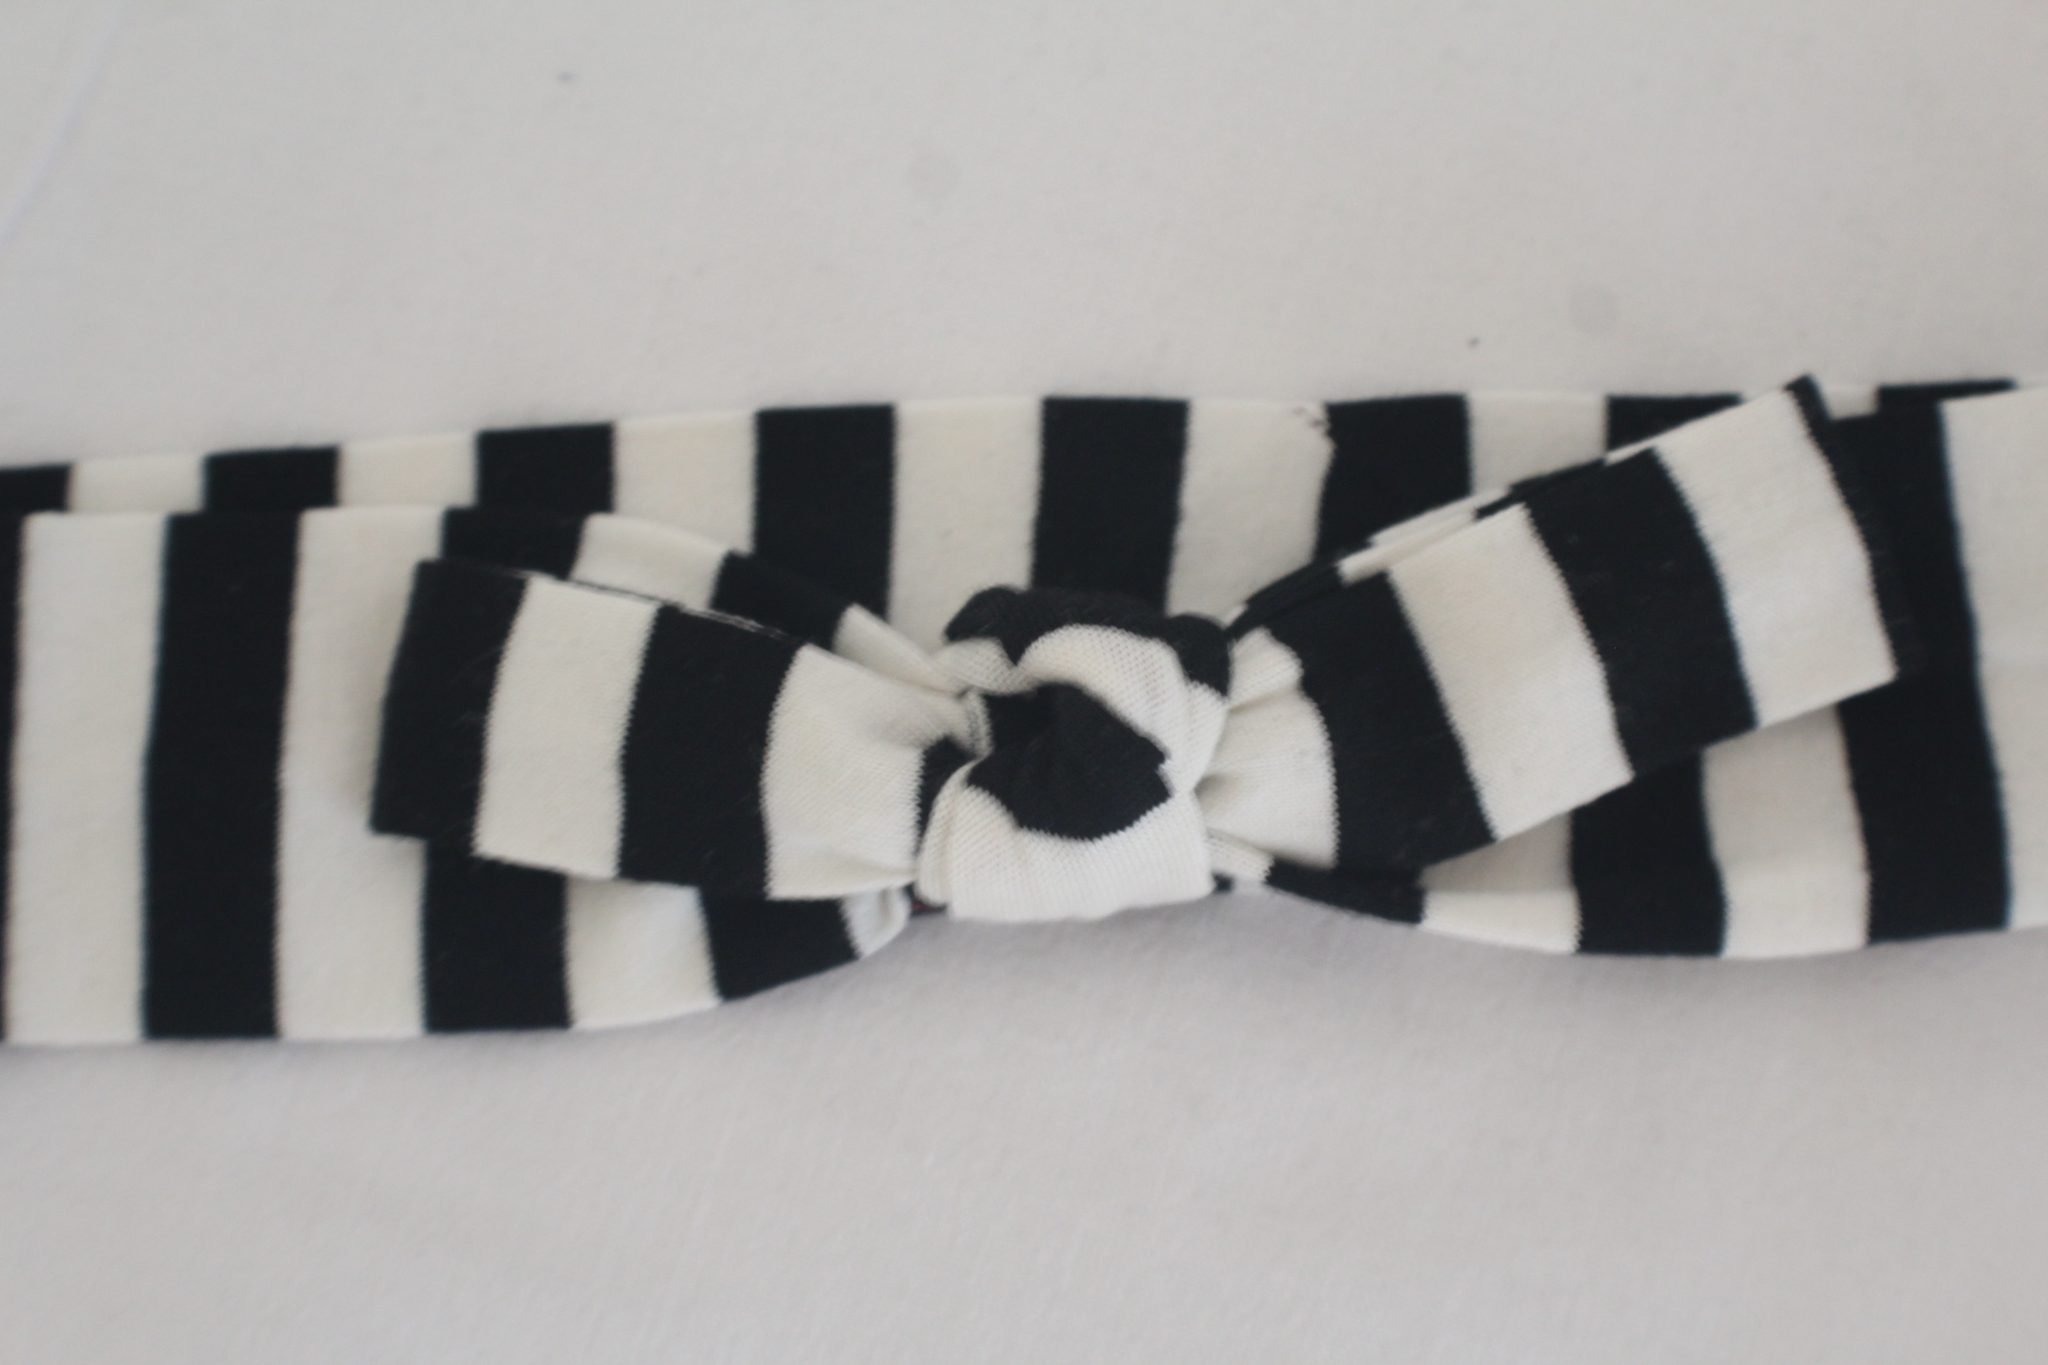
- And that’s pretty much all you need to make a cute DIY knot headband!
If you liked this tutorial I’d love to know it so please leave a comment below!
Pin to save for later
Most popular sewing projects:


Article may contain Amazon & affiliate links. As an Amazon Associate I earn from qualifying purchases at no additional cost to you.
ABOUT PETRO
Hi, I’m Petro, author and founder of Easy Peasy Creative Ideas. Sewist, crafter, avid DIY-er, foodie, photographer, homemaker and mommy to one. I’m an expert at coming up with quick, clever sewing tips, recycling crafts and simple, easy recipes! You can find my ideas featured in reputable publications such as Country Living, Good House Keeping, Yahoo News, WikiHow, Shutterfly, Parade, Brit & Co and more. Thanks for stopping by and hope you’ll stay for a while, get to know me better and come back another time. Stick around for real fun projects! Read more…