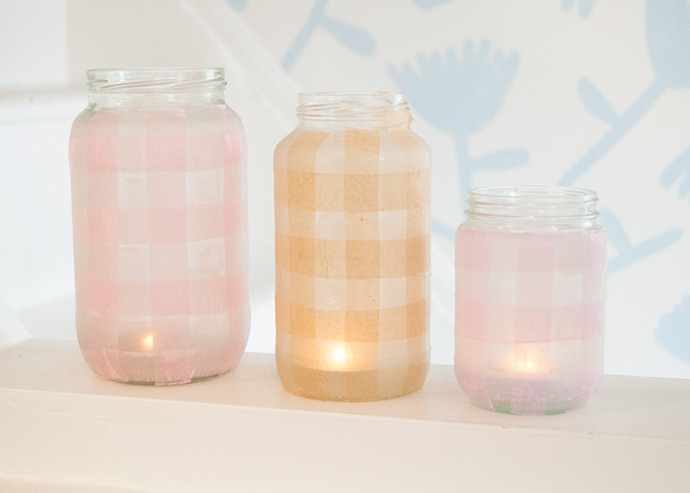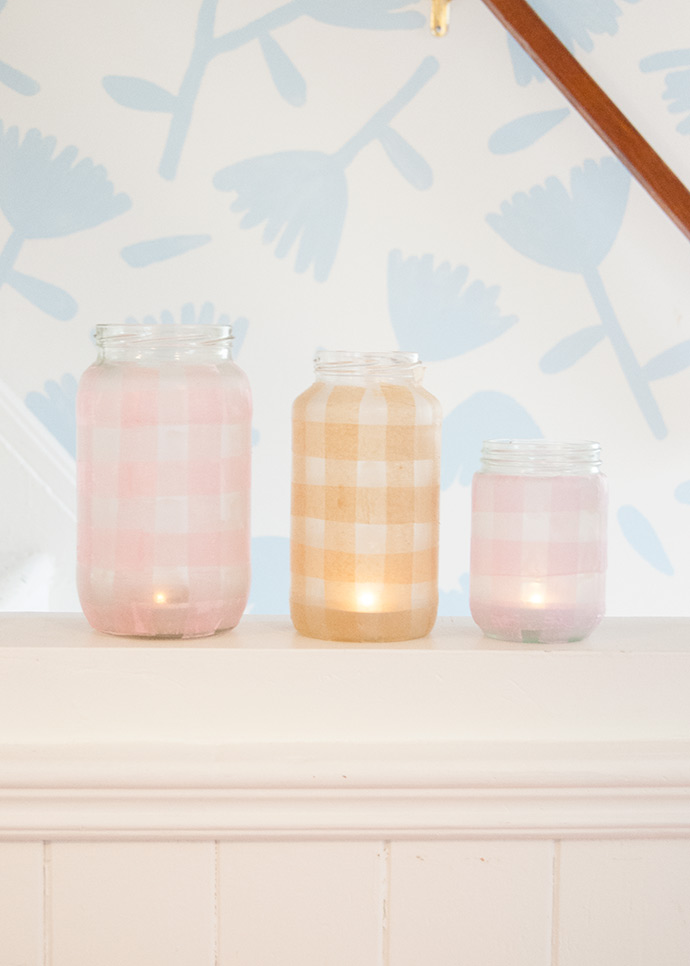
Lately, I’ve been finding myself drawn to anything and everything gingham. I suspect it’s due at least in part to the beautiful Instagram feed of Charlotte Jacklin – I can’t help but admire all of her beautiful pastel floral and gingham spreads! A little while back, she shared these lovely gingham candle holders and I can’t stop thinking about them. I have a fairly massive stash of empty glass jars that I can’t quite bear to recycle, so lately I’ve been thinking I should turn them into decorative lanterns to suit the seasons. These muted shades of tissue paper combined with the gingham pattern make me think of warm weather and spring picnics! They’re so simple to make and I love the frosted glass that regular white glue leaves behind. I look forward to keeping these lanterns filled with lit candles all spring long!
what you need:
- Empty glass jars
- White glue
- Paintbrush
- Tissue paper
- Scissors
- Ruler (optional)
how-to:
Start by gathering up some empty glass jars from your recycling bin. You can also use plastic jars if you plan on using battery-operated candles! Either way, soak the jars in warm soapy water to remove any labels, wash out the inside well, and let dry. I used a three jars of different sizes – the largest one pictured is a pickle jar.
Pick out what colors of tissue paper you would like to use. You’ll find that a single layer of tissue paper looks a lot different than the folded paper all stacked together, so keep that in mind when choosing your colors.
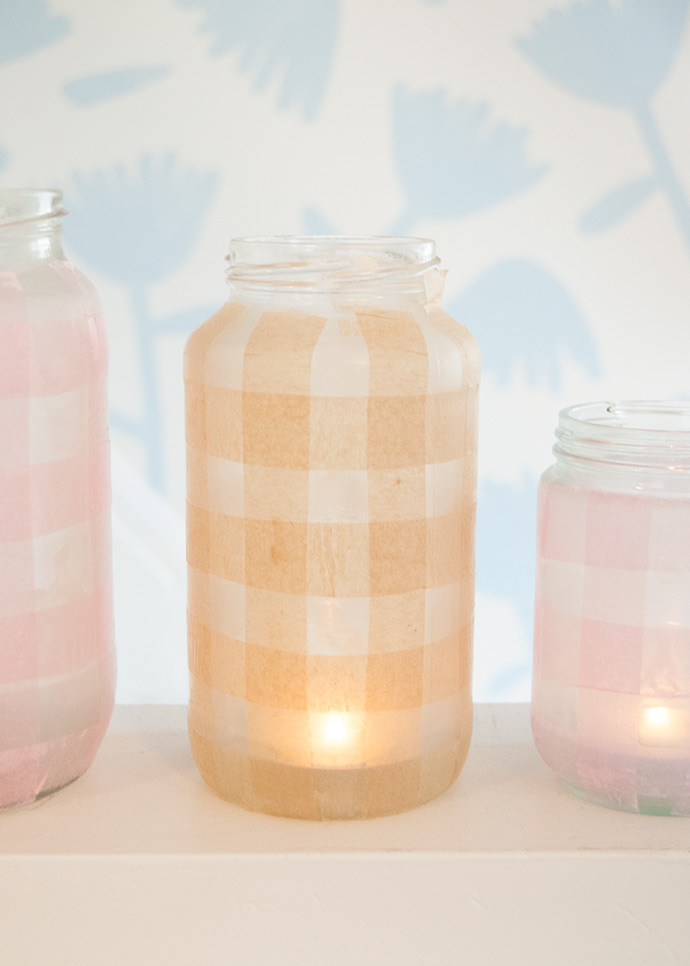
Cut your tissue paper into long strips! I eyeballed this, but you can definitely use a pencil and ruler if you want them to be really even. Cut the strips longer than you think you’ll need – it’s easy to trim off excess later and this helps avoid using lots of short pieces that can affect the look of the finished pattern. The width of these strips is totally up to you! I kept these ones all uniform across all three jars, but you can make them wider or narrower to accomodate larger or smaller jars.
Apply a thin coat of white glue onto the outside of your jar. If you are working with a larger jar (like a pickle jar) it can help to just cover one half of the jar at first. No need to cover the bottom of the jar and just apply up to the screw top at the top of the jar.
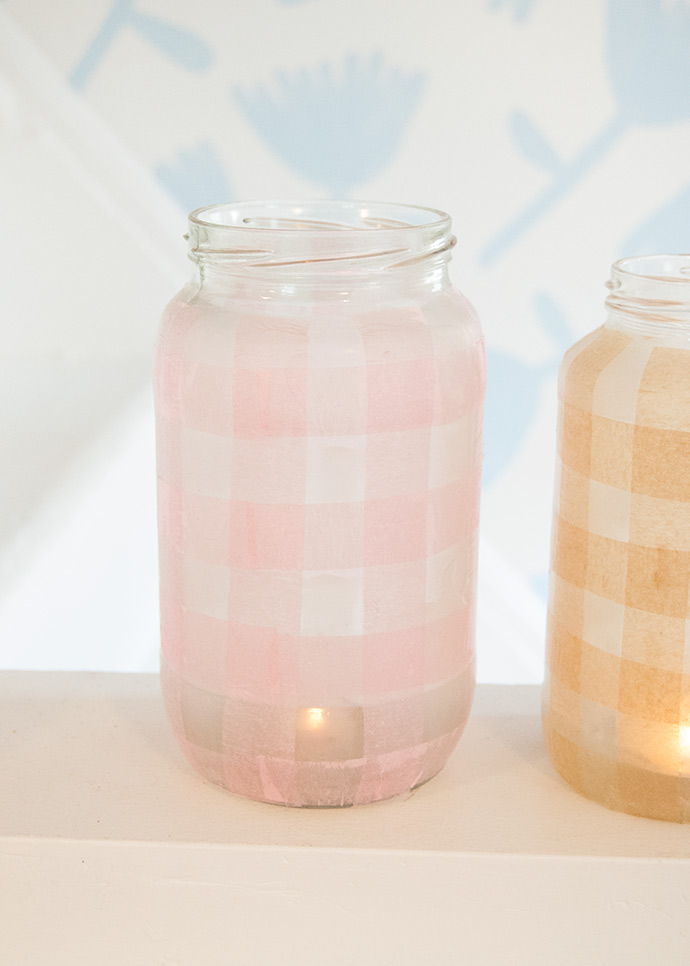
Start by setting the vertical tissue paper strips onto the glued area. Keep them evenly spaced for that classic gingham look. While placing the vertical strips, you may not have a perfect space left at the end for the final few strips. Do your best to space out the strips but you can always have a less perfect back side of the lantern if that’s how it works out for you! Trim any excess tissue from the top and bottom of the jar and then gently apply a coat of white glue over the tissue paper to seal it in.
Now it’s time for the horizontal stripes! If you had a less nice-looking side, start the seam of the stripe there and wrap around until it meets itself, trimming the excess. Again, keep the stripes as evenly spaced as you can and apply another layer of glue to seal the tissue in place.
Set aside to dry completely!