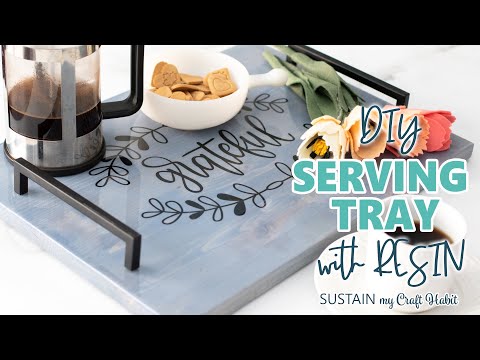
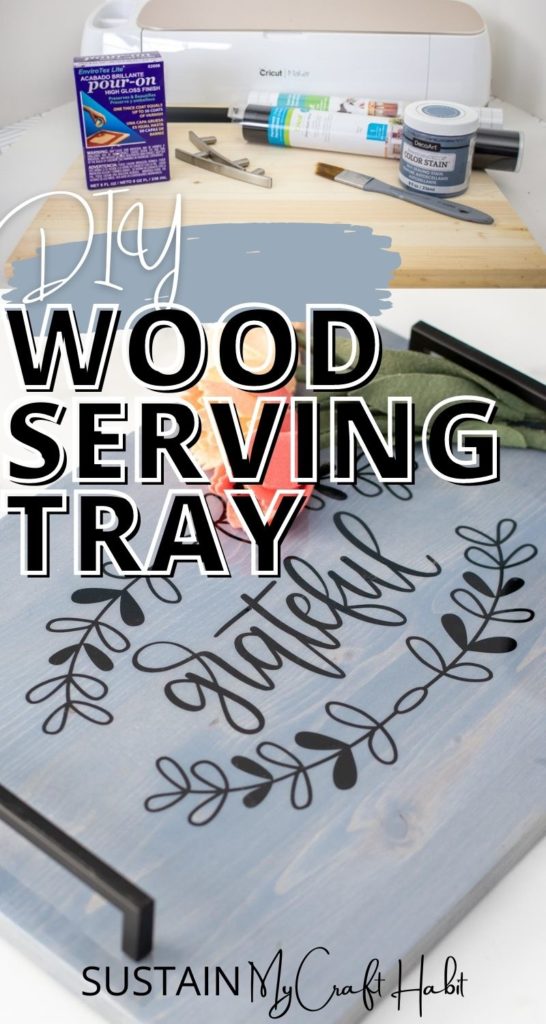
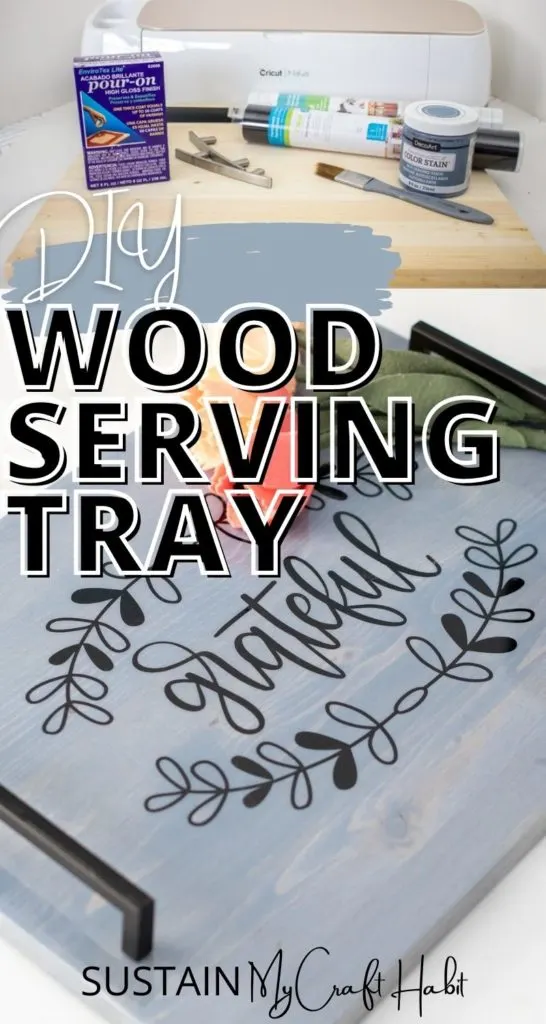
Hi creative friends, we’re excited to share our latest wood working project with you today! We’ll show you how we made this farmhouse inspired DIY wood serving tray from start to finish.

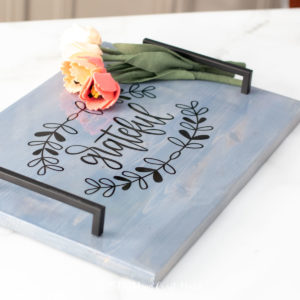
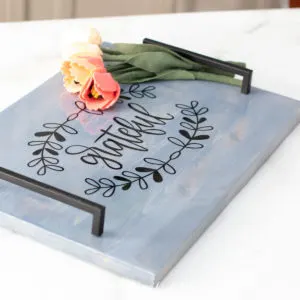
DIY Wood Serving Tray
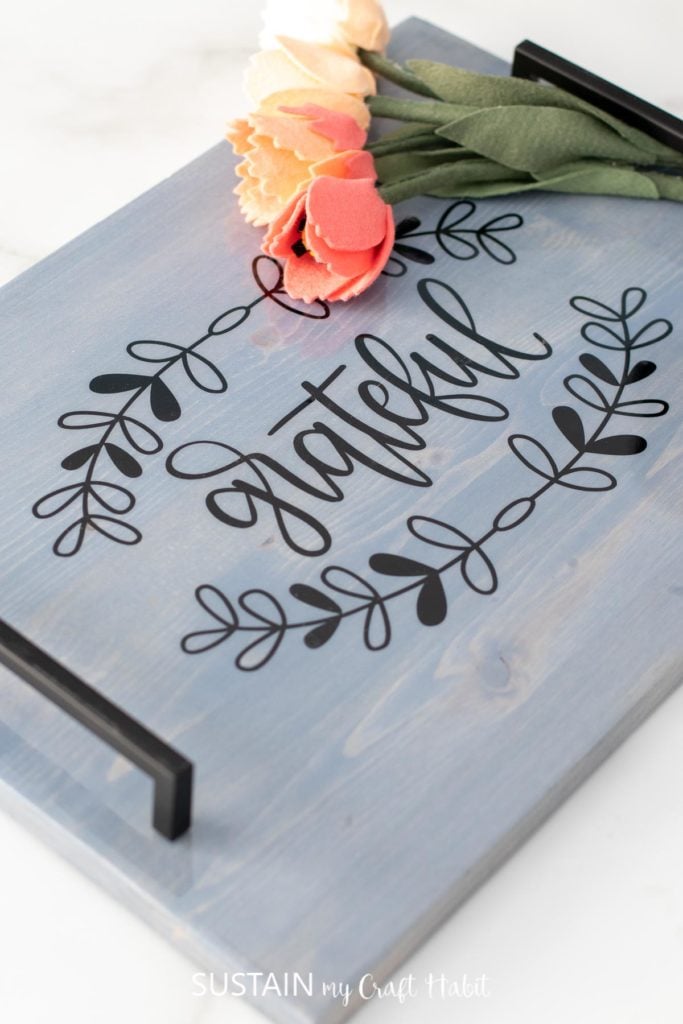
It’s pretty typical of my sister and I to negotiate over which one of us gets to keep the craft projects we make for the blog. So when I found two scrap pieces of pine wood in the garage, I was thrilled that we could make two identical farmhouse-inspired wood serving trays! No need to fight over this one 🙂


We wanted to add a little something extra to our tray so we decided to cut out the word “grateful” using our Cricut Maker in black vinyl. The nice thing about this option is you can customize the tray however you like with a word or a phrase that is special to you or even add your family name or monogram. And if you’re wondering how did we get that shiny surface on the tray? Well that shine comes from pouring a clear resin over top; which not only looks beautiful but makes the surface durable and super easy to clean.
More Beginner Wood Working Projects
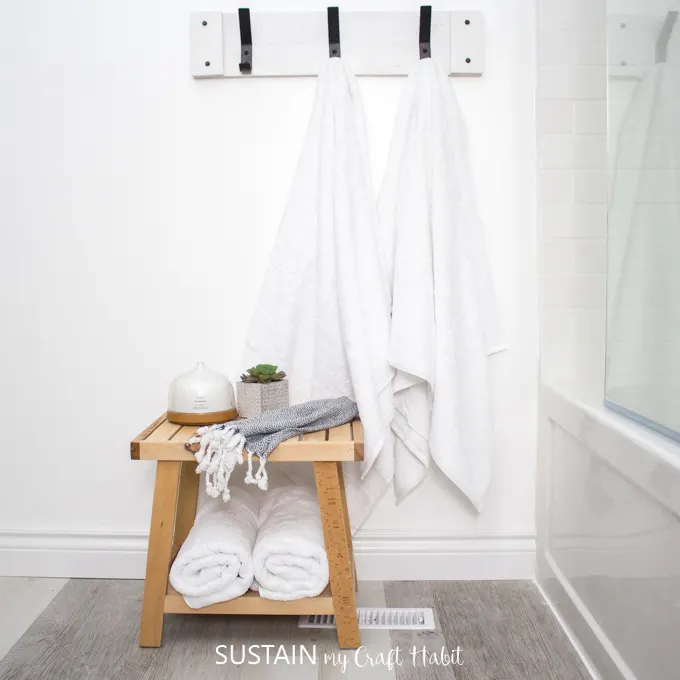
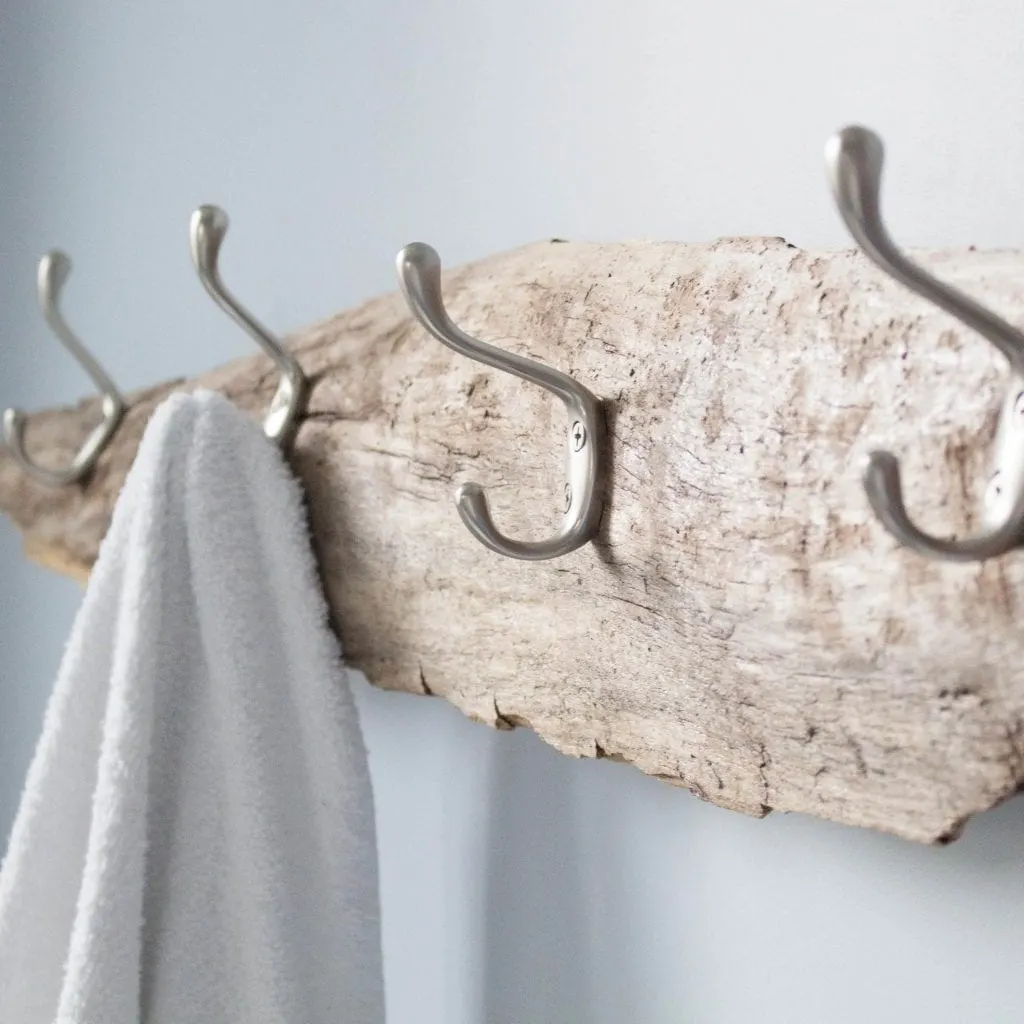
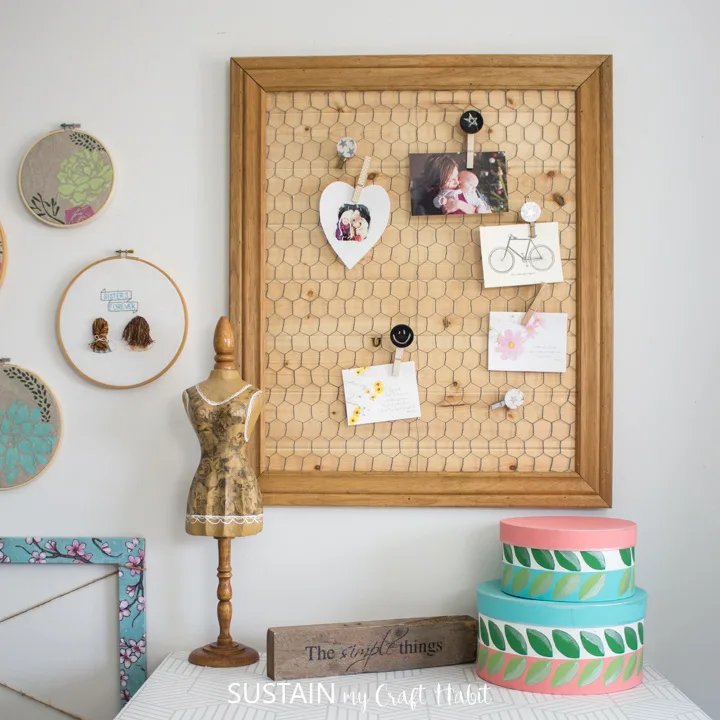
Over the years, we’ve shared a few other wood working projects here on the blog that we’d consider perfect for beginners. Take this towel rack made from scrap pallet wood as an example as well as this silly bathroom sign we made with some scrap wood. We’ve even made a beachy farmhouse sign for the wall and a practical memo board with chicken wire.


Scrap Wood Towel Rack 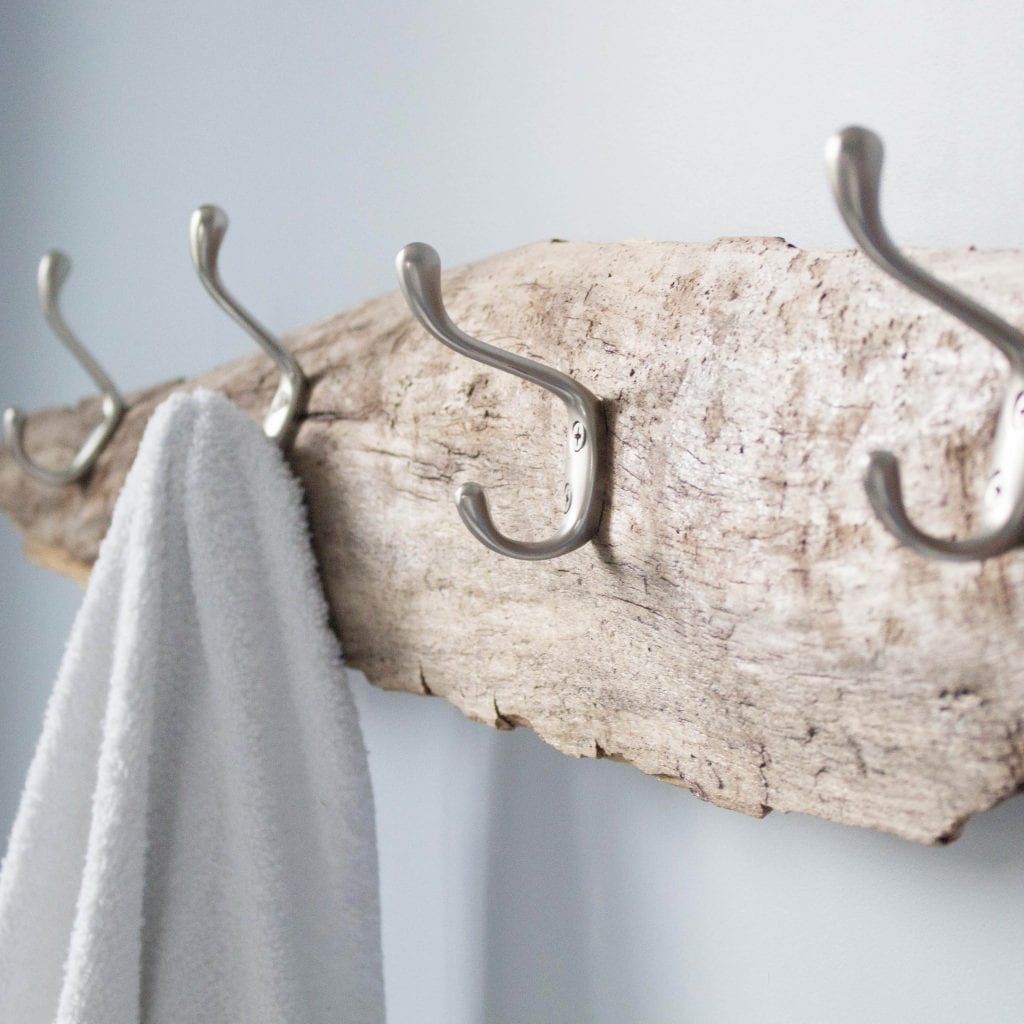

Beachcomber’s Towel Rack 
Silly Bathroom Sign 
Farmhouse Beach-themed Wall Art 

DIY Memo Board


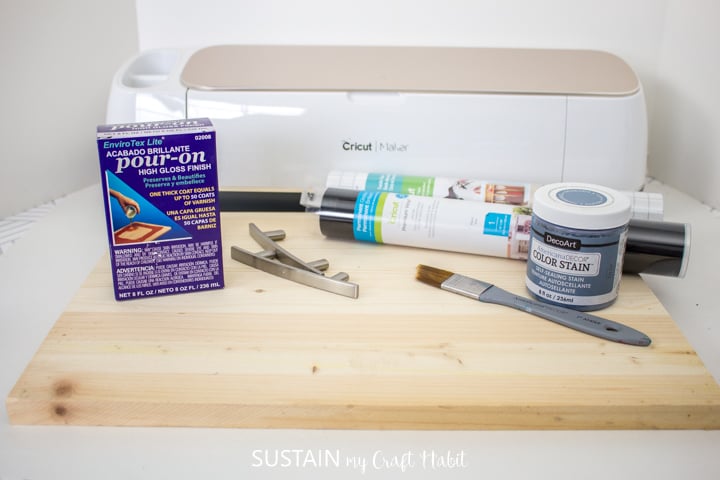
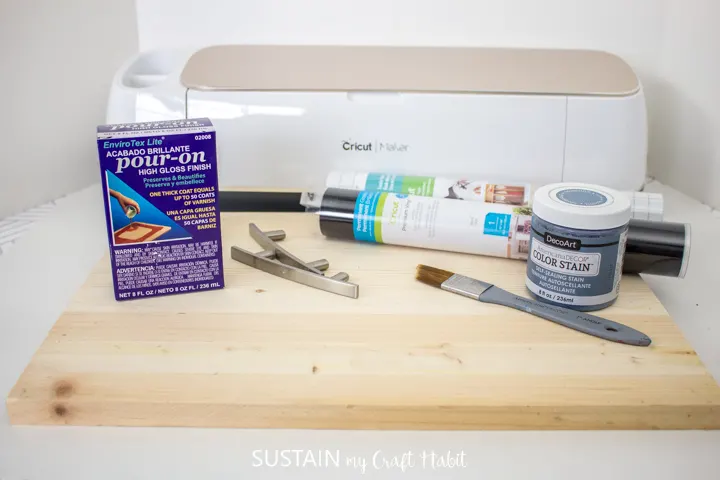
Materials Needed
Disclosure: This post continues affiliate links for your shopping convenience. You can find our full disclosure policy here.
- Piece of pine wood measuring 11” x 17”, sanded
- Americana Decor Stain in Colonial Blue
- Paint brush and clean rag
- Cricut Maker and standard grip mat
- Cricut Permanent Vinyl in black
- Weeder
- Design Space #MB50011C Grateful lettering and Leaf Wreath Design #M81C3CB6
- Cricut Transfer Tape
- Scissors
- EnviroTex Lite Pour On
- Measuring cups, stir sticks
- Hardware
- Drill or Drill Press with drill bit
Watch the YouTube Video!
Check out the video tutorial or read below for the step by step instructions.
Instructions for making a DIY Wood Serving Tray:
Preparing the Wood
Ensure the surface of pine wood is smooth and free of sawdust.
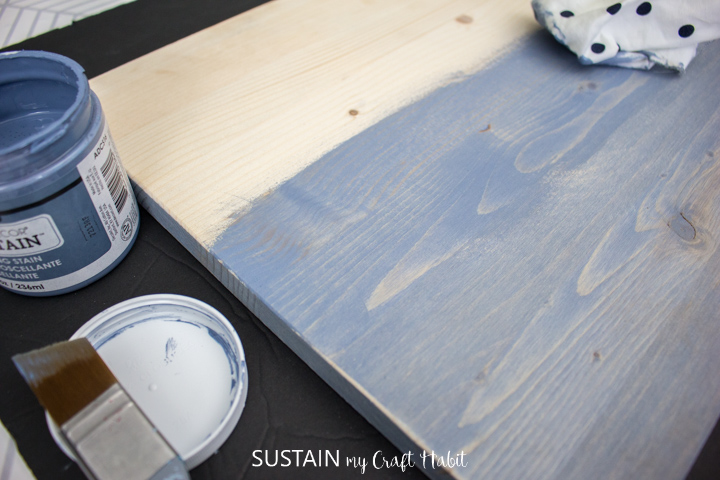
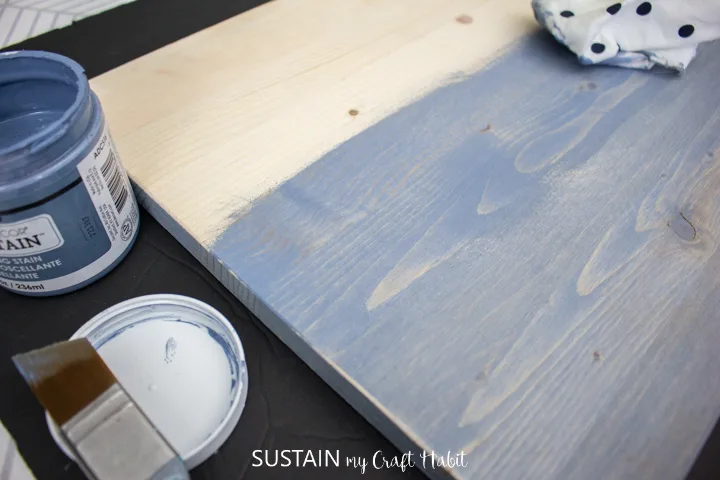
Working small sections at a time, apply one brush stroke of stain along the grain of the wood and with a rag wipe away the excess satin. Continue until the pine wood is fully stained and leave it to dry.
Apply the stain to the sides and reverse side as well.
Once dry, measure and mark the placement of the hardware. Use a drill or drill press to pre-drill the holes for the hardware before moving on to the next step. You can also drill the holes after the resin is poured.
Preparing the Vinyl
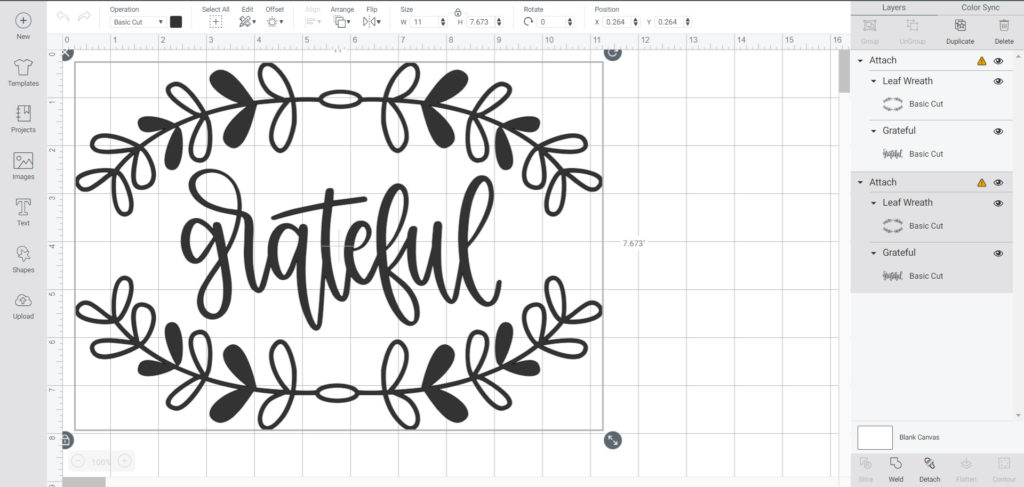
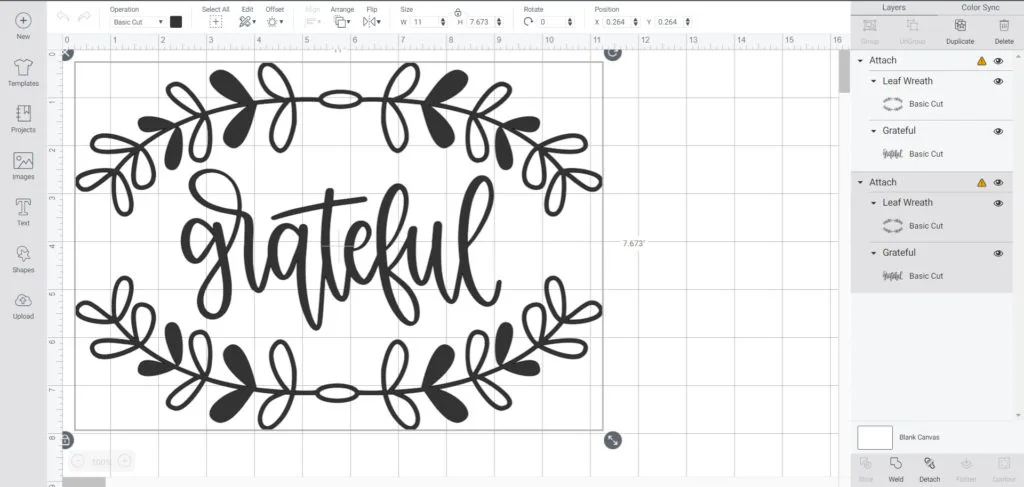
Open Cricut Design Space and click on the “+” sign to start a new project, opening up a blank canvas. Click on the Images button from the toolbar to search the grateful lettering and leaf wreath design (#MB50011C and #M81C3CB6) and insert them on to the canvas.
Place the Grateful lettering between the leaf wreath design and attach together. Adjust the size to fit the tray and adjust the color to black to match the black vinyl material color.
Cutting the Vinyl
Ensure the machine is set to Cricut Maker and select “Make It” in Design Space. Next, set the material type to Permanent Vinyl.
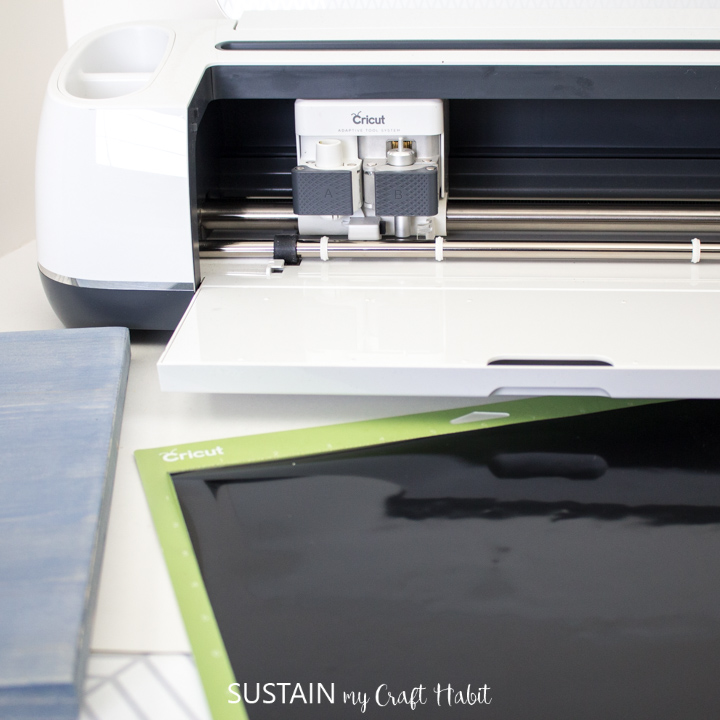
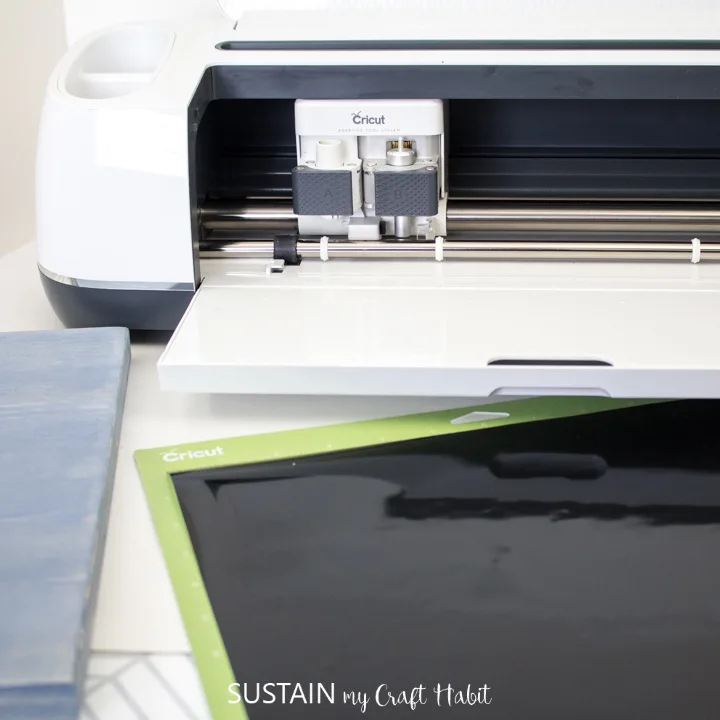
Follow prompts for loading the mat into the Maker and cutting the Permanent Vinyl. When prompted, unload the vinyl from the cutting machine.
Applying the Vinyl to the Wood Pine
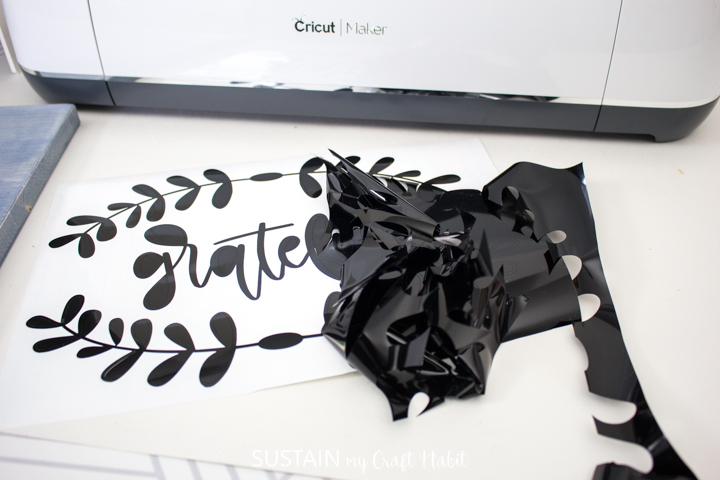
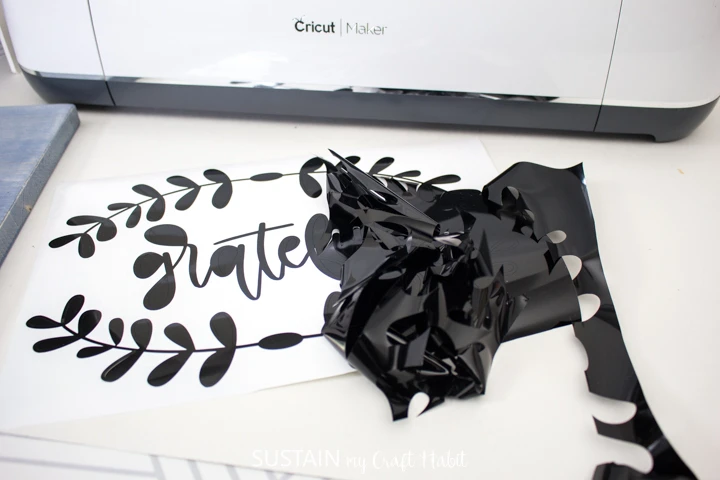
Using the weeding tool, peel away the excess vinyl around the images and discard.
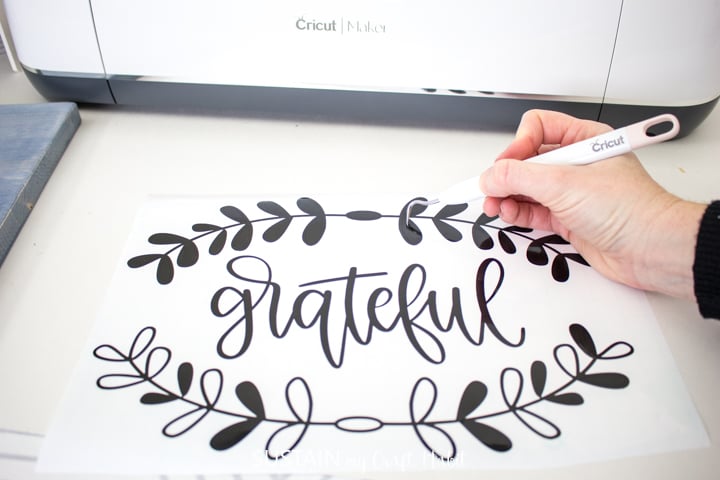

Cut a piece of transfer tape a bit larger than the image.
Peel away the transfer tape backing and place the transfer tape overtop of the cut image. Gently rub the vinyl to help it stick to the transfer tape.


Peel away the vinyl backing and place the image on to the stained pine.
Gently rub the vinyl to help it stick to the wood. You can use a Cricut scraper tool or your finger nails for this.

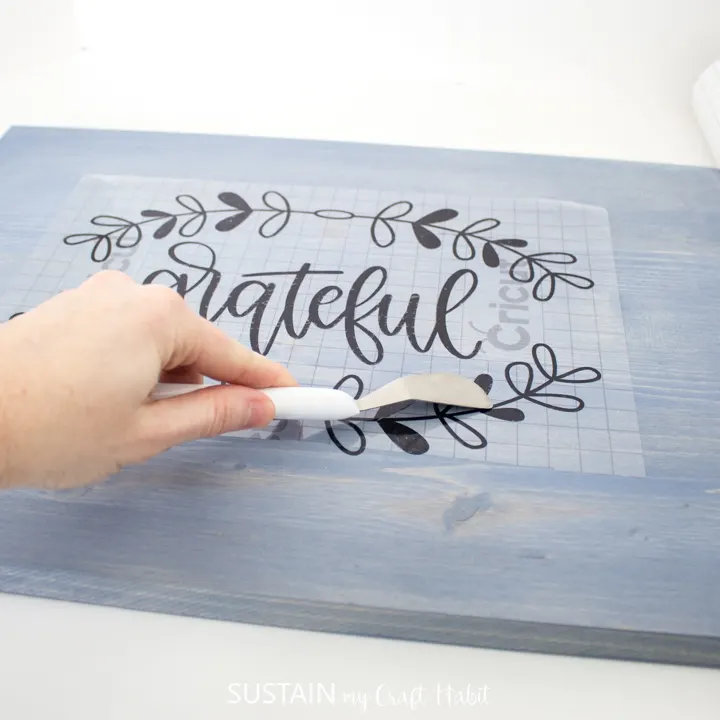
Carefully and slowly peel away the transfer tape.


Applying resin to the Tray
For best results be sure to read the instructions provided in the EnviroTex Lite Pour On packaging. Ensure your resin and hardener are at room temperature or warmer before mixing.

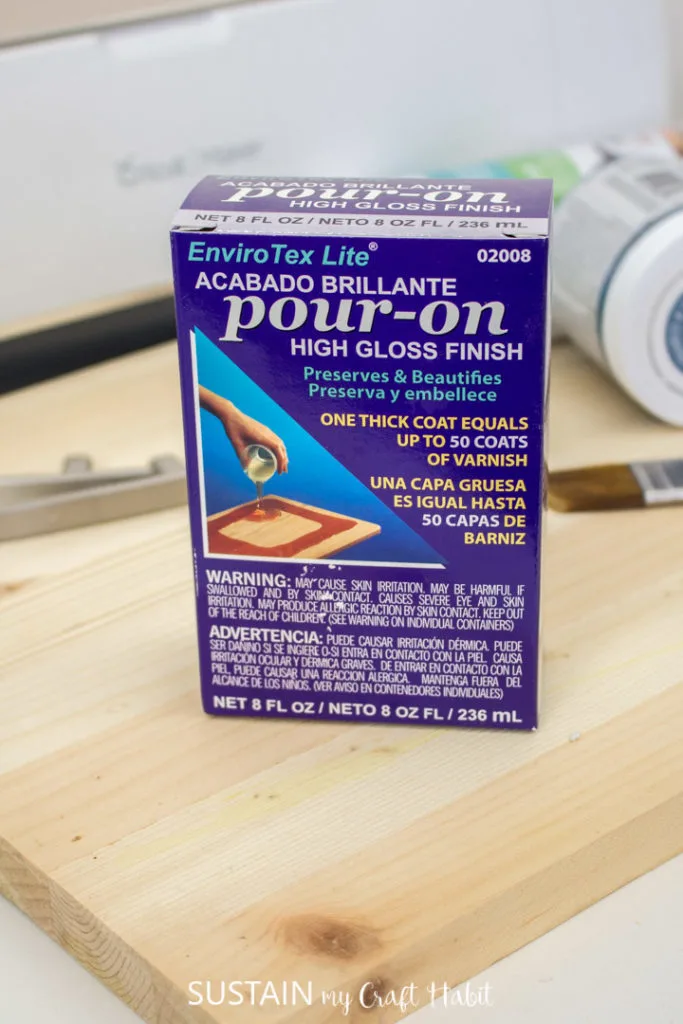
Place the wood tray on a raised surface to allow the resin to pour off the sides. Make sure the surface underneath is protected.
Mix exactly equal amounts of Resin and Hardener into one measuring cup. The size of your piece will determine how much resin you need. In my case, I filled the cup up as much as possible as my tray is fairly large. Stir continuously for 2 minutes, scraping the sides of the container.
Pour the mixture into a second cup and stir for an additional minute, scraping the sides of the container and stir stick.
Using the stir stick, dip your stick into the EnviroTex mixture and then begin pouring the resin over top of your piece. Pour evenly from one side to the next.
Use a clean brush to help smooth the resin and ensure the surface is covered. The resin will settle and level itself out.
Cover to keep dust from settling in. Ensure your tray is placed on a level surface.
After about 15 minutes, remove any bubbles that have risen to the surface by gently blowing over the piece through a straw. Repeat if necessary after another 15 minutes and up to about an hour to ensure no bubbles have formed. Use a clean straw each time to avoid moisture from your breath collecting inside the straw and transferring onto the piece.
Cover and allow to cure 48 hours.


Finishing
Once cured, insert the hardware through the predrilled holes. If some resin filled the whole, use a drill to remove the excess so that the hardware will fit inside.


Like it? Pin it for later!
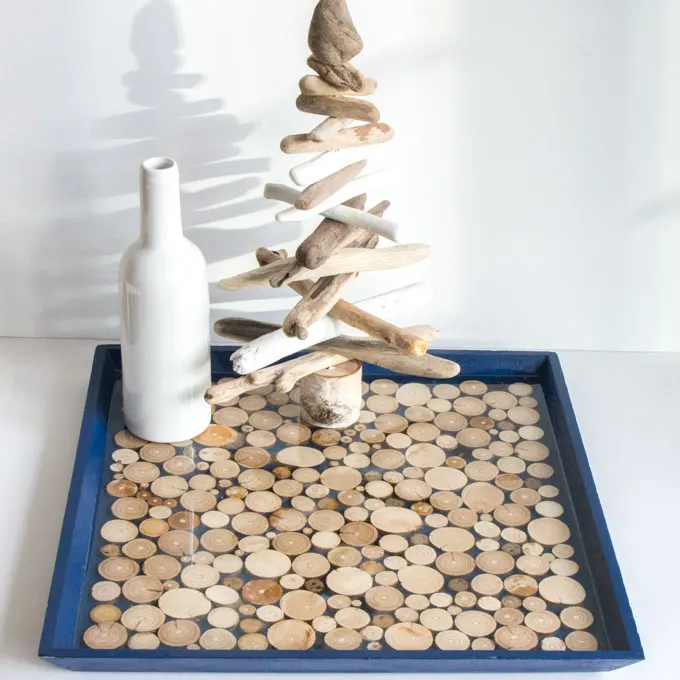
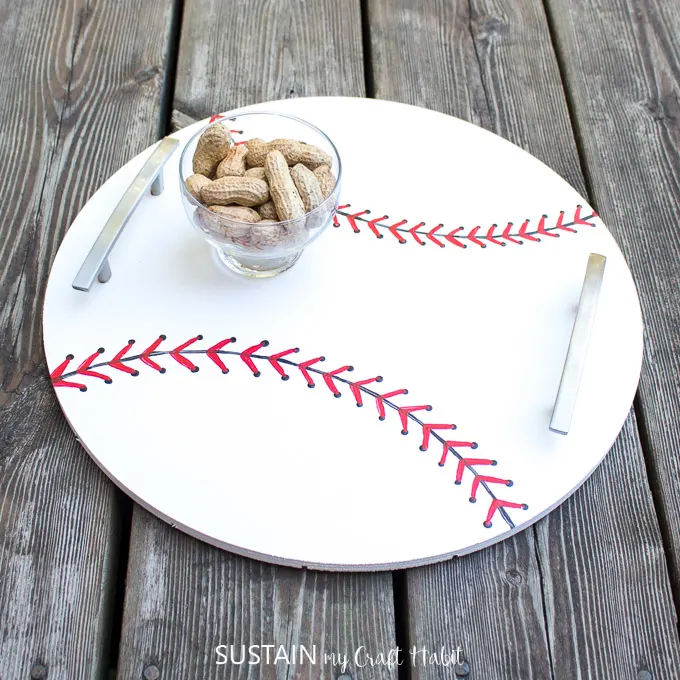
If you’re looking for more DIY serving trays check out this resin tray with driftwood, this mosaic tile serving tray, or this baseball serving tray.
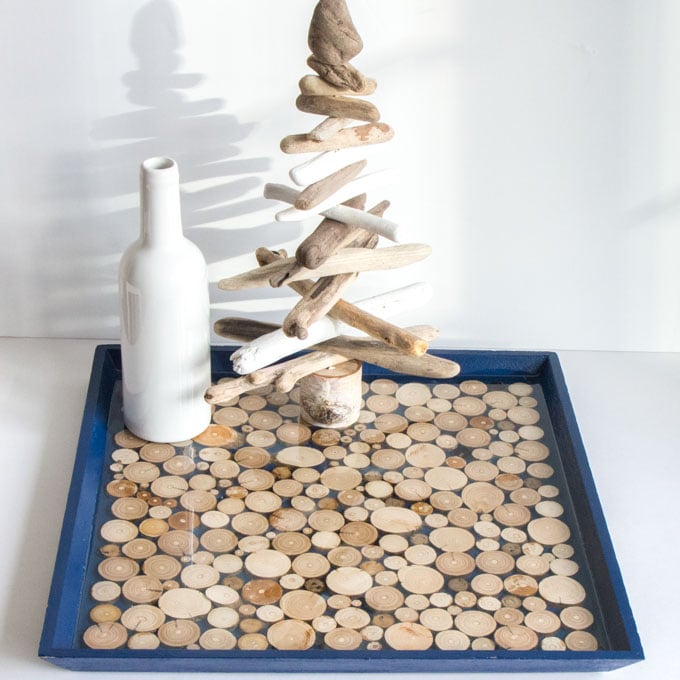
Resin Tray With Driftwood 

Mosaic Tile Serving Tray 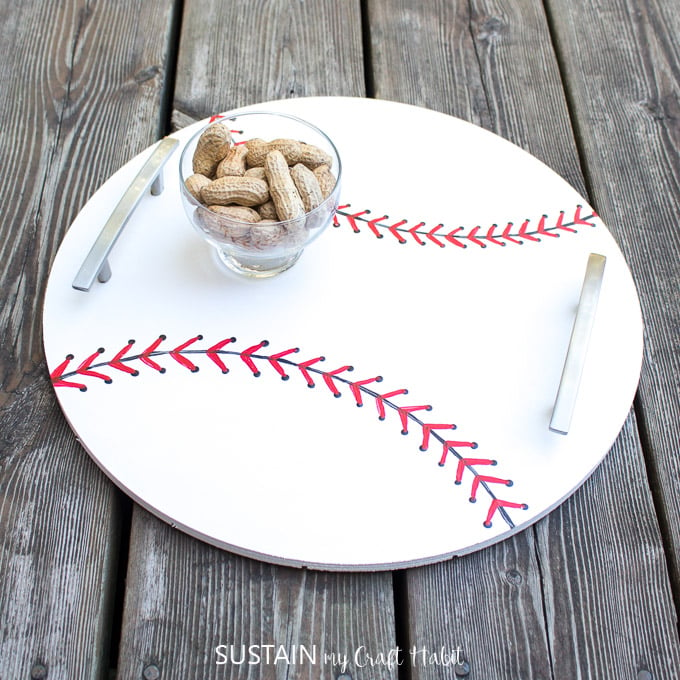
Baseball Serving Tray

Farmhouse Inspired DIY Wood Serving Tray
Materials
- sanded Piece of pine wood measuring 11” x 17”
- Americana Decor Stain in Colonial Blue
- Paint brush and clean rag
- Cricut Maker
- Cricut Permanent Vinyl in black
- Weeder
- Design Space #MB50011C Grateful lettering and Leaf Wreath Design #M81C3CB6
- Cricut Transfer Tape
- Scissors
- EnviroTex Lite Pour On
- Measuring cups stir sticks
- Hardware
- Drill or Drill Press with drill bit
Instructions
Preparing the Wood
- Ensure the surface of pine wood is smooth and free of sawdust.
- Working small sections at a time, apply one brush stroke of stain along the grain of the wood and with a rag wipe away the excess satin. Continue until the pine wood is fully stained and leave it to dry.
- Once dry, measure and mark the placement of the hardware. Use a drill or drill press to pre-drill the holes for the hardware before moving on to the next step. You can also drill the holes after the resin is poured.
Preparing the Vinyl
- Open Cricut Design Space and click on the “+” sign to start a new project, opening up a blank canvas.
- Click on the Images button from the toolbar to search the grateful lettering and leaf wreath design (#MB50011C and #M81C3CB6) and insert them on to the canvas.
- Place the Grateful lettering between the leaf wreath design and attach together. Adjust the size to fit the tray.
- Adjust the color to black to match the black vinyl material color.
Cutting the Vinyl
- Ensure the machine is set to Cricut Maker and select “Make It” in Design Space.
- Follow prompts for loading the mat into the Maker and cutting the Permanent Vinyl. When prompted, unload the vinyl from the cutting machine.
Applying the Vinyl to the Wood Pine
- Using the weeding tool, peel away the excess vinyl around the images and discard.
- Cut a piece of transfer tape a bit larger than the image.
- Peel away the transfer tape backing and place the transfer tape overtop of the cut image.
- Peel away the vinyl backing and place the image on to the stained pine.
- Carefully and slowly peel away the transfer tape.
Applying resin to the Tray
- For best results be sure to read the instructions provided in the EnviroTex Lite Pour On packaging.
- Place the wood tray on a raised surface to allow the resin to pour off the sides. Make sure the surface underneath is protected.
- Mix exactly equal amounts of Resin and Hardener into one measuring cup. Stir continuously for 2 minutes, scraping the sides of the container.
- Pour the mixture into a second cup and stir for an additional minute, scraping the sides of the container and stir stick.
- Using the stir stick, dip your stick into the EnviroTex mixture and then begin pouring the resin over top of your piece. Pour evenly from one side to the next.
- Use a clean brush to help smooth the resin and ensure the surface is covered. The resin will settle and level itself out.
- Cover to keep dust from settling in. Ensure your tray is placed on a level surface.
- After about 15 minutes, remove any bubbles that have risen to the surface by gently blowing over the piece through a straw.
- Cover and allow to cure 48 hours.
Finishing
- Once cured, insert the hardware through the predrilled holes.