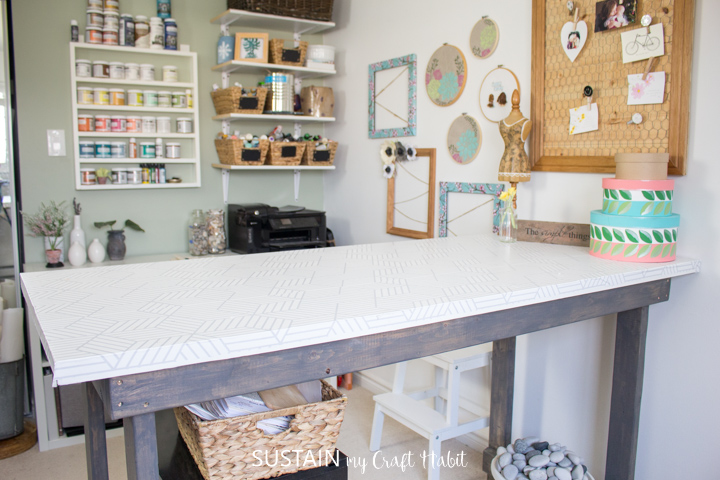
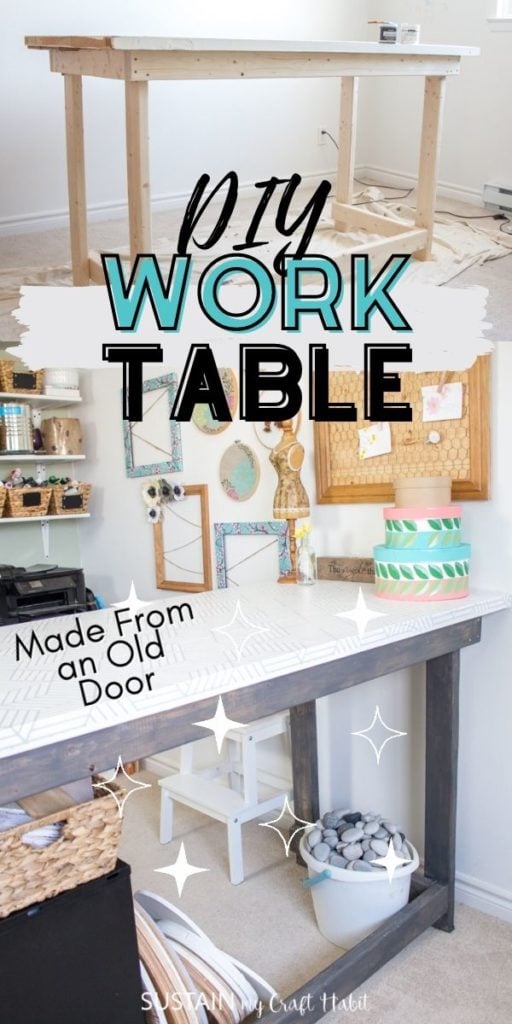
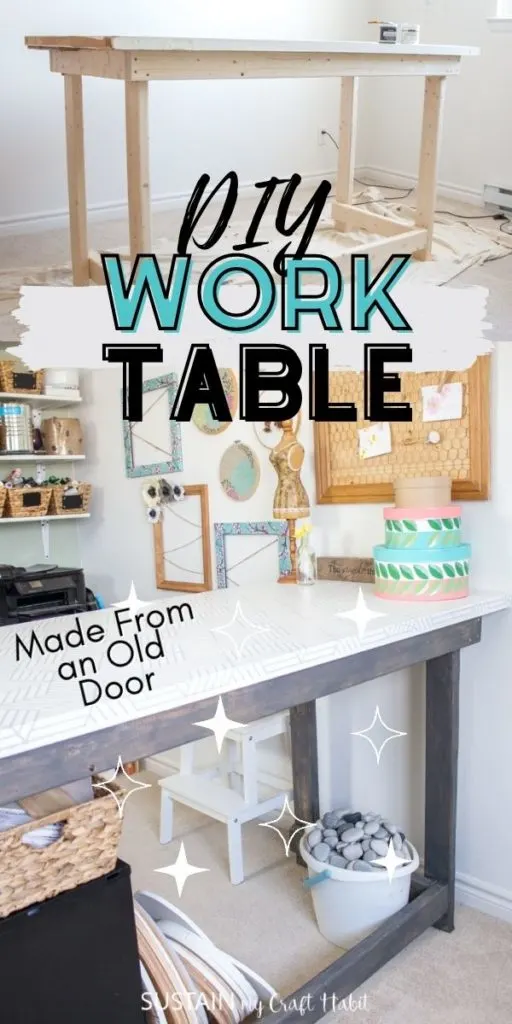
After years of crafting on my kitchen table and cutting fabric out on my floor, I was more than delighted to finally have a dedicated table for my crafts. This DIY work table was made on a budget using an old interior door for the tabletop and some simple 2×4 lumber.

Crafting Made Easy with a DIY Work Table
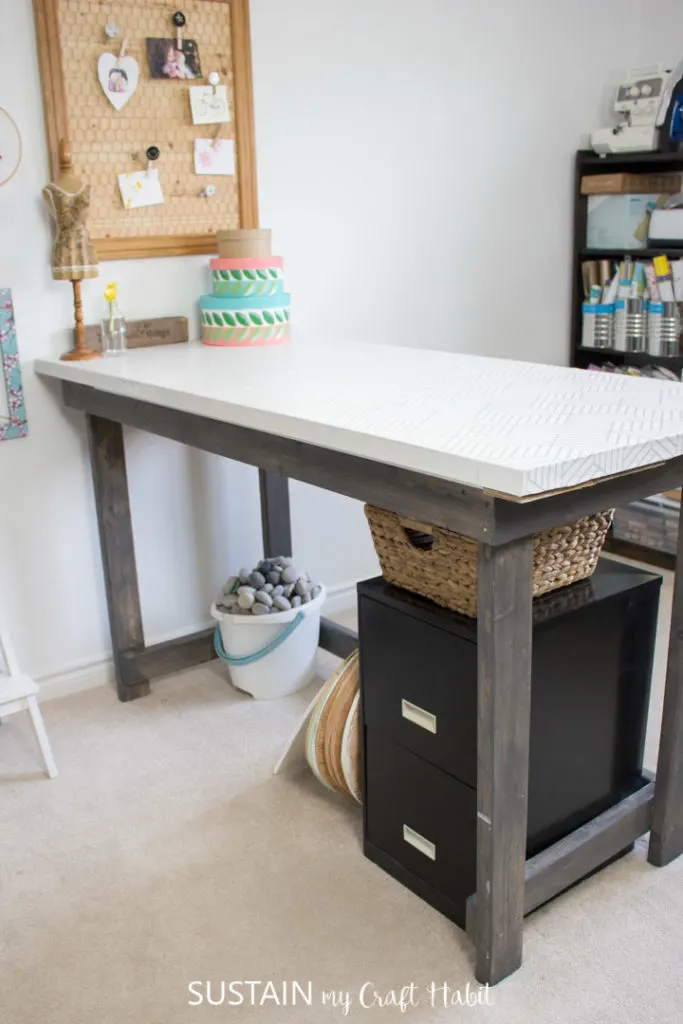
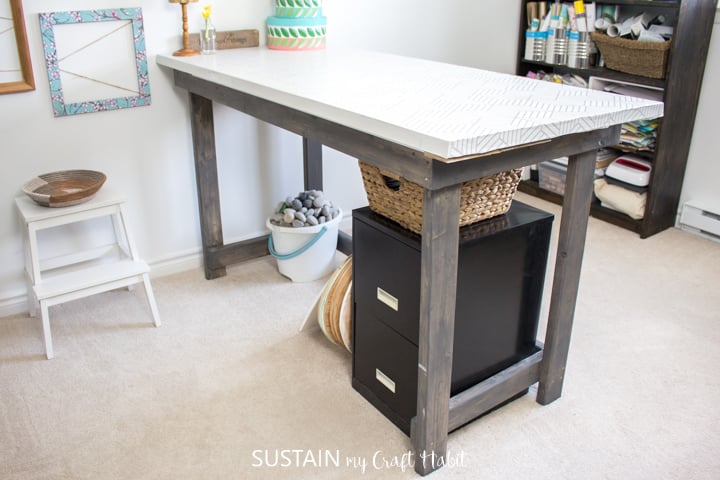
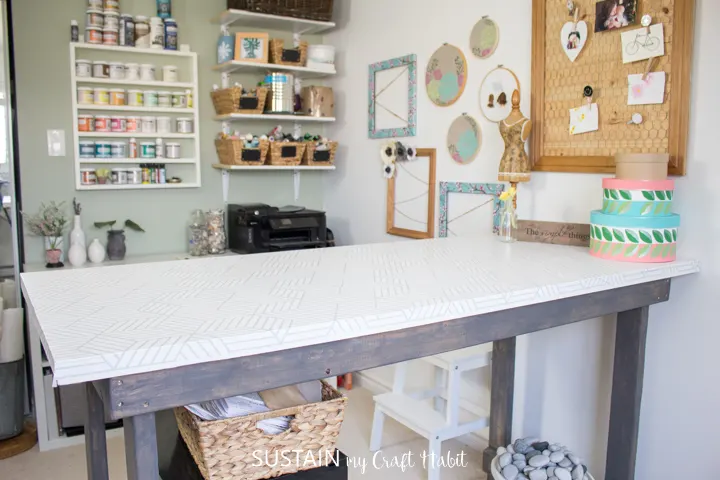
I am lucky to have a dedicated space for my craft, one that I can close the door to and leave the mess behind if I want. But one of the absolute best things I did for my space is make this DIY work table. I use the table every day for just about everything and couldn’t imagine my craft room without it.
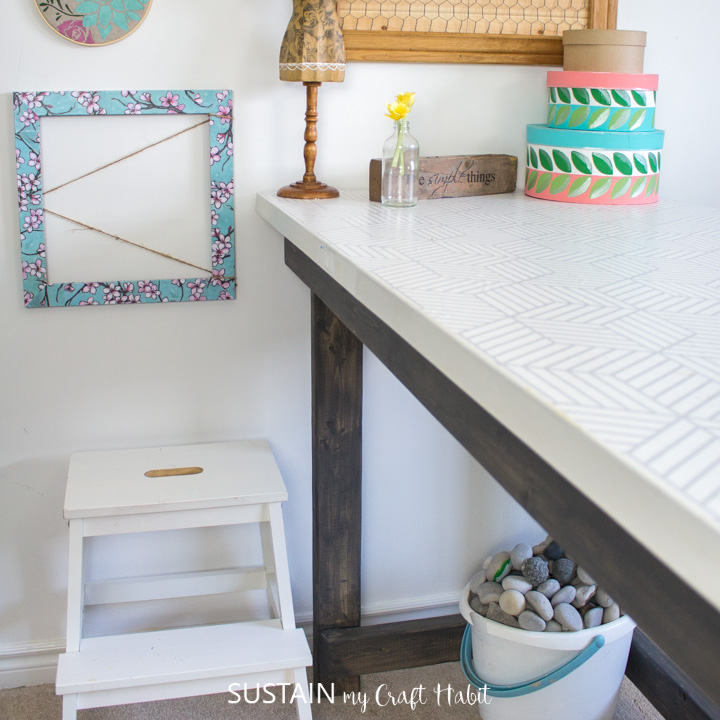

We built the table using an old interior door for the tabletop after replacing many of the doors in my 1960s built home. It was not only cost effective but a great way to reuse and upcycle materials that otherwise would go to the landfill. And additionally, we customized the height of the table to sit at my high hips so that it was a comfortable height for working.


Materials Needed:
Disclosure: This post continues affiliate links for your shopping convenience. You can find our full disclosure policy here.
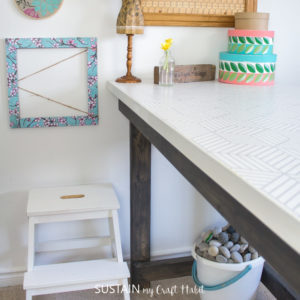
The finished table measures 38″ high x 30″ wide x 66″ long.
- 2×4 wood lumber – x4 legs = 36.5″ long; x2 tabletop support pieces = 60″ long and x2 = 23″ long; x2 lower support pieces = 22″ long and x1 = 54″ long.
- 3/4″ plywood – x4 pieces cut to 5″ wide x 5″ high
- Flat interior door for repurposing (mine measured 30″ wide x 66″ high)
- Mitre Saw
- Foam
- Drywall mud
- Spatula
- Sand paper and hand sander
- Wood glue
- Screws, drill
- Satin Paint
- Wood Stain
- Paintbrushes
- Rag
How to Make a DIY Work Table:
Prepare the Wood
As mentioned above the finished work table measures 38″ high x 30″ wide x 66″ long”, which is based on the size of the door. To make one in the same size, cut pieces of 2×4 lumber to measure these dimensions:
- x4 legs at 36.5″ long
- x2 tabletop supports at 60″ long and x2 at 23″ long
- x2 lower support pieces at 22″ long and x1 at 54″ long (we left one side open to access for storage and tucking in a stool)
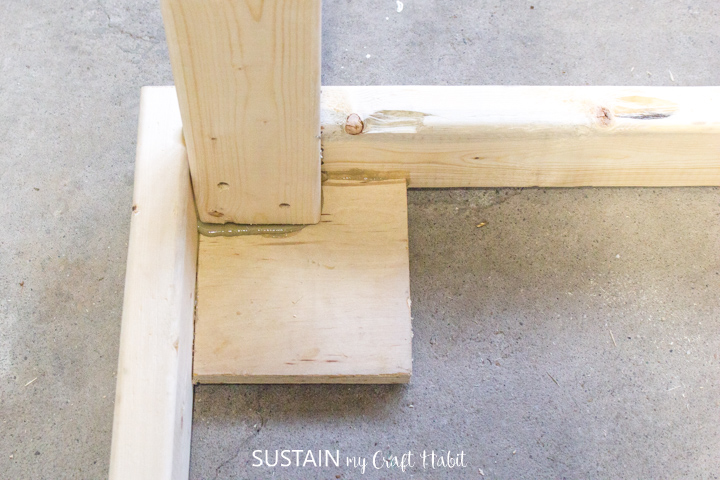
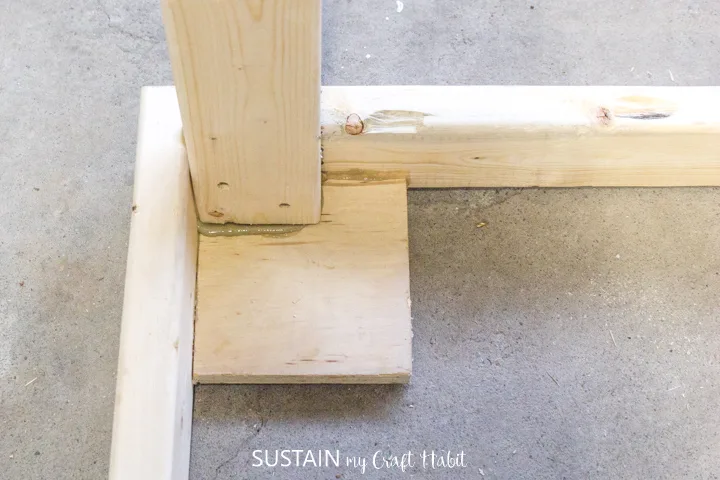
Also, cut 4 square pieces of plywood to measure 5″ for each of the four corners of the table.

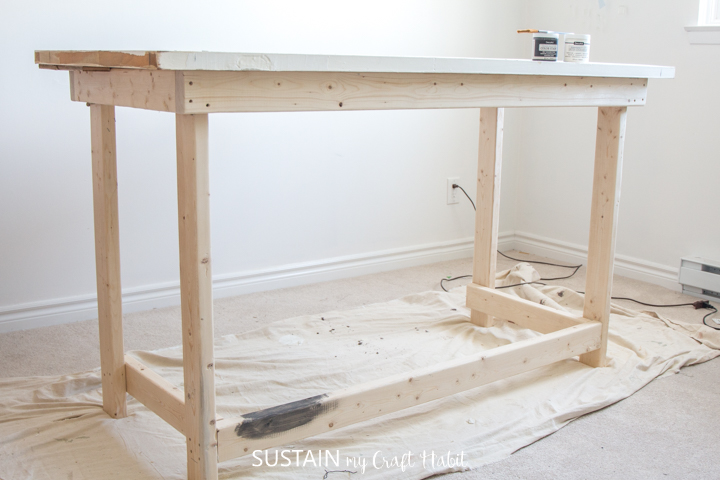
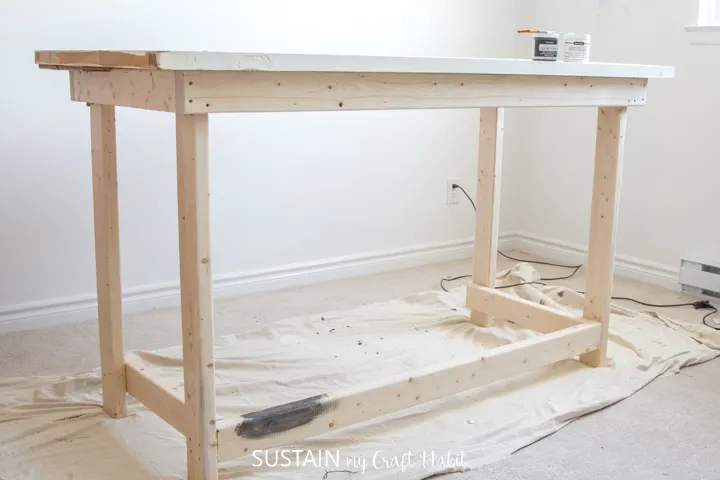
Assemble the Base
Assemble the pieces to form base starting with the tabletop support pieces. Join them to form a large rectangle, connecting the corners with screws. Place a piece of plywood square in each of the corners and position the top of the table leg snug in the corner. Glue and screw the pieces together to secure.
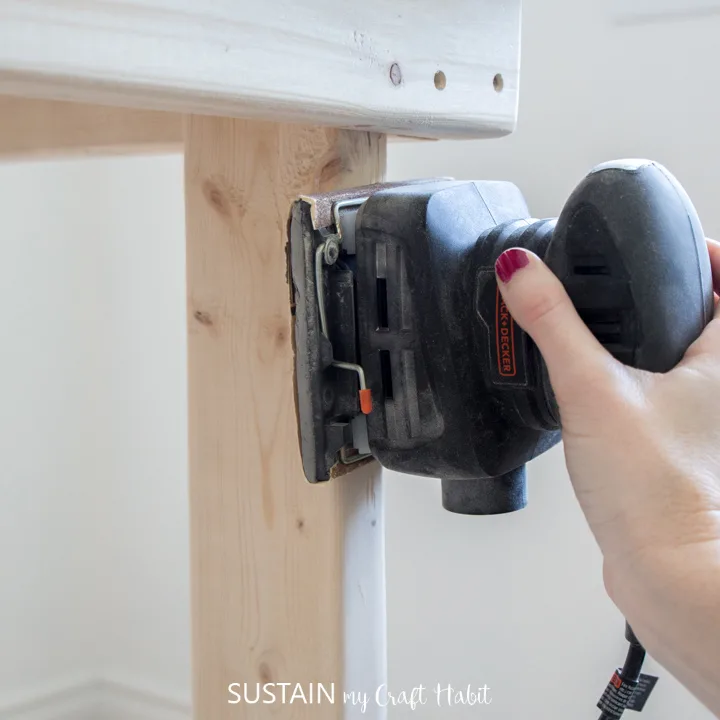
Once the tabletop support is assembled, move on to the lower supports. Measure and mark placement for the remaining 2×4 pieces (about 4″ above the bottom of the legs). Secure to the legs with screws.
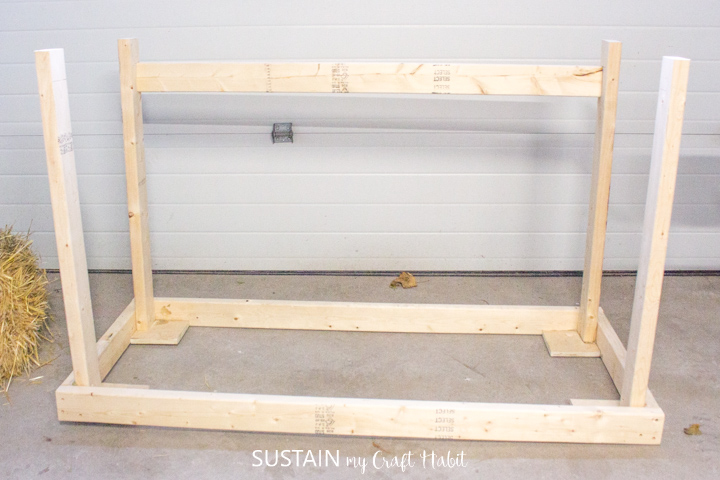
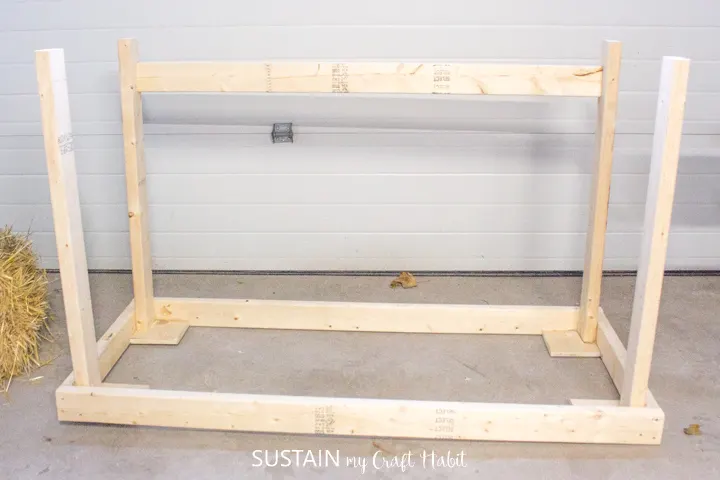
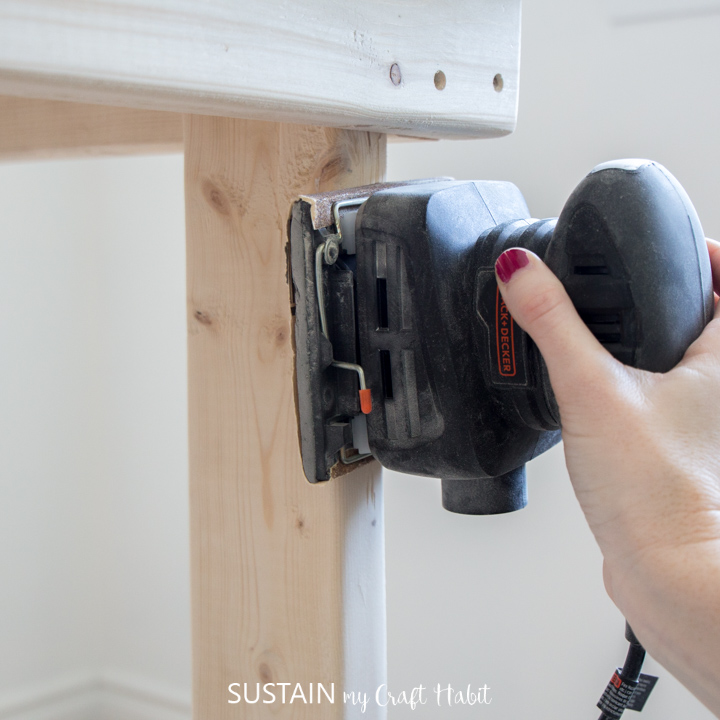
Turn table right side up and use a sander to sand off any rough edges on the wood.
Prepare the door to make Tabletop
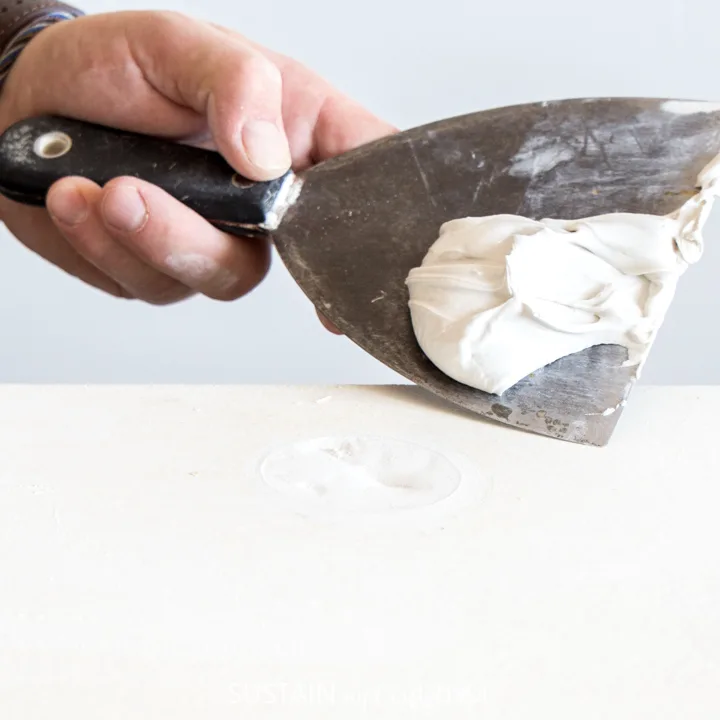
Remove old hinges and knobs. Fill in hole with foam and let dry. Scrape and sand any rough edges.
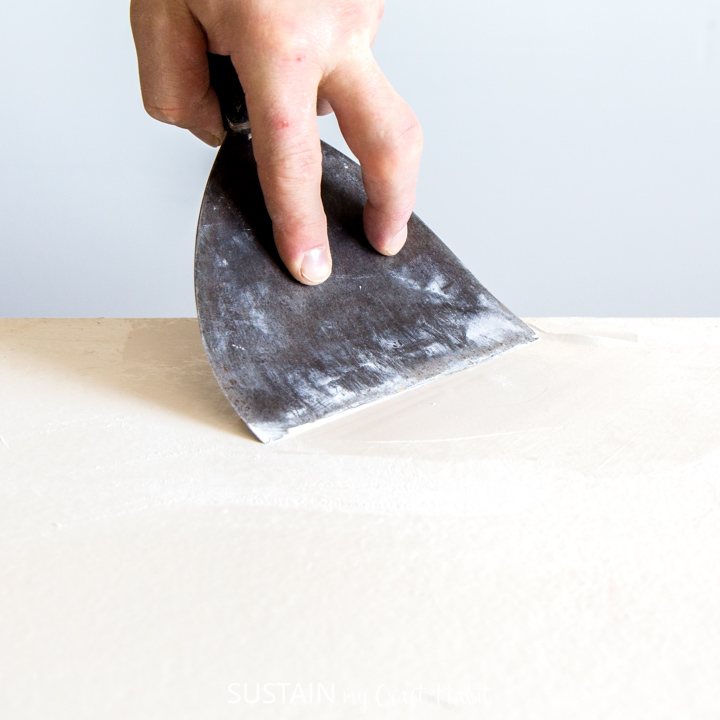
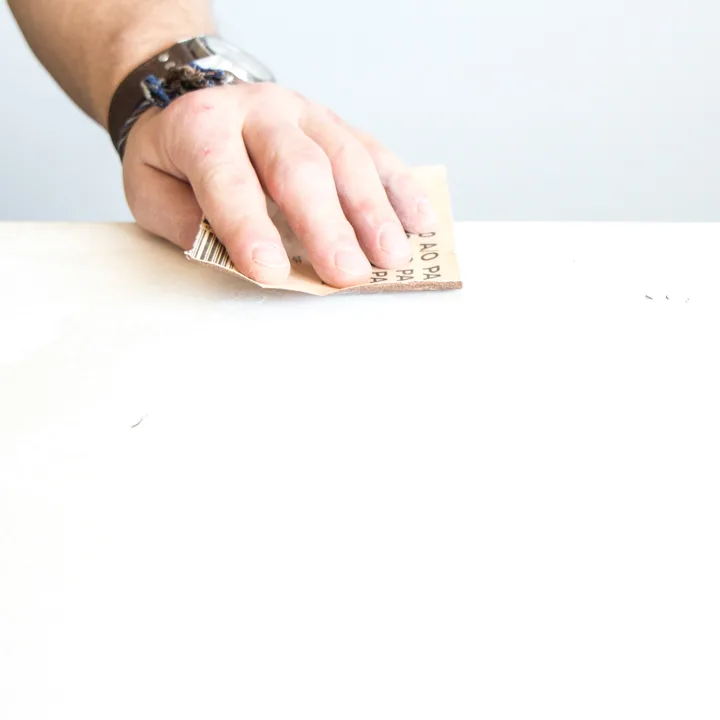
Use drywall mud to fill in any gaps or holes in the door. Let it dry and then use a sander or hand sand paper to smooth the edges.


Finishing the Work Table
Place the door on top of the base centering it over the frame. Screw the tabletop together through the plywood at each of the corners to hold.
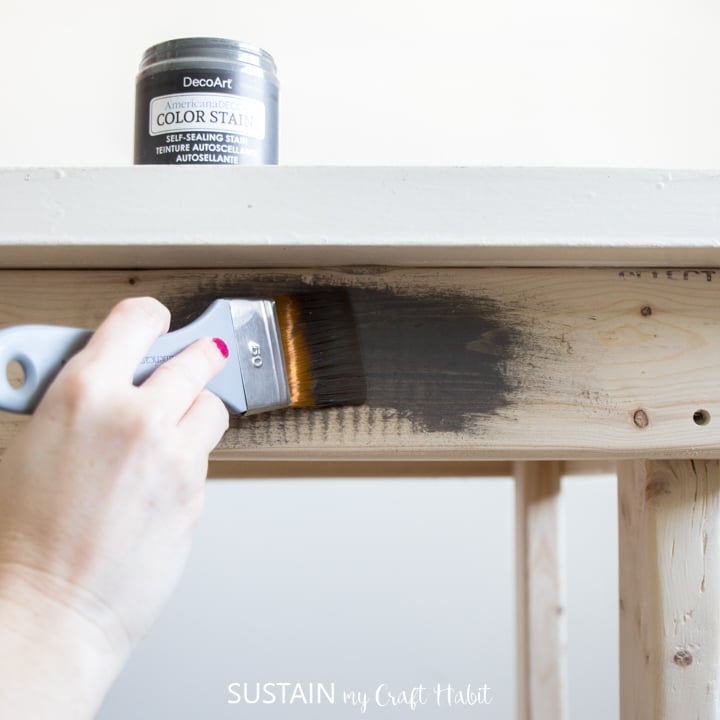
Clean off all the dust before painting the surface of the table or staining the 2×4 base. We used a durable satin enamel paint for the surface of the table.
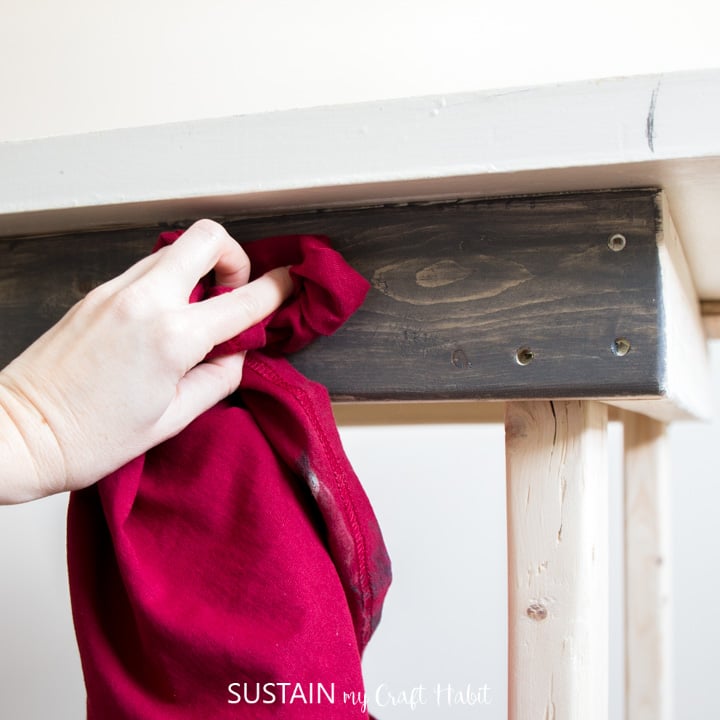
And we used a dark grey stain for the base. Working small sections at a time, we brushed on the stain and used a rag to wipe away the excess.


I left the paint and stain to dry for at least 24 hours before using it in my craft room. Now that I’ve been using it for a number of years, I can’t imagine how I ever did without this very useful and practical work table!


More of Our Favorite Craft Room DIY Projects
Looking for more ideas for your craft room or office? Check out this DIY memo board, upcycled tin can craft storage, a DIY magnetic board or these 10+ Cricut crafts to improve your home office.
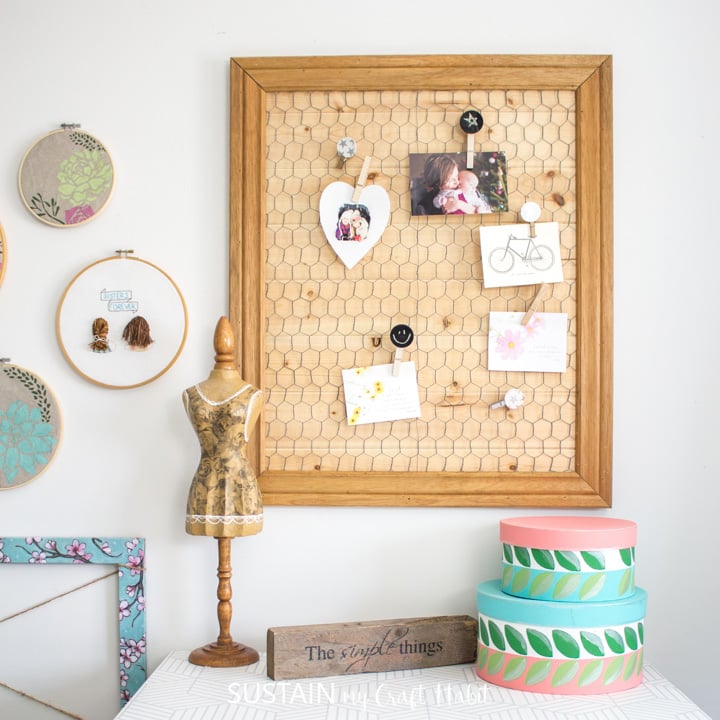

DIY Memo Board 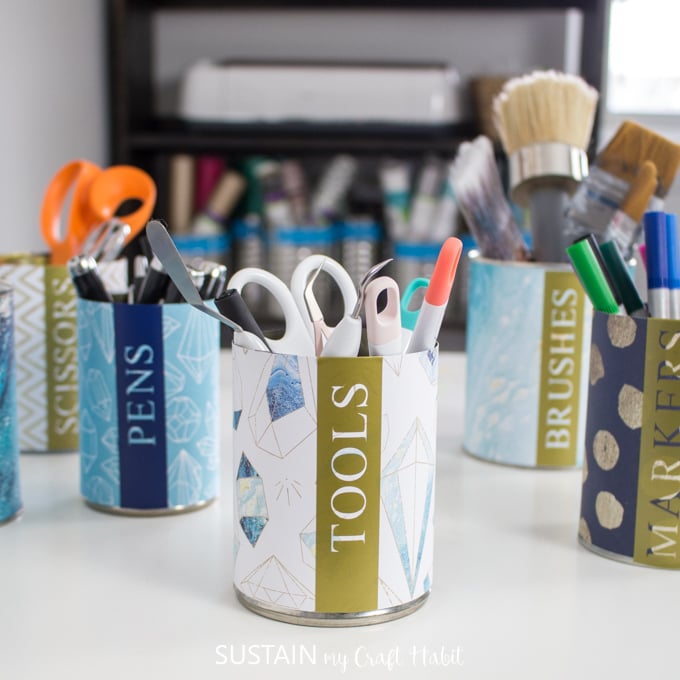

Tin Can Craft Storage 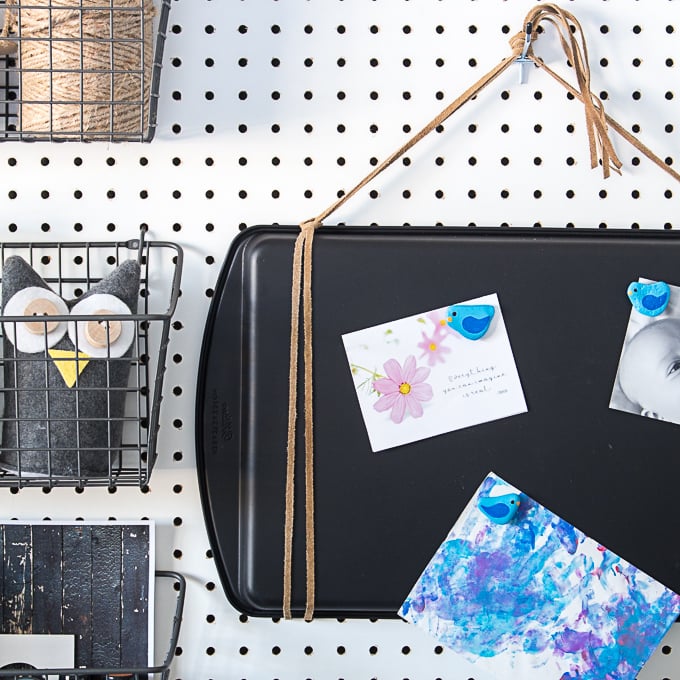
Magnetic Board Upcycle 

10+ Cricut Crafts


Like it? Pin it for later!

DIY Work Table from a Repurposed Door
Materials
- 2×4 Lumber
- Mitre Saw
- Flat interior door for repurposing
- Foam
- Drywall mud
- Spatula
- Sand paper and hand sander
- Screws drill
- Satin Paint
- Wood Stain
- Paintbrushes
- Rag
Instructions
Prepare the Base
- Cut pieces of 2×4 as indicated in the tutorial.
- Assemble the pieces to form base, we left one side open to access for storage and tucking in a stool.
- Use a sander to sand off any rough edges on the 2×4.
Prepare the door
- Remove old hinges and knobs. Fill in hole with foam and let dry. Scrape and sand any rough edges.
- Use drywall mud to fill in any gaps or holes in the door. Let it dry and then use a sander or hand sand paper to smooth the edges.
Assembling
- Place the door on top of the base and screw together to hold.
- Clean off all the dust before painting.
- Use a durable satin enamel paint for the surface of the table.
- We used a stain for the base of the table. Working small sections at a time, we brushed on the stain and used a rag to wipe away the excess.
Dena Engelland
Friday 30th of June 2023
Is the door unfinished? Most old doors have stain on them and would need sanding. Terrific DIY!