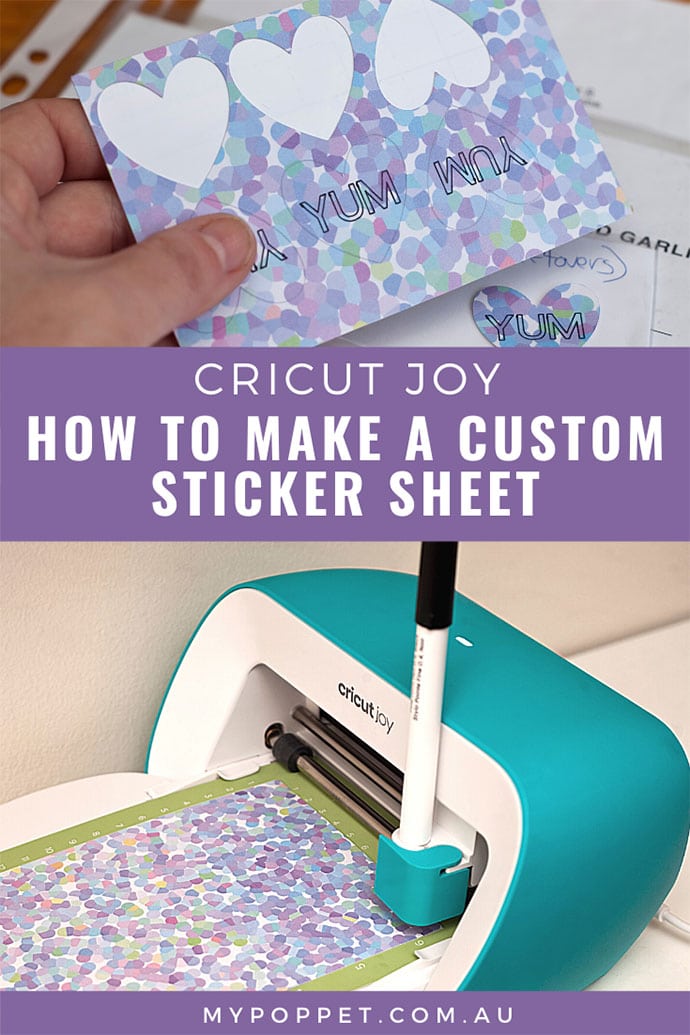
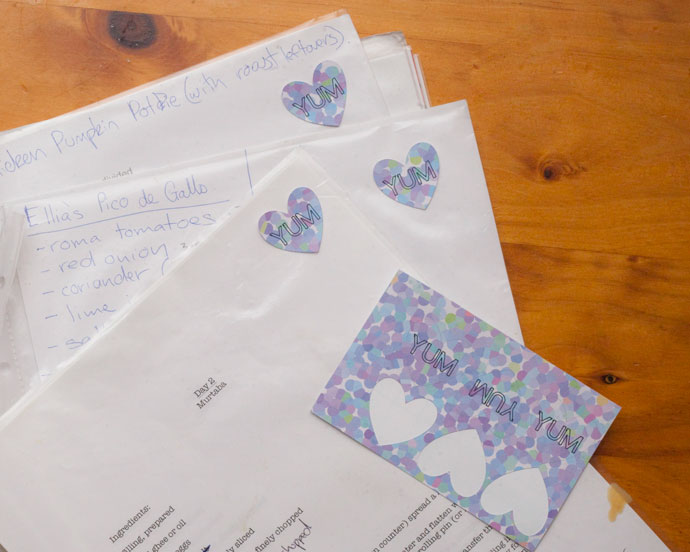
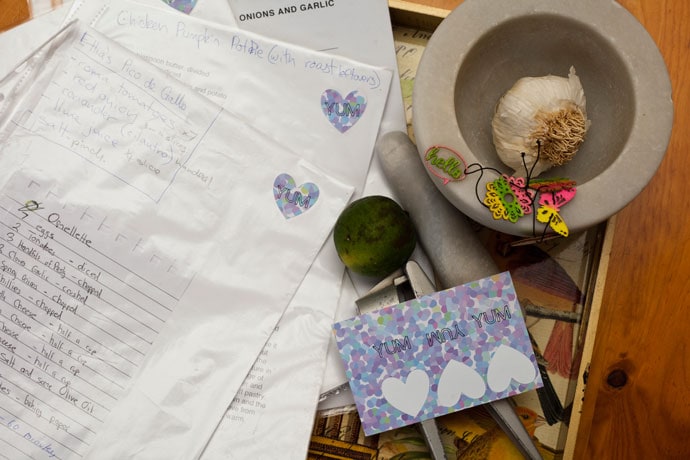
Make your own custom stickers quickly and easily with the Cricut Joy Draw & Cut function. These little YUM heart stickers are great for marking your family’s favourite recipes to help with meal planning. Keep the sticker sheet with your recipe books to quickly mark any meals you want to make again.
This post contains affiliate links
Earlier in the year Cintia introduced me to the Cricut range of cutting machines. She had me at “it cuts paper for you”.
I adore paper arts, and know what it’s like to spend an entire day cutting fine detail, and winding up with aching hands. The very idea of there being a domestically available cutting robot that could take care of this end of business and do it faster and more accurately, well yes, I just knew Cricut was perfect for my work.
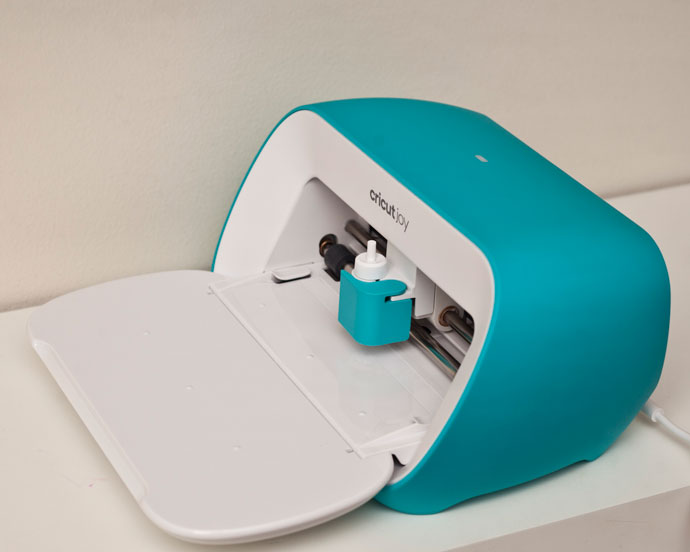
Quite recently I became the proud owner of a Cricut Joy, another advanced cutting and drawing tool. The Cricut Joy is the smaller sibling of the Cricut Maker machine. The Cricut Joy cuts and draws, and is designed for people who want to make a few small things, now and then, perhaps making labels, and celebratory cards.
I’m so excited about my Cricut Joy. There are so many project ideas I want to create with this tool. But before flying to the moon I must learn now to fly, or in my case, walk.
So I’m starting out with a simple project with the Cricut Joy – making sticker labels.
I imagine my entire home will be thoroughly labelled before the year is out.
The other day my recipe book fell apart. After years of adding pages of recipes the assignment folder just couldn’t take it any longer.
The timing couldn’t be better because I really do need to reorganize the recipes. The recipes were added to the folder stacked on over time with no consequence to meal types or even any labeling.
As a result I spend a lot of time flipping backwards and forwards through the folder when planning weekly dinner plans.
So my plan is this:
- Buy a new sturdy folder (done);
- Transfer the recipes into the new folder
- Separate the recipes into relatable categories
- Use the Cricut Joy to cut out foodie images to decorate the new recipe folder and create custom labels
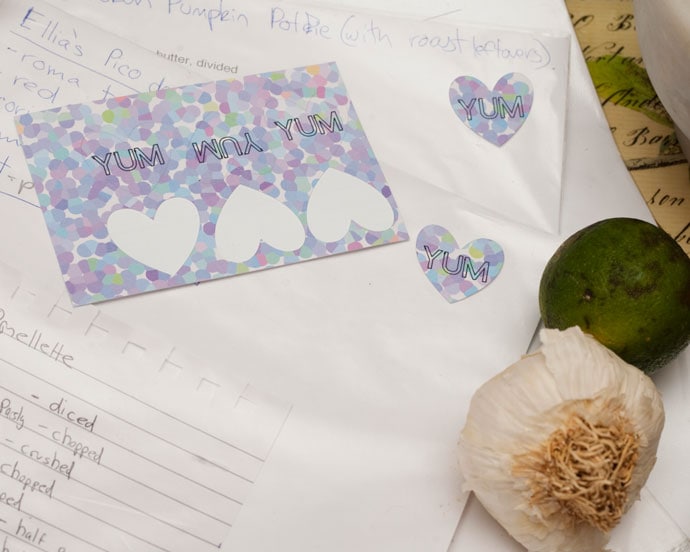
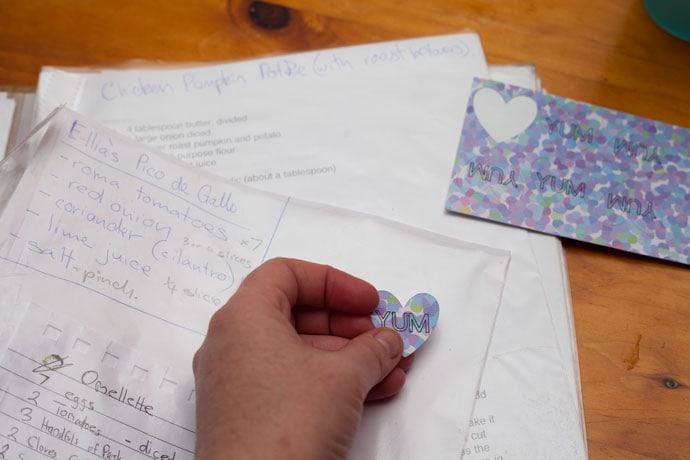
Additionally I am including special little Yum Love sticker labels to mark recipes that are family favorites to help with meal planning
Let me show you how to create a sticker sheet and then draw & cut the Yum Love sticker labels using the Cricut Joy.
You may also enjoy these Cricut Joy projects:
- Leopard Print Bag Makeover with Cricut Joy
- Iso Award Ribbons with Cricut Joy
- DIY Pomegranate Espadrilles
How to make a custom Sticker Sheet with a Cricut Joy cutting machine
This DIY custom label tutorial can be used to create any style of Draw & Cut stickers. Use this pre-designed sticker sheet on either plain or printed adhesive backed label paper to get familiar with the label making process.
Once you are confident, have a go at creating your own unique label and sticker sheet designs in the Cricut design space app.
You will need:
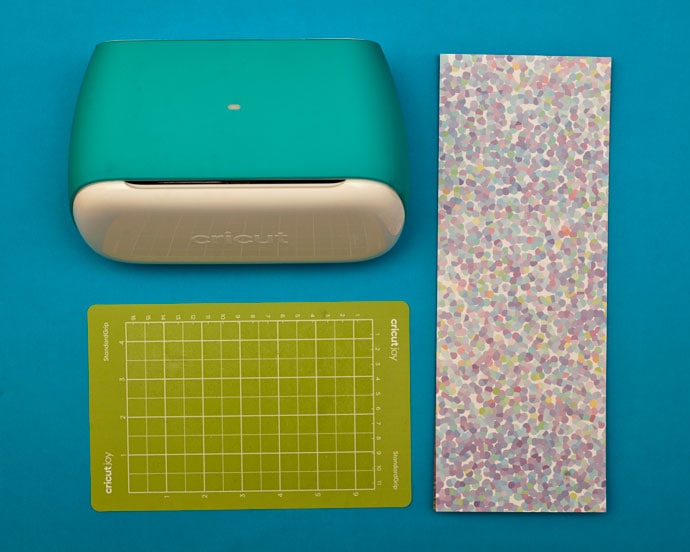
- Cricut Joy Adhesive Backed Sticker Paper (Amazon US | Cricut)
- Cricut Joy (or any other Cricut cutting machine) (Amazon US | Cricut)
- Cricut Joy Standard Grip Mat (or other appropriate mat) (Amazon US | Cricut)
- Cricut Design Space account (free to sign up)
- Cricut access subscription (optional)
- Computer, ipad or smart phone
- Cricut Joy Pen (included with Cricut Joy Machine) (Amazon US | Cricut)
How to:
1. Open Yum Love Stickers project in Cricut Design Space.

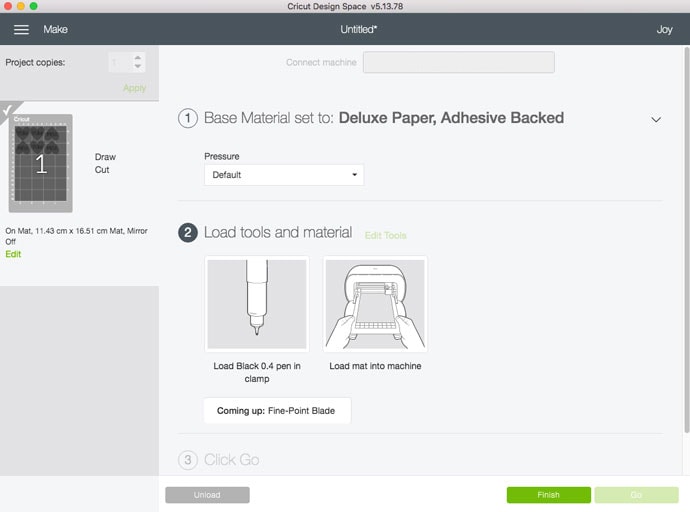
2/ Click on the Make It button.
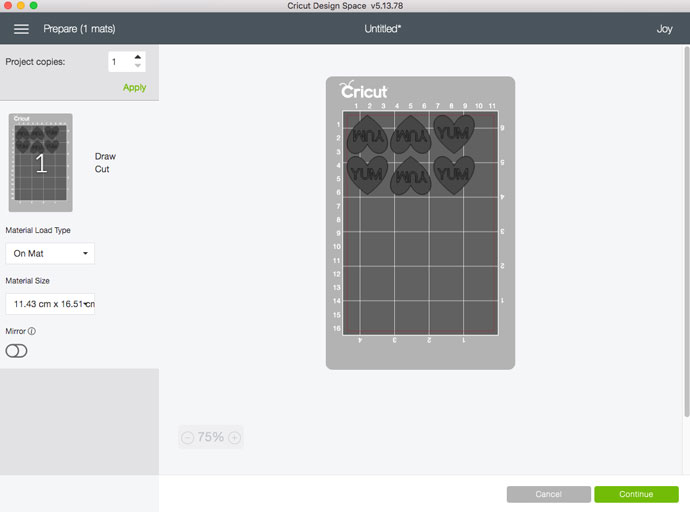
3. Set up the Cricut Joy mat. Images can be moved around to maximize material.
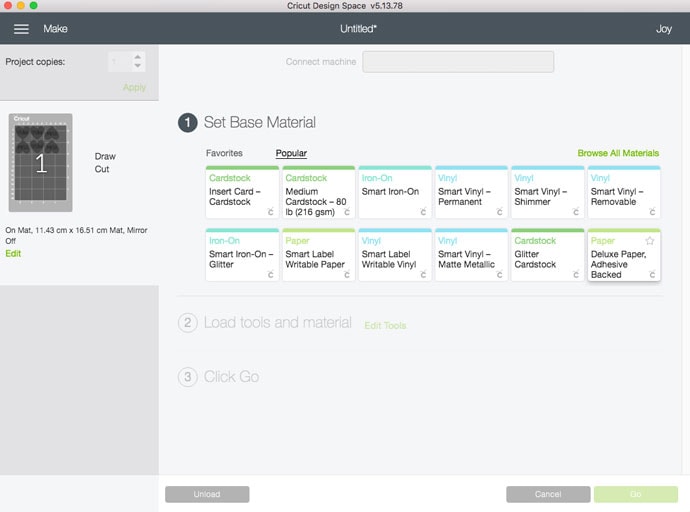
4. Choose Deluxe Paper, Adhesive Backed option.
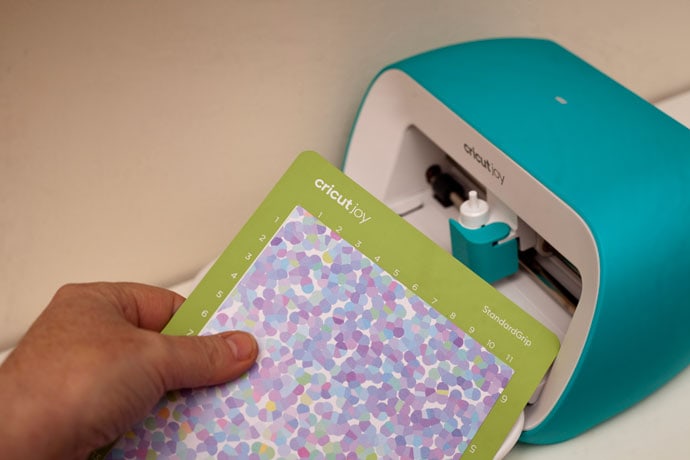
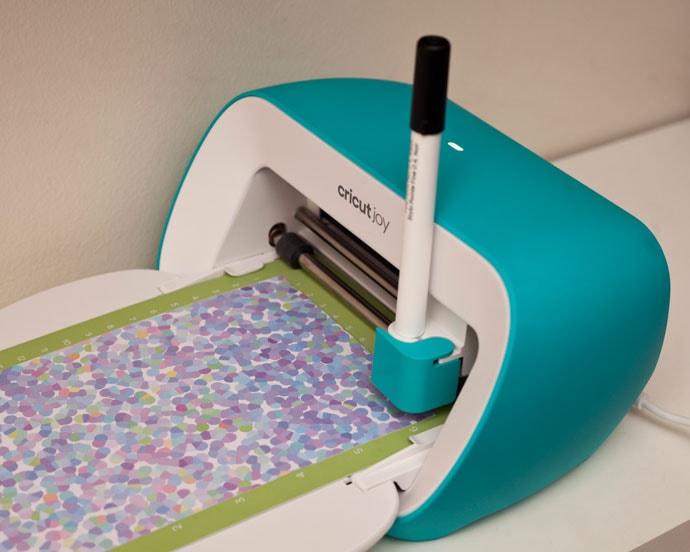
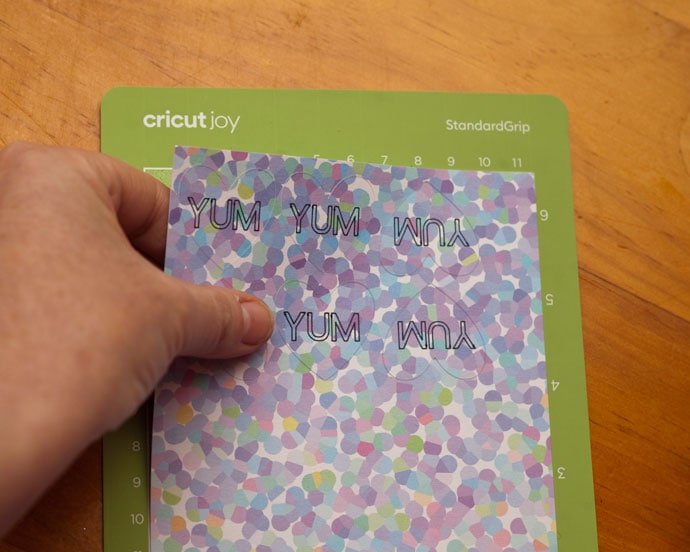
5. Carefully overlay the Deluxe Paper to the Cricut Joy Standard Grip mat. As per the screen instruction load the paper/mat and pen tool into the Cricut Joy. Then click the Go button and watch the Cricut Joy draw lines.
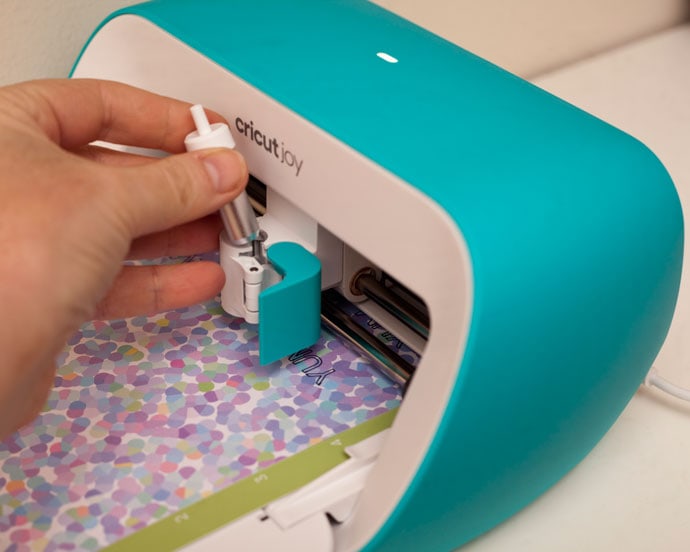
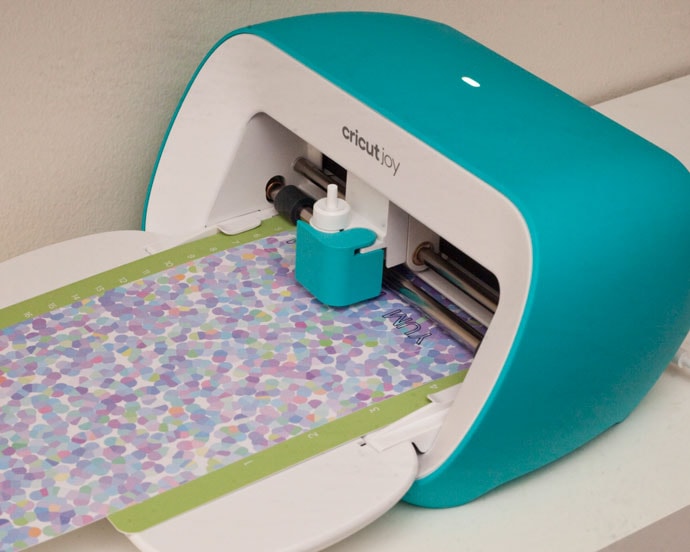
6. Remove the pen from the Cricut Joy and replace it with the fine-point cutting blade. Then click the Go button and watch the Cricut Joy cut the heart shapes.

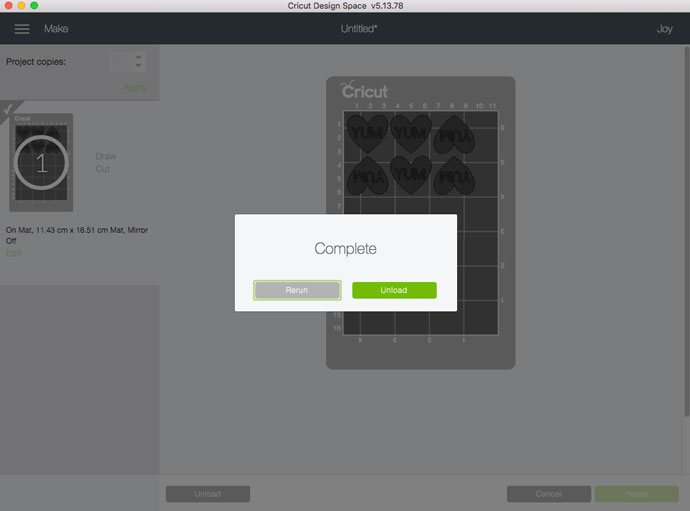
7. When the Cricut Joy completes the cutting process click the Unload button. Then click on the Finish button.
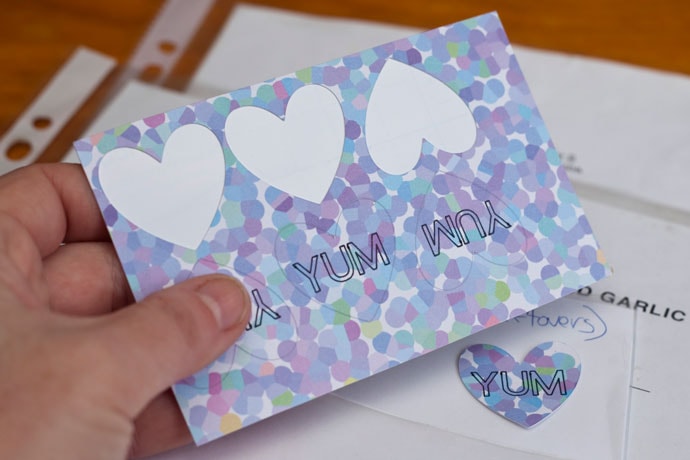
8. Peel the Deluxe Paper off the mat.
9. Peel off each Yum Love sticker and stick to your recipe book as needed.
 Melissa is a hyper creative artist, and content creator.
I have loved your blog and been a keen supporter but lately you have been pushing the Circut machine – for those of us who would need to purchase one of these to undertake your projects – they are extremely expensive. Not to mention all the extra’s and the costs they involve.
Feedback noted. I do try to include a variety of project types on the blog, but you are quite right in noticing that Cricut projects have been featured a lot in the past months. I guess I’m just excited to explore the capabilities of my new machines – It’s my new toy! I do acknowledge that the products are expensive and it’s not for everyone. I’ll set myself the challenge of varying my projects a little more, and always welcome feedback.