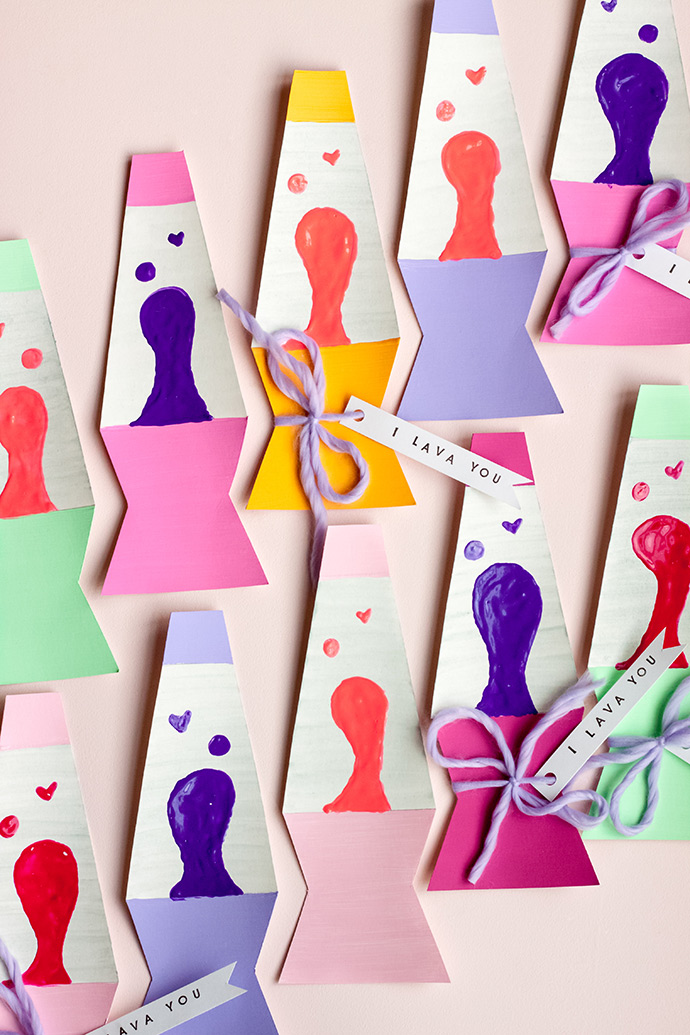
We have seen some of the cutest volcano art that includes the saying, “I lava you” for Valentine’s Day. I started thinking that the phrase would be adorable on little lava lamps, and this is the perfect year for kids to spend some time making handmade Valentines to share with family and friends!
Lava lamps have been around for a while now – in fact, I am so disappointed that my dad got rid of one of the originals he had from the 60’s or 70’s. I grew up with a pink one in my bedroom, and there was something so soothing about watching the lava bubbles go up and down. Now my daughter has one in her room, so they have been in the family for three generations! This crafted version is so fun to make, and friends will love to receive and display this cute work of art.
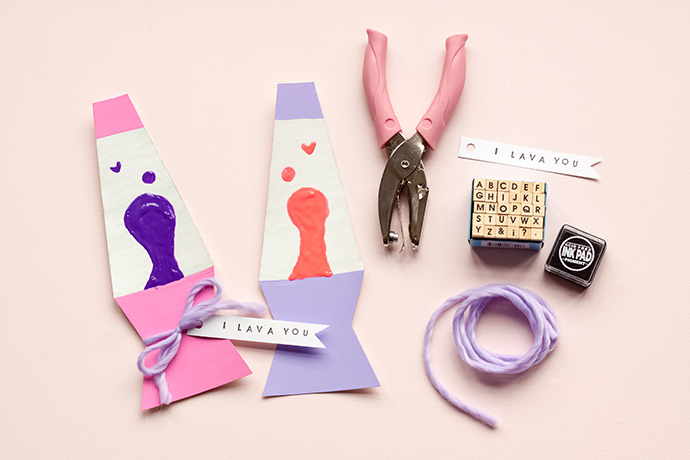
what you need:
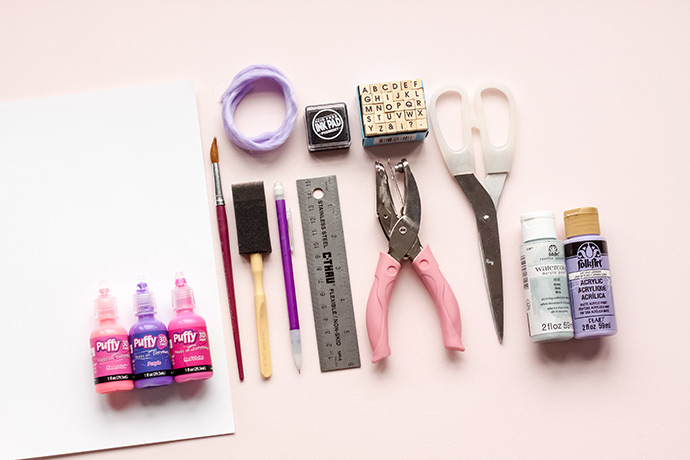
- Two 8 ½ x 11” pieces of cardstock
- Ruler
- Sharp pencil
- Scissors
- Acrylic paint
- Paintbrush
- Sponge brush
- FolkArt Watercolor Acrylic Paint (gray)
- Puffy paint
- Poster board (not pictured)
- Alphabet stamps or pen
- Ink pad
- Small hole punch
- Yarn
how-to:
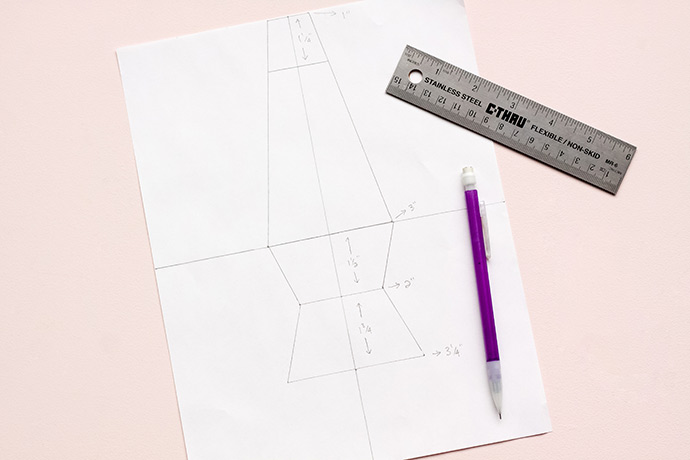
Step 1 (Drawing the Template)
To create your lava lamp template, draw two lines dividing an 8 ½ x 11 inch piece of paper into quarters. With the paper in portrait position, draw a 1 inch line at the top, middle of the paper, using your division lines as a guide.
Go down to the division line in the middle of the paper, and draw a 3 inch line, with 1 ½ inches on each side of the center line.
Use a ruler to connect the ends of the 1 inch line at the top of the paper, to the ends of the 3 inch line in the middle.
Measure down 1 ½ inches from the center line, and then create a 2 inch line – one inch on each side of the center line. Connect the ends of the 3 inch line in the middle, to the ends of this two inch line using a ruler.
Measure 1 ¾ inches down from the 2 inch line, and create a 3 ¼ inch line with 1 5/8 inch on each side of the middle line. Connect the ends of the 2 inch line to the ends of this 3 ¼ inch line.
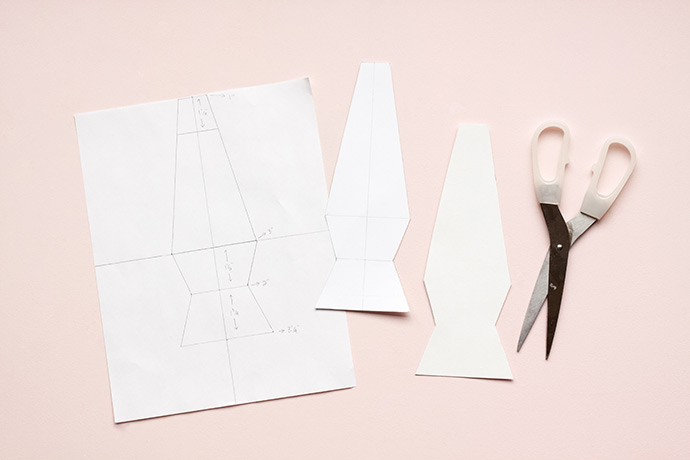
Step 2
Cut out your lava lamp template, and trace it onto poster board multiple times. Cut as many lava lamps as you would like out of poster board.
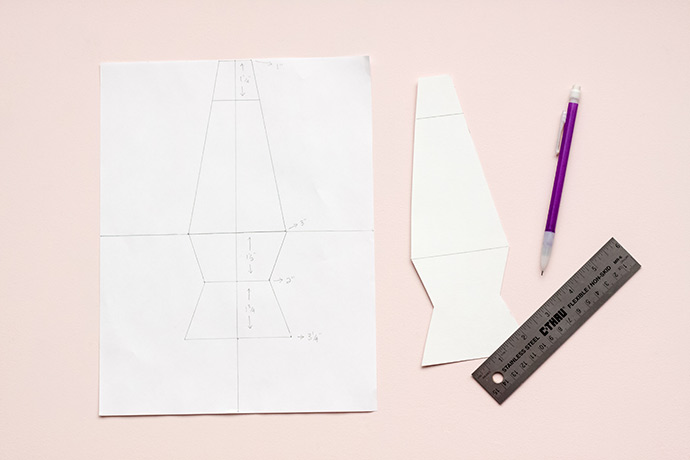
Step 3
Draw a line 1 ¼ inch from the top of each lava lamp. Draw one more line connecting the “points” that are parallel to each other near the middle of the lamp so that it is now divided into three sections.

Step 4
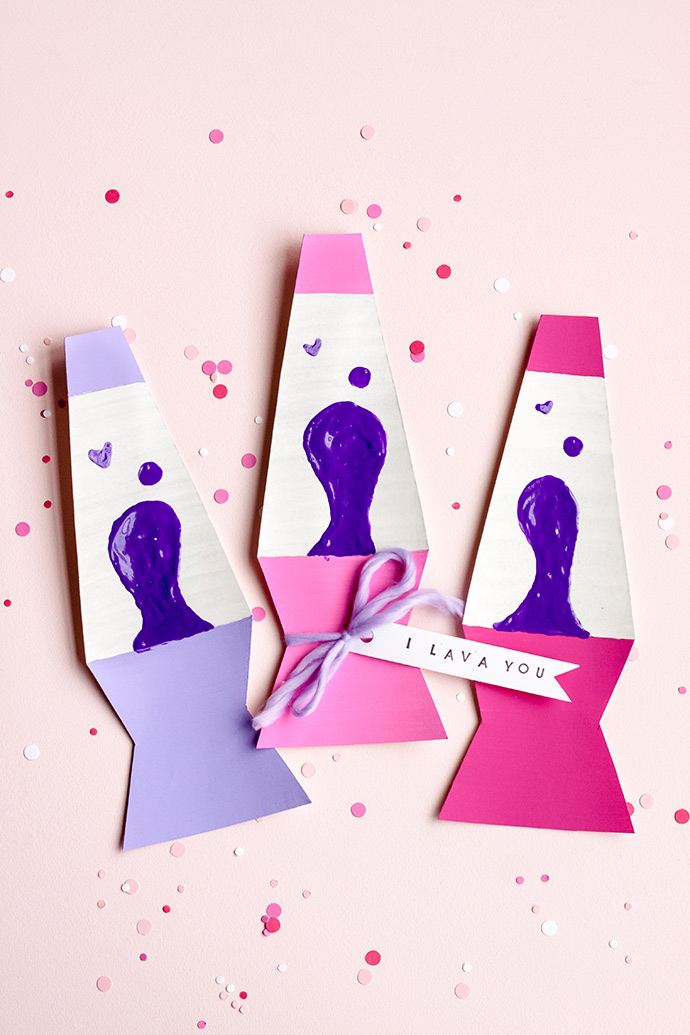
Paint the middle section gray, using the instructions on your FolkArt watercolor acrylic paint, and allow to dry. Paint the top, and bottom two sections in the acrylic paint color of your choice, and allow to dry.
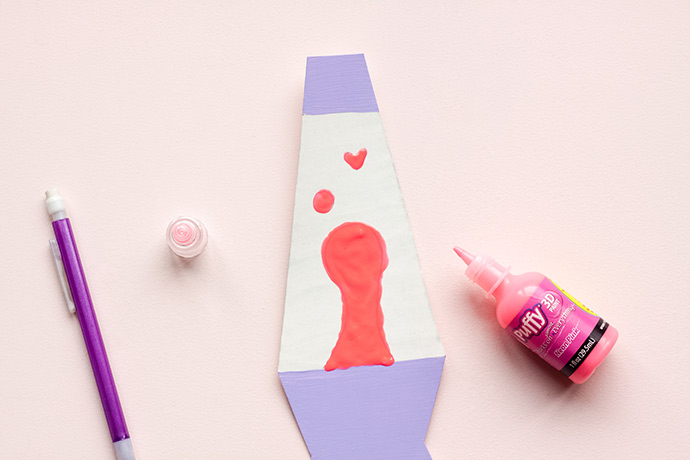
Step 5
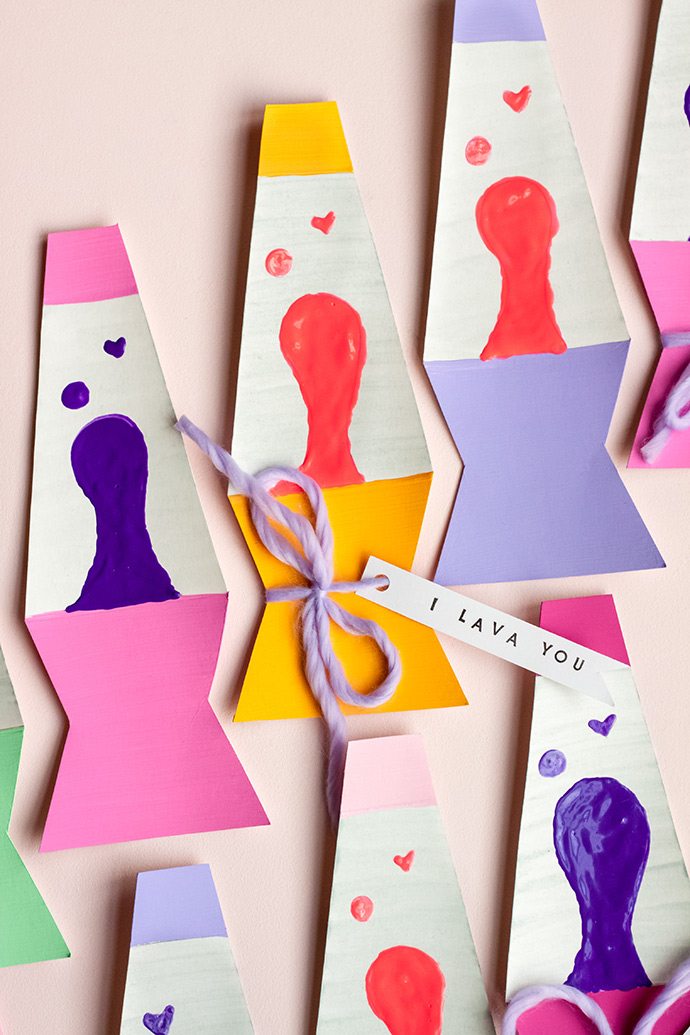
Use puffy paint to add “lava” bubbles and allow that to dry as well. We sketched the bubbles in pencil, first.
Step 6
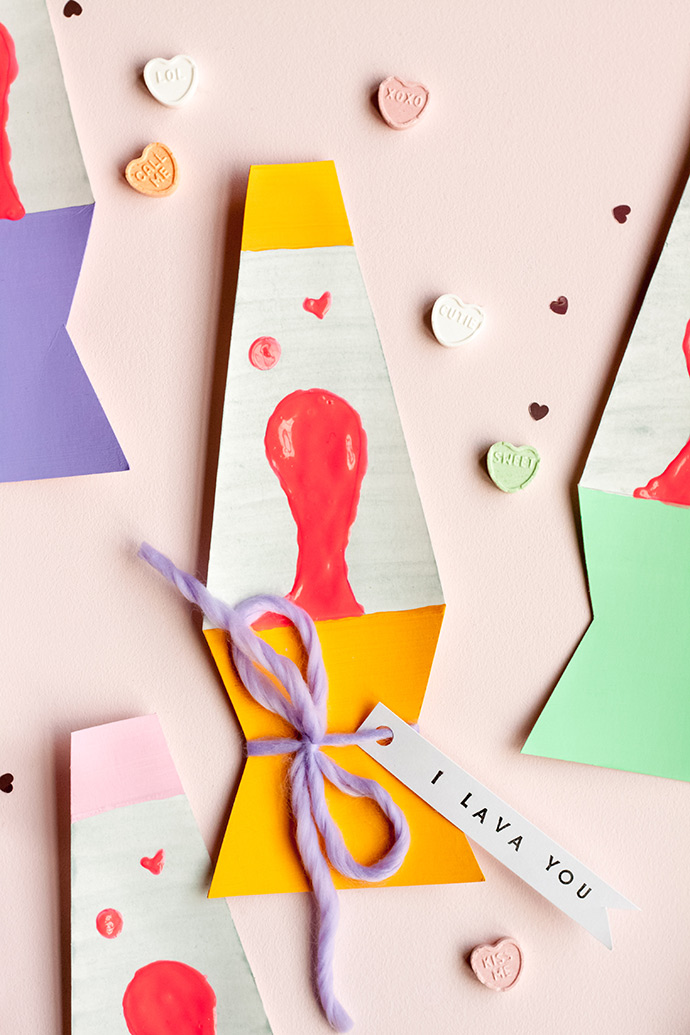
Use cardstock to cut tags, and stamp or write the words “I LAVA YOU”. Punch a small hole in the tag, and tie around the base of the lava lamp using yarn, string or ribbon.
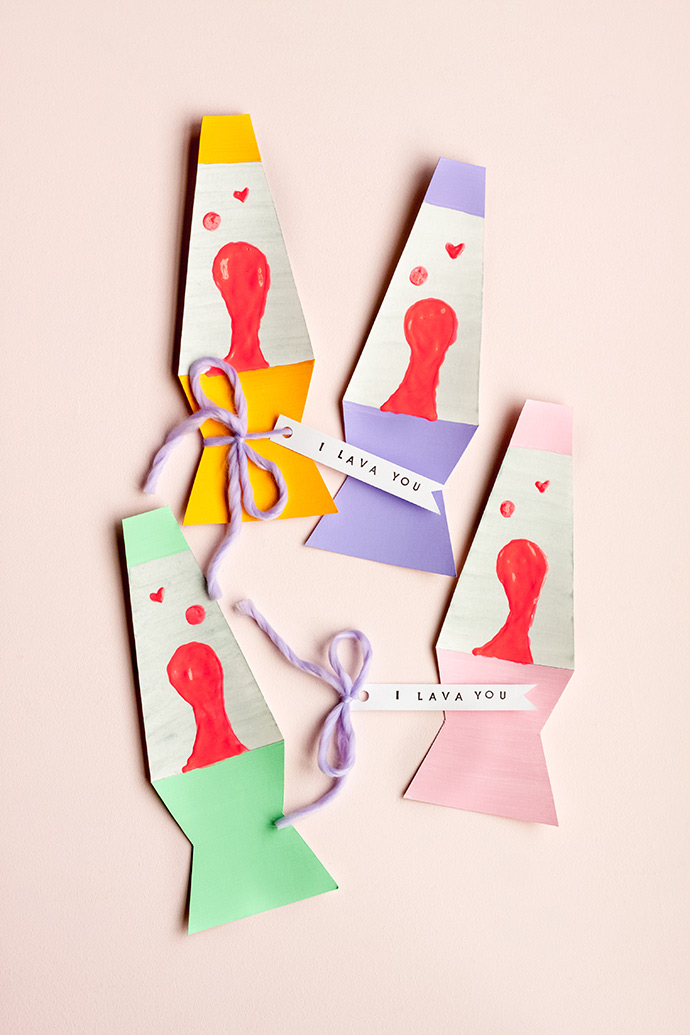
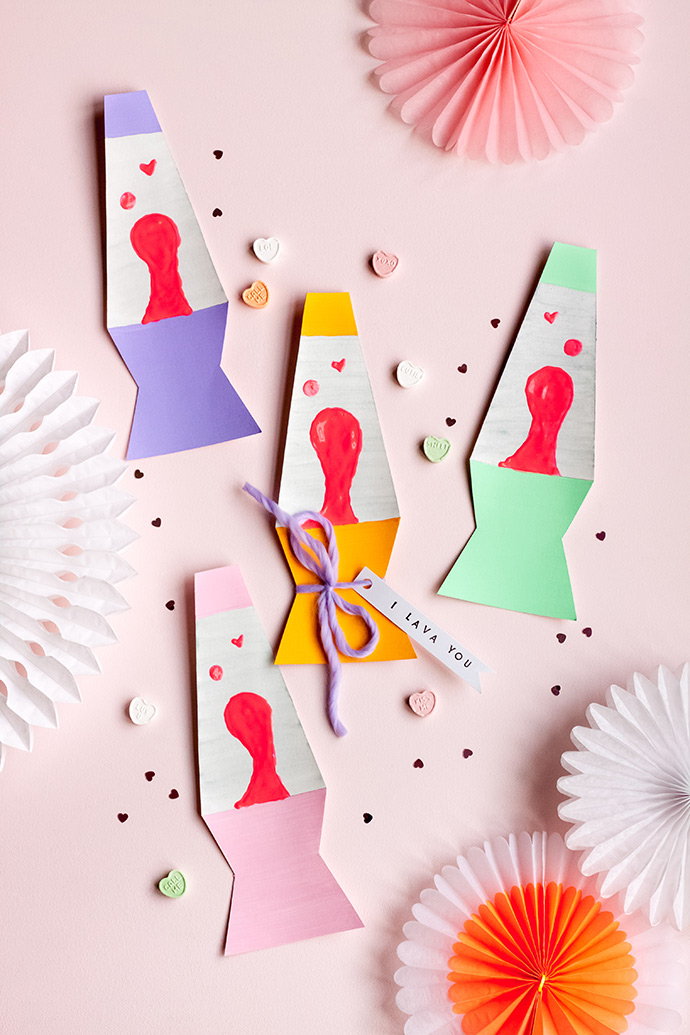
Your handmade Valentines are ready to share with the people you “lava”!
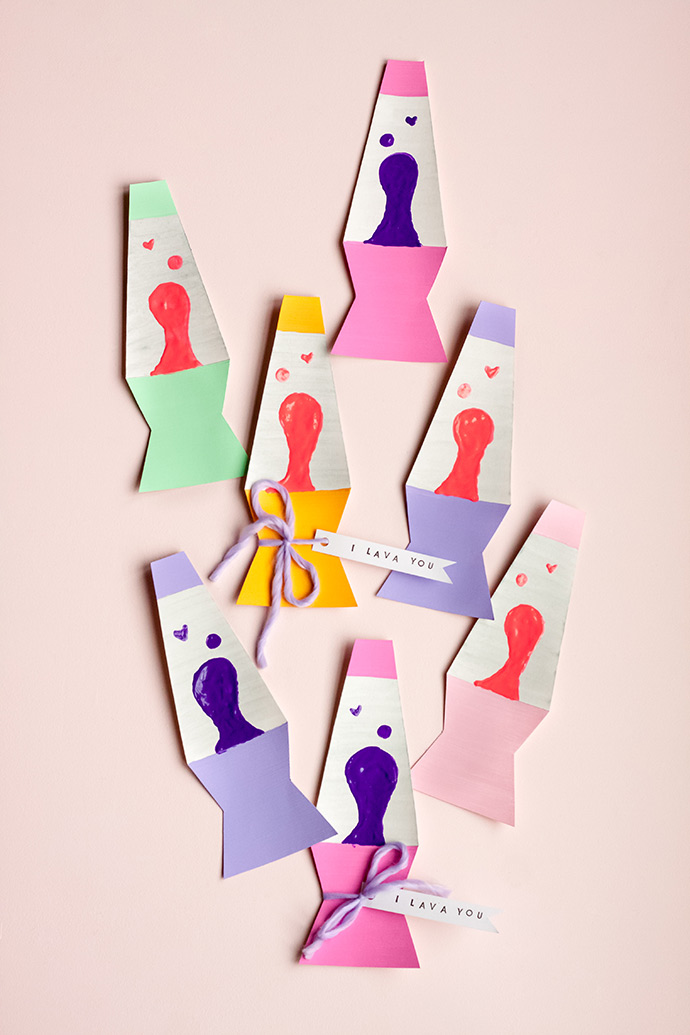

Happy crafting!