

For those of you that remember the classic A Charlie Brown’s Christmas movie from decades past, this craft will likely bring about some nostalgia. Today we’re sharing a really fun tutorial for how to make a Charlie Brown Christmas tree.


How to Make a Charlie Brown Christmas Tree
Thinking about movies like A Charlie Brown’s Christmas brings back loads of fond memories of being a kid. The excitement of the holidays and all those shows that played just once a year around Christmas.
Watching them together as a family on the one television we had in the house (without a remote control I might add!) was a special tradition I remember to this day.

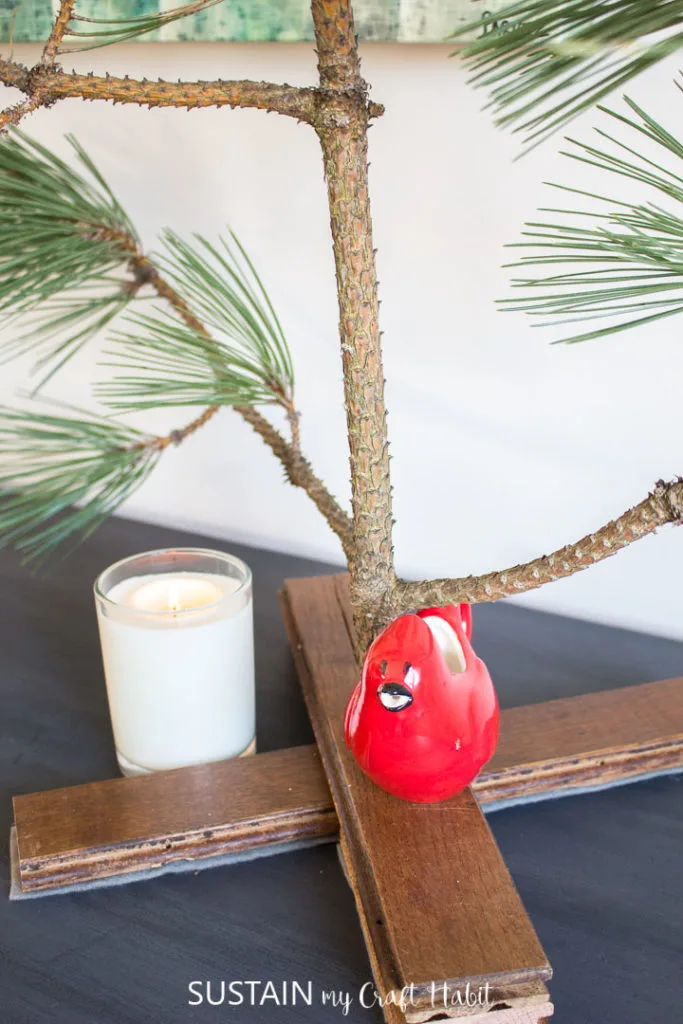
Making this Charlie Brown tree was more fun than I expected it to be. I love how it turned out and adding the one lonely red ornament to the top is symbolic of the classic Christmas tree.
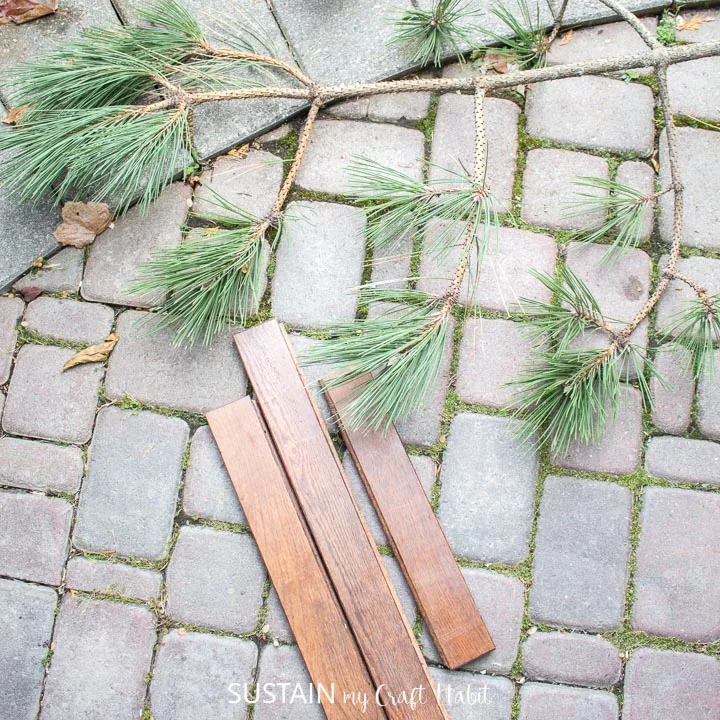
Using leftover scraps of wood from having recently replaced the hardwood in our home, this DIY Charlie Brown Christmas tree was made using whatever supplies I found in the house.


These handmade ornaments are so much fun to make and will beautiful on your Christmas tree year-after-year. Or make a set of these festive Christmas ornaments to give as gifts to coworkers and neighbors.
This easy Christmas craft idea is also a fun way to spend an afternoon crafting with friends for the holiday season.
Supplies Needed
Disclosure: This post contains affiliate links for your shopping convenience. Should you choose to purchase through them, we will make a small commission at no extra cost to you. You can read our full disclosure policy here.
- Cutting of longleaf pine tree about 2-3′ long
- Wood planks measuring about 2 1/4” wide x ¾” thick; 38” long in total (divided)
- Miter Saw for cutting wood planks
- Drill Press with drill bit
- Drill with screws
- Measuring tape, pencil
- Felt, fabric scissors and hot glue gun (optional)
- Ornament, red (optional)


How to Make a Charlie Brown Christmas Tree
Begin by getting a cutting of a long leaf pine that measures about 3 feet tall. My cutting measures 33” from one end to the other.

Preparing the Tree Stand
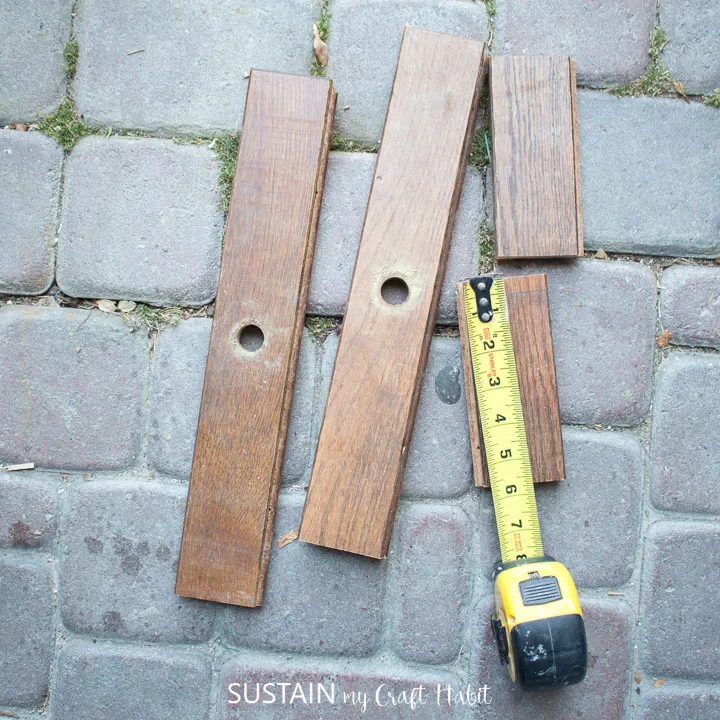
We used leftover boards from when we removed our hardwood floors in our dining room. They measure 2 ¼” wide and are ¾” thick which works well for this size of a tree stand.
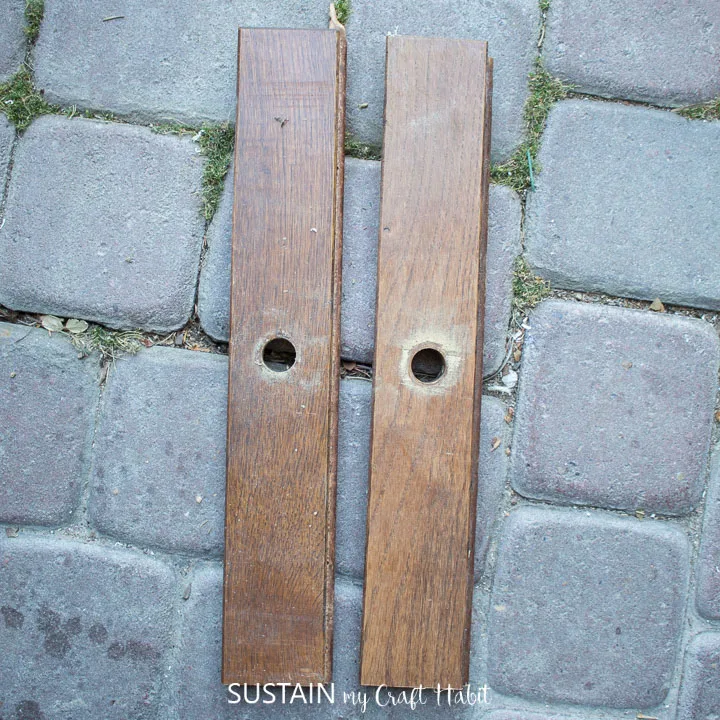
Using a miter saw, cut two of the boards to roughly 14” long (it doesn’t have to be an exact measurement).
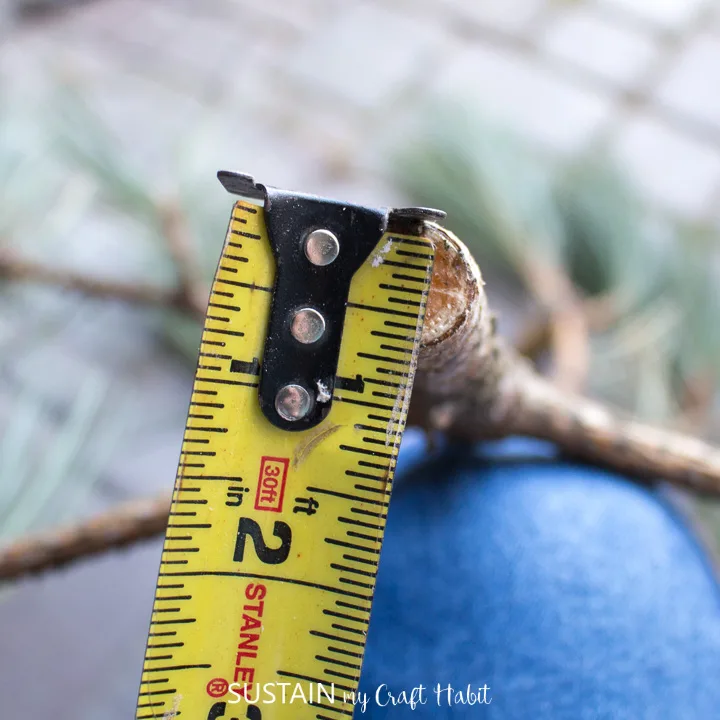
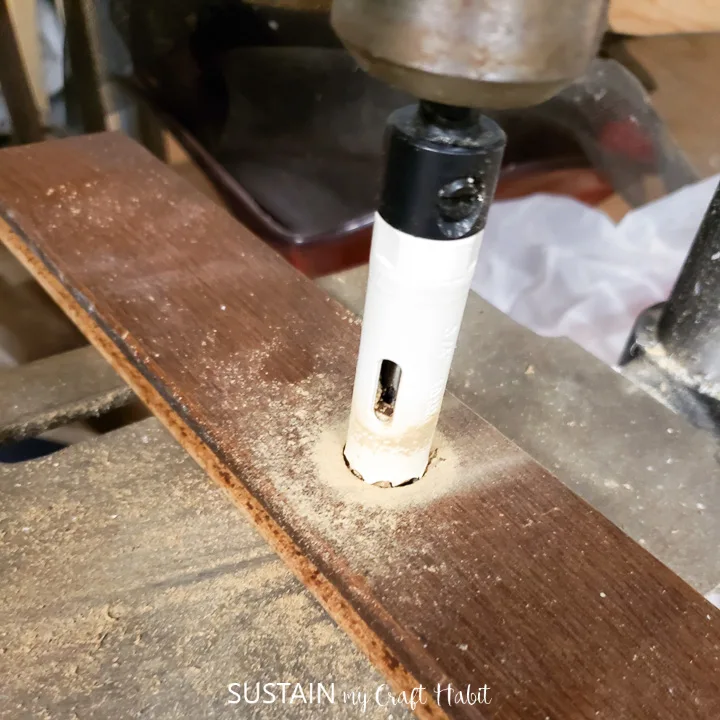
Measure the diameter of the tree branch across the very bottom of the cutting. This measurement will determine the size of the drill bit to use. In our case, we used a ¾” drill bit since the branch measured ⅝” across.

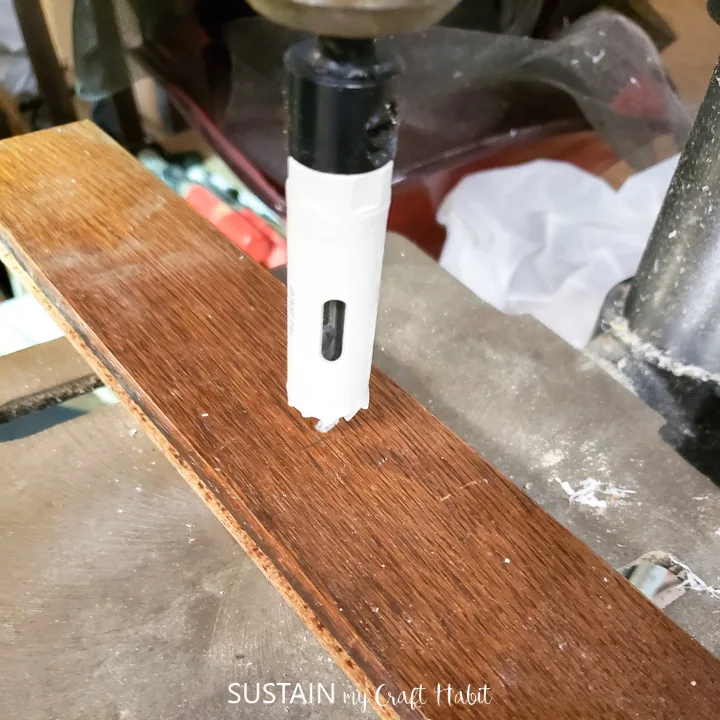
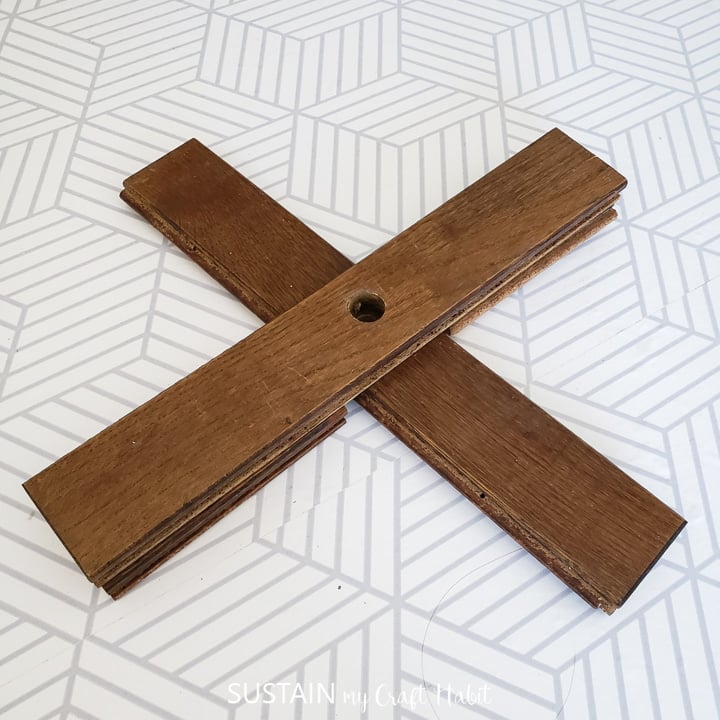
Measure and mark the halfway point along the 14” long wood boards and using a drill press, drill a hole through the center of both boards.


Now if you overlap these two boards to make an “X” shape for the tree stand, the board on the top won’t lay flat which means the tree will not be secure.

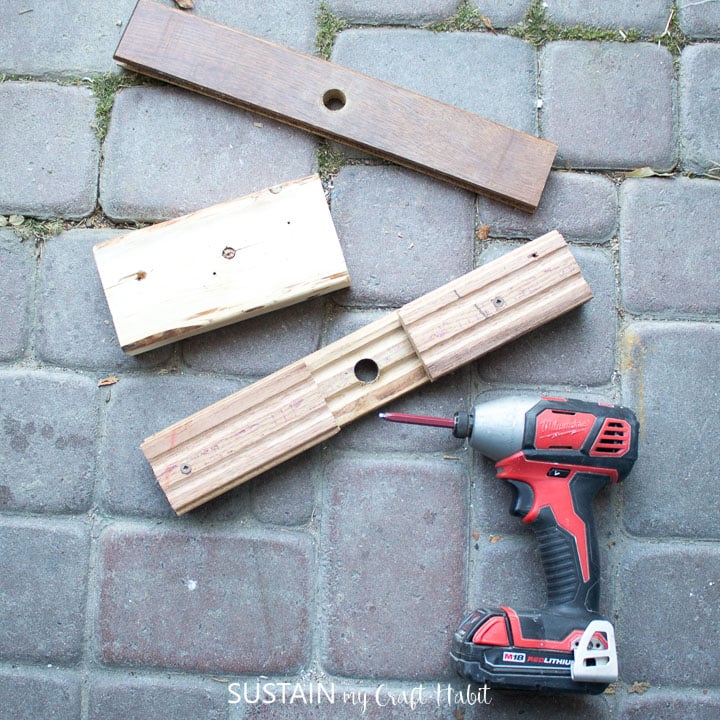
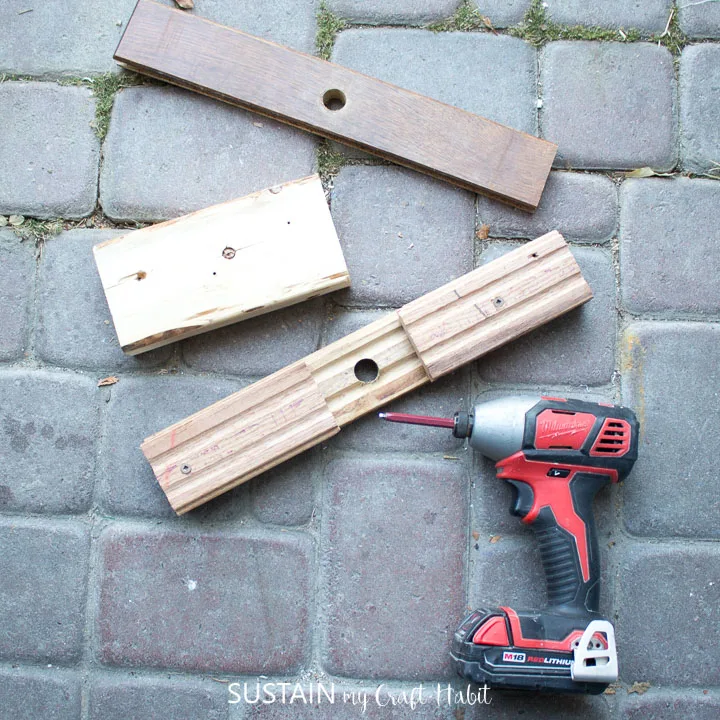
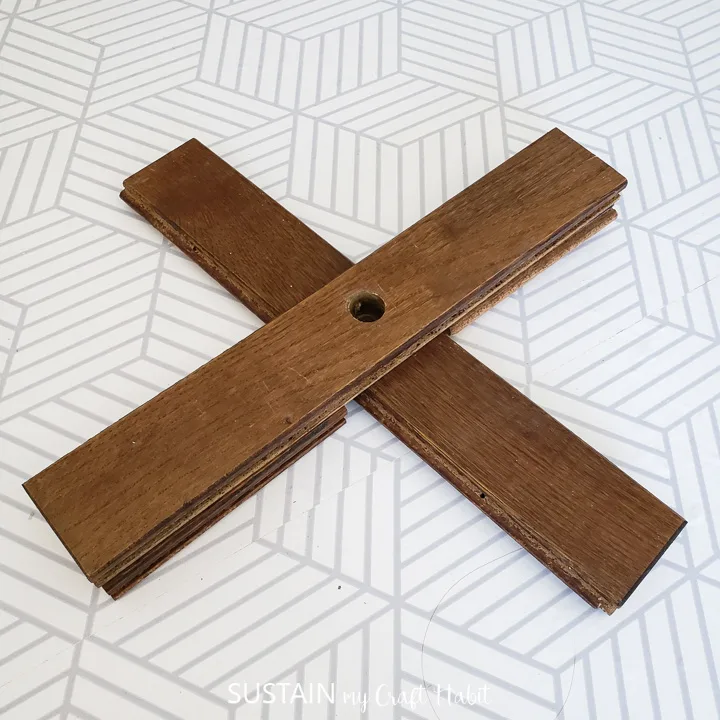
To make the tree stand stable, extra planks are needed underneath the top board. Cut two more wood boards at 5.5” long each.
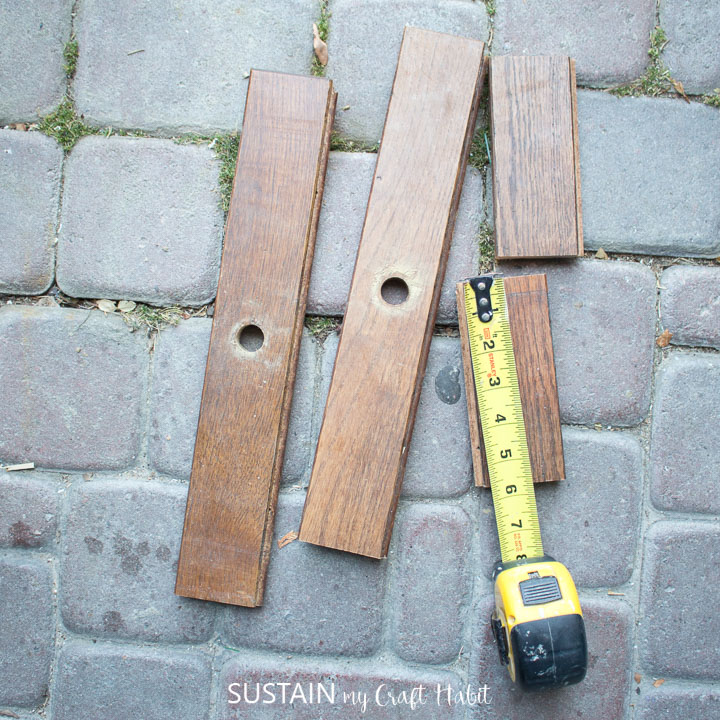
Screw these shorter boards under one of the longer boards, aligning the short ends as shown, leaving a gap in the middle.

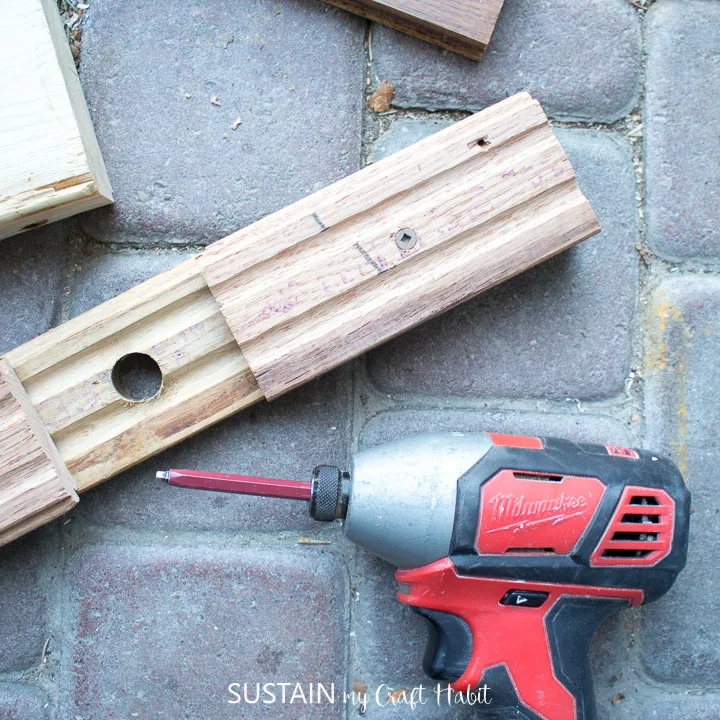
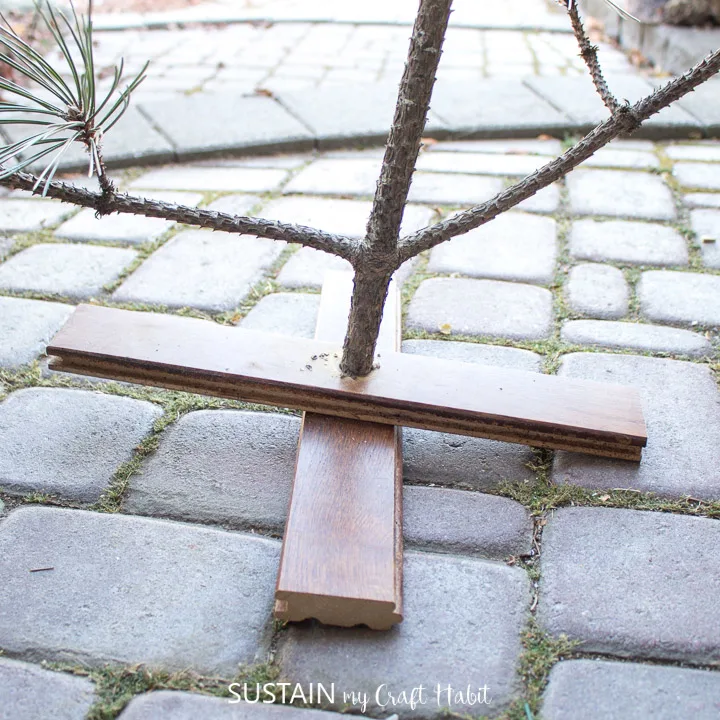
Stack the boards into a “X” shape with the flat board on the bottom and you’ll find the tree stand will be secure.


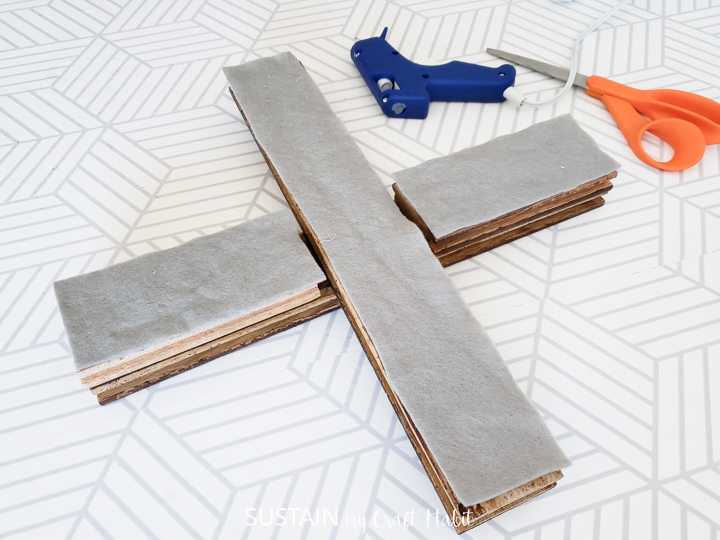
I decided to add felt to the bottom of each board to protect my surfaces as well as to help absorb the sap at the bottom of the pine tree cutting.
Cut a couple pieces of felt the same size as the wood and with the hot glue gun, glue the felt to the bottom of the stand.

Insert the bottom of the pine into the pre-drilled holes and add a single ornament to the top of the tree to complete the Charlie Brown Christmas tree.


I was so happy to have this DIY Charlie Brown Tree in my home, to remind me of those special family traditions around the Christmas season.


More DIY Christmas Tree Crafts:
Since Christmas trees come in all shapes and sizes, check out these fun Christmas tree crafts:


No Sew Canvas Tree 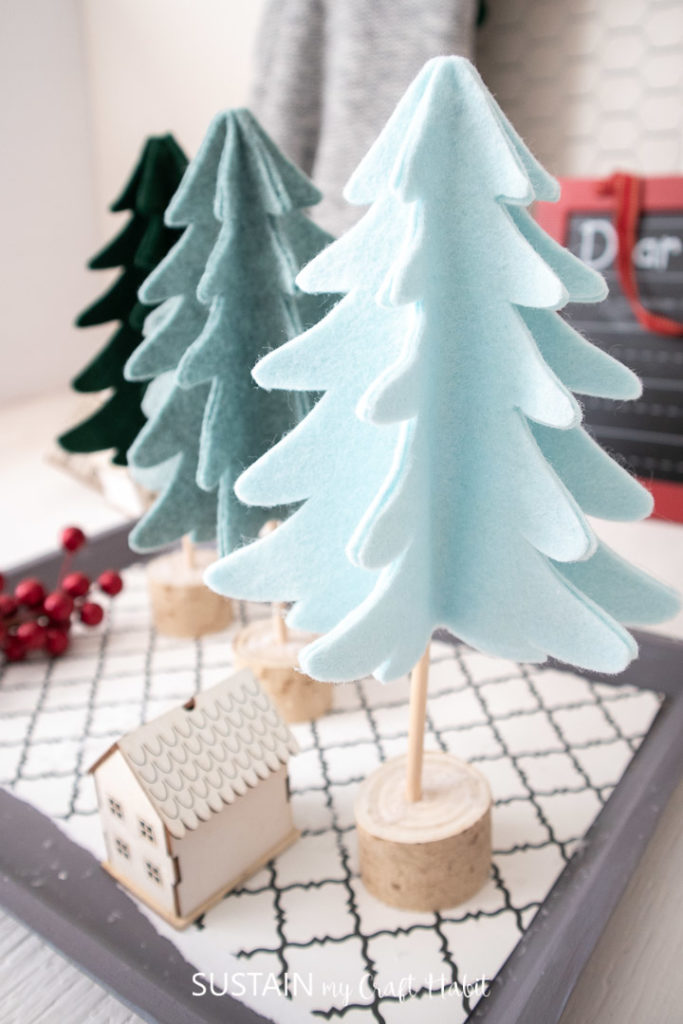
3D Felt Trees 

Seaglass Trees 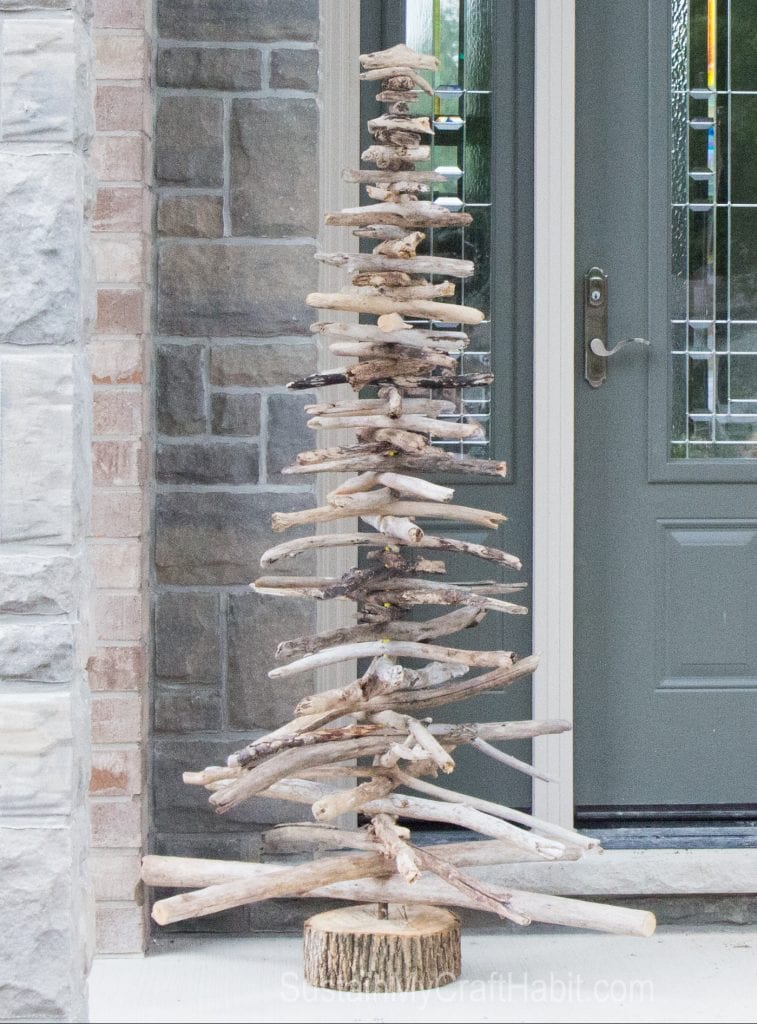

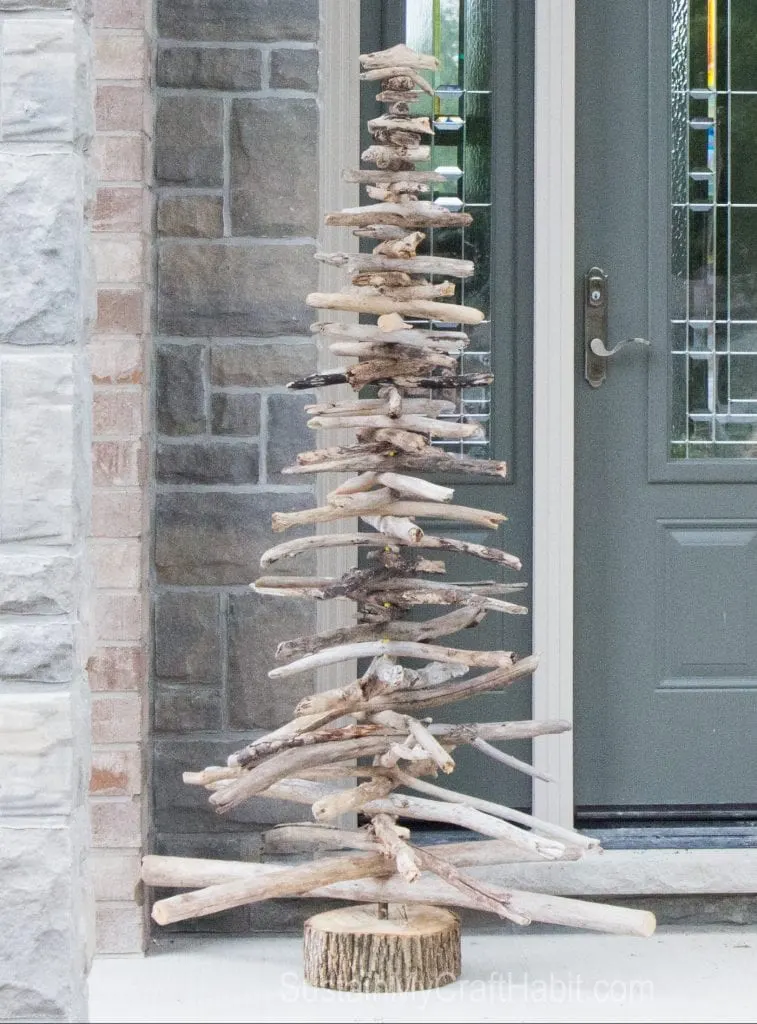
Driftwood Tree


Like it? Pin it for later!


DIY Charlie Brown Christmas Tree
Materials
- Cutting of pine tree about 2-3' long
- Divided Wood planks measuring about 2 1/4” wide x ¾” thick; 38” long in total
- Miter Saw for cutting wood planks
- Drill Press with drill bit
- Drill with screws
- Measuring tape
- Pencil
- Felt fabric scissors
- hot glue gun (optional)
- Ornament red (optional)
Instructions
- Begin by getting a cutting of pine that measures about 2-3’ feet tall.
- Prepare the wood for making the “X” shaped tree stand.
- Using a miter saw, cut two of the boards to roughly 14" long (it doesn't have to be an exact measurement).
- Measure the diameter of the tree branch across the very bottom of the cutting. This measurement will determine the size of the drill bit to use.
- To make the tree stand stable, extra planks are needed underneath the top board. Cut two more wood boards at 5.5” long each.
- Screw these shorter boards under one of the longer boards, aligning the short ends, leaving a gap in the middle.
- Stack the boards into a “X” shape with the flat board on the bottom.
- Insert the bottom of the pine into the pre-drilled holes.
- Add a single ornament to the top of the tree to complete the Charlie Brown Christmas tree.
Rebecca
Saturday 27th of November 2021
Beautiful tutorial! Thank you.
How long did it take for the tree to start turning brown, drying out?
Thank again!