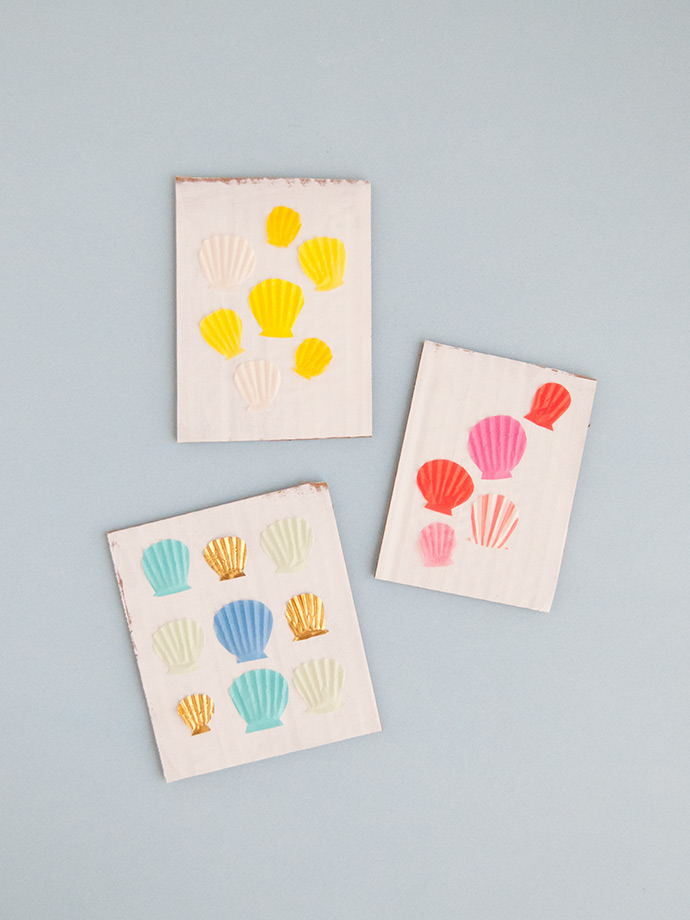
The other day I was scrolling through Instagram and saw a really neat image of a classic seashell that stopped me dead in my tracks. I had my box of cupcake papers out while making another craft, and it hit me that the ruffled edges of the cupcake papers looks so much like a clamshell! Right away I grabbed a pair of scissors to see if I could replicate the look and was pleasantly surprised at how easy it was. I was trying to think of the best way to showcase these cupcake paper seashells, but in the end, I thought they’re so neat that they make a really fun standalone project for kids (and grownups!) to just experiment with as-is. That said, you could use them is SO many ways: add them onto a frame, glue them to a paper crown, use them as food-safe toppers on cupcakes … I also love them as postcards but suspect they wouldn’t hold up well in the mail, so they’d have to be dropped off into a mailbox by hand to make sure they stay in good shape. If you don’t have a ton of cupcake papers at home, check the dollar store the next time you’re there – you’ll probably be impressed with how many cute colors and patterns there are to choose from. Or, just use plain white ones that you have at home and give the cardboard background a fun pattern instead!
what you need:
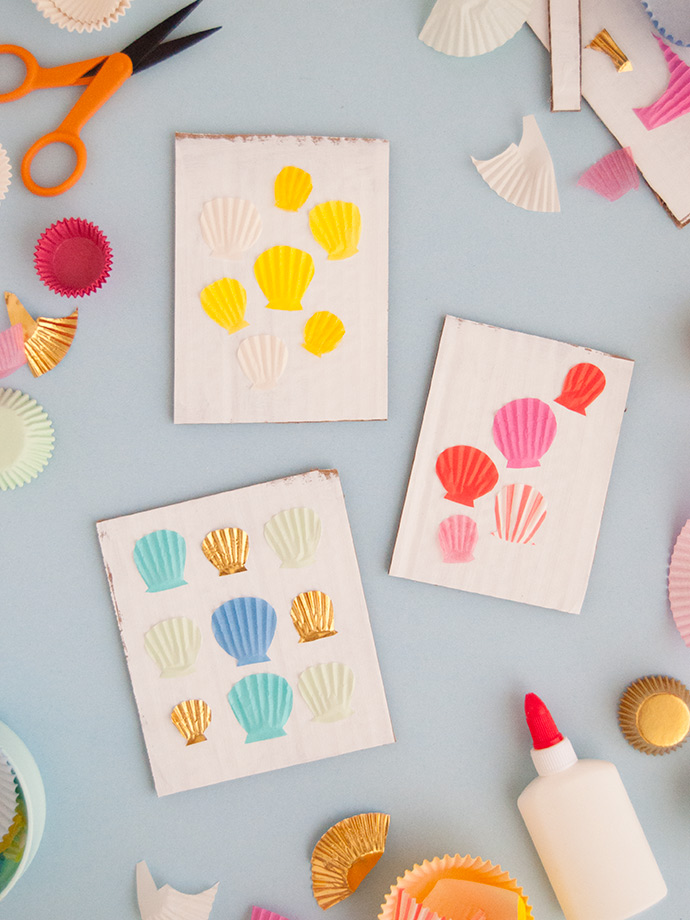
- Cupcake papers (full-size and mini in multiple colors)
- Scissors
- White glue
- Cardboard scraps
- White paint
- Paintbrush
how-to:
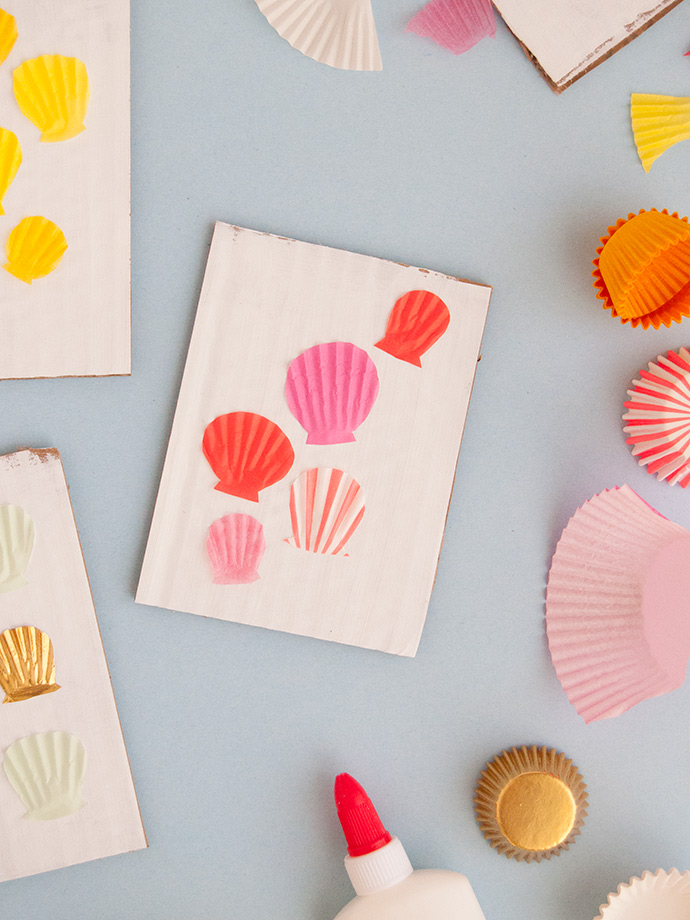
Grab some corrugated cardboard from your recycling bin – bonus points if it’s plain kraft paper on both sides but that’s okay if it isn’t! Give one side a coat of paint in whatever color you like – I went with white so let the colors of the cupcake liners be the main focus, but if you’re just using white cupcake liners you could paint the cardboard blue like the ocean or pale yellow like sand! Let dry and cut into rectangles about the size of a postcard.
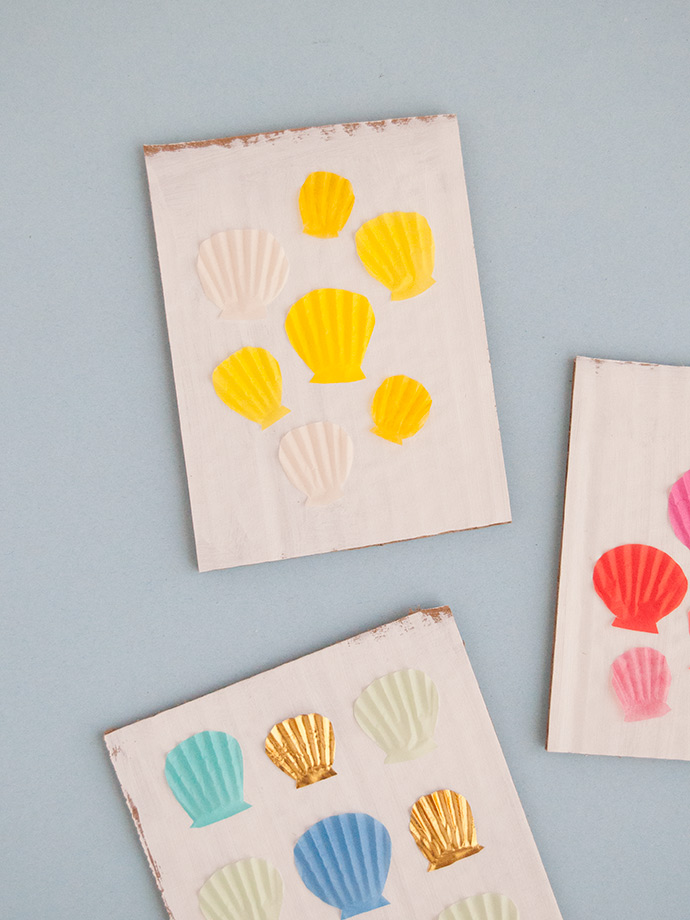
Now the fun part – making the actual shells! All you have to do is take a cupcake paper, flatten it a little bit, and then cut it into a simple clamshell shape. I like to cut the cupcake paper in half first to make it easier to work with, but you’ll see what works best for you. The bottom edge of the clamshell will be the flat bottom part of the cupcake paper. Don’t worry if your shells aren’t perfectly symmetrical! Littler kids might like help drawing out the shape on the cupcake paper first with a pencil. Have fun mixing and matching colors – I used regular cupcake papers but also gold foil ones and some translucent wax paper ones meant for chocolate making.
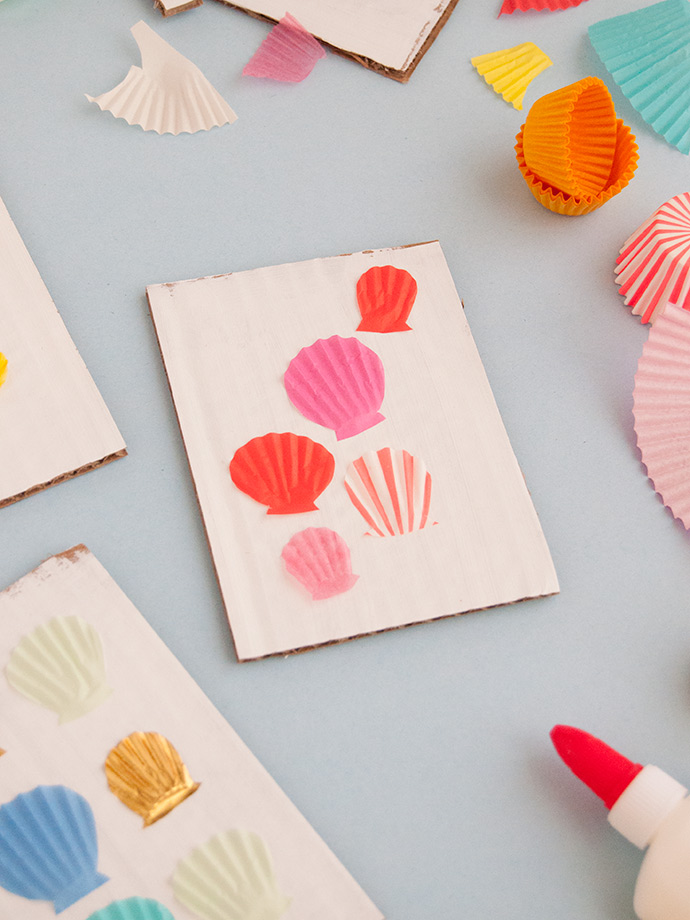
Arrange the shells onto the painted cards in whatever pattern you like and use small dabs of white glue to attach in place. Let dry!