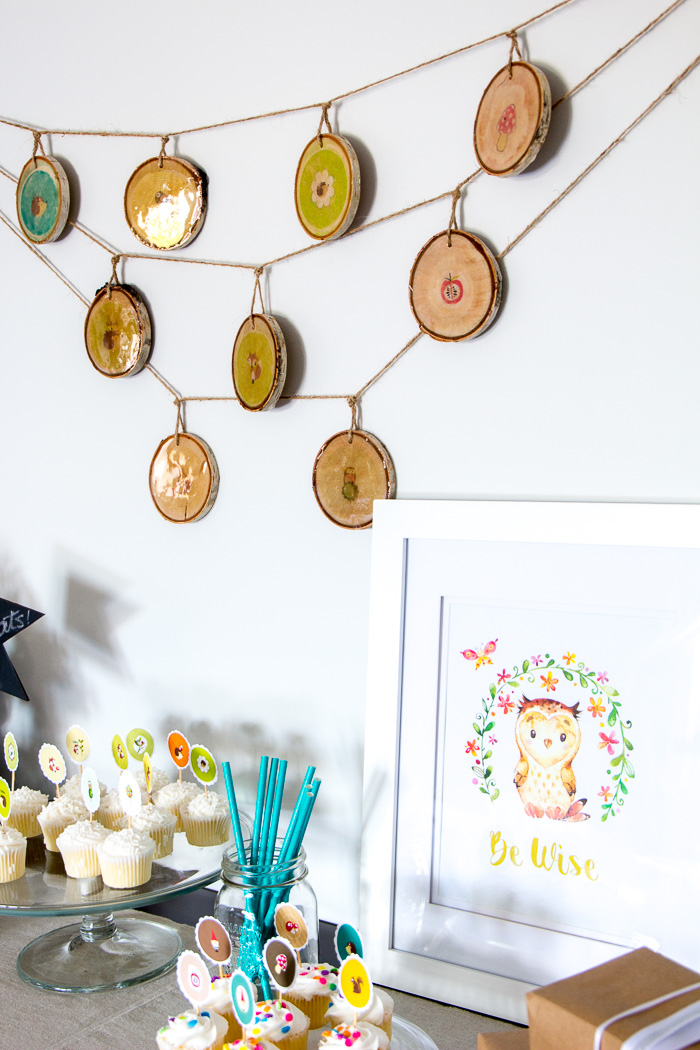
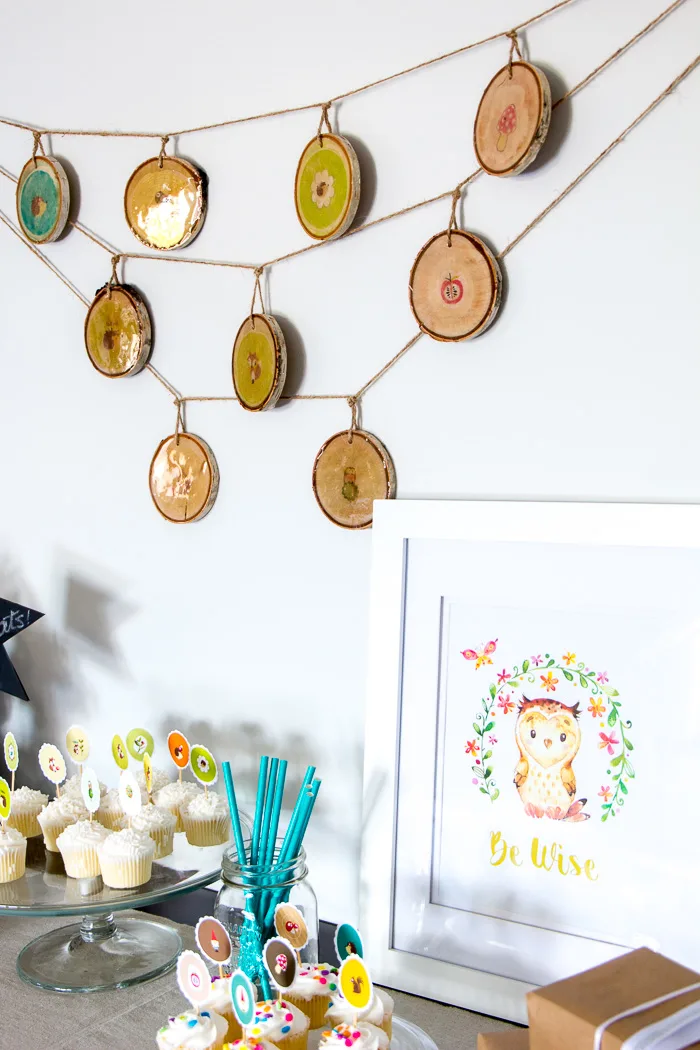
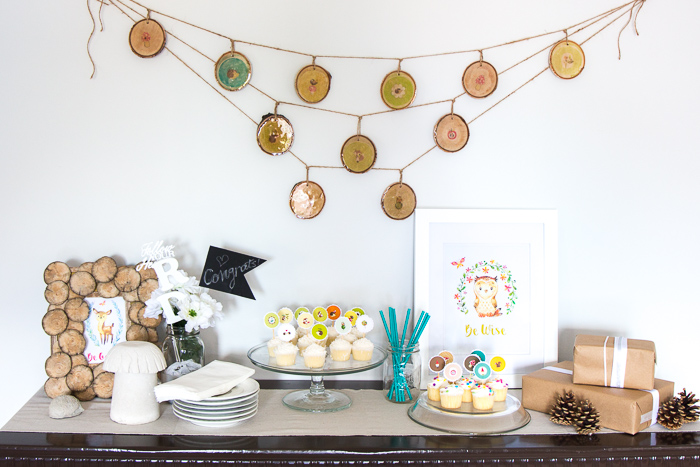
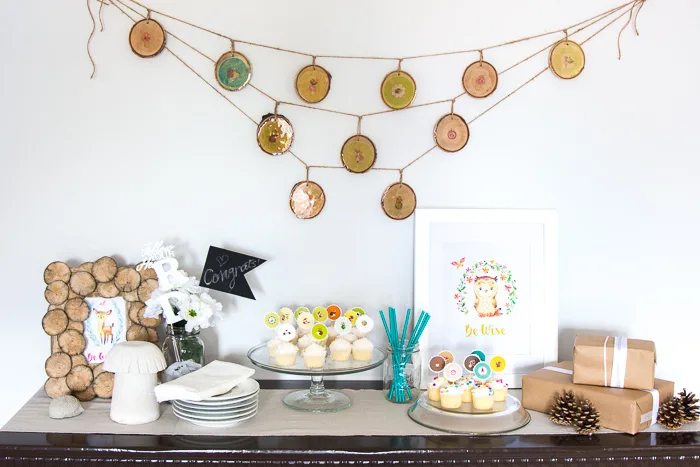
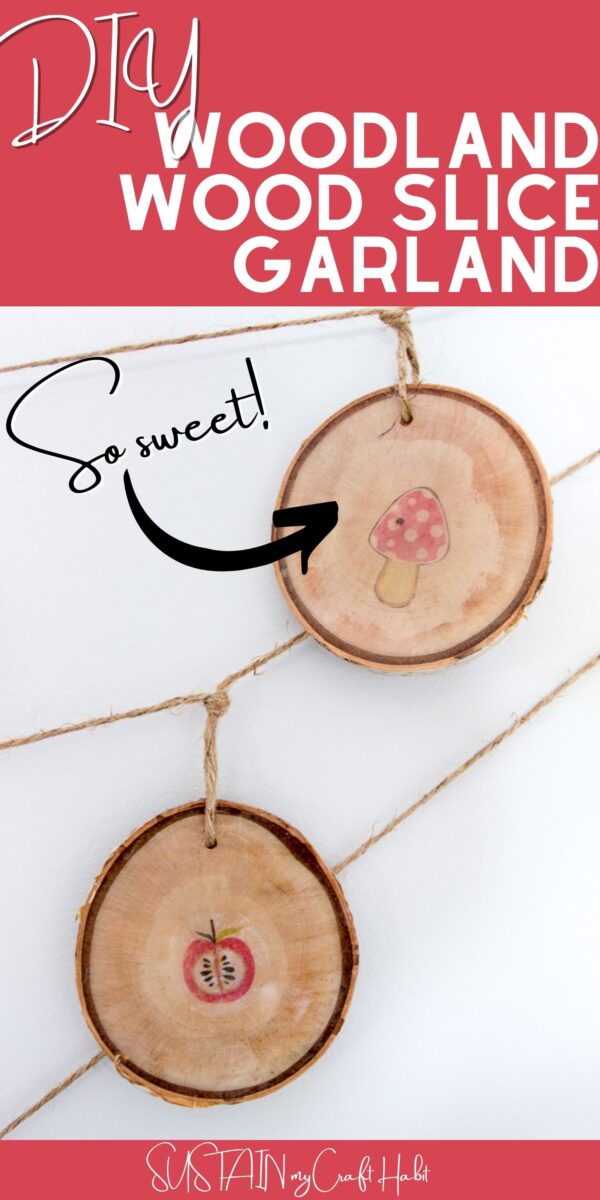
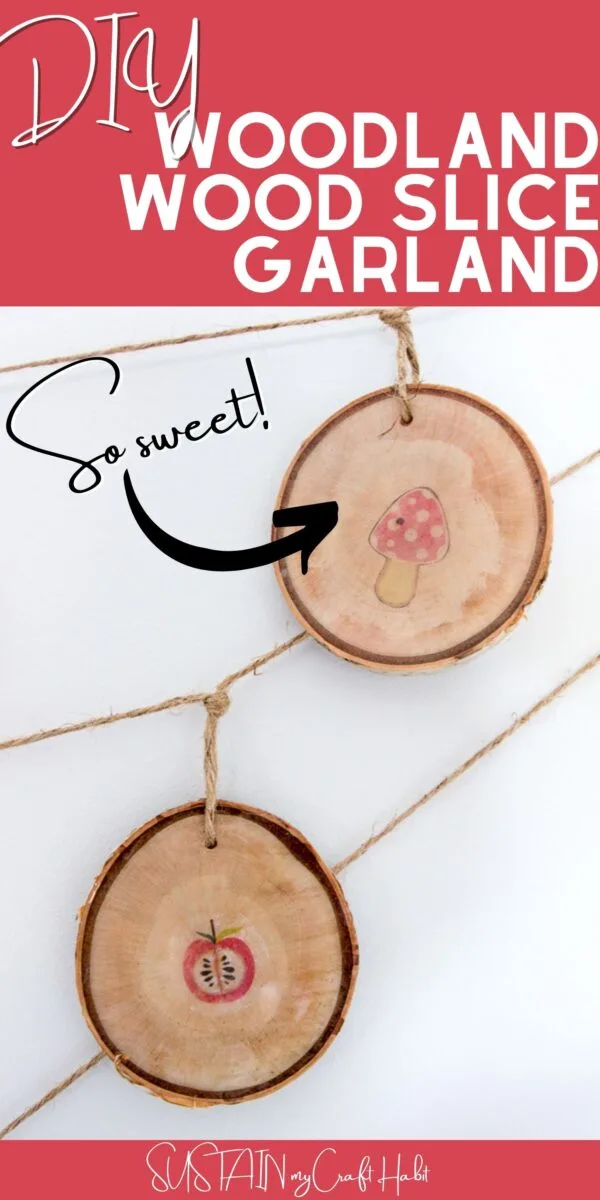
Create your own adorable wood slice garland with this step by step tutorial using colorful woodland themed printouts, a photo transfer medium and sealed with a durable, glossy resin. It’s the perfect addition to any woodland nursery decor or sweet woodland-themed party!
Making a Wood Slice Garland
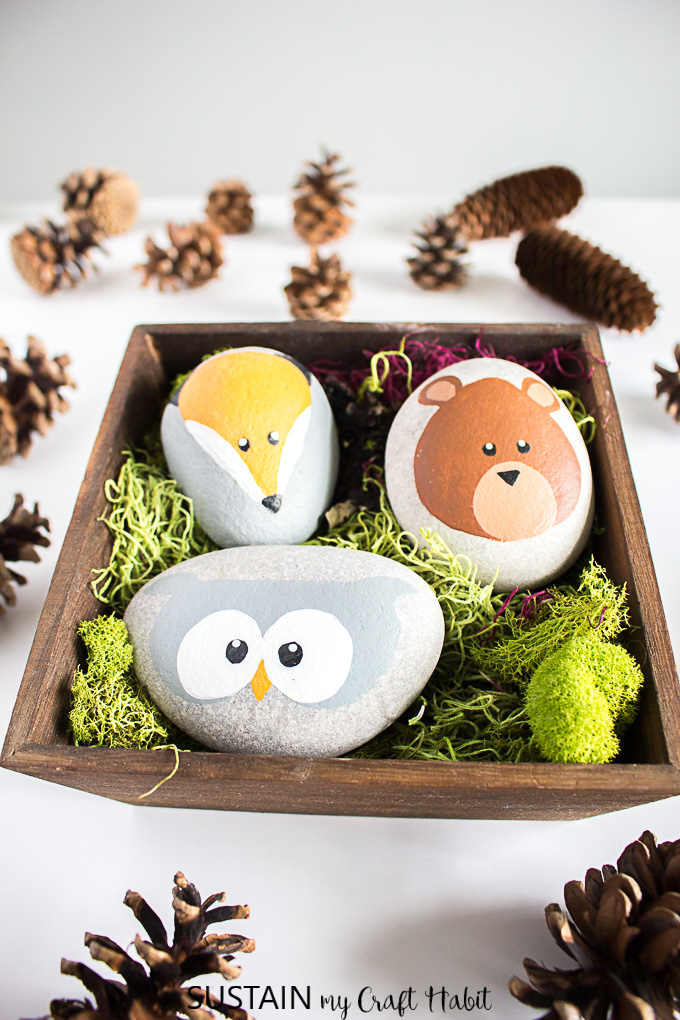
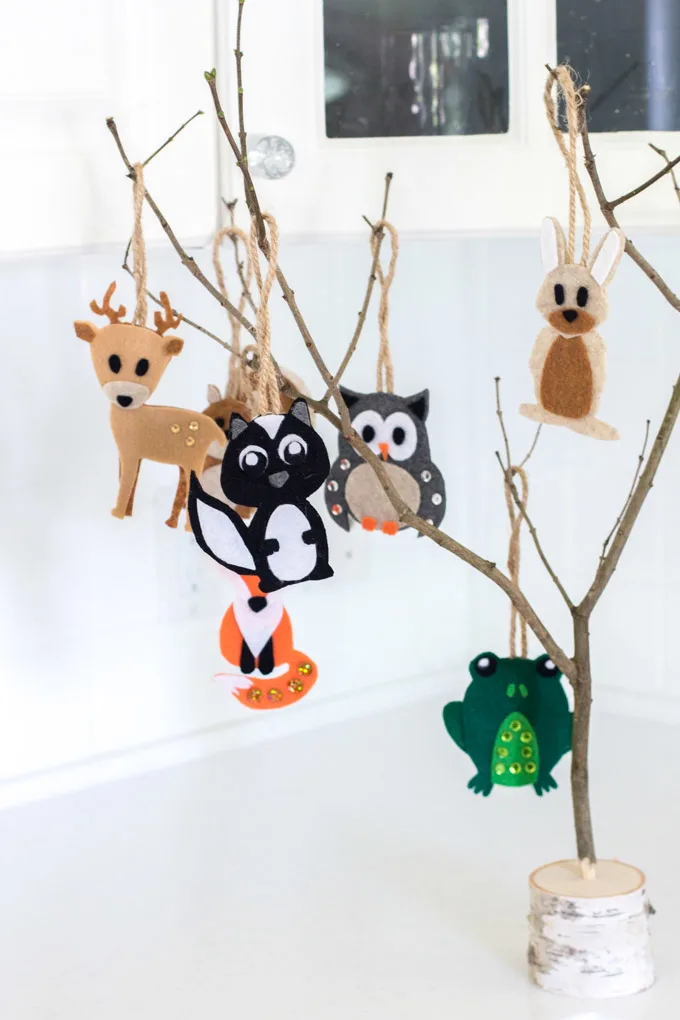
I’ve always loved woodland-themed decorations, whether they are items we’ve bought (like this adorable, removable woodland wall paper or this woodland alphabet artwork) or even crafted ourselves like our felt woodland ornaments and painted animal rocks. There are something so sweet and playful about this theme that brings a smile to my face. It’s no wonder it’s so popular for a babies nursery or baby shower. I’ve even had a woodland theme for my Christmas tree for the last several years!

Woodland Animals 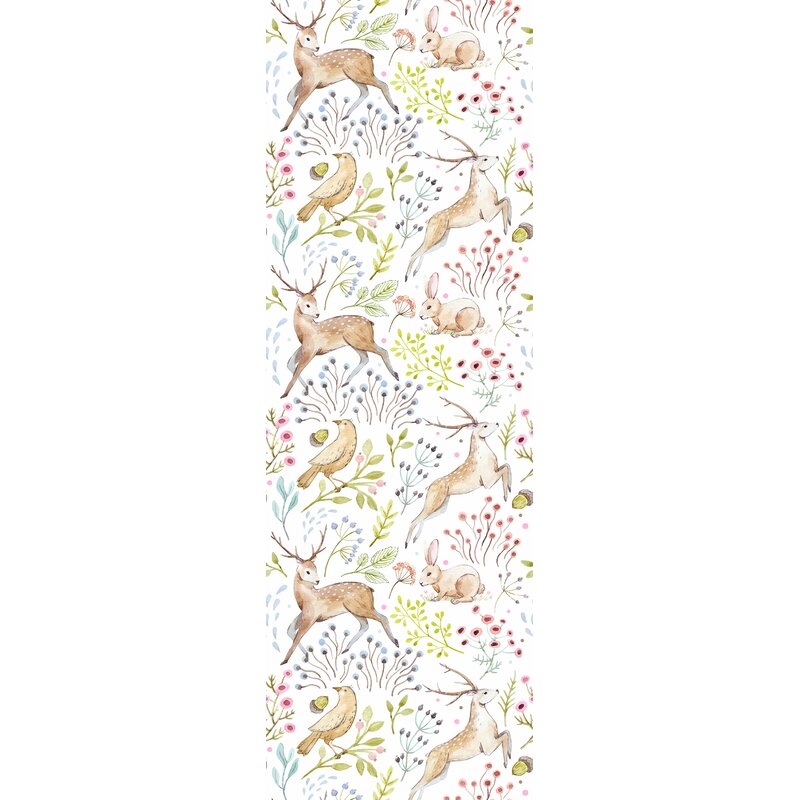

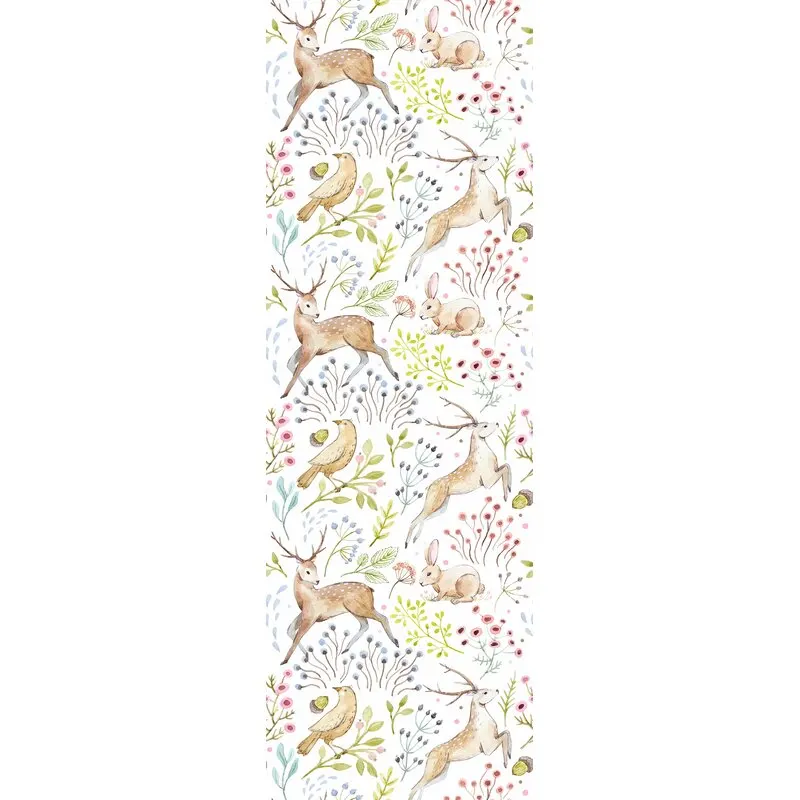
Removable Woodland Wall Paper 

Woodland themed twiggy center piece 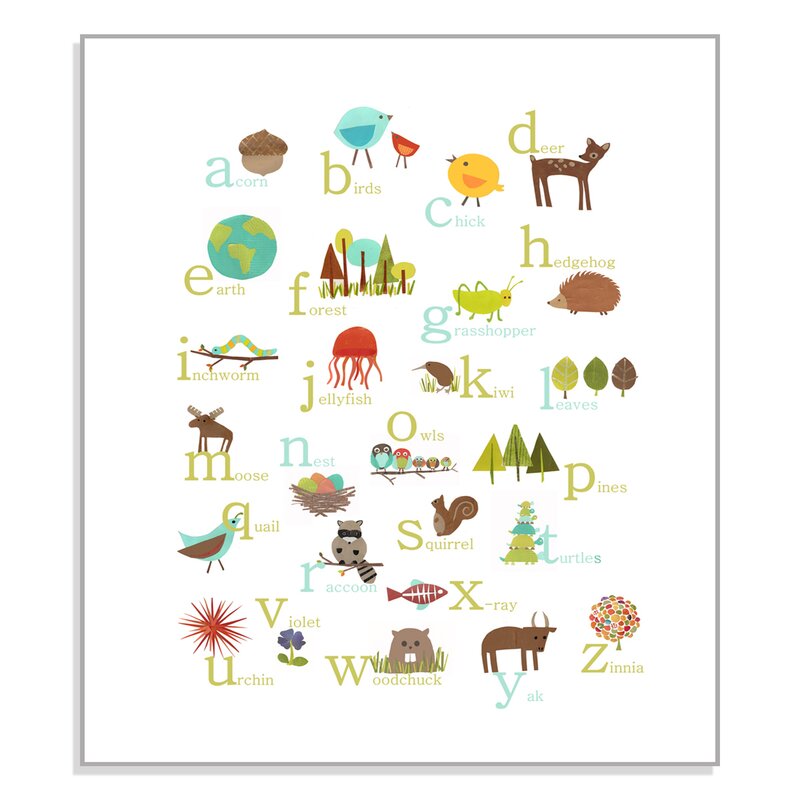
Woodland Alphabet Art

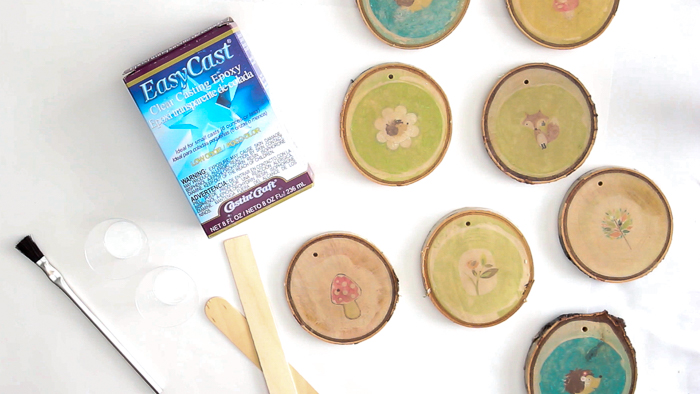
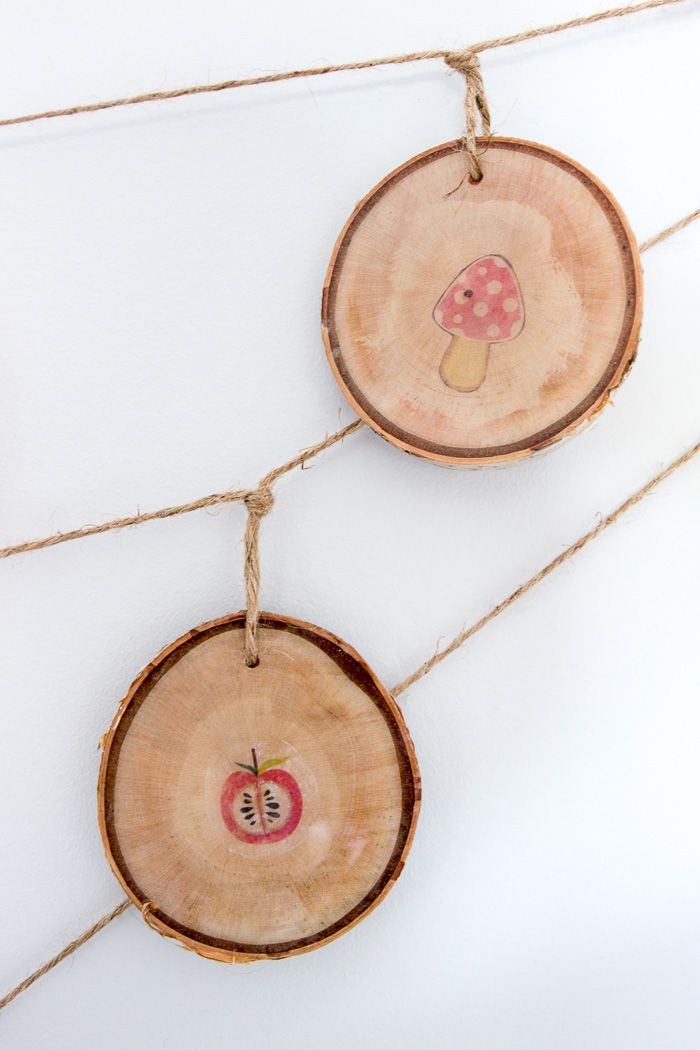
We transferred colorful printouts of cartoon forest animals on to the wood slices but this technique can be done with any theme. And although it’s true that you can simply just transfer (or even mod podge) the images on to the slices and be done, the layer of resin really adds a beautiful finishing touch to the wood. Just look at that shine!
Materials Needed:
Disclosure: This post contains affiliate links for your shopping convenience. Should you choose to purchase through them, we will make a small commission at no extra cost to you. You can read our full disclosure here.
- 11 wood slices, approx 3” in diameter and 1/8inch thick, drilled with hole for hanging
- Images you want to transfer, cut to size
- Photo transfer medium, paint brush, cloth
- Water based sealer
- EasyCast Clear Casting Epoxy Resin
- Twine
- Scissors
How to Make a Wood Slice Garland with Resin
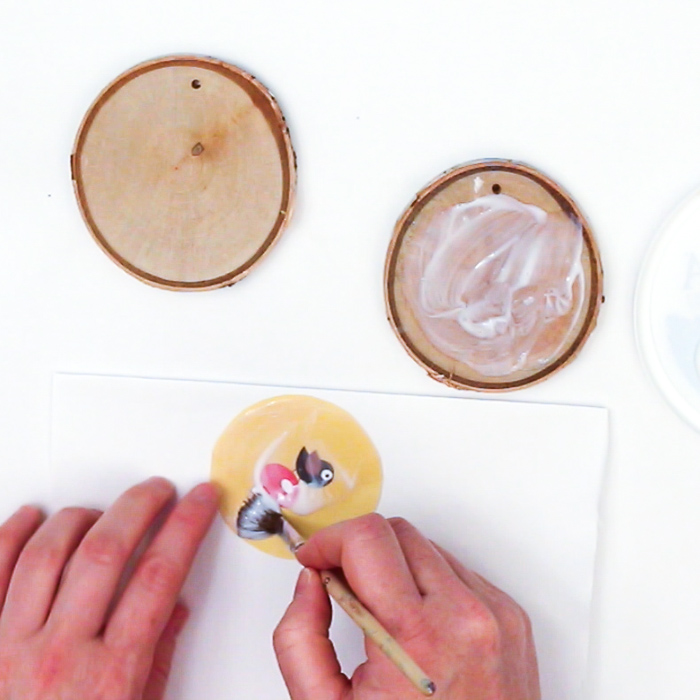
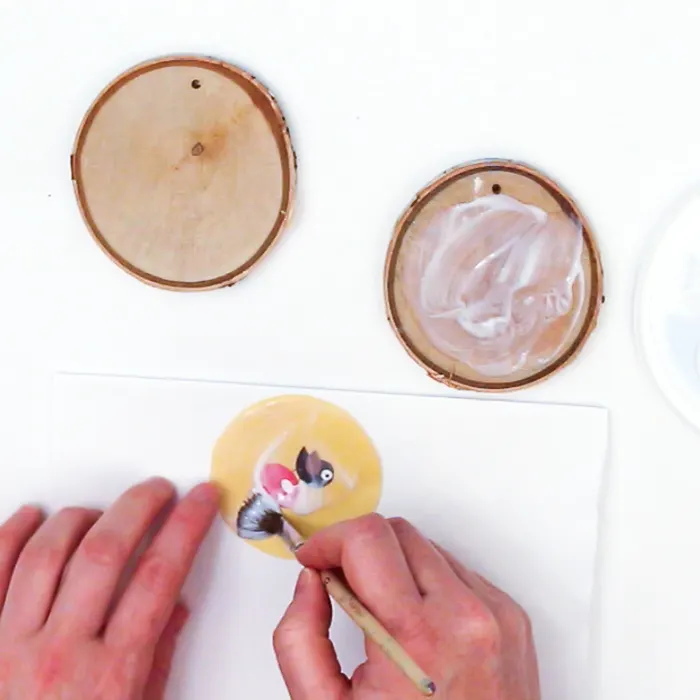
Print off the images you want to use on a colored printer, sizing them to fit on the individual wood slices. And then cut around each image so they fit on to the slice.
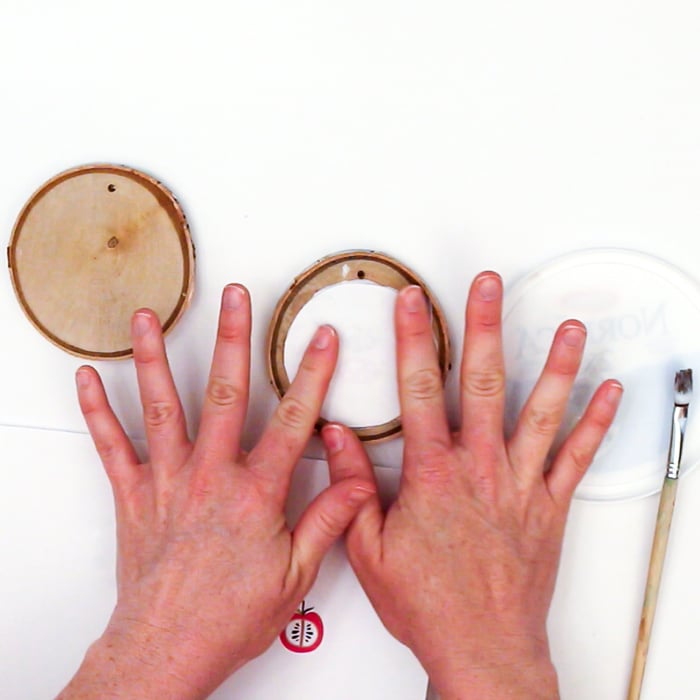
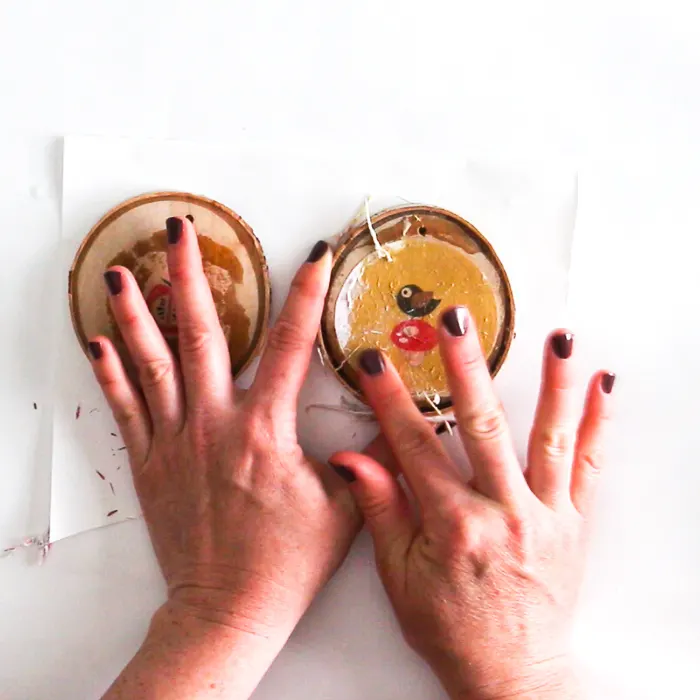
Apply photo transfer medium to the front side of the image and onto the wood slice where you plan to place it. Apply the image to the wood slice face side down. Smooth out any air bubbles and wipe away excess medium with a damp cloth. Let dry completely as per instructions on the image transfer medium (left mine overnight).

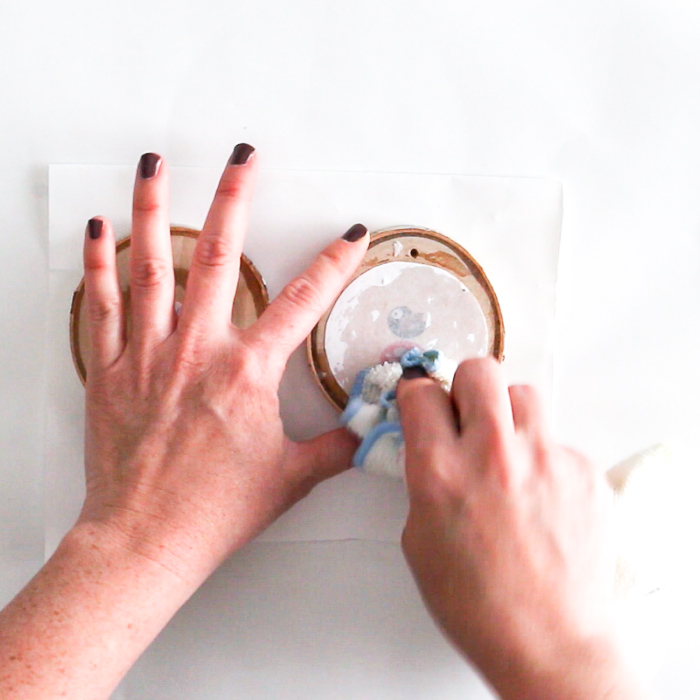
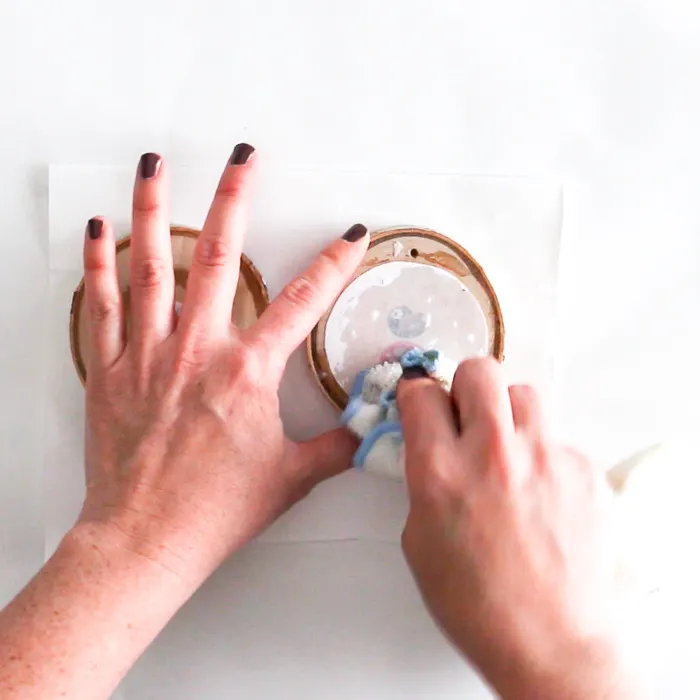
Wet the paper with a damp cloth and let sit for a few minutes. Gently rub off the paper with your finger or the cloth. Wipe off as much of the paper as you can, repeating the wetting part as needed. The more you rub, the fainter the image will be. Coat the entire surface of the wood include the transferred image with a sealer. Let dry completely (ideally overnight).

Applying the Resin
Mix equal amounts of the EasyCast Clear Casting Epoxy Resin and Hardener into a small measuring cup.
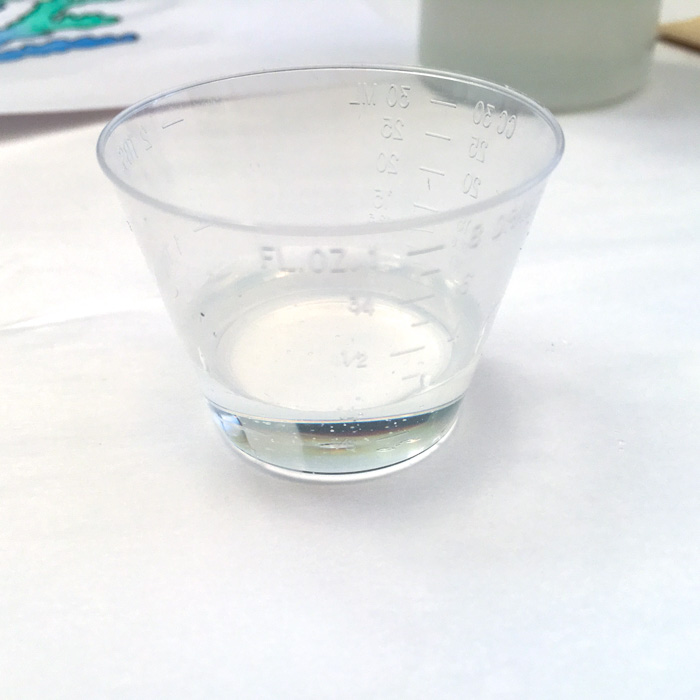
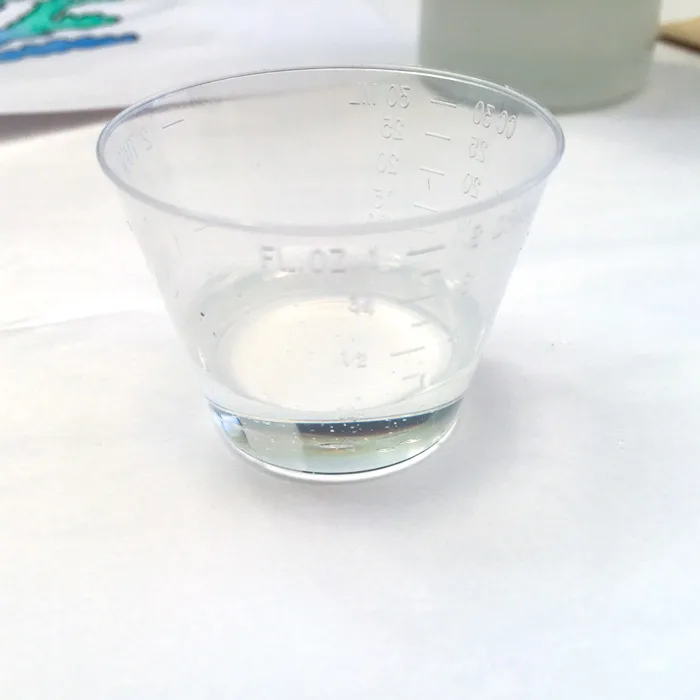
Taking care to scrape the sides and bottom of the measuring cup, I stirred the mixture thoroughly for 2 minutes.

After the two minutes of mixing, I poured the blended resin solution into a second cup, mixing for another minute.
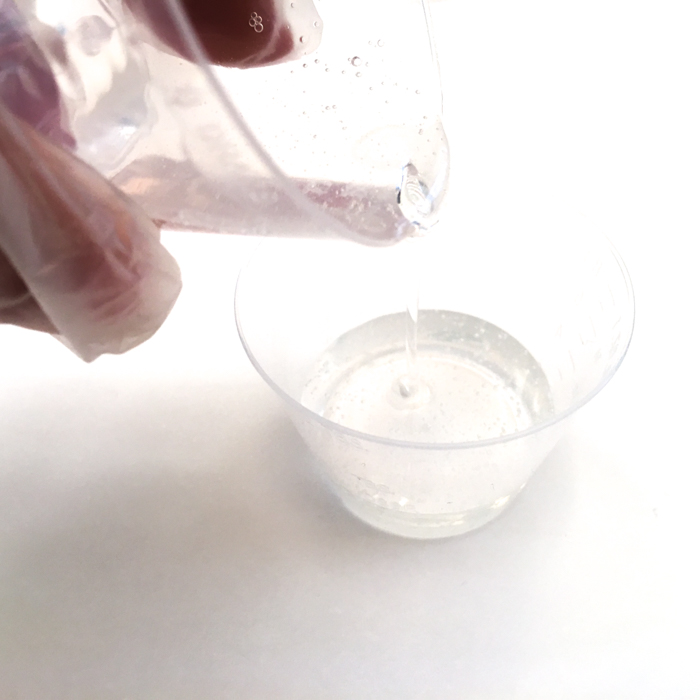

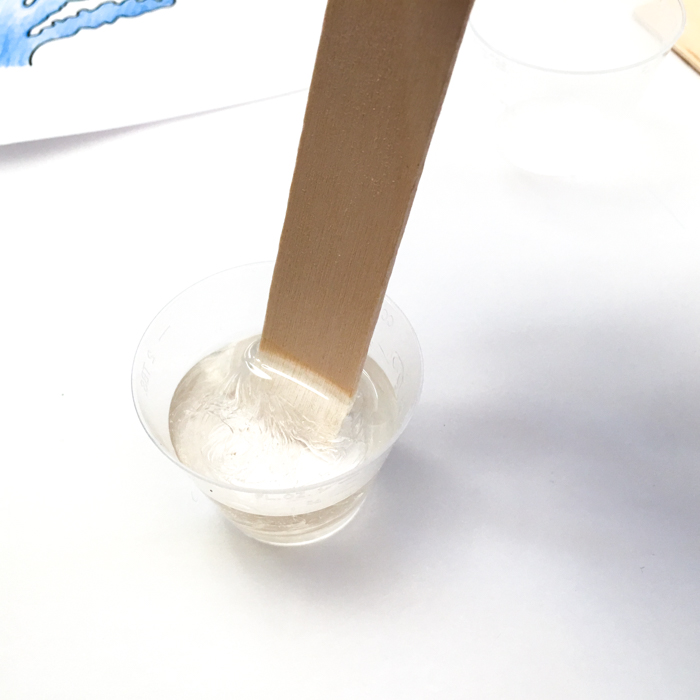
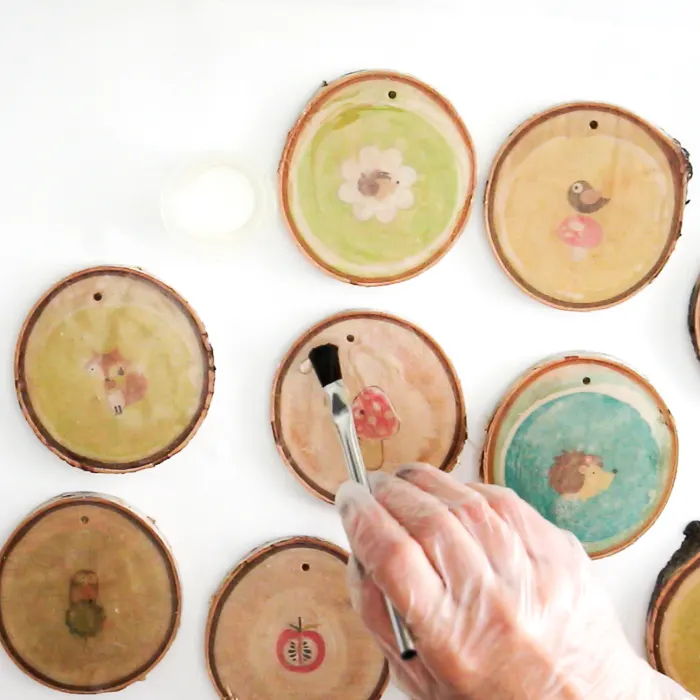
Once thoroughly mixed I applied the resin to the surface of the sealed wood slices using a disposable paint brush.

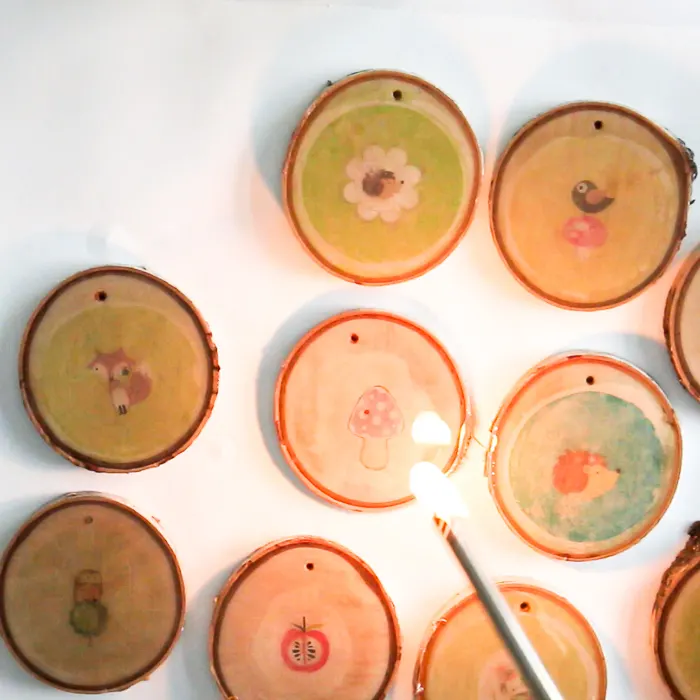
Finally, about 30 minutes after brushing the resin onto the wood slices, I waived a lighter about 4″ over the wood slices to remove any air bubbles that had risen to the surface. You could also use a straw and gently blow over the slices.

Once cured for 2 hours, repeat with second side if desired.
To Assemble the Garland
Cut 3 pieces of twine each 75” long. Strong and tie the wood slices on the twine in your desired pattern.
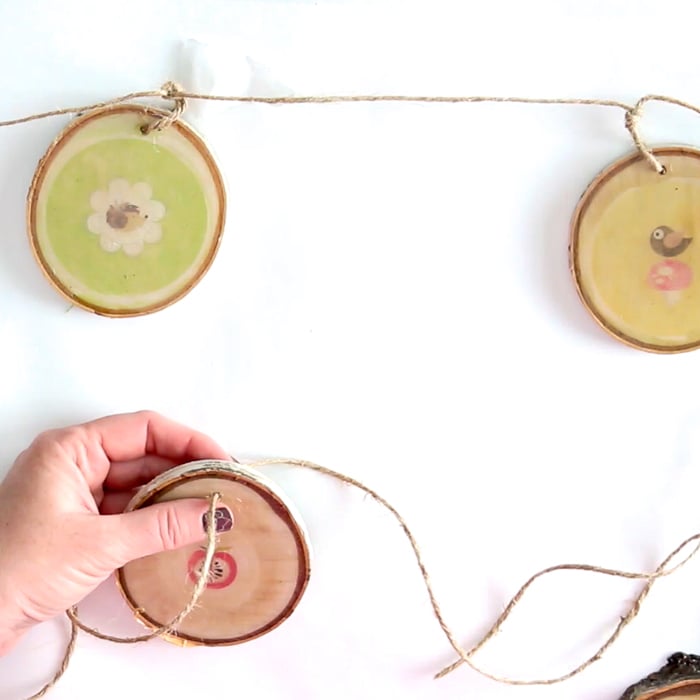

I did 5 on the first string, 3 on the second string and 2 on the third and the wood slices were about 7.5-8” apart.
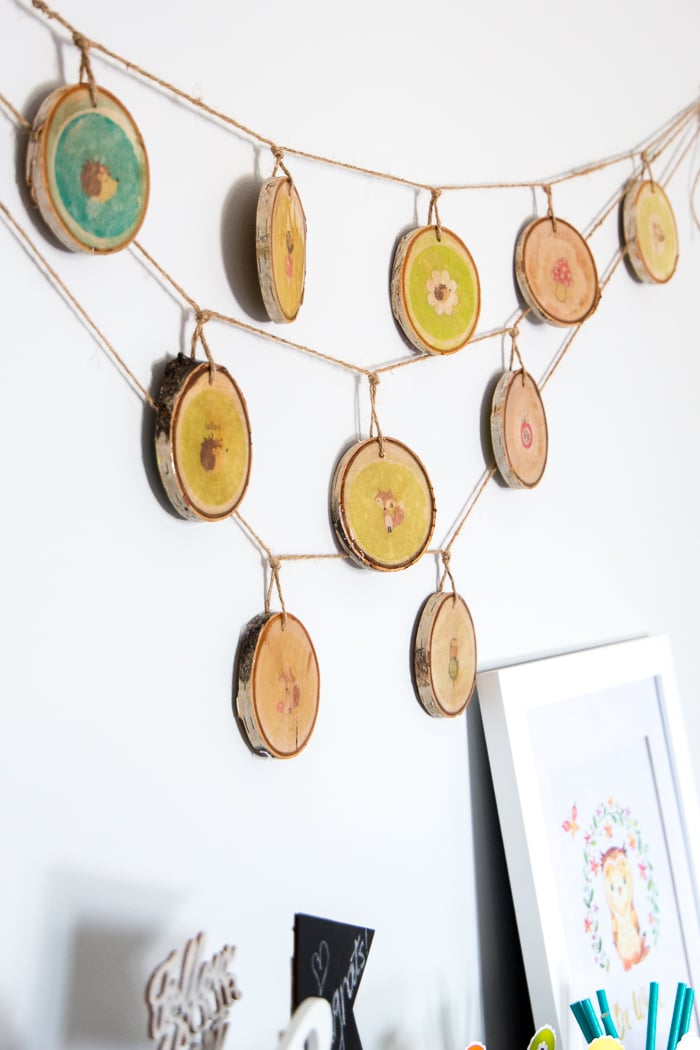

And with that, the garland is complete! Now it can be hung on the wall in a nursery for example or above a buffet table at a woodland themed party. Or if you’re like me, have it hanging all year round for a sweet, rustic touch to your home. This project originally appeared on Resin Crafts Blog project gallery.
More Woodland Nursery Decor Ideas
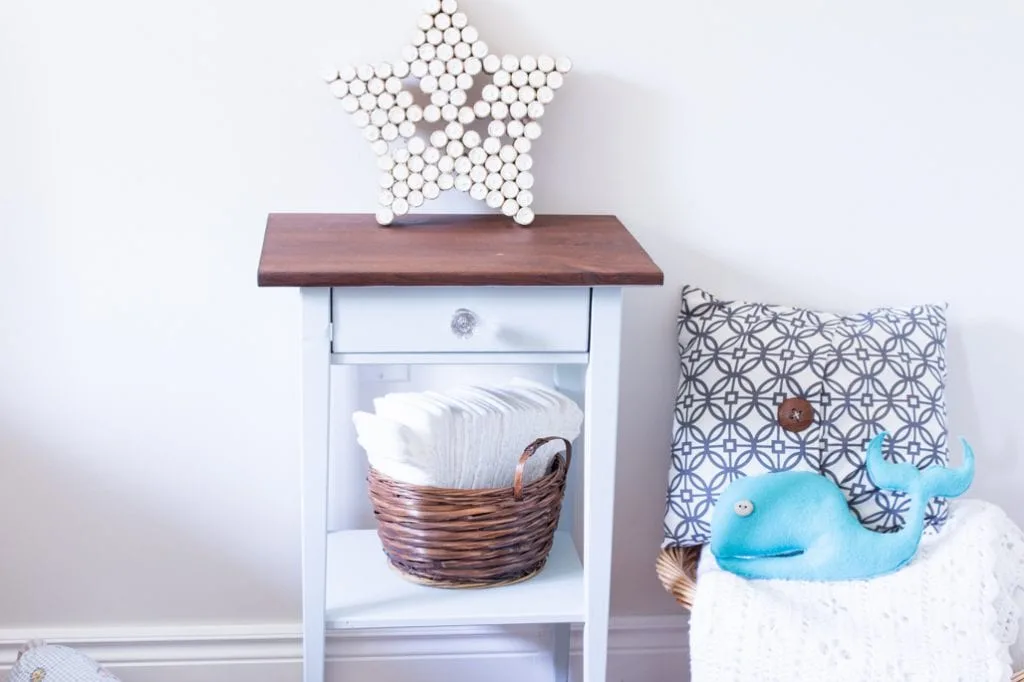
Add some more DIYs to your space with a nightstand makeover and more woodland decorations, like these wooden monogram letters.


Like it? Pin if for later!


Woodland Nursery Decor with Wood Slice Garland
Materials
- 11 wood slices approx 3” in diameter and 1/8inch thick, drilled with hole for hanging
- Images you want to transfer cut to size
- Photo transfer medium paint brush, cloth
- Water based sealer
- Resin
- Twine
- Scissor
Instructions
- Apply photo transfer medium to the front side of the image and onto the wood slice where you plan to place it. Apply the image to the wood slice face side down.
- Wet the paper with a damp cloth and let sit for a few minutes. Gently rub off the paper with your finger or the cloth.
Applying the Resin
- Mix equal amounts of the EasyCast Clear Casting Epoxy Resin and Hardener into a small measuring cup.
- Taking care to scrape the sides and bottom of the measuring cup, I stirred the mixture thoroughly for 2 minutes.
- After the two minutes of mixing, I poured the blended resin solution into a second cup, mixing for another minute.
- Once thoroughly mixed I applied the resin to the surface of the sealed wood slices using a disposable paint brush.
- Finally, about 30 minutes after brushing the resin onto the wood slices, I waived a lighter about 4″ over the wood slices to remove any air bubbles that had risen to the surface. You could also use a straw and gently blow over the slices.
- Once cured for 2 hours, repeat with second side if desired.
To Assemble the Garland
- Cut 3 pieces of twine each 75” long. Strong and tie the wood slices on the twine in your desired pattern.