
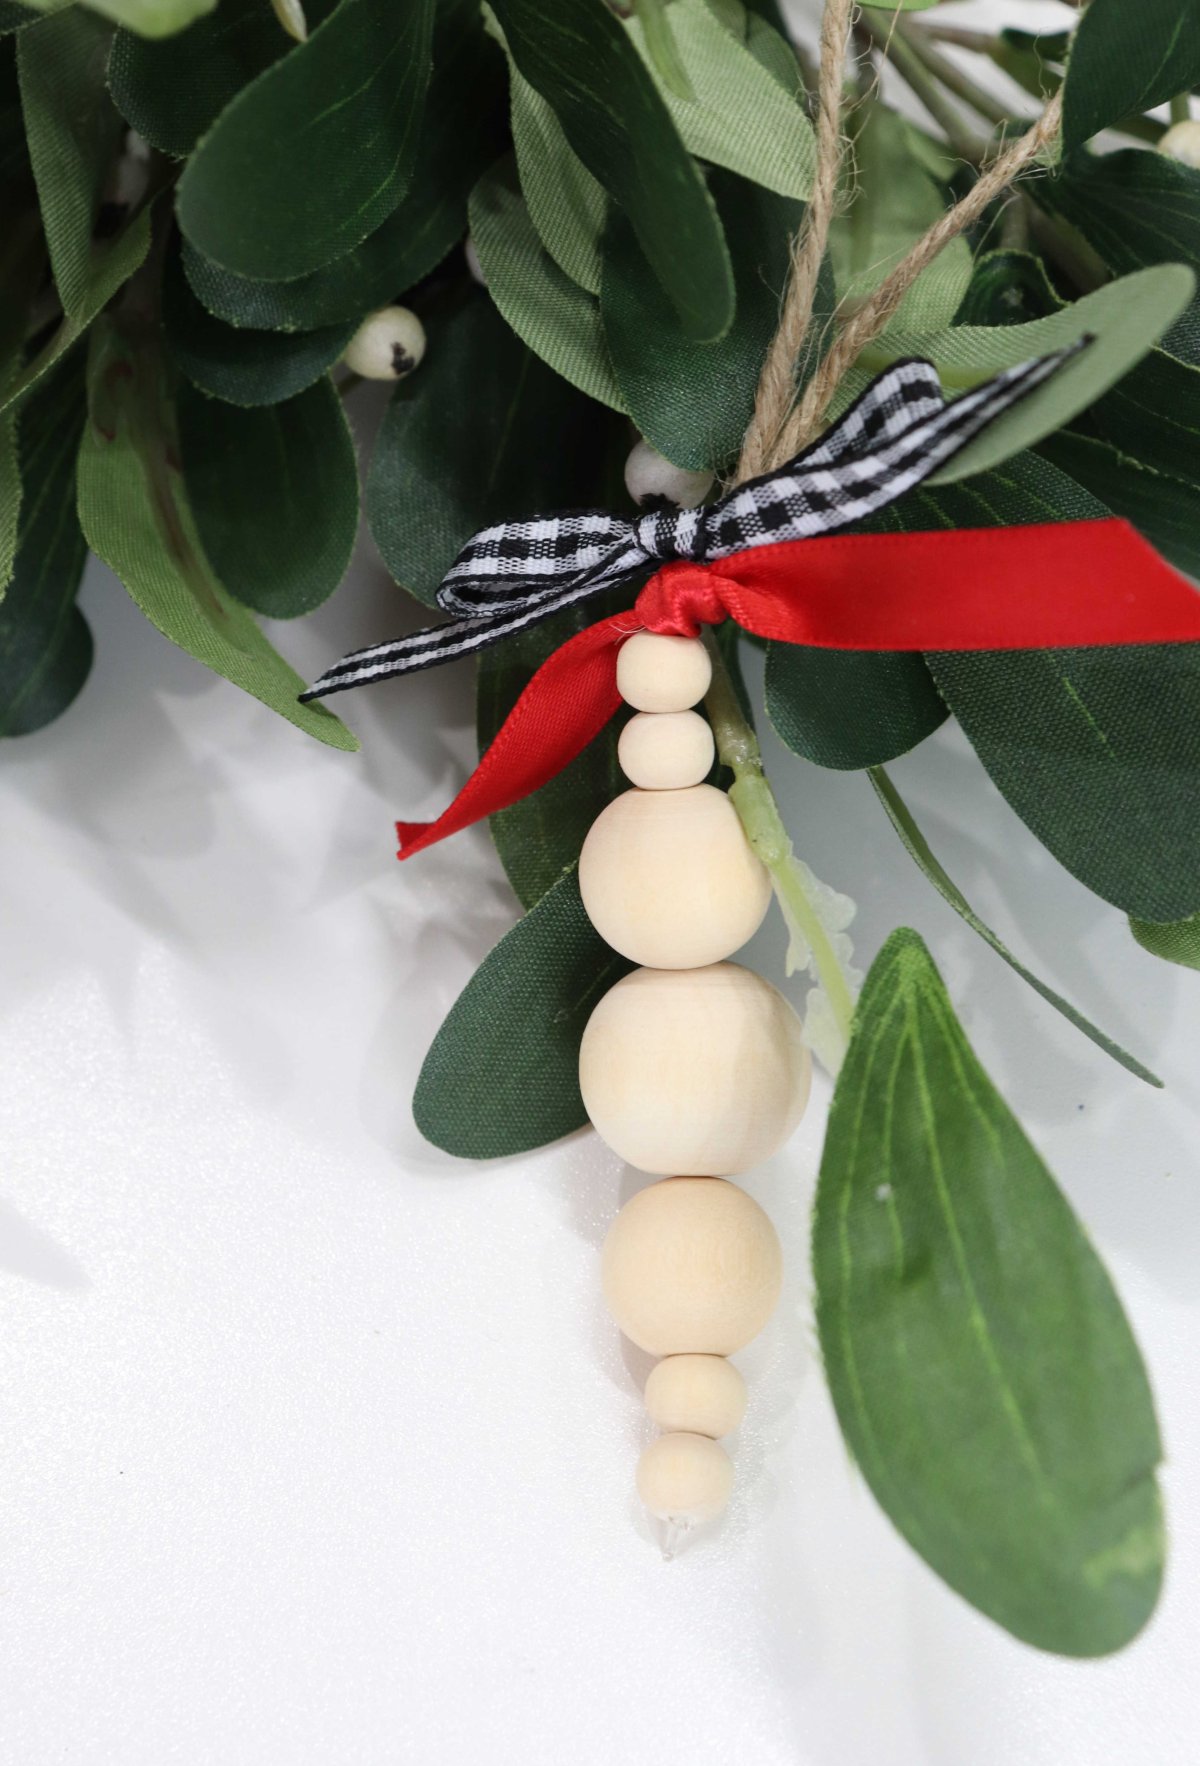
Wooden Bead Ornaments: Baubles/Icicles
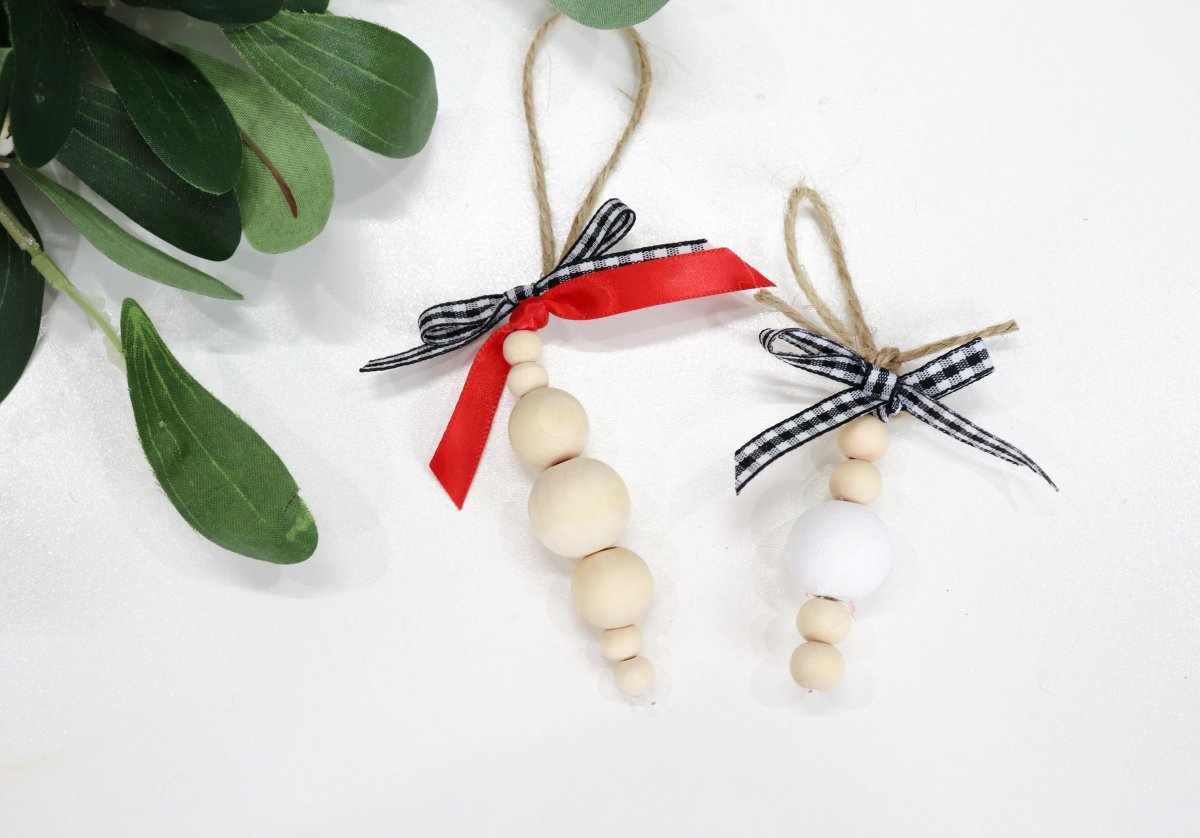
Wooden beads are so popular for all kinds of decor right now, so I thought it would be fun to do a little mini-series of posts on several different types of wooden bead ornaments you can create! Today, we’re going to start with these little baubles, which I think can also look a bit like icicles!
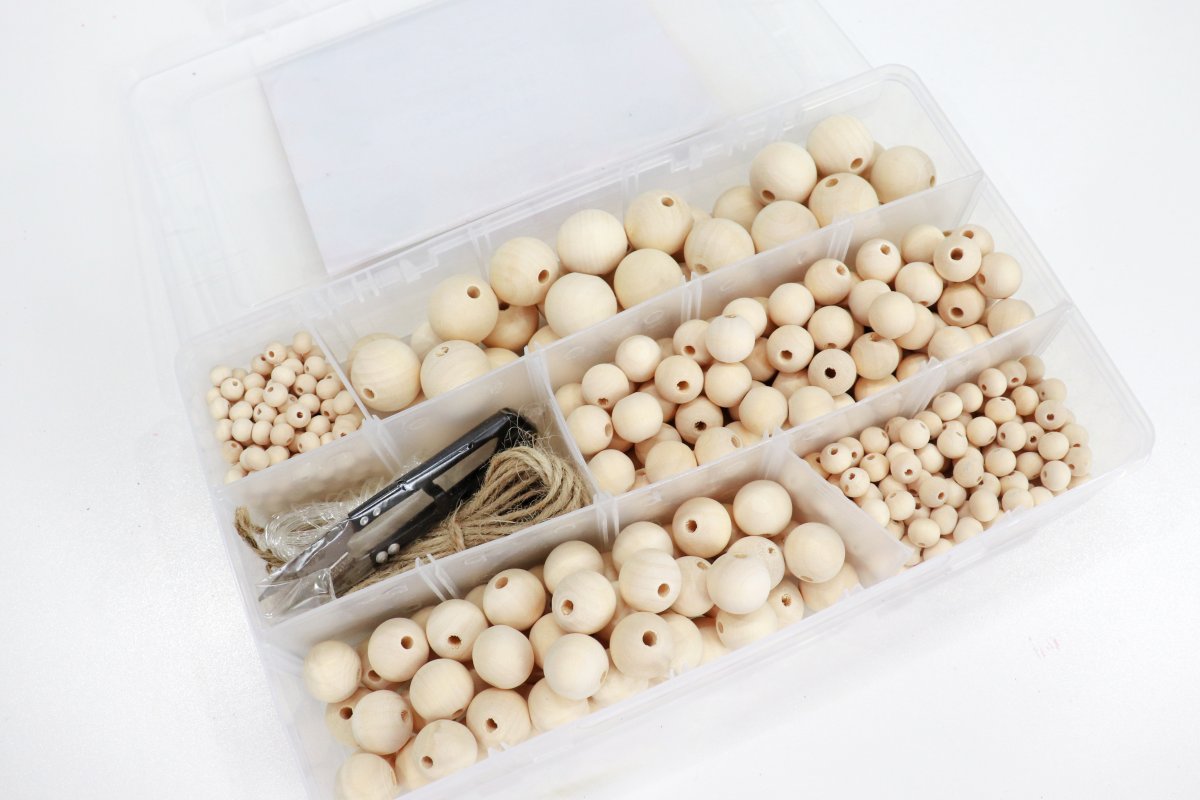
The basic supply I used for these, as well as the other ornaments you’ll see over the next few days, is the Incraftables Wooden Beads Set. It comes with five different sizes of wooden beads, elastic cord, and jute twine. The only other supplies you’ll need are ribbon and paint/paintbrush if you want your beads a color other than the natural wood.
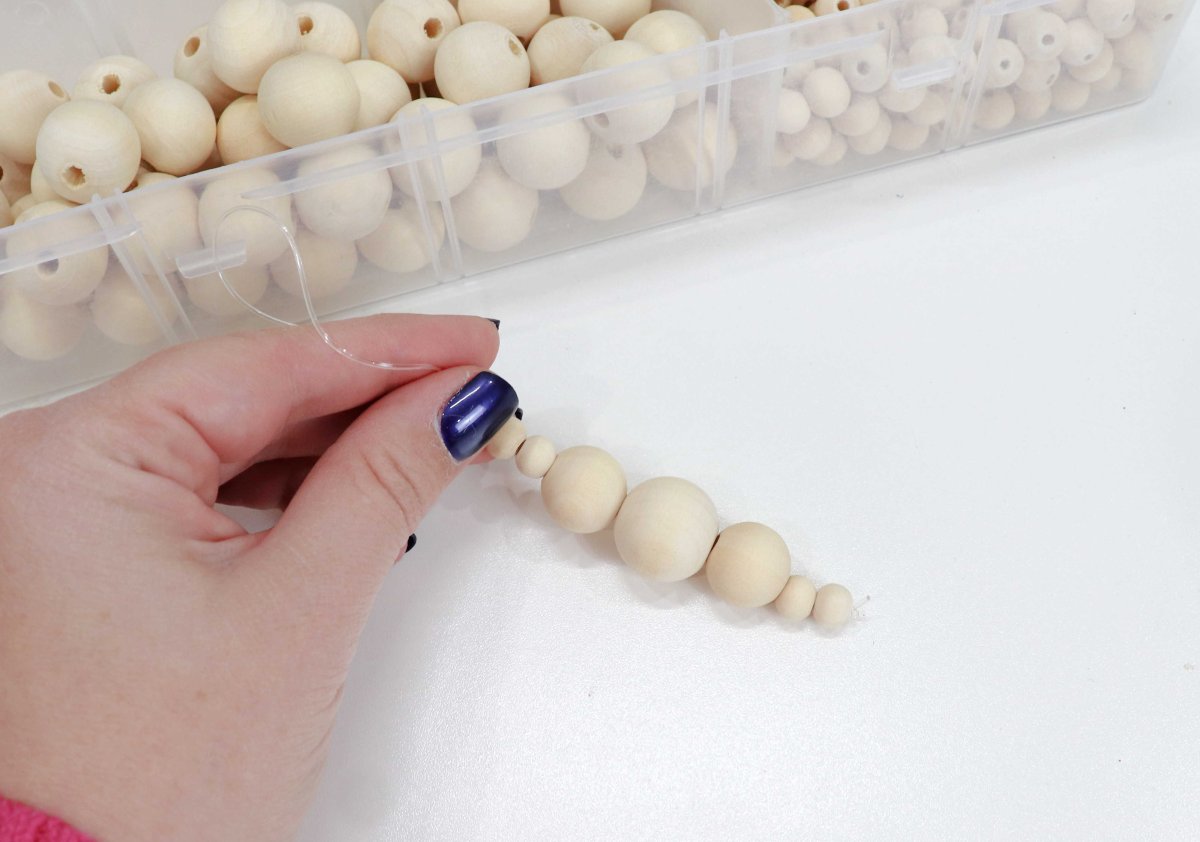
Step 1: String your beads on elastic cord.
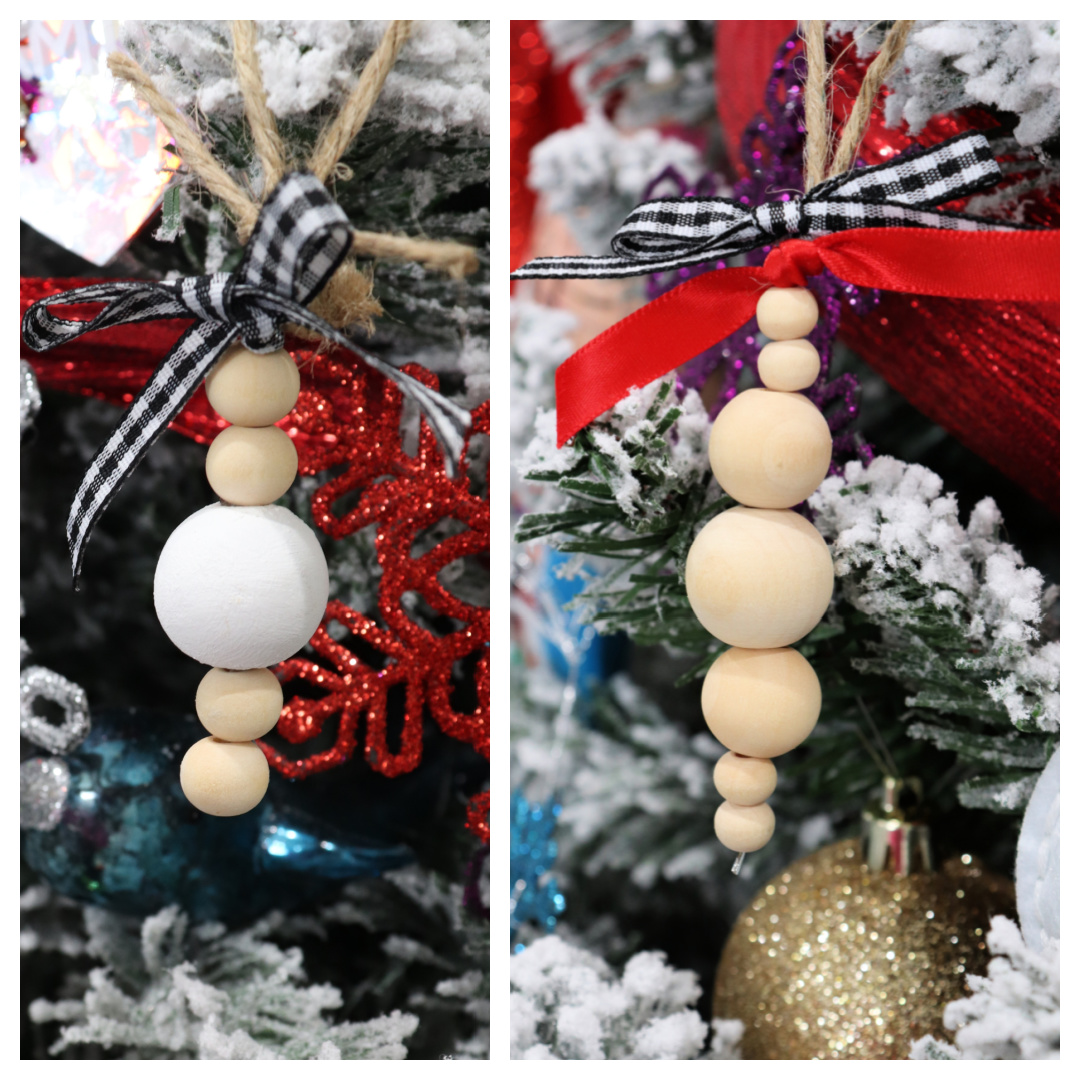
You can use whatever number of beads and pattern you like. I prefer to start and end with smaller beads and put larger ones in the center. For my all-natural bauble, my pattern was two 8mm beads, a 15mm, a 20mm, a 15mm, and two more 8mm. For my smaller bauble, I used two 10mm beads, a 20 mm bead, and two more 10mm beads. Tie a double knot at one end of a piece of cord, string your beads, then tie a knot at the other end. You can secure these knots with a drop of super glue if you like to make sure they’re extra strong.
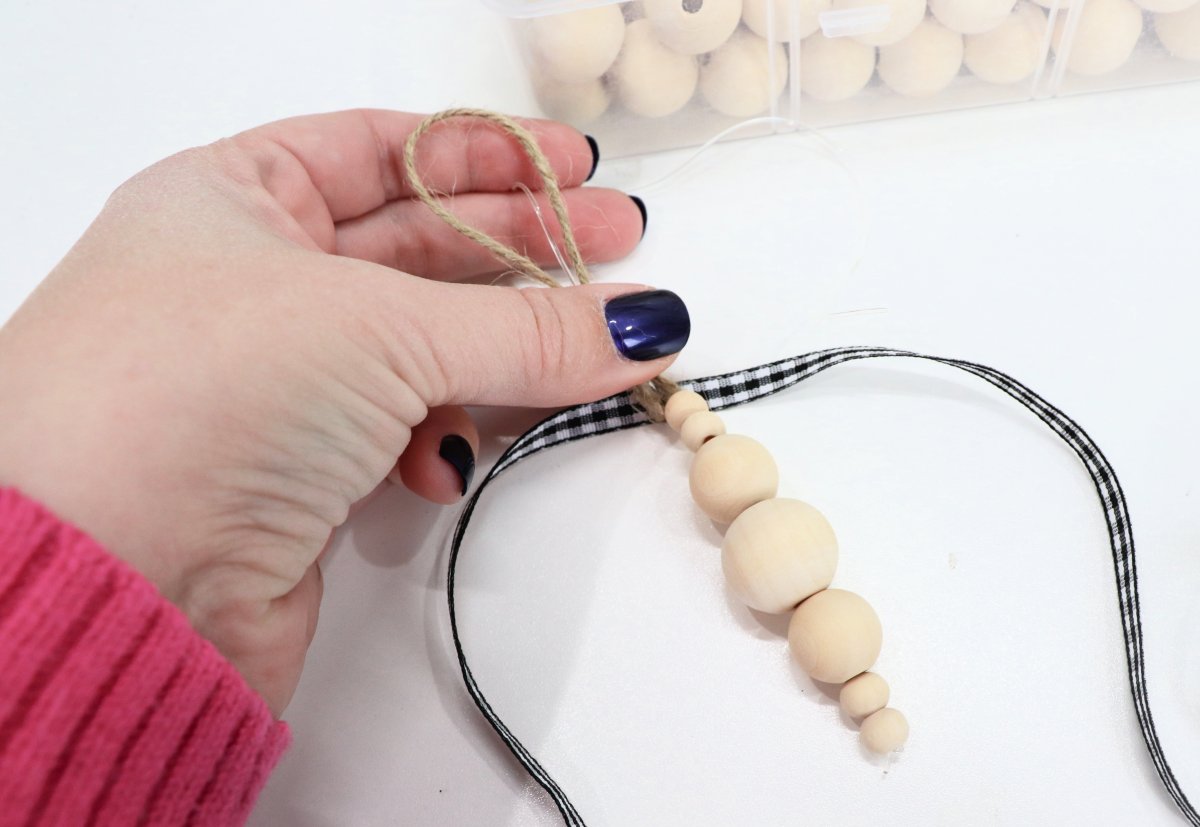
Step 2: Add a twine loop.
Tie a loop of twine to the elastic cord at the top. Trim the extra cord.
Step 3: Tie ribbon knots/bows.
Use your favorite colors and patterns to coordinate with your tree. I used red and buffalo plaid.
It’s that simple! These ornaments take less than five minutes to make, and they’re so cute hanging on the tree or tied onto a package.
You can paint some of the beads if you like, or leave them their natural colors. I recommend painting them before you string them onto the cord. In fact, I like to thread my beads onto a wooden skewer for painting; that way you can get to all of the sides and they don’t roll away while you’re working! Then, once the paint is dry, you’re ready to string them onto the elastic.
Stay tuned for three more wooden bead ornament ideas coming soon! Also, if you try this project, I’d love to see how it turns out; make sure you’re part of the Amy Latta & Friends Facebook Group so you can share your photos in our weekly show & tell thread. See you there!


3 Comments