
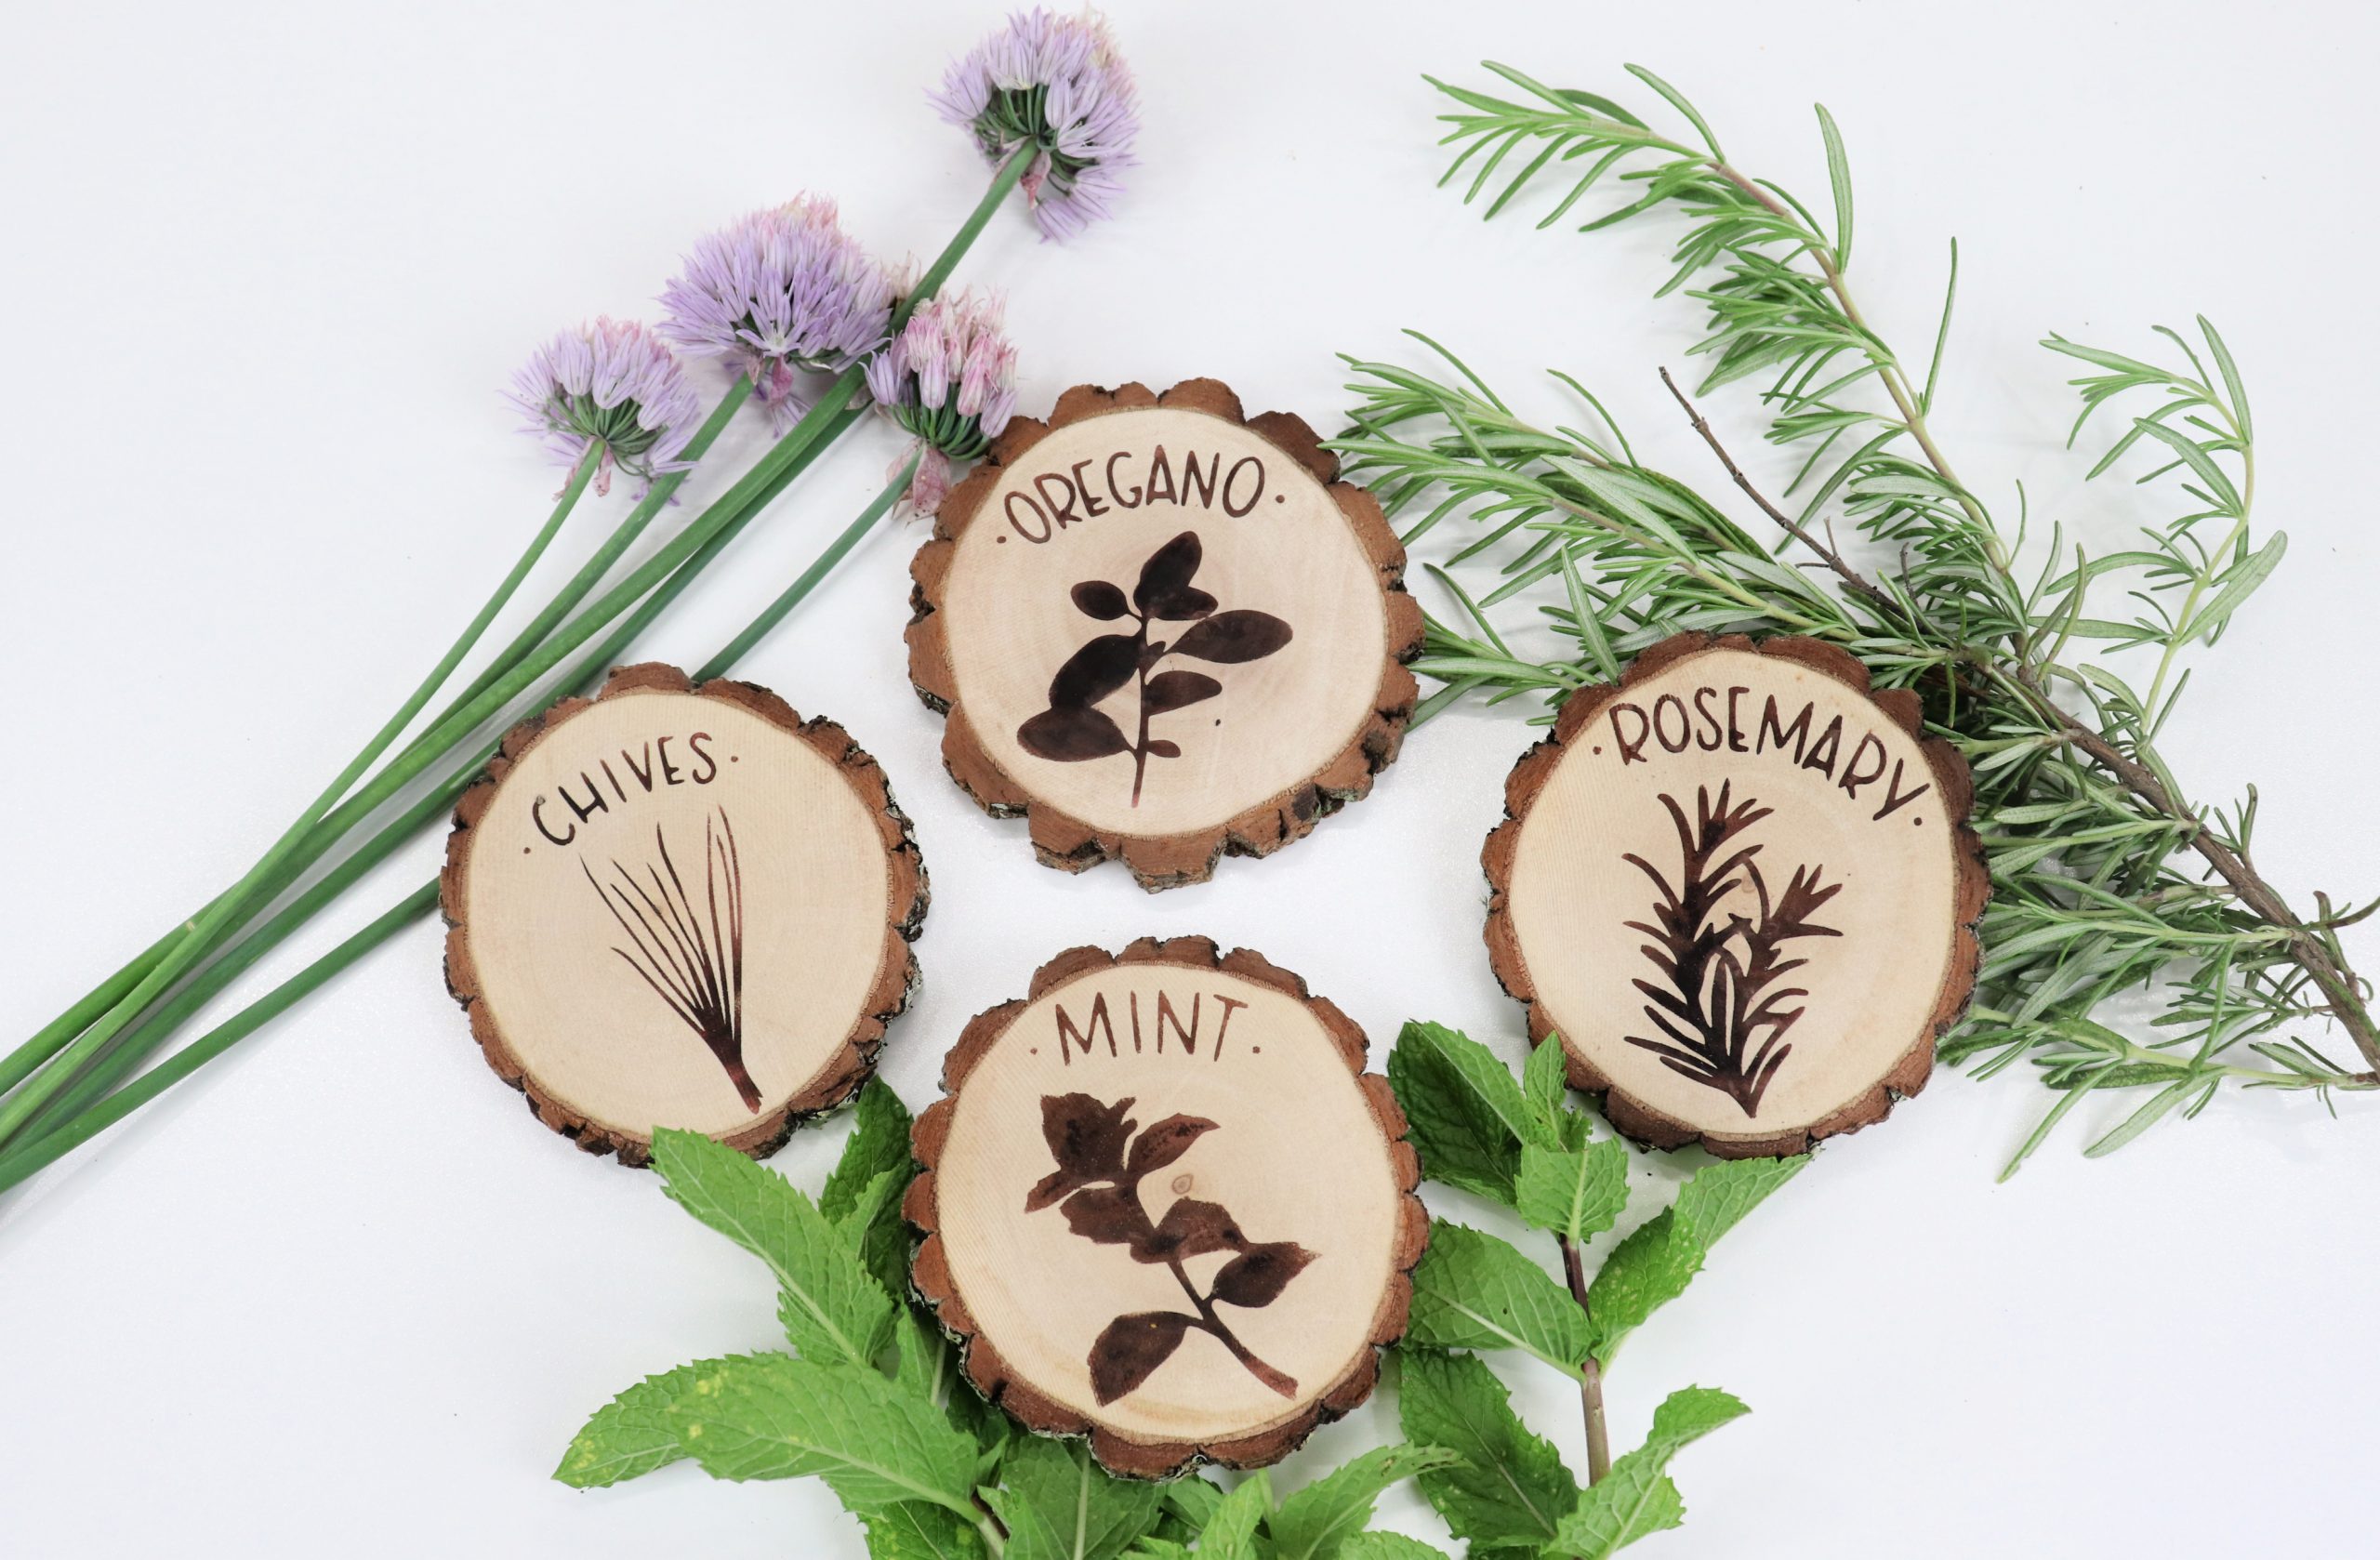
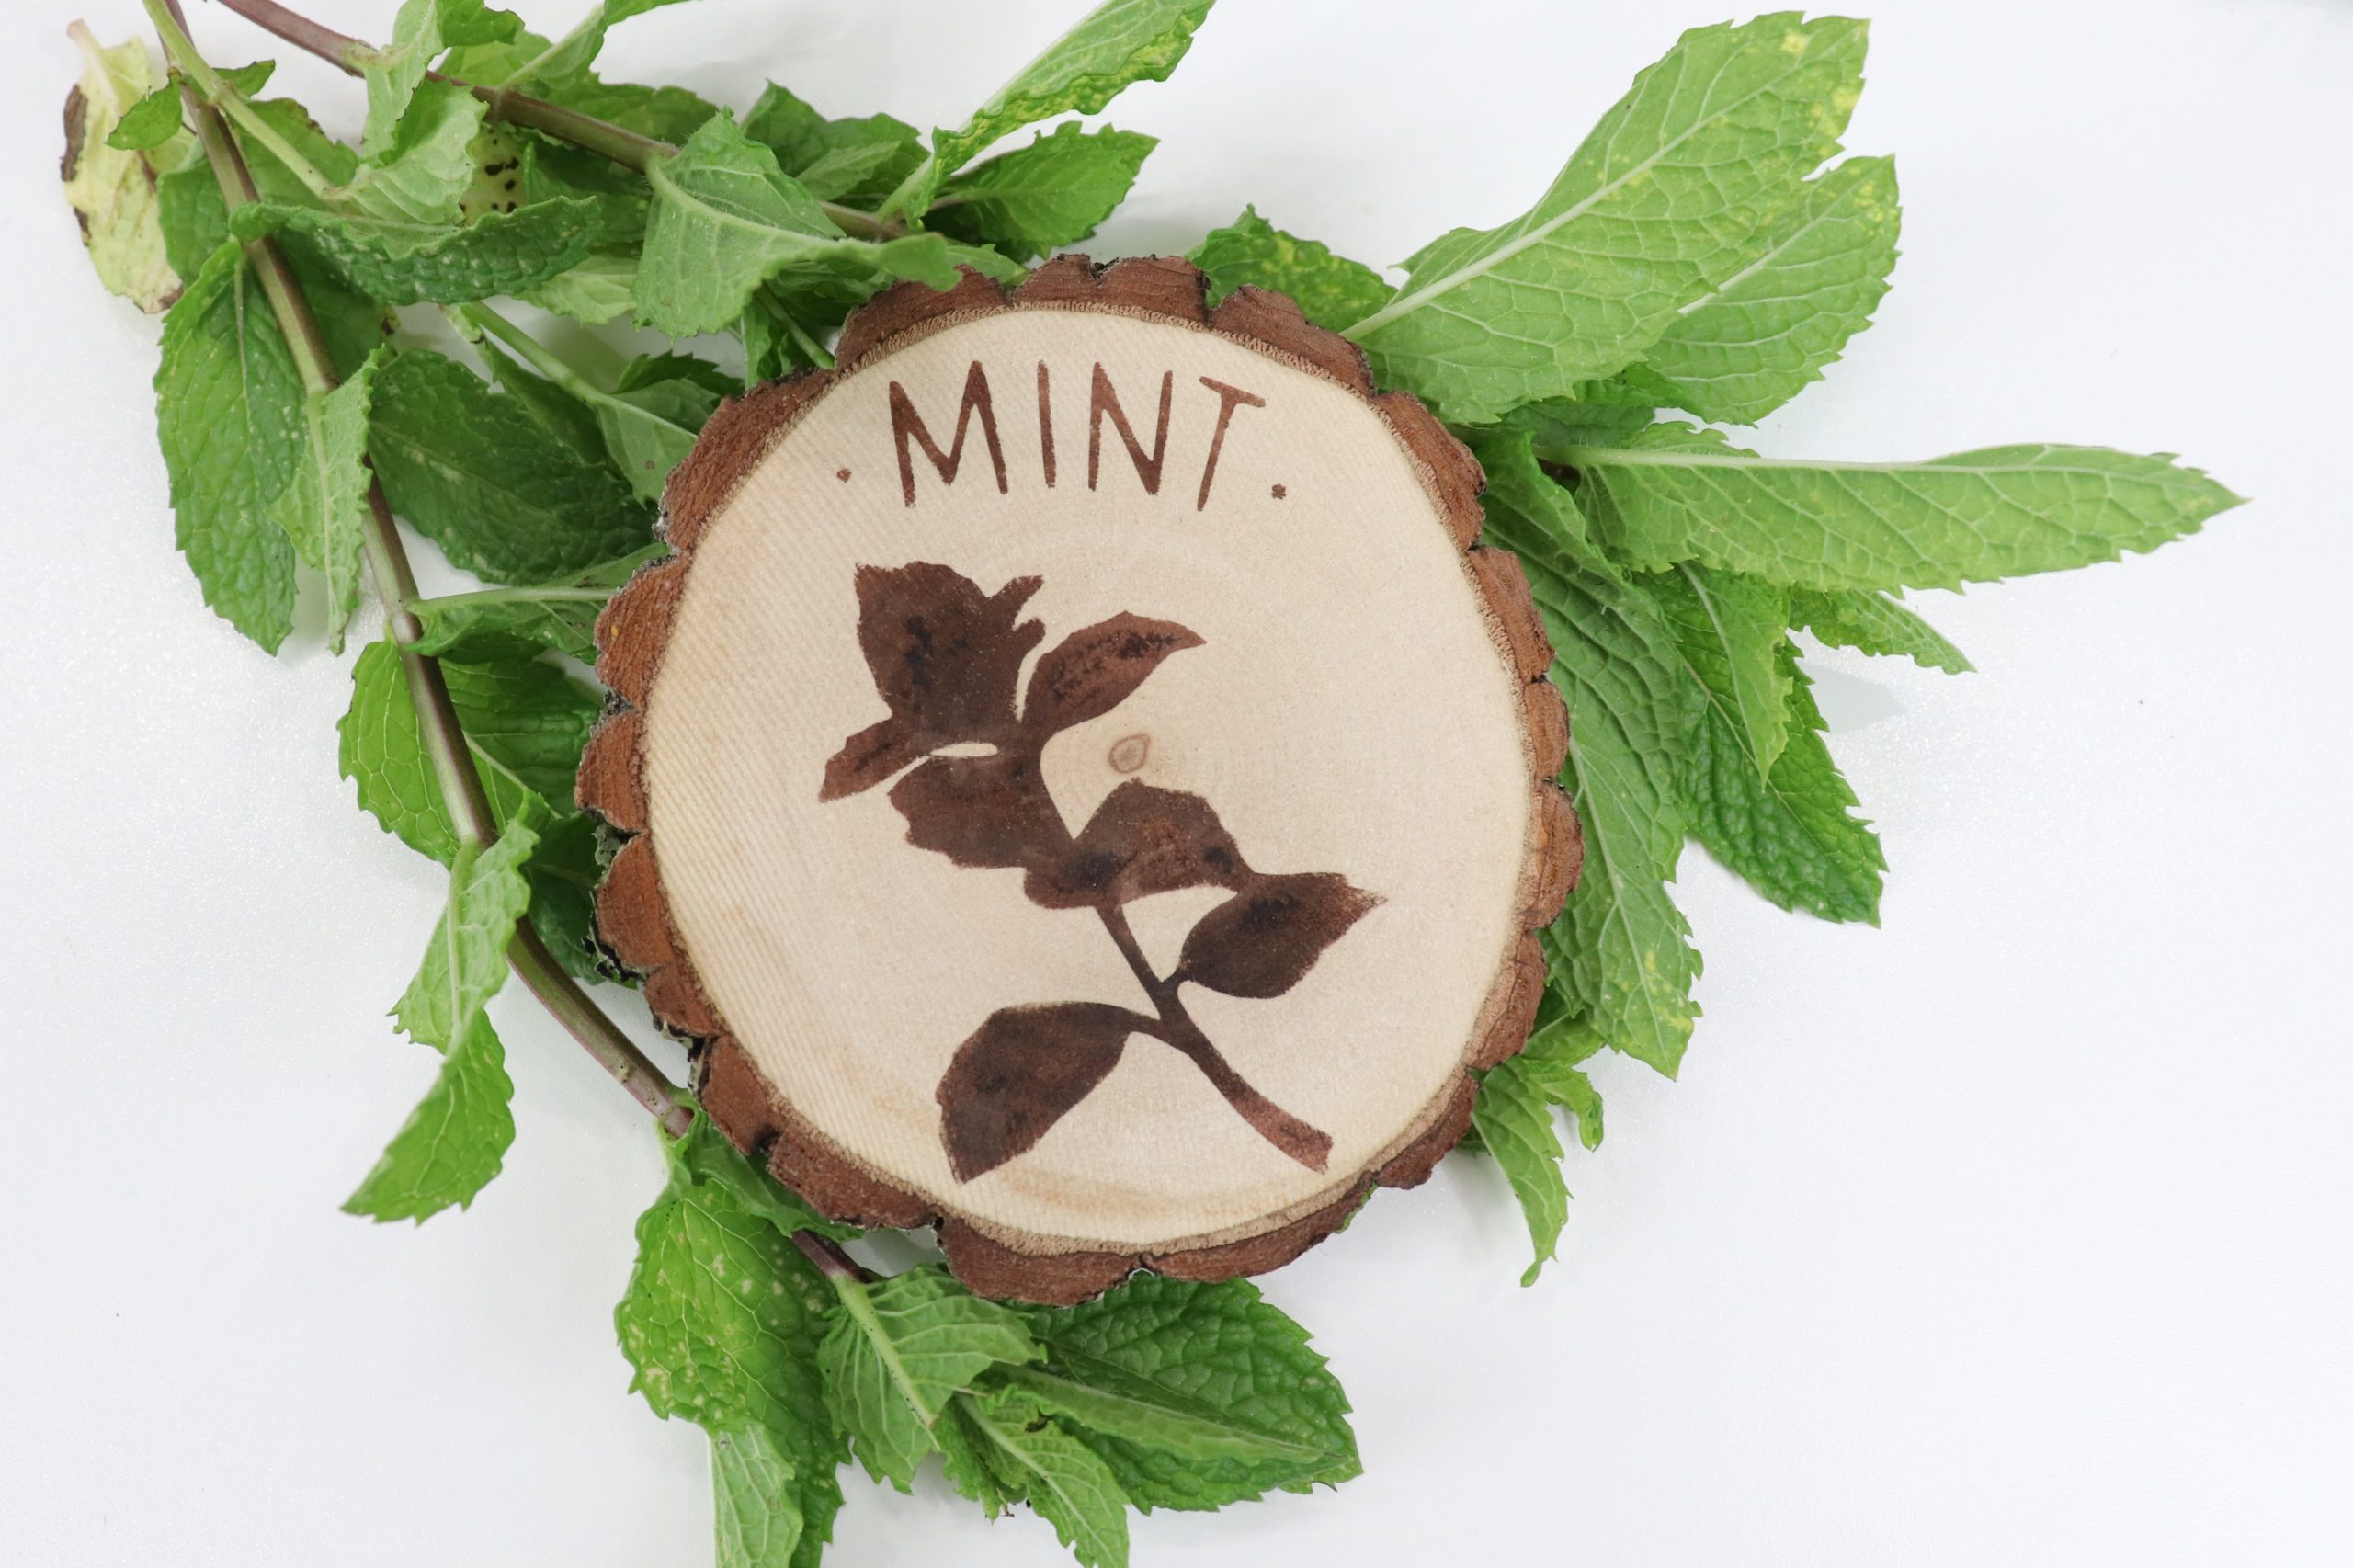
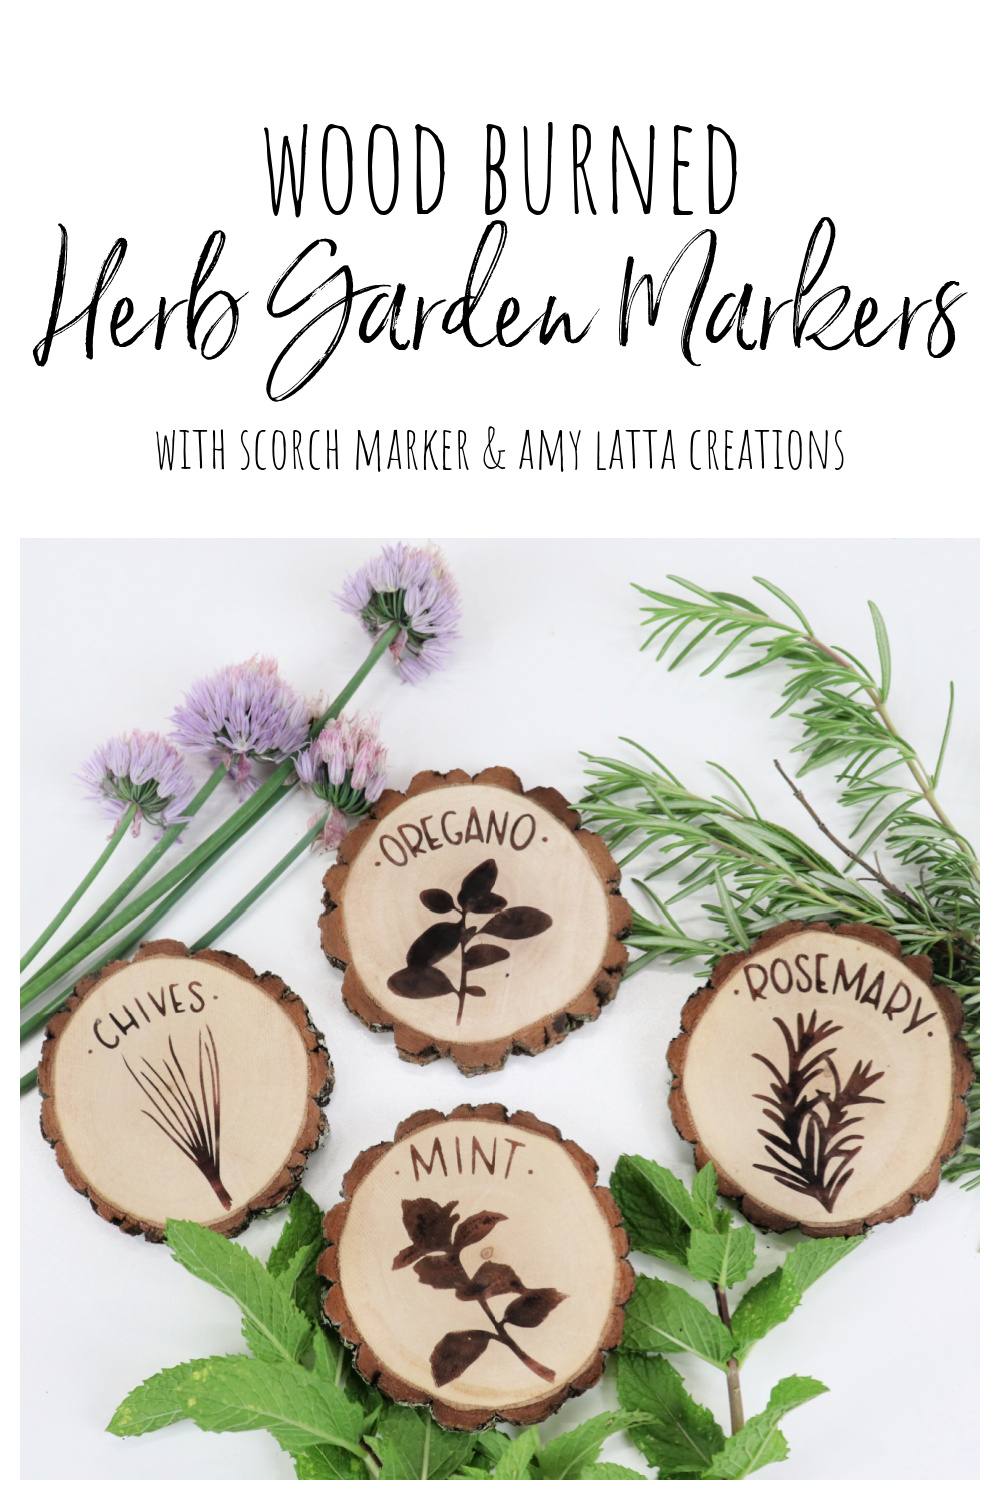
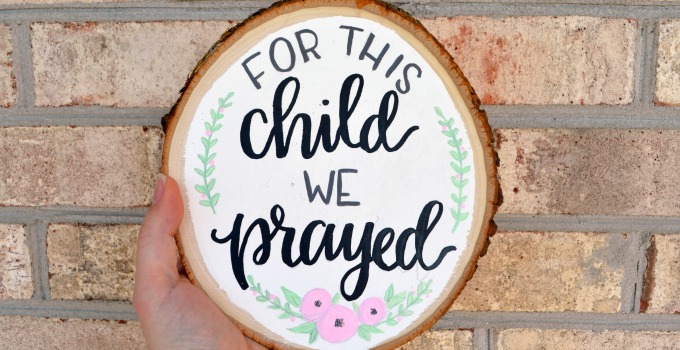
Wood Burned Herb Garden Markers
Thanks to Scorch Marker for sponsoring today’s post. All opinions are my own.
Did you know that June 10 is National Herbs and Spices Day? To celebrate, let’s make a set of wood burned herb garden markers using a special stencil set I designed with my friends at Scorch Marker. Grab your supplies, and let’s get crafty!
Follow along with this video tutorial, or check out the step by step photo instructions below.
You’ll need:
Wood rounds (I recommend 3+” in diameter)
Herb Garden Stencils (these are digital files you can use in any way you like)
Cricut or other cutting machine (OR printout of reversed images and pencil)
Scissors
Heat tool (1000+ watts) or oven
Creating your Herb Garden Markers
Step 1: Create your stencils.
First, download the images from the Scorch Marker website and save them to your device. If you have a cutting machine like the Cricut, upload the images to your cutting machine’s software (Design Space). Size them to fit a 3″ circle, then cut your designs from removable vinyl.
If you don’t have a cutting machine, you can use the pencil transfer method instead. Just print out your images in reverse, then trace around them with a pencil. Flip your paper upside down and trace with pencil again from the opposite side. This will transfer your first set of pencil lines onto the wood so you can see what areas to fill in with the Scorch Marker. Then, skip to step
Pro tip: It doesn’t matter what color vinyl you use, because these stencils will not be part of your finished project. This is a great way to use up your vinyl scraps from other projects!
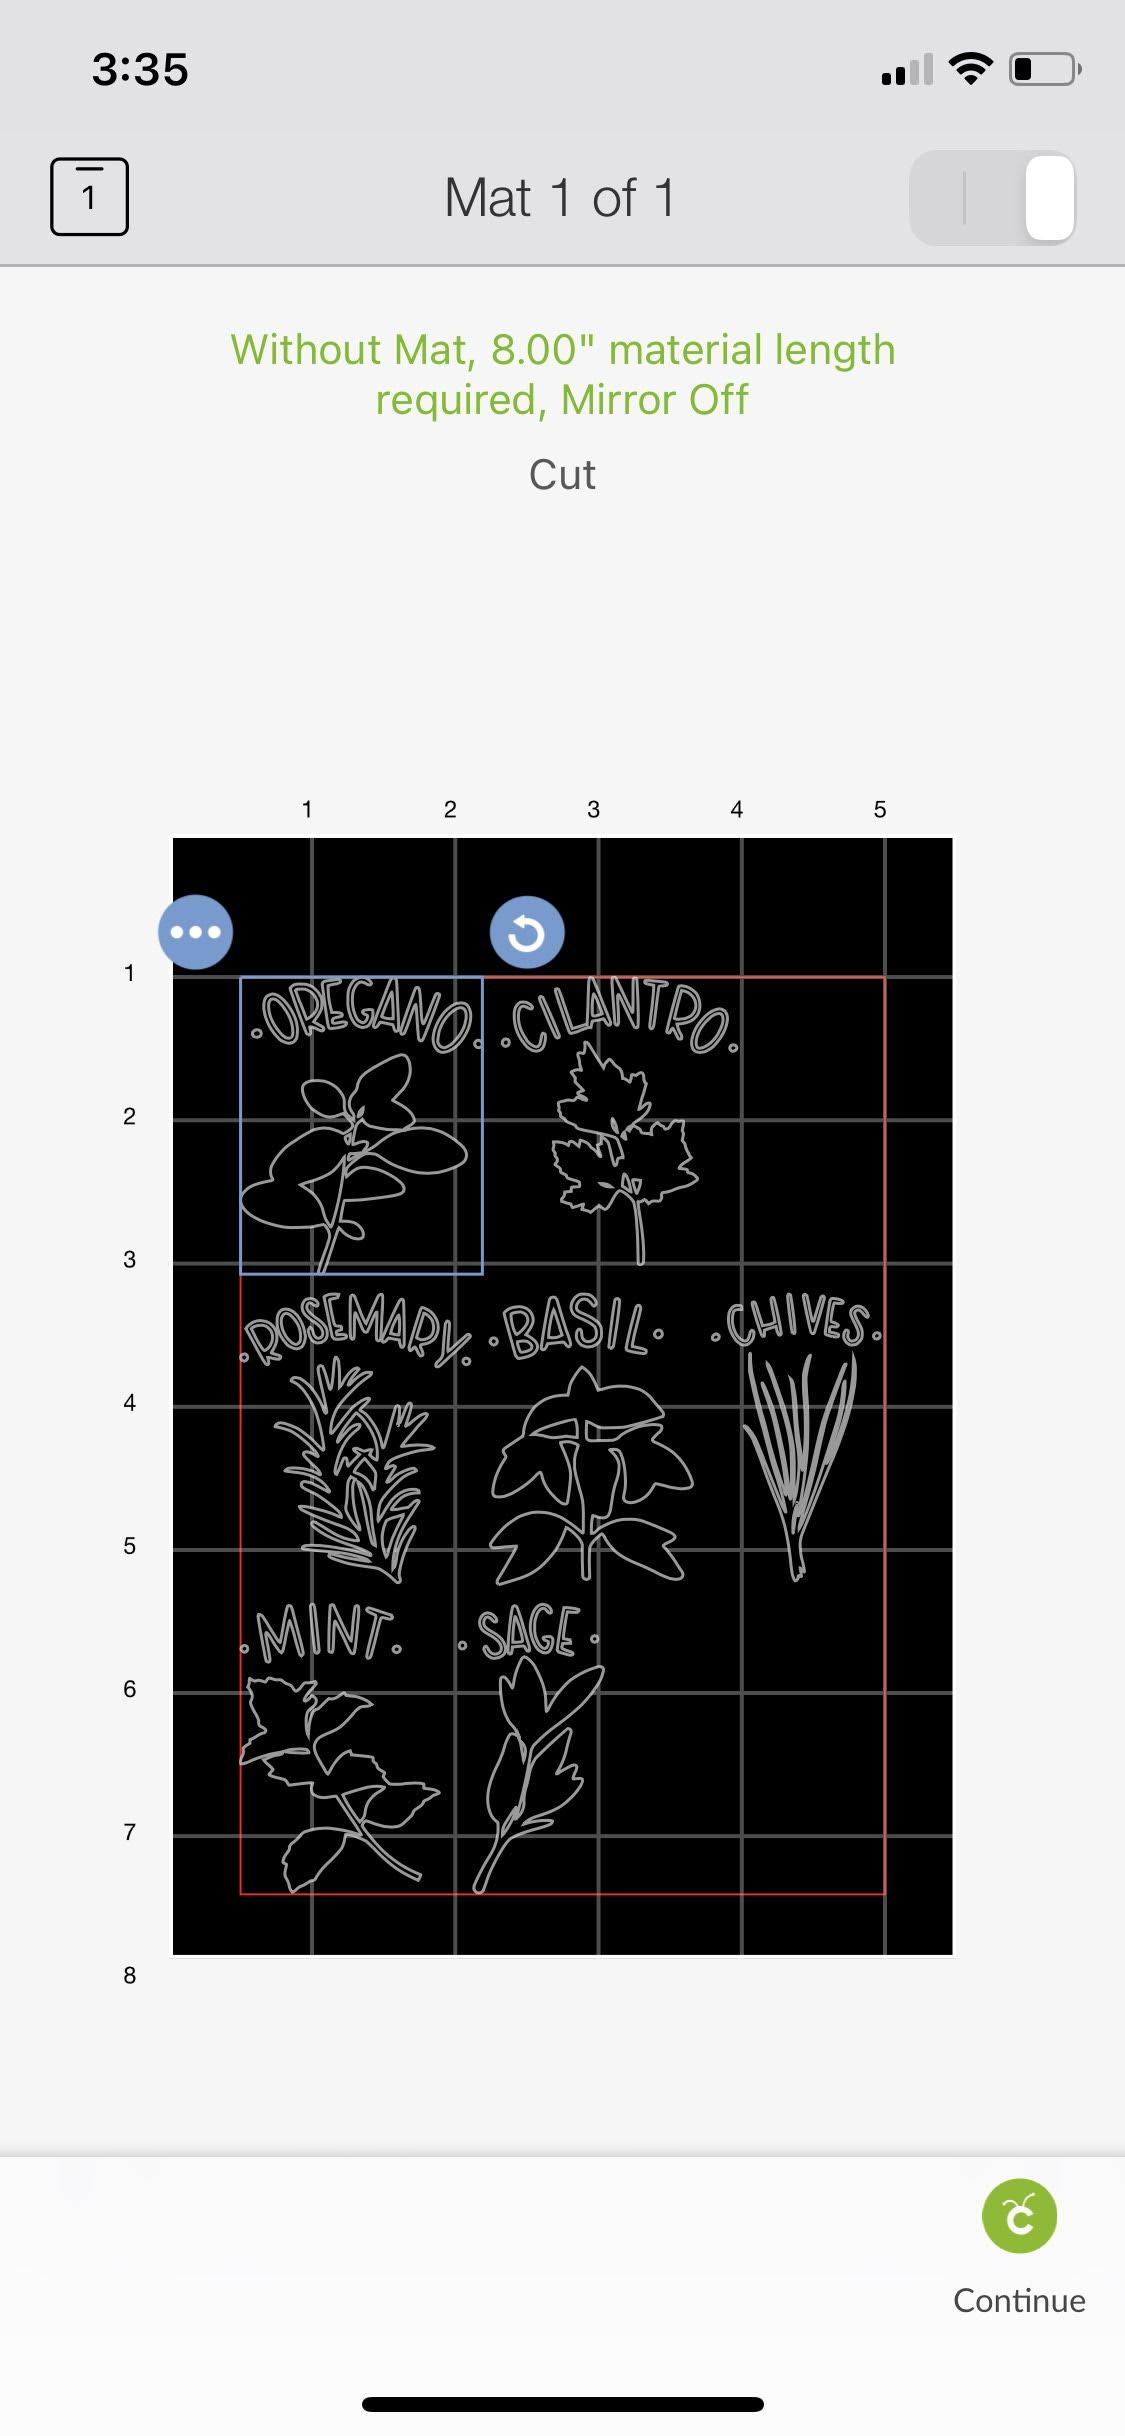
Use scissors to cut the images apart so that each herb name/image is an individual piece of vinyl. Next, leaving the vinyl on its backing, weed out (remove) the areas cut by the Cricut so that what’s left becomes a stencil. A weeding tool, toothpick, and/or tweezers can help with this step. You should have something that looks similar to the image below.

Step 2: Sand your wood round.
This will make sure the surface is as smooth as possible, and ideal for reacting with the Scorch Marker.

Step 3: Apply your stencil to the wood round.
First, cut a piece of clear transfer tape and adhere it to the top of your stencil. Rub firmly with your hand or a burnishing tool. Carefully peel the transfer tape and vinyl away from the white backing. Make sure that all of the tiny pieces, like the insides of letters, are in place.

Then, place this down on top of the sanded wood round and press to adhere it where you want it to go. Make sure you can see light colored wood through all of the stencil openings.
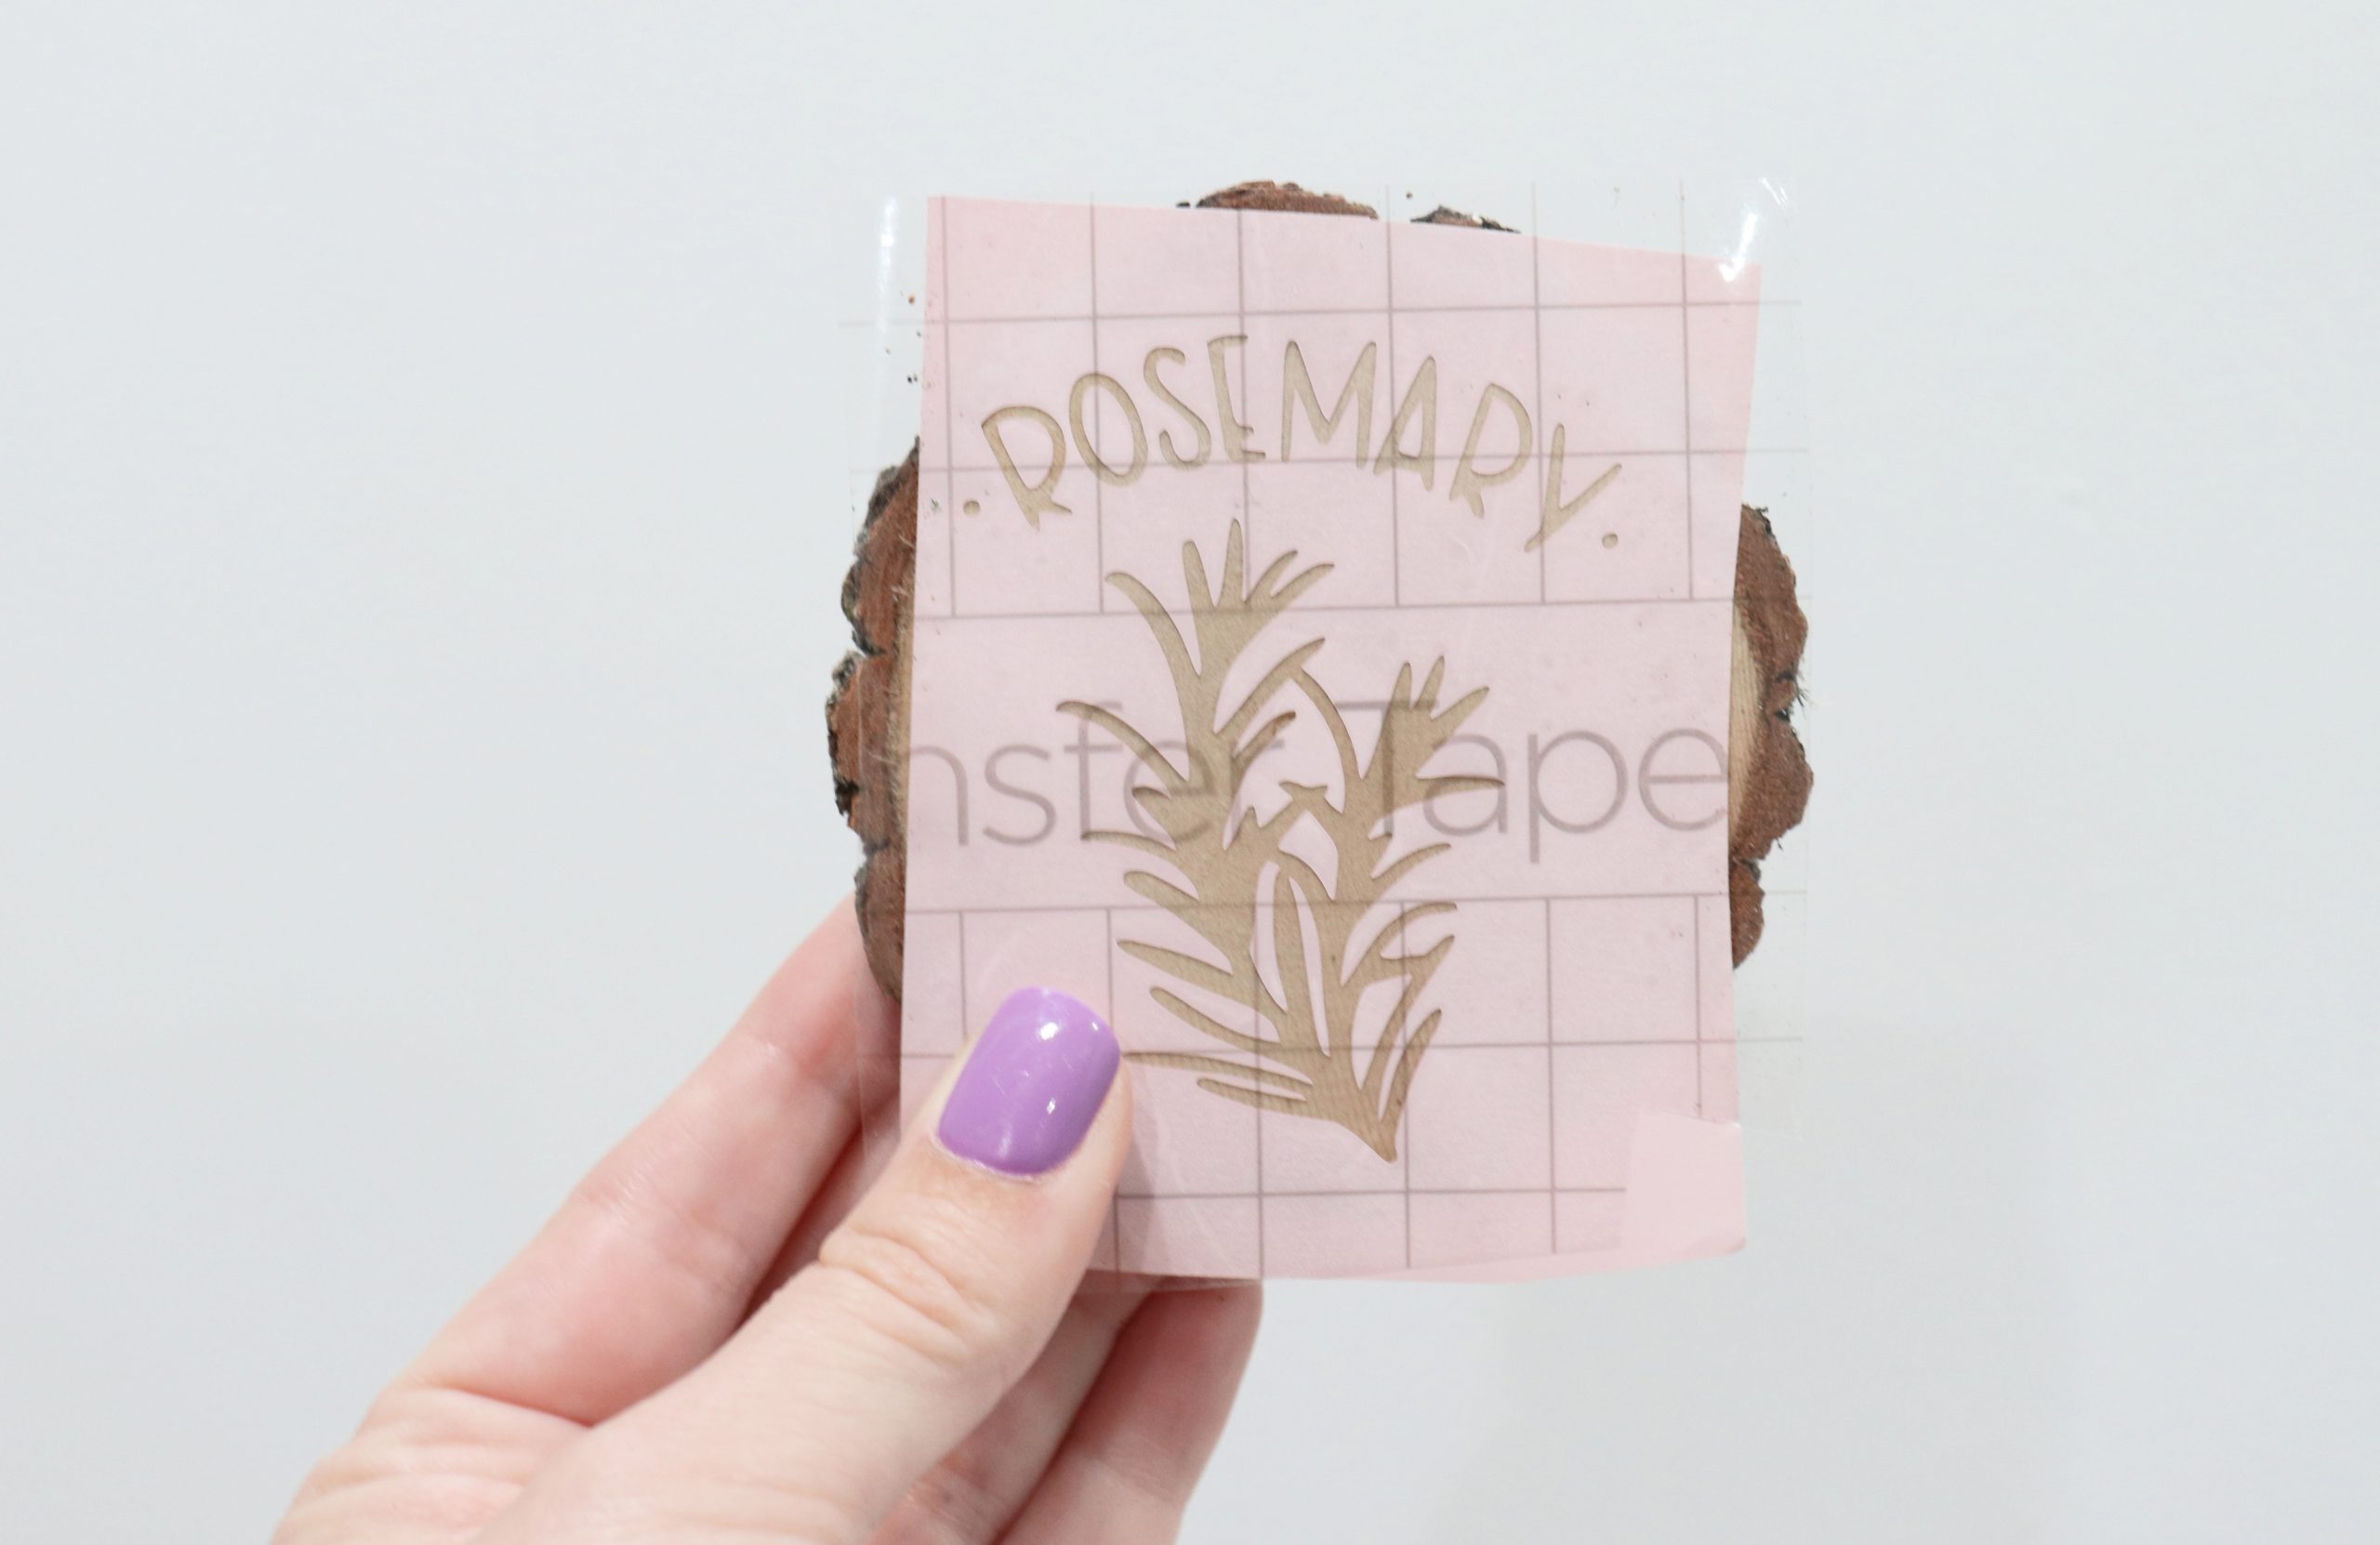
Remove the clear transfer tape, leaving just the vinyl stencil on top of your wood.
Step 4: Fill in the open areas with the Scorch Marker.
I like using the bullet tip end, but you could also use the tiny sponge brush under the other cap if you prefer.
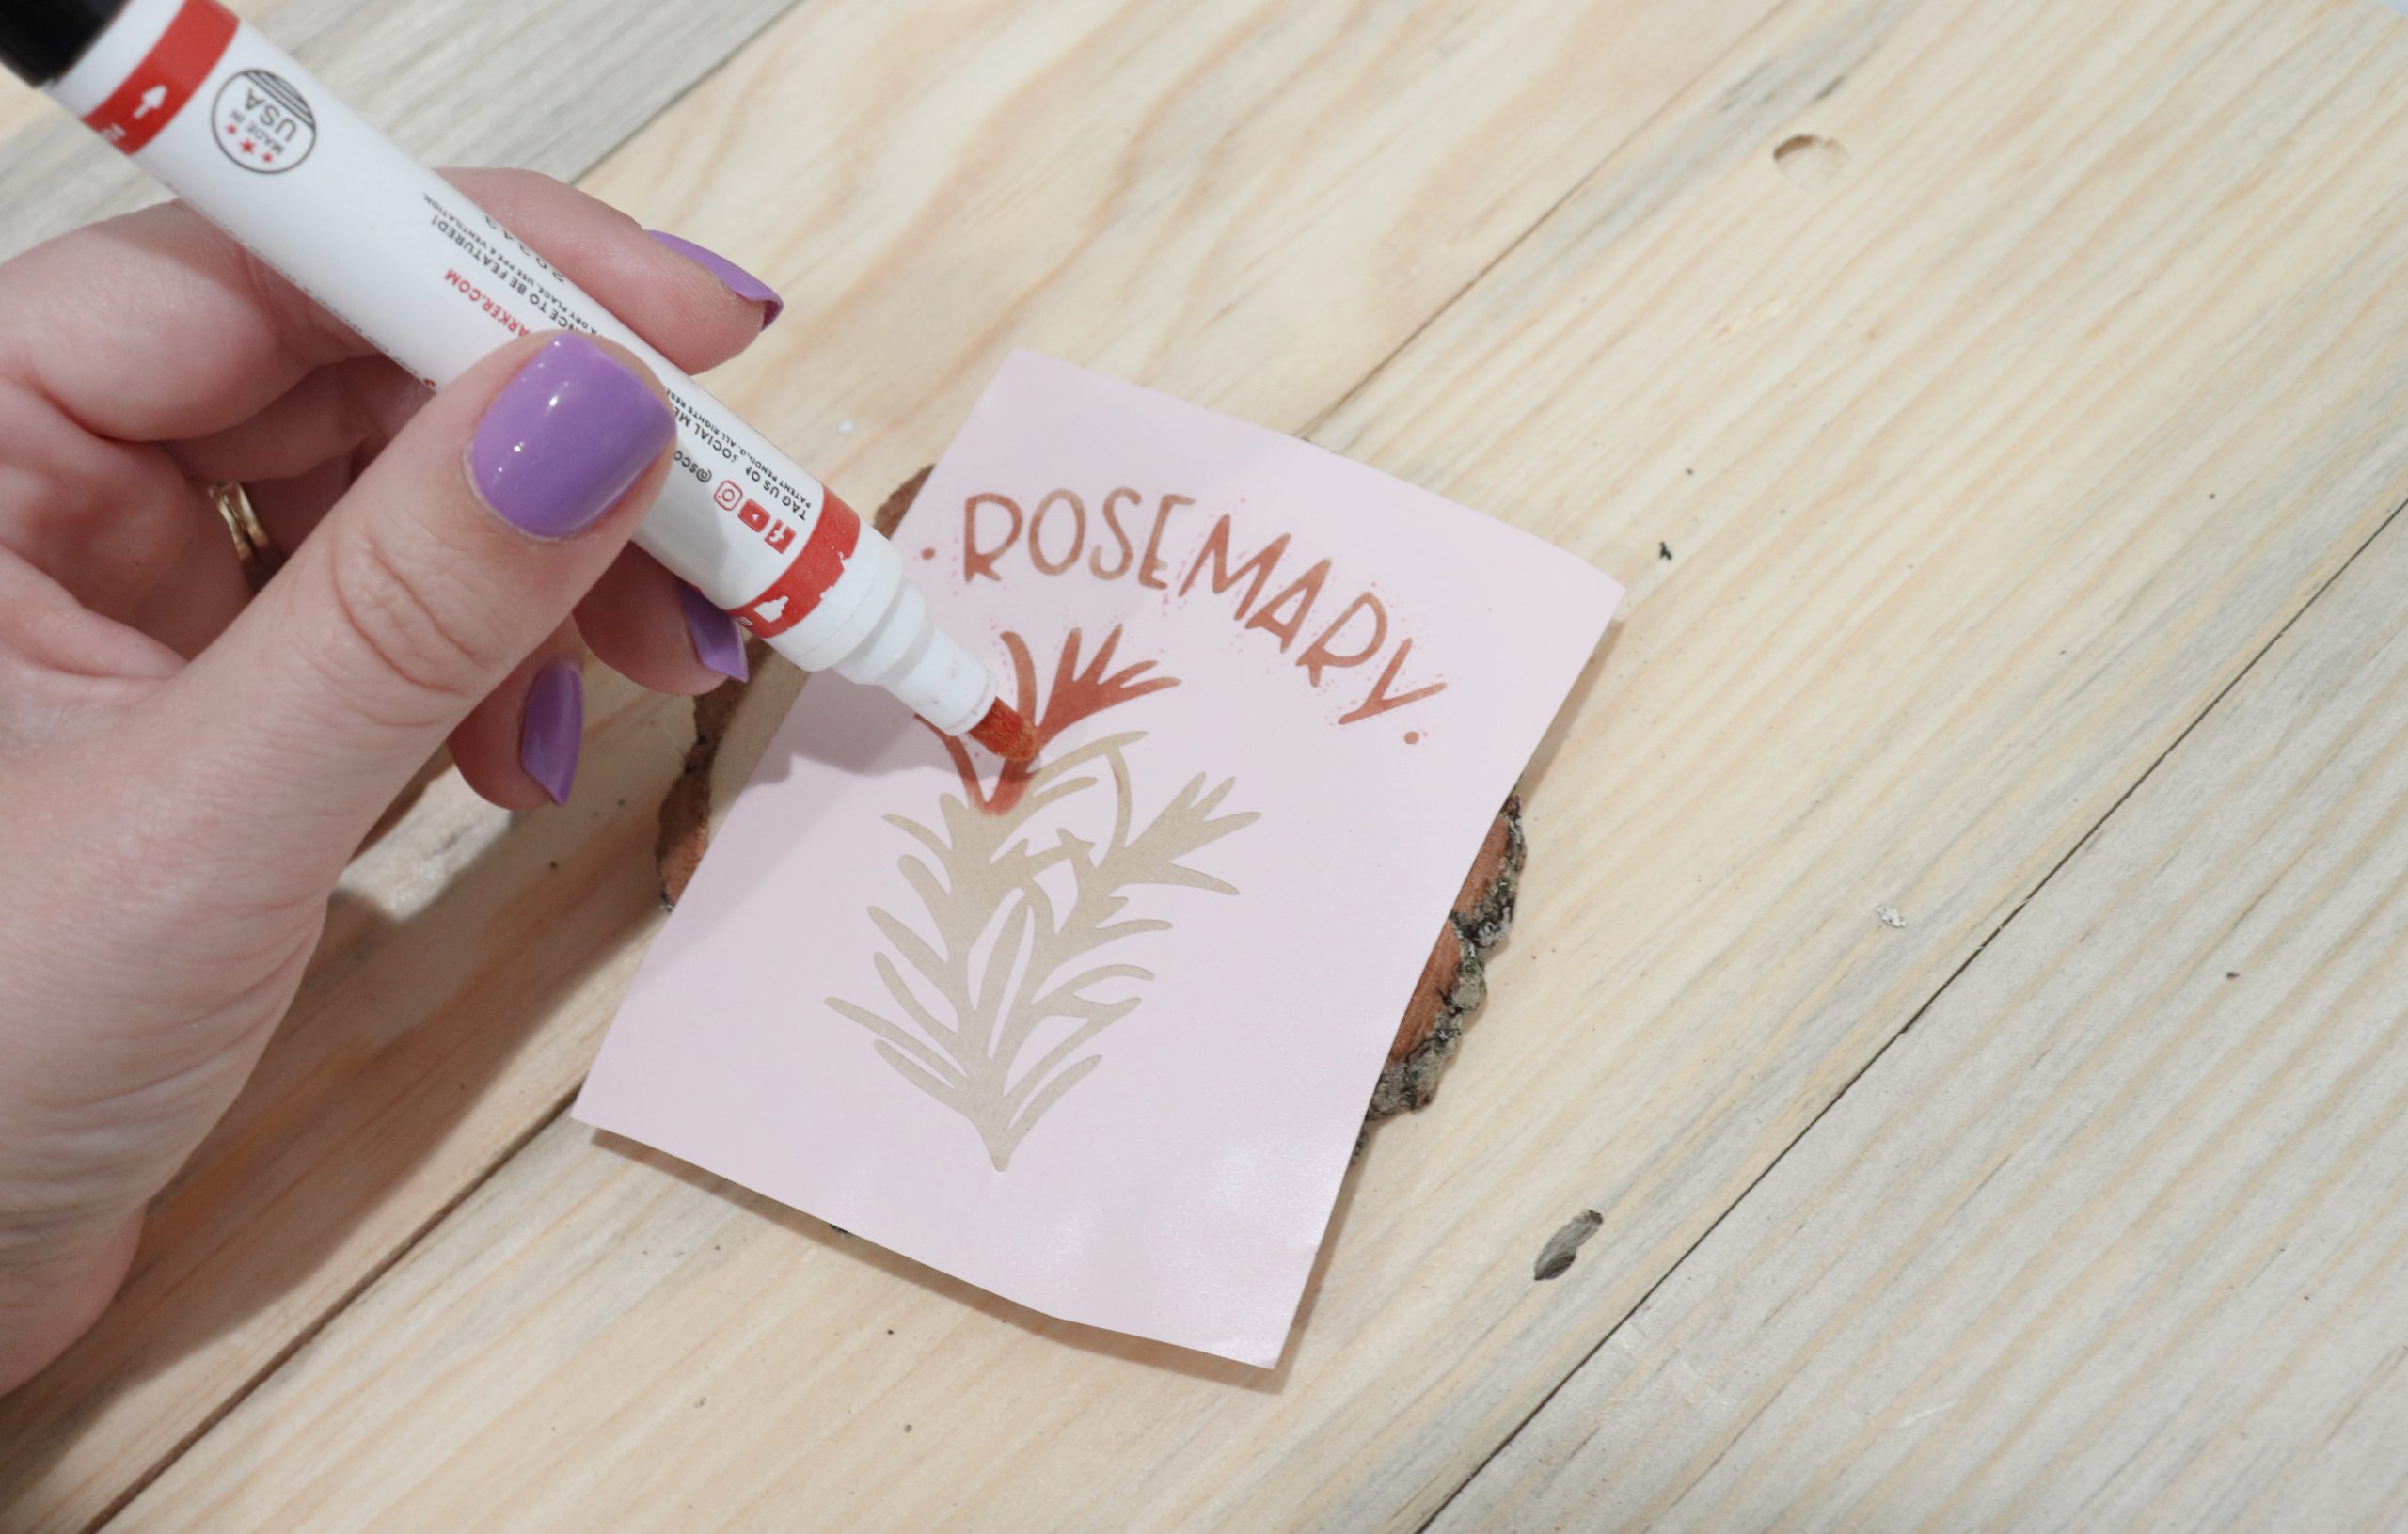
Remember that when stenciling, less is more. We don’t want any excess ink to bleed under the stencil and cause our design not to be crisp. Once you’ve colored in the design, gently remove and discard the vinyl. Your inked areas will appear wet and slightly pink.
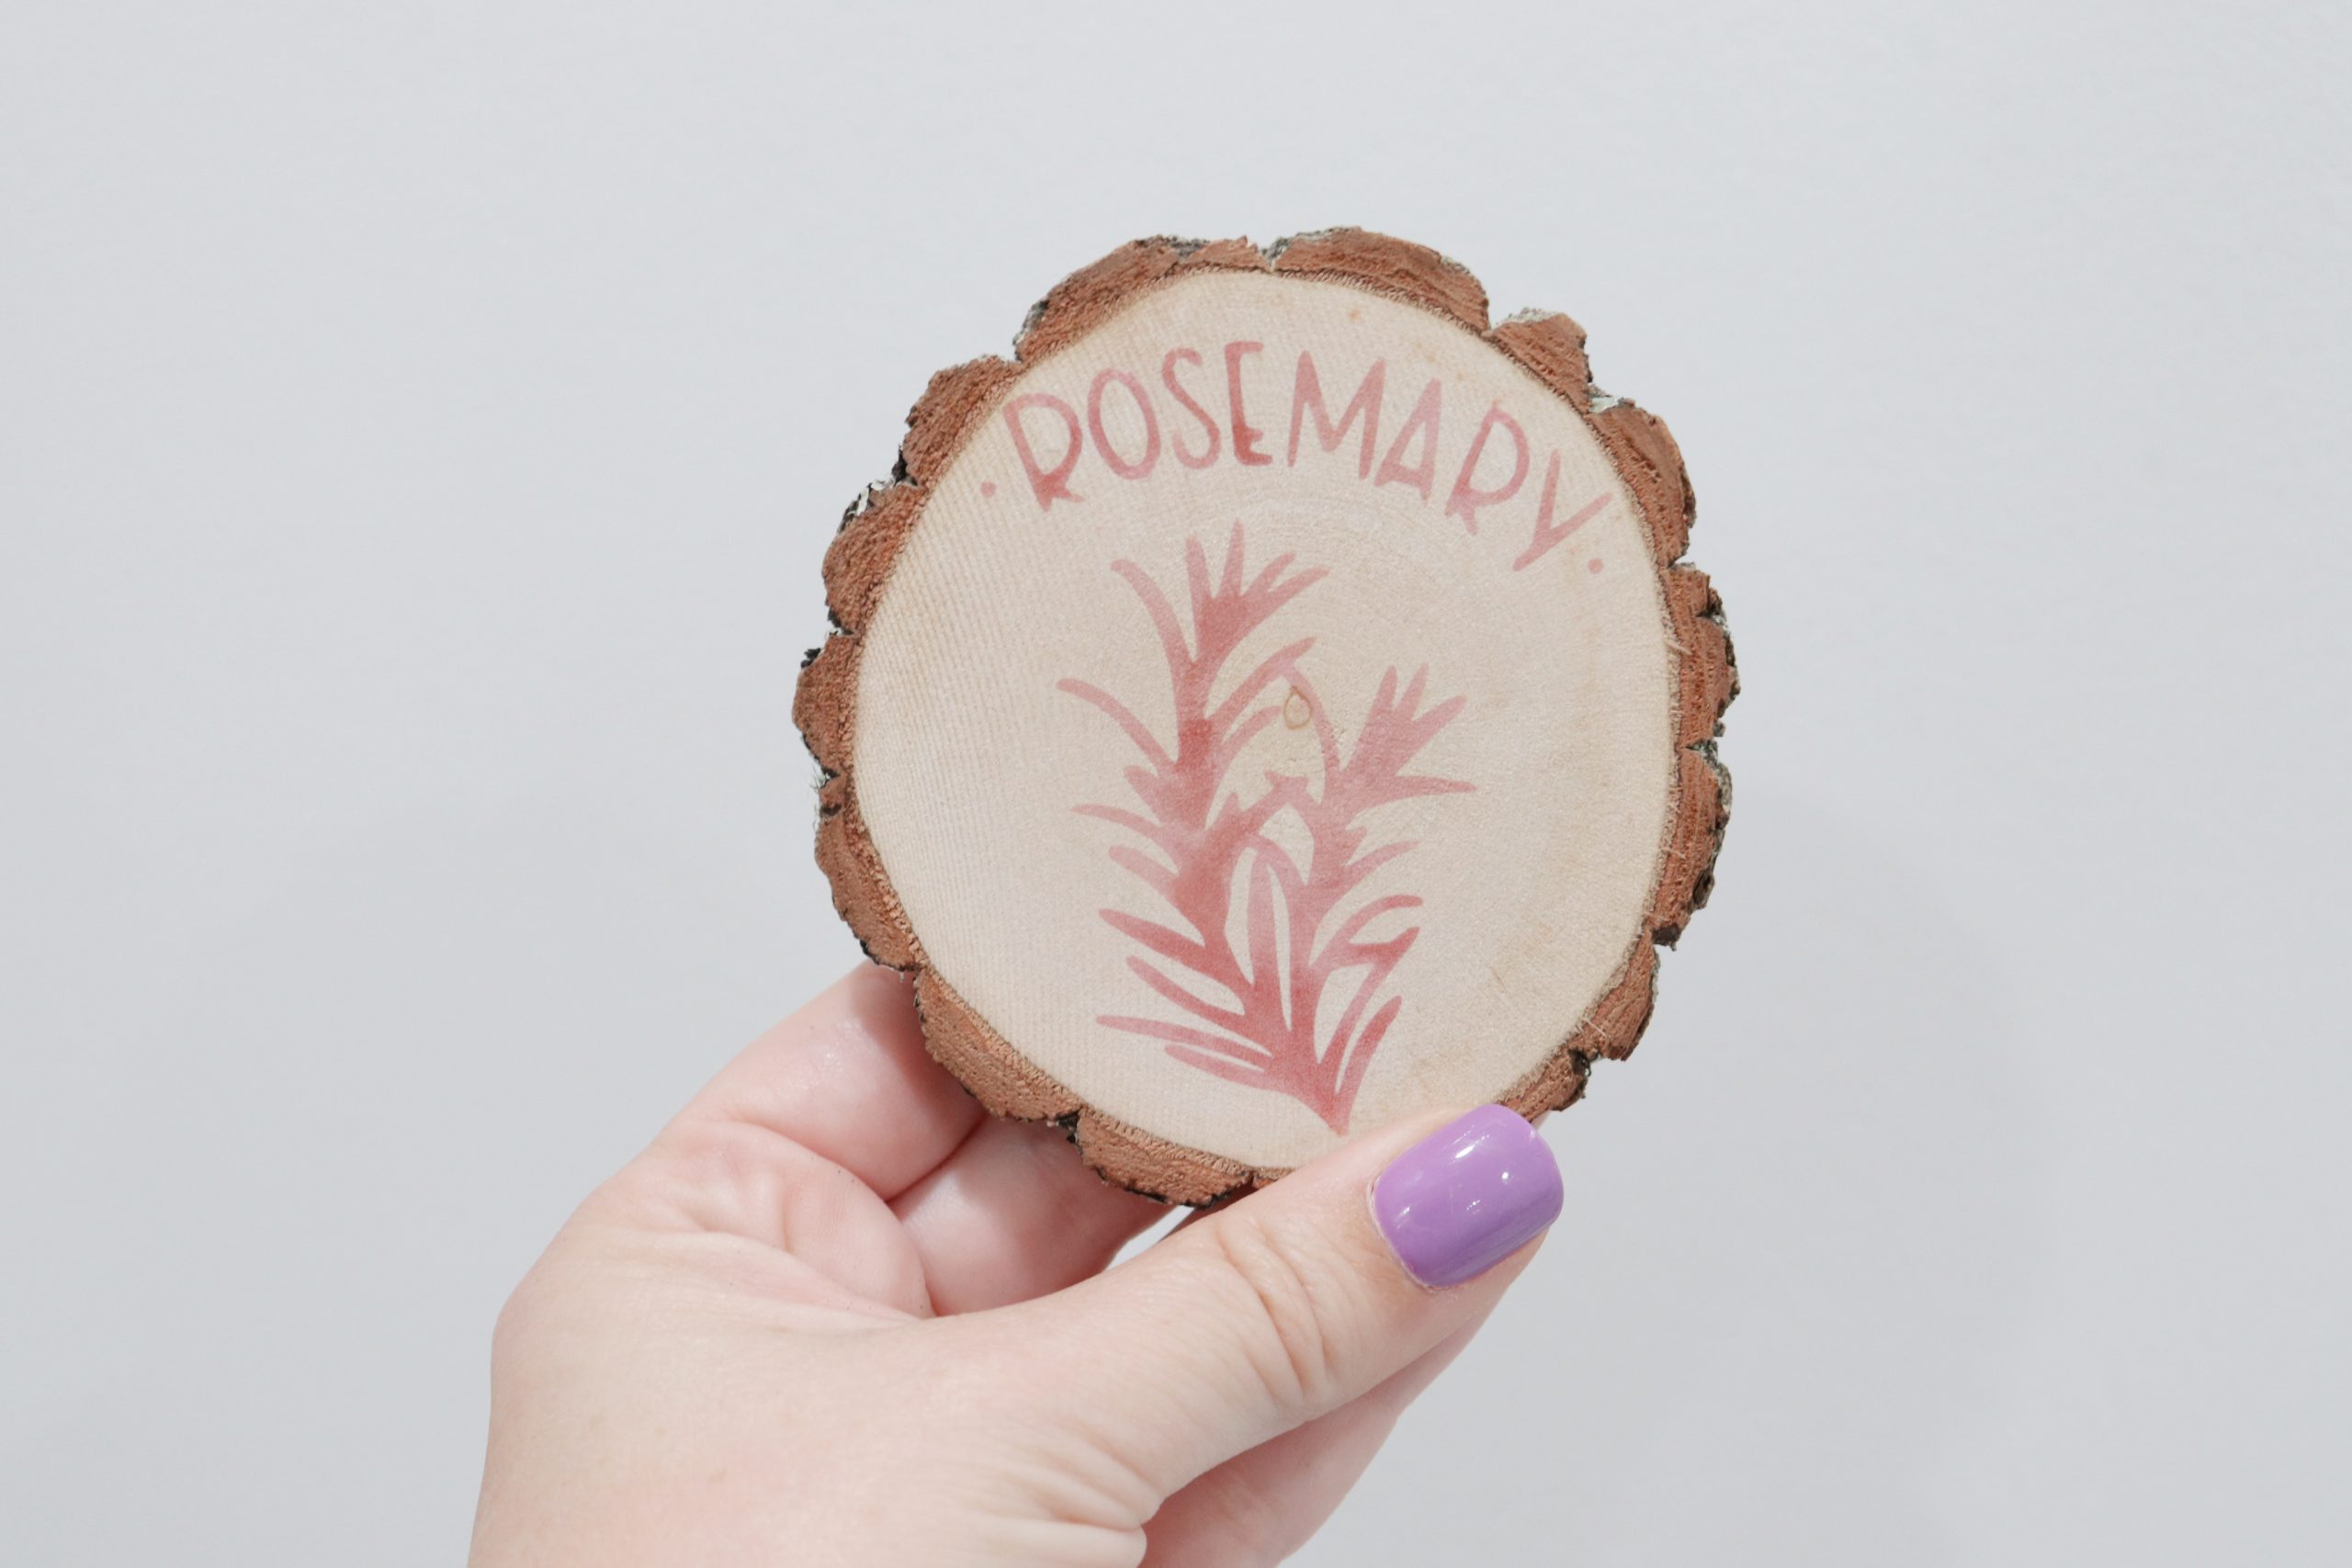
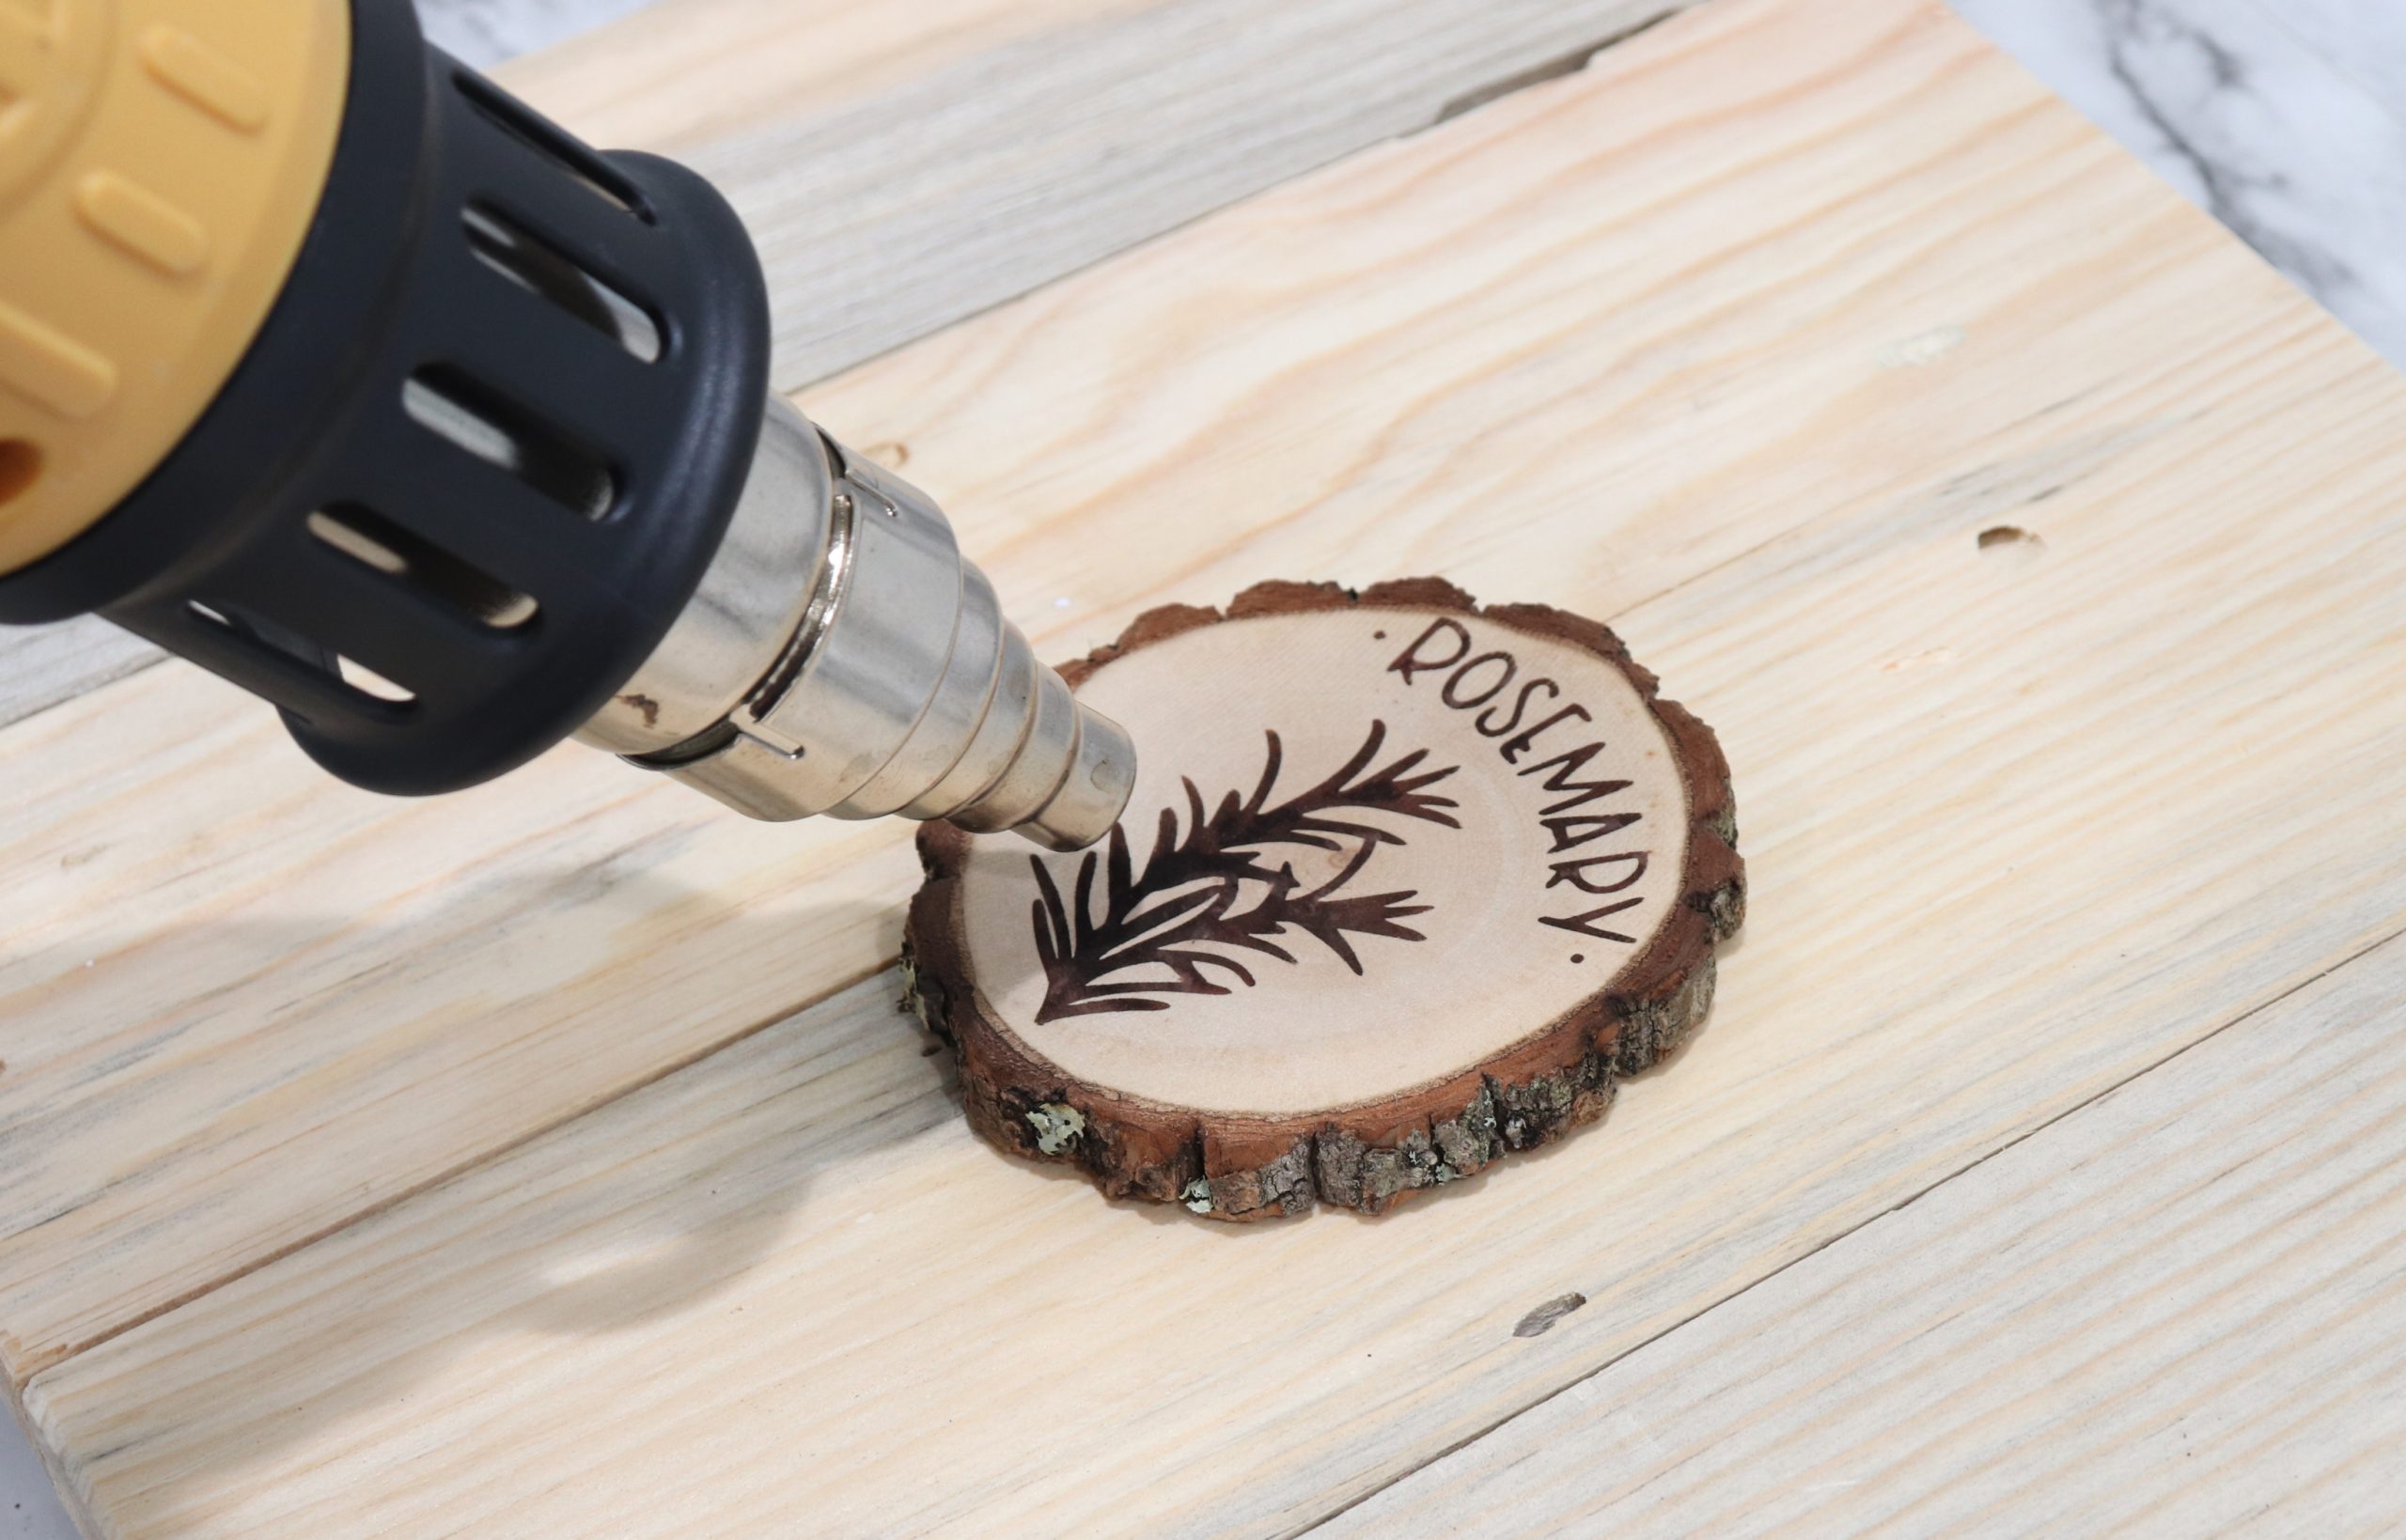
Step 5: Apply heat.
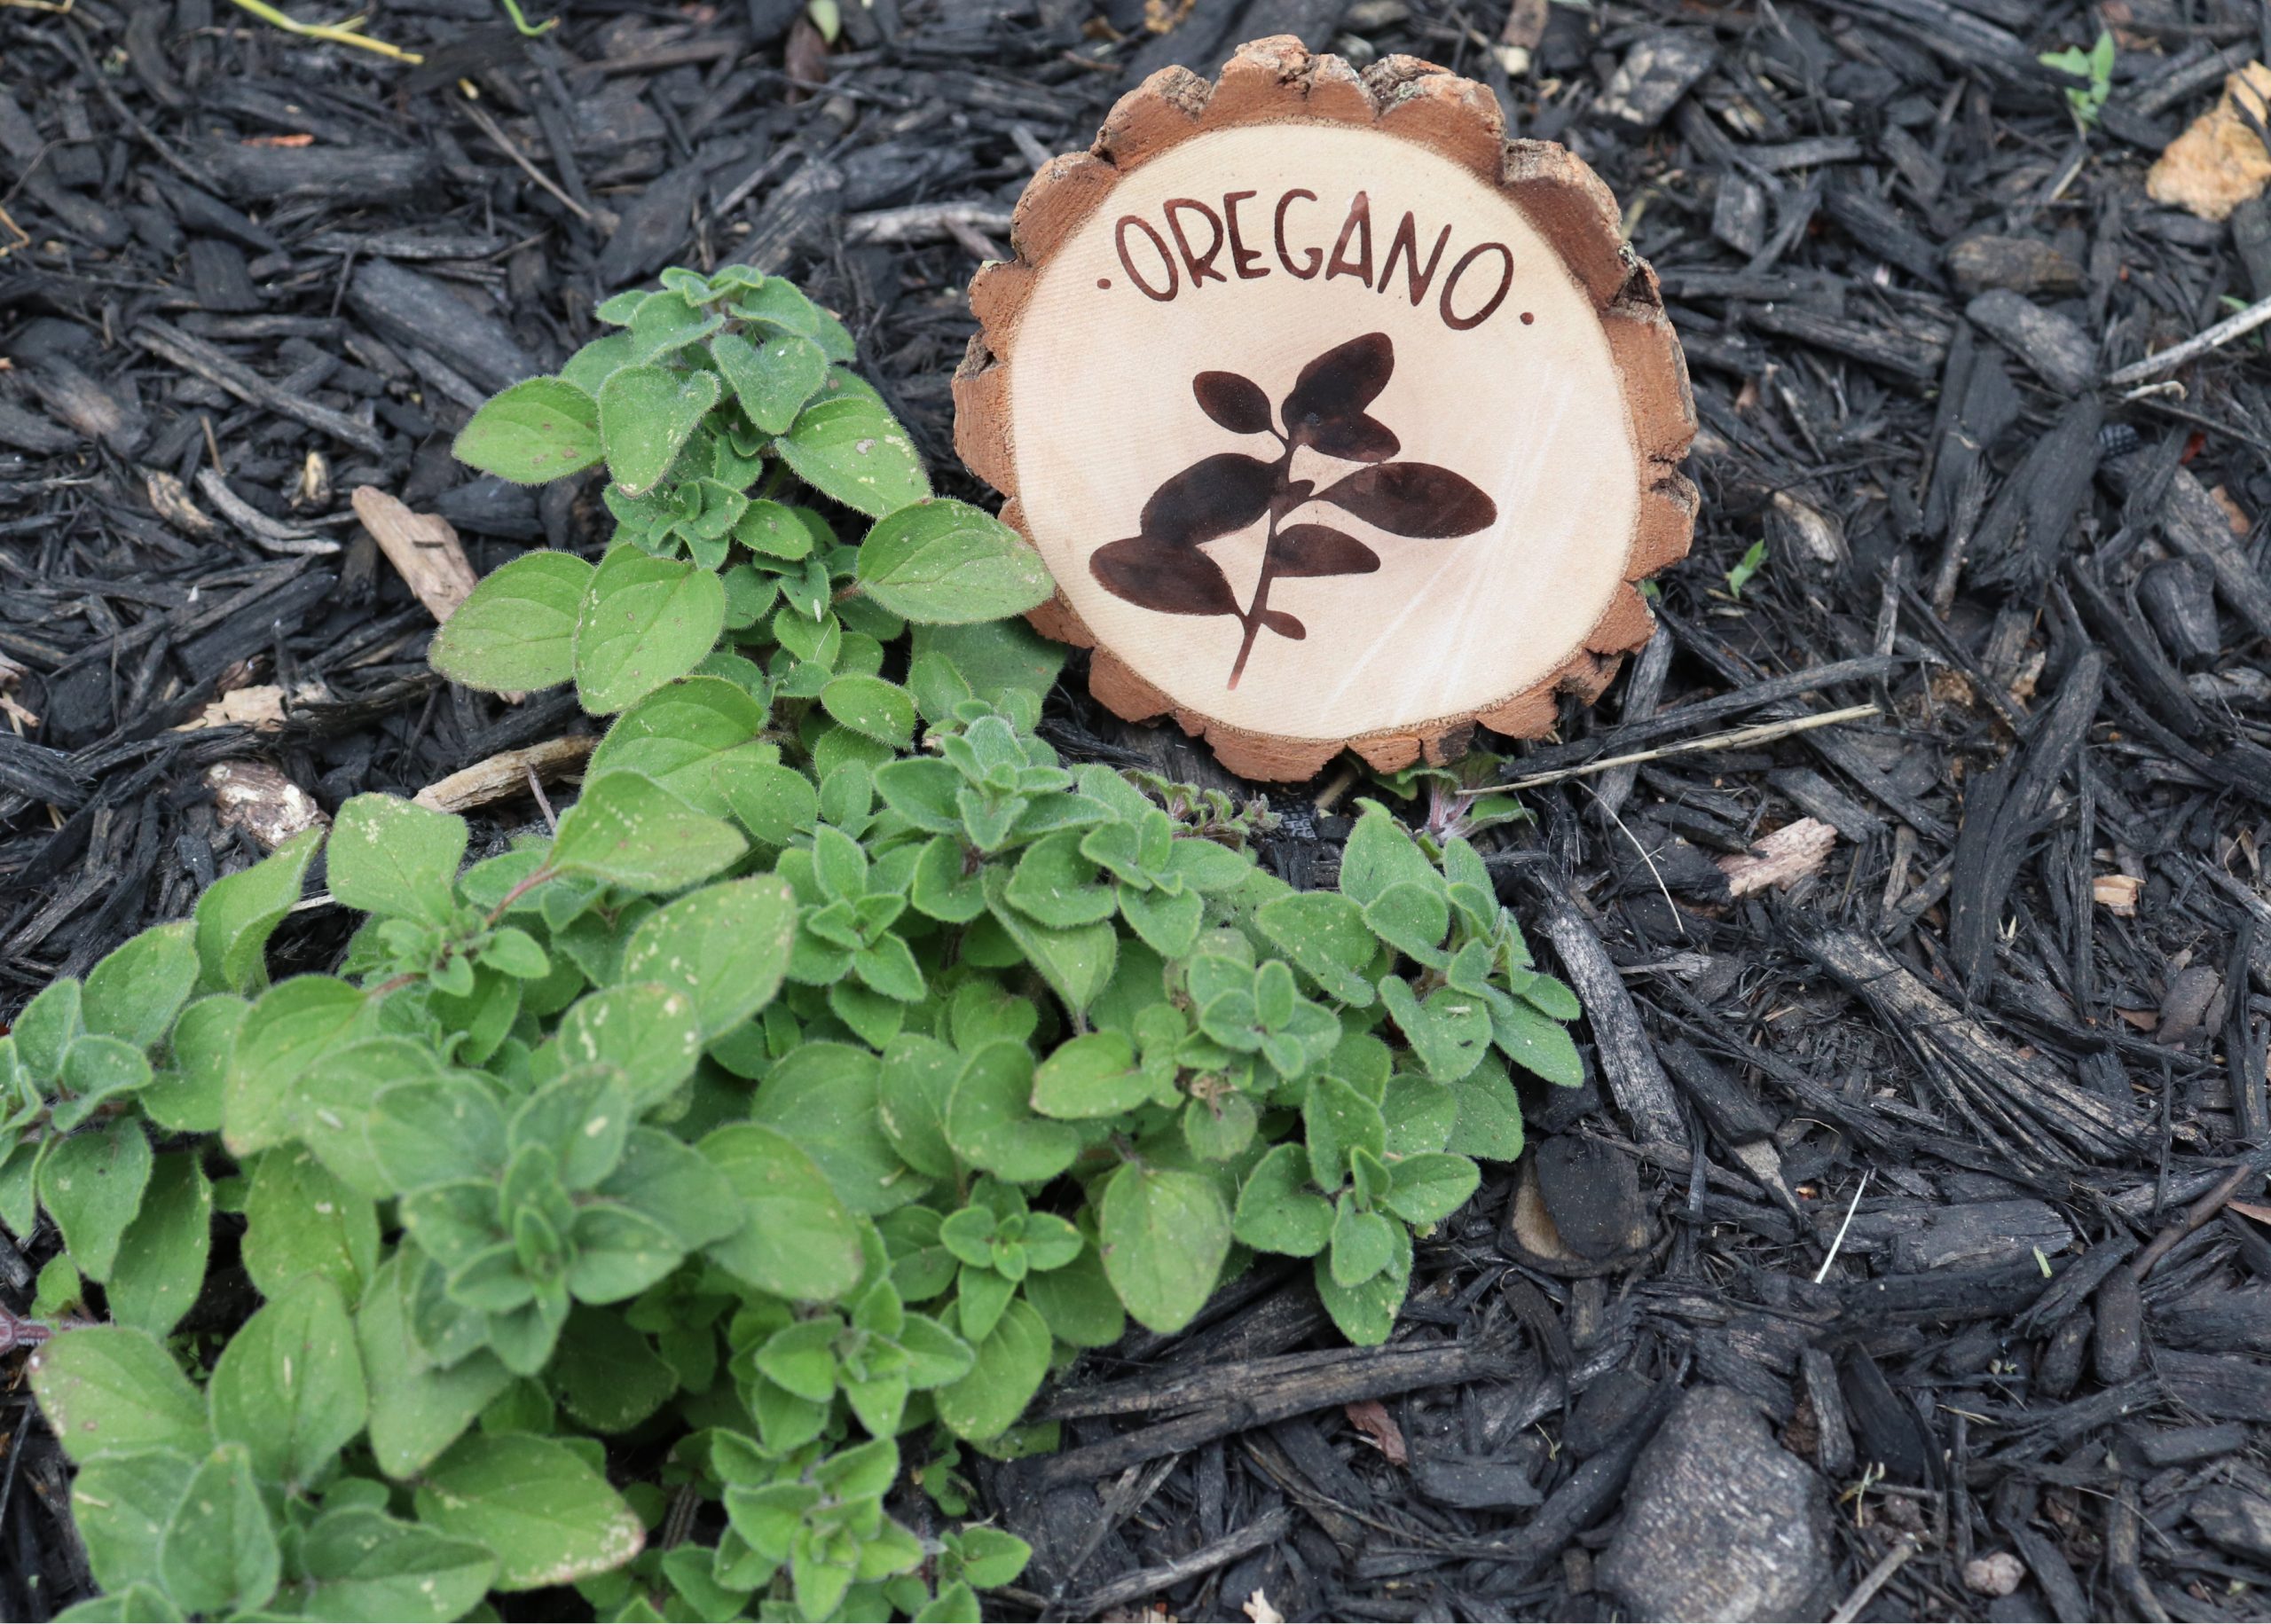
Using a 1000+ watt heat tool, evenly apply heat to the inked areas. If you don’t have a tool like this, you can place the wood in a 300 degree Fahrenheit oven until you see a color change. As the heat reacts with the ink, the design will burn into the surface of the wood, turning it from pink to dark brown. The more heat you apply, the darker the burn will become.
Step 6: Apply sealer.
If you plan on using your garden markers outdoors, you’ll want to apply your favorite sealer. Because the wood is actually burned, this won’t affect your design at all.
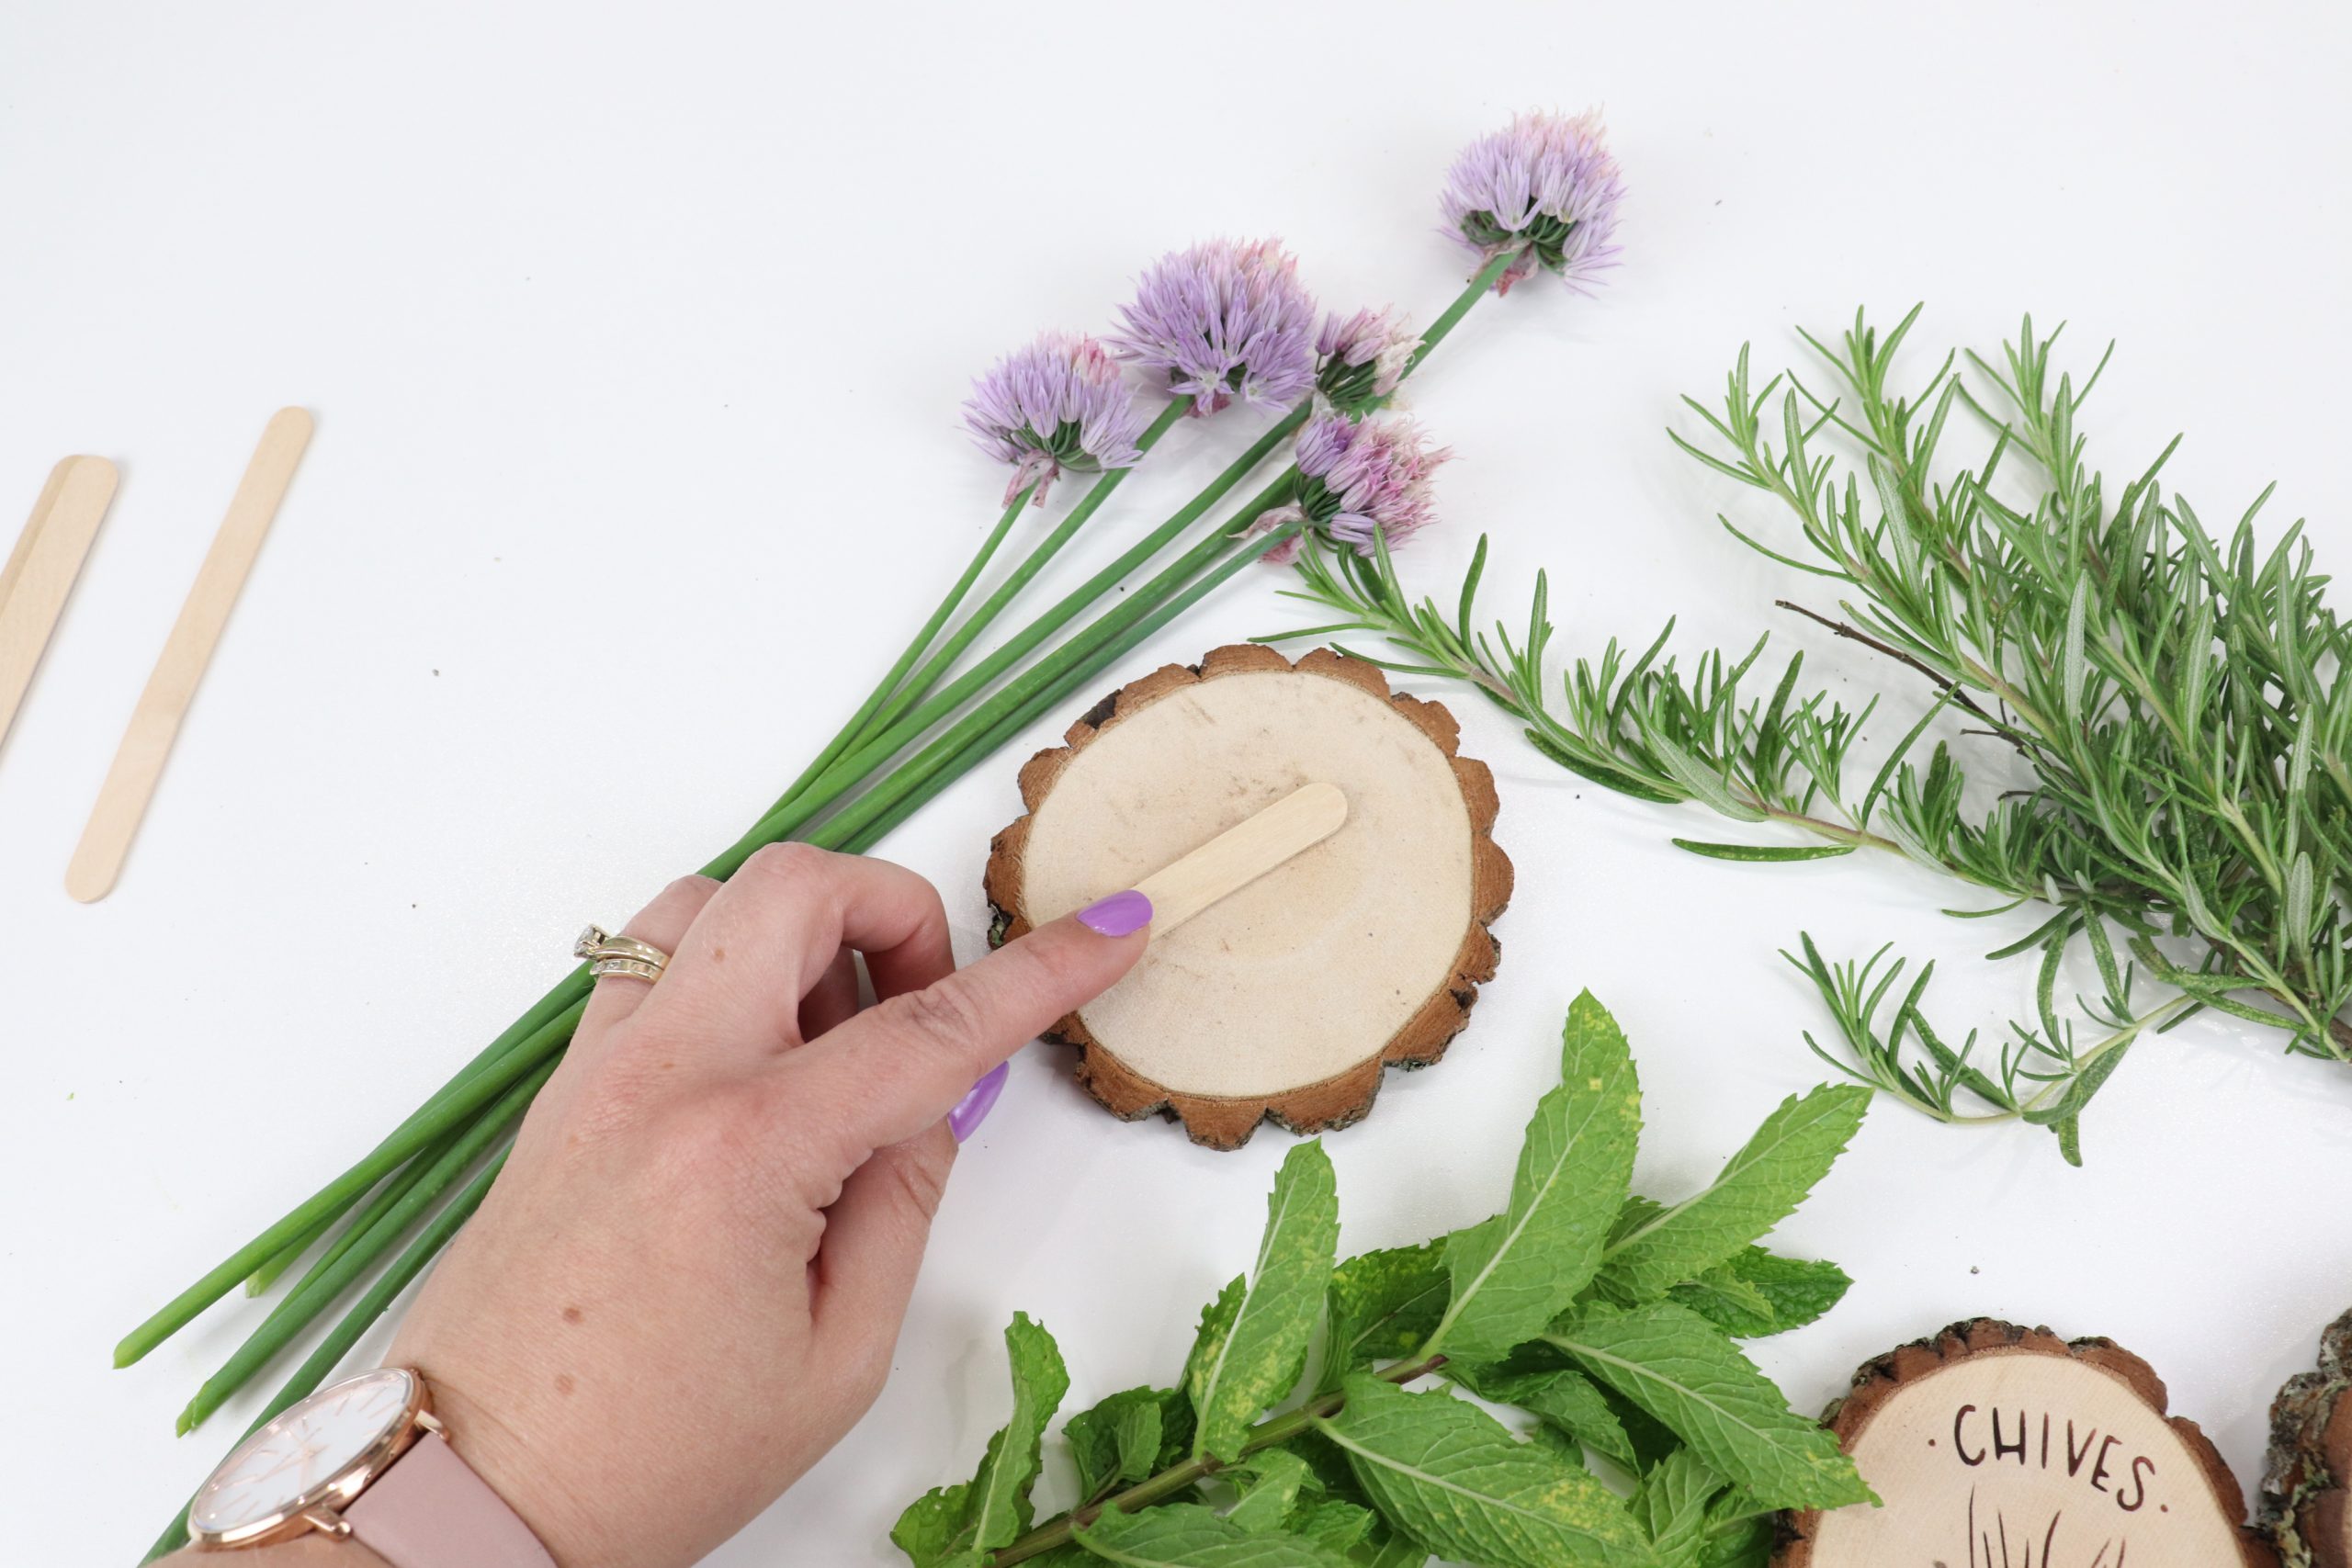
Step 7: Attach popsicle sticks, stakes, or dowels.
I wanted my garden markers to be short, allowing the bottom of the wood round to just touch the ground, so I chose to attach popsicle sticks to the back of each one with Gorilla Glue adhesive spray. If you want to see the stakes, you can use wooden dowels or other types of garden stakes and attach them to the backs of your rounds instead.
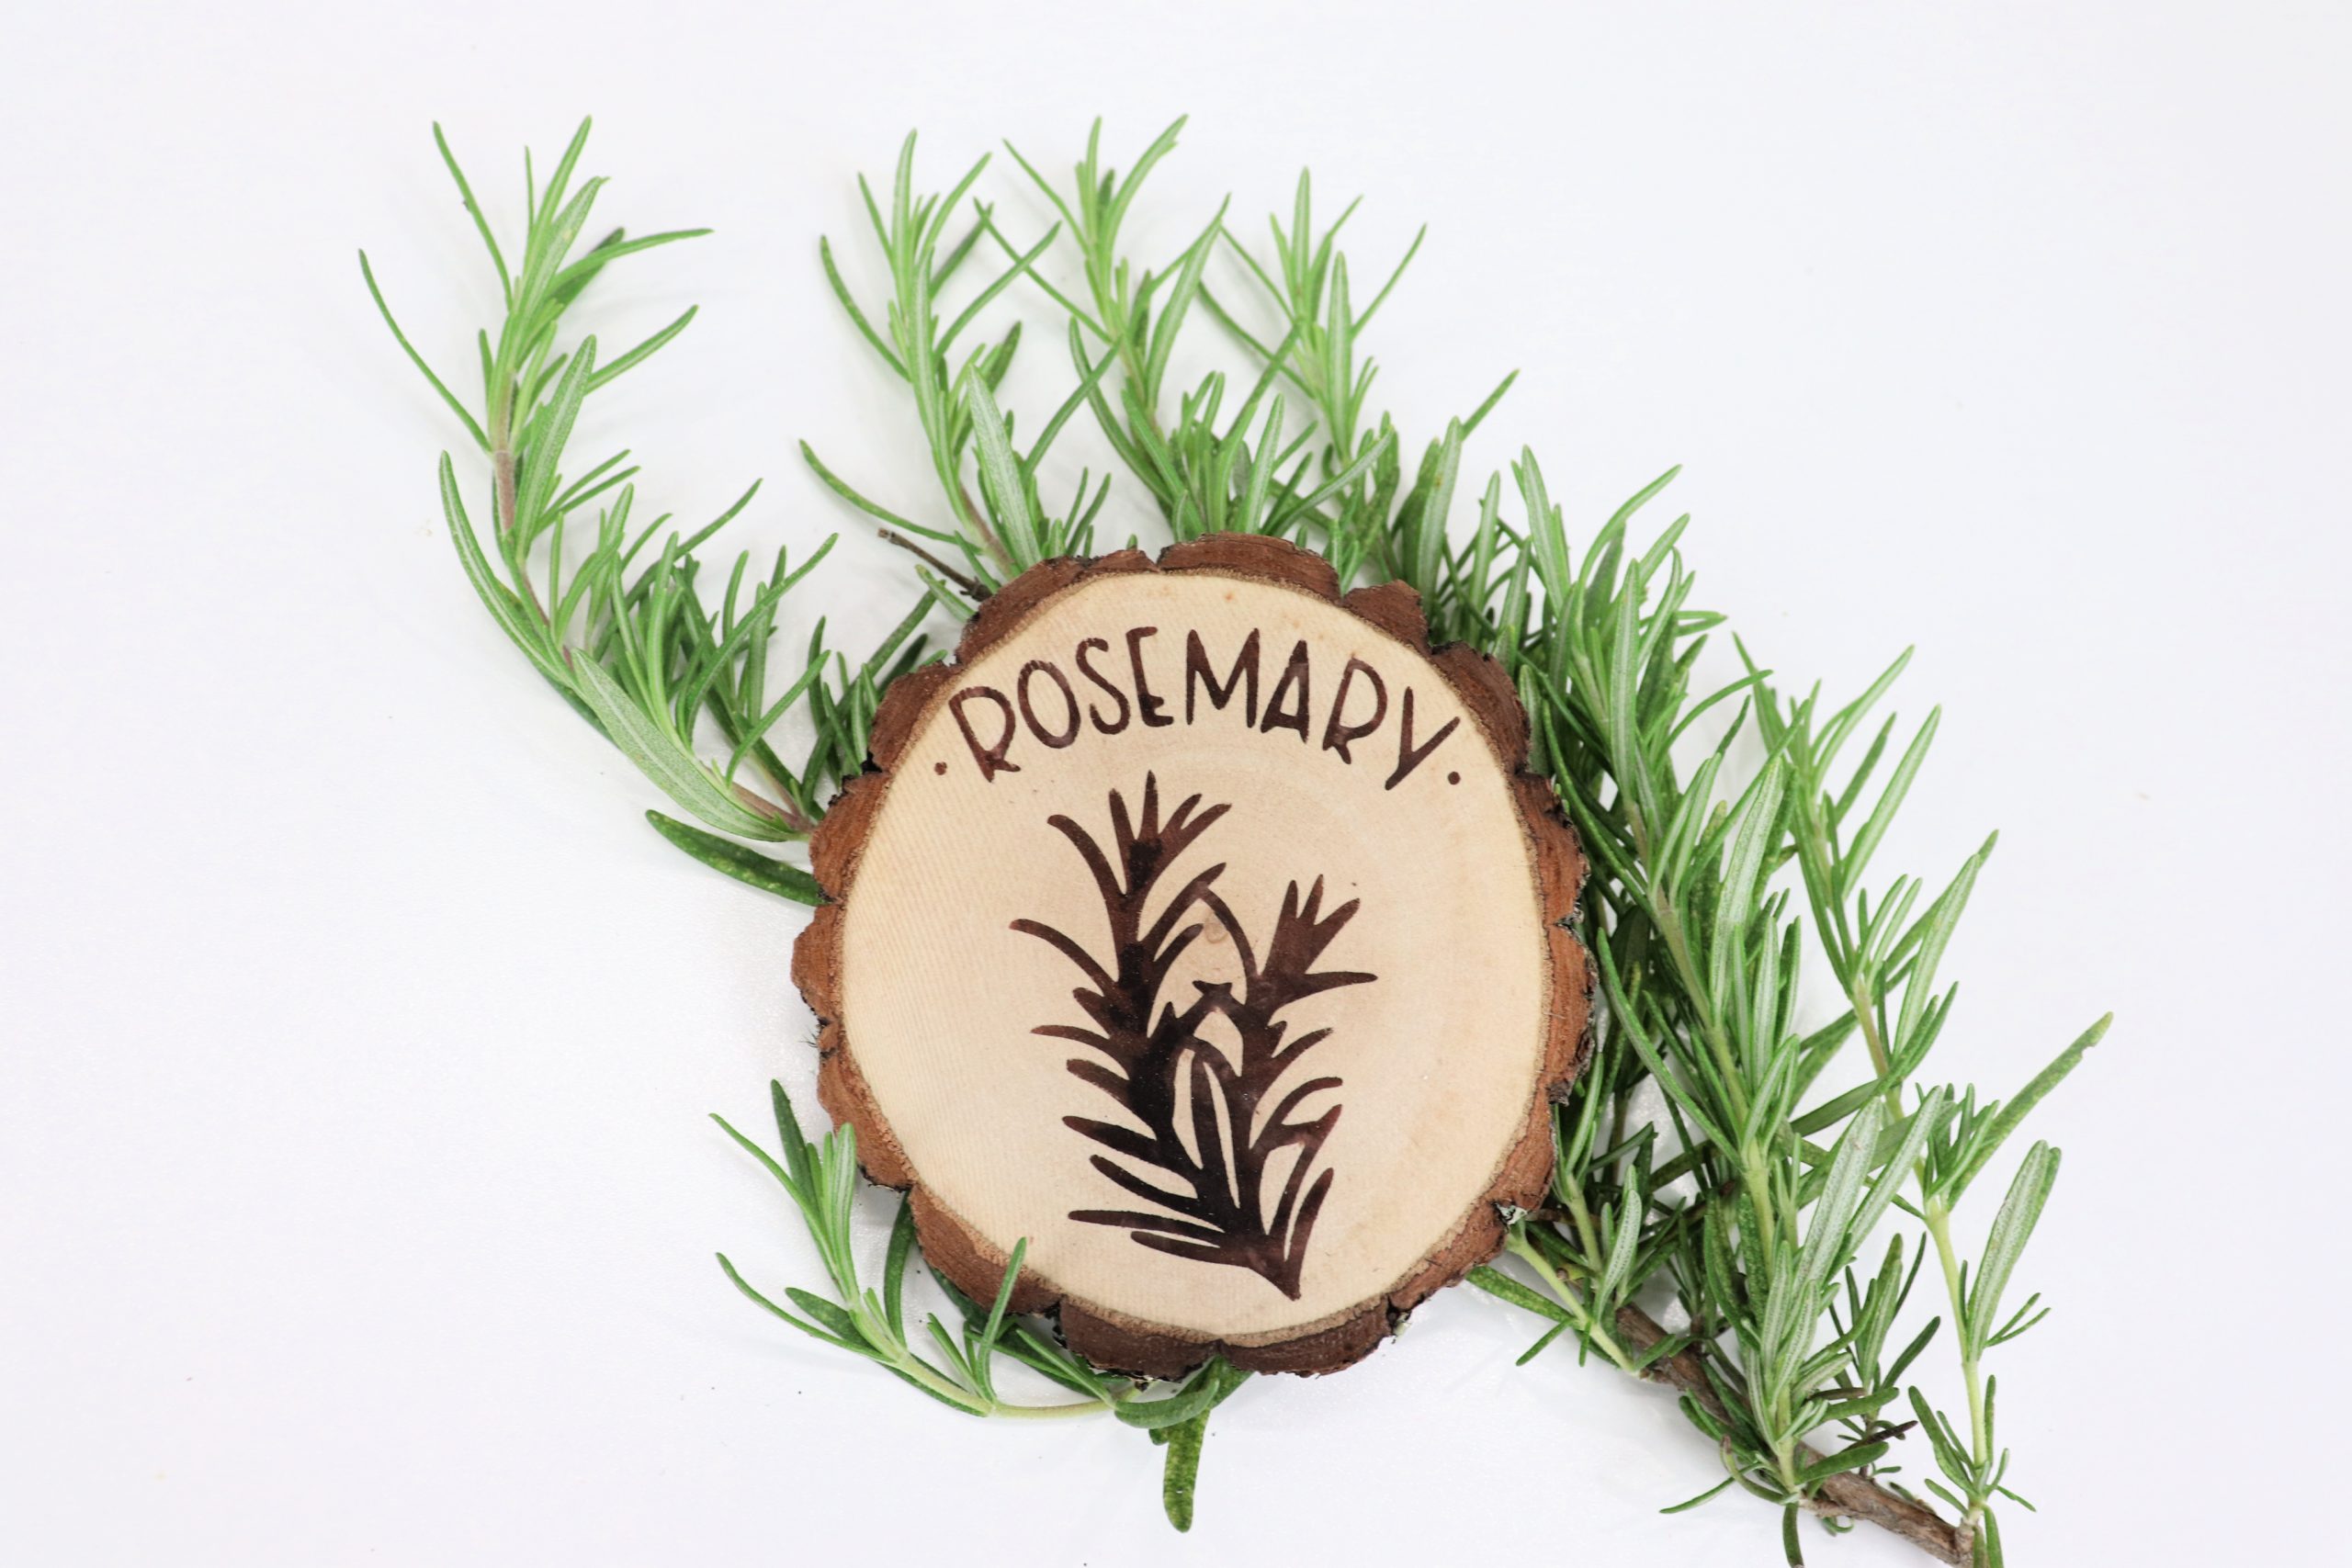
That’s all there is to it! Now your markers are ready to label your herbs and make your garden even more wonderful!
Scorch Marker makes wood burning projects like this one so easy and fun to do! What are some of the ways you love to use it? If you try these herb garden markers, I’d love to see how they turn out. Be sure to share photos of them and of all your favorite DIY and craft projects with us in the Amy Latta & Friends Facebook Group so we can all be inspired. See you there!


One Comment