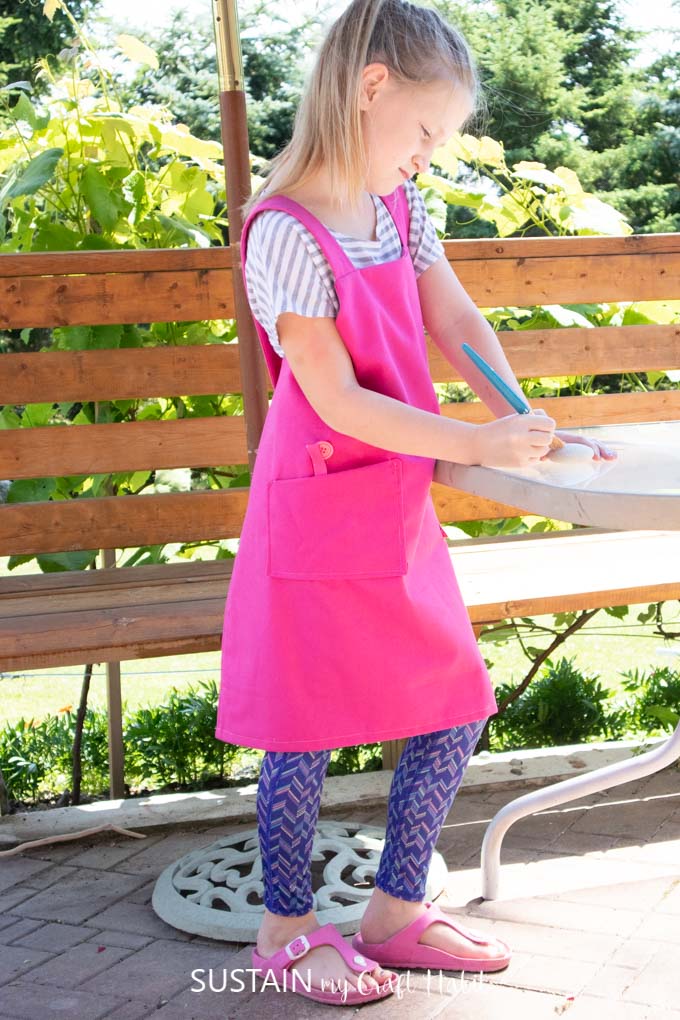
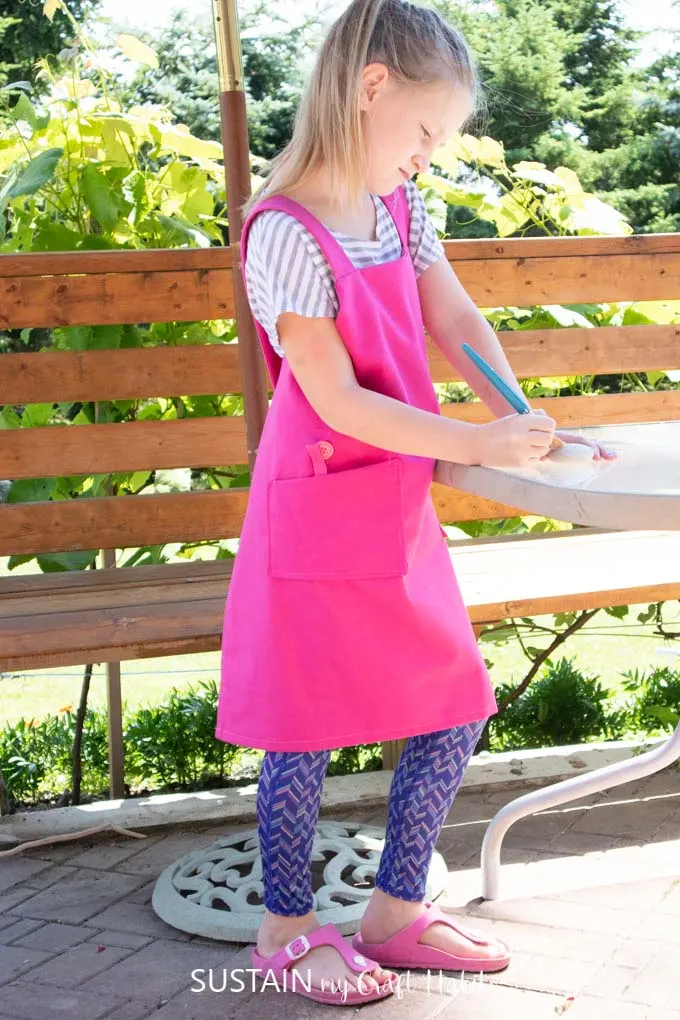

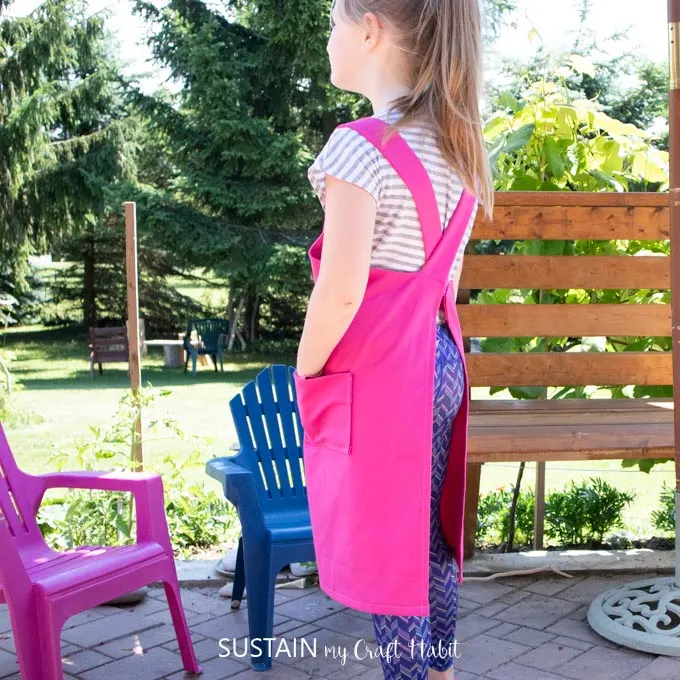
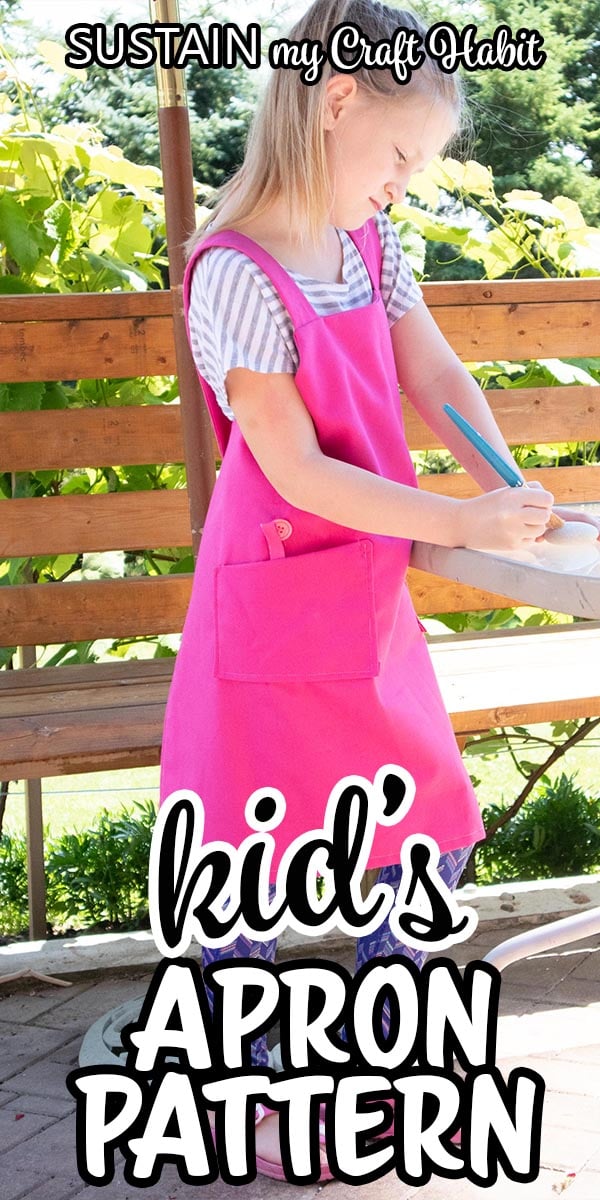
Since making the adult sized version of this simple utility apron, we’ve wanted to make the matching versatile kid’s apron pattern. It turned out perfectly for any little artist!
WELCOME TO THE CREATIVE CRAFT BLOG HOP!
It’s that time of month again when we’re joing in with some of our crafty blogging friends for the Creative Craft Blog Hop. For last month’s craft hop we shared how to make a thank you card with the Cricut Joy.
If you’re coming by from Purple Hues and Me – hello! Gail’s pretty trinket dish makes me want to get out my air dry clay! We’re so happy to have you here and invite you to poke around our blog where we share nature-inspired DIY, crafts and home decor ideas. We’re Jane & Sonja, sisters, moms and craft addicts who live outside of Toronto, Canada.
This Creative Craft Blog Hop is hosted by Chloe at Celebrate & Decorate as well as Andrea at Design Morsels. Be sure to explore all the fun craft ideas. Head on over to Cha’s Crazy Creations next – she’s showing us how to stencil onto vinyl and leather.

Celebrate And Decorate | Design Morsels | Calypso in the Country
Zucchini Sisters | My Hubbard Home | Birdz of a Feather
Decorate & More with Tip | Our Crafty Mom | The Painted Apron
Home Is Where The Boat Is | Purple Hues And Me | Sustain My Craft Habit
Chas’ Crazy Creations | Bluesky At Home | Create With CynthiaB4 and Afters | My Thrift Store Addiction
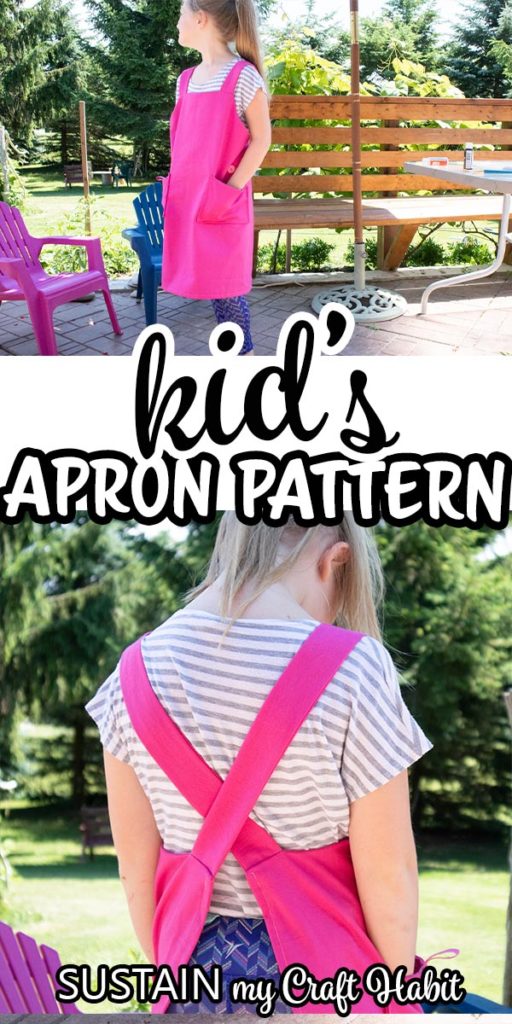
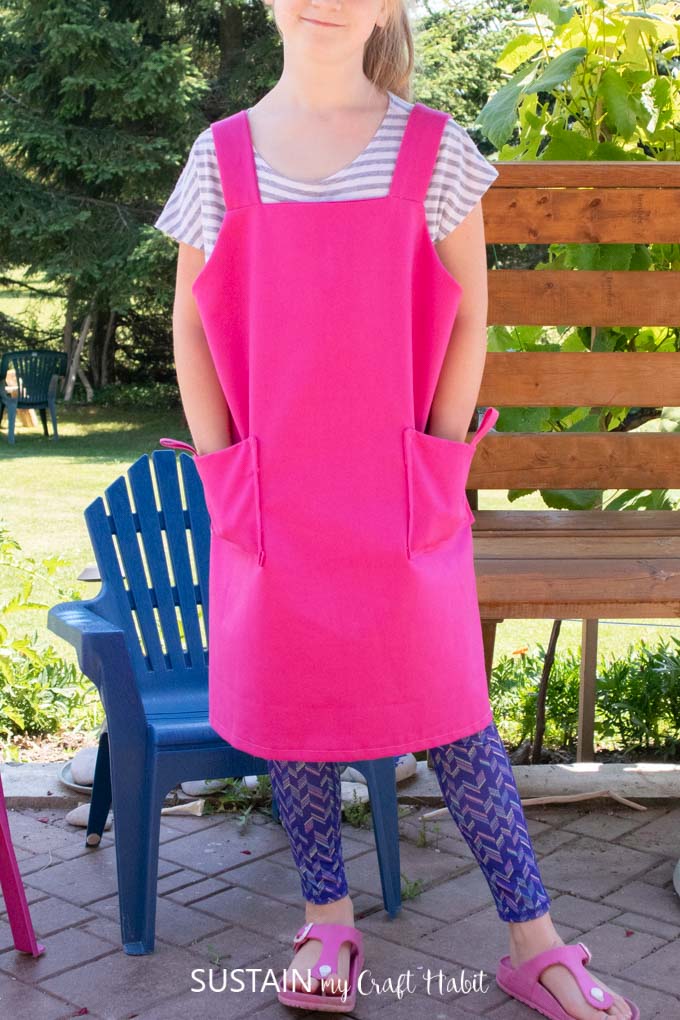
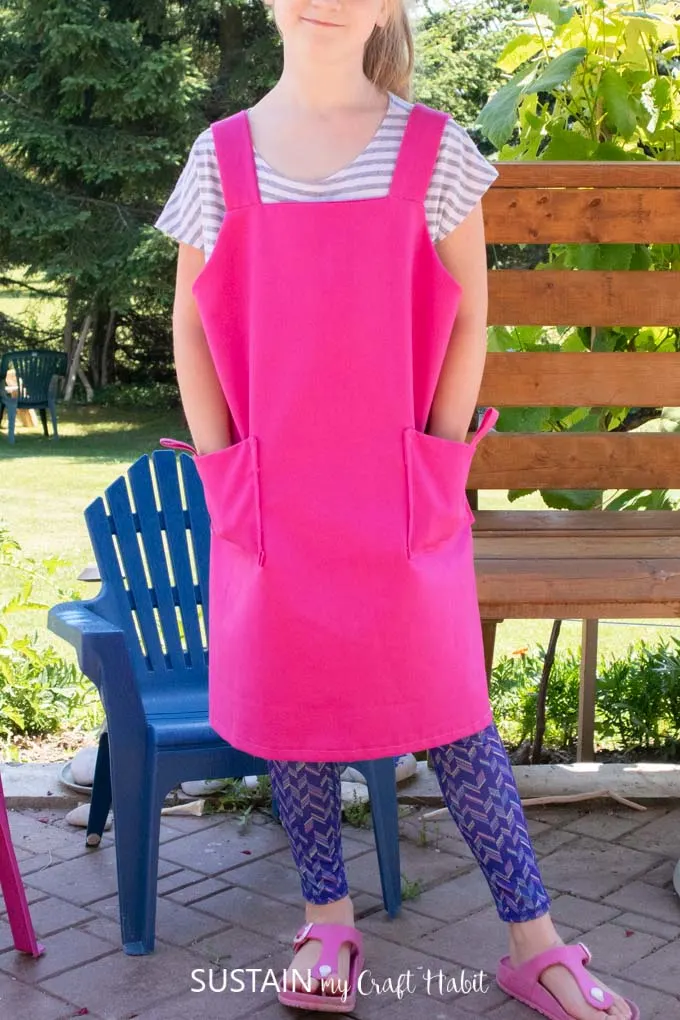
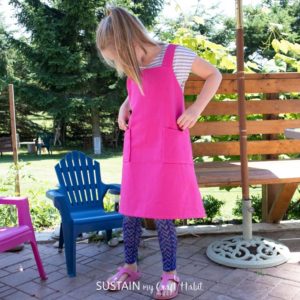
Child’s Apron Sewing Pattern
With five kids under the age of 13 between the two of us, my sister and I have plenty of little creators on our hands!
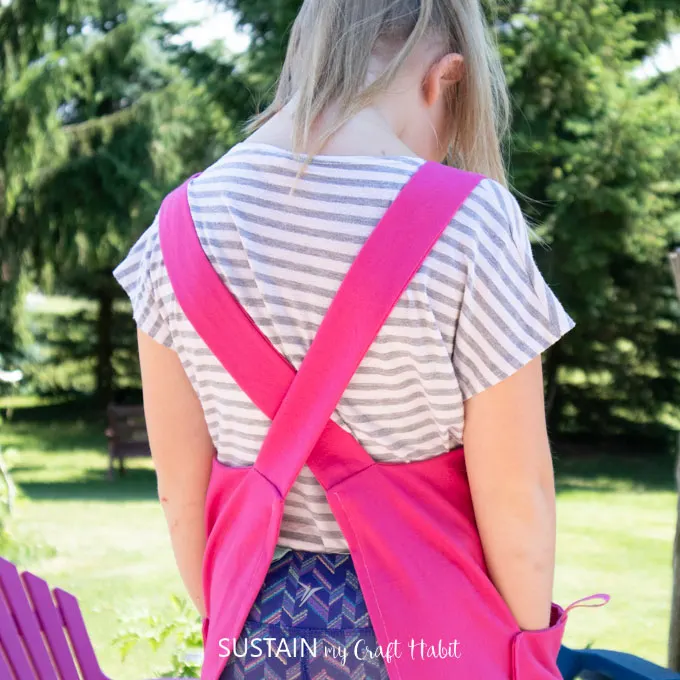
This apron with it’s criss-cross styled back is easy to put on and take off, which means no need for fussing with long ties behind the neck and waist. Little ones can use them as cooking aprons or painting aprons or even just for dress up.

Apron Size and Specifications
- Our little model here is 8 years old and weighs 62 lbs with a height 4’4”.
- The finished apron measures 25” long along the center from the neck edge to the bottom hem and measures 28” wide around the full circumference but the length can easily be adjusted as needed.
- Because of it’s design, the same size apron can fit a range kid’s ages similar to how the adult sized apron fits a variety of body types.


Which fabrics to Use
- I used the same medium weight canvas in a bright hot pink color as this DIY toy organizer but I prefer the weight of this apron and DIY drawstring bag, which is a little lighter and more comfortable to wear.
- Any medium weight woven fabric such as canvas, poplin, sheeting or muslin is recommended.
- Find the complete supplies list below.

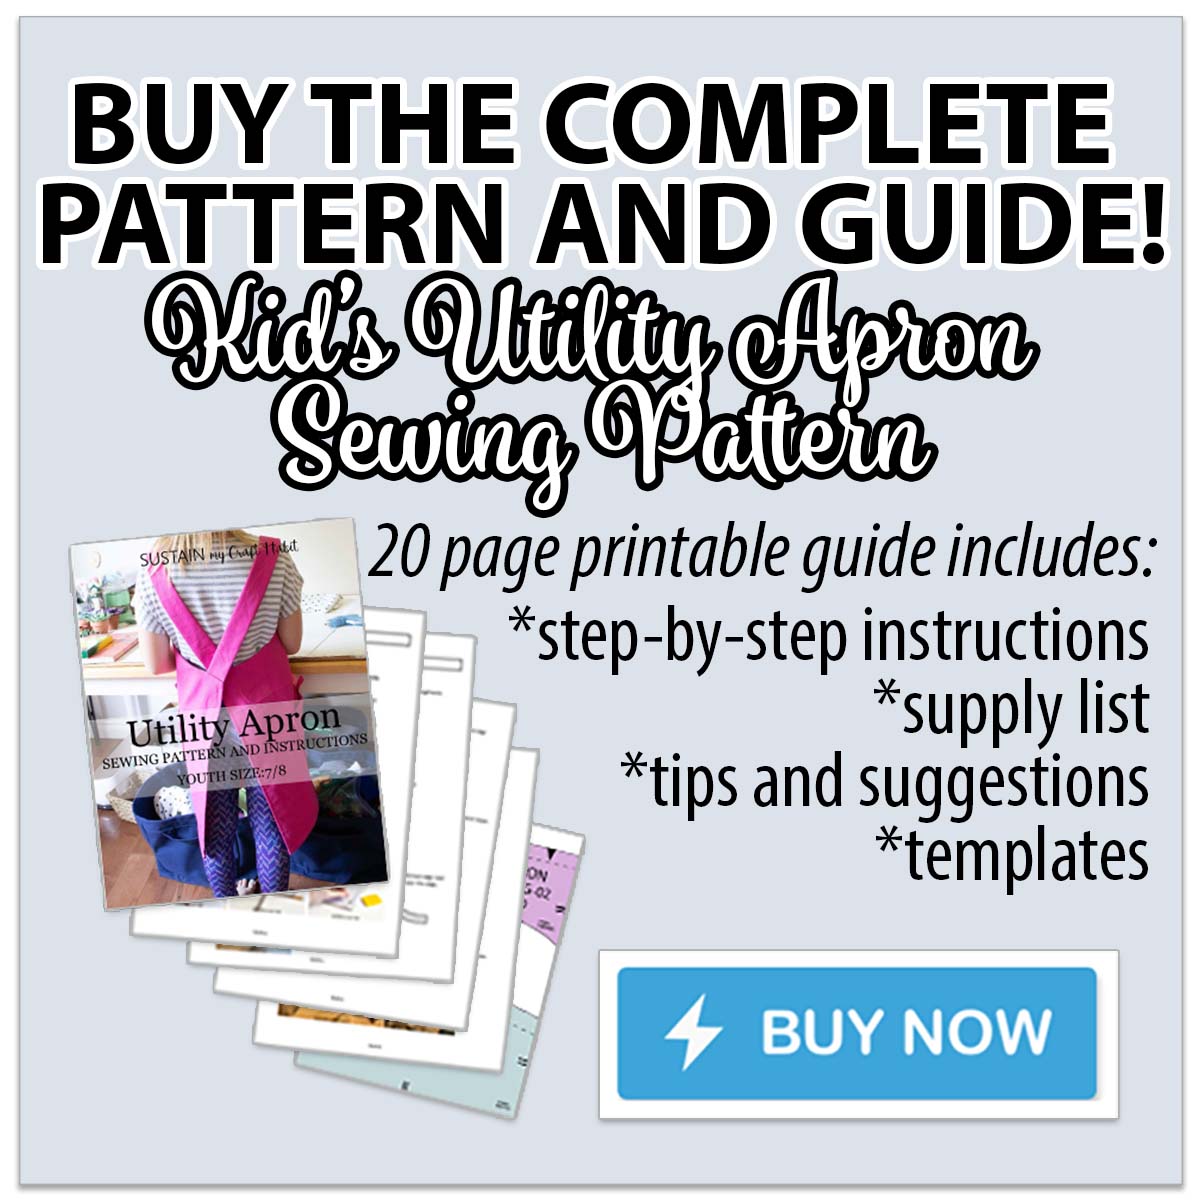
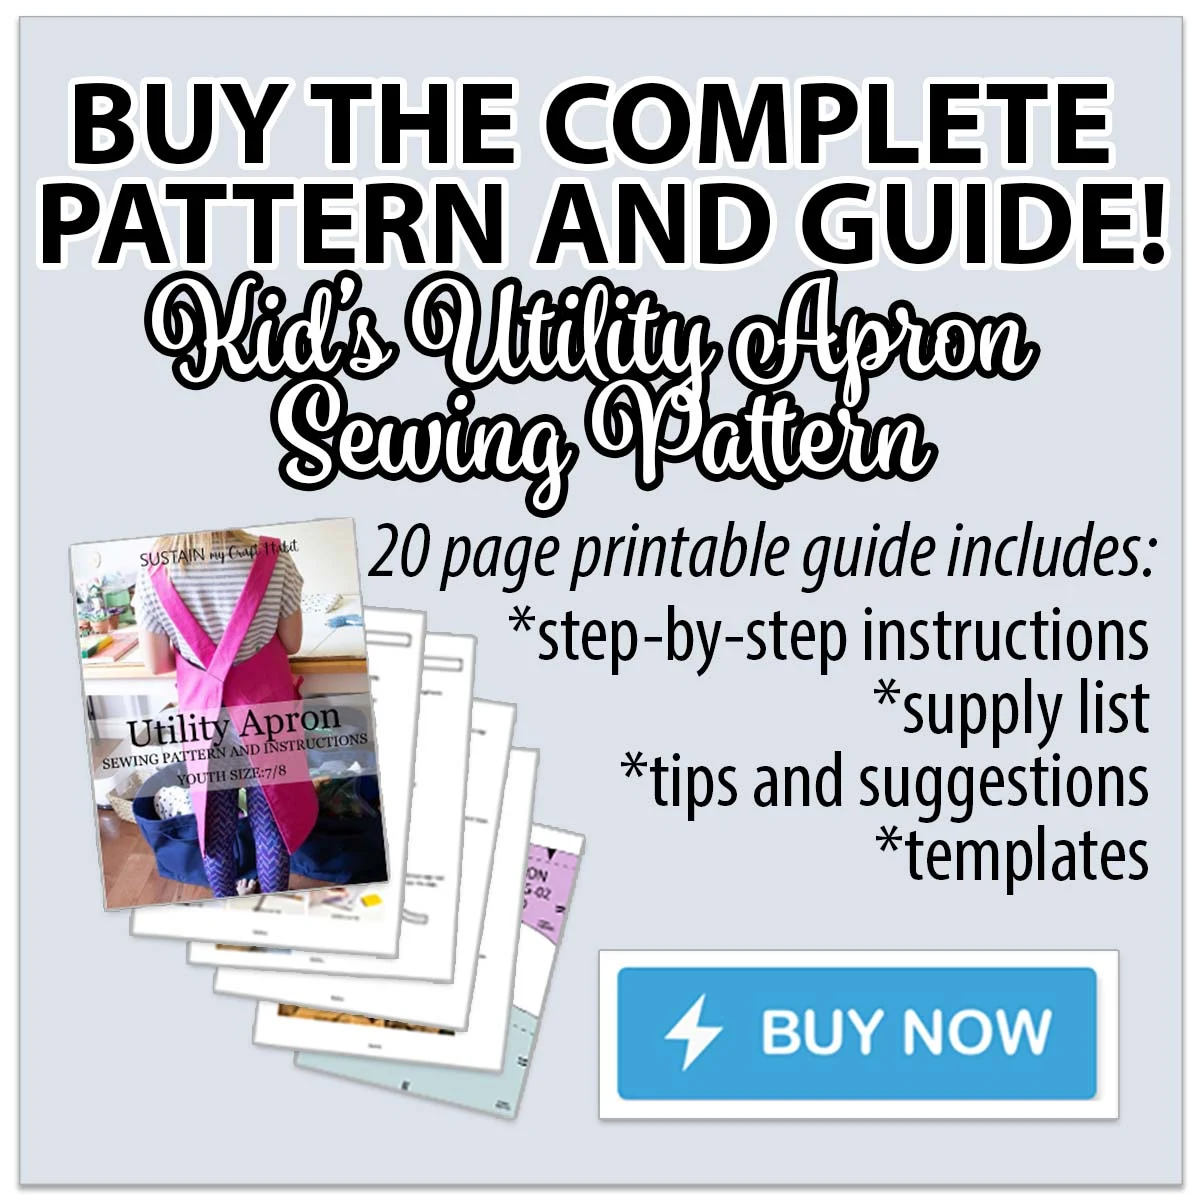
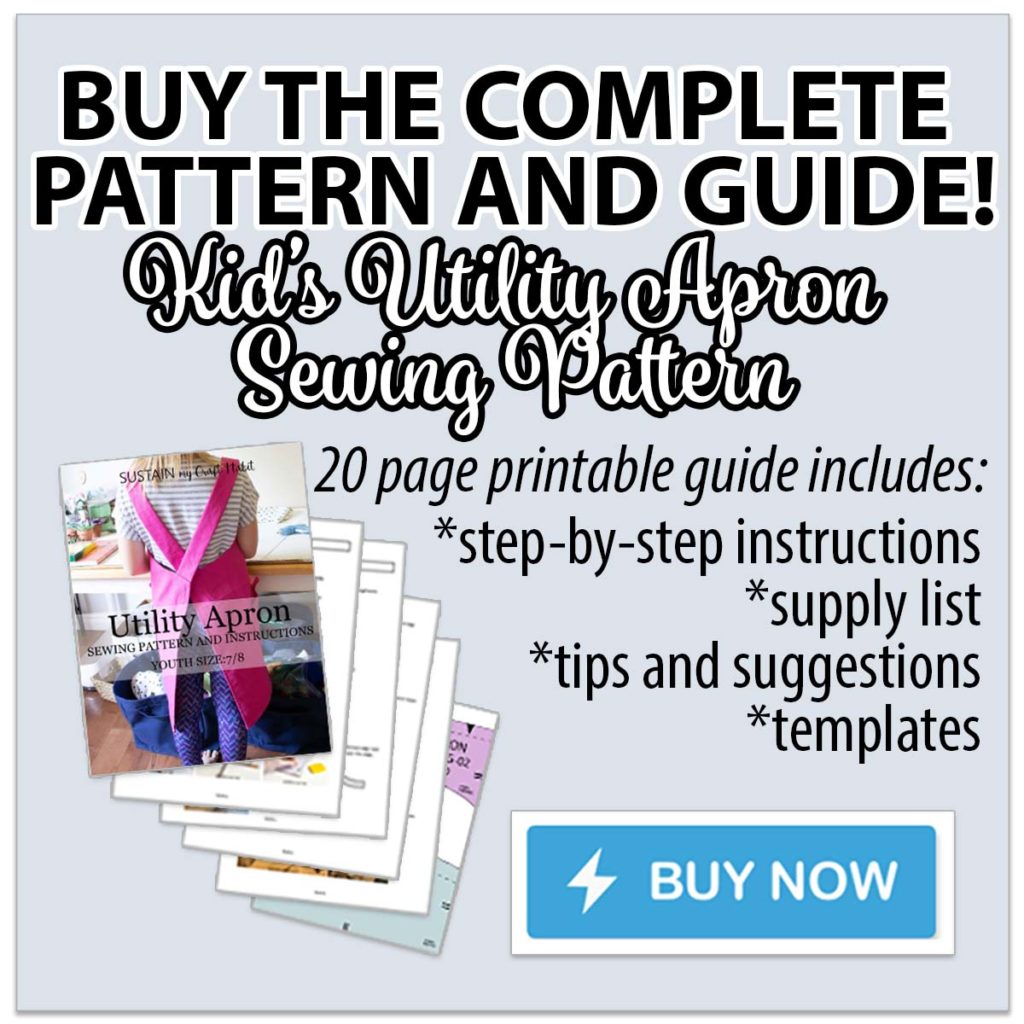
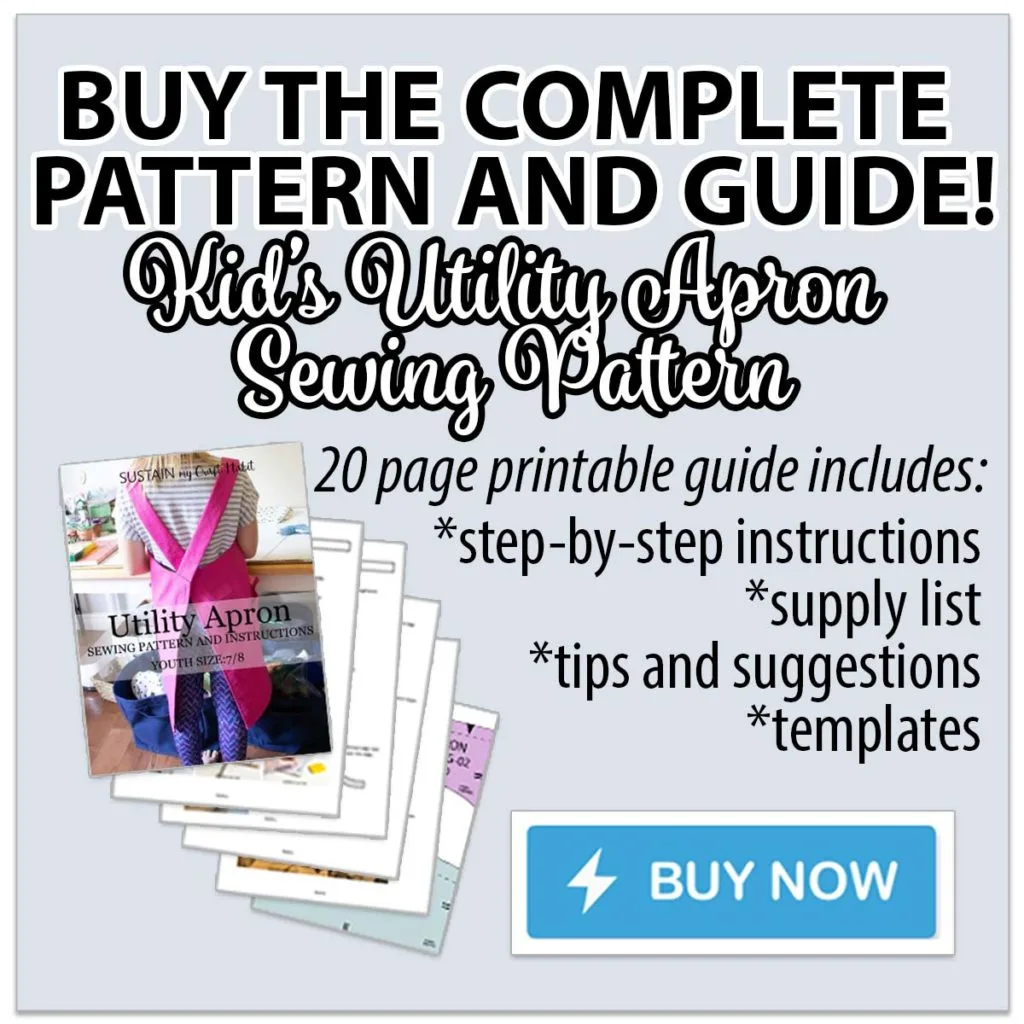
Where to Buy this Kid’s Apron Pattern
- You can purchase the complete guide for making this versatile kid’s apron as well as the adult sized version here.
- The PDF includes a full photo tutorial of the step by step instructions, complete list of supplies, tips and suggestions as well as the printable pattern.


Materials Needed to Make a Versatile Kids Apron
Disclosure: This post contains affiliate links for your shopping convenience. Should you choose to purchase through them, we will make a small commission at no extra cost to you. You can read our full disclosure policy here.
- 100% cotton canvas, 7oz, 1.5 yards at 60” wide (any color of your choosing)
- Printable Pattern Guide and Instructions
- Sewing machine with matching thread color
- Fabric scissors
- Chalk, ruler, measuring tape
- Iron and ironing board
- Buttons
And if you’re interested in a matching apron for yourself, head over to this post for more details.
Looking for more easy sewing projects? Check out


Storage Cubes 
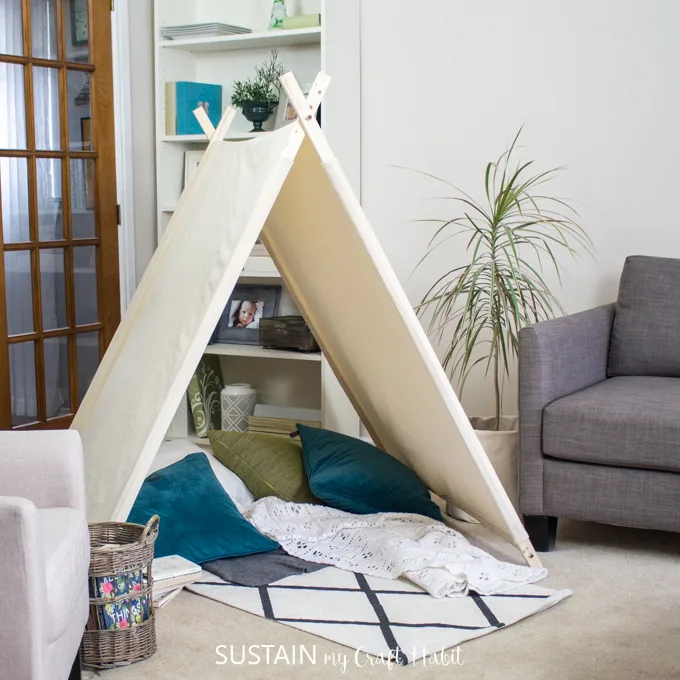
Indoor Tent 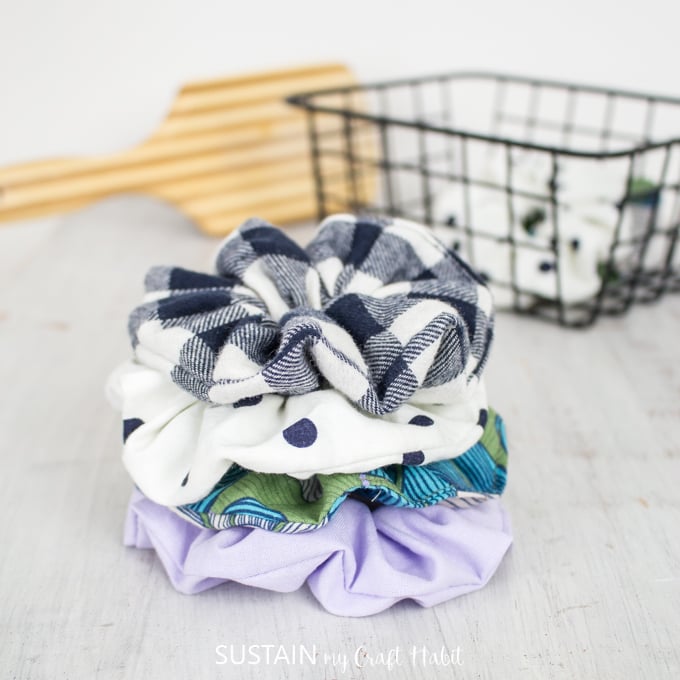
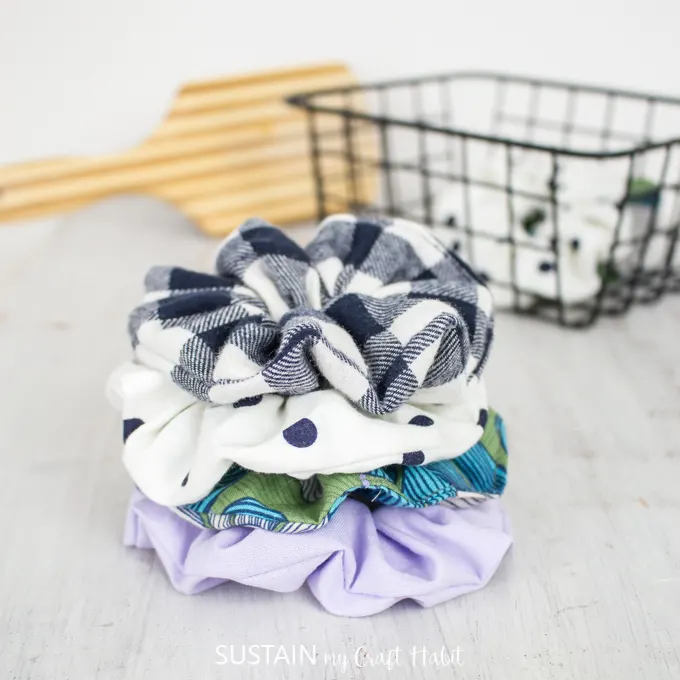
Scrunchies 
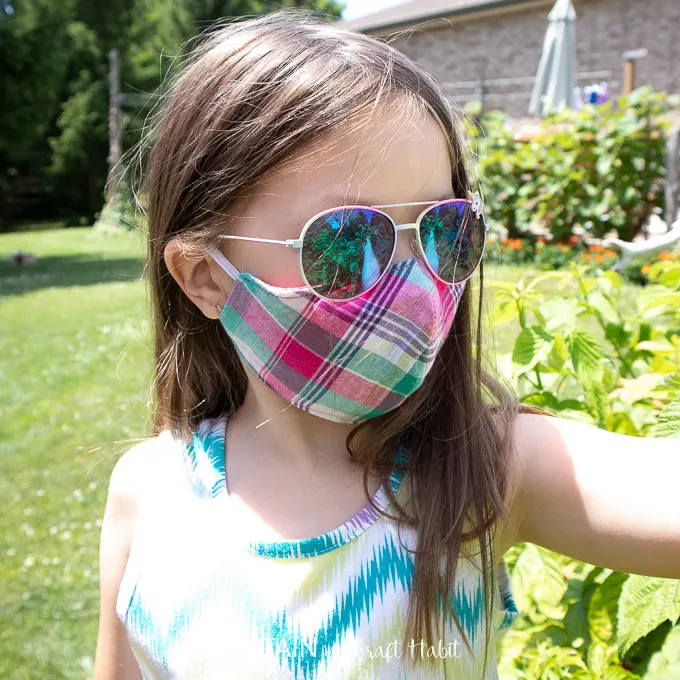
Face Mask

Like it? Pin it for later!


Versatile Kid’s Apron Pattern
Materials
- 100% cotton canvas 7oz, 1.5 yards at 60” wide (any color of your choosing)
- Printable Pattern Guide and Instructions available for purchase
- Sewing machine with matching thread color
- Fabric scissors
- Chalk, ruler, measuring tape
- Iron and ironing board
- Buttons
Instructions
- Fold fabric length in half with right sides together, matching selvedges and place on a smooth, flat surface.
- Using a straight ruler or measuring tape, measure and mark with removable chalk the apron pattern onto the fabric
- Cut along all the solid lines
- Mark all dots (for pocket placement) on the pattern (pocket pattern AND body pattern) using a piece of washable chalk or wax. Poke the center of the dot with a pin, lift pattern up and mark on the fabric where the pin meets the fabric.
- For the shoulder straps, with right sides together, sew the two sides of each shoulder strap together lengthwise. Turn stitched straps right side out and press seams flat. Put straps aside.
- For neck facing, do a narrow hem stitch along the lower edge of the neck facing piece to clean finish and prevent fraying edges. Put facing aside.
- For the pockets, fold the selvedge strips in half to form a 3” loop and align the cut edges with the center of the pocket edge. Baste stitch in place.
- Align the pocket facing with the top edge of the pocket and sew together. Understitch the seam. Clean finish the pocket facing edge with a narrow double turn hem.
- Fold in the facing along the seam and iron all other edges of the pocket in by ½”.
- Position the pocket onto the body of the apron.
- Edgestitch pocket in place along all 3 sides of the pocket.
- To assemble all the pieces align the shoulder straps to the right side of the apron body matching single notches at the front and double notches at the back.
- Be sure to criss-cross the straps at the back! Baste stitch straps in place.
- With right sides together, align the top edge of the body pattern and neck facing
- Stitch together with a ½” seam allowance. Finish with an under-stitch.
- Sew the ends of the facing to the body with a 1” seam allowance. Turn facing over and press seam flat.
- Finish the sides and bottom hem of the apron with a ½” double turned hem.
- To finish, use a sewing needle and matching thread, attach the button to the apron above the pocket loop.
- And lastly, iron all seams and stitched edges.
Cynthia
Saturday 25th of July 2020
What a super cute apron. I really want to get a sewing machine so that I can start sewing . I did it as a young girl and then when my machine broke I never replaced it. So fun hopping with you.
Rebecca
Saturday 25th of July 2020
What a great design! I love that there are no ties to deal with. My daughter is 7 and this would be perfect for her arts and crafts projects, as she usually makes a mess of her clothes! Thanks for sharing. It was fun crafting with you two again!
Carol@Blueskyathome
Saturday 25th of July 2020
This pattern has always been a winner for kids. I made a similar one for my girls when they were little. I have so much fabric, I should make them for my grand girls. Great idea.
Carol@BlueskyatHome
Friday 24th of July 2020
THis is a perfect coverup for a kids' paint or art project. Such a great idea. And cute too.
Chloe
Friday 24th of July 2020
I love how this apron requires no ties! That is one thing my grands struggle with when putting on their aprons. I know they would love the pockets, since their aprons don't have pockets! This is so cute and functional! Thanks for hopping with us!