I never thought I would be making crafts with silver trays and yet here I am. The fact is, I wouldn’t use the silver tray otherwise so why not put it to use with a Spring craft idea?


It’s a wonder the things you can find to craft with at the thrift store! It is one of my favorite places to go for inspiration and budget-friendly craft supplies. Knowing I would never actually use a silver tray for what it was initially intended, my mother-in-law picked it up for me to use for crafting!


And I’m so glad she did! With some creamy chalky finish paint and a brown creme wax, I gave the tarnished silver tray a new antique look as my back drop to a pretty Spring decoration. This craft which I made in real time on a recent Facebook Live video turned out even better than I could have imagined.
Want to receive a ton of inspiration and money saving ideas for decorating, gift-giving and crafting? Join HERE!
Materials Needed
Disclosure: This post contains affiliate links for your shopping convenience. Should you choose to purchase through them, we will make a small commission at no extra cost to you. You can read our full disclosure policy here.
- Silver Tray
- Chalky Finish in Lace
- Americanan Decor Creme Wax in Brown
- Paintbrush
- Faux Tulips
- Jumbo popsicle / craft sticks
- Scissors
- Hot Glue Gun or E6000 glue if needed
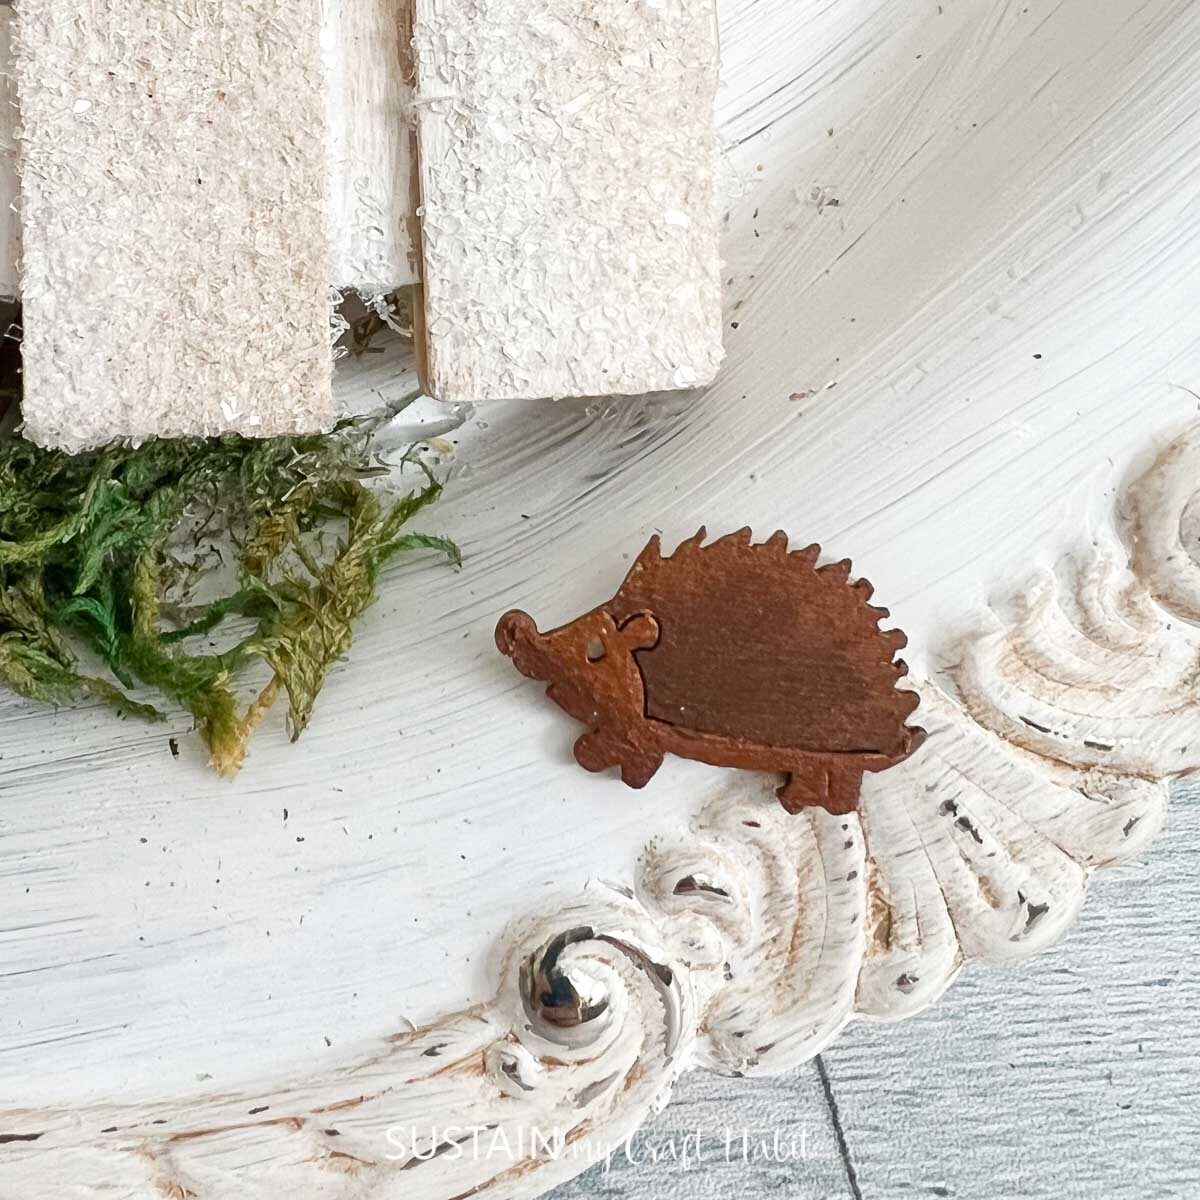
- Wooden embellishments (bird, other woodland) and paint
- Diamond Dust (optional) with craft glue
- Decorative Moss
How to Upcycle a Silverware Tray for Spring
Paint the tray in Chalky Finish Lace and let it dry. It’s a soft, cream matte color paint that is perfect for the antique look I was going for. Once dry, paint the ornate edges of the tray in brown wax and wipe away excess with a clean towel or rag.
Preparing the Picket Fence
Cut the jumbo sticks to resemble picket fence posts with one end cut straight and the other cut to a point. Cut enough to make a fence for the tulips to be tucked in behind.
Paint the sticks white and leave them to dry.
Lay the picket fence post pieces on a flat surface with the right side facing down.Leave spaces between the Lay the cross posts down on top in the opposite direction. Leave spaces in between to resemble an actual picket fence. Cut two cross posts the length of the fence to glue on the backside.
Turn the fence right side up and apply clear glue and then sprinkle the diamond dust on top. Alternatively, you can apply glitter paint for a similar effect.


Assembling the Pieces
Position all of the pieces onto the prepared tray starting with the moss, then the tulips and place the picket fence over top. Once happy with the placement, remove and then glue all the pieces onto the tray.


Cover the tulip stems with the picket fence. To help the fence stay in place, build up the fence so it doesn’t curve over top of the tulips. And you can also use a stronger glue, like E6000 instead of hot glue.


Paint a few wooden woodland characters and glue them on top of the tray to finish.

And with that, the Spring craft is complete! It really came together nicely and I’m amazed and how much there is to look at and enjoy. Have you ever come across a silver tray or other silver pieces at the Thrift store?
More Spring Crafts
Since Spring is just around the corner (or that’s what I keep telling myself anyways!), check out these other fresh and colorful spring crafts many of which can be made using natural materials or thrifted finds.
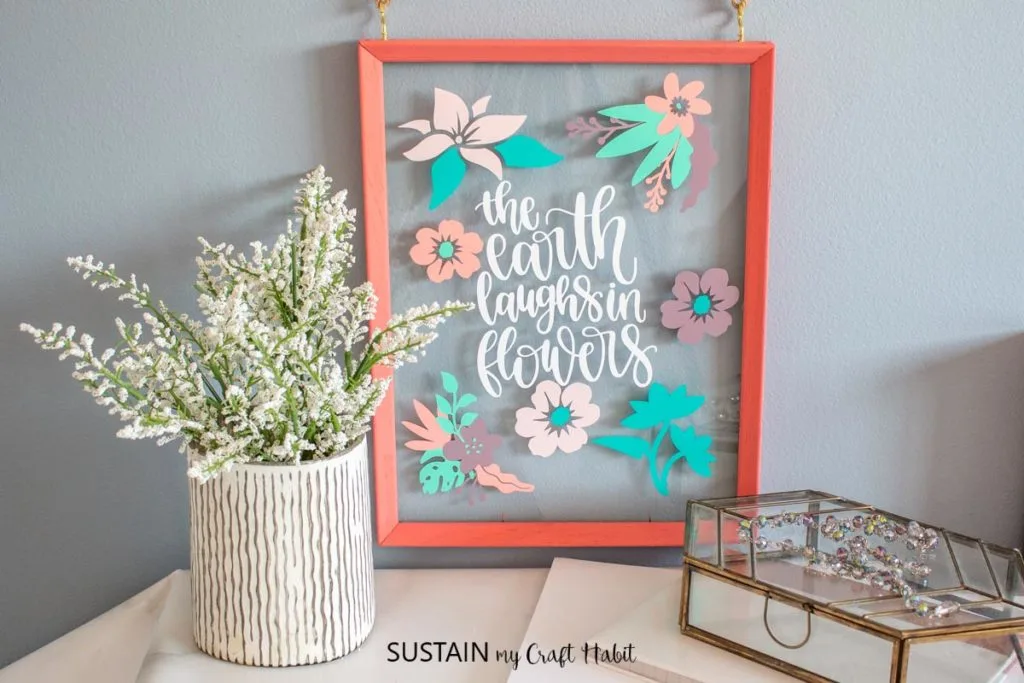
- Upcycled Picture Frame Spring Crafts
- Painted Grape Hyacinths Rocks
- Spring Flower Wall Decor
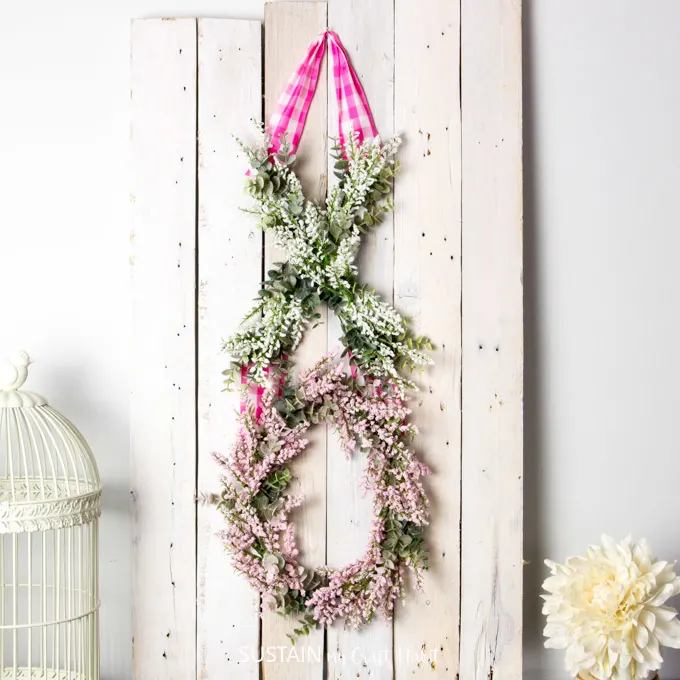
- Floral Hoop Wreath
- Birds Nest Twig Wreath
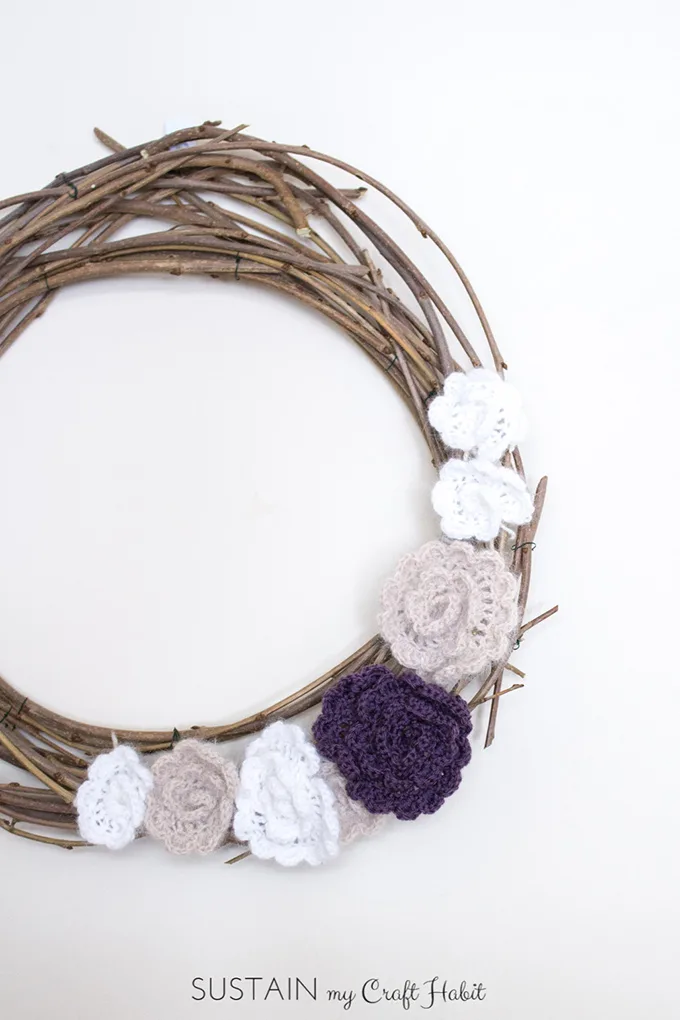
- Mulberry Branch Wreath with Crochet Flowers
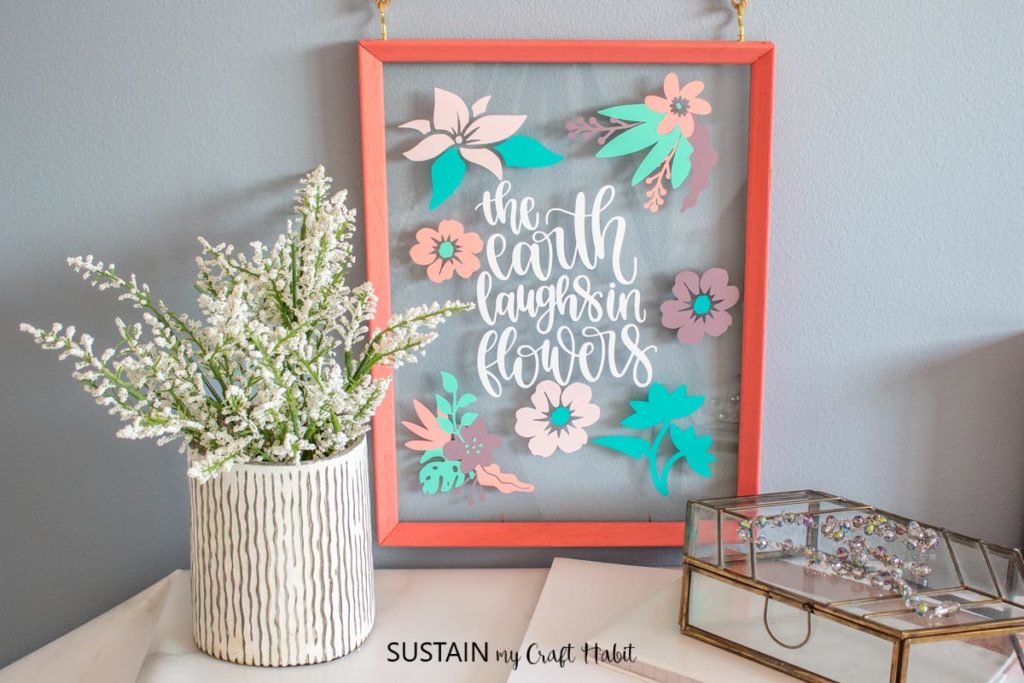

Upcyled Frame Spring Craft 

Grape Hyacinths 
Spring Flower Wall Decor 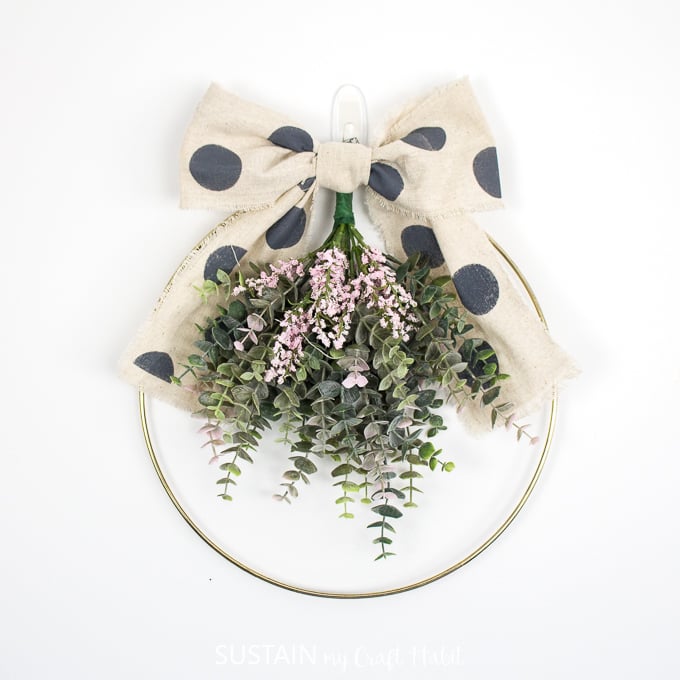
Floral Hoop Wreath 

Birds Nest Twig Wreath 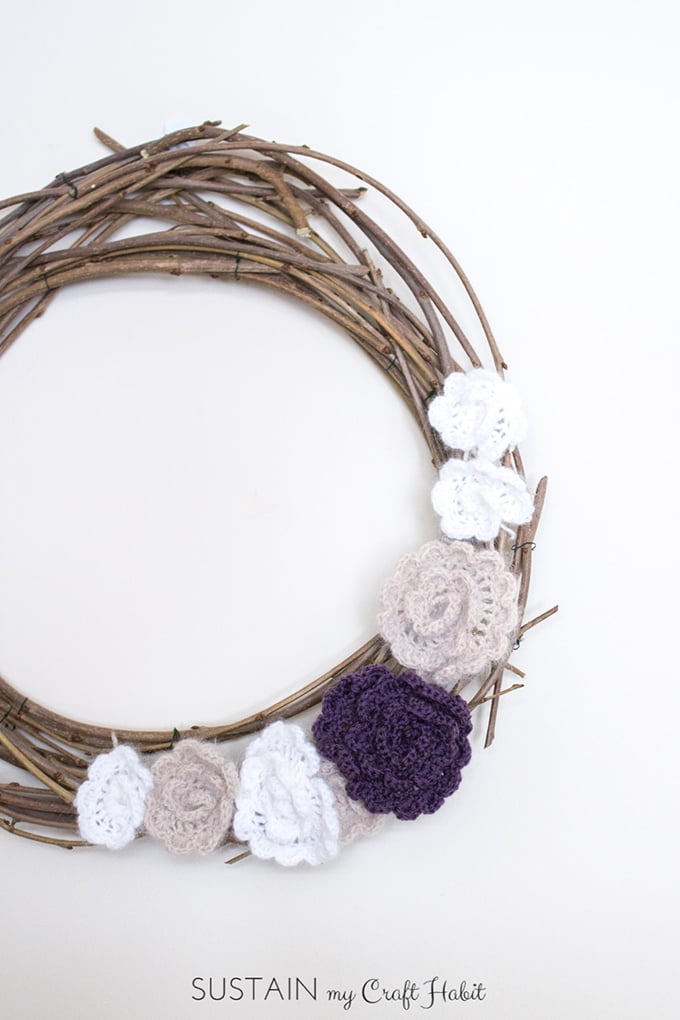

Crochet Flowers Wreath


Thankyou for stopping by to visit! We’d love for you to join our crafting community to find more nature-inspired DIYs and upcycled craft ideas. It feels good to repurpose, upcycle and create with nature!
Like it? Pin it for later!


Upcycled Silverware Tray for Spring
Materials
- Silver Tray
- Chalky Finish Paint in Lace
- Americanan Decor Creme Wax in Brown
- Paintbrush
- Faux Tulips
- Jumbo popsicle / craft sticks
- Scissors
- Hot Glue Gun or E6500 glue if needed
- Wooden embellishments bird, other woodland and paint
- Diamond Dust optional with craft glue
- Decorative Moss
Instructions
- Paint the tray in Lace and let it dry.
- Paint the ornate edges of the tray in brown wax and wipe away excess with a clean towel or rag.
Preparing the picket fence
- Cut the jumbo sticks to resemble picket fence posts with one end cut straight and the other cut to a point.
- Paint the sticks white and leave them to dry.
- Lay the picket fence post pieces on a flat surface with the right side facing down.Leave spaces between then lay the cross posts down on top in the opposite direction. Cut two cross posts the length of the fence to glue on the backside.
Assembling
- Position all of the pieces onto the prepared tray starting with the moss, then the tulips and place the picket fence over top.
- Cover the tulip stems with the picket fence. To help the fence stay in place, build up the fence so it doesnt curve over top of the tulips. And you can also use a stronger glue, like E6500 instead of hot glue.
- Paint a few wooden woodland characters and glue them on top of the tray to finish.