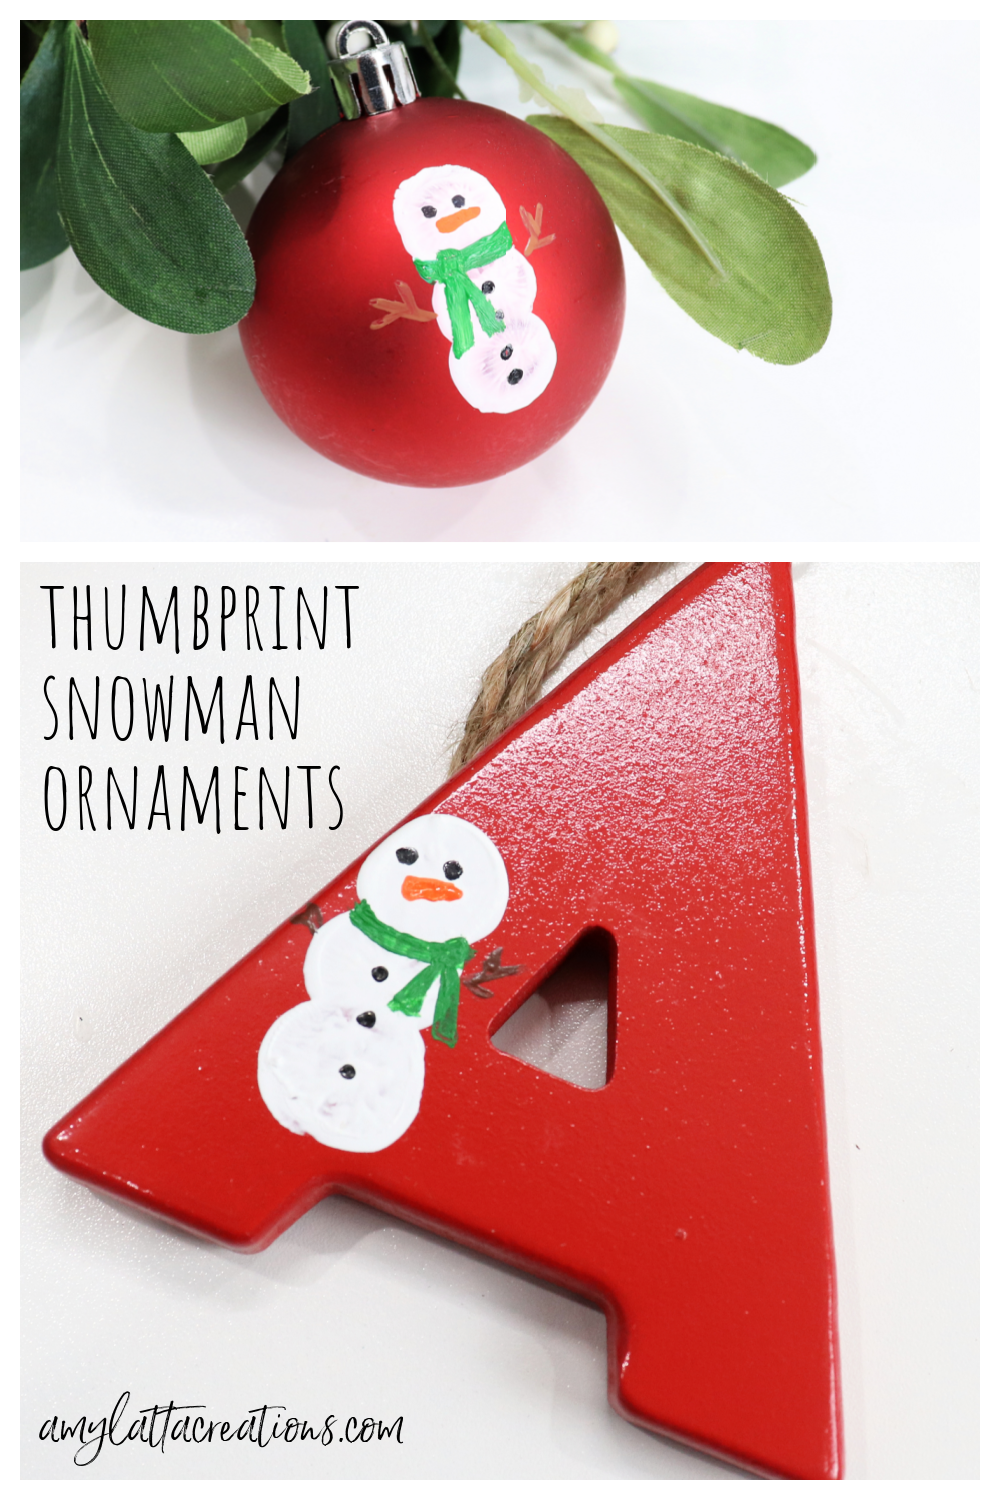
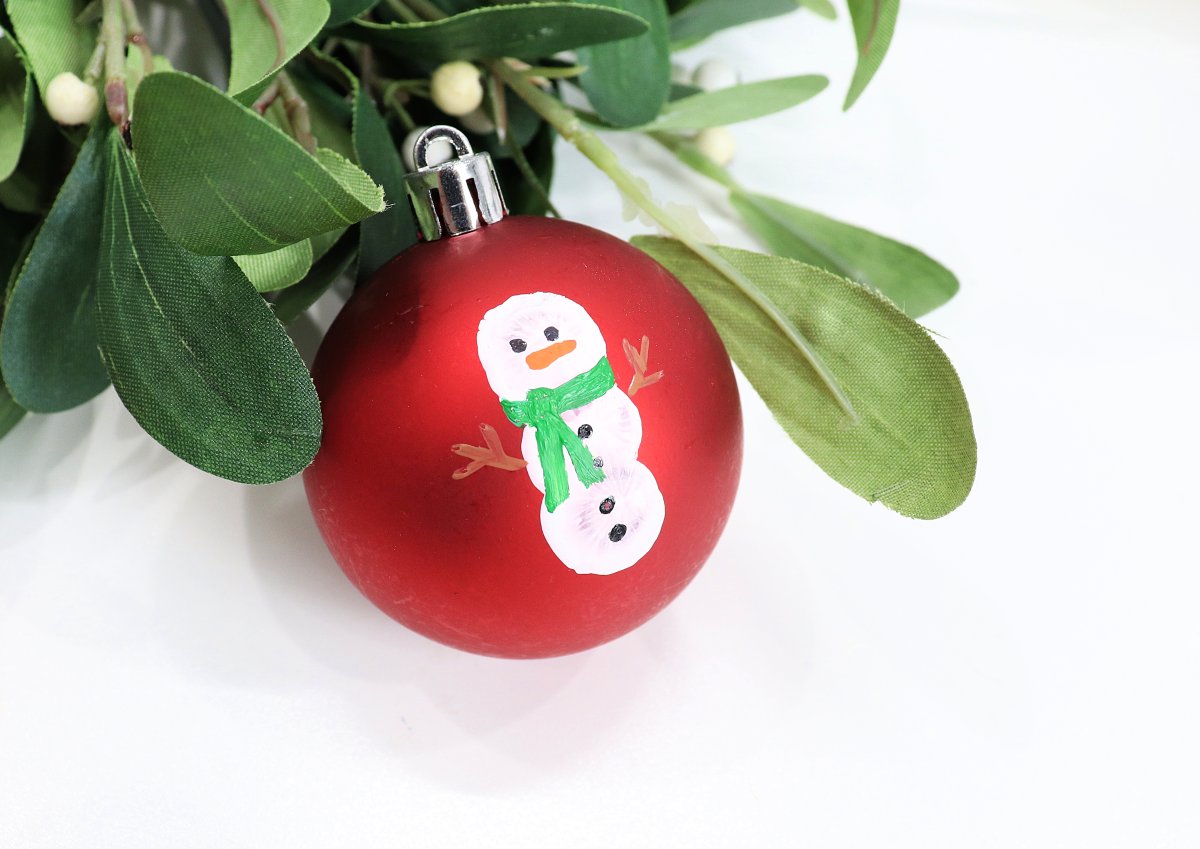
Thumbprint Snowman Ornaments

I’m sure you’ve seen the idea somewhere online of thumbprint ornaments as a kid’s craft project around the holidays. In fact, I even shared about it myself all the way back in 2013 when Little Crafter was five years old! But today, I want to encourage you to think about it in a new way, as a project for yourself too.
In my brand new guided creativity journal, Practice Makes Progress, one of the 25 chapters is based on this quote by Christian Morgenstern: “In every work of art, the artist himself is present.”
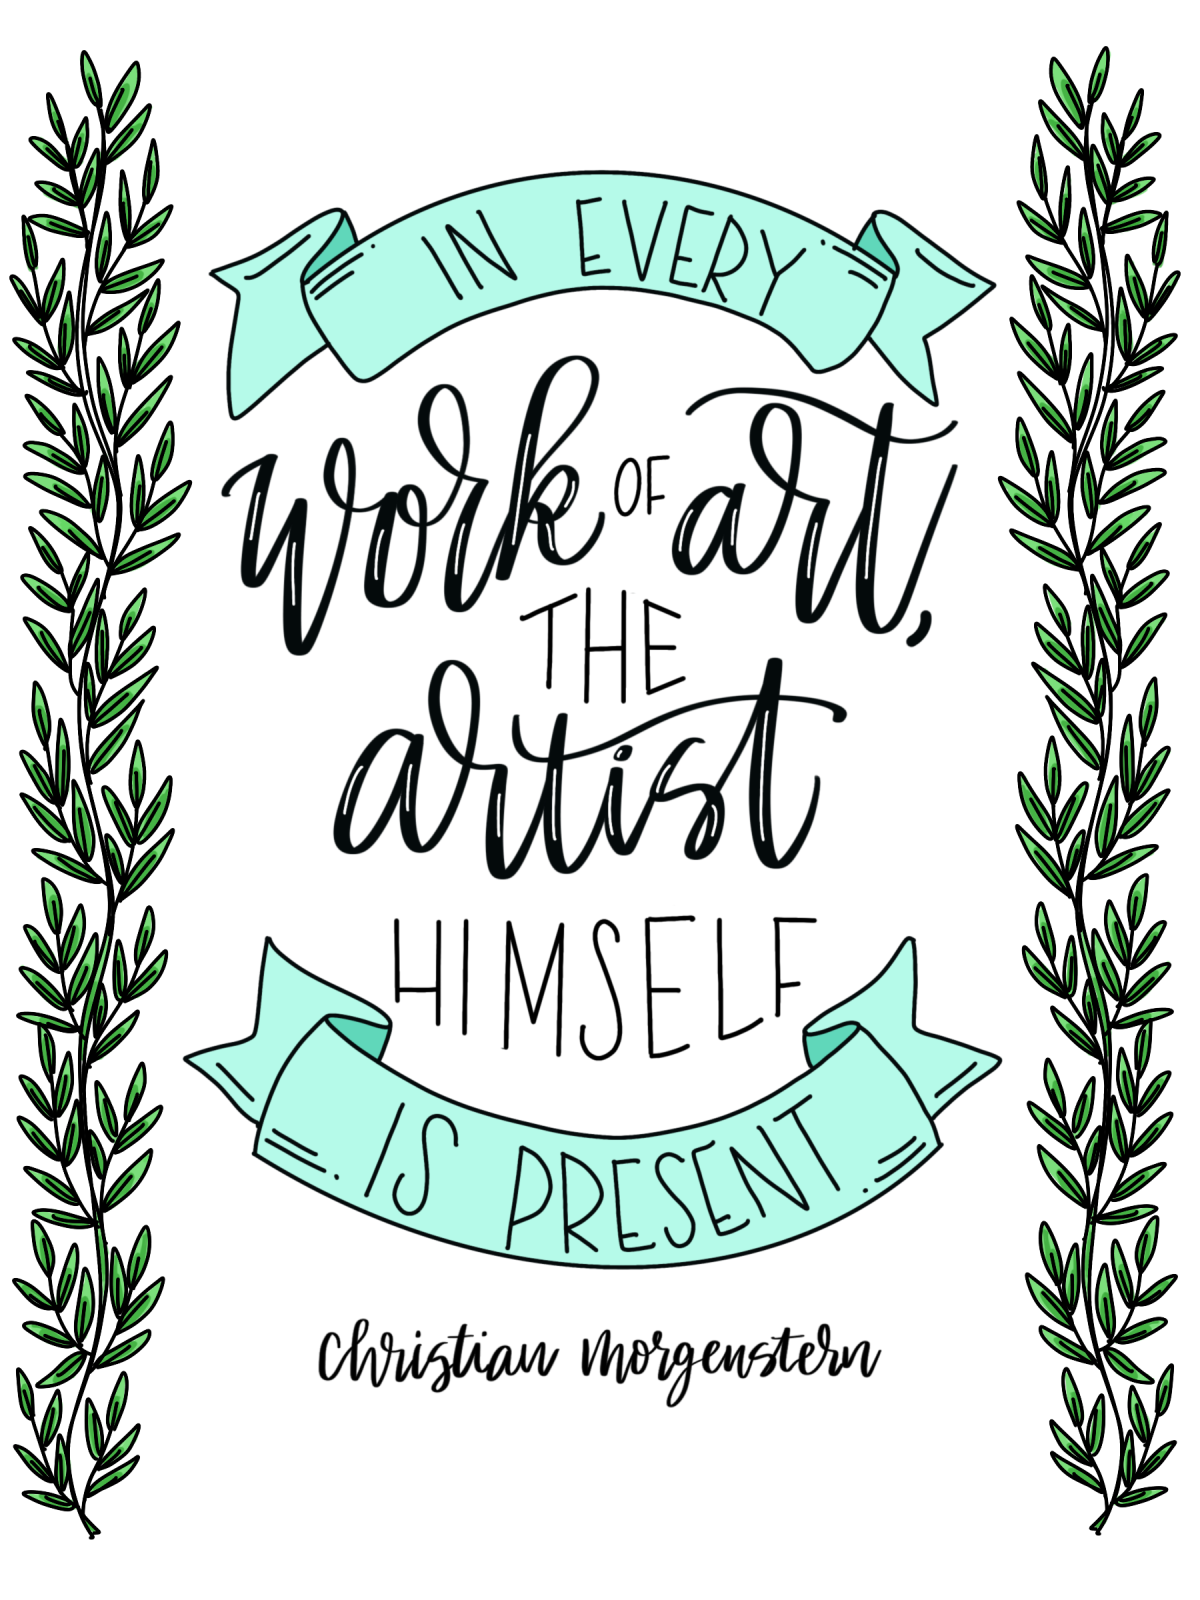
I truly believe this is the case! Every single thing you create has a little bit of yourself in it. It’s inevitable that a creator puts his or her own stamp on each project. This is why handmade things are so valuable and unique, and it’s why handmade gifts are absolutely priceless! When we give something we’ve made, we are also giving a piece of ourselves. In the journal, I elaborate more on this idea and then give several action prompts, one of which is to create something using your own thumbprint. Doing so is a visible, tangible reminder that we put a unique piece of who we are into our created works. This exercise can be done in any way you like, but one easy way this time of year is to use your thumbprints to create snowman ornaments.
You’ll need:
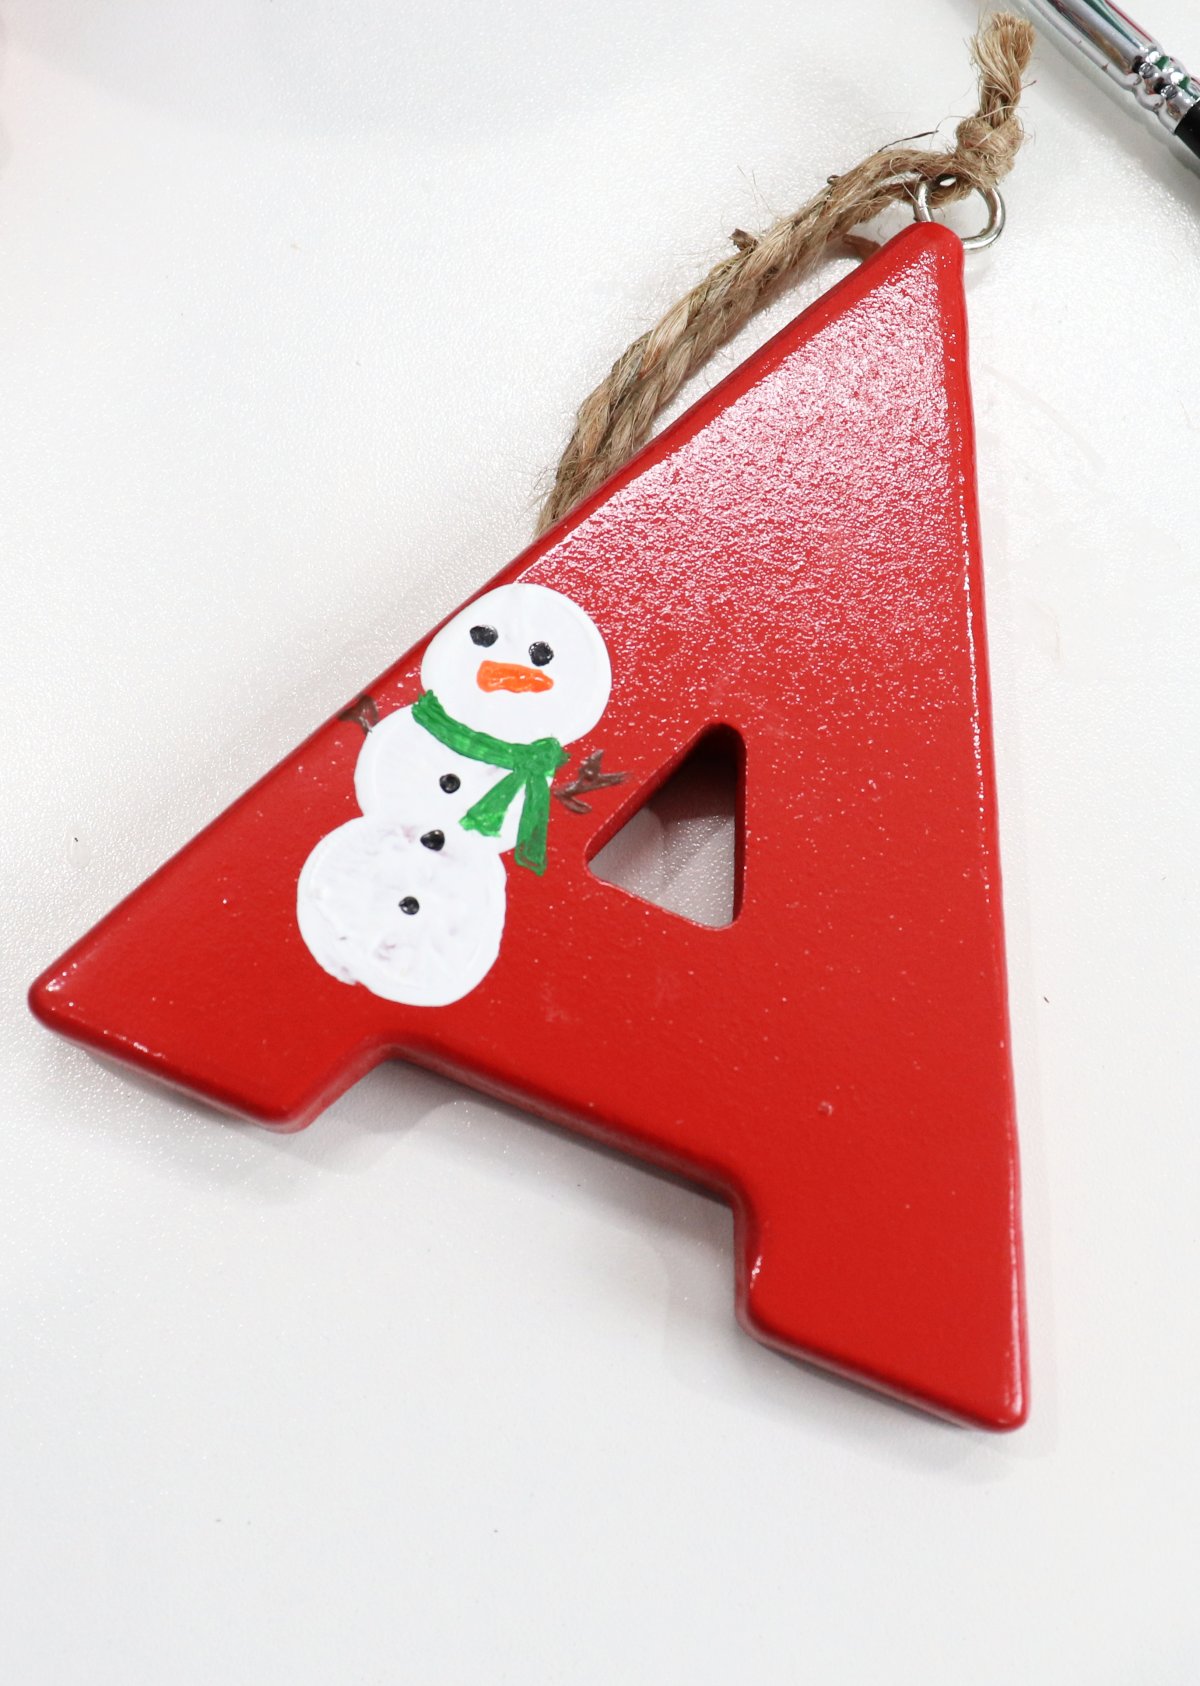
a solid color ornament (I got monogram letters and non-shiny round Christmas balls from Walmart)
acrylic/multi-surface paint (white, black, brown, green, orange)
detail paint brush
paper plate
Mod Podge (Glossy) and large paint brush
To create your snowman, simply put some white paint on a paper plate and dip your thumb into it. Press your thumb onto the ornament three times to form the snowman’s body. Let it dry completely (seriously, don’t rush or it won’t turn out well, trust me). Then, go back with a small brush and details like add a scarf, arms, buttons, eyes, and a carrot nose. Feel free to decorate your snowman in any way you want; this is another chance to put your unique self into your creation. When it’s totally dry, apply a coat of Mod Podge to seal. That’s all there is to it! Now, it’s ready to give away or to keep for yourself as a reminder of the way you infuse everything you create with your personality and heart.
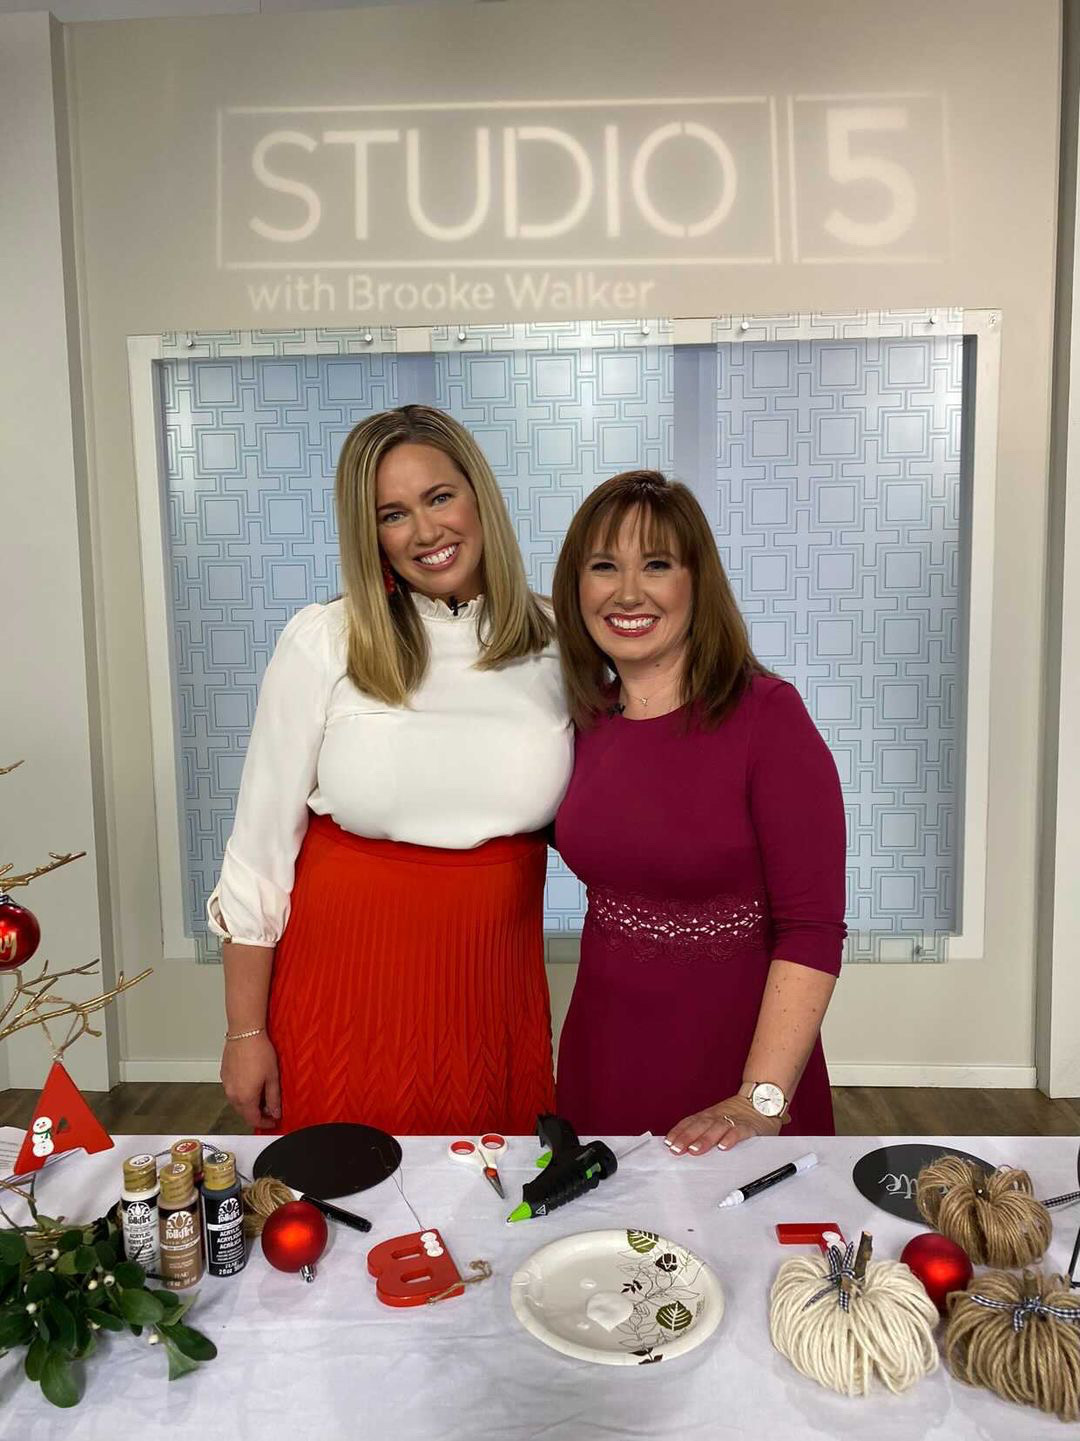
To watch me make these with Brooke Walker and see four more of the exercises from Practice Makes Progress, check out this fun segment from Studio 5!
If you try these, I’d love to see how yours turn out and how you put your own special spin on the project. Be sure to join the Amy Latta & Friends Facebook Group if you haven’t already so you can share your photos there and we can all be inspired together. See you there.