Spackle DIY Art

INSIDE : Learn how to create a gorgeous Spackle DIY Art texture piece with this trendy technique. It is so easy to make this type of artwork and the process is so addictive you won’t want to stop!

This post may contain affiliate links. See full disclosure here.
This post has been updated since it’s original May 2021 publish date.
Today marks week FOUR of the Spring 2021 One Room Challenge, where I’m participating as a guest. Last week I added removable wallpaper to the room and wow did it add some personality to the room!

Every Thursday until June 24th, I will be sharing my weekly transformation of my office to a moody creative haven for the entire family!
Week 1 Office Plan
Week 2 Painting Office Moody Blue
Week 3 Adding Removable Wallpaper to a room
Week 4 Spackle DIY Art
Week 5 Slow going week
Week 6 Woven Wooden Cabinet
Week 7 Painted Wood Slat Wall
Week 8 Moody Office Reveal
I have falled deeply in love with creating art from spackling compound. It’s such a fun and easy medium to work with and creating a DIY spackle painting piece is so much better than spending almost $1000 on something similar from Anthropologie, for example.
You might also be interested in checking out the Best Spackle Art Project Ideas.
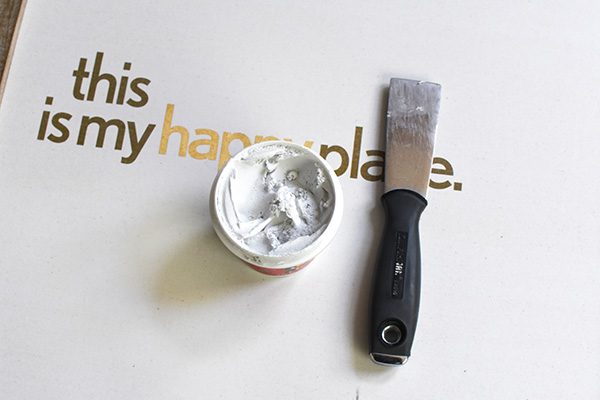
Let’s get into the supplies needed to make fun spackle art.
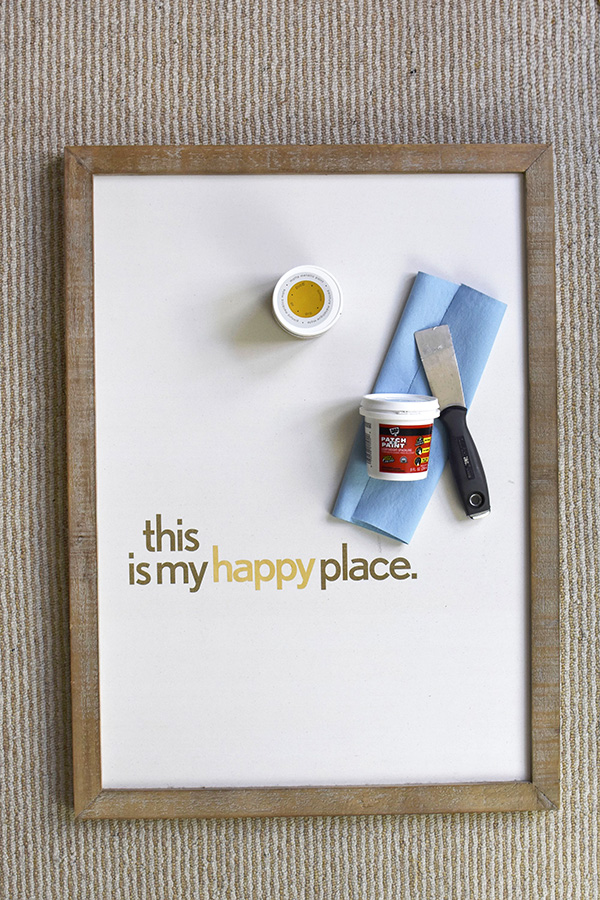
Supplies needed to make Spackle Textured Art
- I upcycled an old framed canvas I had lying around, but any canvas will work.
- Light weight Spackle Paste, the same stuff you use on drywall. It’s helpful because it has a dry time indicator, it goes on pink and dries to white.
- Putty Knife
- Paper Towel
- Gold Metallic paint + paint brush
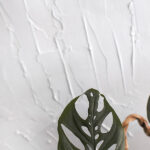
Adding texture to a canvas
One of the simplest way to add canvas texture is with spackle compound. I already had a small container of light weight spackle from when I was patching holes in my office walls, but dry wall mud will work just as well.
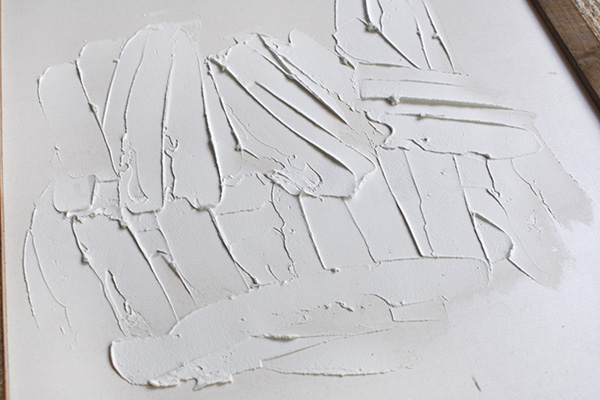
Apply Spackle to Canvas
The good news is yes, you can add spackling on a canvas and it turns into the most lovely DIY spackle art! It immediately adds gorgeous texture to any plain canvas.
My framed canvas had writing printed on it, so the first thing I did was add a layer of spackle over the wording. I almost stopped at this step because I loved the layers it created along with all the other white space.
Create “ART” with your putty knife
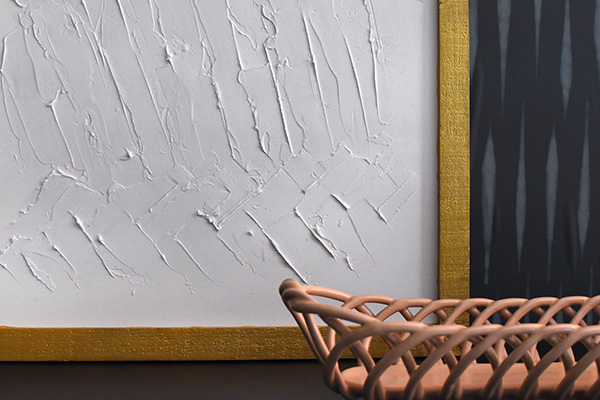
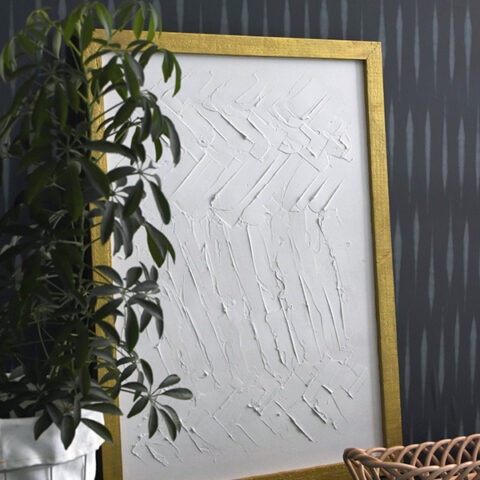
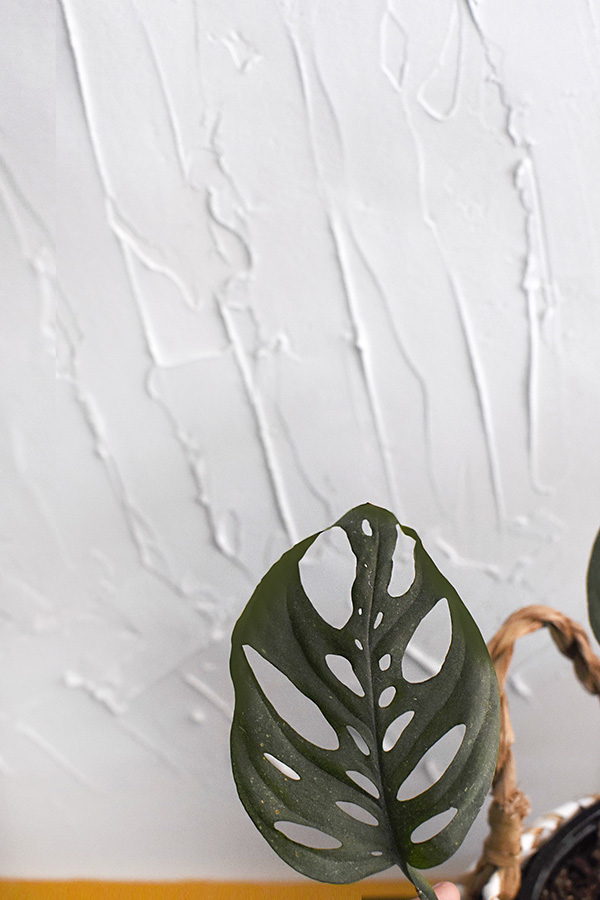
When I was making my spackle art, I decided to add more pattern to my art piece using a putty knife. I was going to go with an organic pattern, but ended up with a loose zig zag pattern look. I tried to not overthink it too much.
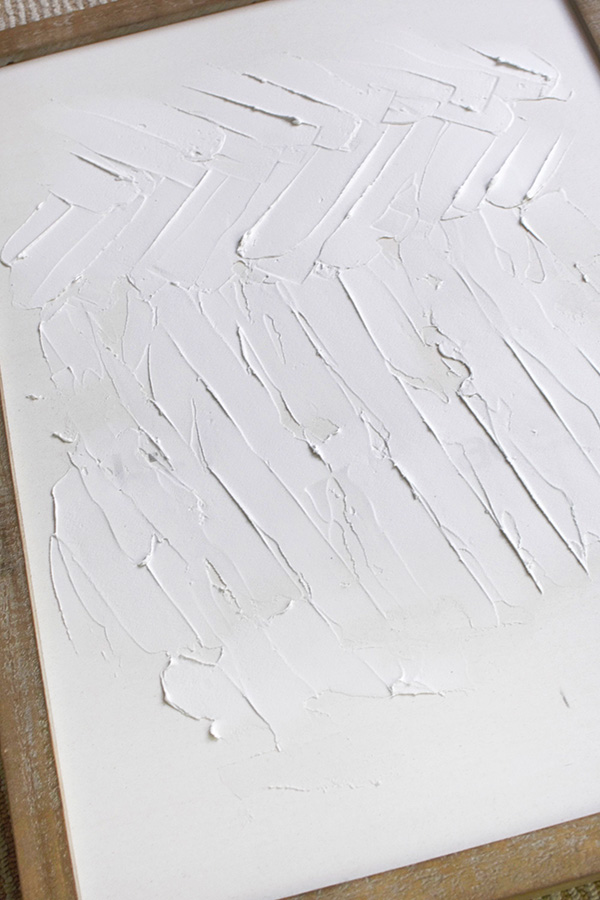
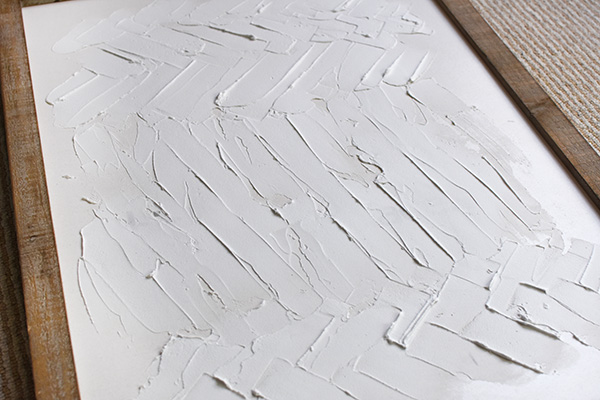
Allow spackle to fully dry
Some lines were shorter and some lines were longer. It’s a subtle look, but I could not believe how fun this was to make! It felt reminiscent of playing with… playdough or even finger painting as a child.
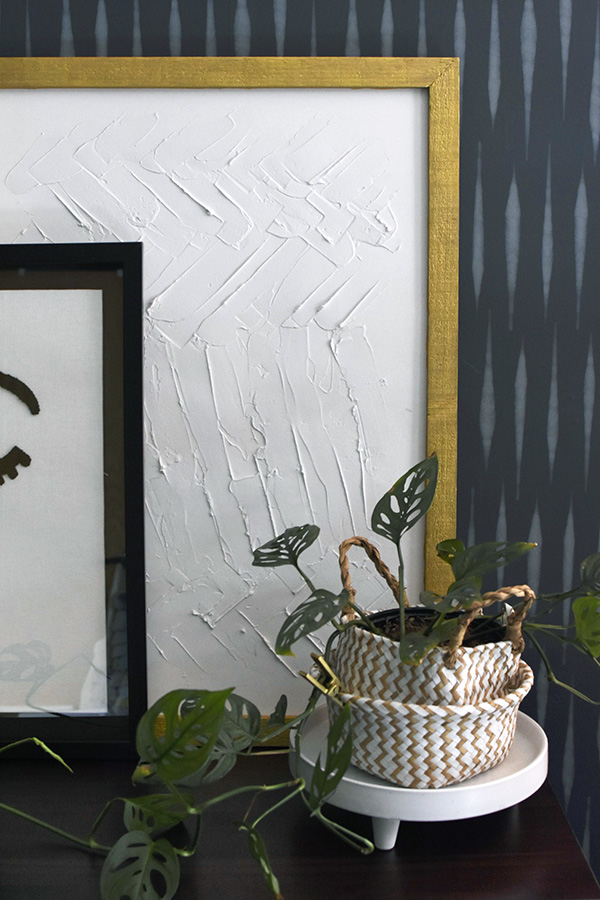
Paint Frame with Gold Foil Paint
After my spackle had dried, it was time to give the frame a more modern look. I added Americana Decor Matte Metallic gold with a small paint brush.
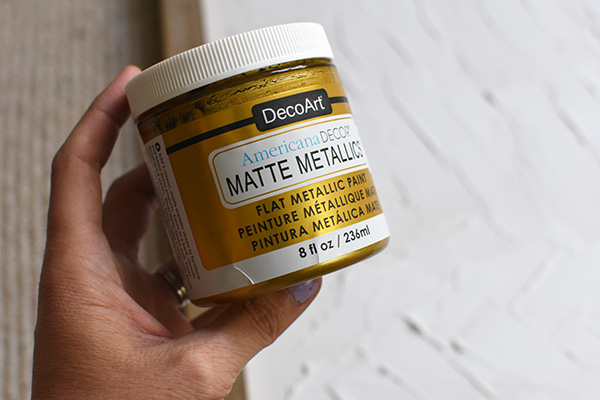
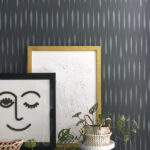
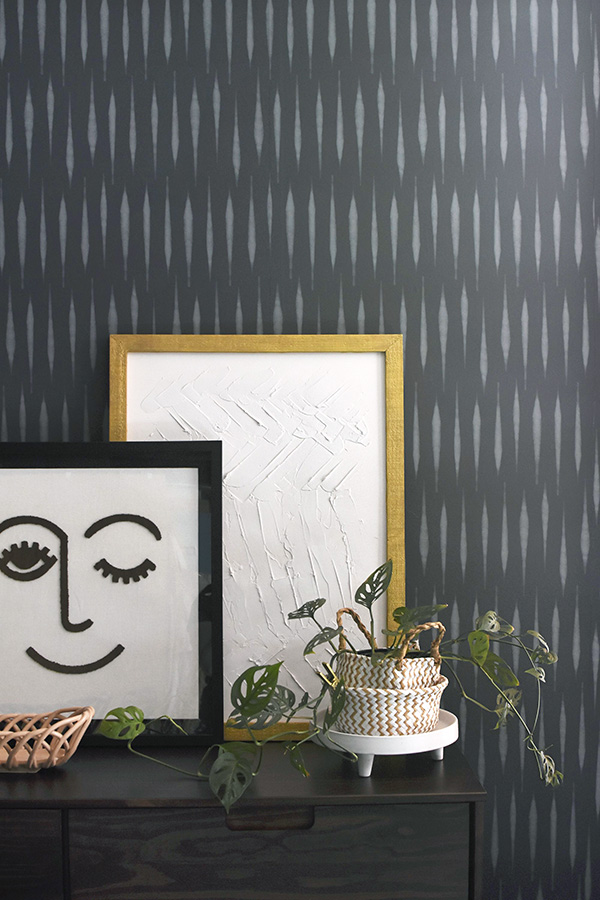
The gold paint took my frame from a farmhouse vibe to modern! One coat of paint was all it took on the frame for a whole new feel.

Modern Art with Drywall Mud
I just love how this art piece came together basically using drywall mud and a putty knife. Creating and making art for our home is one of my favorite things! If you want some more DIY art ideas, check these out : Baking Soda + Paint Technique, Clay Ring Art or Ring Yarn Art.
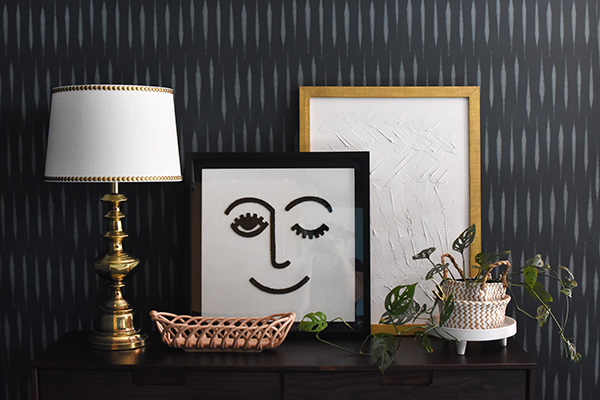
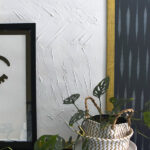
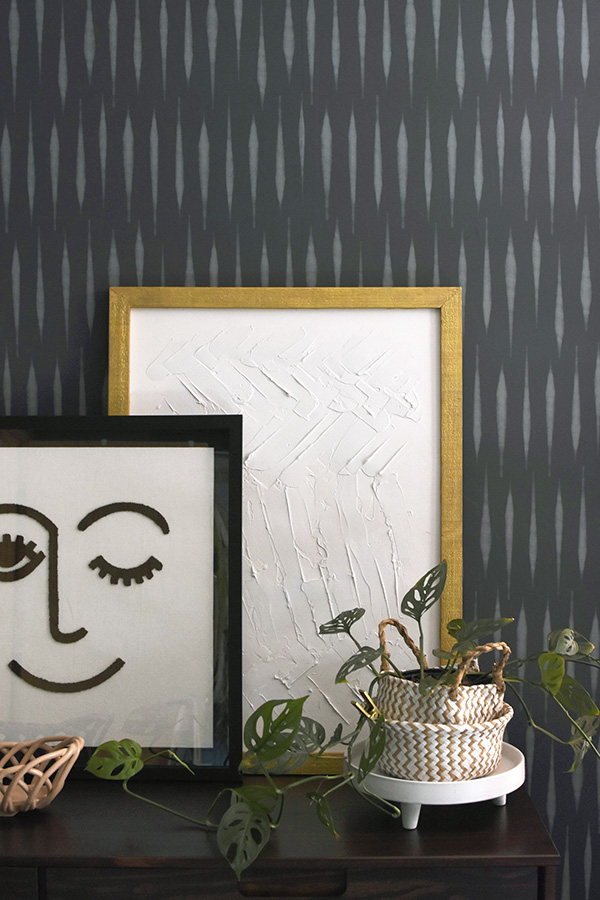
I like pairing this minimalist spackle piece with my whimsical felted winky face art.
How to seal spackle art
After completing my art piece, I was trying to decide if I needed to seal it. Just like if you add spackle to your wall and don’t smooth it down… there are some parts that stick out and if you scraped at it, they would fall off.
However, using spackle to create art most likely will not need anything to seal it.
Textured Art with Spackle
I am so excited I finally gave textured art making a try. I wanted to make about 10 more immediately, but I ran out of spackle… I may have to run to the store for a larget supply soon!
Next up in my One Room Challenge space is a super secret and not entirely sure if I can do it project! I am planning on doing some weaving of sorts but with wood and on a simple white storage cabinet. This is a project you do not want to miss… coming soon!
Joint Compound VS. Spackle – which is better?
You can use joint compound, drywall mud or spackle and get very similar looks. However, I like using spackle the best because it’s not as heavy. And it’s also dries much faster, making it easier to apply.
Creating Spackle Art
Learn how to create a gorgeous Spackle DIY Art texture piece with this trendy technique. It is so easy to make this type of artwork and the process is so addictive you won’t want to stop!
Materials
- Framed canvas
- Light weight Spackle Paste
- Putty Knife
- Paper Towel
- Gold Metallic paint + paint brush
Instructions
- The first thing I did was add a layer of spackle over the wording of my repurposed art.
- Using a putty knife, add more pattern with your spackIe. I ended up with a loose zig zag pattern look.
- Allow the spackle to fully dry per the directions.
- After the spackle has dried, you can paint your art frame for a modern look. I added Americana Decor Matte Metallic gold with a small paint brush.
- The gold paint took my frame from a farmhouse vibe to modern! One coat of paint was all it took on the frame for a whole new feel.
- Enjoy your new art spackling piece!
Spackle Canvas Art with Color
And if you are looking to do this project but with a slight twist, you might like this Large Scale Spackle art set that I made using a bit of color. I used various shades of green on thrifted canvas art pieces and then did a fun spackle treatment along with black paint splatters. Watch the video of how it turned out below!
It was nice to take just the smallest break this week and make something easy and pretty. I have two weeks in a row of fairly big projects to tackle… which has me feeling a little nervous. Here is all I still need to accomplish.
- TO DO LIST over the 8 weeks –
Paint WallsHang Wallpaper- Paint IKEA storage lockers
- DIY cabinet hack
- Install new ceiling fan (maybe)
DIY art above dresser- Install Wood Slat accent wall
- Style room with
new rug, floor cushion, bean bag chair, desk + accessories
Joint Compound Art
Here are some tips for making joint compound art –
- Choose the right canvas. Joint compound can be heavy, so it’s important to choose a canvas that can support the weight. A stretched canvas on a wooden frame is a good option.
- Prime your canvas. This will help the joint compound to adhere to the canvas and prevent it from cracking. You can use a white or clear primer. This tip is helpful, but not necessary.
- Apply the joint compound. Use a putty knife to apply a generous amount of joint compound to the canvas. Be sure to spread it out evenly and create some texture. You can use different tools and techniques to create different effects (forks, spoons, straws, etc).
- Let the joint compound dry completely. This can take several hours or even days, depending on the thickness of the joint compound.
- Paint your art. Once the joint compound is dry, you can paint it with any type of paint. Acrylic paint is a good option because it is durable and easy to work with. You can also leave it the natural compound color.
In the meantime, check out all the other rooms being transformed! Everybody will be posting progress each Thursday and linking up on the One Room Challenge blog right here! See you next week!
Here are a few items I have already picked up for my new office :

I have had such a fun time creating all kinds of different and new art work! So far, I have made
Have you ever tried adding Spackle to paint? I came up with that one night, just eyeballing the measurements, and ended up with the most gorgeous textured paint. Somehow, the Spackle adds a deep depth to the paint, and it will adhere to absolutely anything. That’s how I came up with the idea – I was painting a furniture piece for a friend that was made of some “wood” product that nothing would stick to. I sure didn’t expect the beauty of the paint! You can do a highly textured piece or sand back the peaks for a more classic look while still maintaining that beautiful depth. It also dries as hard as a rock!
Oh how clever!! No, I’ve not tried spackle and paint mixed. I have done baking soda and paint… that creates a beautiful textured piece, also. I’ll have to give spackle paint a try now – thanks for sharing. 😉
I do hope you give it a try! The depth o the paint color really amps up and becomes extraordinary. The Spackle does lighten the color quite a bit, but the trade-off is very well worth it. And, if you decide you don’t want much of a textured finish, you can sand it smooth. Hmmm… Now I want to crack out my Spackly and start painting everything
I’m so glad I found your blog!
My granddaughter just created an art piece using spackle on a canvas and it looks amazing. I have a question, can the piece be sealed with some sort of acrylic without ruining her masterpiece? Trying to keep the spackle from chipping off.
That’s a great question. I didn’t use anything on mine, but I’m assuming since spackles intended use it to be painted over on walls, that you should be able to add acrylic paint or sealer over it without issue.
Gorgeous! You didn’t have to paint this?
The spackle was white! I only painted the frame for a more modern look. 😉