The holiday season may be behind us, but there is still lots of winter ahead! We’ve had tons snow lately and I can honestly say I’ve never made so many snowmen in my life! While playing outside in the snow is the most fun, some days are just too cold and windy to spend too much time outside so why not play with some “snow” inside too?
I thought up these mini snow globe frames while looking at some plastic packaging leftover from Christmas presents – the slightly raised plastic rectangle pockets were too good to throw straight into the recycling so I saved them and came up with this simple project. The plastic packaging I used here came from a Melissa & Doug car set but once you start looking, SO many things come in similar style packages. Pictured below you’ll see packaging from Ikea paper gift tags, and you could also use those clear plastic cases that herbs come in at the grocery store!
what you need:
- Printed photos
- Clear plastic packaging with shapes
- Scissors
- Cereal box cardboard
- Glue stick
- White glue
- Washi tape
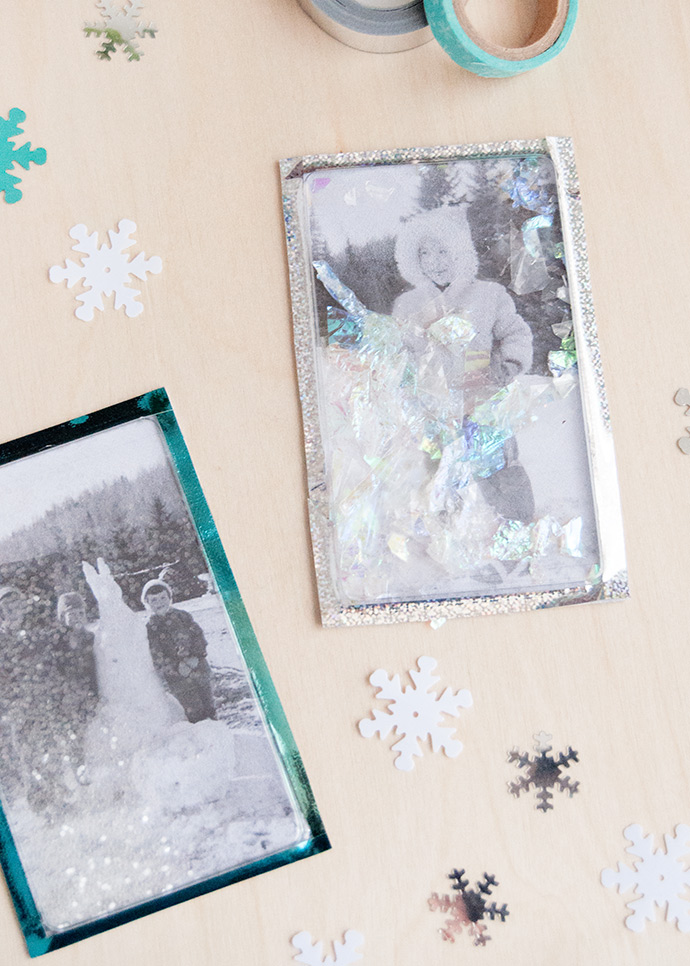
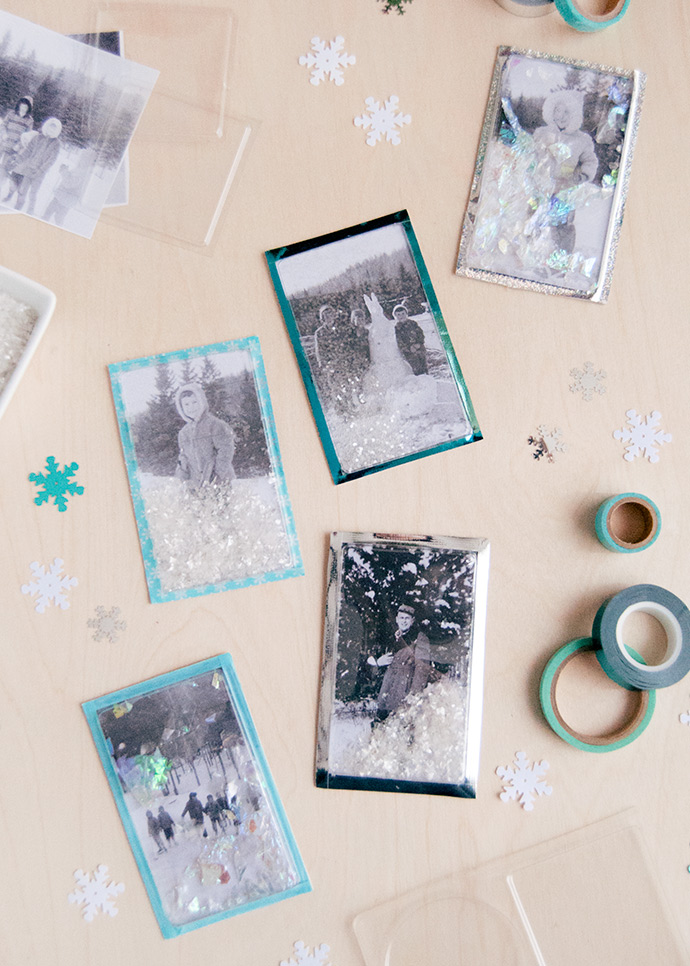
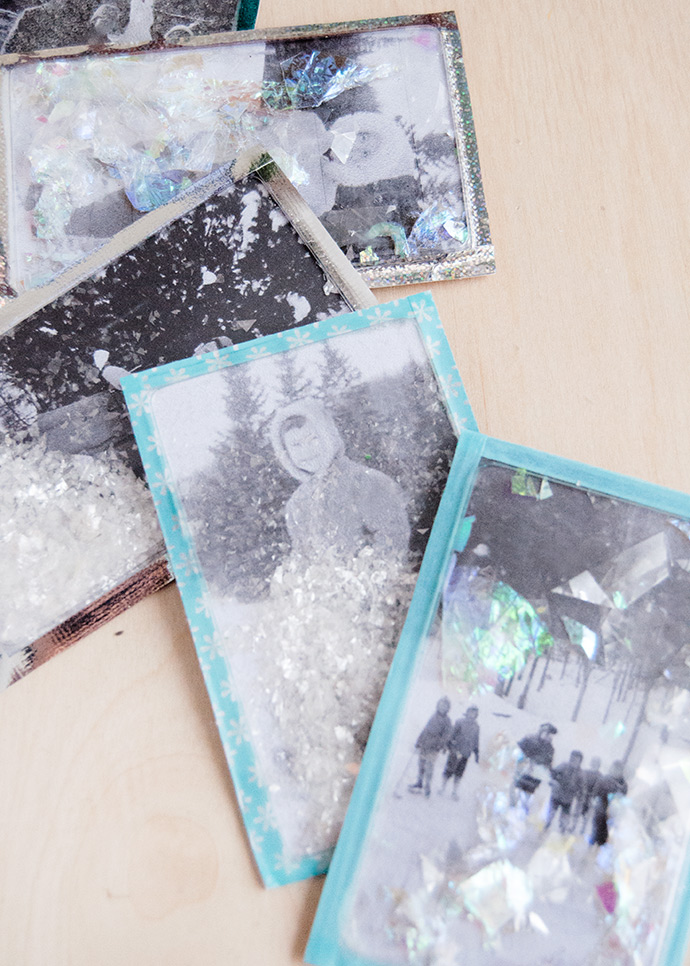
- Glitter or fake snow
what you need:
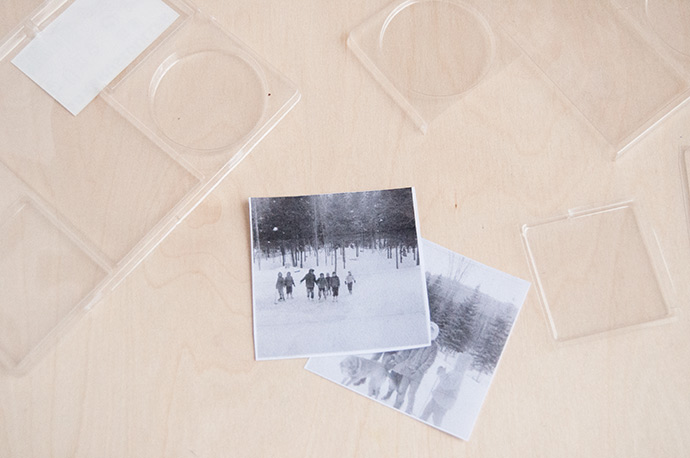
Print your photos to fit the sizes of plastic shapes you have. Cut out the plastic shapes, leaving a flat lip along all the edges to attach on later.
Trace the plastic shape onto the photo to get an exact fit. Cut out the photo and glue it onto cereal box cardboard so make it nice and sturdy.
Sprinkle glitter or fake snow into the plastic shape.
Apply a thin line of white glue along the edge of the plastic shape. Place the photo onto the glue and carefully press to secure in place. Make sure it is attached securely on all edges so that the glitter doesn’t leak out.
Stick pieces of washi tape around the edge to cover up the outside edges and form a thin frame.