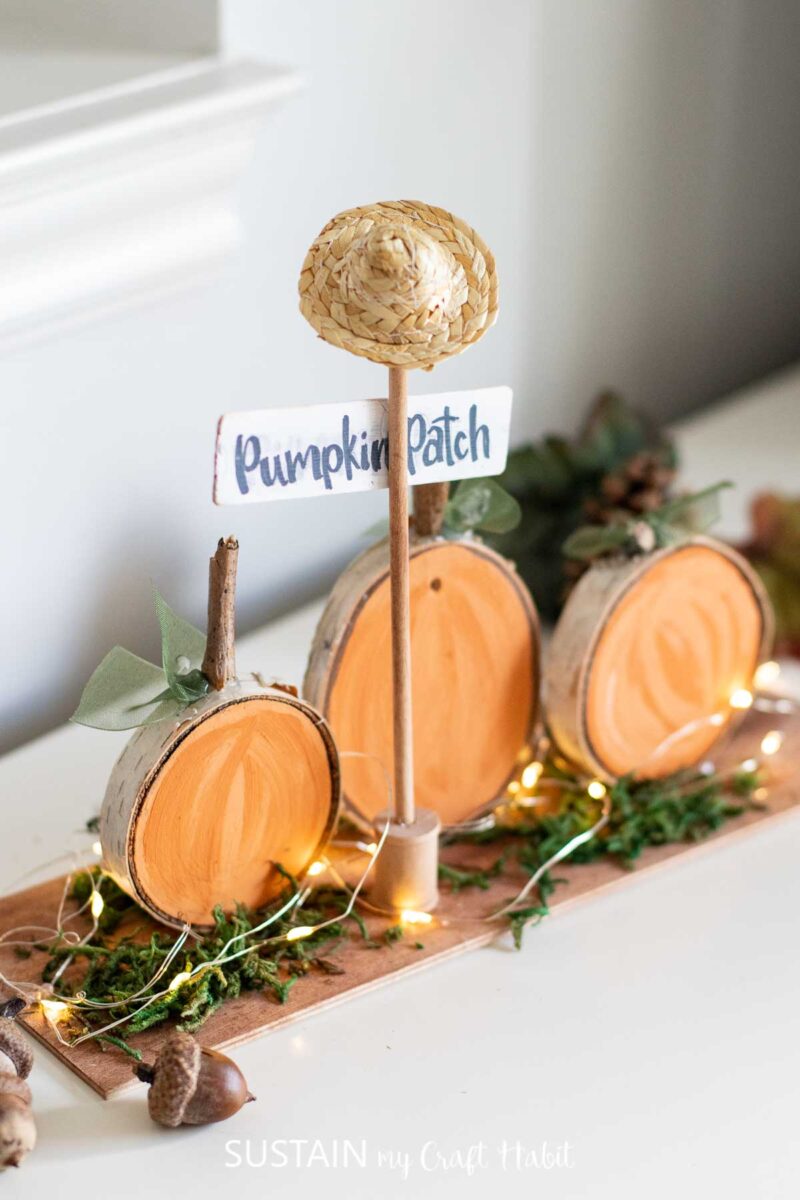
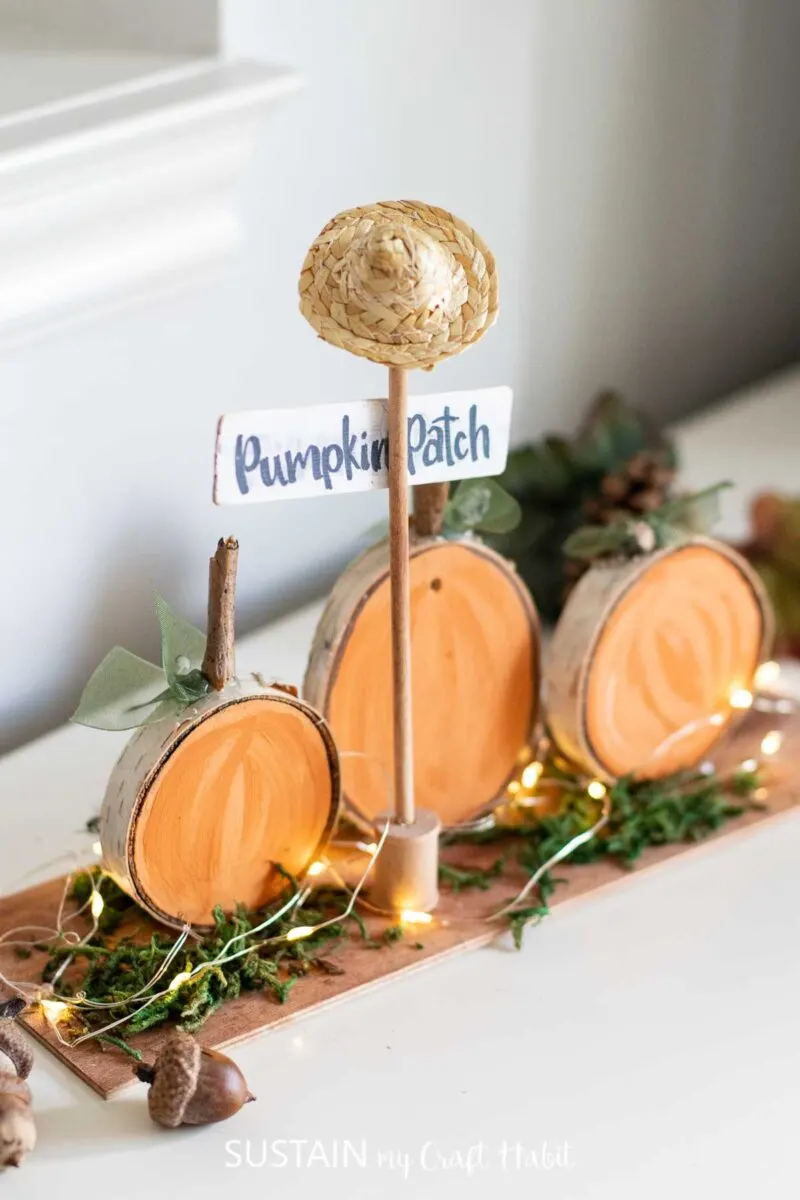
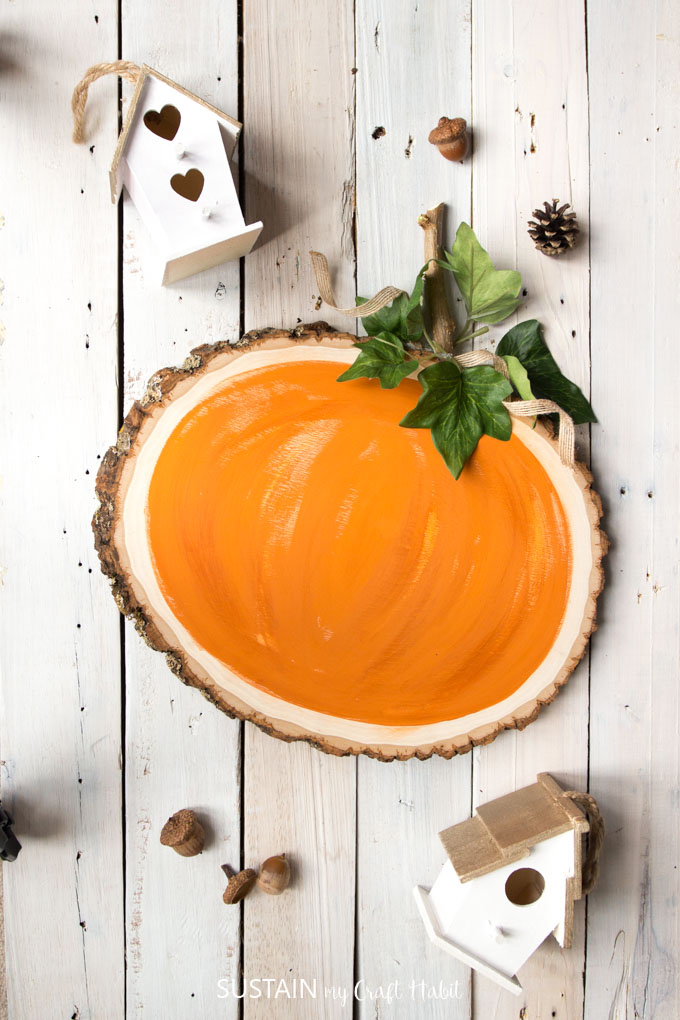
Let’s get our crafting on with this reversible pumpkin patch craft made with wood slices and other crafty items most likely found in your crafting stash.
An Adorable Mini Pumpkin Patch Craft
To make this craft longer lasting, I painted the pumpkins on the reverse side with jack-o-lantern faces. So when Halloween comes and goes I can switch up the sign simply by turning it around.


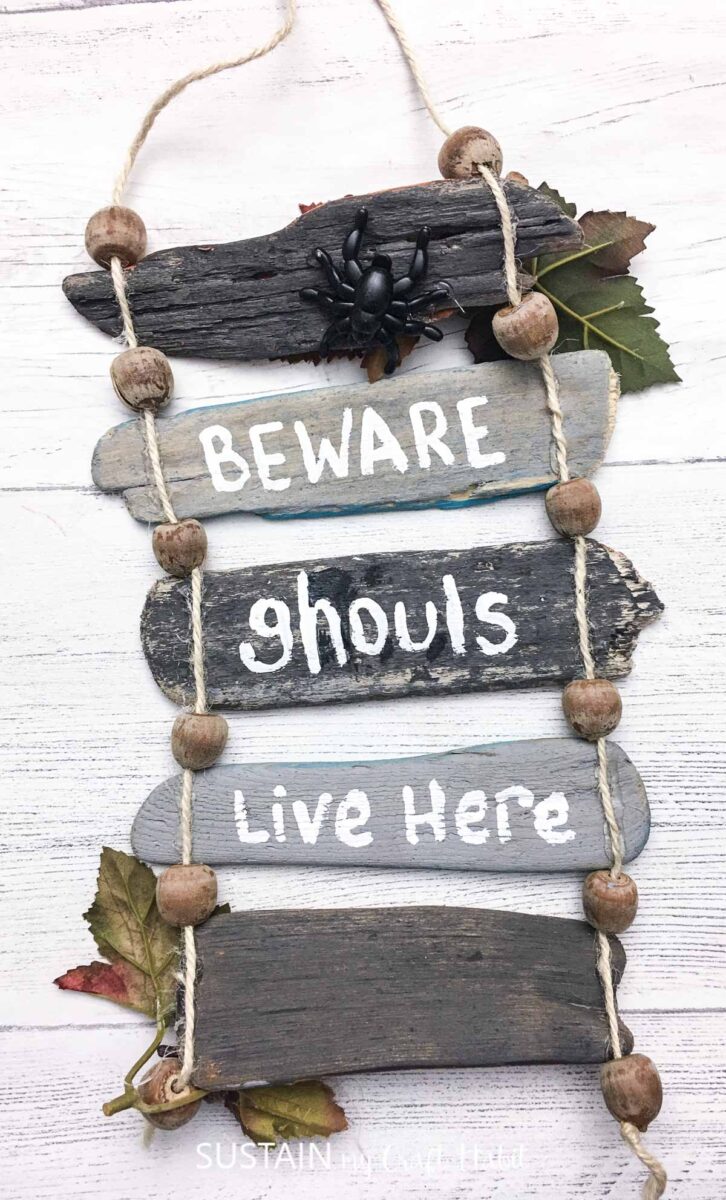
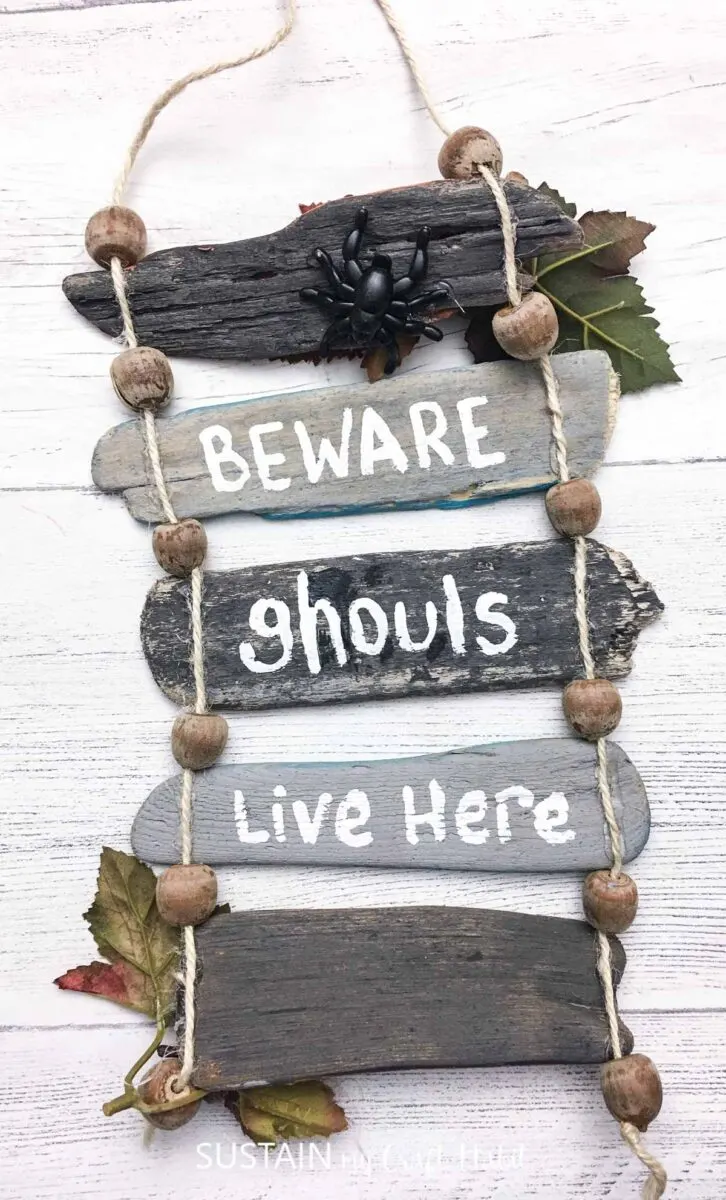
Aren’t reversible signs the best? We’ve done a few others recently like this driftwood wall decor, silly bathroom sign and large wood slice chalky painted pumpkin decor.


Materials Needed for this Pumpkin Patch Craft:
Disclosure: This post contains affiliate links for your shopping convenience. Should you choose to purchase through them, we will make a small commission at no extra cost to you. You can read our full disclosure here.
- Scrap Plywood
- Wood Slices (we used birch slices that measure about 3″ in diameter)
- Paints
- Wooden Dowel
- Wood branch pieces
- Wooden Thread Spool
- Model Greenery
- Green Ribbon
- Sharpie
- Hot Glue Gun


How to Make a Reversible Wood Slice Pumpkin Patch Craft
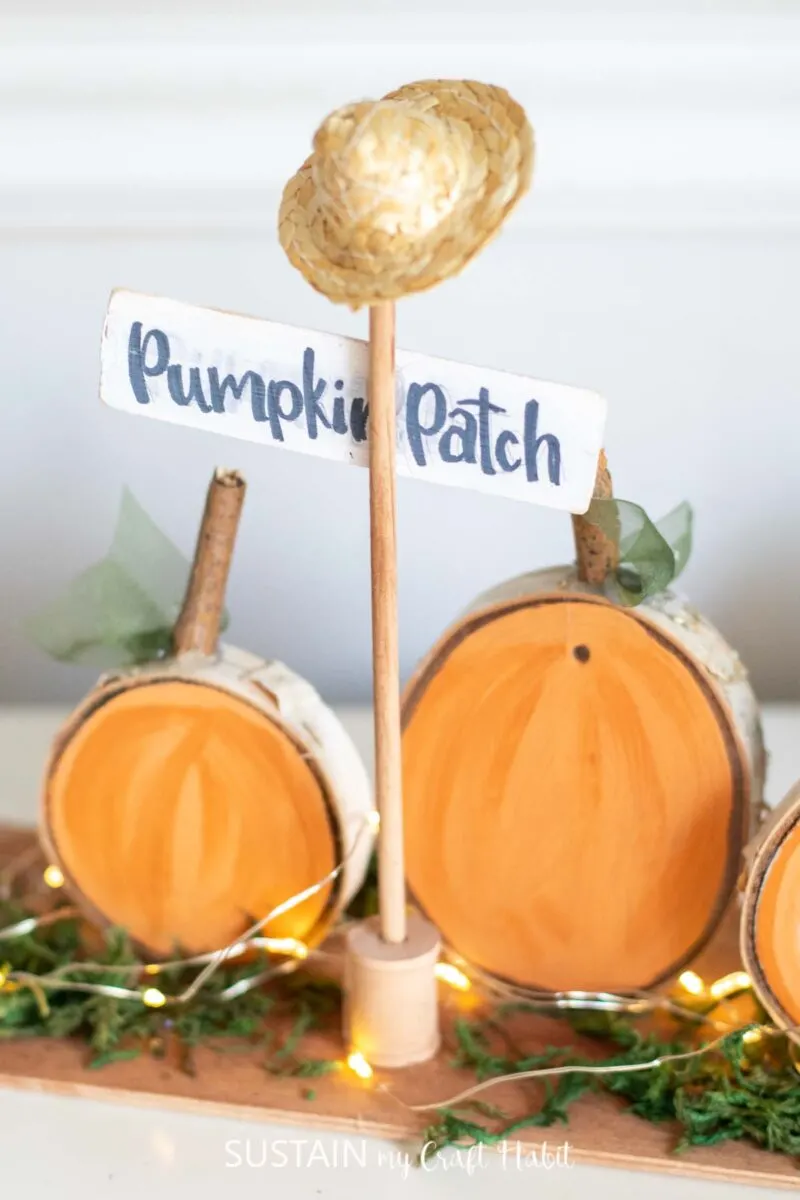
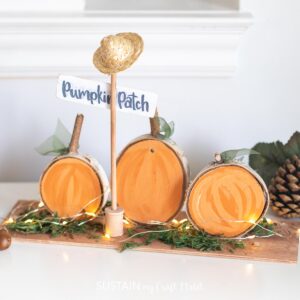
Using brown paint, paint the scrap plywood base. Let it dry.

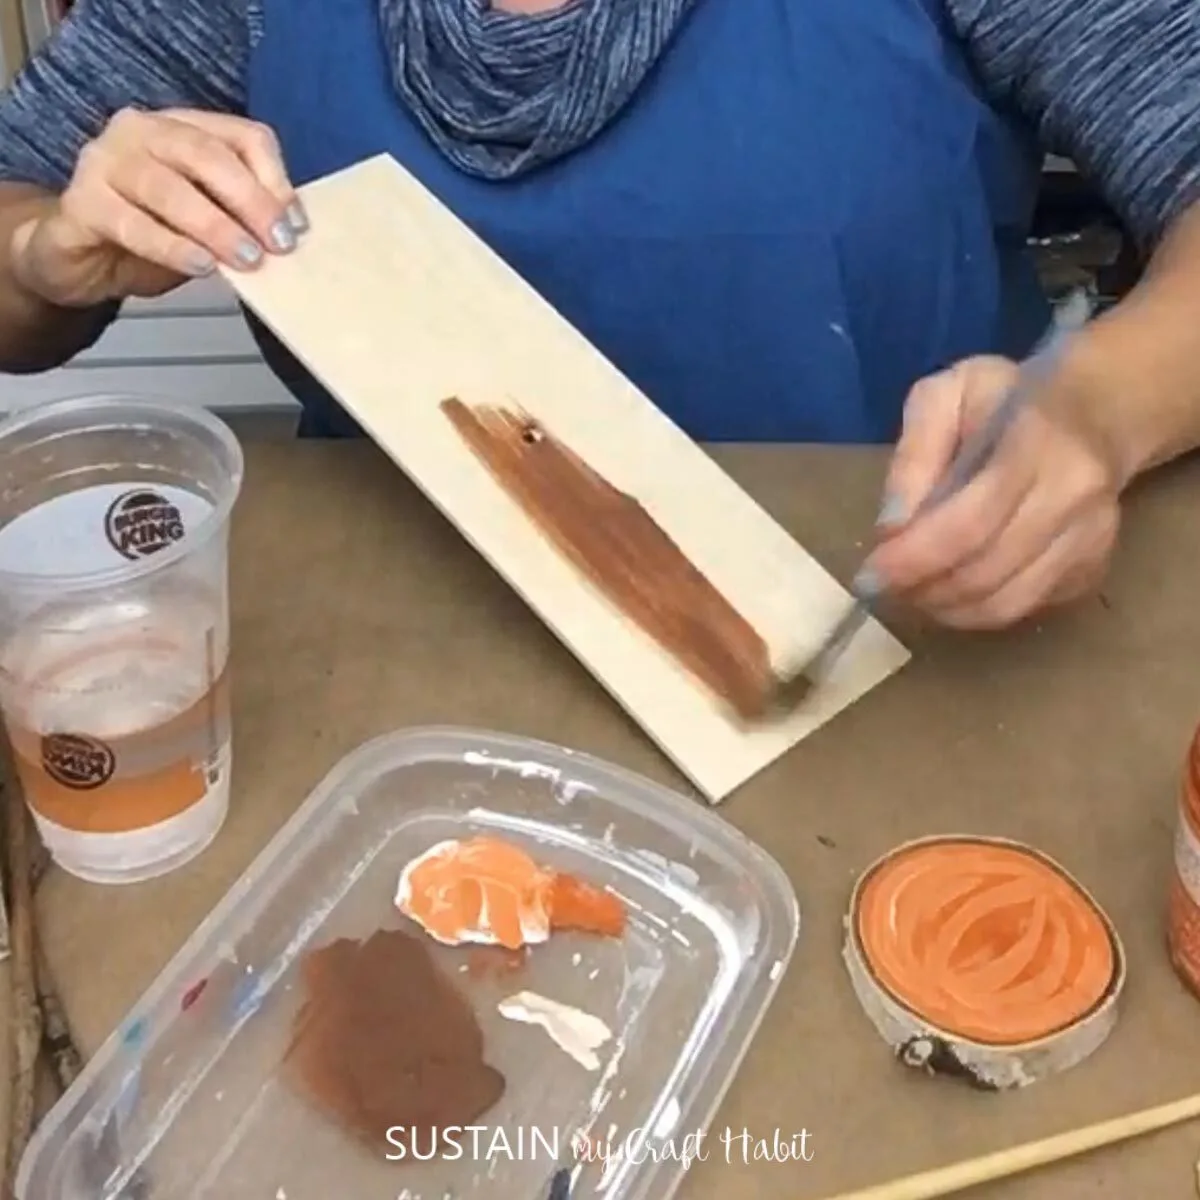
Next, using orange paint, paint both sides of the wood slices. Let it dry.


Using a hot glue gun, glue the painted wooden slices to the painted plywood base, mixing up the orientation of the slices to resemble actual pumpkins that come in different shapes and sizes.

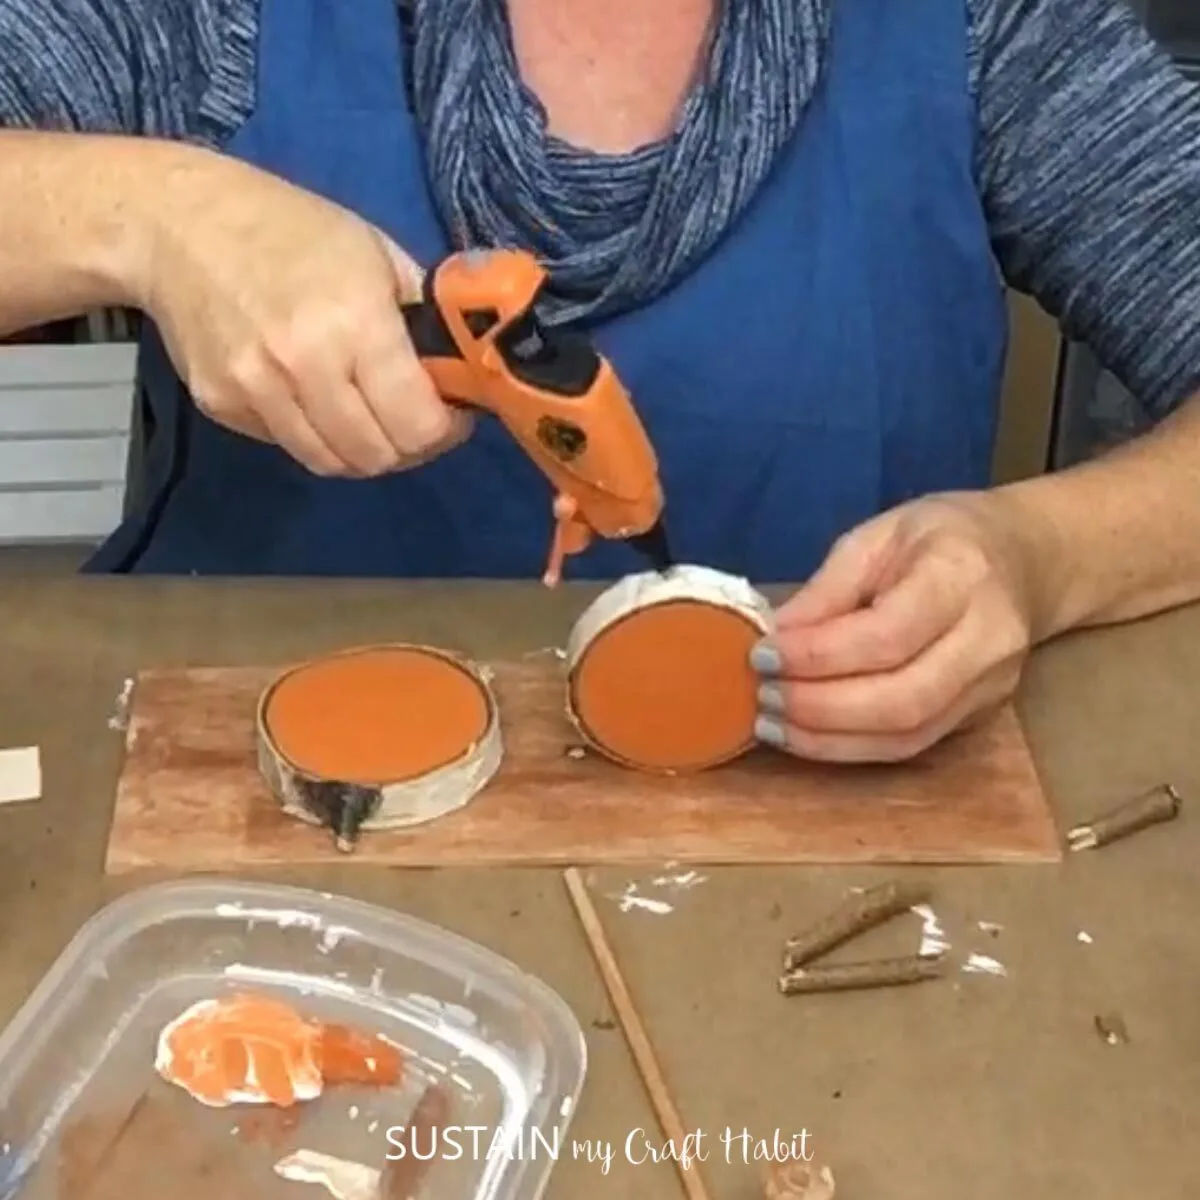
Next, glue small sticks to the tops of each slice to resemble pumpkin stems and then tie a green ribbon around each of them for the “pumpkin leaves”.
To make the little pumpkin patch sign, paint a small piece of popsicle stick in white and let it dry.
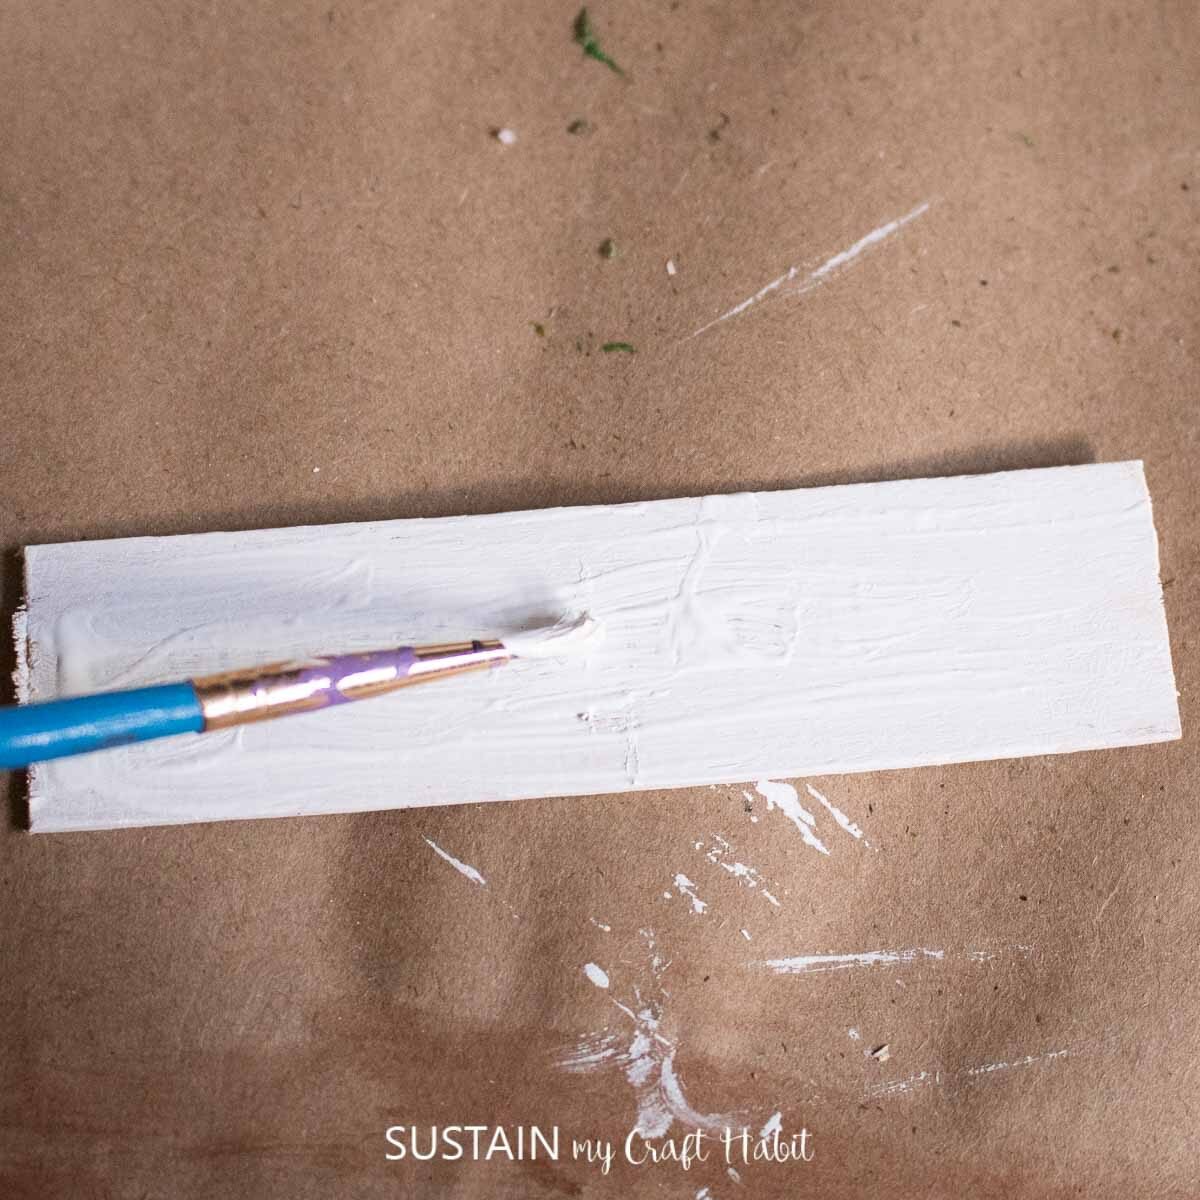
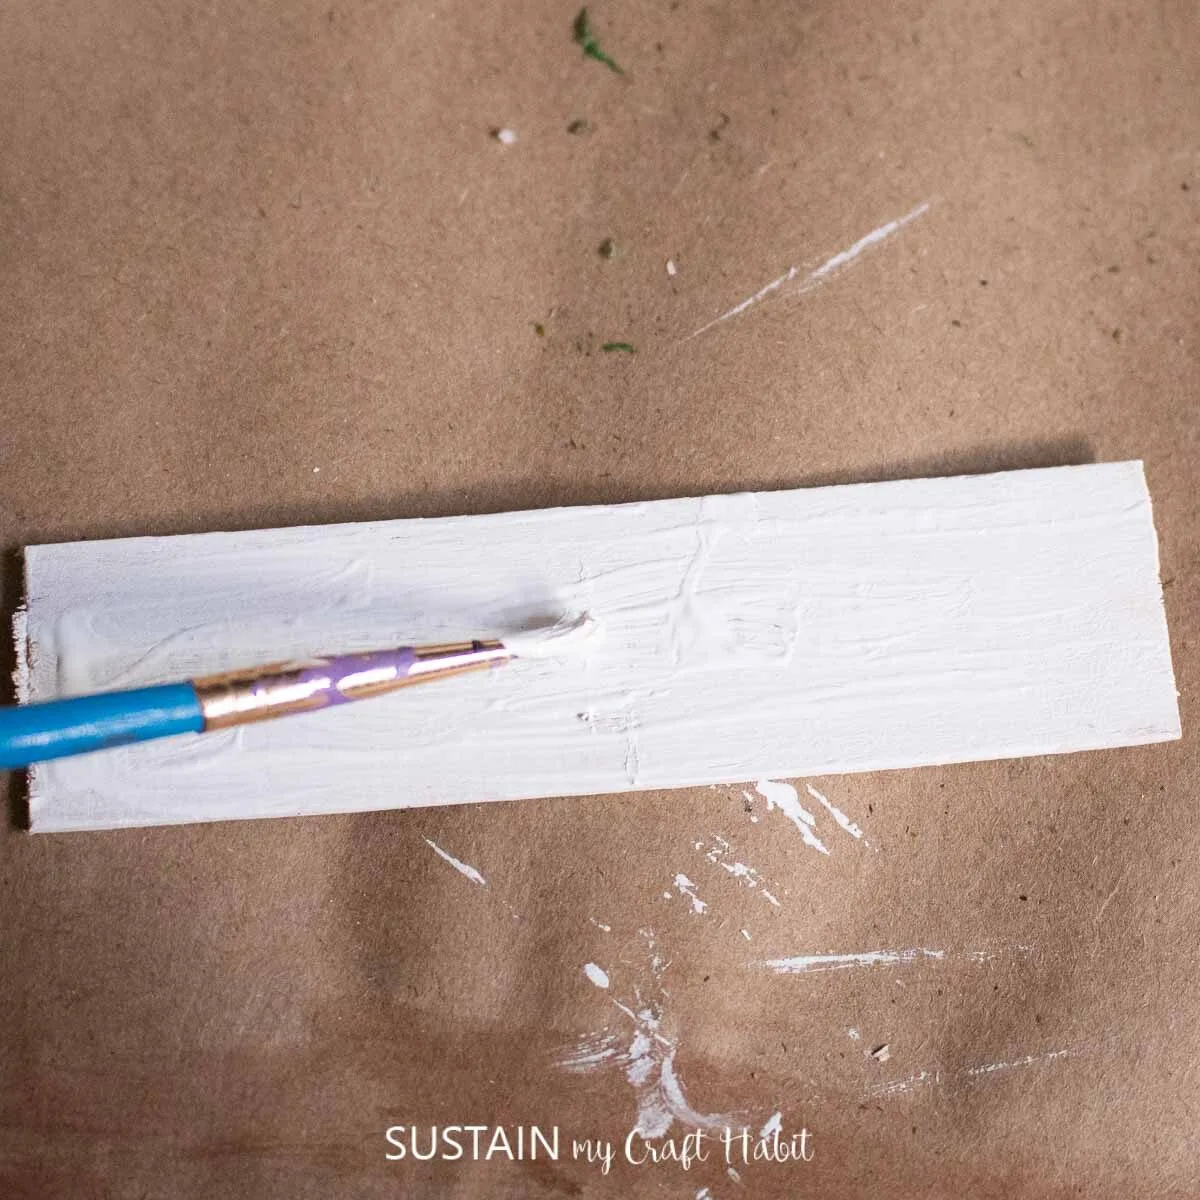
Using a sharpie marker, you can personalize your sign. Add whatever phrase you want such as “Happy Halloween” or “Pumpkin Patch”.
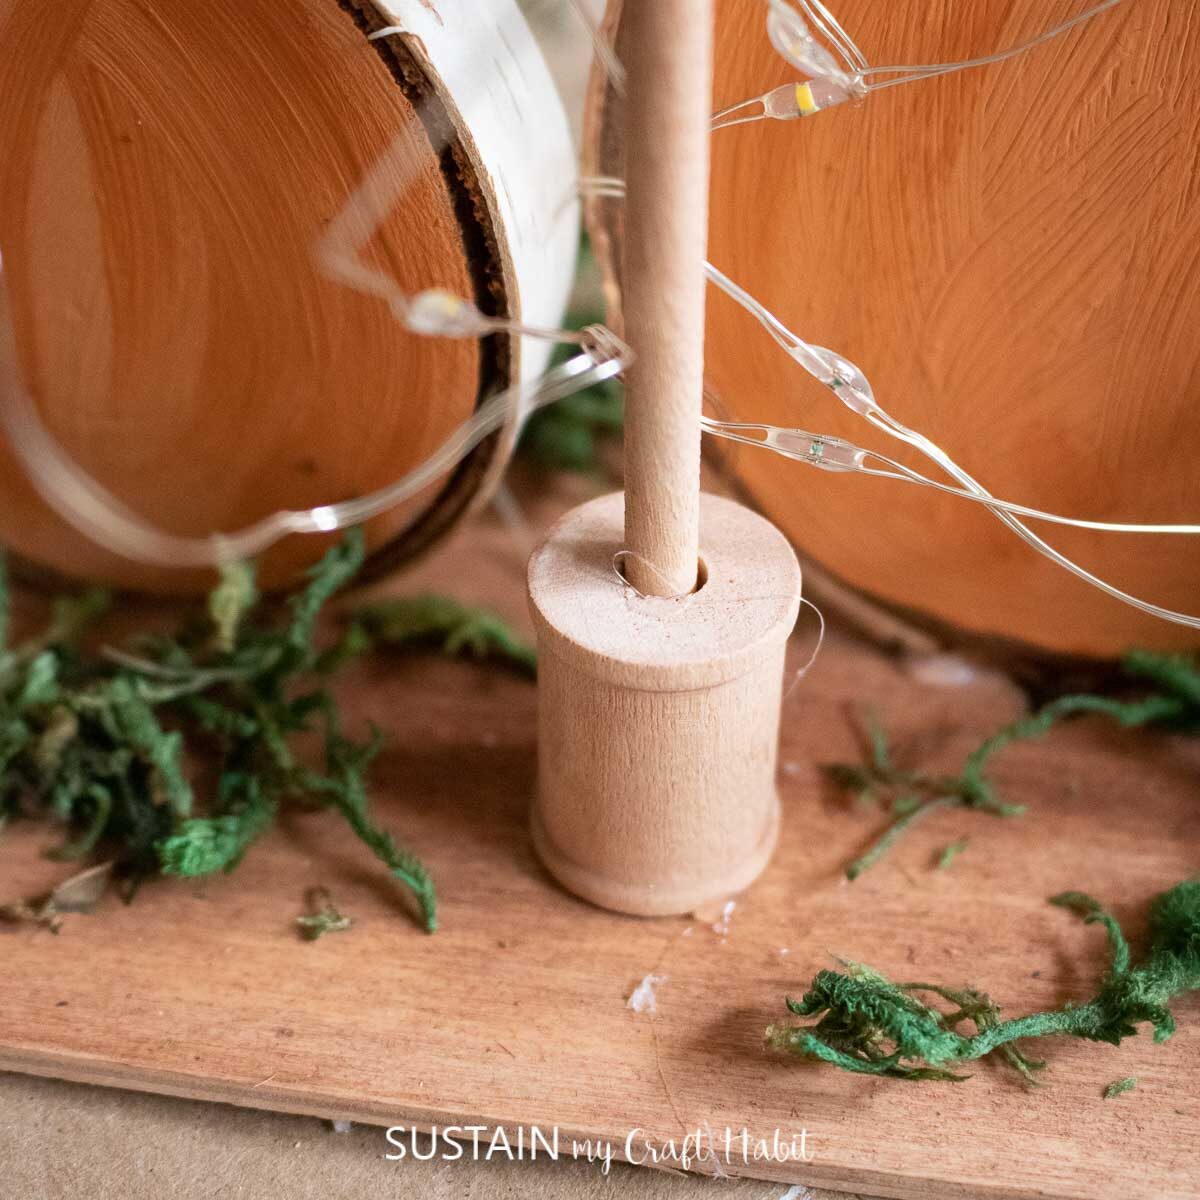
Using a hot glue gun, glue down the wooden spool and glue the wood dowel to the plywood base.

As an option, you can add some decorative moss around the wooden pumpkin slices for greater effect. Then wrap some twinkle lights around the pumpkin patch to also enjoy at night time.
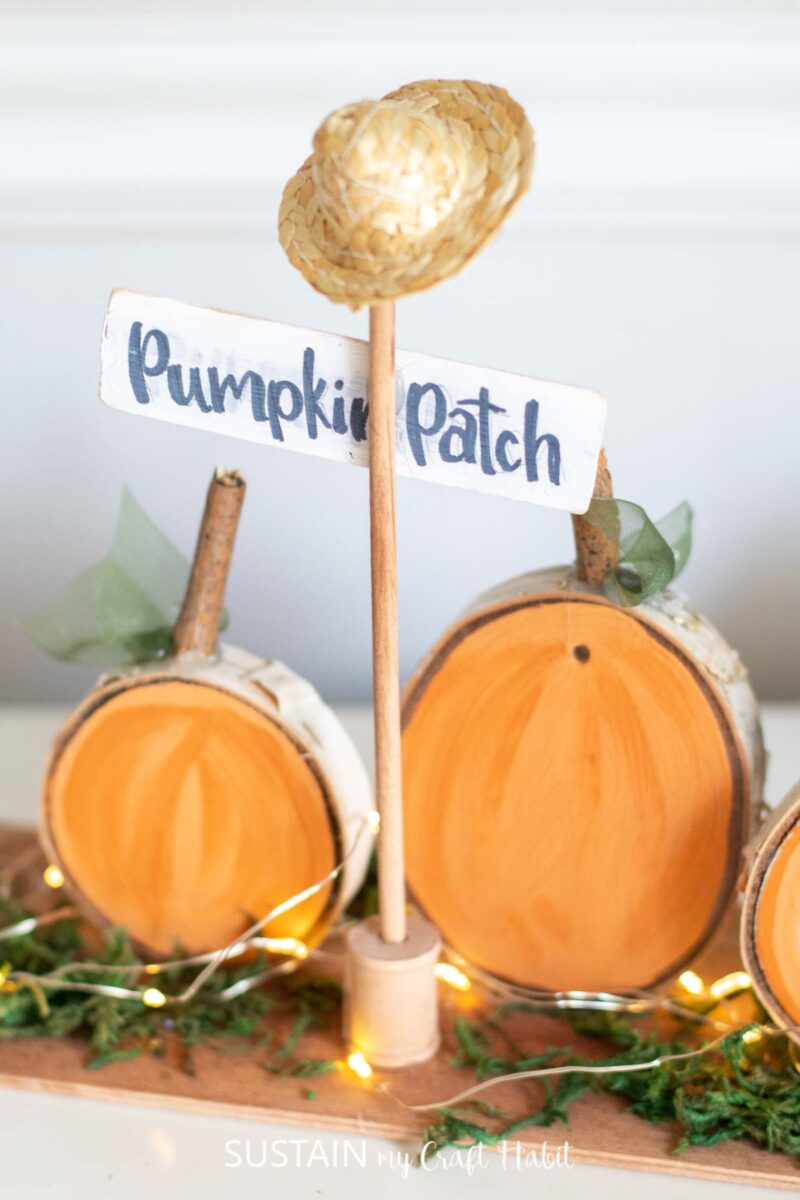


If you want to catch the video of making this craft in action, watch the Facebook Live video here. I love how this finished craft looks adorable next to my Halloween themed three tiered tray.
Like it? Pin it for later!
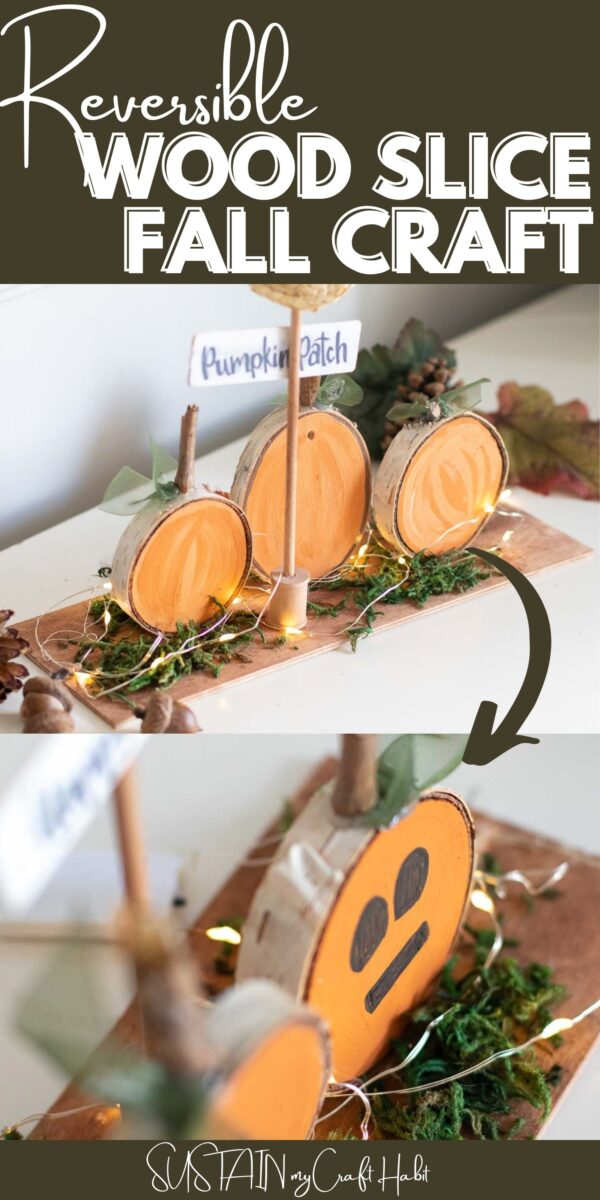

Reversible Wood Slice Pumpkin Patch Craft
Materials
- Scrap Plywood
- Wood Slices
- Paints
- Wooden Dowel
- Wood branch pieces
- Wooden Thread Spool
- Model Greenery
- Green Ribbon
- Sharpie
- Hot Glue Gun
Instructions
- Using brown paint, paint the scrap plywood base. Let it dry.
- Next, using orange paint, paint both sides of the wood slices. Let it dry.
- Using a hot glue gun, glue the painted wooden slices to the painted plywood base.
- Take scrap green ribbon and make small bows and glue them on the wood pumpkin slices.
- For the ‘Happy Halloween’ sign, paint a small piece of plywood white and let it dry.
- Using a sharpie marker, you can personalize your sign.
- Using a hot glue gun, glue down the wooden spool and glue the wood dowel to the plywood base.
- As an option, you can add model greenery around the wooden pumpkin slices for greater effect.