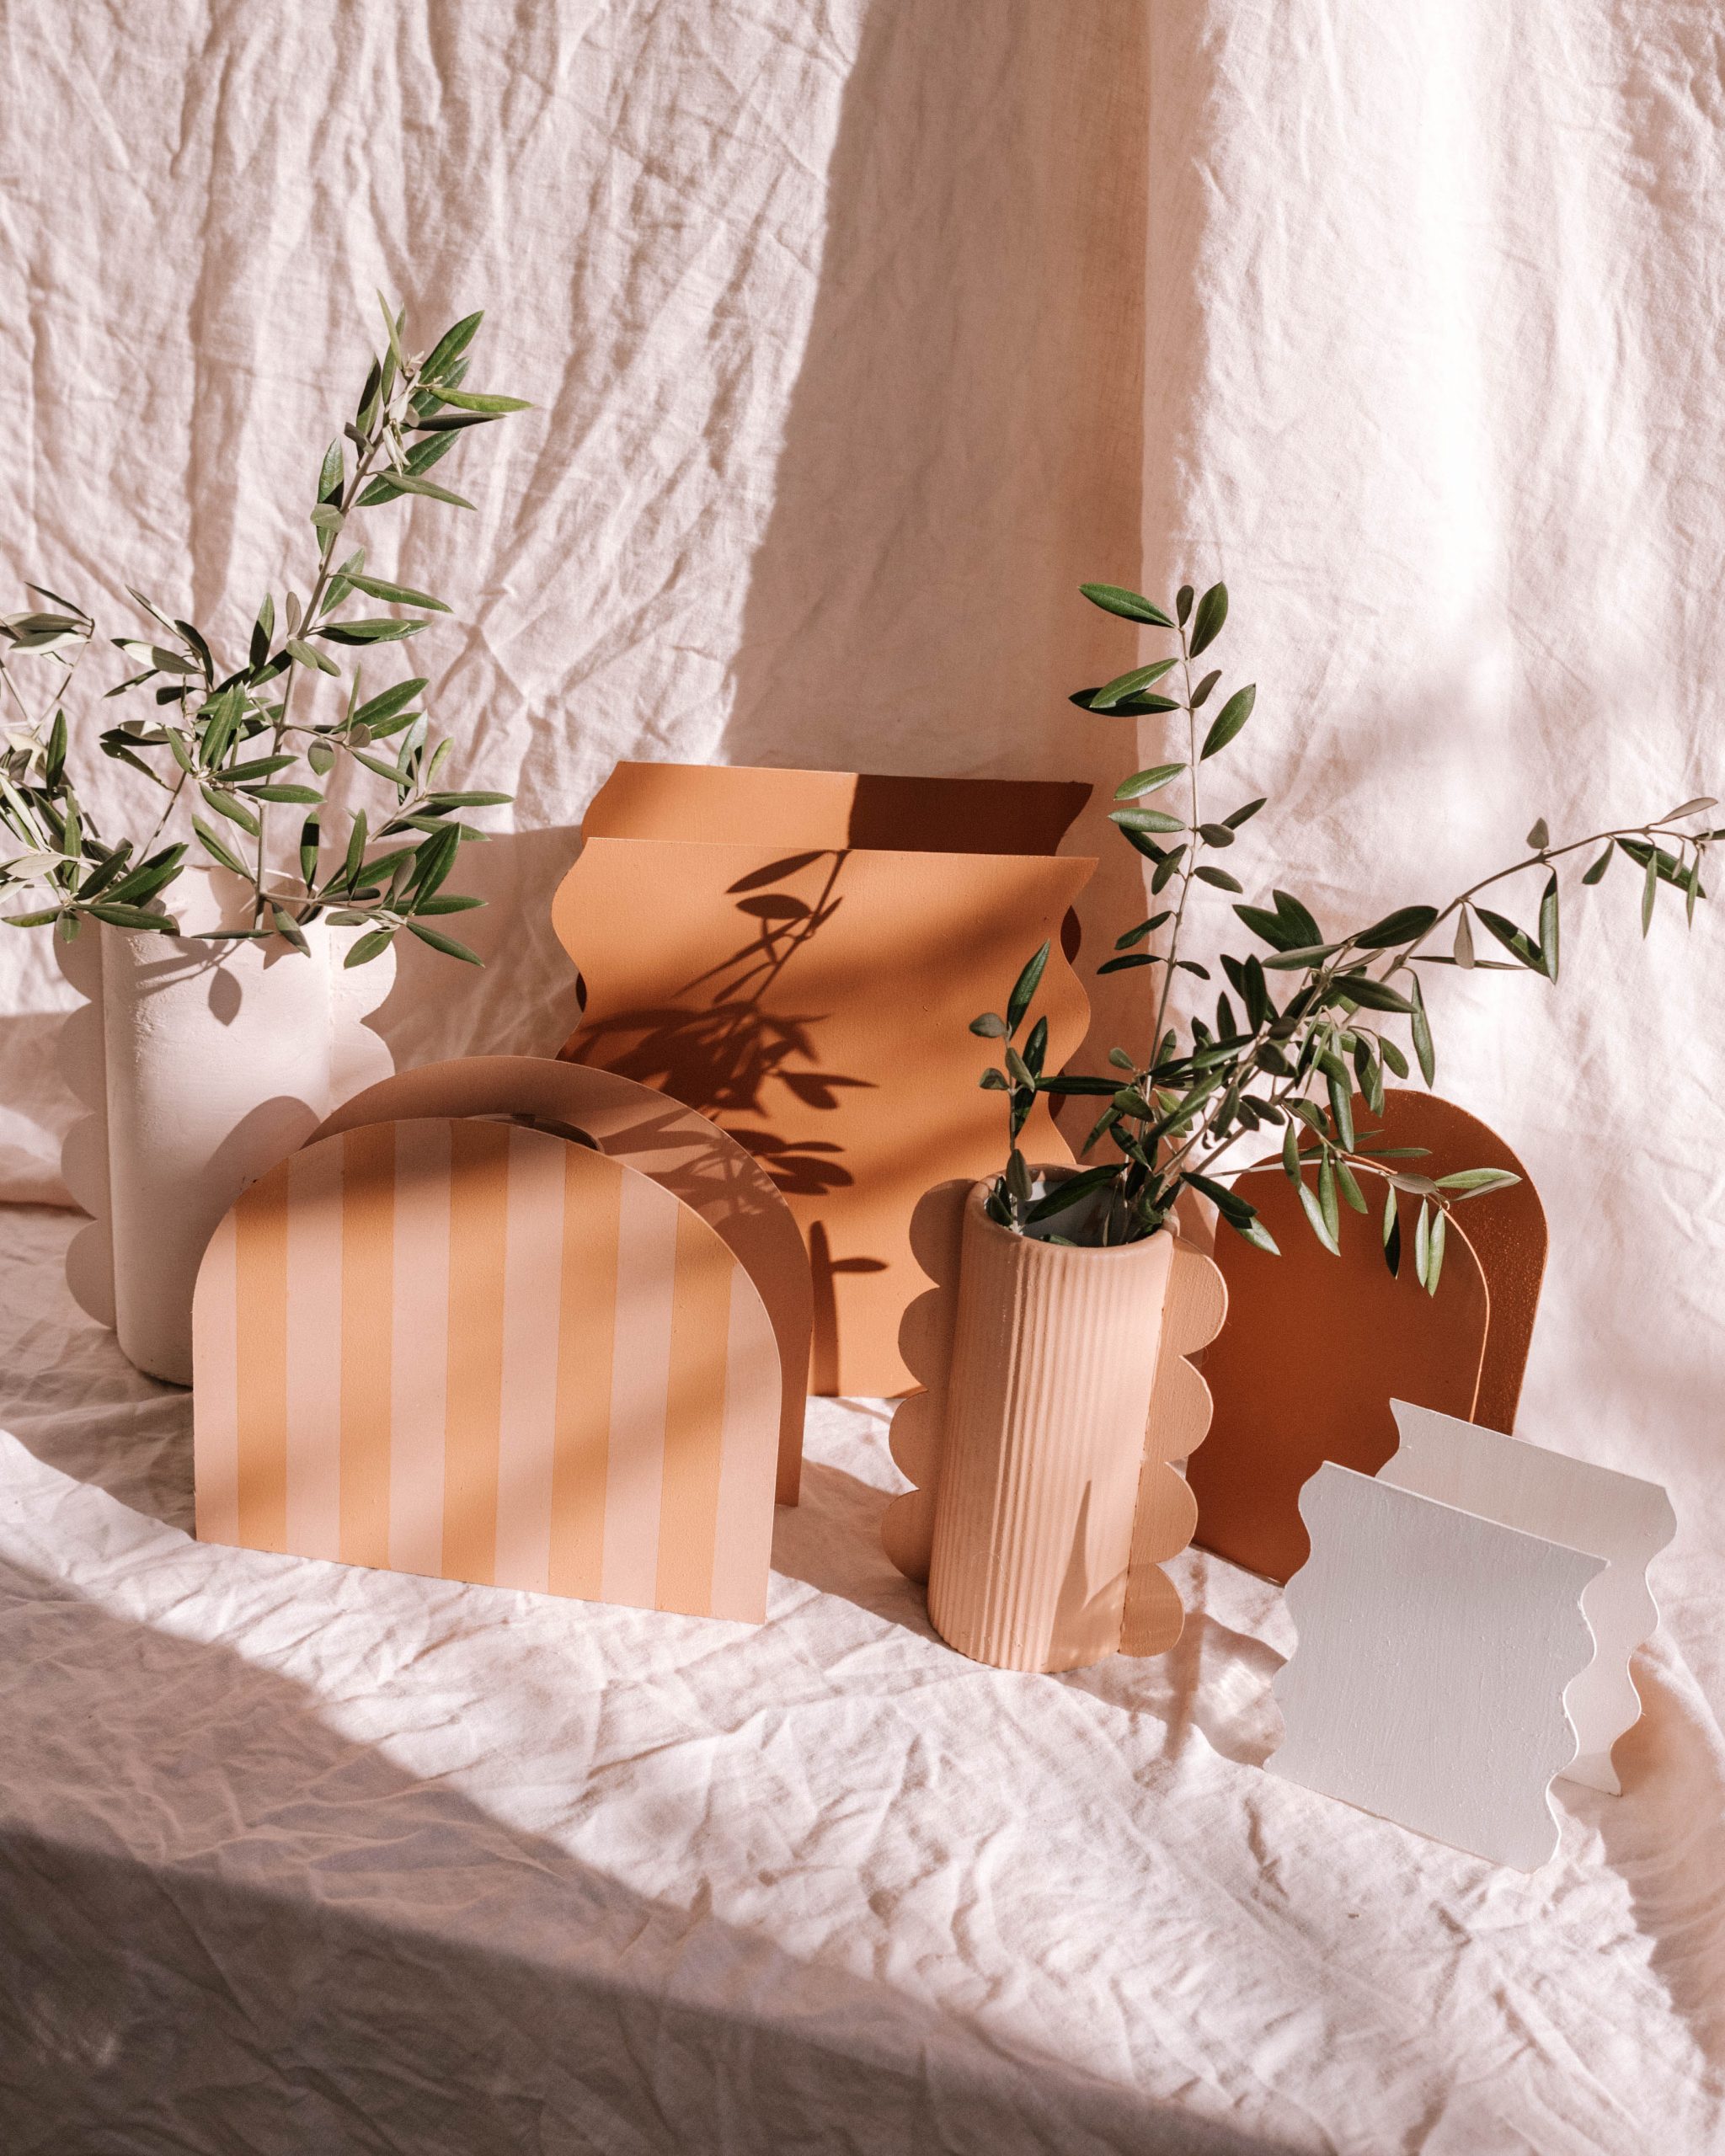
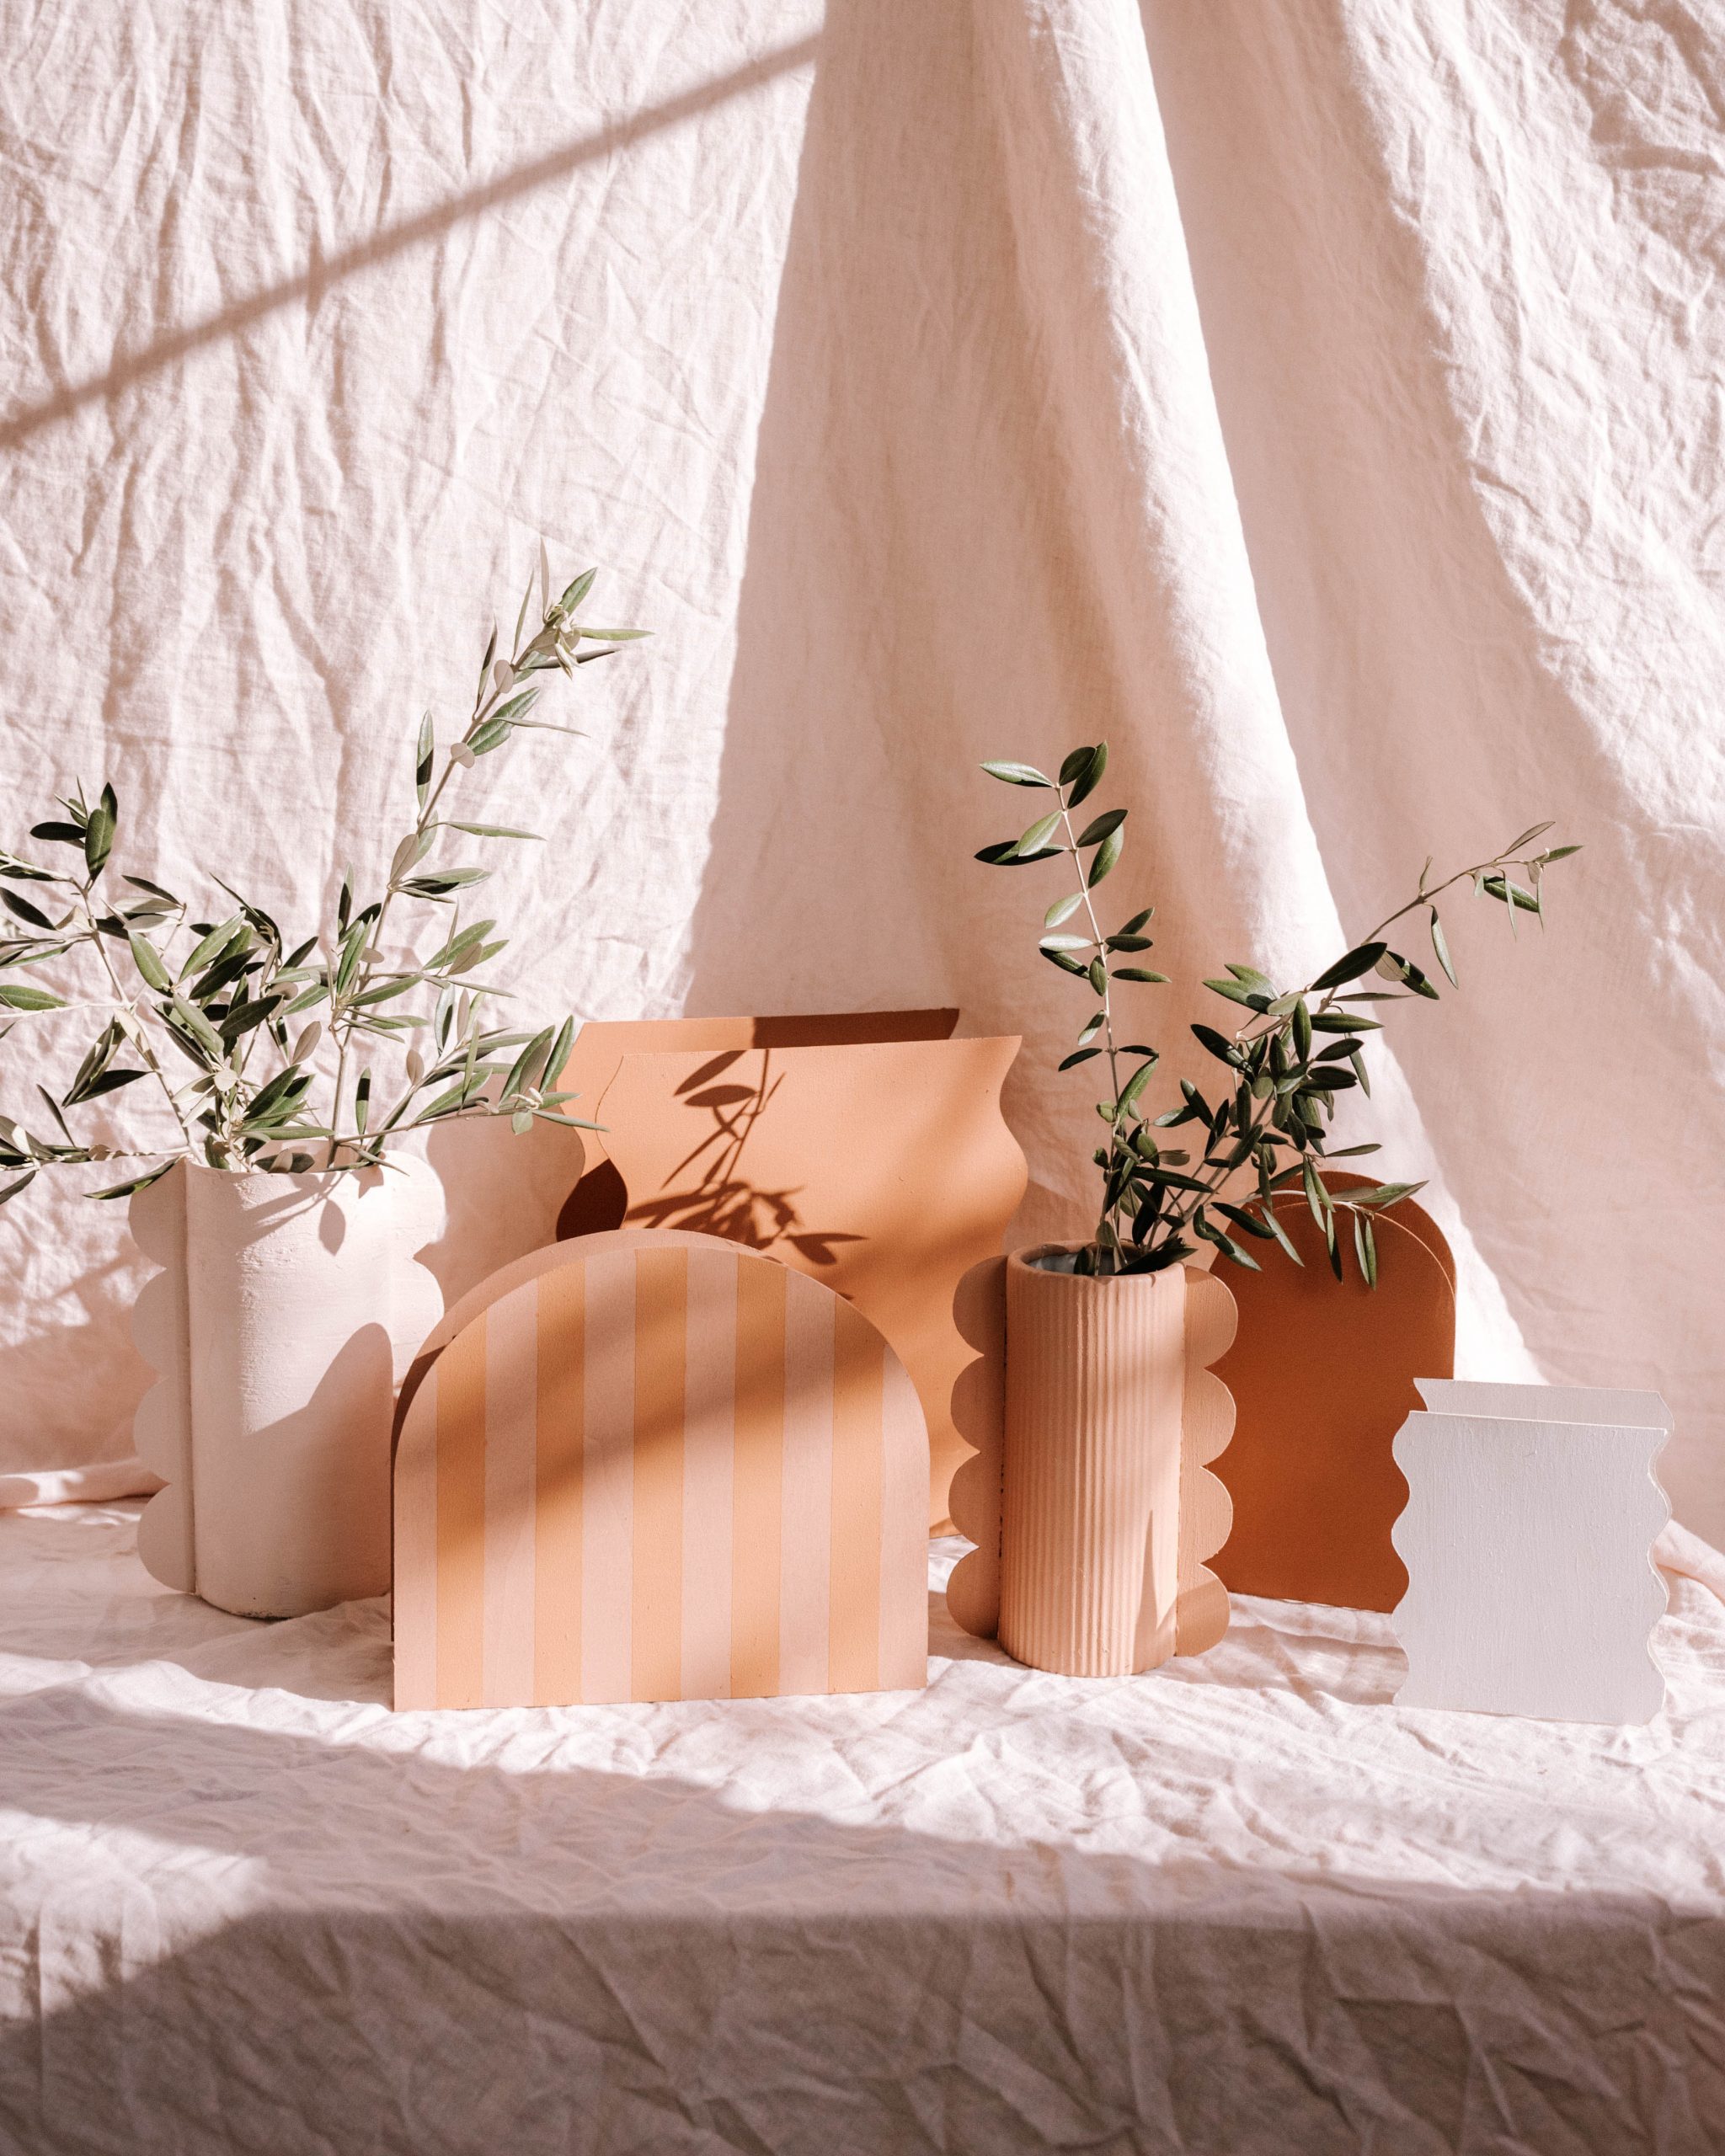
I’m always looking for ways to use old jars I have around the house, and recently stumbled upon a great way!
As you guys know, I was absolutely blown away with the Cricut Maker’s ability to cut wood when I made Frankie’s set of cloud lights a little while ago. I’ve been itching to try out some other home decor ideas ever since.
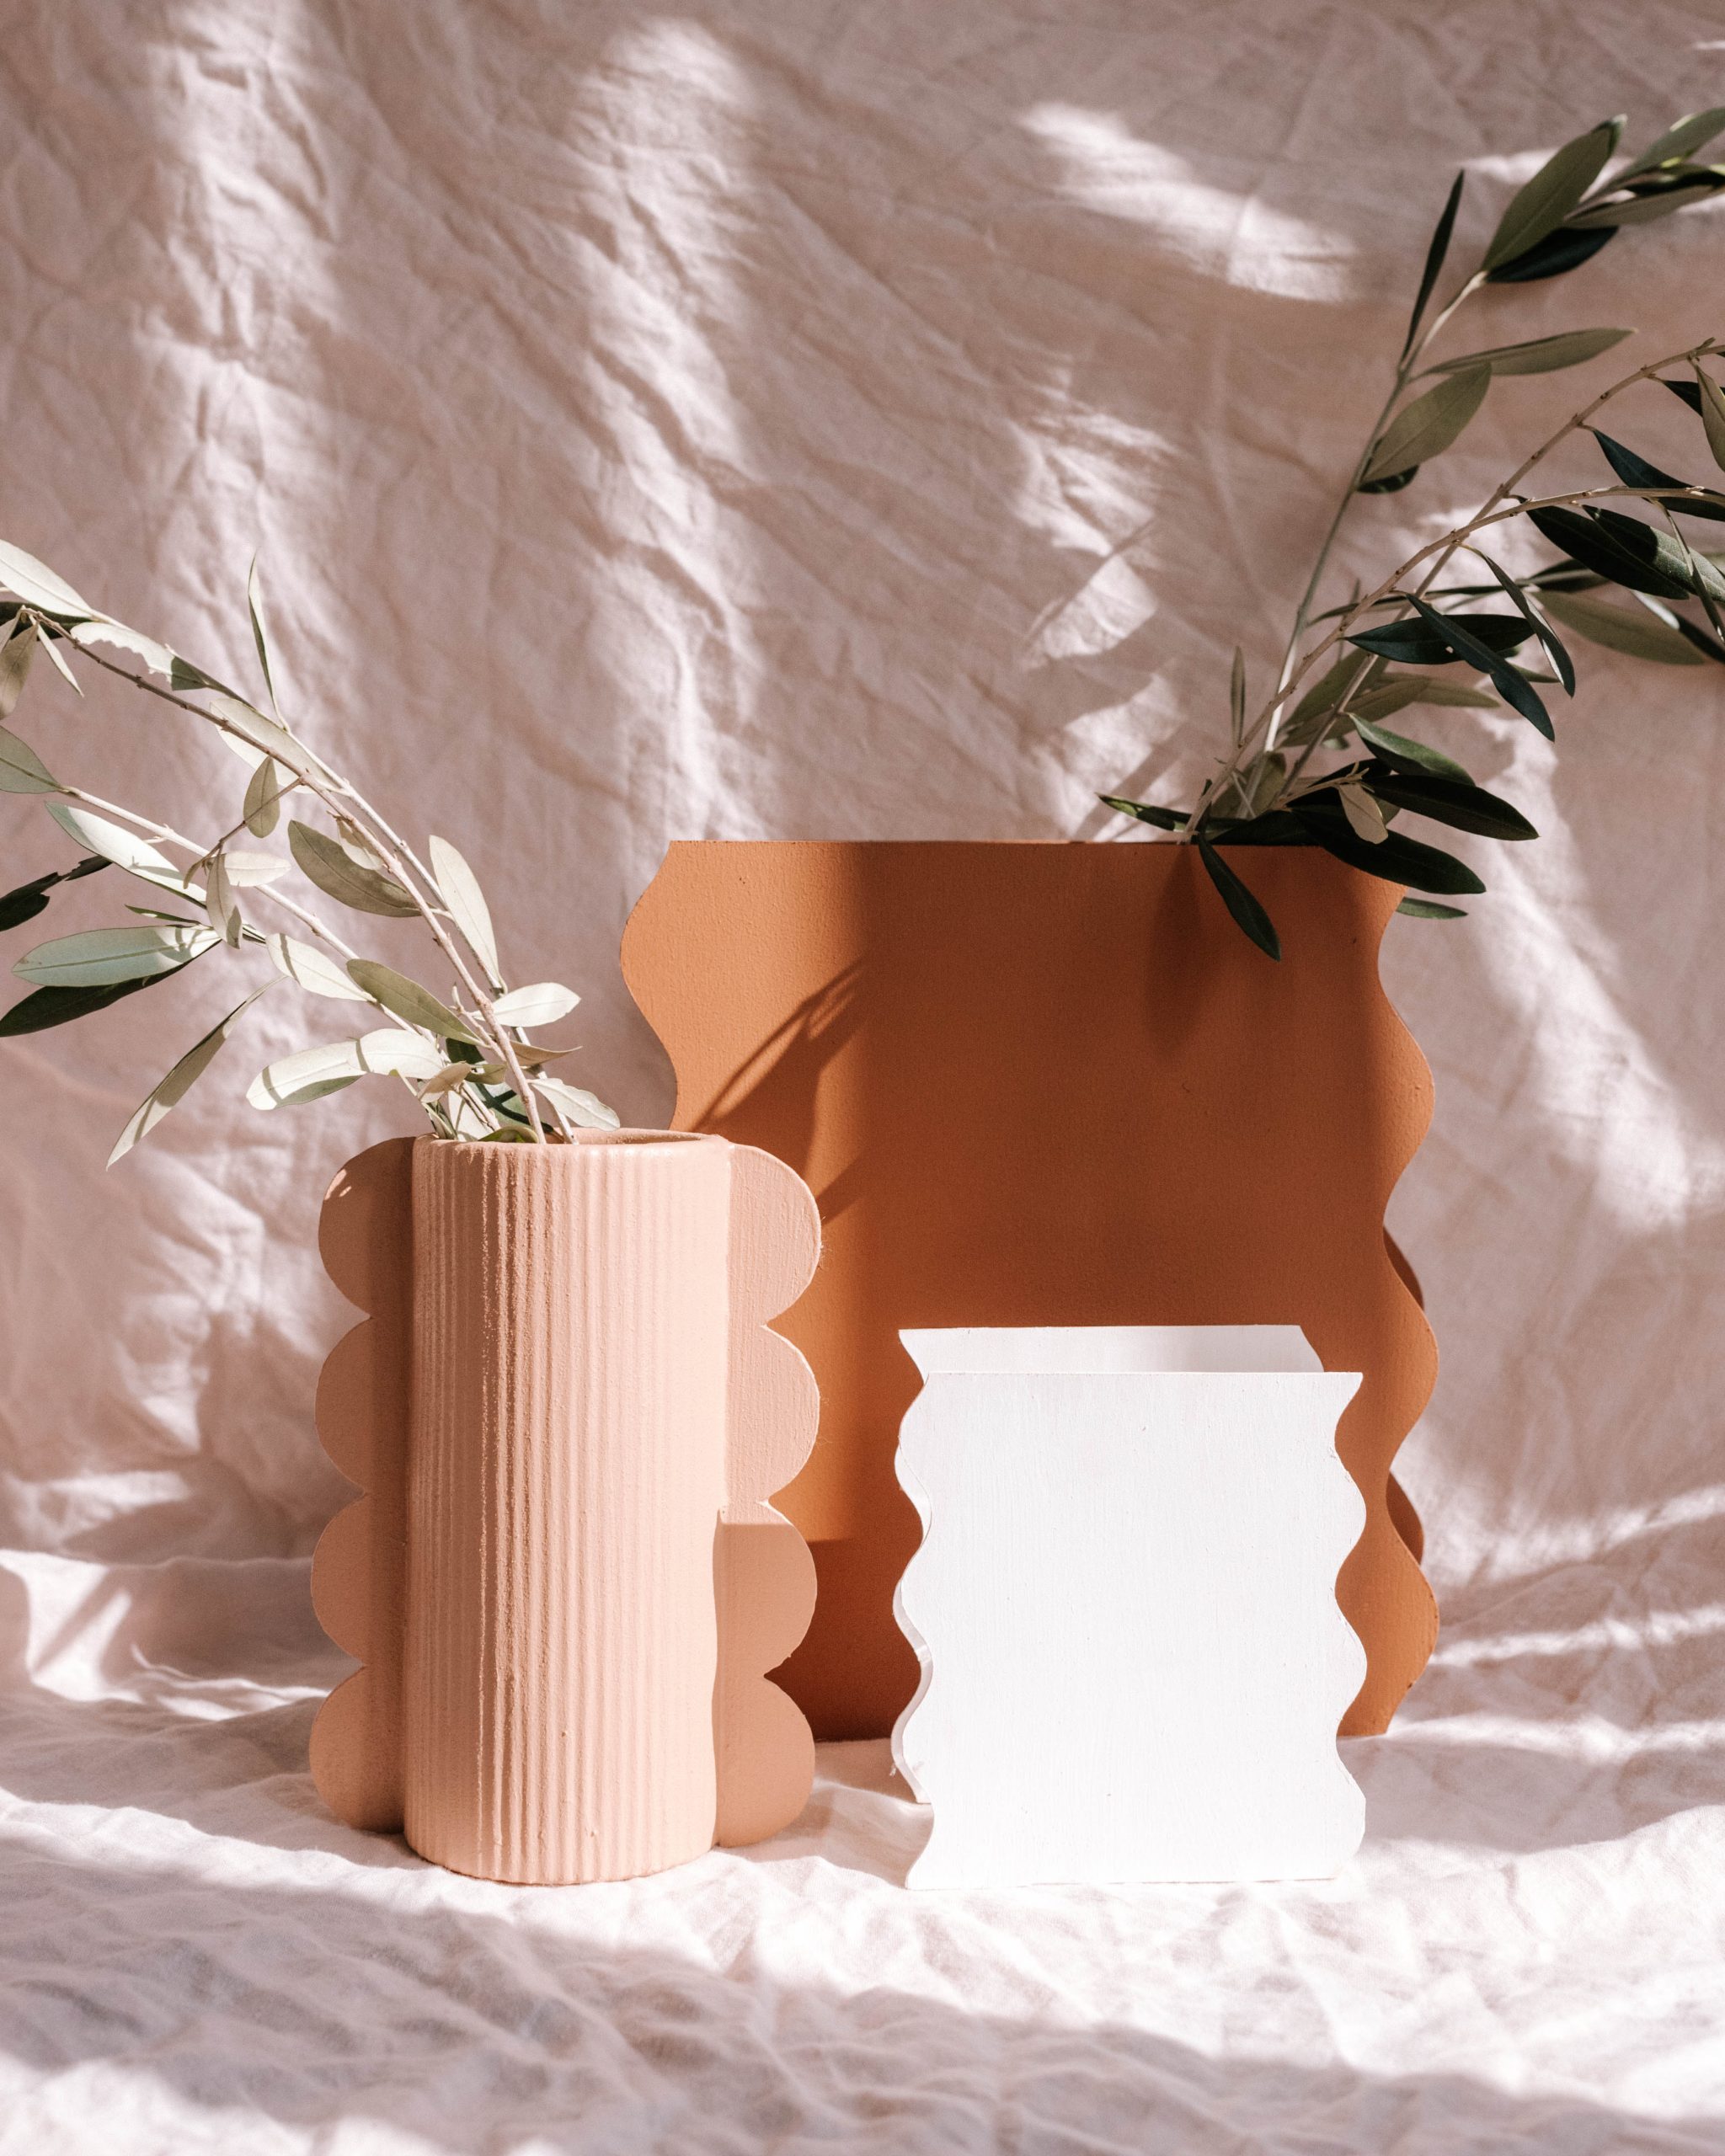
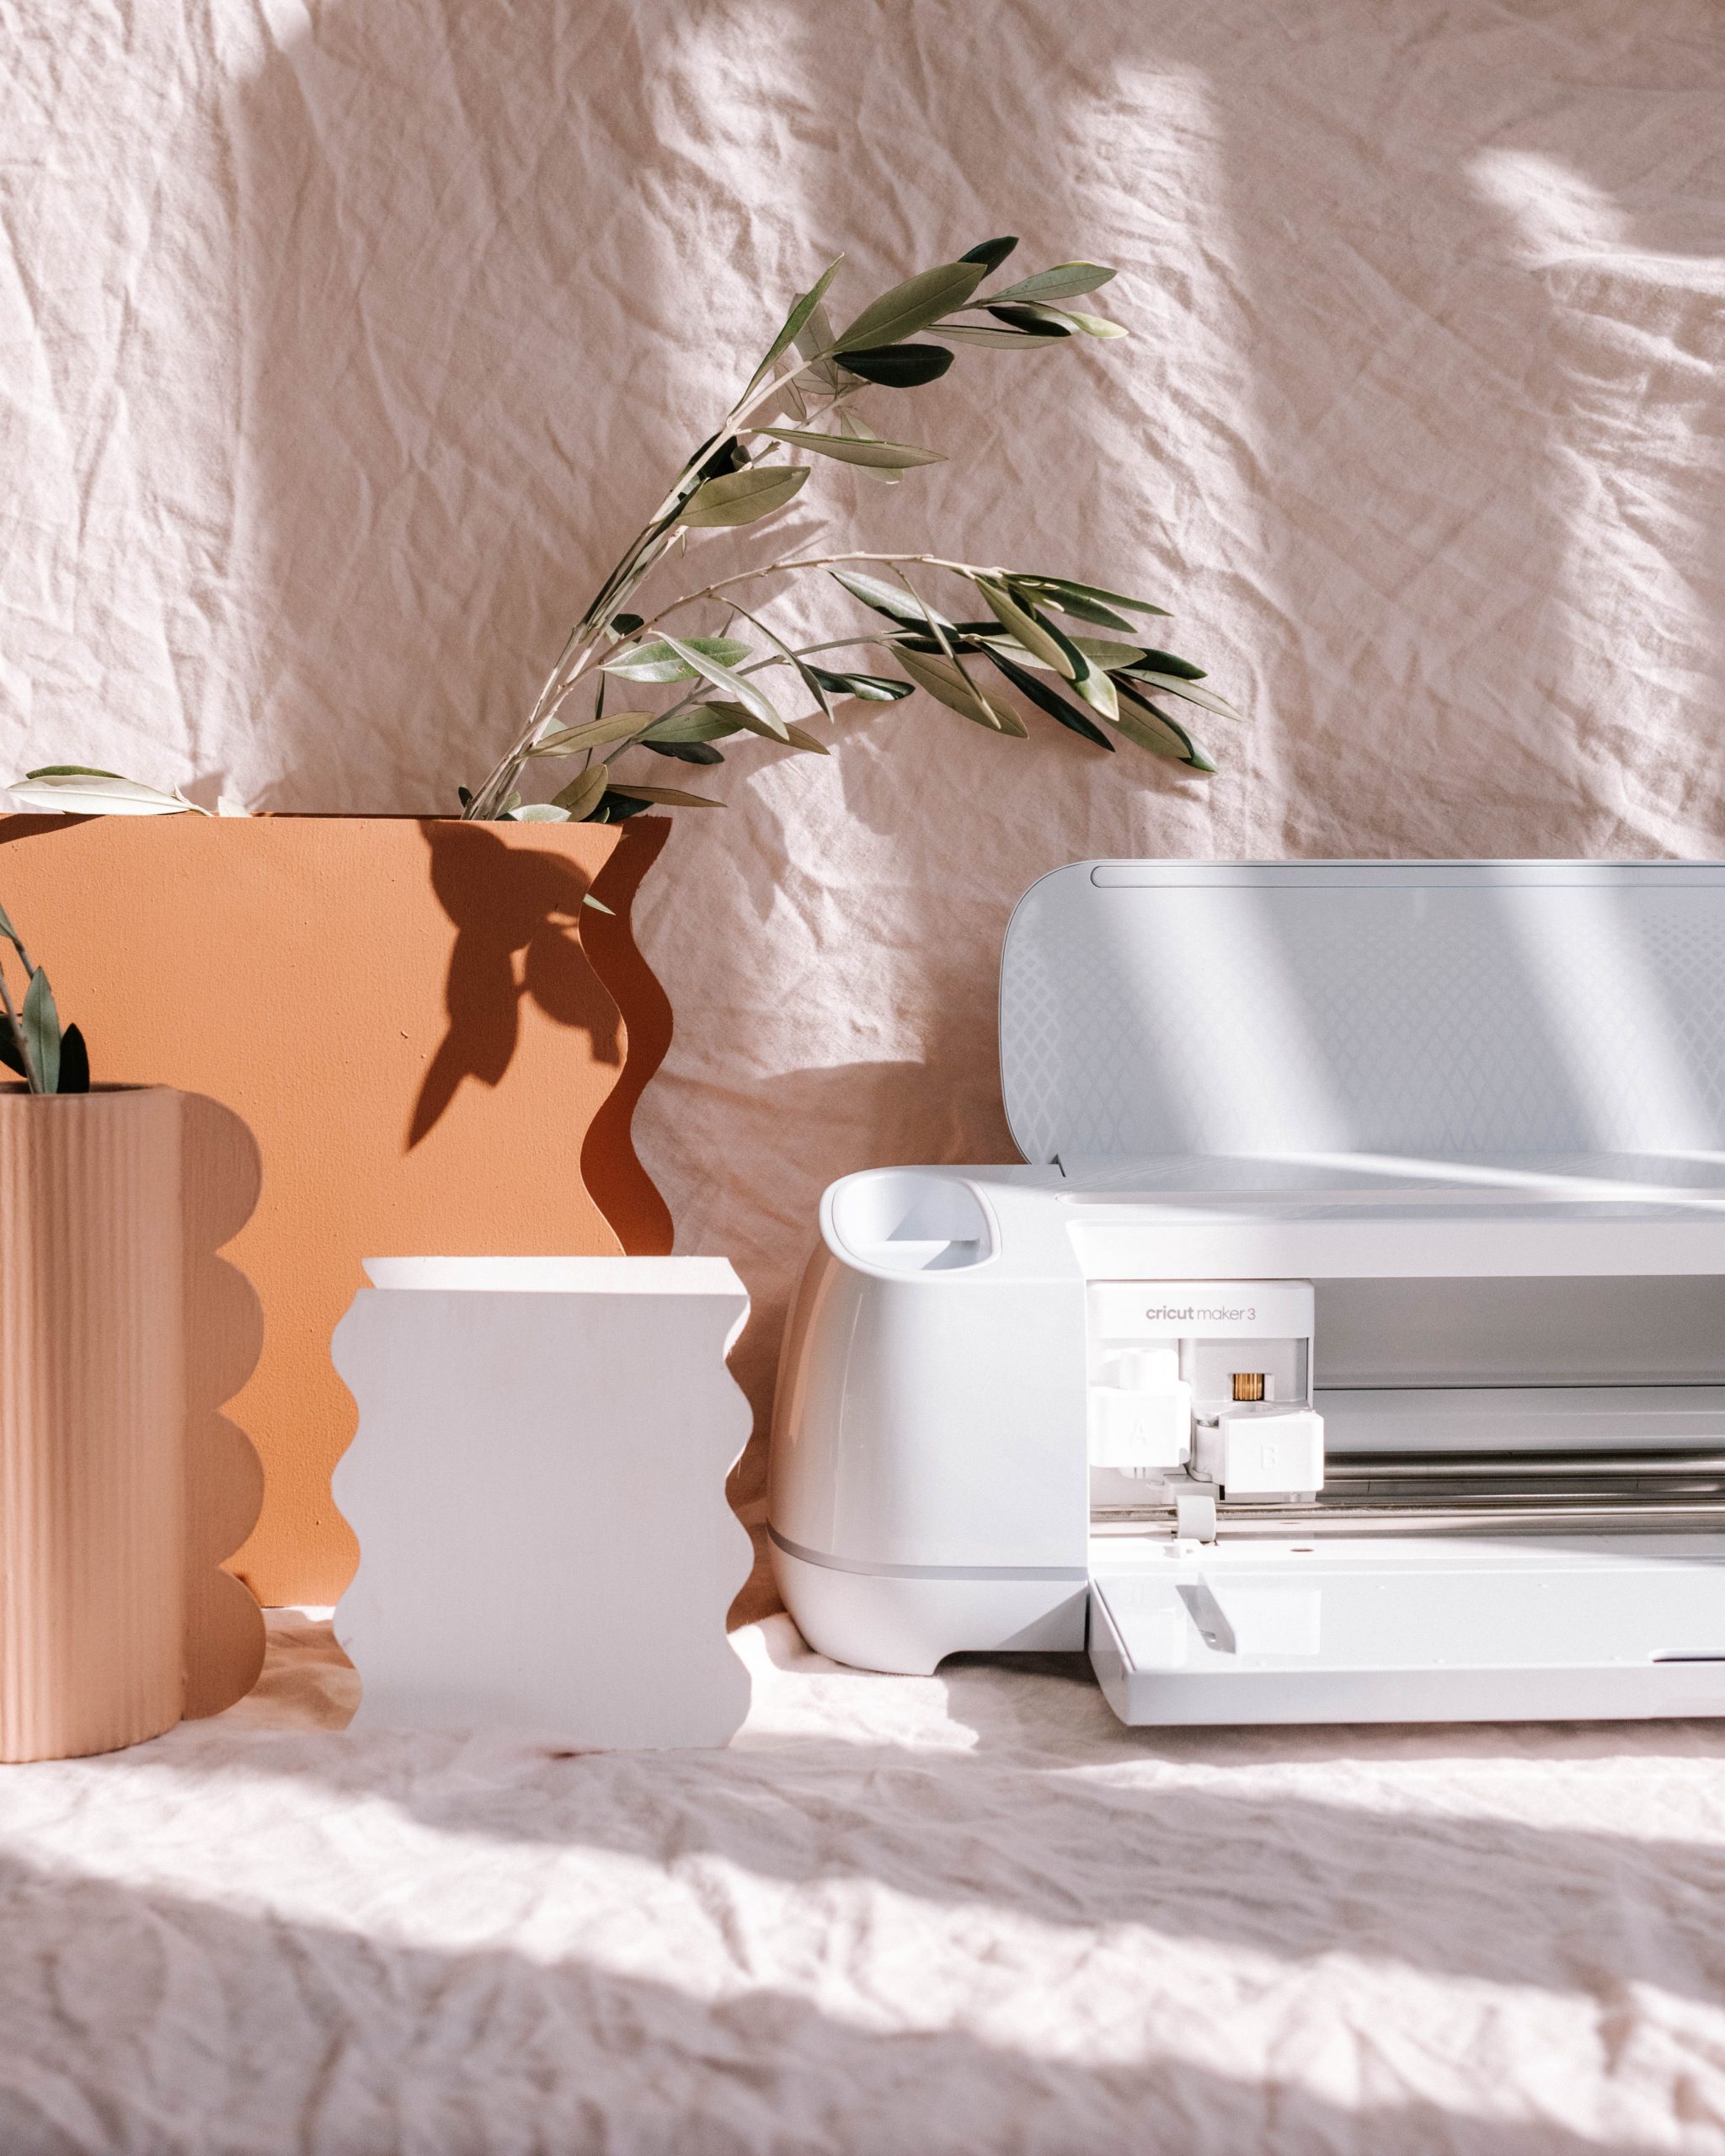
There are a few ways to cut wood, but since making the light I have come to realise that when looking to cut clean, symmetrical curves, Cricut is a far superior (possibly the only) way to do it well. That’s because the machine uses a knife blade that makes multiple cuts, so that the edge is sharp and perfect as opposed to using some sort of other tool which often ends up with a jagged edge. Because of this it has a seriously professional finish and doing this vase project showed me that once again. I used the amazing new Maker 3 for this project, and once again loved how easy it was to create something unique and beautiful.
You need
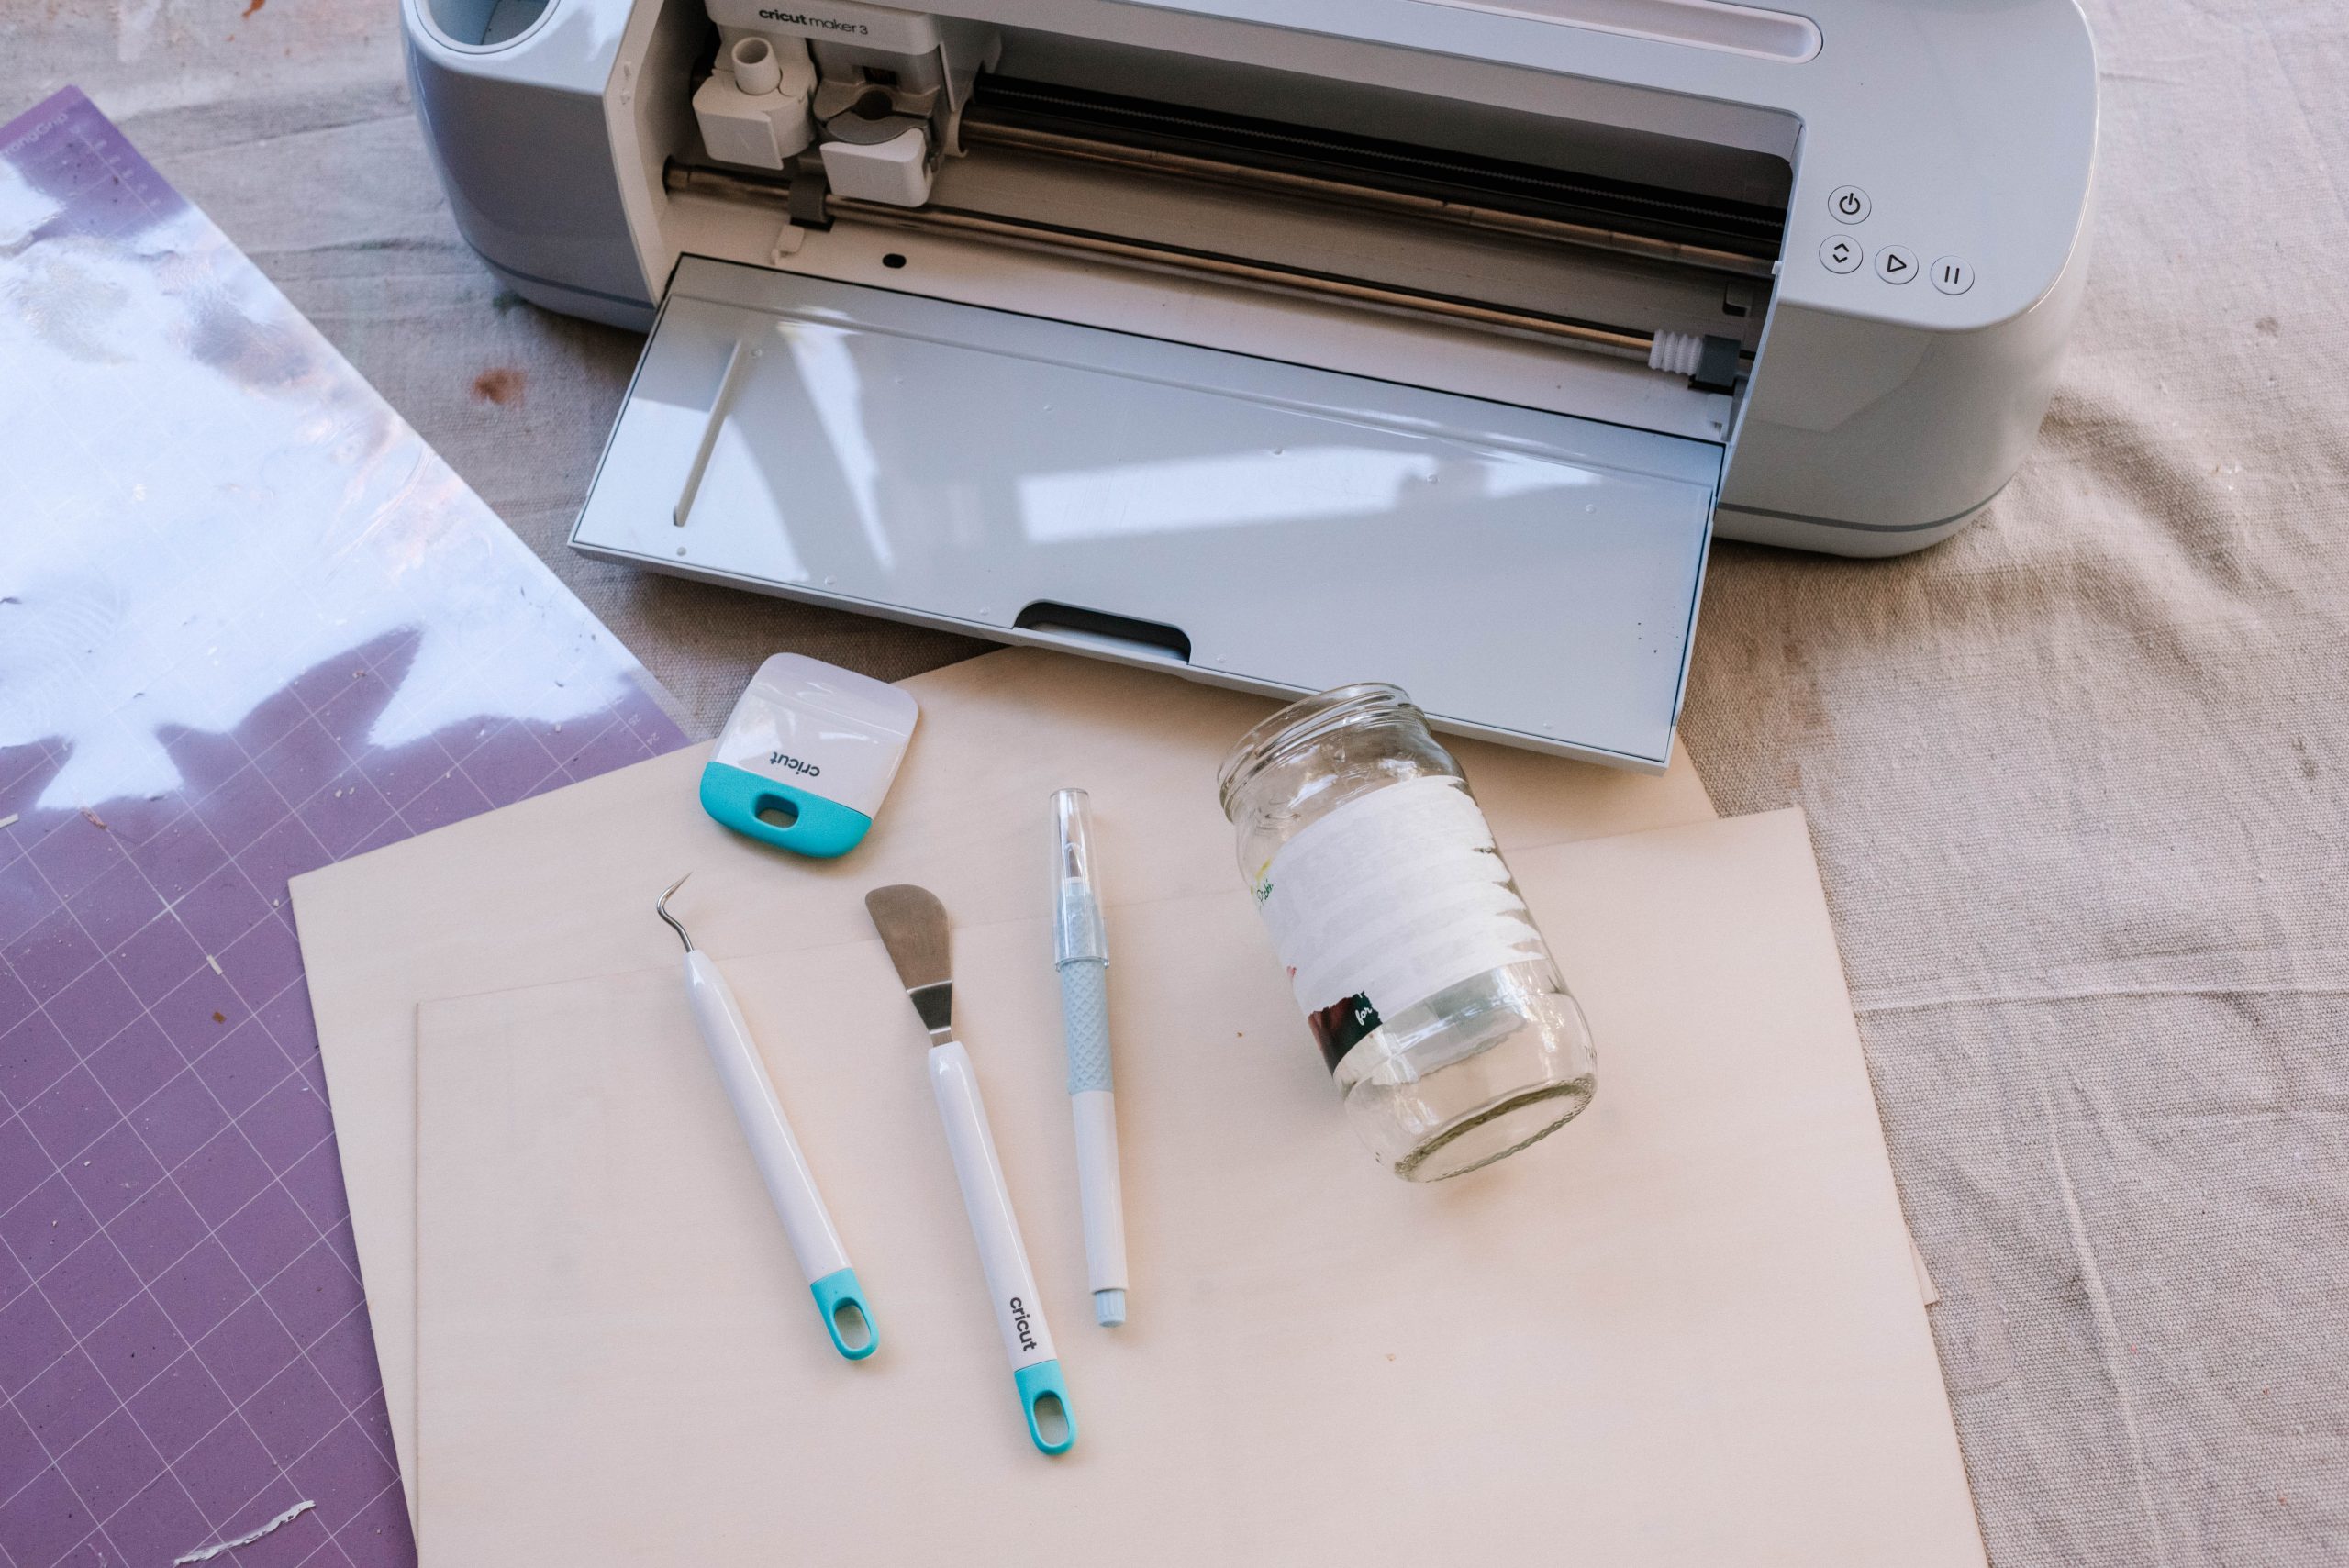
- Cricut Maker 3 (or Maker) Machine
- Old jars
- Knife Blade
- Strong Grip Mat
- Thin Basswood sheeting
- Paint and Paint brush
- Tape
- Super Glue or Glue Gun
Cutting Wood On The Maker
Cutting wood on the Maker is actually so easy once you get a few things organised on your machine.
- You need to insert the knife blade into the machine, and then calibrate it using these instructions. This was very easy!
- Move the white star wheels on the roller bar all the way to the right to give clearance for thick materials and to prevent them from leaving track marks on your material.
- Ensure that the material you use is only 27.5cm/11″ wide, and align it with the top left corner of the adhesive area on the machine mat to prevent it from passing under the large rubber rollers on the roller bar.
- Tape the material down to the mat on all four sides to prevent slippage while cutting.
All in all these things were quite straightforward and it didn’t take long to get set up.
Creating My Design
I am obsessed with the Design Space app, and most often use the image library to find the shapes or designs that I want. For this I searched for ‘wavy’ and ‘scalloped’ to find images. I tweaked them using the slice function, so that they were fun and unique shapes and so there were the right amount of waves or scallops for my design. It truly was so easy.
How to
1
Start by cleaning and removing all the labels from your jars. I remove labels easily by filling the jars with hot water then waiting for the glue on the back of the label to melt.
2
I then set up my design in Design Space. To do this you need to first check the measurements of your jar, and then use that to size your design correctly. I then set my wood up on the strong grip mat, taping it down on all four sides to stop slipping.
3
After loading the mat into the Maker 3, I went through the Design Space process and selected Make It. Instead of doing one single cut like when you use vinyl, the machine does a number of cuts, which is what gives the final design such a smooth finish. This design was cut 14 times.
4
Once the machine is finished cutting, it’s useful to check to ensure the wood has been cut all the way through. There is an option that pops up in the app to do extra cuts if it hasn’t fully cut, something you can’t do if you take it out of the machine, so make sure to check.
5
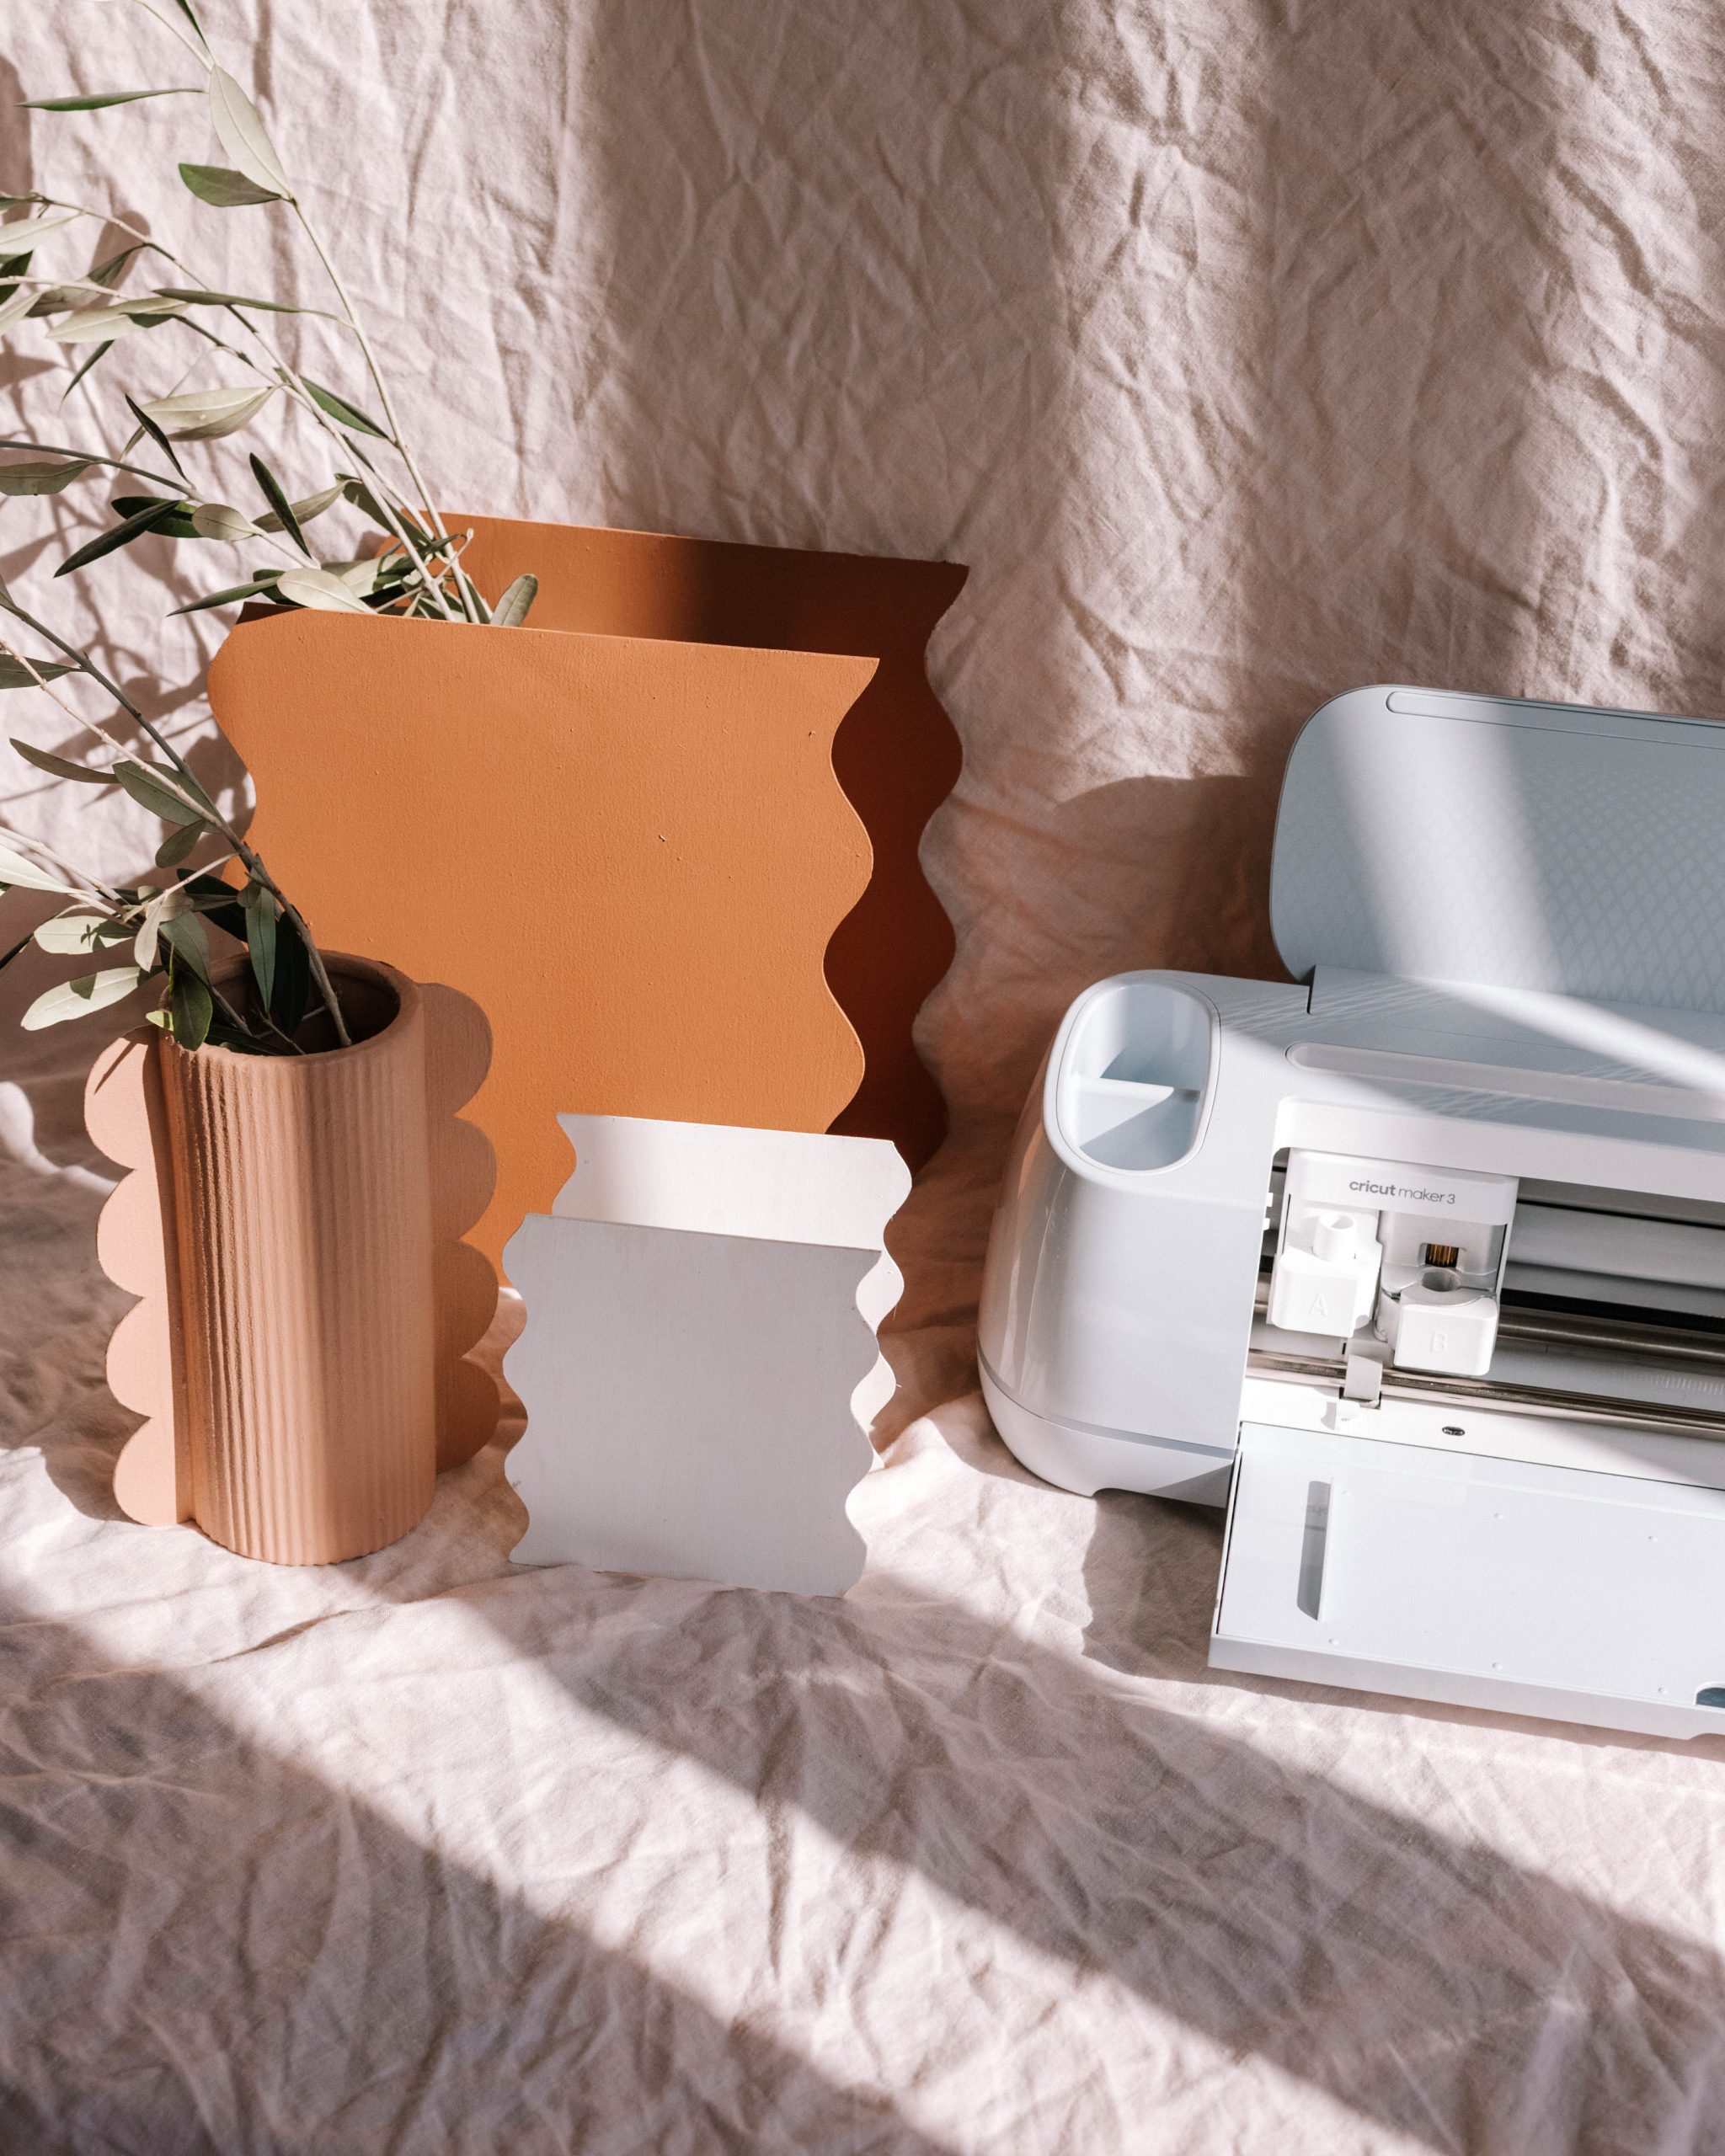
I ended doing two matching wood shapes for each vase, and used any leftover wood to glue those shapes together.
6
Using the glue, I glued two pieces of wood inside the wooden shapes so that the vase stood up and the jar could easily be inserted in the hole.
7
Once I was done, I painted the whole vase in a my baking powder paint mix, so that it filled any gaps and really held the whole structure together. The last step is to fill the jars with water, and then fill them with flowers!
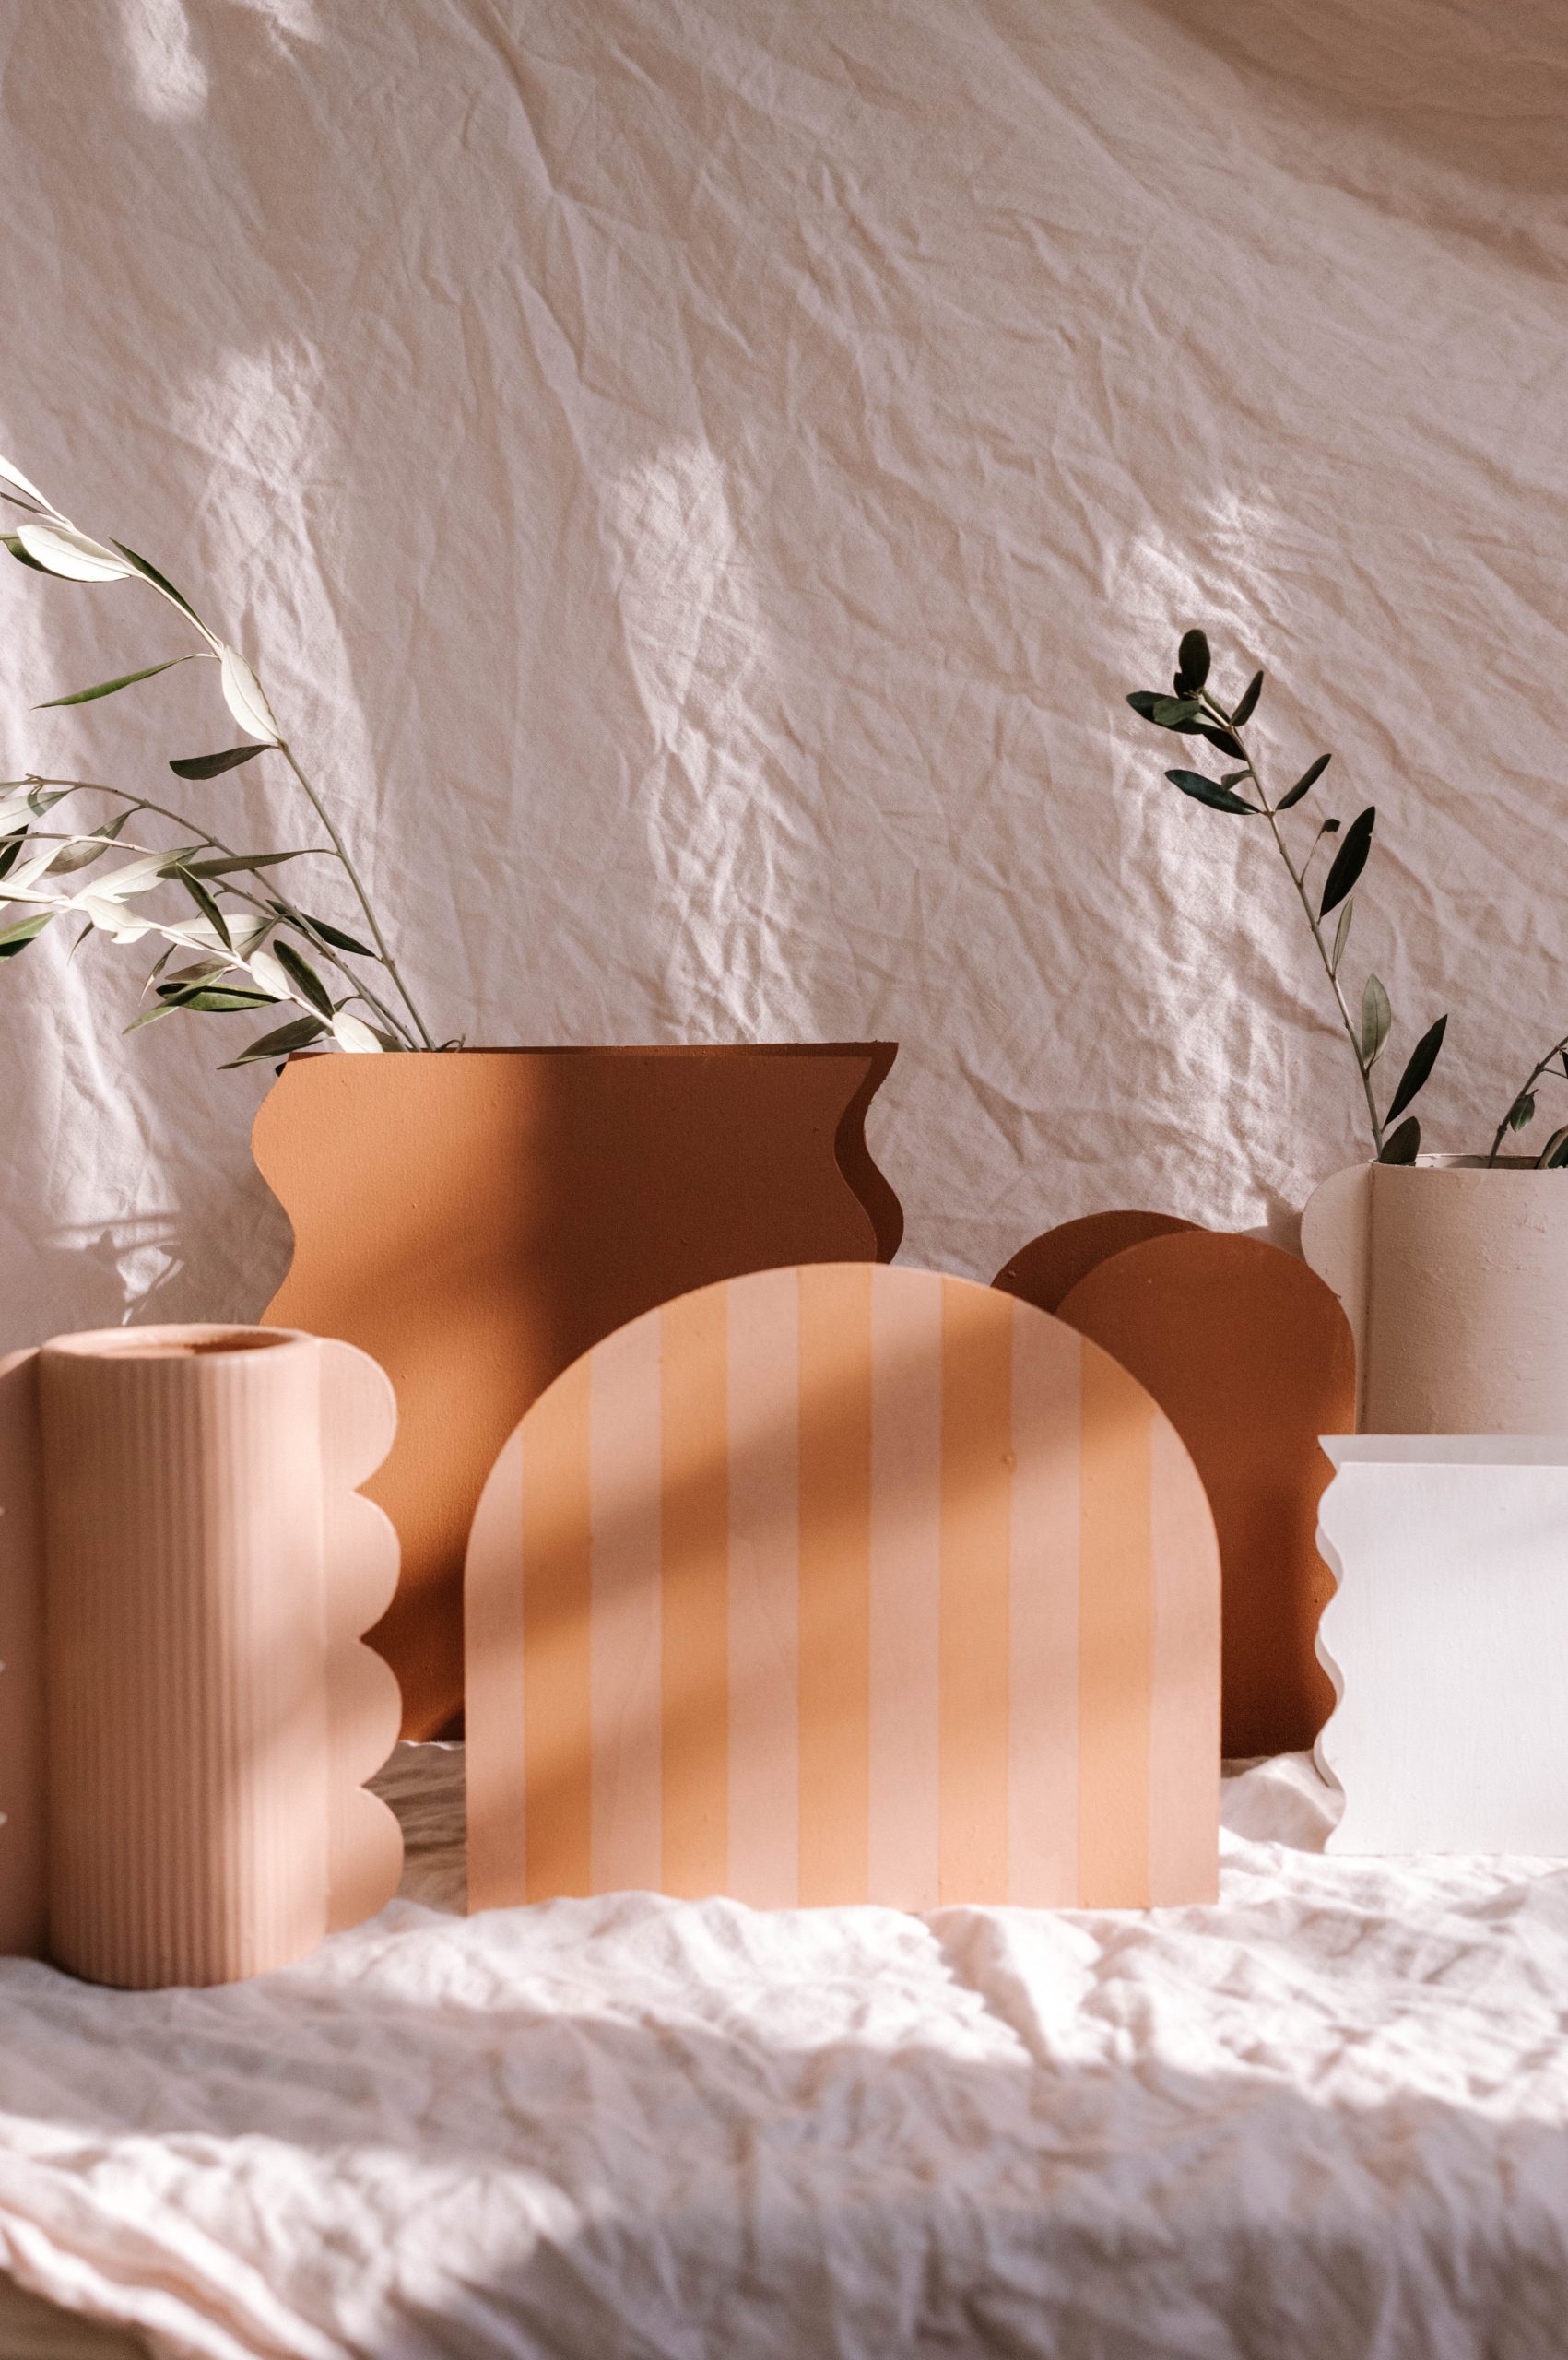
I made a bunch of different designs based on shapes I found in the design space app. I love how they turned out. I’m excited because the knife blade also cuts leather, chipboard and foam which means lots more project ideas.
This project is in collaboration with Cricut.
