Having been selling our craft patterns in our Etsy shop for a few years, we often get questions about how to upload a SVG file into Cricut Design Space.

Working with SVG files: the basics
Although there is much to learn and know about SVG files, for the majority of us, we only need to know how to use them with our Cricut cutting machines. Check out the 4 things we didn’t know about the Cricut maker before we got one. This simple tutorial will take you through the step by step instructions for uploading your SVG file into Design Space to get you crafting asap!
Our craft patterns are sold on Etsy as PDF files with full written and visual instructions for cutting and assembling. Additionally, we offer the same patterns as an SVG file format. The PDF printable pattern is used for cutting out the pieces by hand with a pair of scissors, whereas, the SVG file is intended for use with a Cricut cutting machine. It is the ideal file format for using with Design Space.


There are two types of images: one is called VECTOR (these are files saved with .svg / .dxf extensions) and RASTER (these are files saved with .jpeg / .gif / .png / .bmp extensions).
In a nutshell, SVG is a file format for displaying vector graphics on the web that stands for Scalable Vector Graphics file. The pattern file was originally created using Adobe Illustrator then exported as an SVG file. The Cricut cutting machine reads the mathematical path (in the way of lines and points) in the SVG file to cut out the pattern with precision.
Why are SVG files so great when used within Design Space?
- Scalability – As its name implies, an SVG allows you to scale the pattern size without losing the resolution or quality. Whereas raster (or basic) files are designed using pixels and cannot be scaled up without losing quality.
- Editable – Although the craft pattern is made up of multiple pattern pieces, once uploaded into Design Space, the individual pattern pieces can be moved around, hidden or duplicated giving the user many creative options.
- Precision – Using the Cricut cutting machine to cut out the SVG pattern file guarantees precise cutting not easily achieved by hand cutting. Additionally, SVG files are instantly ready to cut after uploading, not requiring any clean up like an JPEG or PNG file needs.
- Speed – Using the cutting machine will save you loads of time giving you more free time to create and complete projects.
- File Size – SVG files are typically smaller than raster files using up less storage space and making the uploading process quicker.
Take these DIY project ideas as examples of things you can create with Cricut and an SVG file:
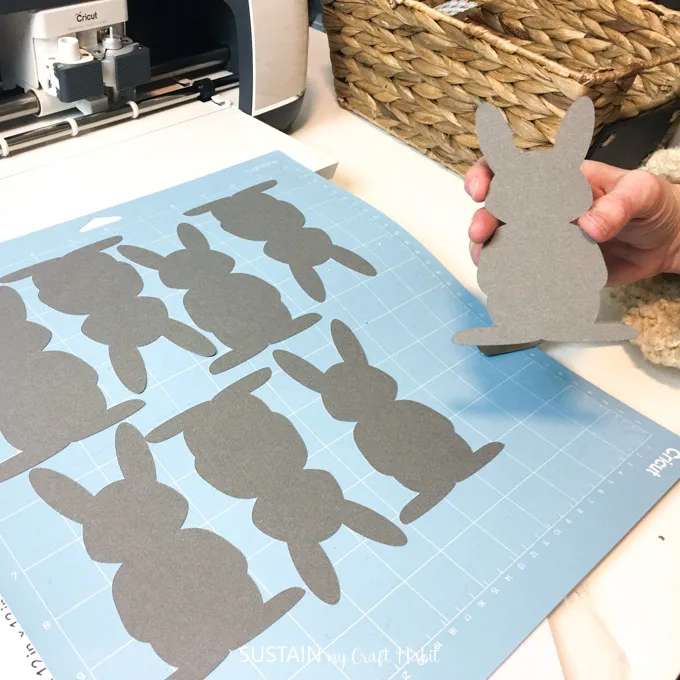
- Bunny-full paper garland
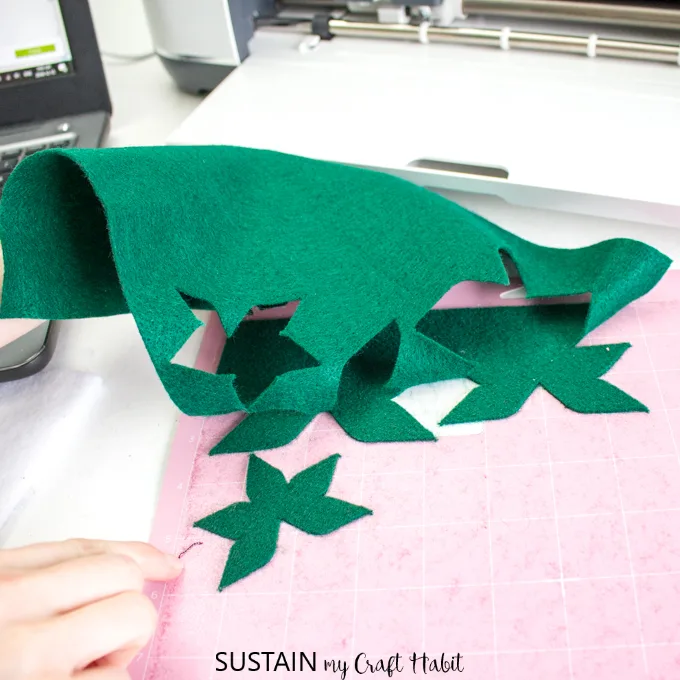
- Felt poinsettia mason jar toppers
- Mini potted felt succulents
- Beachy DIY cards for any occasion
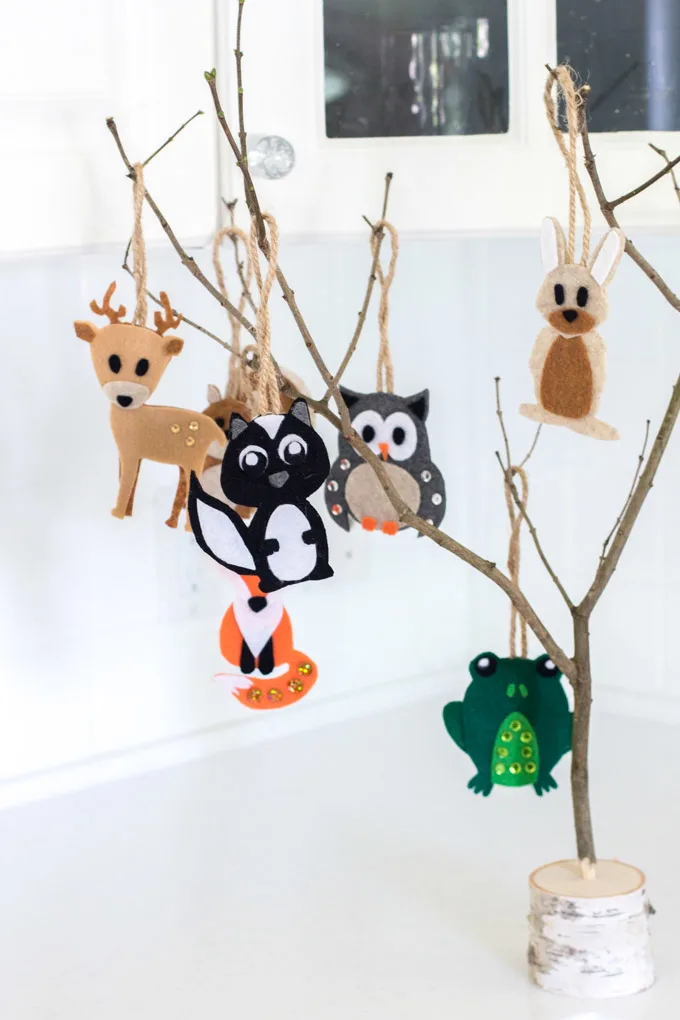
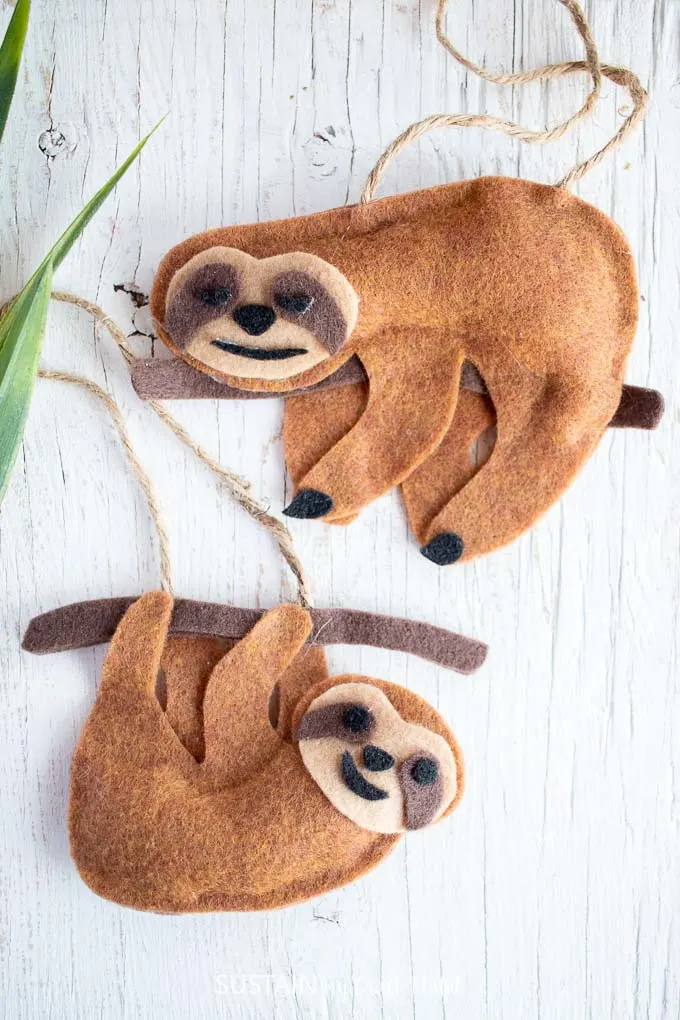
- Woodland themed felt ornaments


Cricut cut paper bunnys 

Woodland themed twiggy center piece 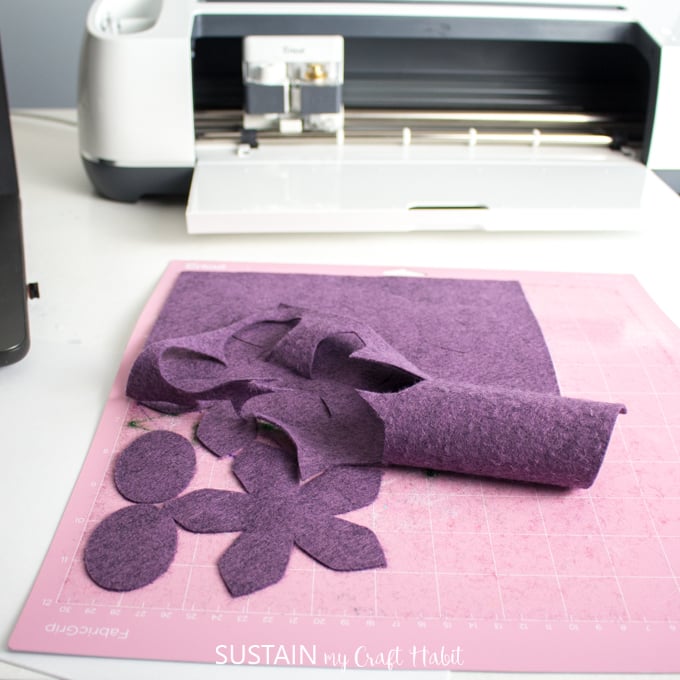
Cricut cut felt succulents 
Cricut cut felt poinsettia 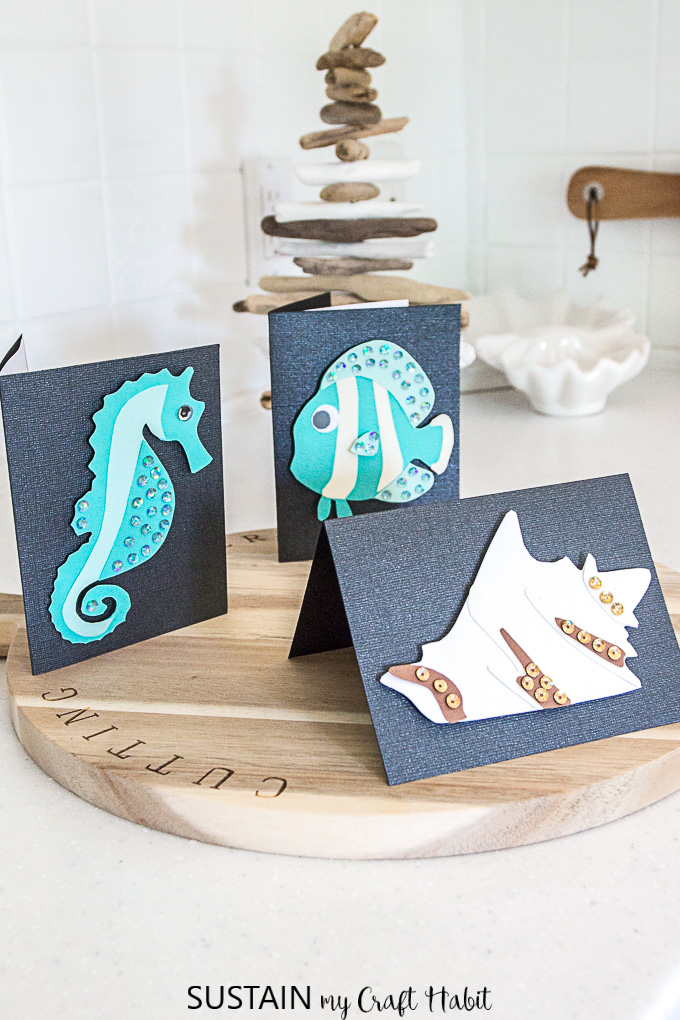
Cricut cut sea creature greeting cards 
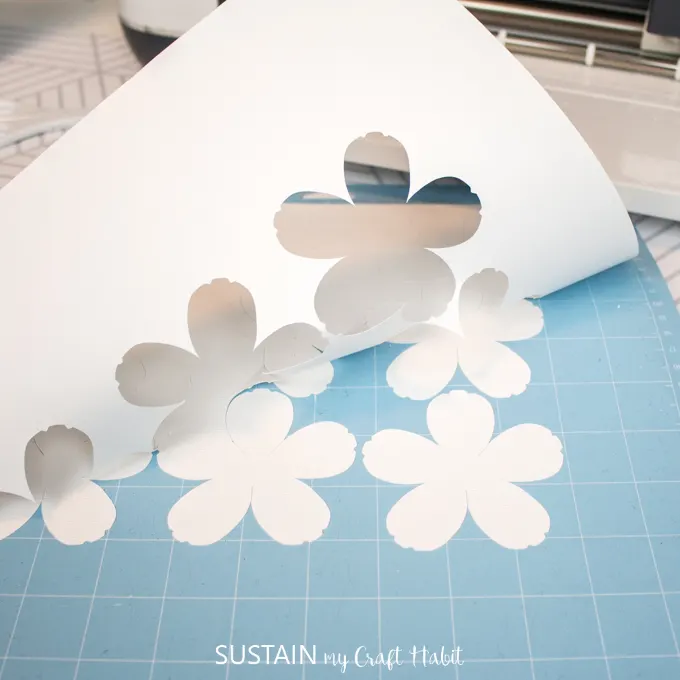
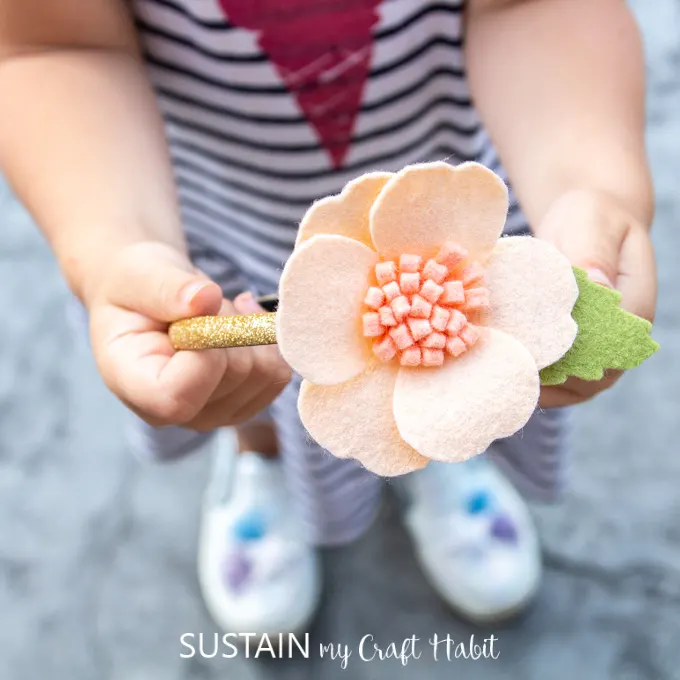
Cricut cut cherry blossom flowers 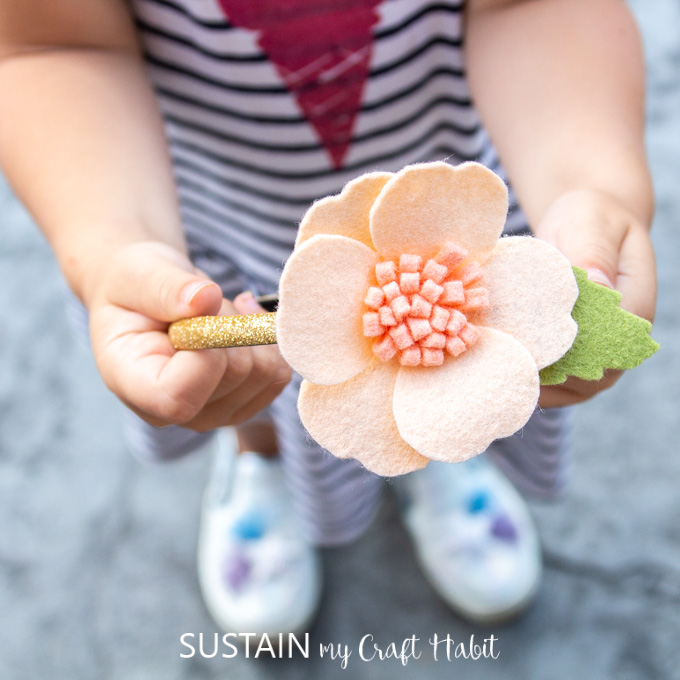
Girl’s flower headband


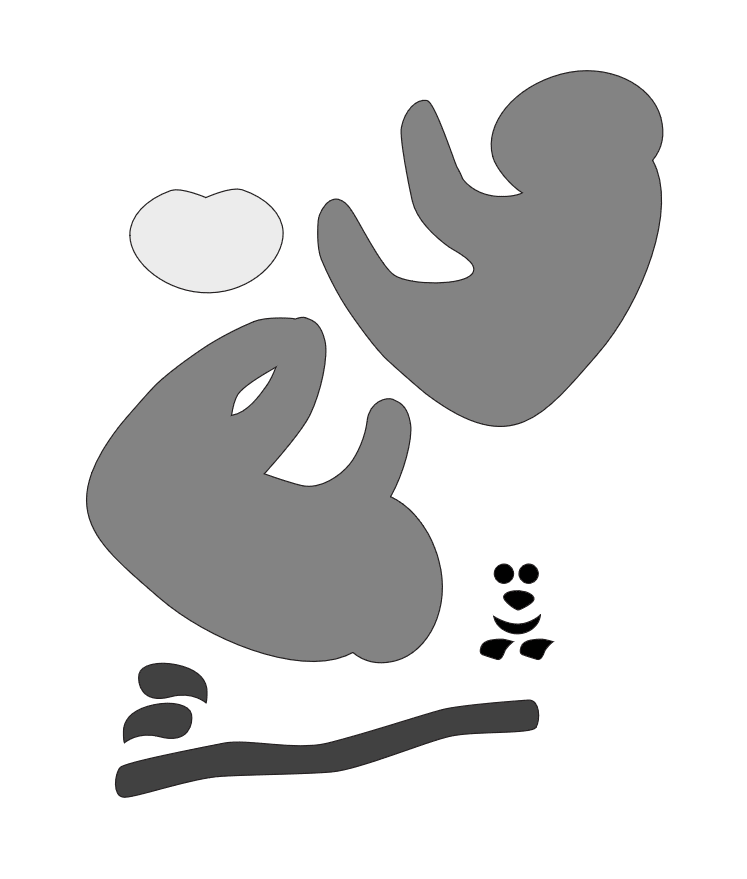
How to upload a SVG file into Cricut Design Space: Sloth Pattern Example
After your digital purchase, download the SVG file (or files) from Etsy. These SVG sloth pattern files were used to make these felt ornaments shown here as well as DIY sloth birthday cards we’ll be sharing with you soon.

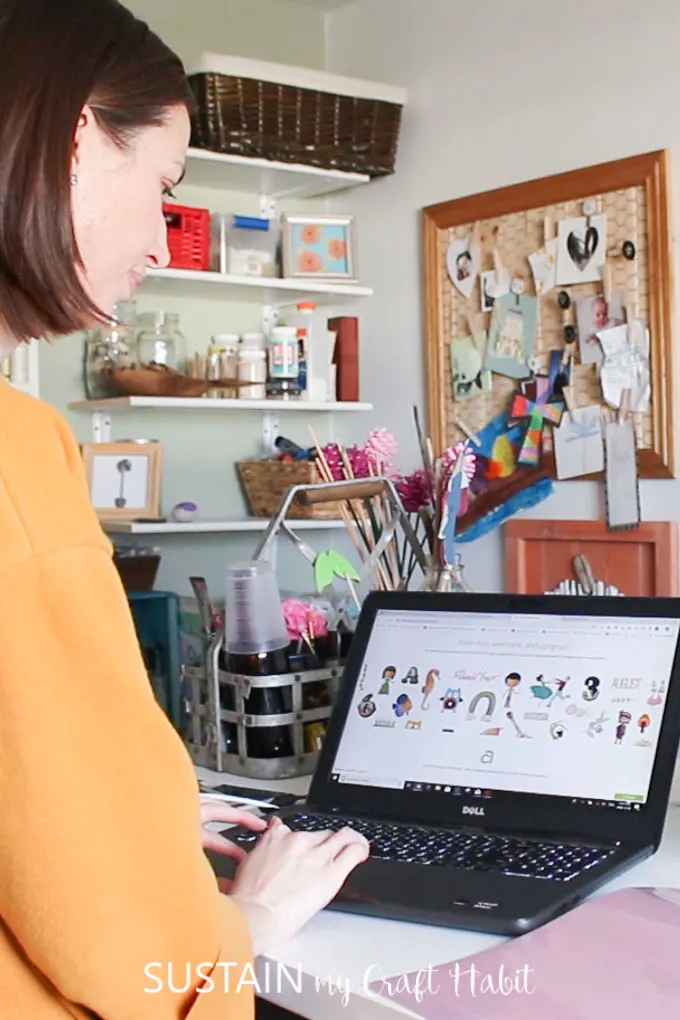
Open Cricut Design Space to a blank canvas.

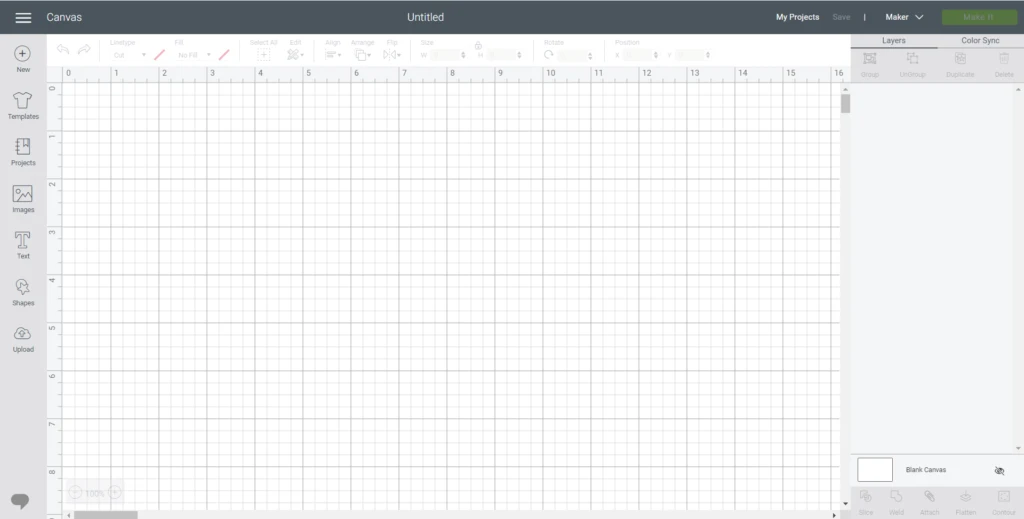
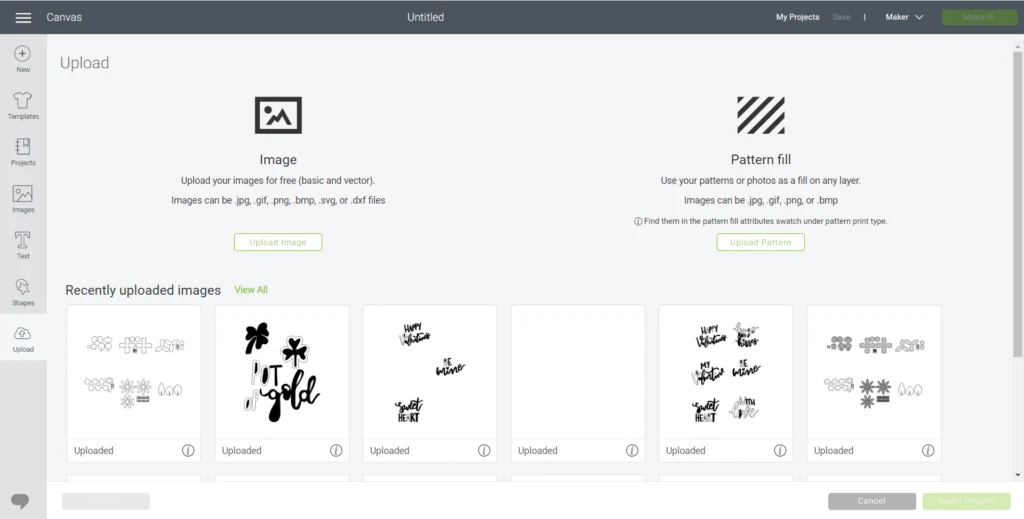
Select Upload button from the design panel on the left hand side.
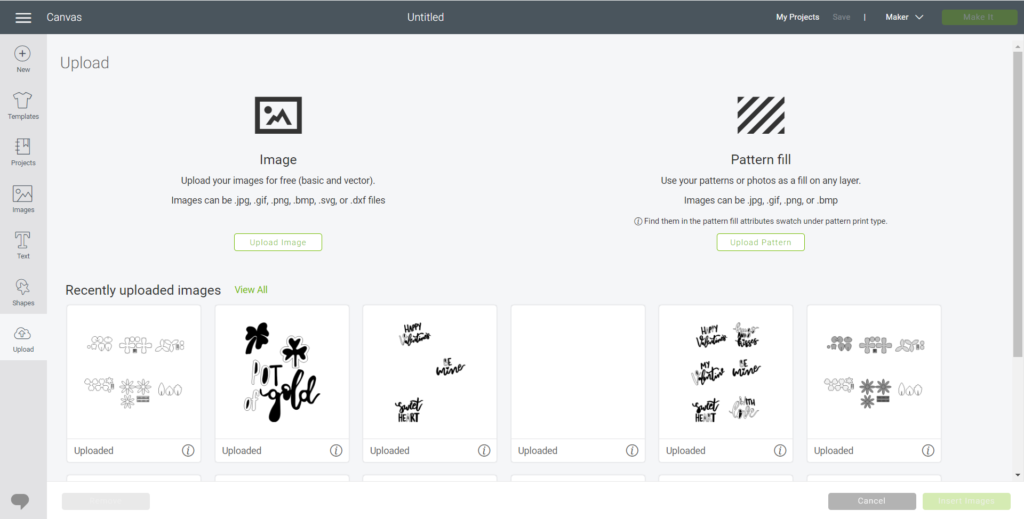
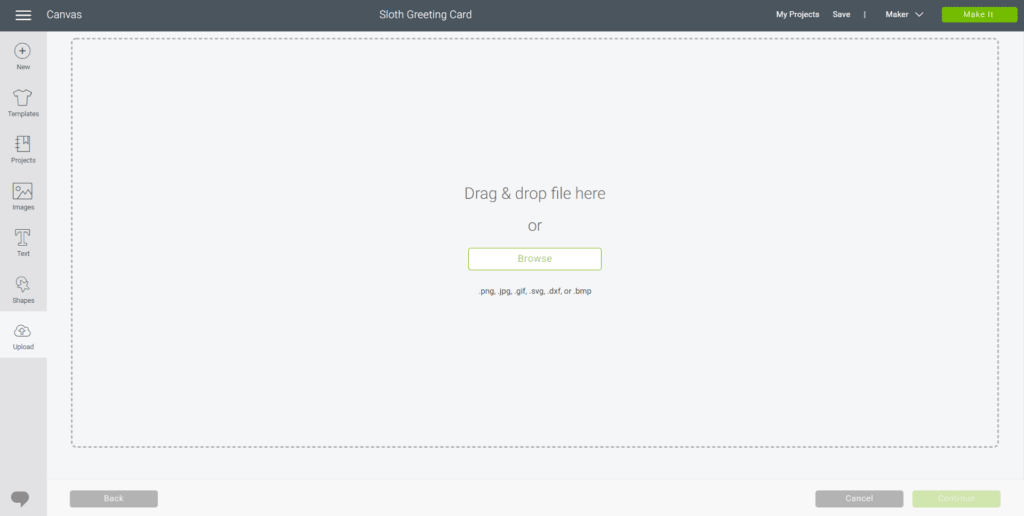
Click on Browse button to upload SVG file.

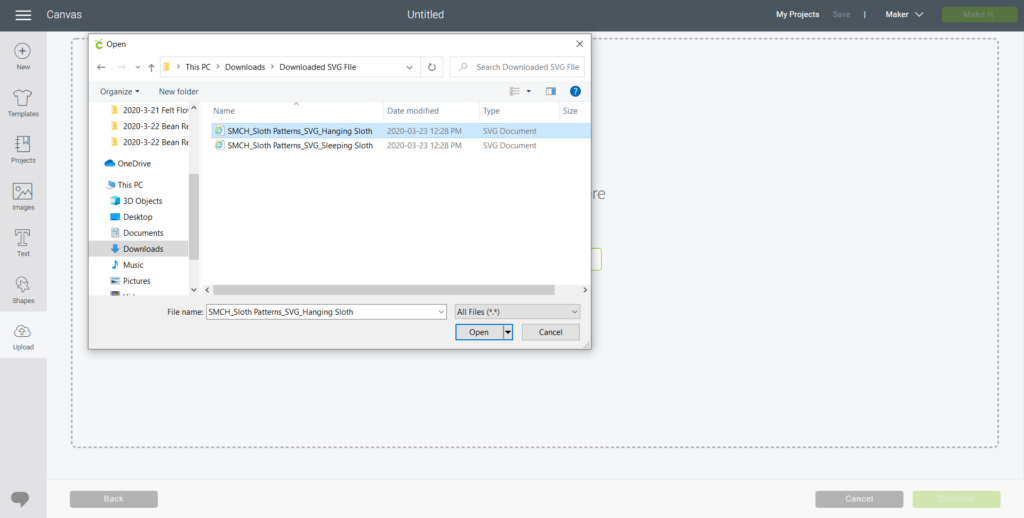
Select the SVG file from the download folder and click Open.

Select the recently uploaded SVG file, the file will turn green.
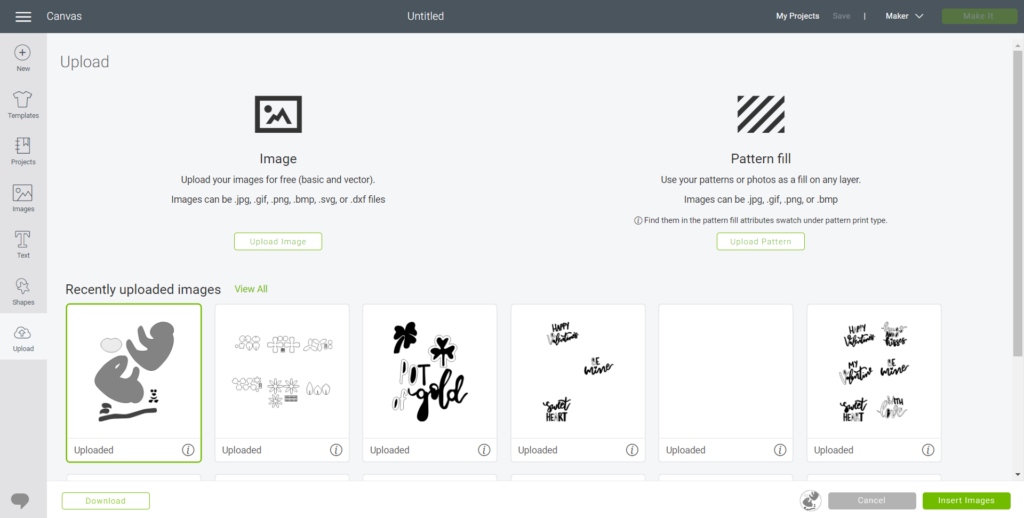

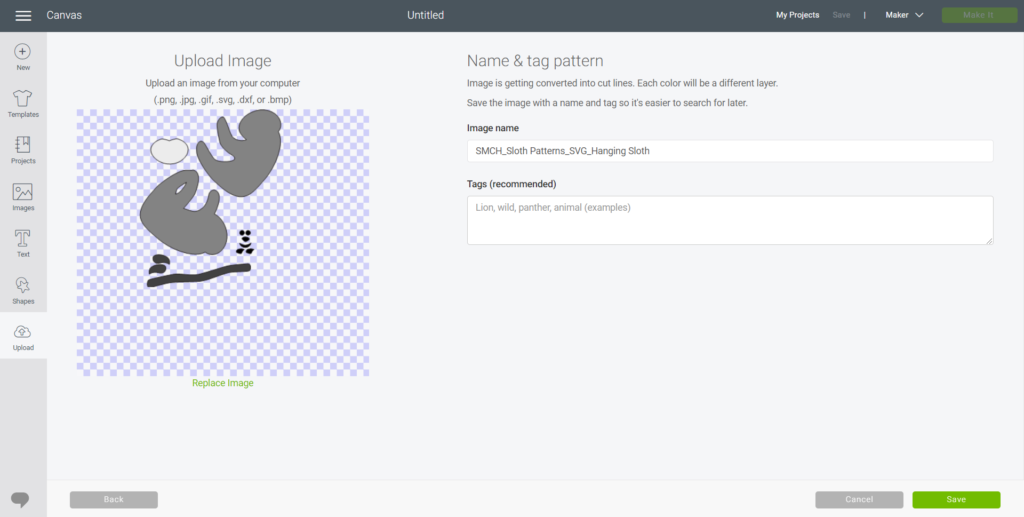
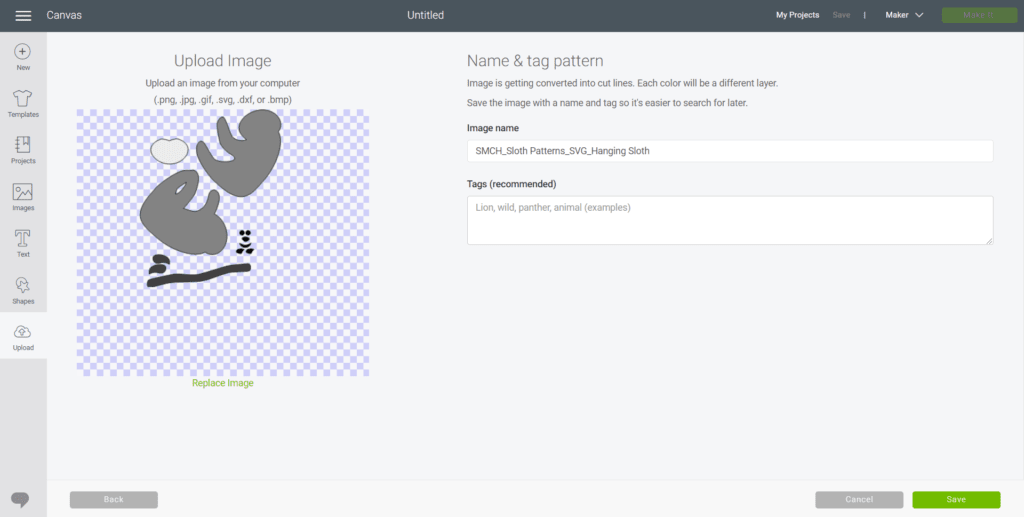
Remember to name your image and apply any tags (such as paper, vinyl or iron on, etc) to build up your image library. Click on Insert Images.
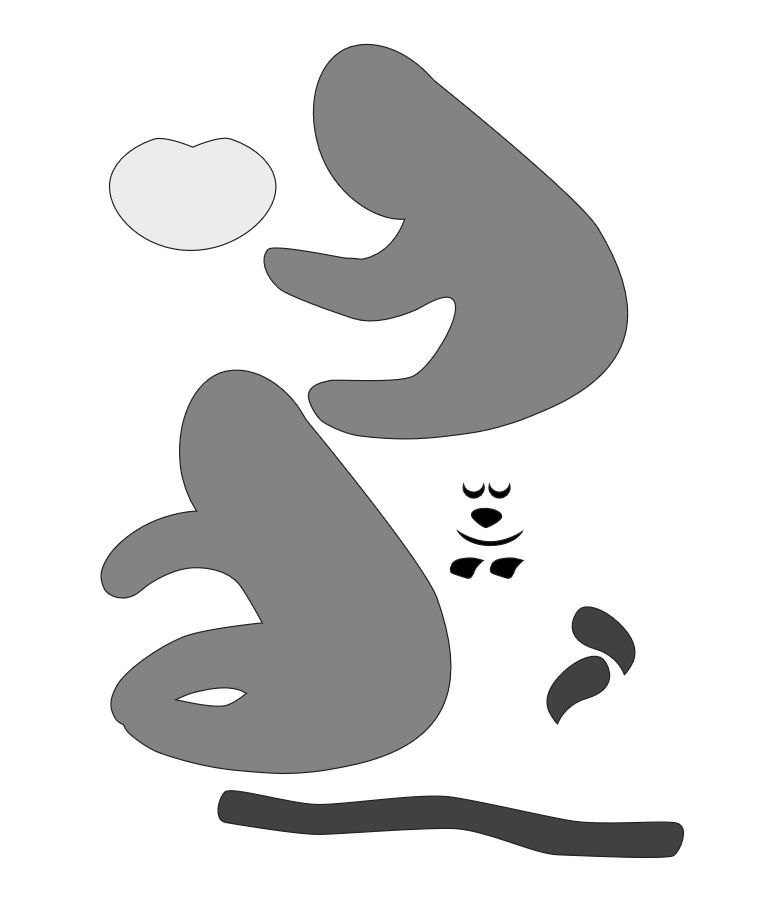
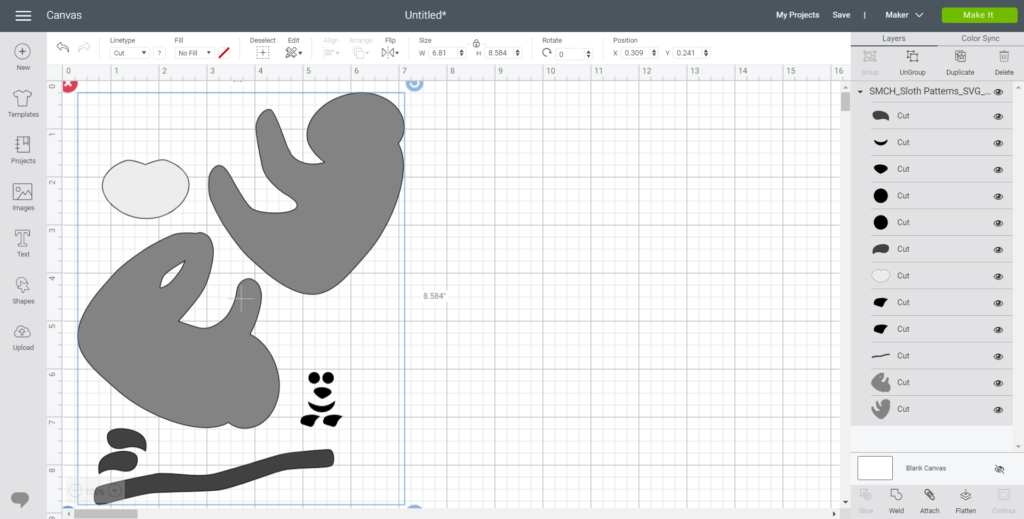
The pattern pieces will appear on the Design Space canvas. All pattern pieces will be grouped together. Click on the Ungroup button to separate the pattern pieces.
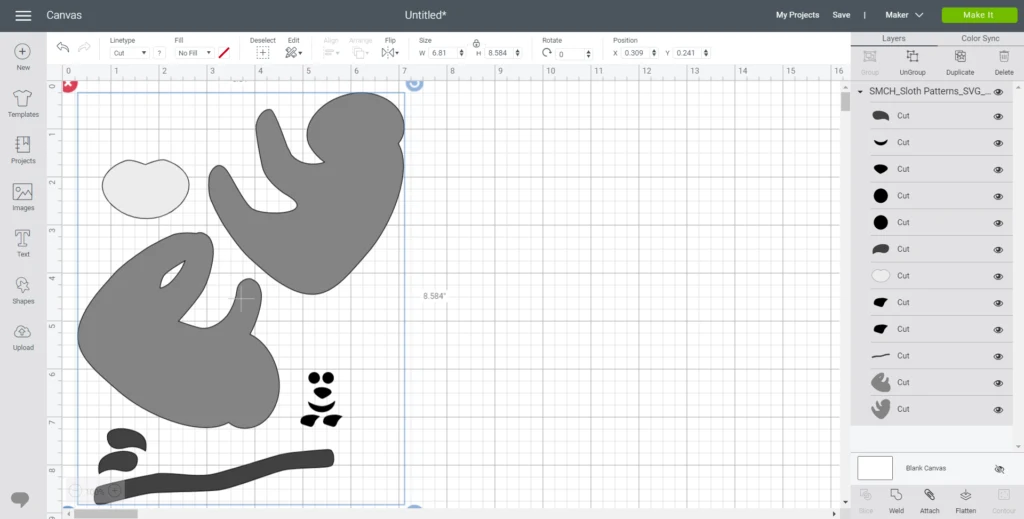
How to use color sync to group pattern pieces:
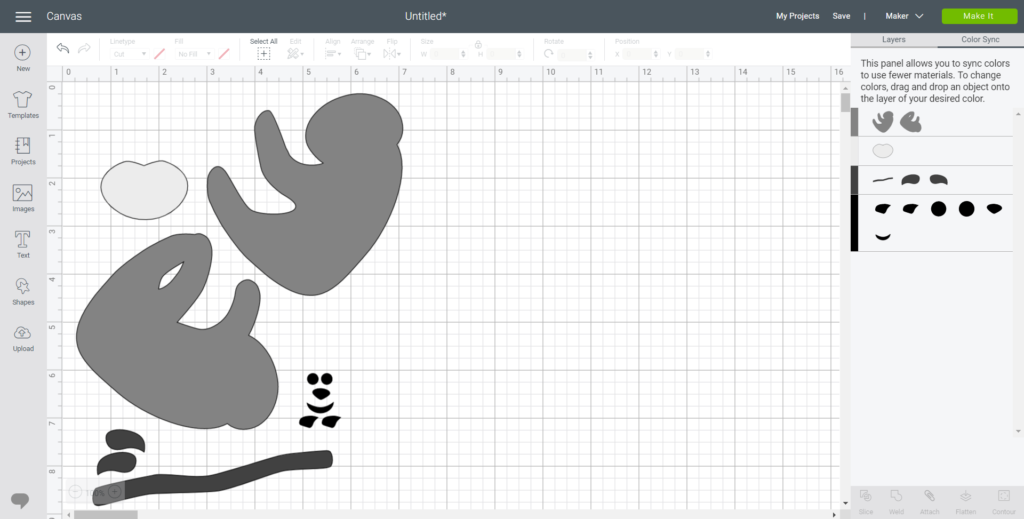
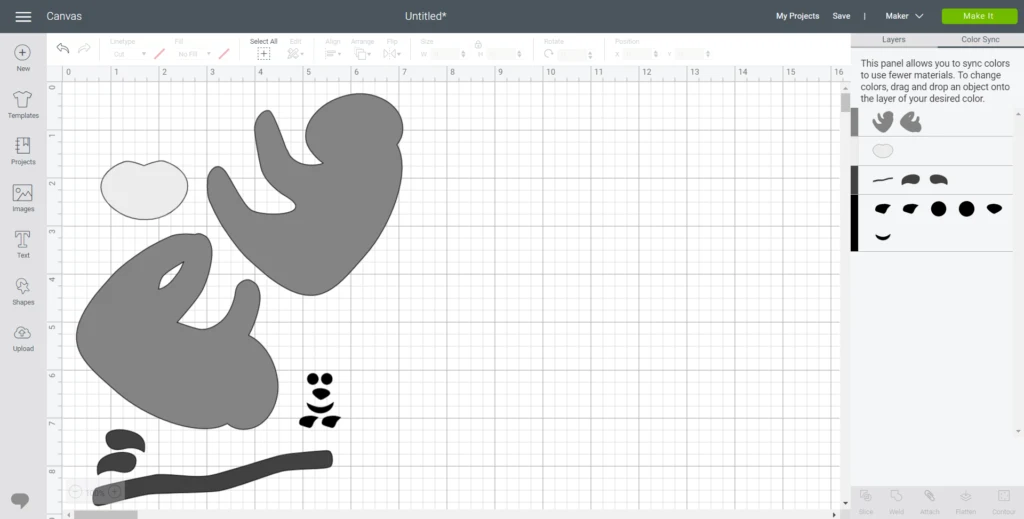
You can reorganize the pattern pieces by color and material by using the color sync option in Design Space. It is located on the right hand side tool bar. Simply click and drag the pattern piece to the color layer you want to assign it to.
Cutting the SVG Pattern file
Proceed with cutting following the prompts on the screen and choosing the material types.


Now that this hanging sloth is cut out on cardstock paper, I can move on to the next step: assembling my sloth birthday card.
For FREE SVG files, check out some of our favourite sources: Hungry Jpeg and LoveSVG.com.
What do you make with your SVG pattern files?
Like it? Pin it for later?