
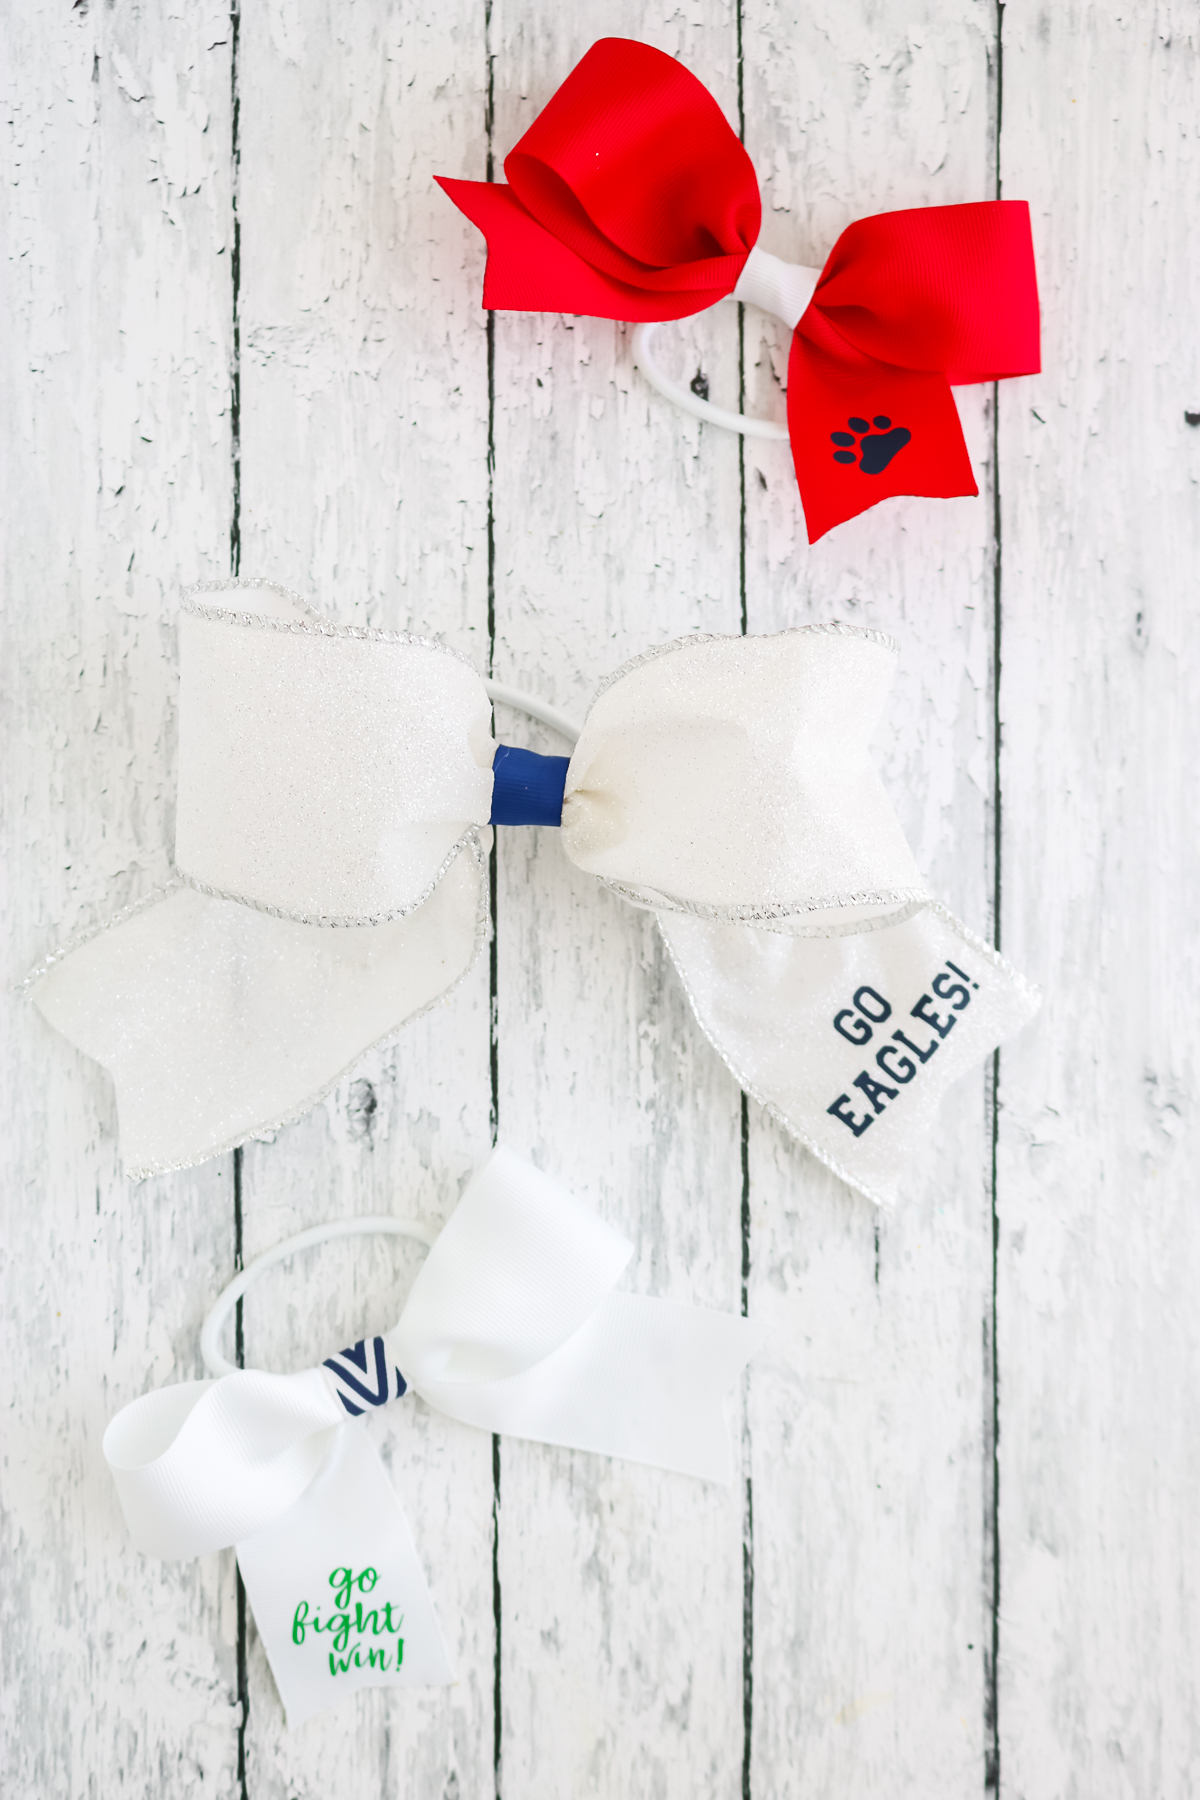
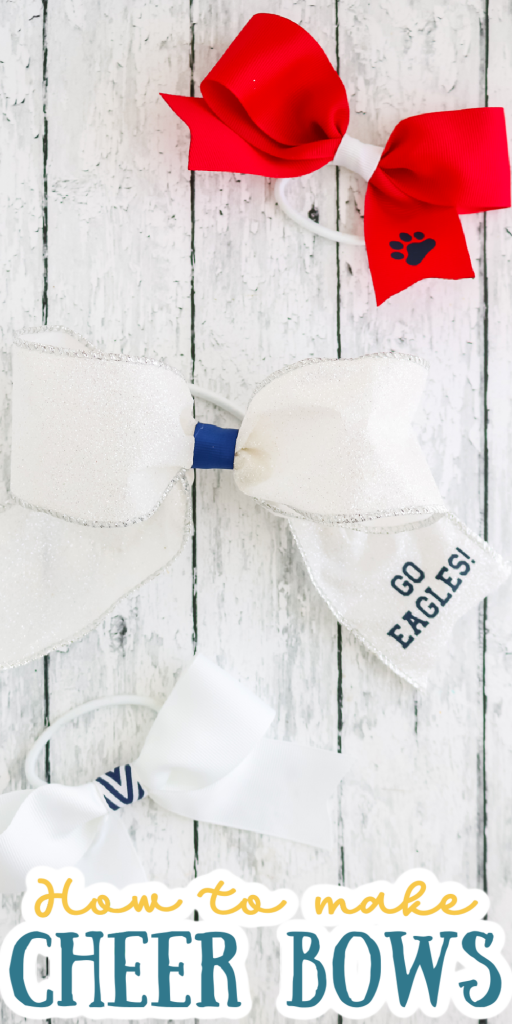
Did you know that you can make cheer bows using your Cricut machine? I am walking you through the entire process of making the bows and adding heat transfer vinyl to the tails. These can be customized with colors, mascots, and phrases to match any team. Your cheerleading squad will look so great with matching bows for any sports season.
Cheer Bows Tutorial
From making the bow to adding the decoration, I have everything you need to know below. I am going to use a Bowdabra to make my bows as I find that easiest. This is especially true if you are making bows for an entire squad. You can definitely make these bows without the assistance of the bow maker.
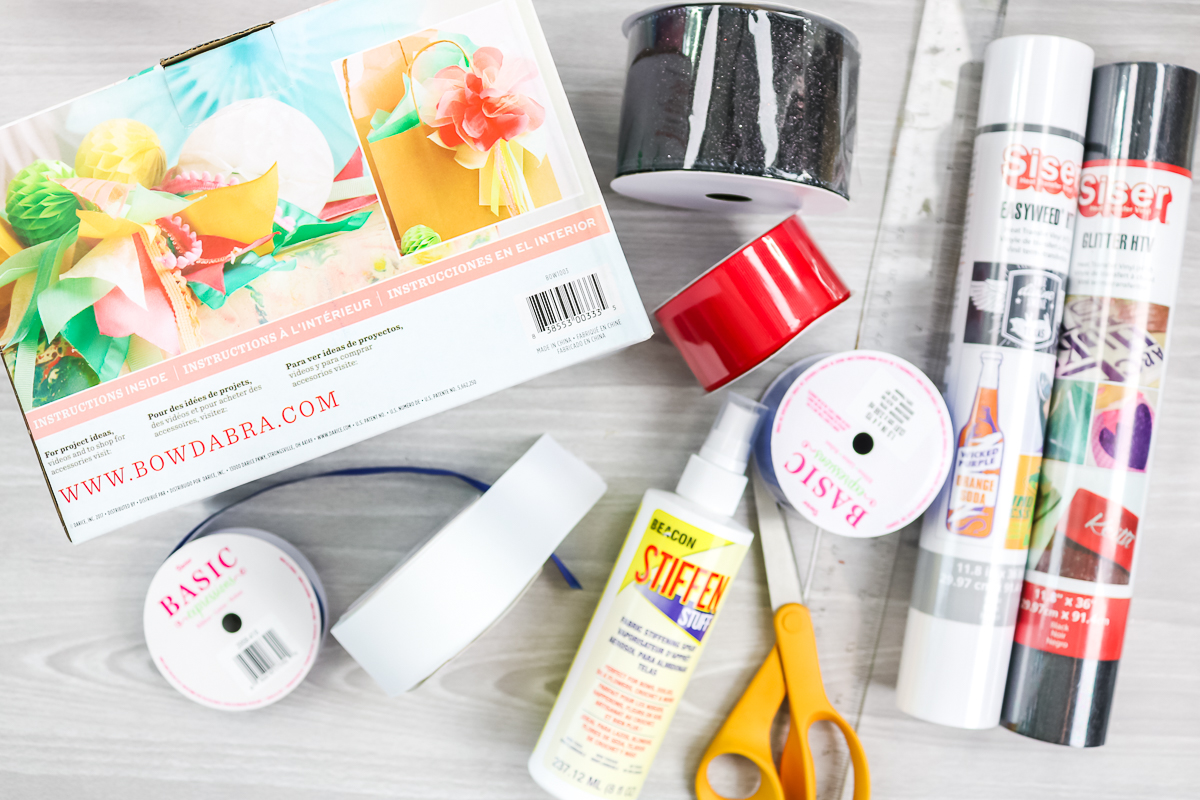
Supplies needed:
- Bowdabra Bow Maker
- Ribbon
- Heat Transfer Vinyl
- Cricut Machine
- Cricut EasyPress or Iron
- Stiffen Spray (optional)
- Ruler
- Scissors
- Lighter
- Hot Glue and Glue Gun
- Pony Tail Holders
Ribbon Type
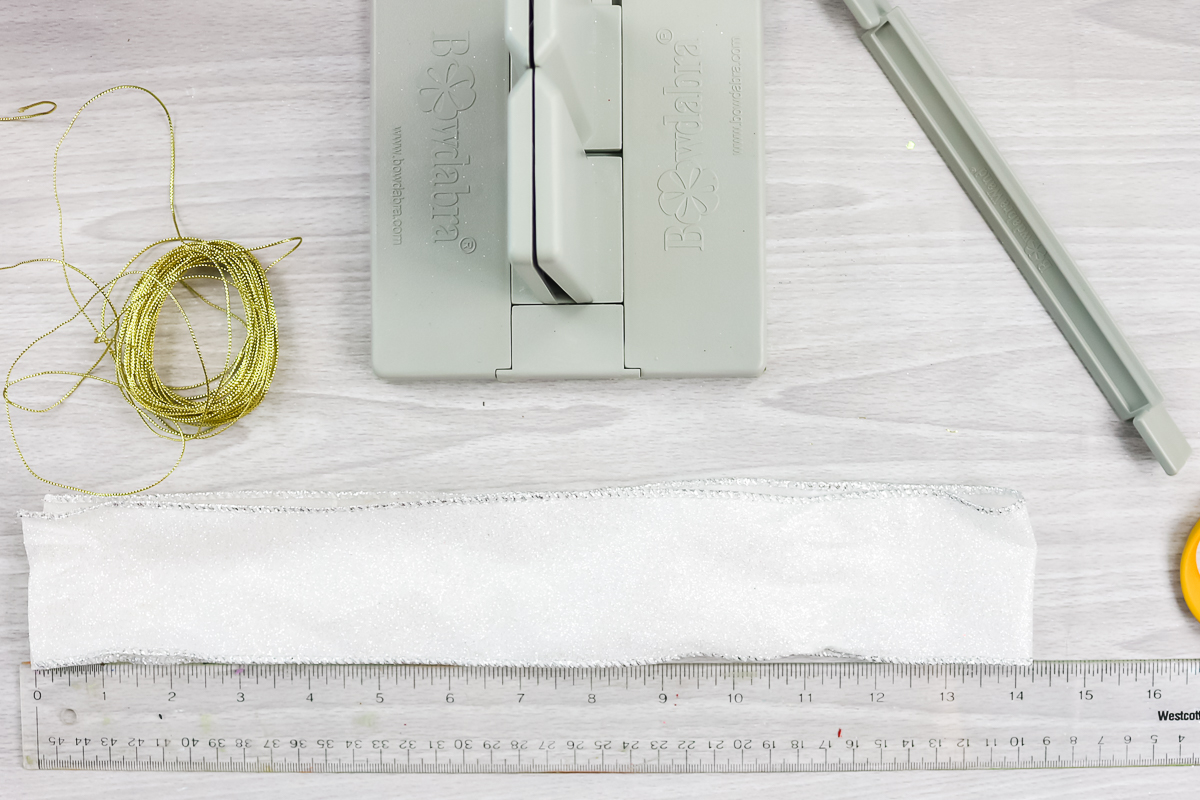
I actually used a few different types of ribbon to make the cheer bows in this post. I would suggest a 2 1/2 to 3 inch wide ribbon for large bows and smaller widths when making smaller bows. You can use wire edged ribbon if you want the bows to be able to hold their shape on their own. The large bows require about 28 inches of ribbon while the smaller bows need about 18 inches of length.
How to Make Cheerleader Bows
Now that you have your supplies, it is time to make the bows and add some embellishments. Be sure to pick the colors that match your team and look for a design to cut from HTV that will coordinate.
Making Ribbon Bows
Cut your ribbon to length. I find that 28 inches works well for large bows and 18 inches for small ones. If you are NOT using wire-edged ribbon, see my tips below for stiffening the ribbon before proceeding.
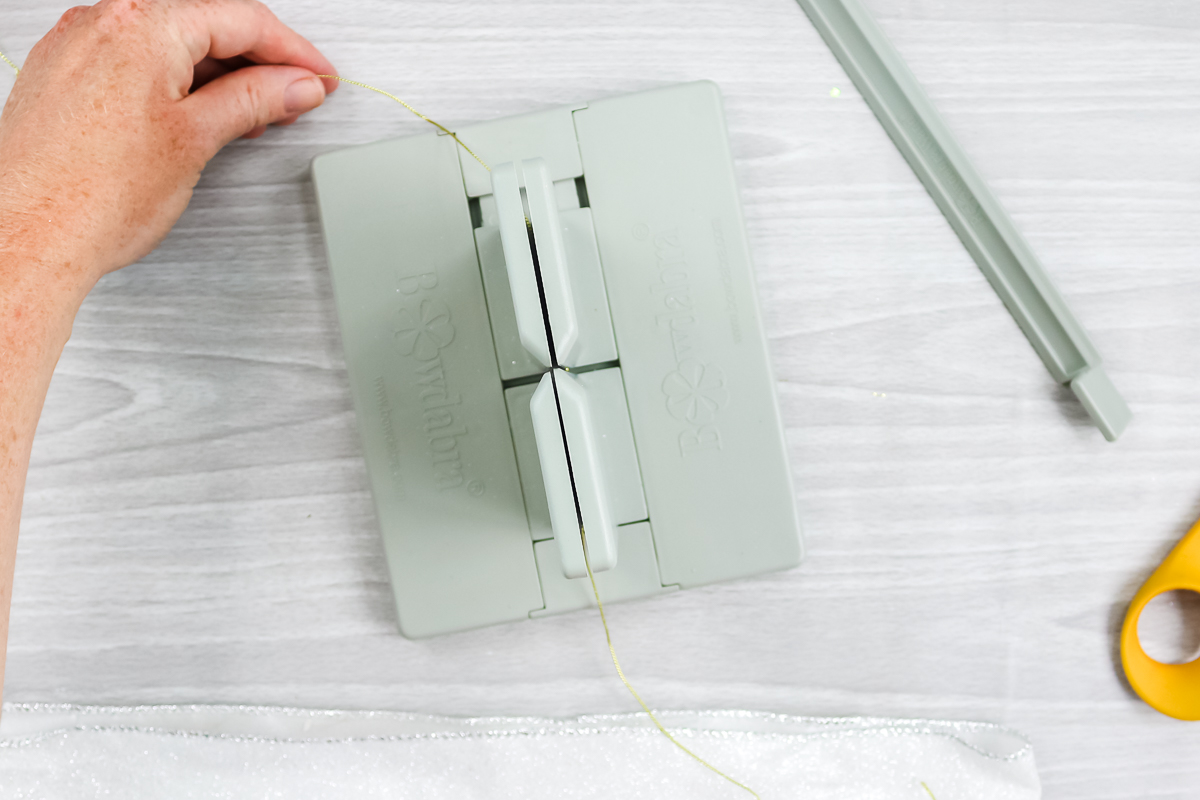
Start by adding wire into your Bowdabra.
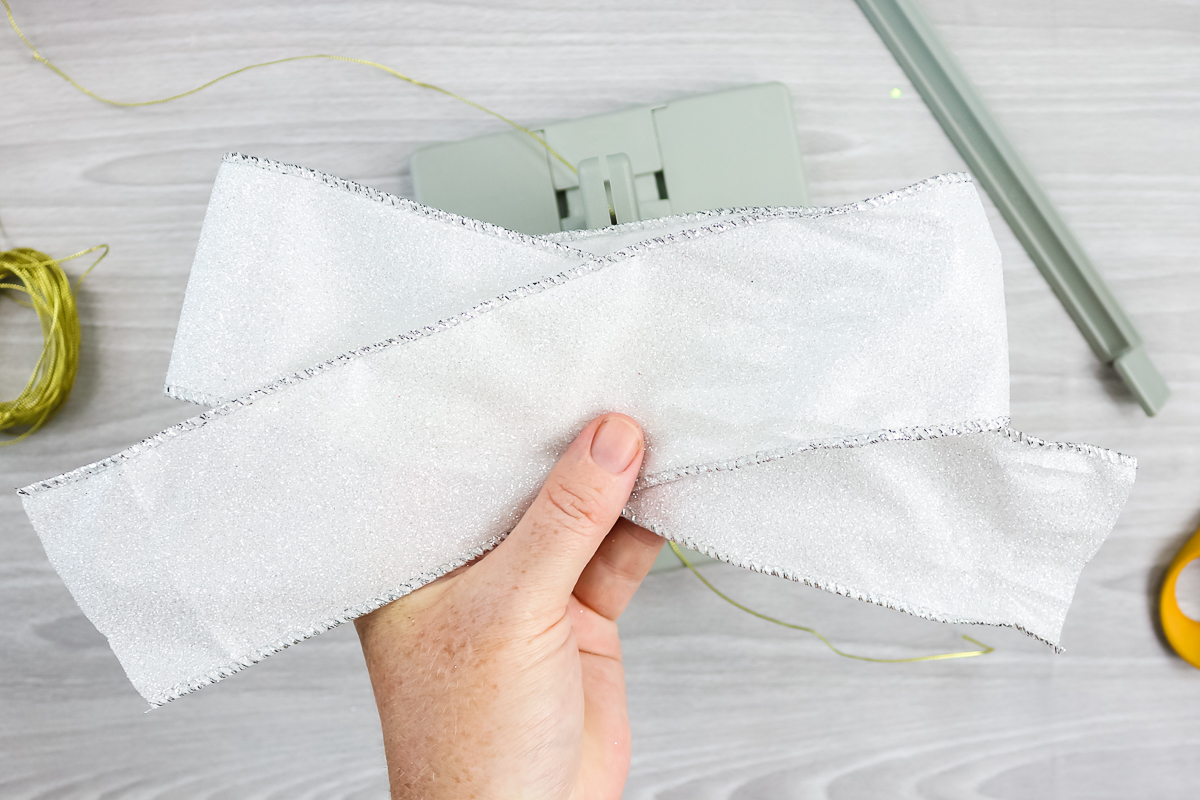
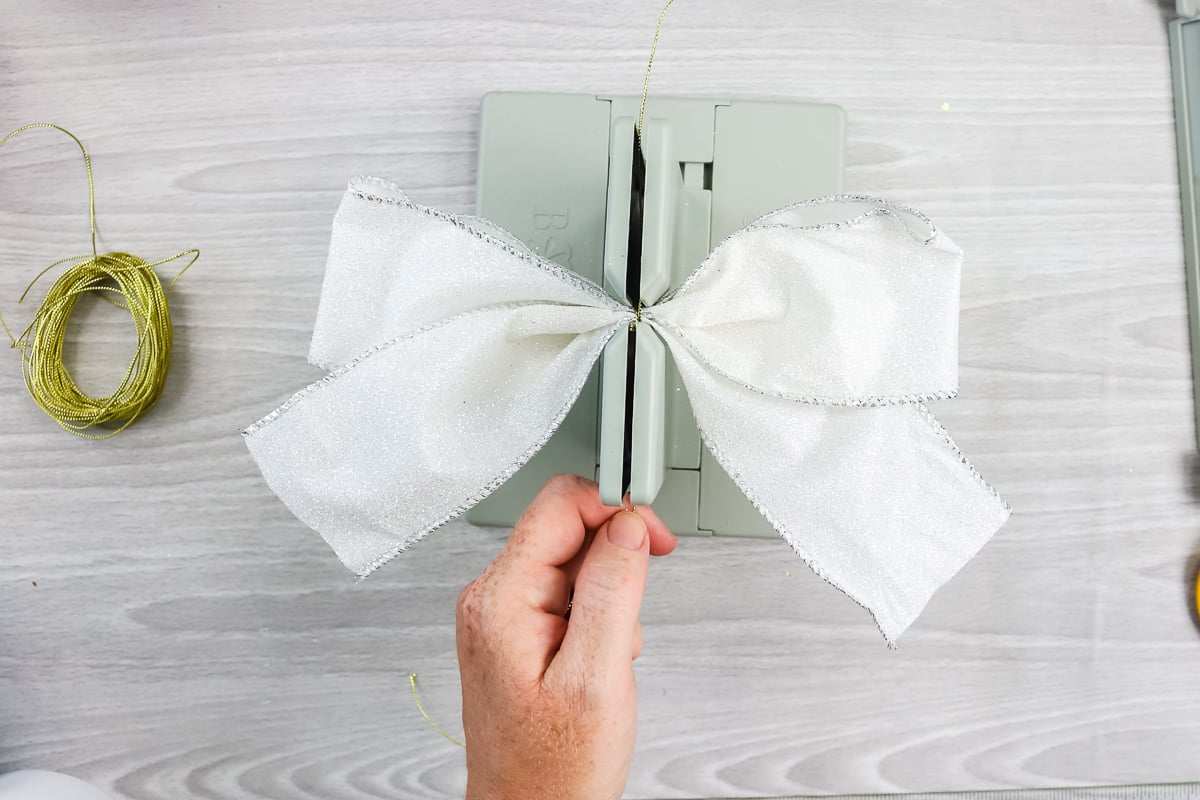
Fold your ribbon where you have two loops of equal size and two tails of equal size.
Add the ribbon to the Bowdabra.
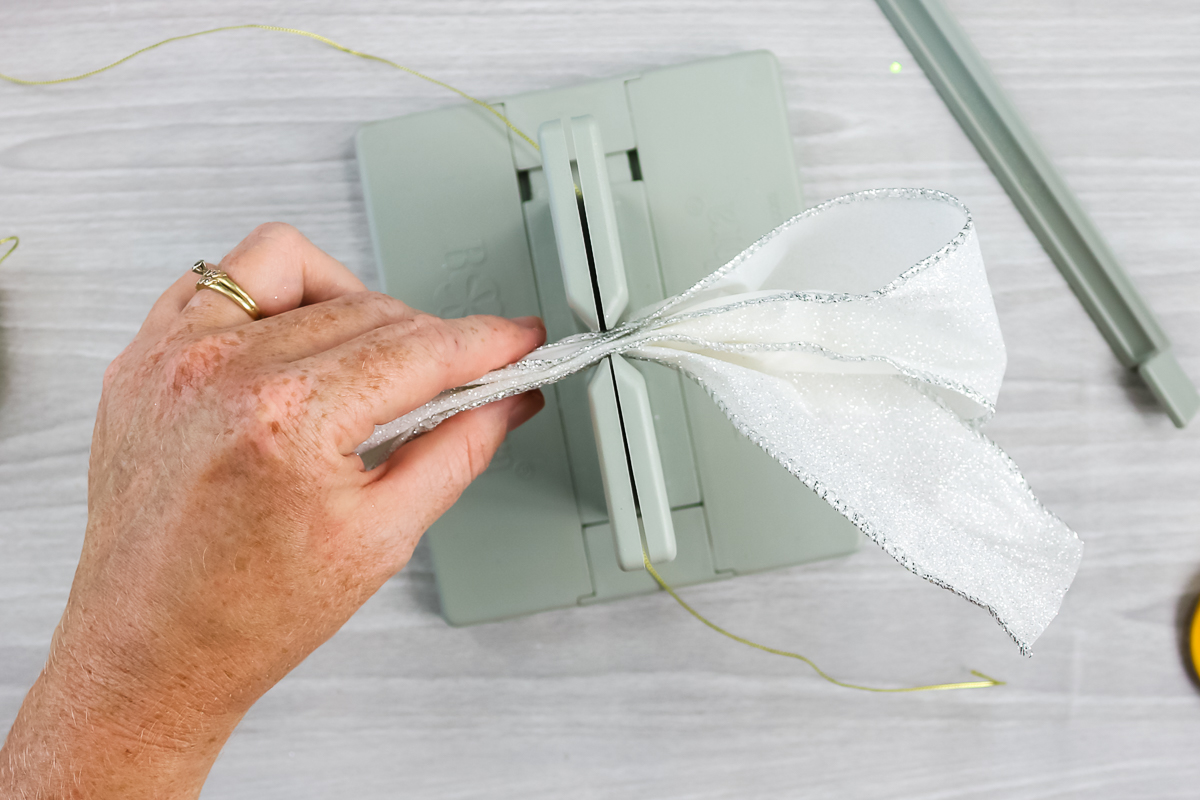
Push the ribbon all the way down to the bottom.
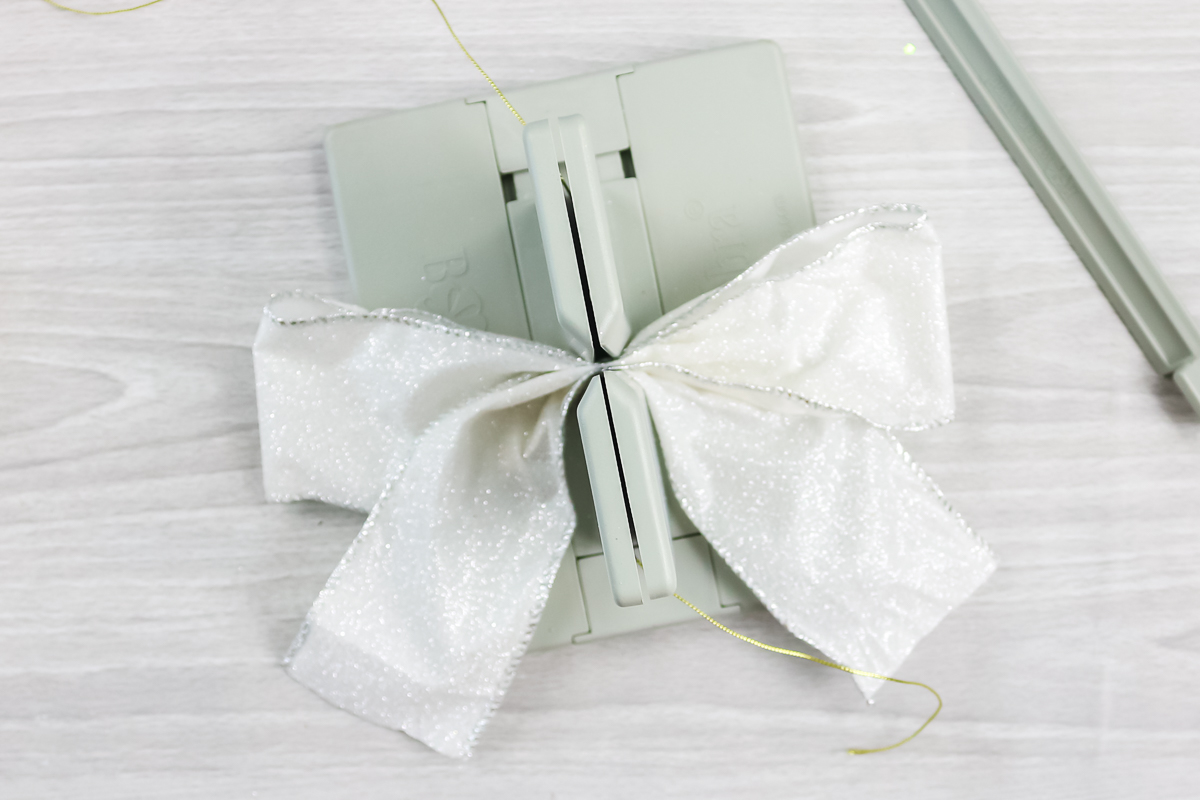
Use the piece for the Bowdabra to make sure the ribbon is pushed down well.
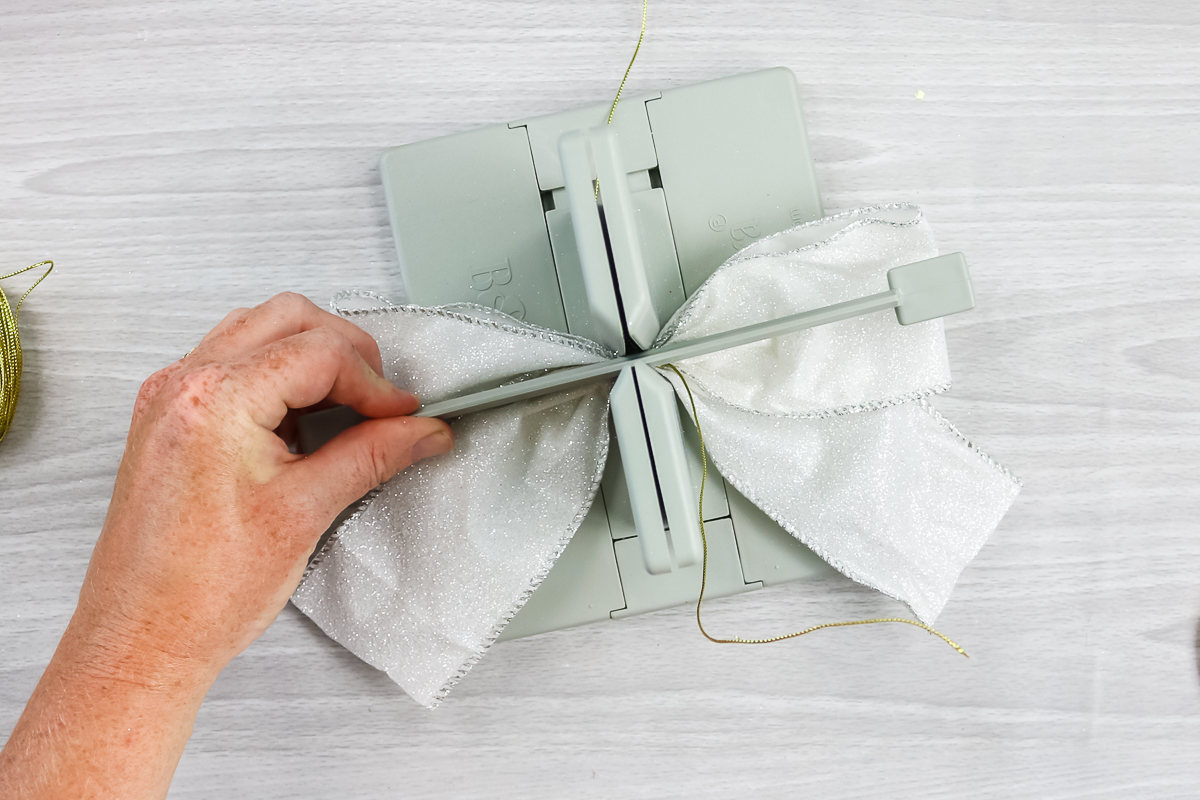
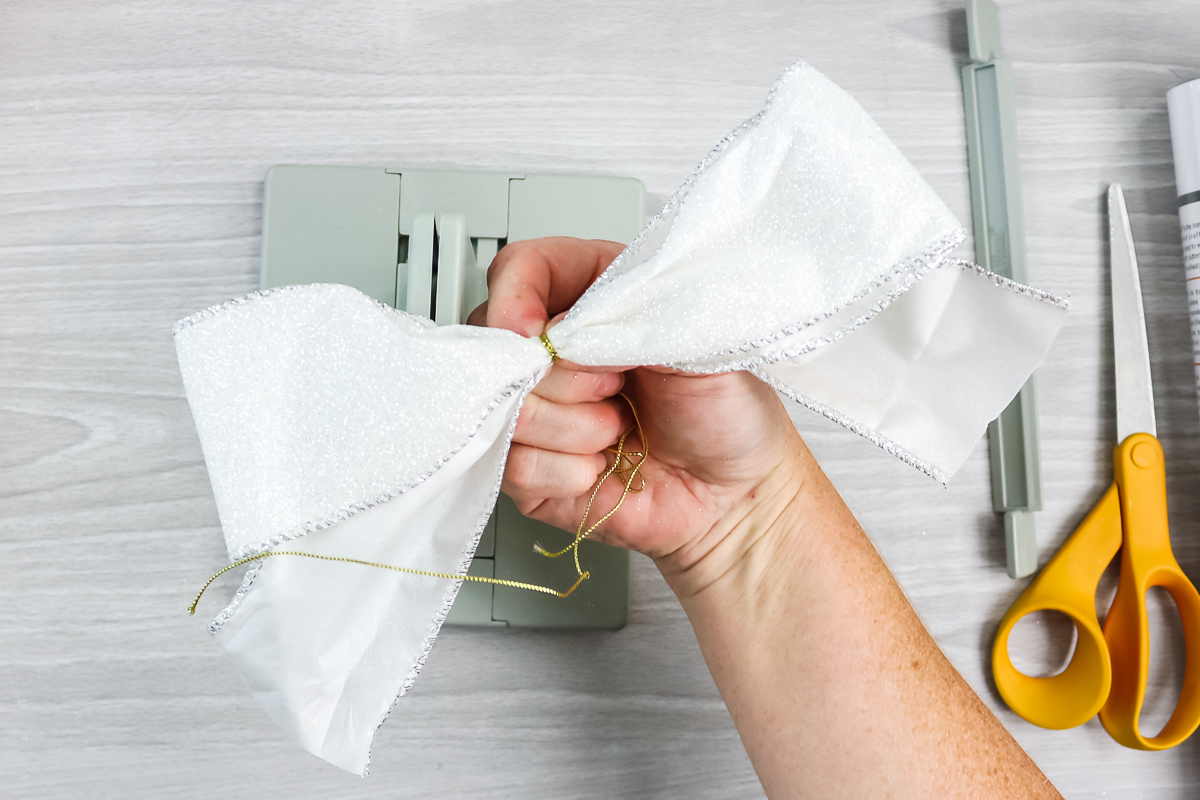
Wrap the wire around the center of the ribbon and pull tight. Use the wire to lift the bow out of the Bowdabra.
Tighten and twist the wire several times to create your bow.
Adding a Hair Tie
Now that you have your bow, you will want to add a hair tie to the back.
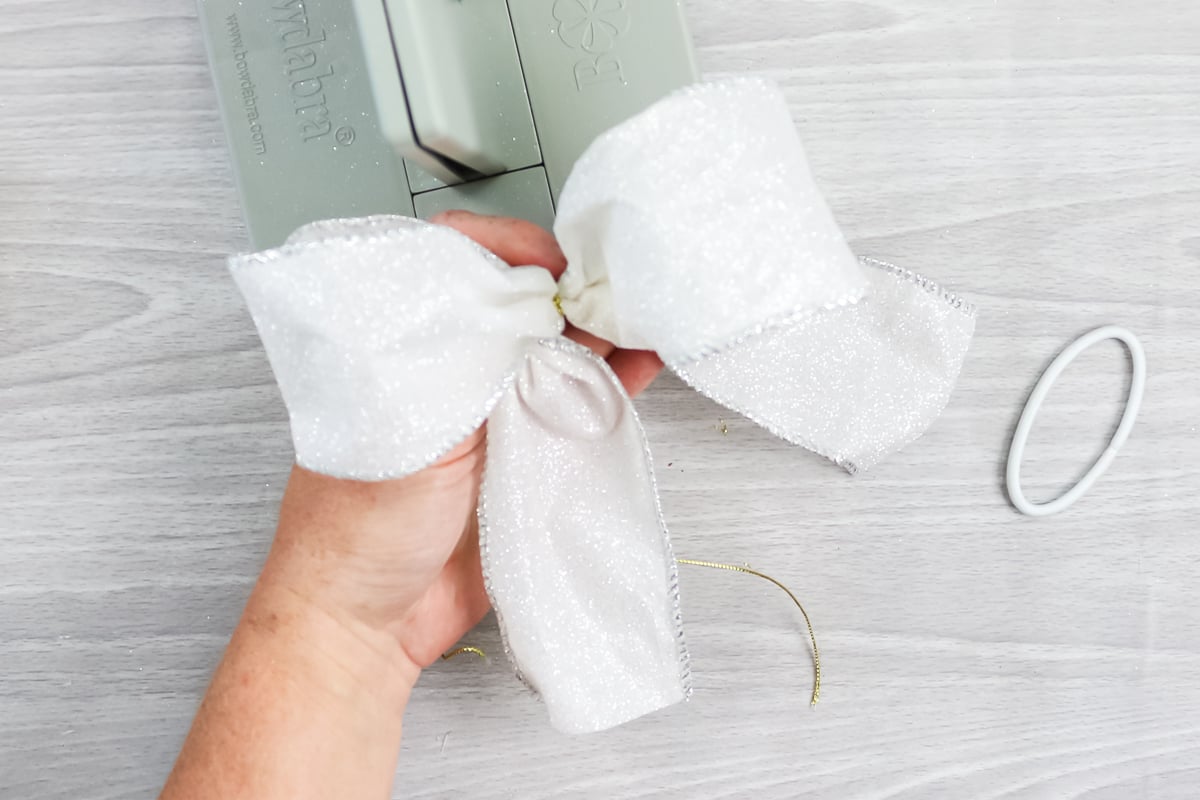
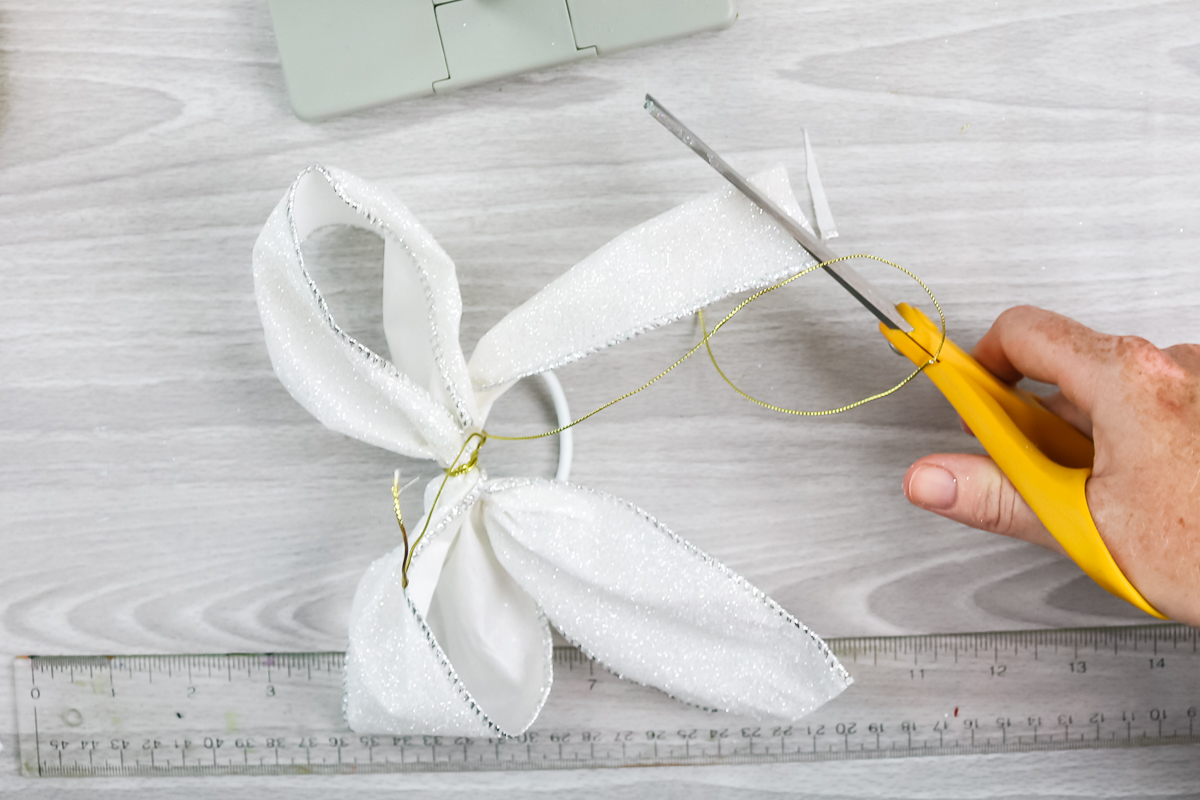
Use the wire to attach a pony tail holder to the back. Be sure to wrap several times and pull tight.

Finishing the Ribbon Bow
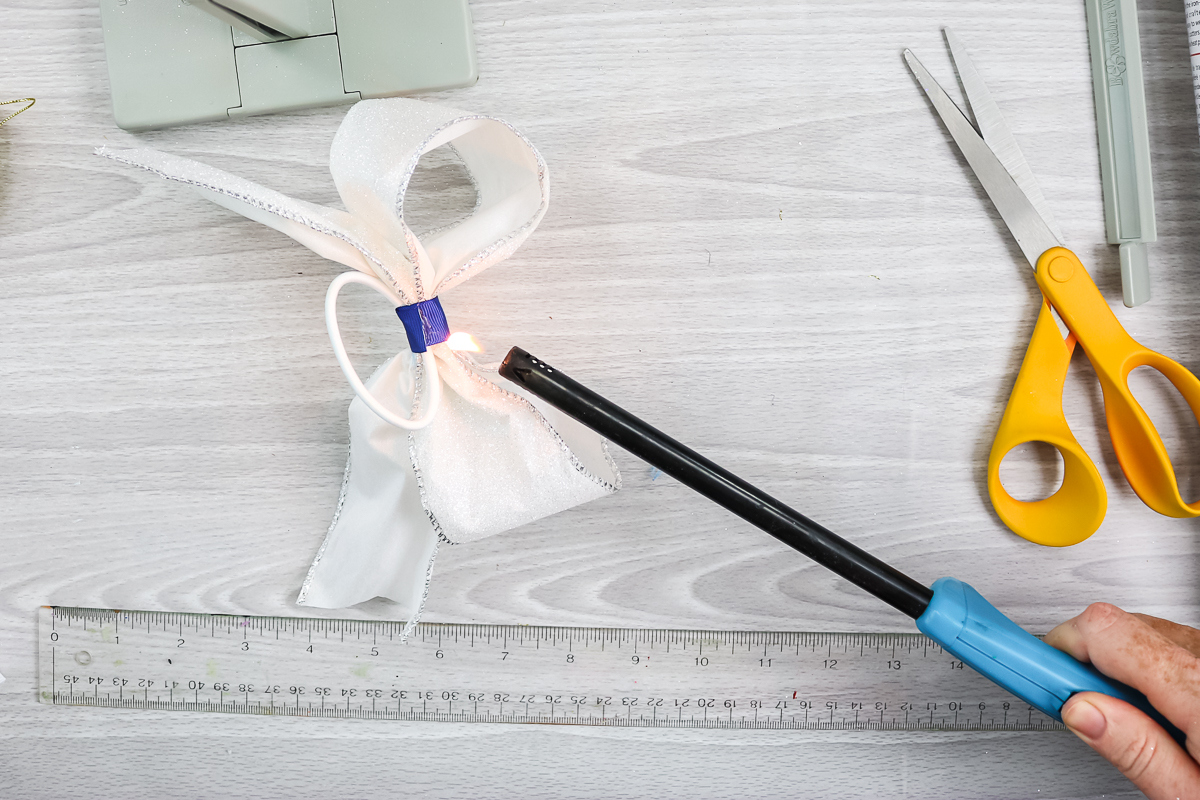
Cut the ends of your ribbon into a “V” by folding in half. You can burn the ends of your ribbon with a lighter to prevent fraying.
Cut a small piece of a different ribbon. This ribbon can be the same or a different color. I like it to be fairly narrow.
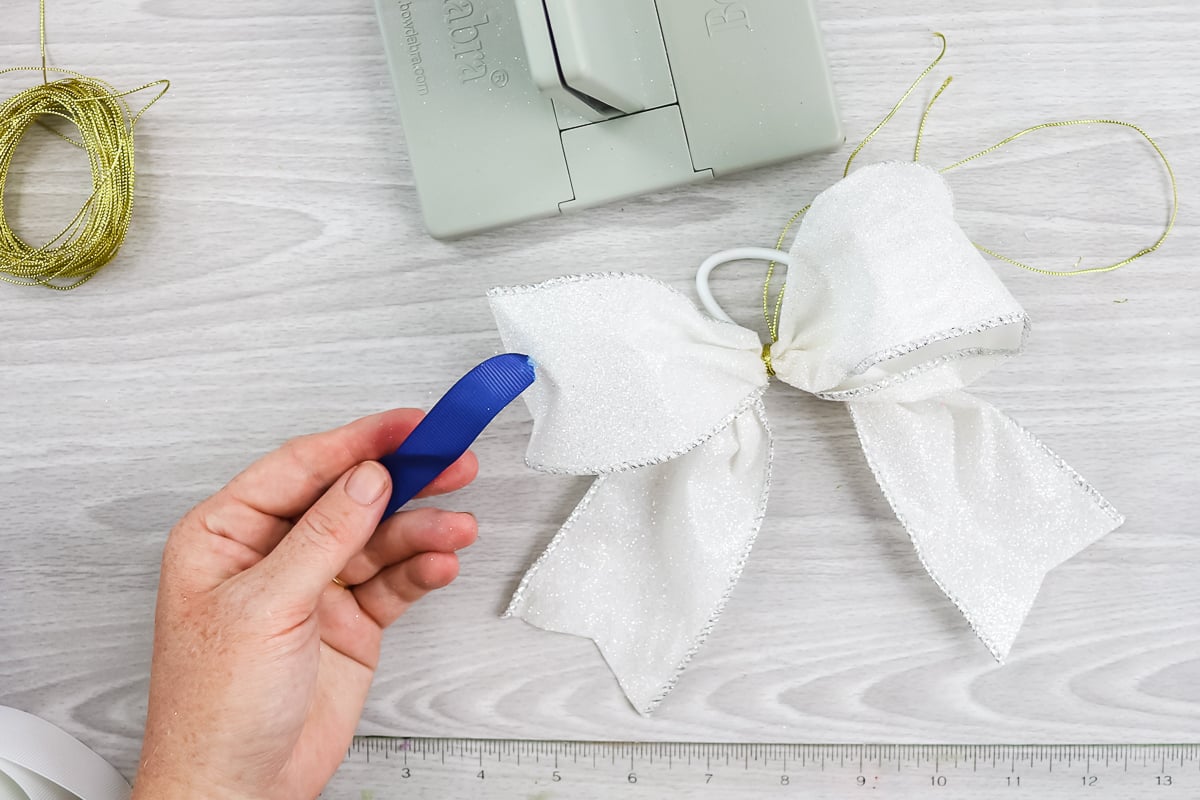
Wrap it around the center and secure with a bit of hot glue in the back.
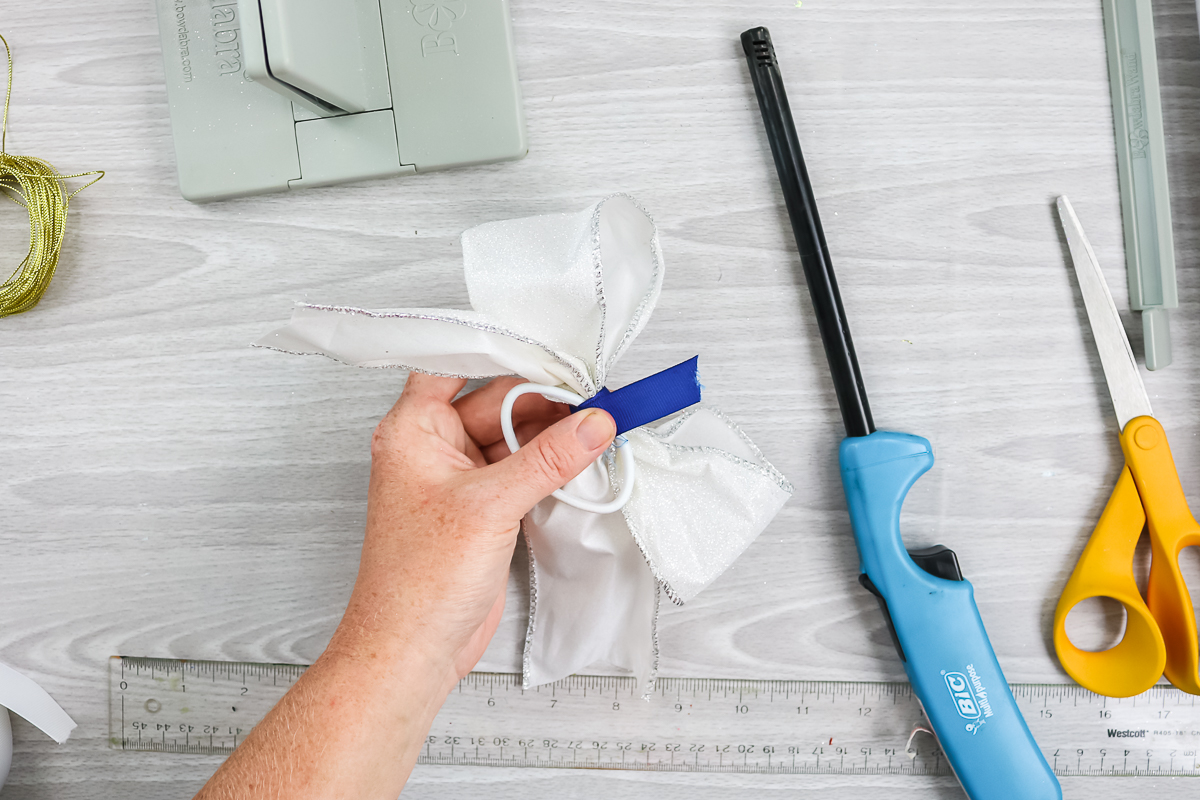
Trim away any excess and burn the cut end with a lighter.
Adding a Stiffening Spray (if needed)
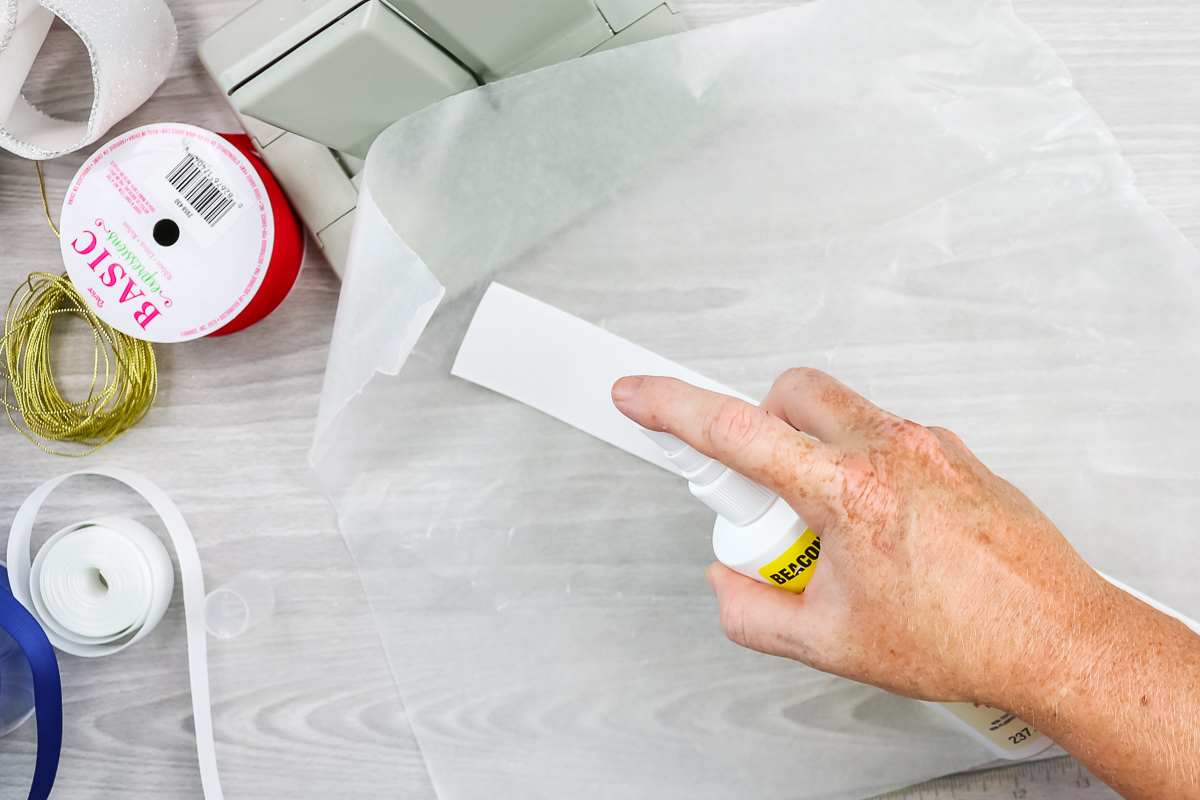
For just plain grosgrain ribbon, you can use a stiffener spray over the surface and allow it to dry before beginning. This is optional but will keep your bows standing up. Just protect your work surface with paper and spray your entire length of ribbon. Allow to dry and follow the same instructions above for making a bow.
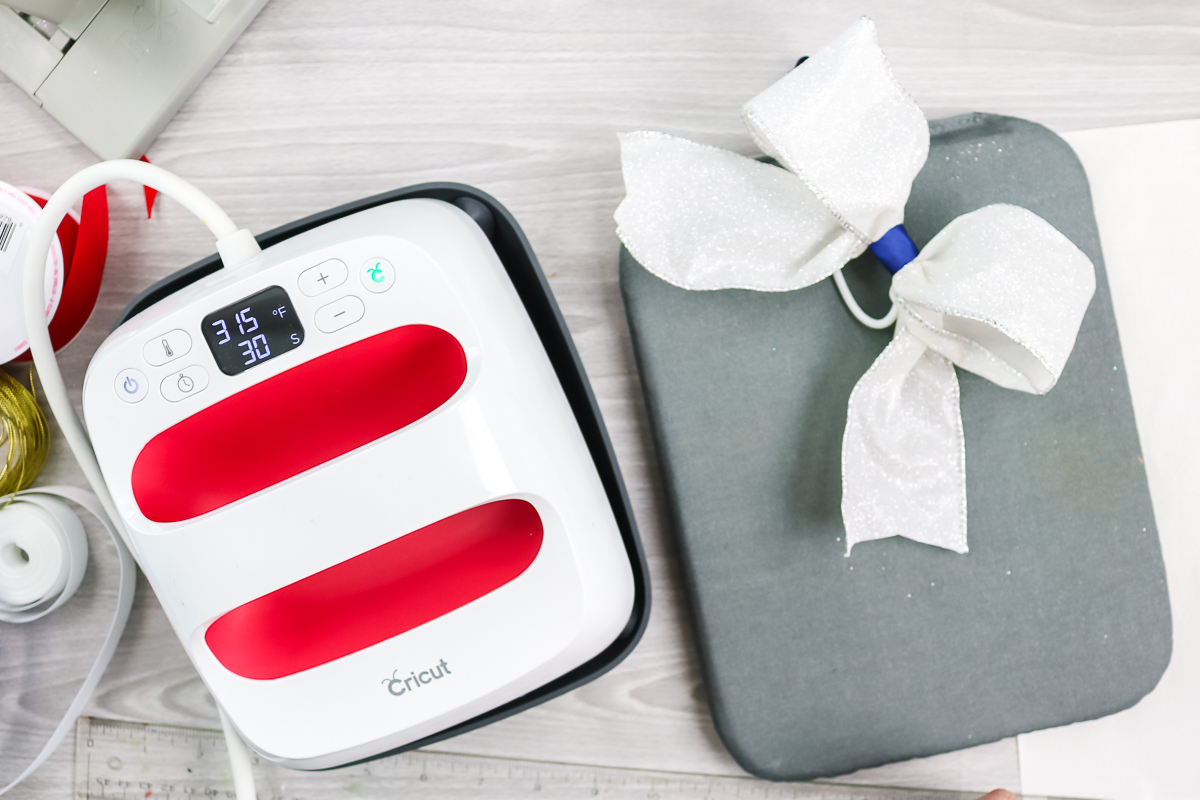
How to Put HTV on Cheer Bows
Why not add a design with your Cricut machine? Pick out a cute design and cut from HTV. Be sure to mirror your design and place the shiny side down on the mat when cutting.
Once cut, weed away all of the excess and put into place on your ribbon.
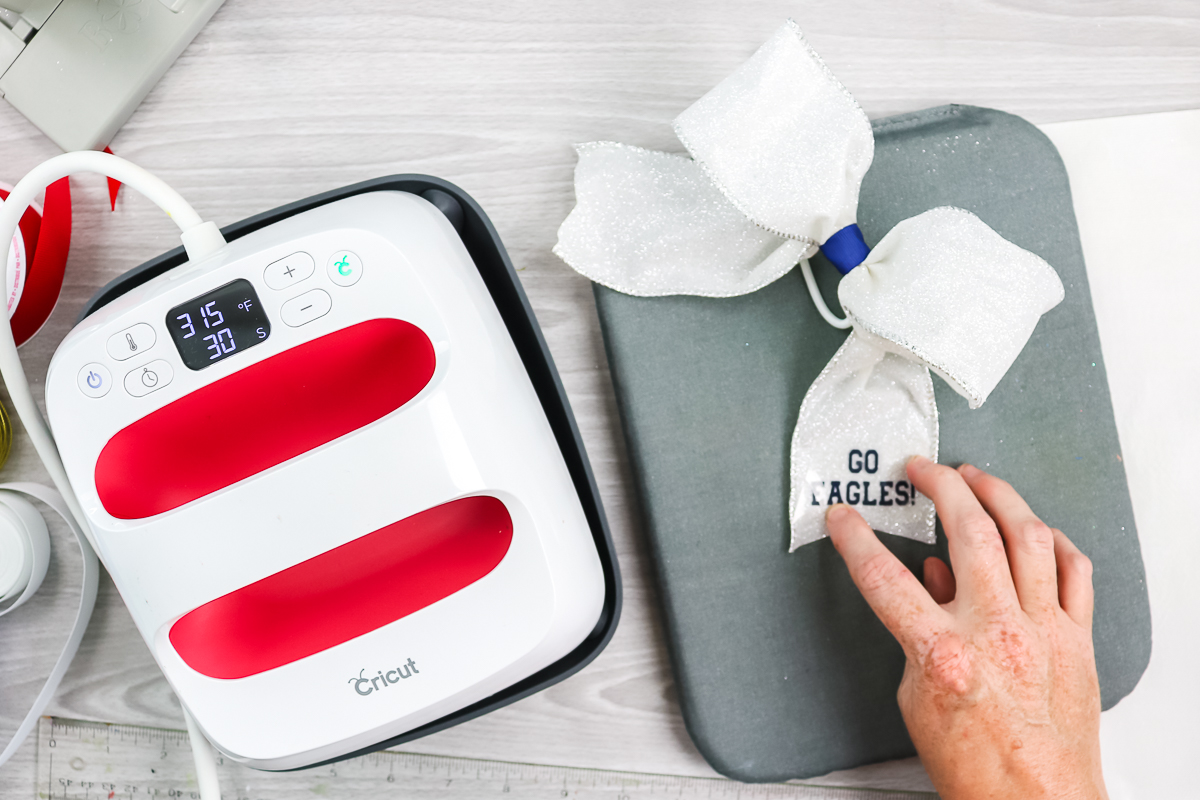
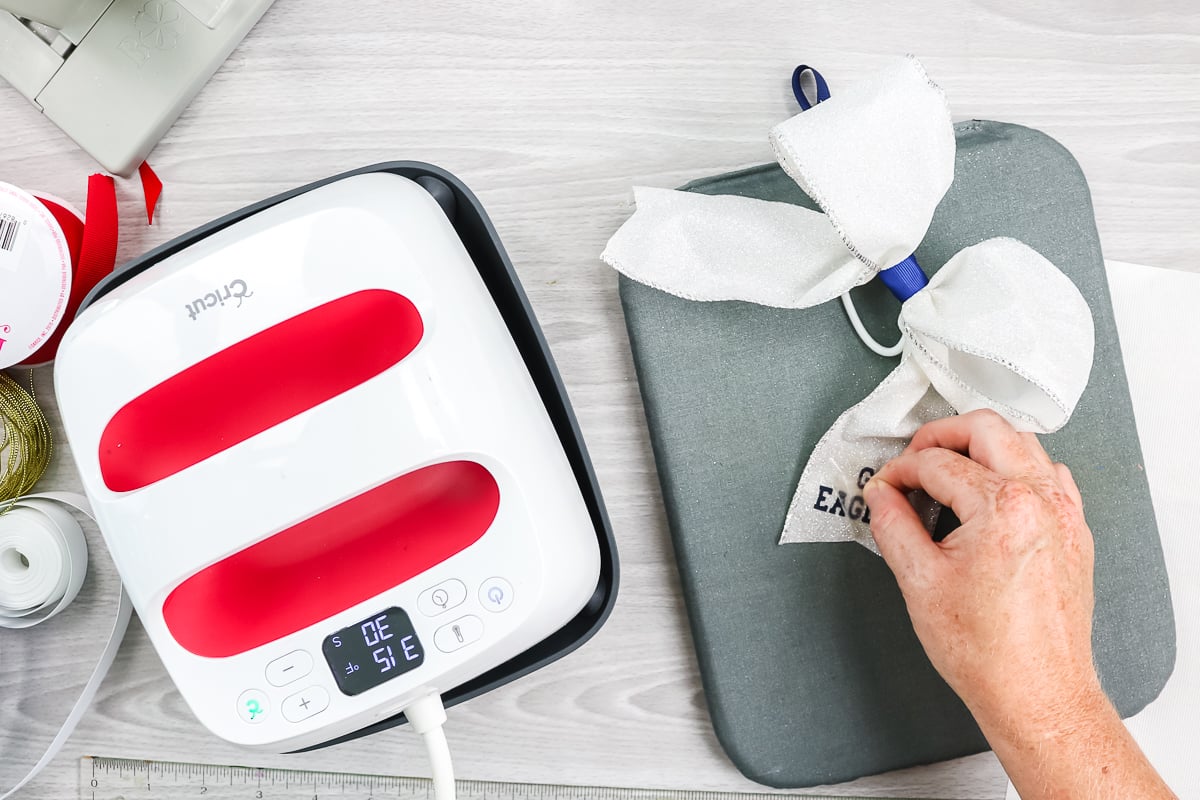
I usually cover my bows with a protective sheet when ironing in order to protect the ribbon.
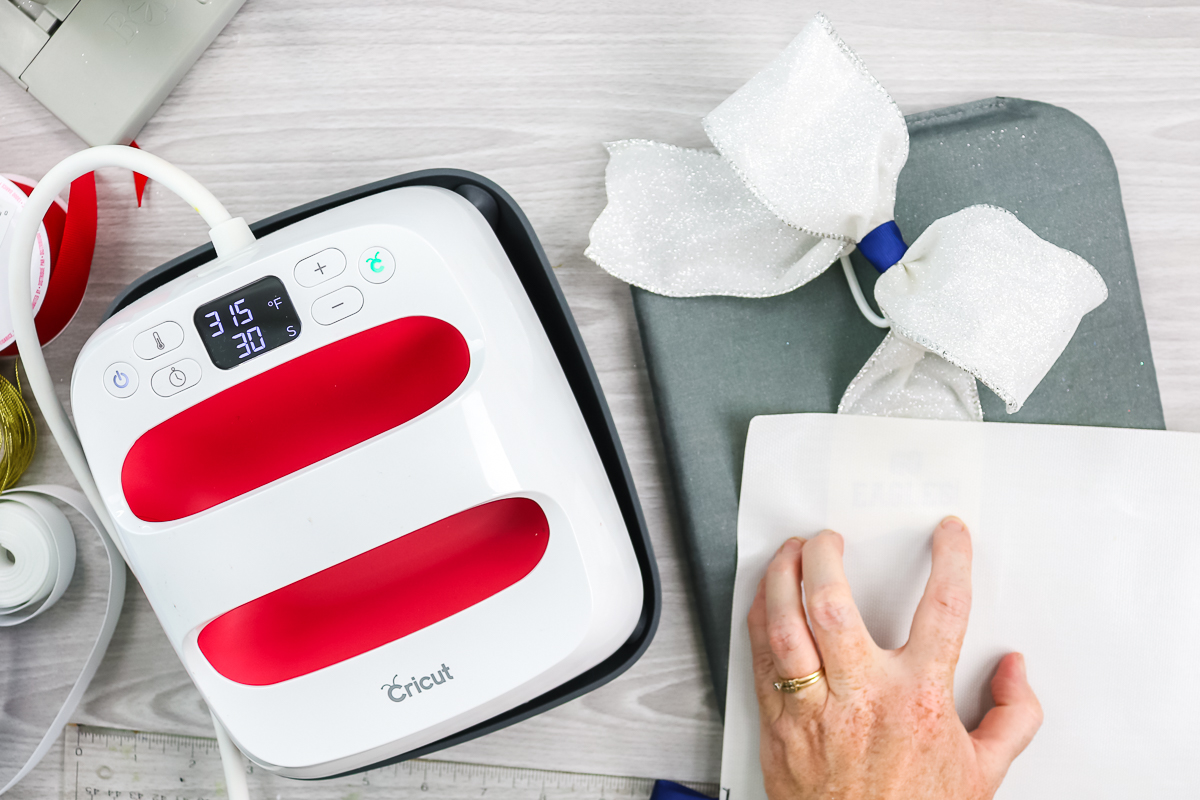
Then use your Cricut EasyPress or your iron to adhere your heat transfer vinyl according to the directions on the package.
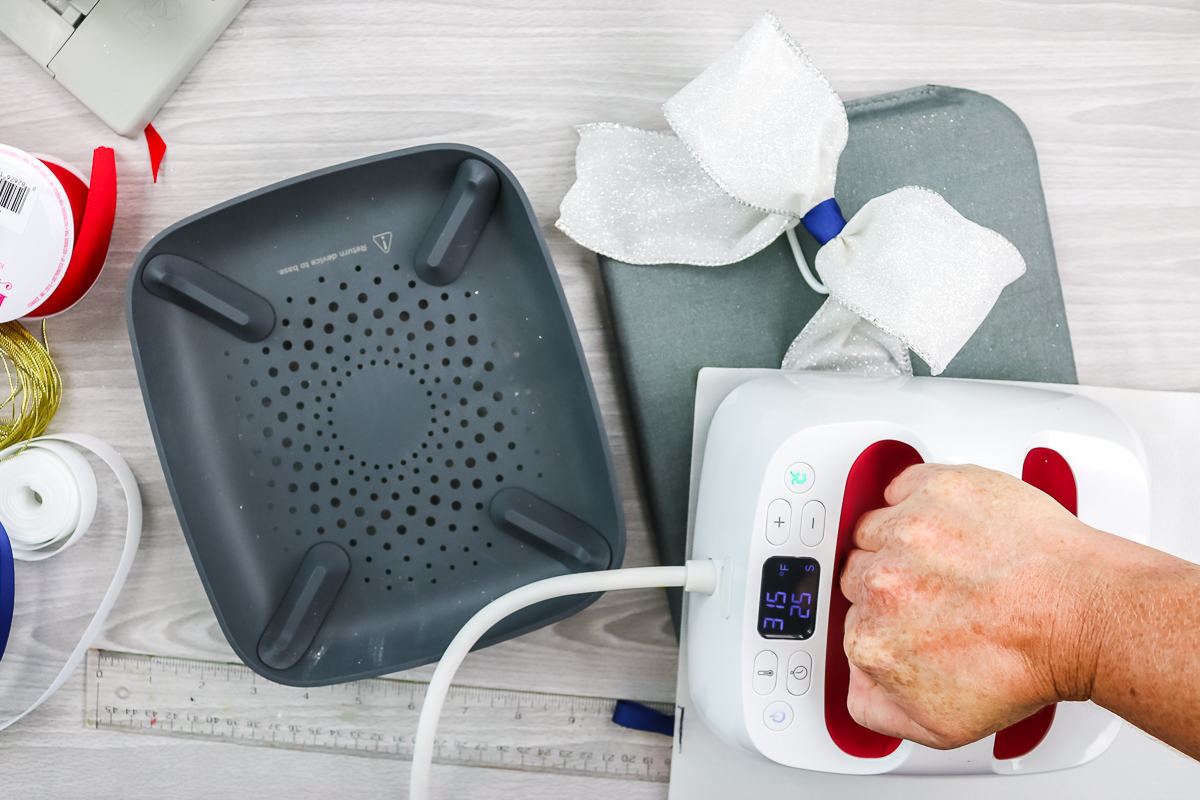
Peel the carrier sheet away and you have just learned how to make cheer bows!
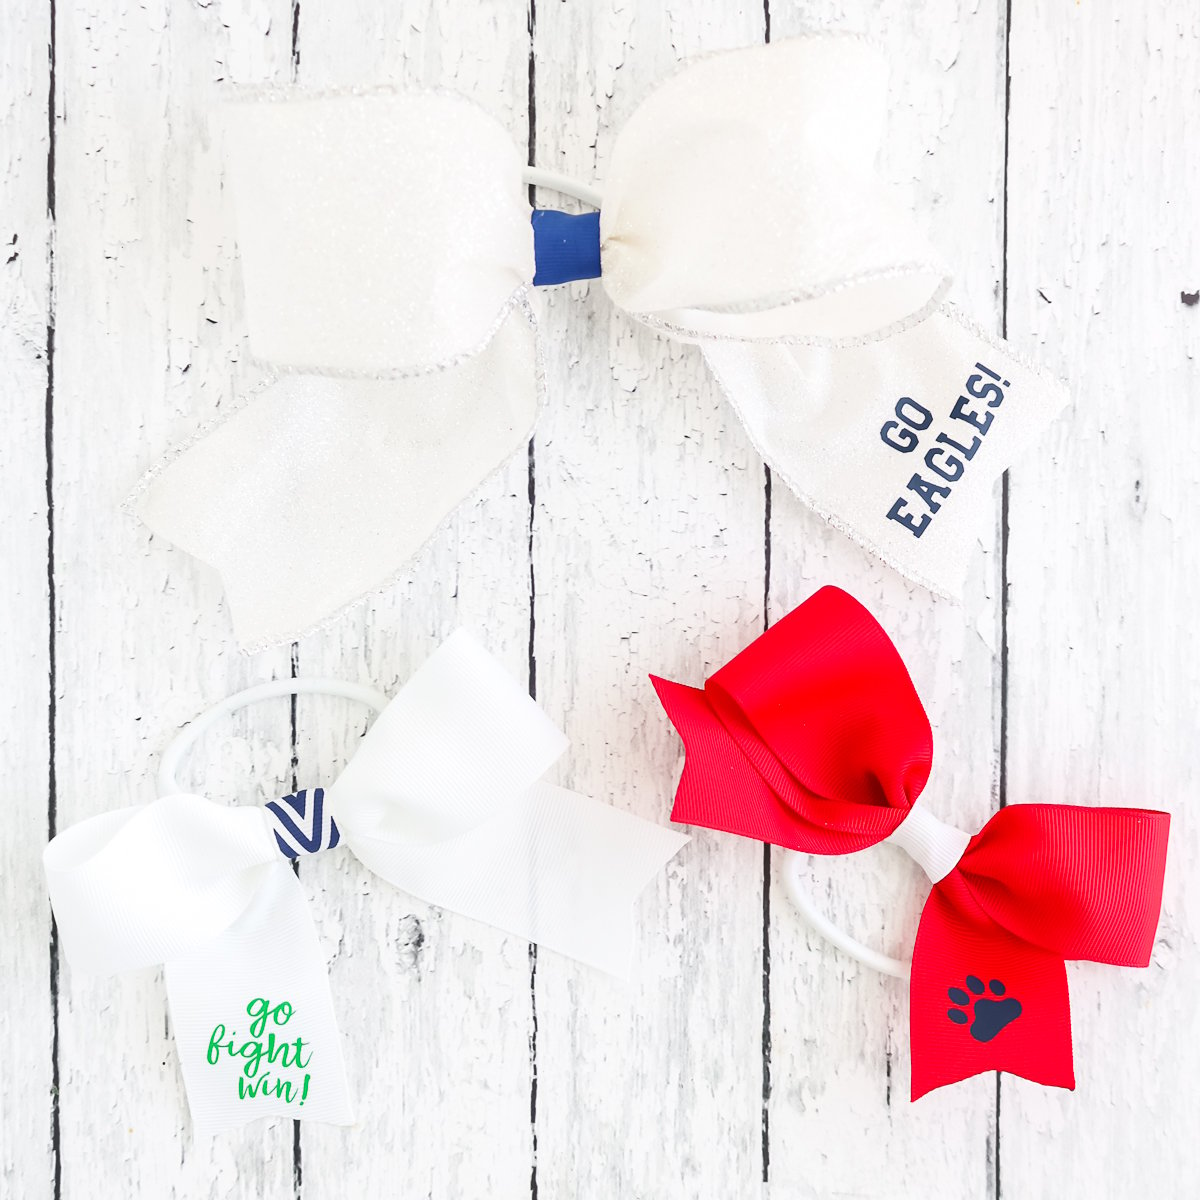
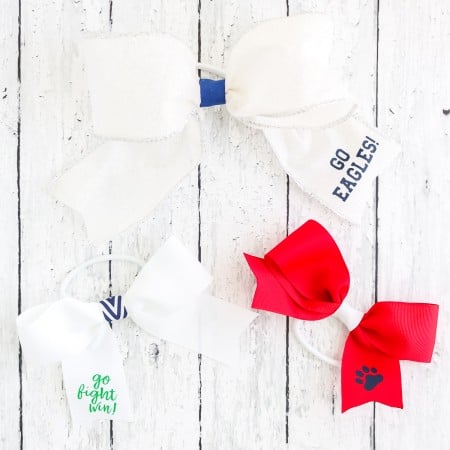
I ended up making a few different designs. You can pick and choose the colors, font, logos, or even mascots that will work well for your cheerleaders.
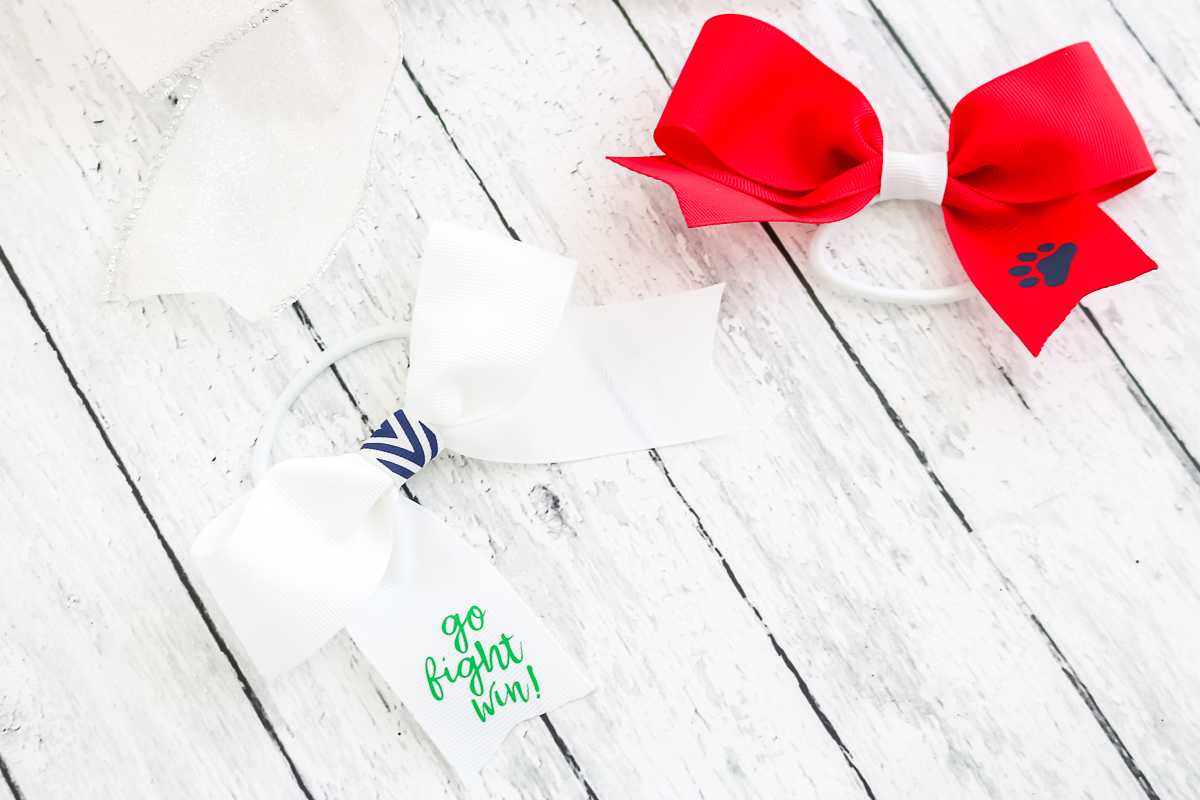
Grab your supplies and make a few cheer bows today. I know the entire team will love them or just make a few for your little cheerleader.
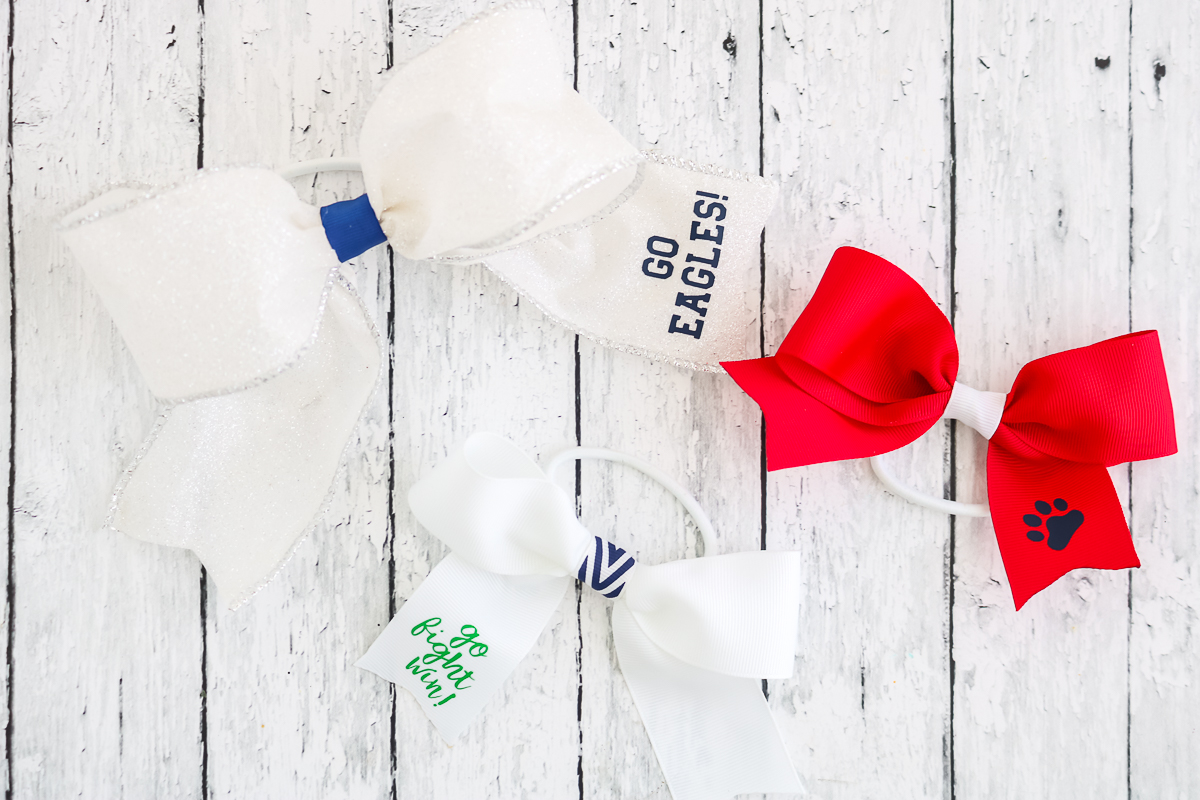
You can even change up this tutorial for other types of hair bows. Add cute designs to the ends with heat transfer vinyl or just leave them plain. Either way, your little one is sure to love them!
So, will you be making some cheer bows this season? Be sure to use the ribbon measurements and pick up plenty of ribbon if you are making bows for an entire squad. Nothing is worse than running out of ribbon and not being able to find the same type or brand.
Love these DIY bows and want more? Try the links below as well!

You can also print the instructions for this Cricut craft using the form below!
Supplies
Instructions
- Now that you have your supplies, it is time to make the bows and add some embellishments. Be sure to pick the colors that match your team and look for a design to cut from HTV that will coordinate.
Making Ribbon Bows
- Cut your ribbon to length. I find that 28 inches works well for large bows and 18 inches for small ones. If you are NOT using wire-edged ribbon, see my tips below for stiffening the ribbon before proceeding.
- Start by adding wire into your Bowdabra.
- Fold your ribbon where you have two loops of equal size and two tails of equal size.
- Add the ribbon to the Bowdabra.
- Push the ribbon all the way down to the bottom.
- Use the piece for the Bowdabra to make sure the ribbon is pushed down well.
- Wrap the wire around the center of the ribbon and pull tight. Use the wire to lift the bow out of the Bowdabra.
- Tighten and twist the wire several times to create your bow.
Adding a Hair Tie
- Now that you have your bow, you will want to add a hair tie to the back.
- Use the wire to attach a pony tail holder to the back. Be sure to wrap several times and pull tight.
Finishing the Ribbon Bow
- Cut the ends of your ribbon into a “V” by folding in half. You can burn the ends of your ribbon with a lighter to prevent fraying.
- Cut a small piece of a different ribbon. This ribbon can be the same or a different color. I like it to be fairly narrow.
- Wrap it around the center and secure with a bit of hot glue in the back.
- Trim away any excess and burn the cut end with a lighter.
Adding a Stiffening Spray (if needed)
- For just plain grosgrain ribbon, you can use a stiffener spray over the surface and allow it to dry before beginning. This is optional but will keep your bows standing up. Just protect your work surface with paper and spray your entire length of ribbon. Allow to dry and follow the same instructions above for making a bow.
How to Put HTV on Cheer Bows
- Why not add a design with your Cricut machine? Pick out a cute design and cut from HTV. Be sure to mirror your design and place the shiny side down on the mat when cutting.
- Once cut, weed away all of the excess and put into place on your ribbon.
- I usually cover my bows with a protective sheet when ironing in order to protect the ribbon.
- Then use your Cricut EasyPress or your iron to adhere your heat transfer vinyl according to the directions on the package.
- Peel the carrier sheet away and you have just learned how to make cheer bows!


ADORABLE 🥰 Thank You For Sharing♥️G-d♥️Bless 😊So Versailles To be ABLE to put What You w want on them 👍🏼