This post is sponsored by Plaid Enterprises.
Most of the pinatas you see these days are covered with fringed crepe paper, but what about the good old paper maché ones like mom used to make? Chances are, at one point or another when you were younger, you attended a party with some sort of handmade pinata – the Jack-o-Lantern made from a paper maché balloon was a classic! With that in mind, we decided to grab a balloon and some Mod Podge and give it a go ourselves!
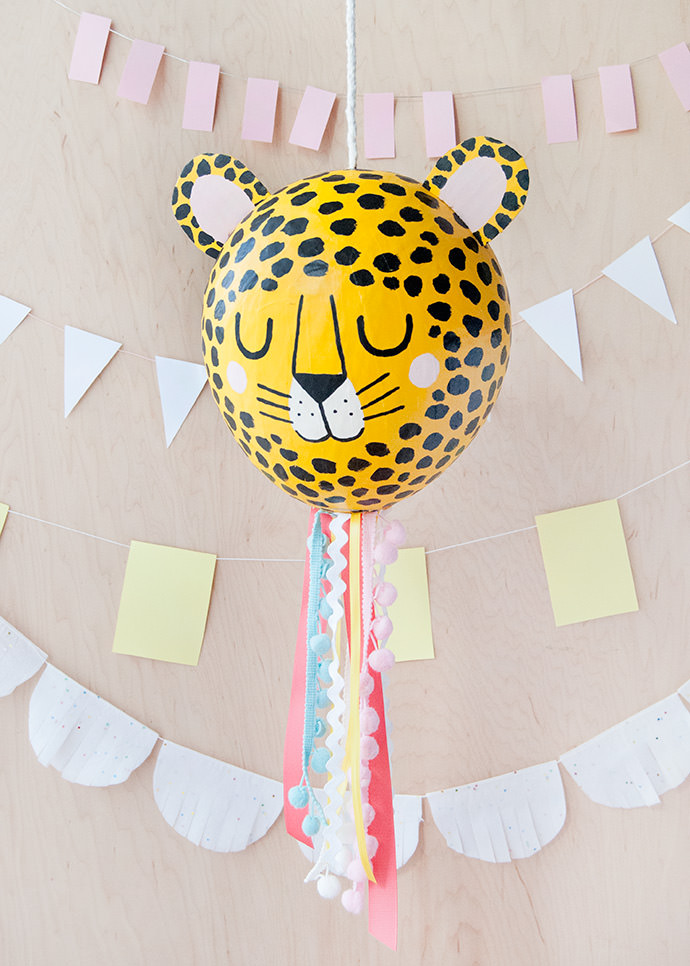
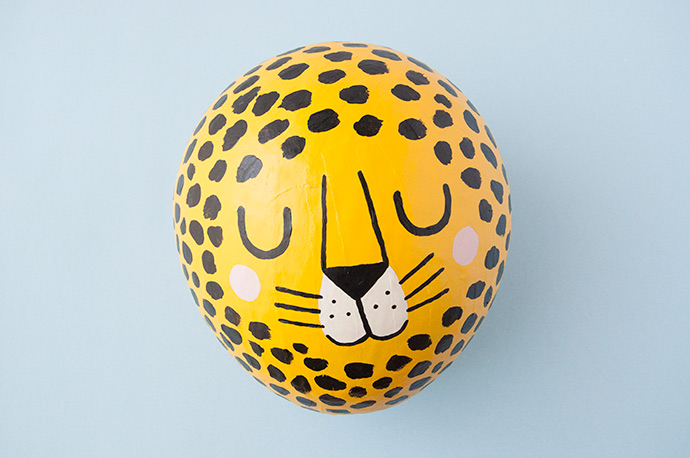
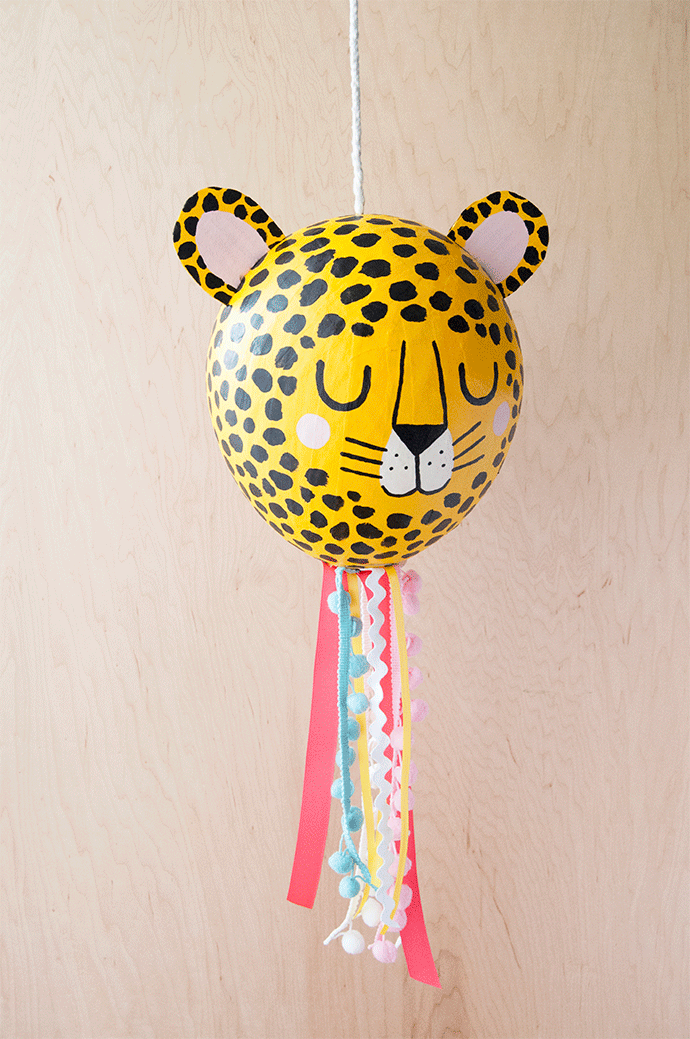
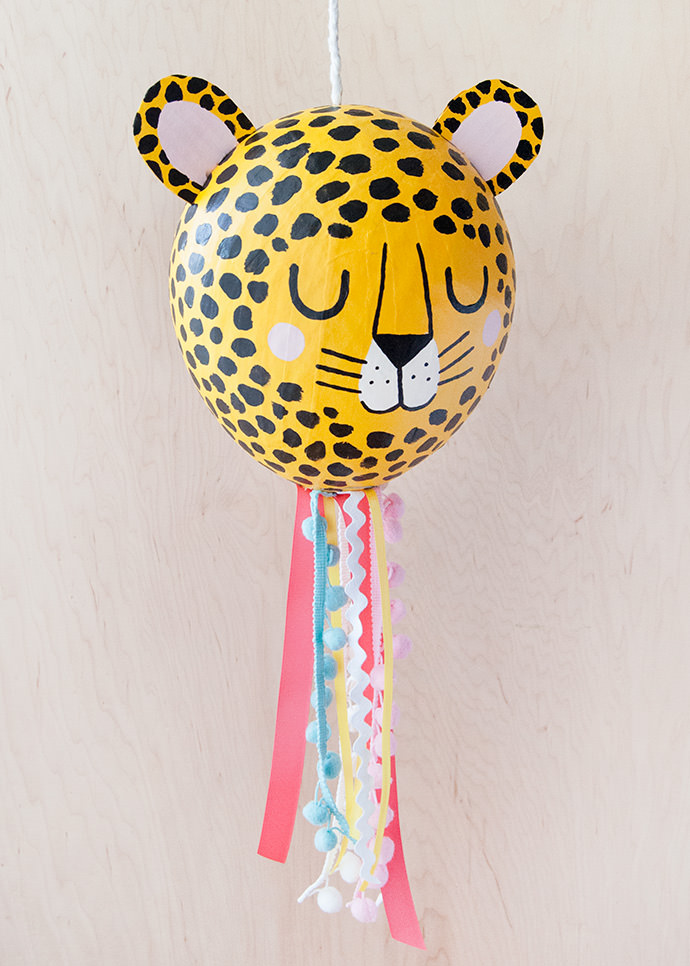
We decided on this darling little baby cheetah face, but you can absolutely pick any animal you like! Wouldn’t a llama or a tiger be adorable? And as usual with pinatas, if you just can’t bear the thought of smashing it to release the candy inside make this as a fun decoration for kids’ rooms instead! Keep reading to see all our paper maché tips and tricks!
what you need:
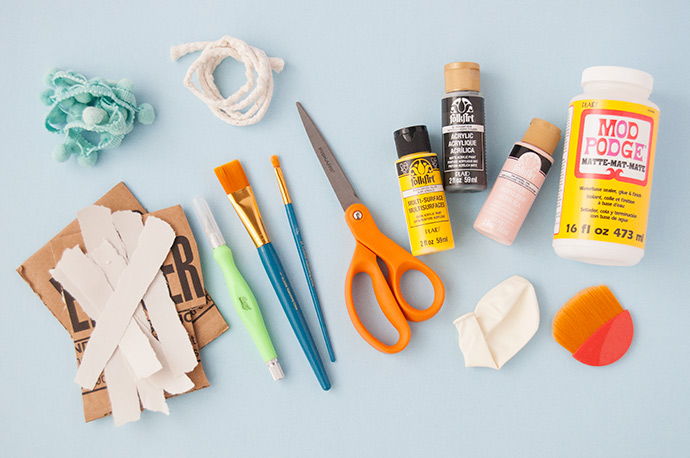
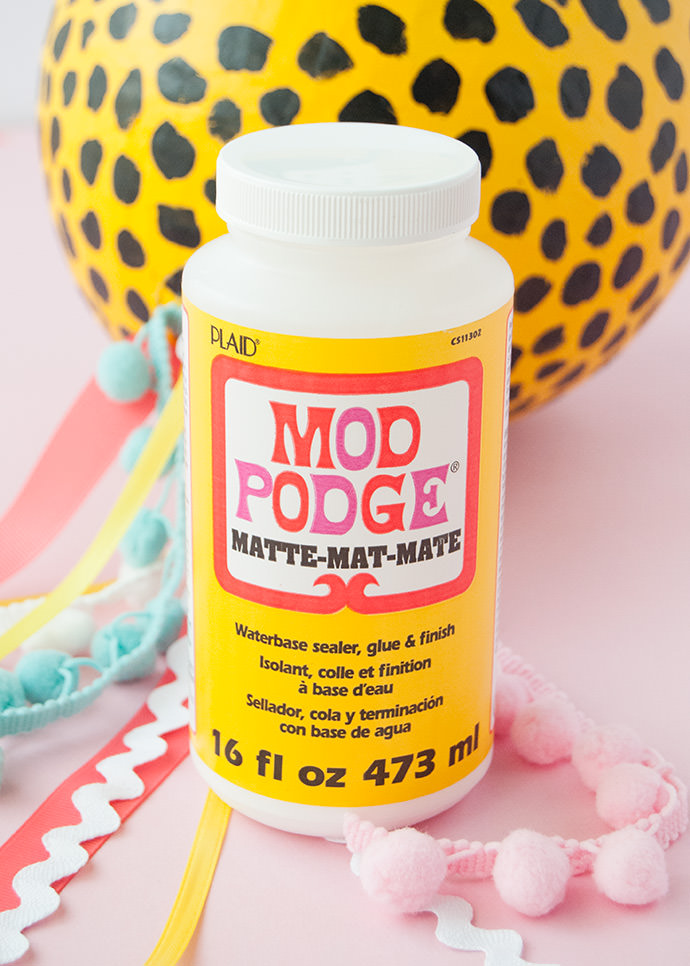
- Mod Podge Matte
- Mod Podge brush
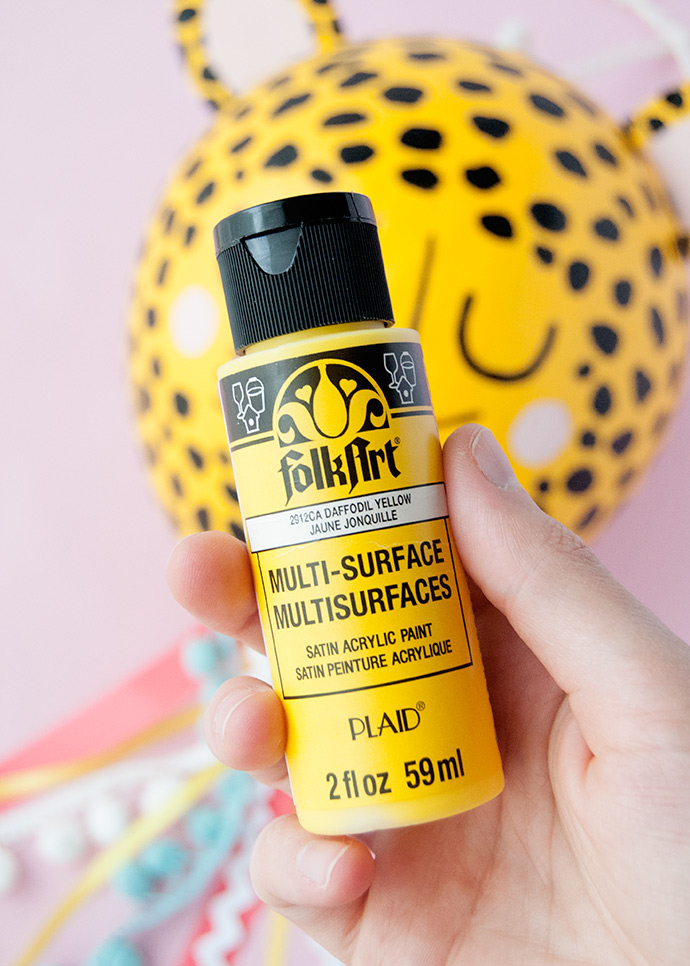
- Folk Art Acrylic Craft Paint
- Paintbrushes
- Balloon
- Craft knife
- Scissors
- Hot glue gun
- Recycled cardboard
- Newsprint (torn into strips)
- Rope
- Ribbon and trim
how-to:
Step 1
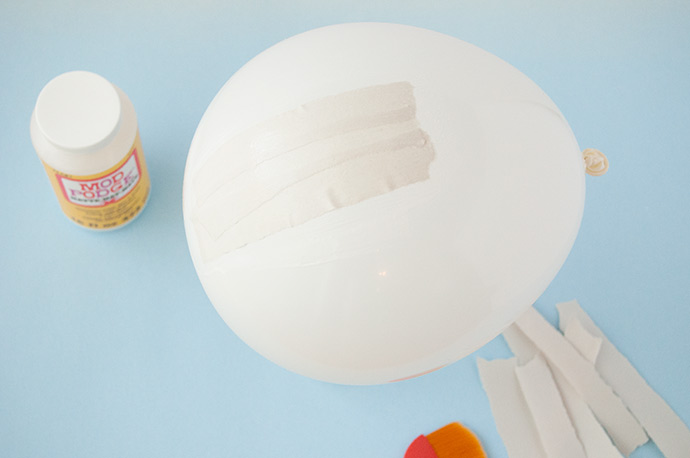
Inflate your balloon and rest on a bowl or small jar to help keep upright as you work. Apply a coat of Mod Podge onto an area of the balloon, followed by a strip of newsprint, and another coat of Mod Podge. Repeat this process, overlapping the strips slightly each time as shown.
Tip: we used plain newsprint here as it’s less messy to work with (no ink bleeding onto your hands making a mess) and takes paint a little easier later. When ripping your newsprint, make sure to tear off any straight factory edges – the torn edges will blend much nicer into each other, resulting in a smooth pinata.
Step 2
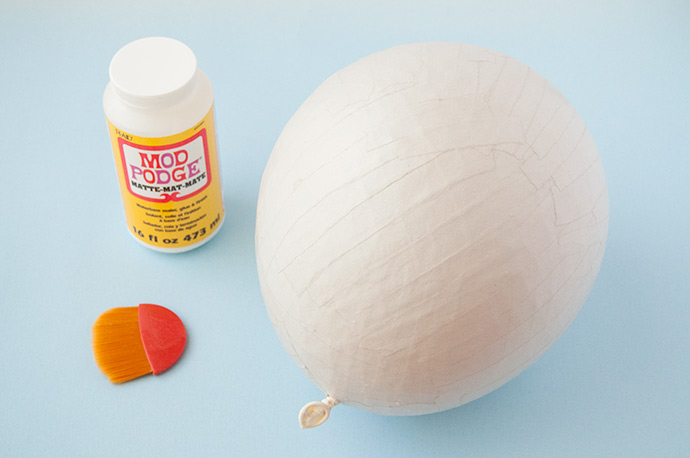
Once you have a whole layer complete, let dry to the touch, and then repeat with another layer. We ended up putting on five layers and found that was a nice strength when dried completely.
Step 3
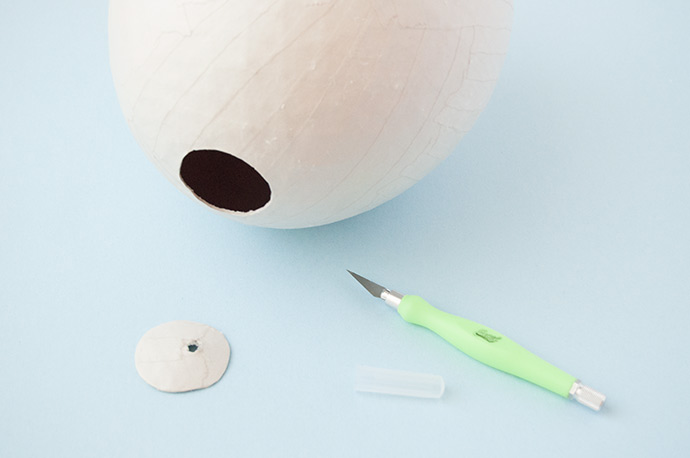
Use a craft knife to cut a small hole in the base of the paper mache – we kept ours quite small, but large enough to fit candies and treats inside. Remove the balloon inside and discard.
Step 4
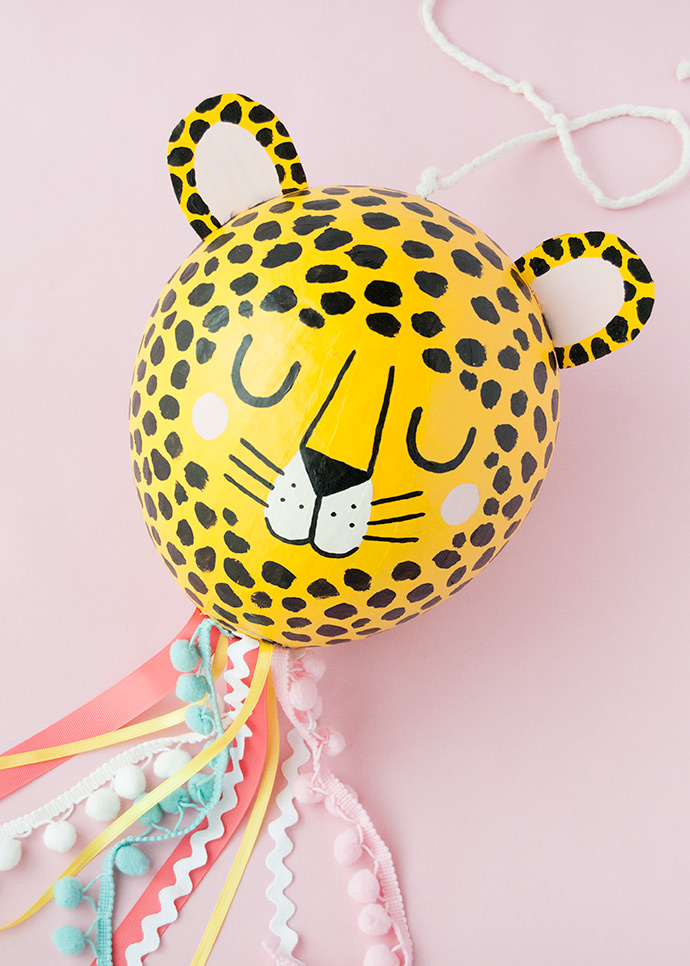
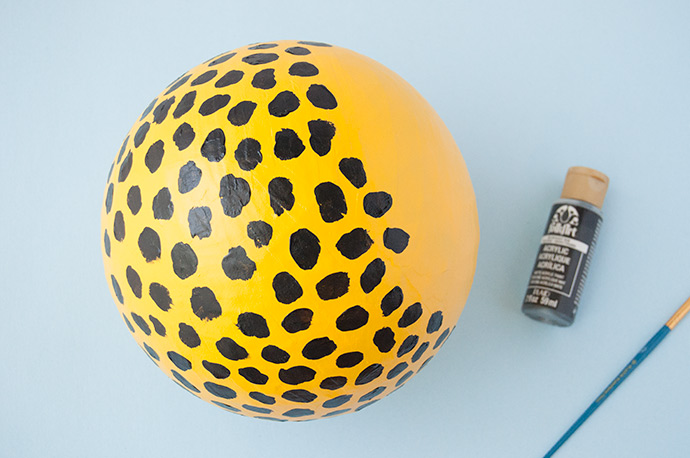
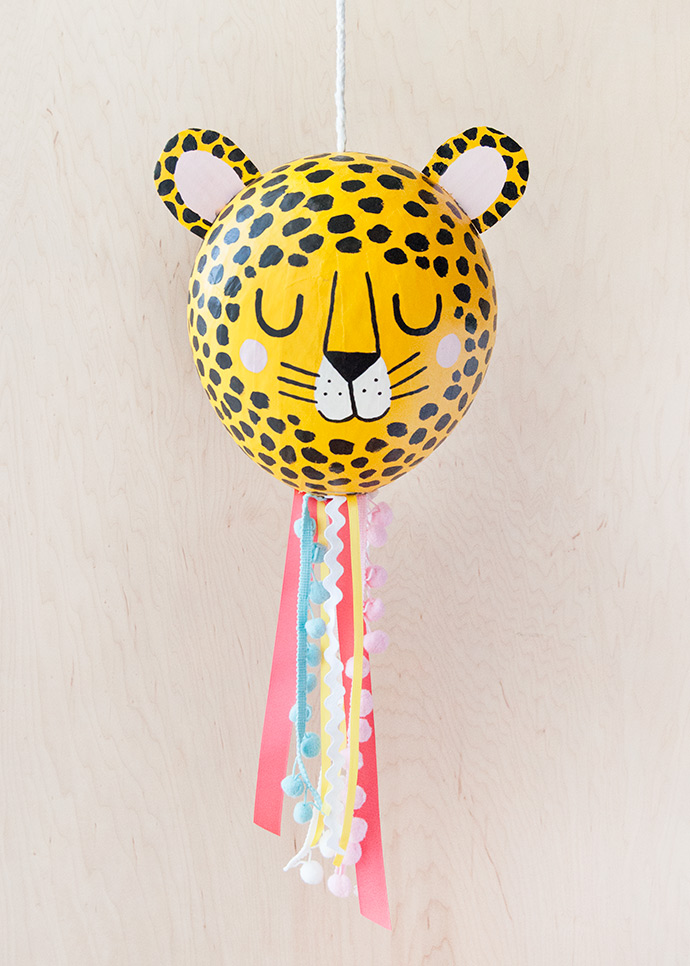
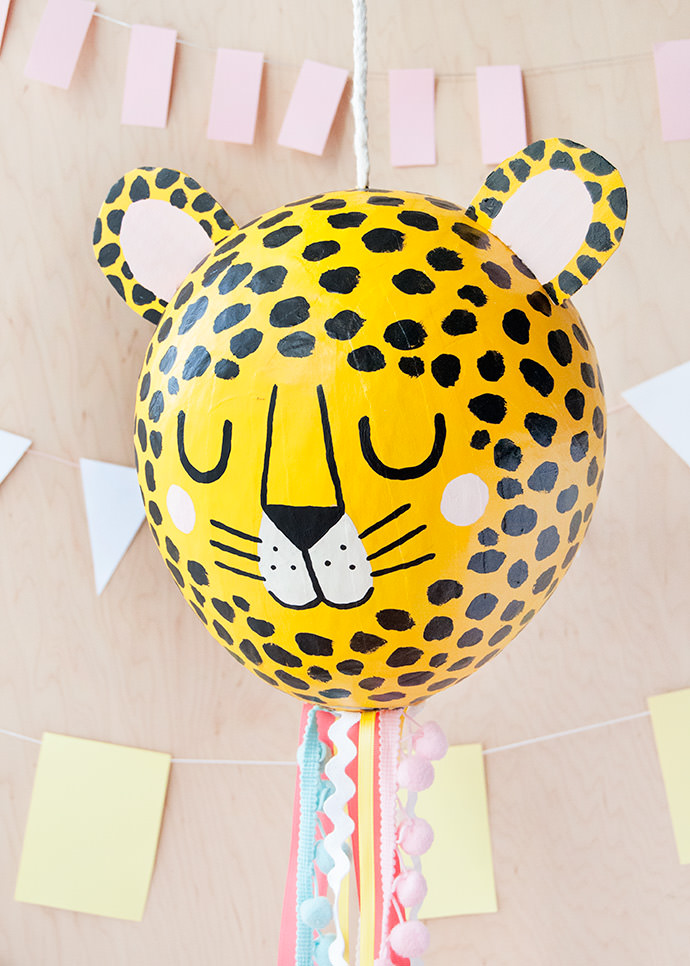
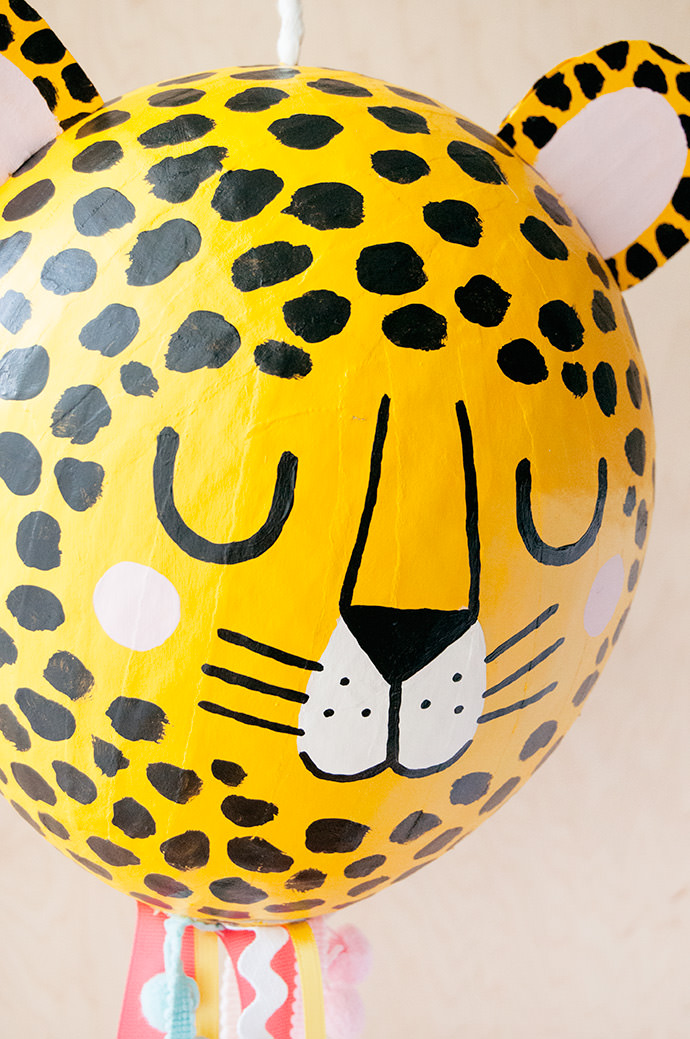
Now to turn your plain paper mache balloon into a cheetah! Apply a coat or two of yellow paint and let dry. Next use black paint to create a simple cheetah pattern. We did this over most of the pinata but left about a third unpainted for the face details.
Step 5
For the cheetah’s face, we first sketched in the details with a pencil and then went over those with paint and a paintbrush. At this point, you can also add additional spots closer to the face now that you know exactly how that looks. Let all paint dry.
Step 6
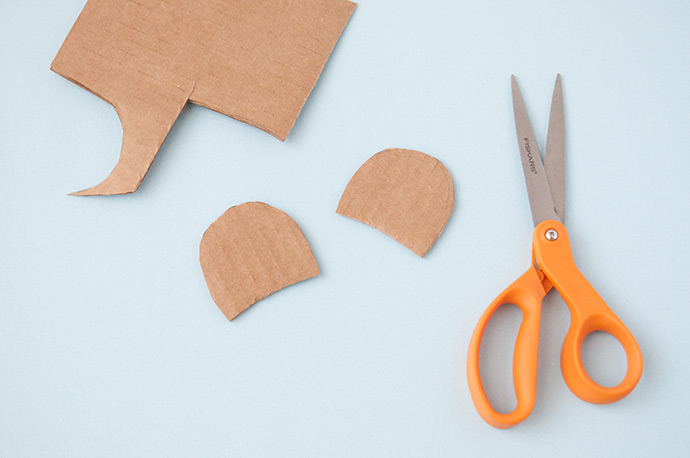
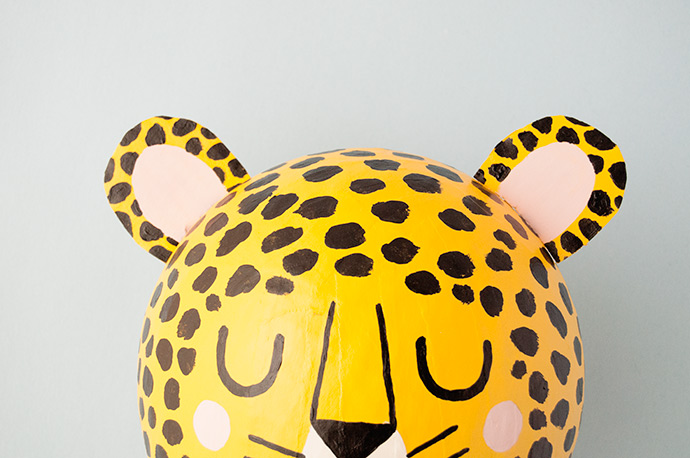
For the ears, cut two D shapes out of recycled cardboard.
Step 7
Hot glue the ears onto the cheetah’s head and paint to match the rest. Let dry.
Step 8
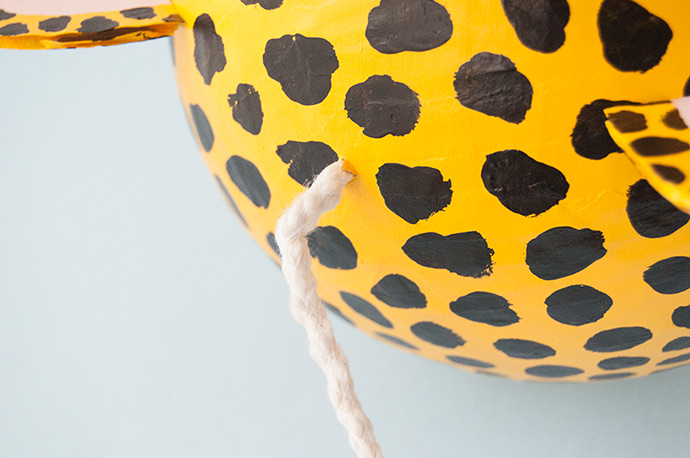
To hand, use the craft knife to poke a small hole in the very top of the cheetah’s head. Feed a rope through until it comes out the opening in the bottom of the cheetah’s head. Tie several knots on top of each other on the end of the rope, and then pull through, back up into the head, so that the knot stops on the inside, unable to fit through the small hole at the top.
Step 9
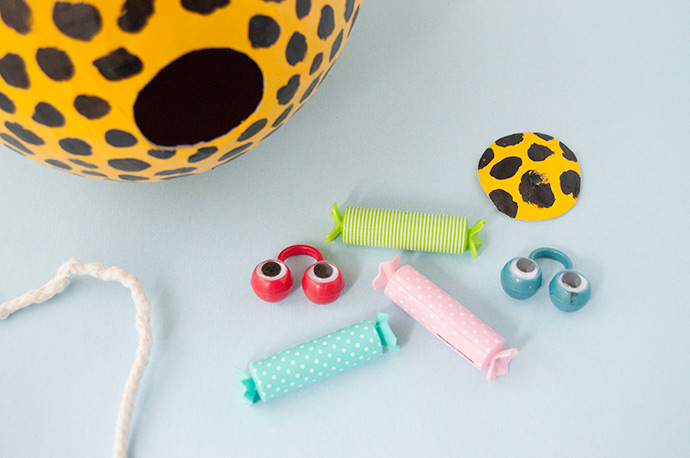
Fill the pinata with candies and surprises! Then, use a glue gun to reattach the patch, covering the hole securely.
Step 10
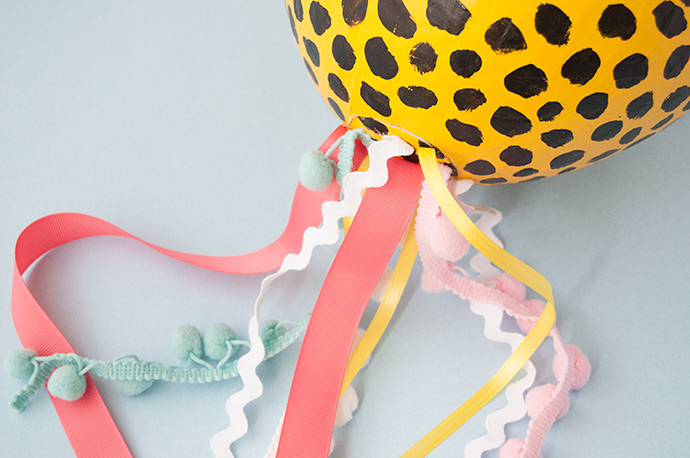
For some extra fun, cut various lengths of ribbon and trim and glue to the bottom of the cheetah’s head. This will help disguise the patch on the bottom but also add some fun movement when the pinata is hanging.
Happy crafting!