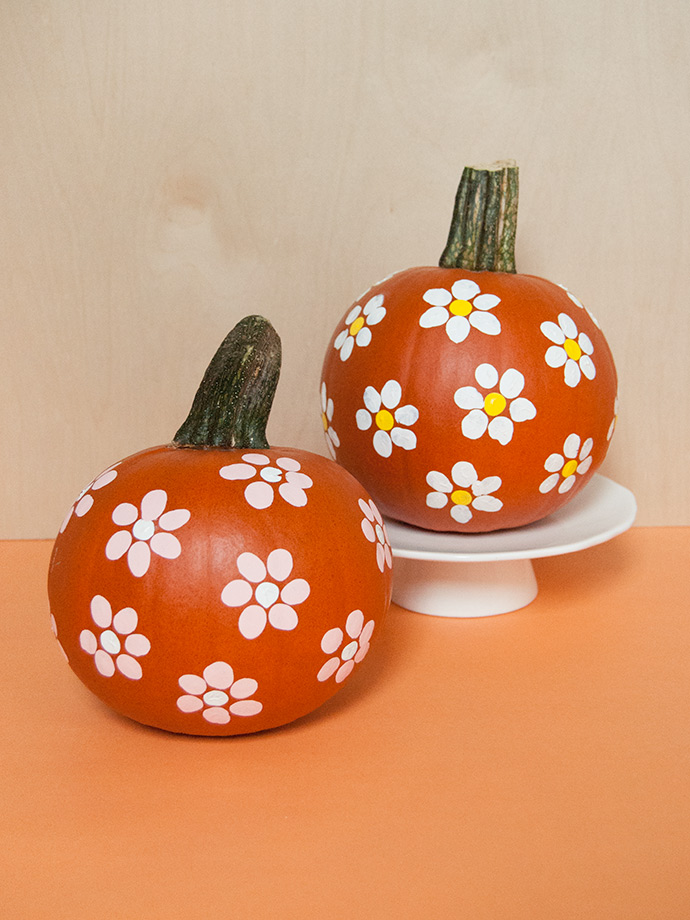
Over the years, I’ve made a few different fingerprint art painted pumpkins (see them here in the blog archives!) but these may just be the simplest of them all! Just two paint colors and no need to use a paintbrush or marker to add in any details after the fact. Super quick and simple, and fun for kids of almost all ages to do even at the last minute.
what you need:
- Pumpkin
- Acrylic paint
- Scrap paper
how-to:
Step 1
Wash your pumpkins to remove any dirt or dust and then dry with a cloth.
Step 2
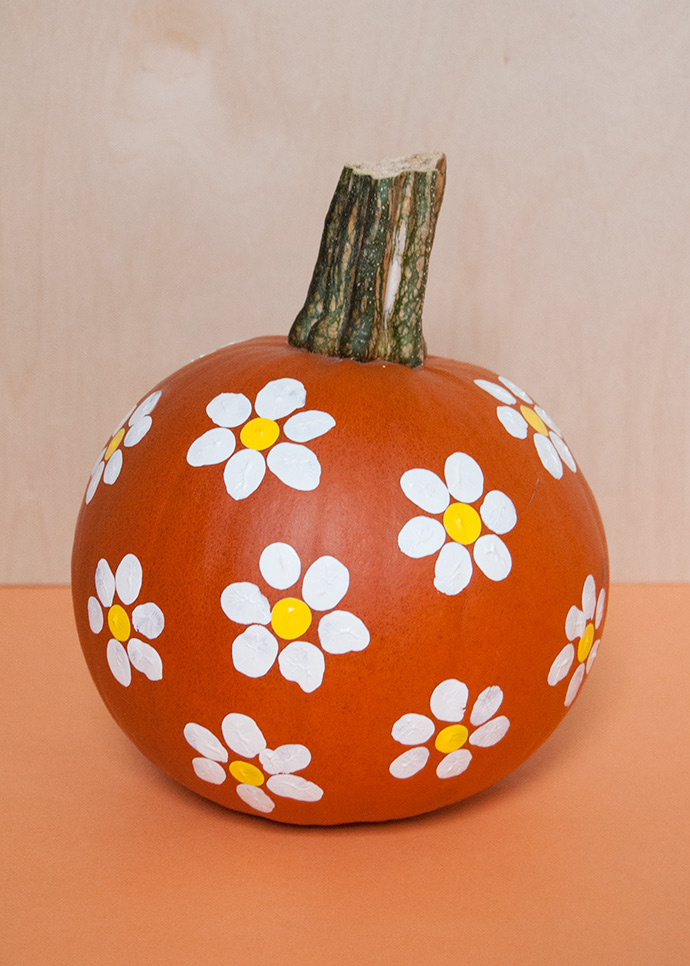
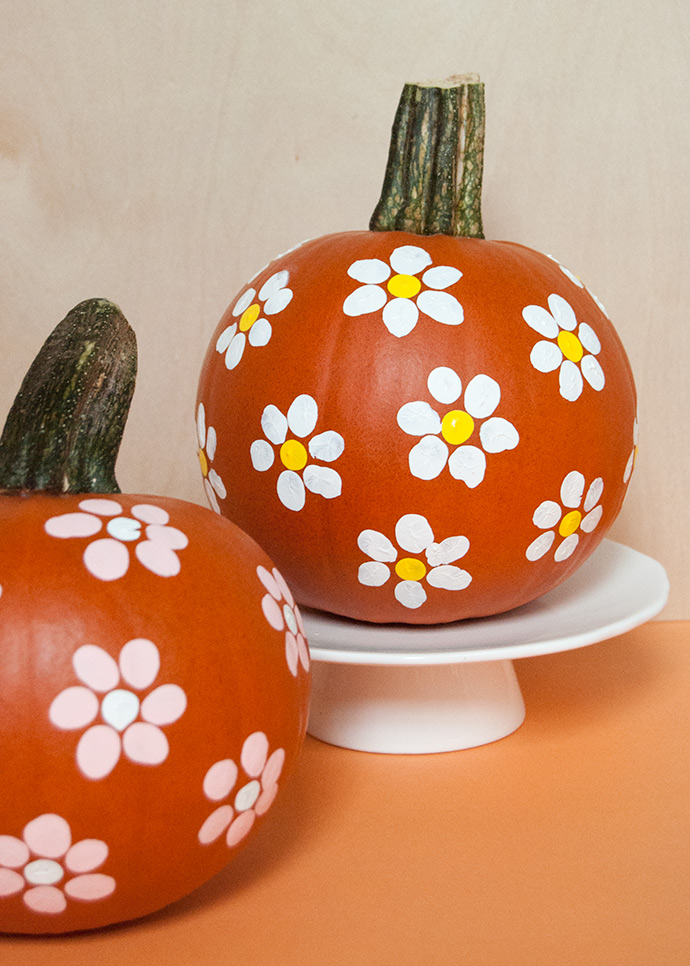
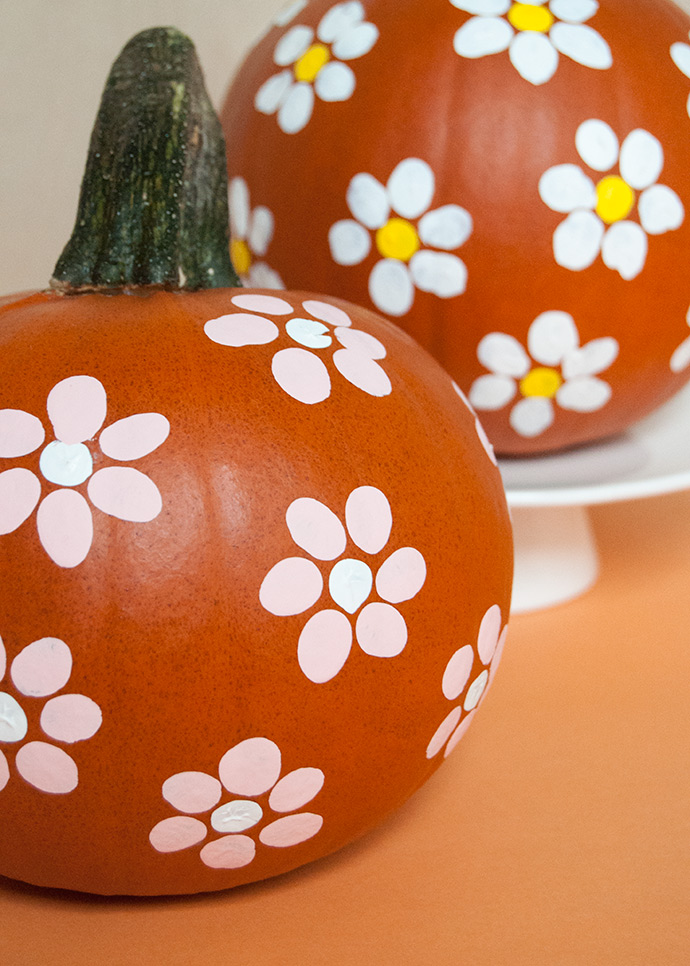
Pick out at least two different colors of paint for each pumpkin – one color will be the center and the other will be for the petals. For these pumpkins, I used only two colors each but you could pick out a handful for a more colorful look if you prefer! Apply some paint onto scrap paper, a paper plate, or paint palette. Have your child dip their finger into the paint and do a few practice stamps on the scrap paper until you get the hang of how much paint you need, how often to “reload” the paint on your finger, etc.
Step 3
Once you’ve gotten the hang of it, have your child dip the tip of their finger (the actual top/end of the finger, not where your fingerprint is) in the first color and stamp it onto the pumpkin to create round centers for the flowers. Repeat this all over the pumpkin, leaving room between them for the petals.
Step 4
Have your child wash the paint off their hands and move onto the next color for the flower petals. This time, apply the paint onto the fingerprint spot of their finger and have them stamp oval-shaped petals around each of the centers they just did.
Step 5
Let dry completely. Apply a coat of sealant / Mod Podge if you like, but I left these ones as is.
Happy Halloween!