

Farmhouse book stack DIY home decor
Article may contain Amazon & affiliate links. As an Amazon Associate I earn from qualifying purchases at no additional cost to you.
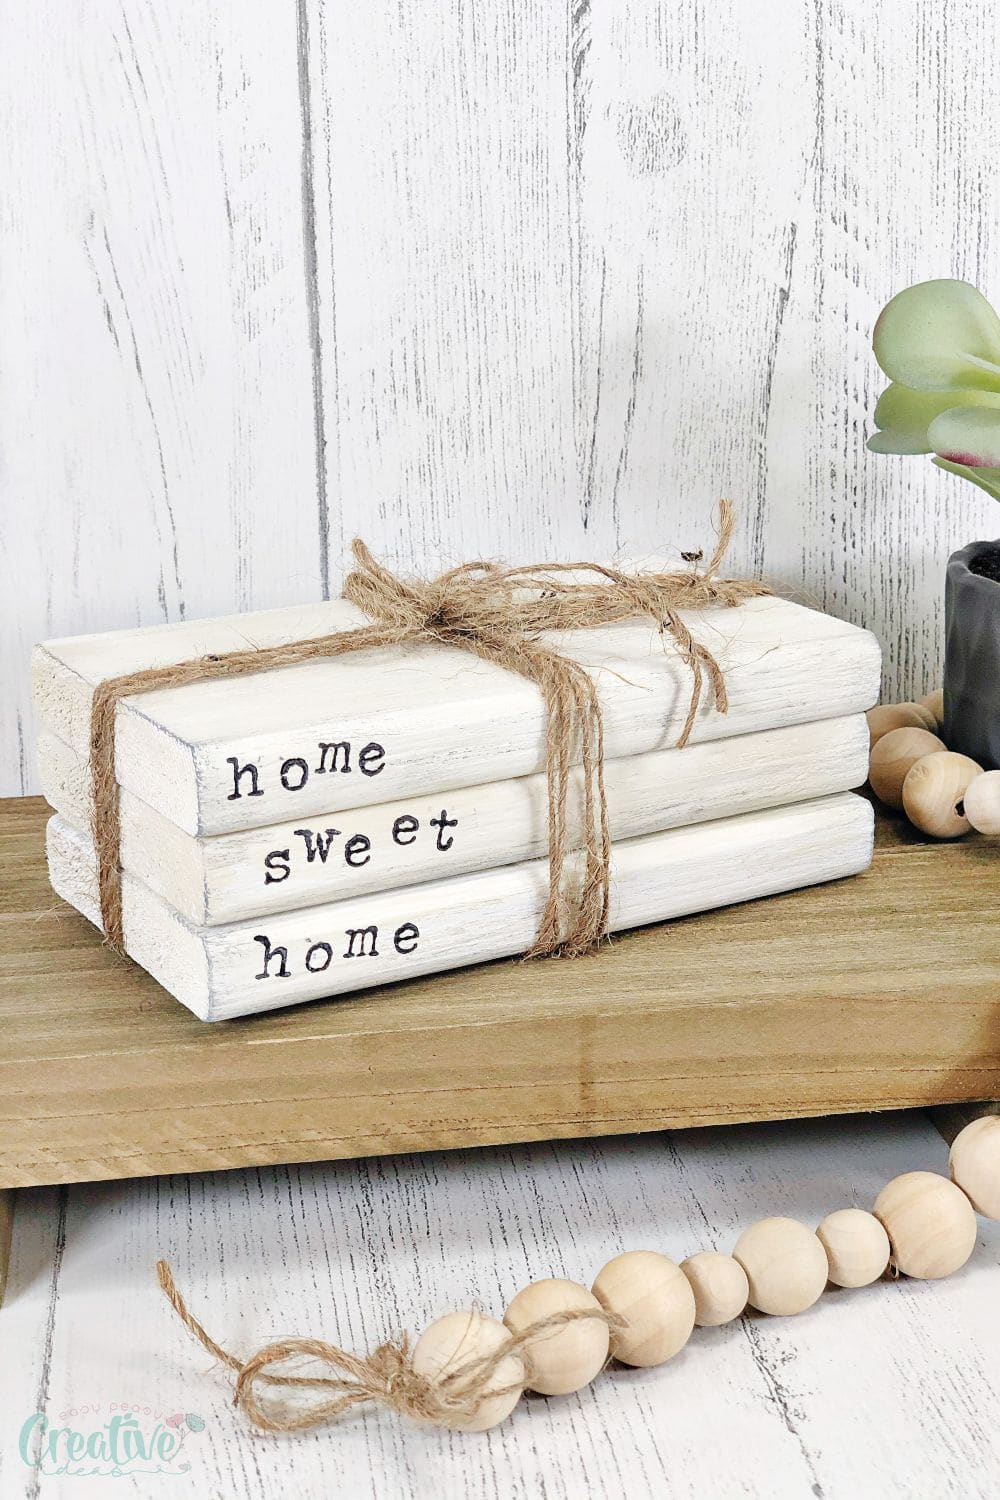
Do you love the look of a mini stack of books on your coffee table? Create an easy DIY farmhouse book stack using scrap paper, glue, and paint. This craft is perfect for kids who want to learn how to make something with their hands or just as a quick way to spruce up your living space!
Farmhouse book stack craft
Are you looking to add a bit of a farmhouse touch to your home décor or maybe you need a DIY project that will keep your kids entertained? Then look no further than this lovely DIY farmhouse book stack made from wood!
This easy fake stack of books is perfect for younger children, and it can be used to teach them about colors as they put together the pieces of wood with different paint on them as well as letters. The best part about these wood book stacks is that there are so many different ways you can play with them!
Want more farmhouse ideas?
- Farmhouse fall centerpiece
- 10 Farmhouse fall decorations
- DIY cotton branches farmhouse decor
- DIY rustic photo frame with twigs
The DIY book stack craft is a fun way to make your own customized bookshelf in any color or design you want. These fake book stacks are a fun and easy way to create an inviting reading space. You can make one for yourself or as a gift, so it’s perfect for any occasion!
This farmhouse book stack craft is a fun way to personalize your home décor. You can make it any size, in different colors and patterns, or cover materials, and this simple project will only take you about 20 minutes!
What is a farmhouse book stack exactly?
This mini-book stack is an updated version of the traditional book décor. DIY book stacks are made up of small pieces of wood that have been painted and cut into a rectangle shape, which gives them their name “mini.” These DIY crafts can be stacked on top of each other to make for a fun design or pattern, much like a real book.
Wooden farmhouse book stack crafts are perfect for DIY projects with kids! These colorful creations make it easy to teach children about colors, letters and stacking skills while having fun. There are so many different ways you can play with these DIY wooden books that the possibilities are endless! They’re a great project for kids of all ages.
What do you need to make wooden books?
You can use old scraps of wood to make a mini-book stack. A little bit of paint will help you to do this in a snap. Then on the “stub”, write your favorite words. This is a good gift for someone who has lots of books in their house or at work. It is very special because it is personalized for them!
With a bit of glue, some paper, and your hands, you can create your own farmhouse book stack. Here’s what you’ll need to get started!
- Lumber
- Craft Paint – White, Ivory, Light Grey
- Alphabet Stamps – Typewriter Style
- Ink Pad, Black
- Sanding Block
- Paintbrush
- Scissors
How to make farmhouse book stacks?
With these easy-to-follow instructions, even the most novice crafter can create trendy book stacks for all their friends and family!
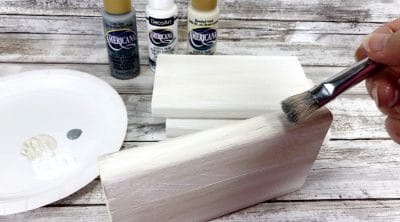
- Gather the supplies for your project. When you buy lumber at the hardware store, they will cut it to size for free! Sand all edges and surfaces of each book with a foam sanding block before adhering them together using wood glue.
- You will need to mix paint together. You can use a brush or sponge for this. It is important not to mix the colors too much because then the color will be too smooth. Then you can paint on top of it again and do just the white half of the mixture until you have achieved your desired effect.
- Grab a dry brush. Paint the edges with a light grey color so it doesn’t show up against your other colors. Let it dry before you step back and admire what you have done!
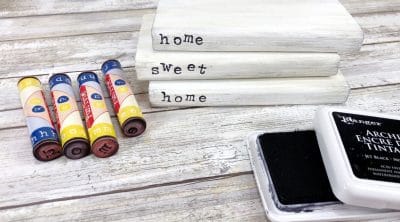
- The typewriter-style alphabet stamps can be used to make a board. Put wood on top of an old book and tap the letter stamps in an ink pad. Use different heights for more customizability. The irregularity that results is good because it has a farmhouse charm!
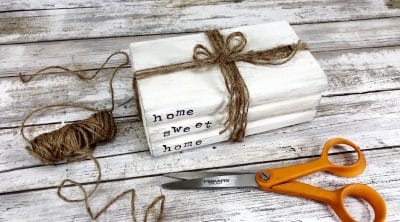
- Stack the books together and wrap them with twine. Wrap three or four times. Tie the end of the string in a knot. Make a bow by tying some string around your hand two or more times, depending on how thick your book is, and then threading back through itself at least twice so that it will be tight when you tie it overtop where you wrapped it around your hand. Securely tie off the long tails by tying them together tightly with a knot. The knots should not be loose and hanging freely but instead pulled tight against themselves after several loops. This will keep the strands from unraveling when you bump into them throughout storage.
What to do with your completed book stacks?
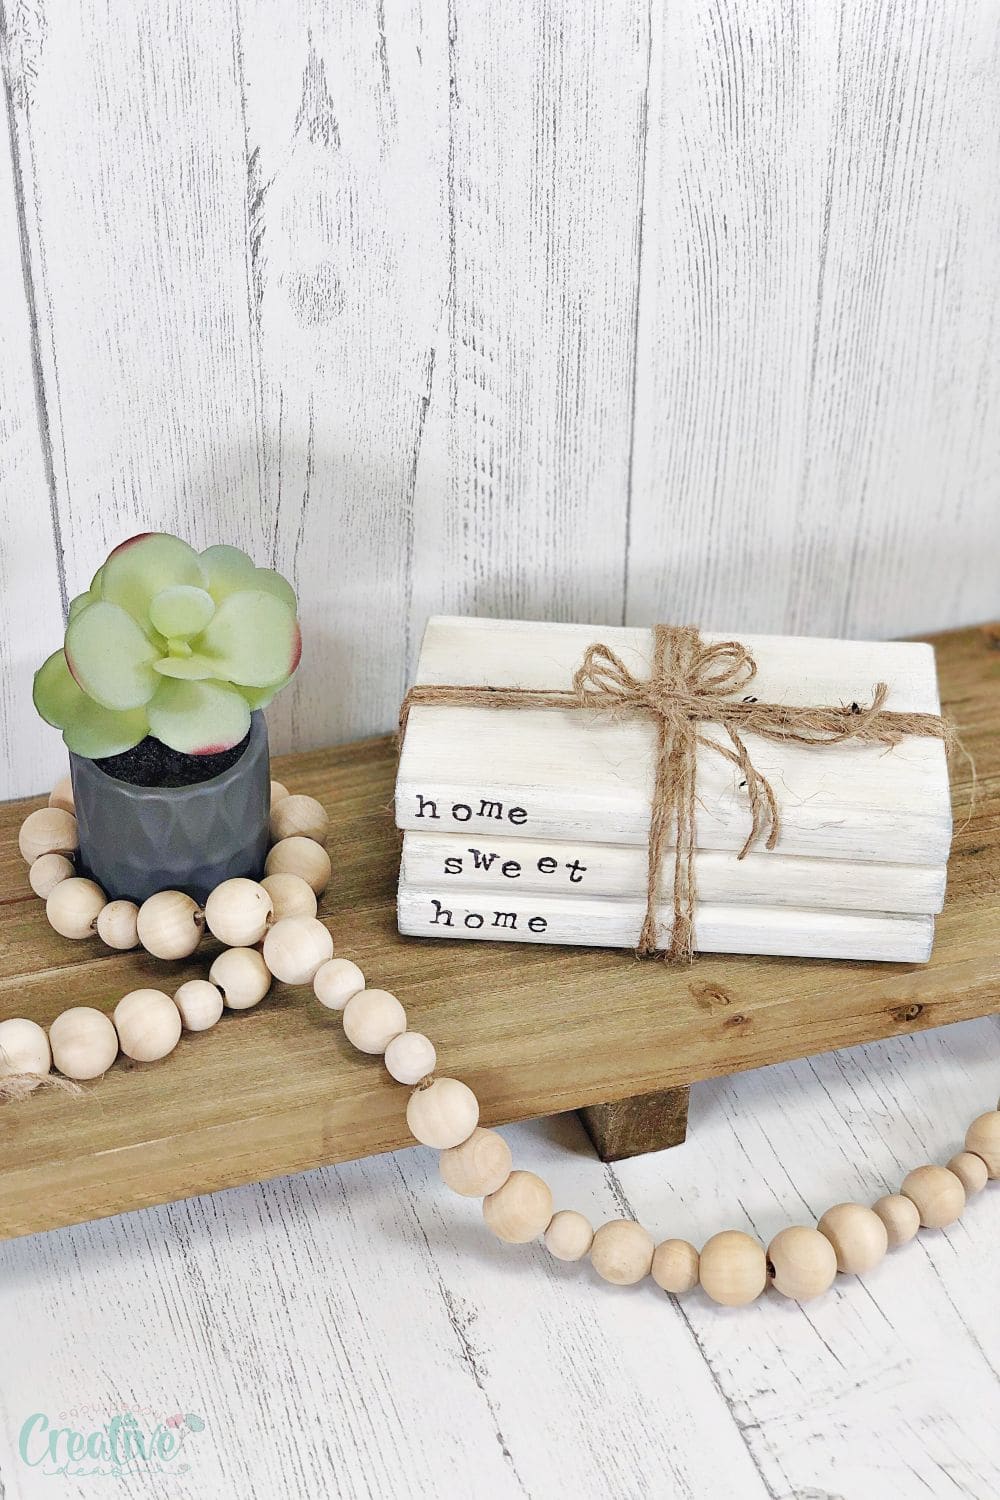
- Place them in a window or table for an easy centerpiece idea.
- Use the stacks on your mantelpiece as part of your holiday decorating!
- Give the stacks as a holiday present.
- Keep them in your living room to create easy access for guests coming over, so they can find books on topics that interest them!
- Use them as bookends.
- Add some magnets and make a magnetic bookshelf by placing the mini books on your fridge.
- Leave one out as decoration to show off your child’s creativity or place it on top of their dresser, desk, bedside table, or anywhere else you want to add a little color.
Make sure you have supervision of children when decorating and crafting with various items, such as paints or glue.
Seasonal Farmhouse Book stack ideas
- Make a few in one sitting and pass them out as gifts at the holidays. They are also great for little holiday parties, office desk decorating, and more!
- Kids can get creative by drawing or cutting their favorite things to create their own book that they can decorate and present to whomever they choose.
- You can also create mini-book stacks for different holidays as part of your holiday décor. You can change up the color of the paint and/or the sayings you stamp on them.
- Change things up by stamping a message that speaks to you and embodies your home. Start with some of our favorite messages like “Best Friends, “Home Sweet Home,” or just use one word like “Love.”
The possibilities really are endless. Just let your creativity flow.
Pin to save for later

Print the craft card

Farmhouse book stack DIY
Materials
- 1 x 6 Lumber cut into 6” lengths
- Craft Paint White, Ivory, Light Grey
- Alphabet Stamps Typewriter Style
- 1 Ink Pad Black
Tools
- scissors
Instructions
- Gather all supplies. When you purchase lumber at your local home improvement store, they will cut it to size for you at no charge. Sand all edges and surfaces of each book with a foam sanding block.

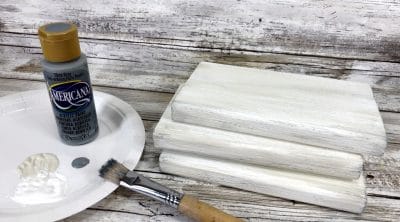
- Basecoat the wooden books with white craft paint. Set aside to dry. If the grain is raised, then sand lightly. Topcoat the wooden books with a mixture of white and ivory craft paint. Dip the paintbrush in both colors and don’t over mix the colors and let the topcoat be rough. Set aside to dry.
- Dry brush light grey paint around the sides and edges of the wooden books, in places that wear would naturally occur. Set aside to dry.
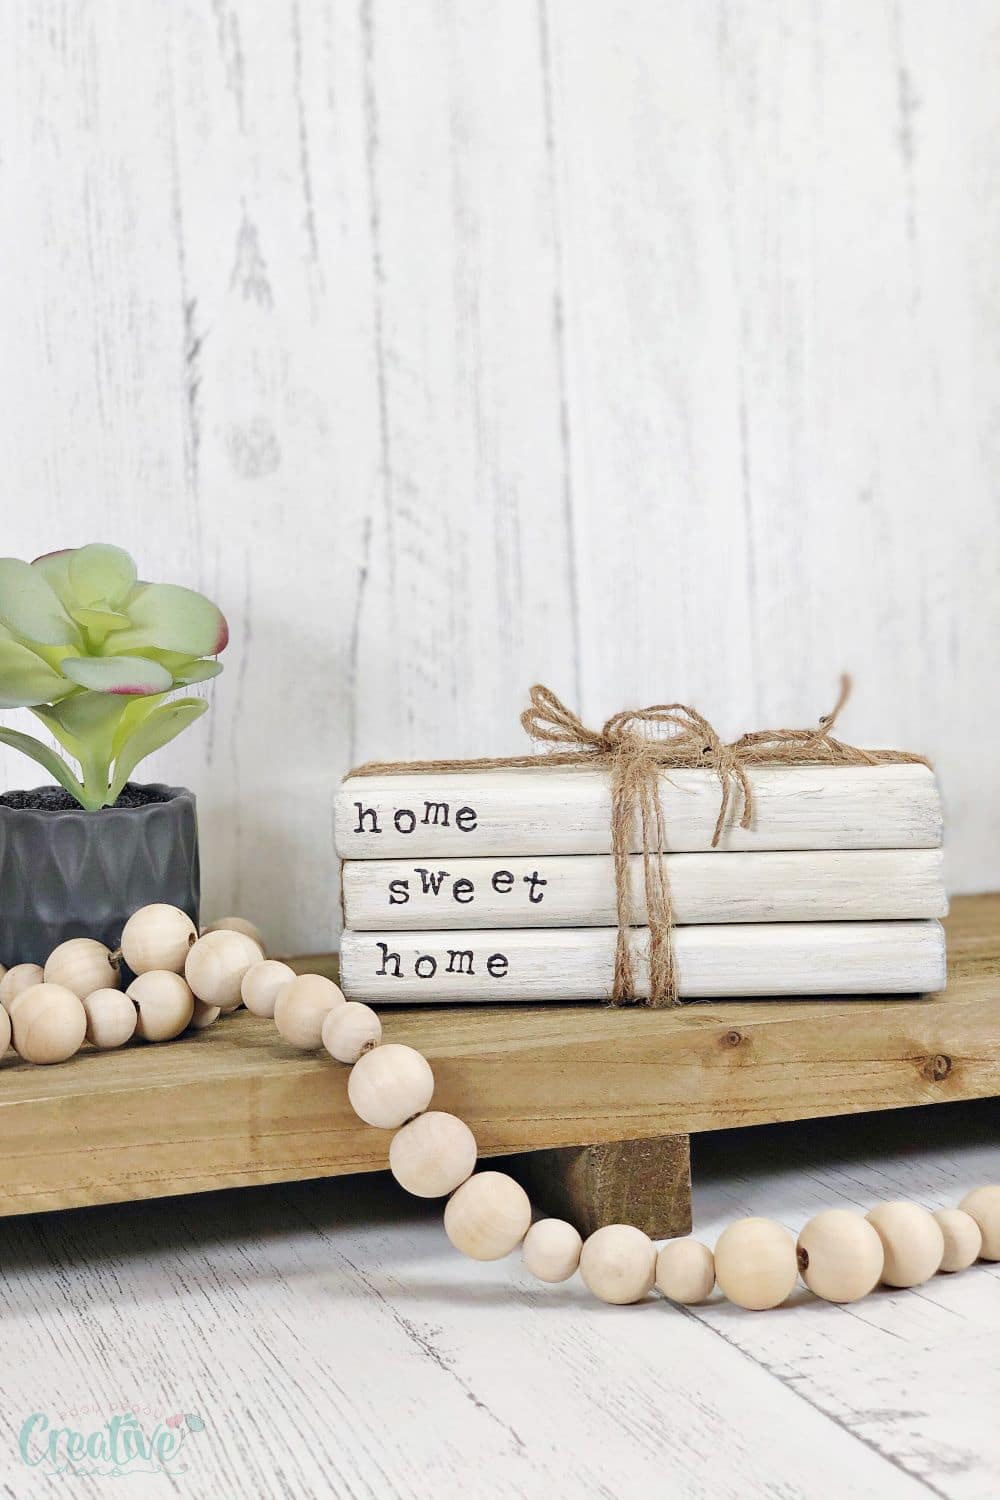
- Using the typewriter style alphabet stamps, select the message HOME SWEET HOME. Place the wooden books spine up, tap each letter stamp in the ink pad and stamp on the spine. The irregularity of the stamped letters gives the project farmhouse charm.
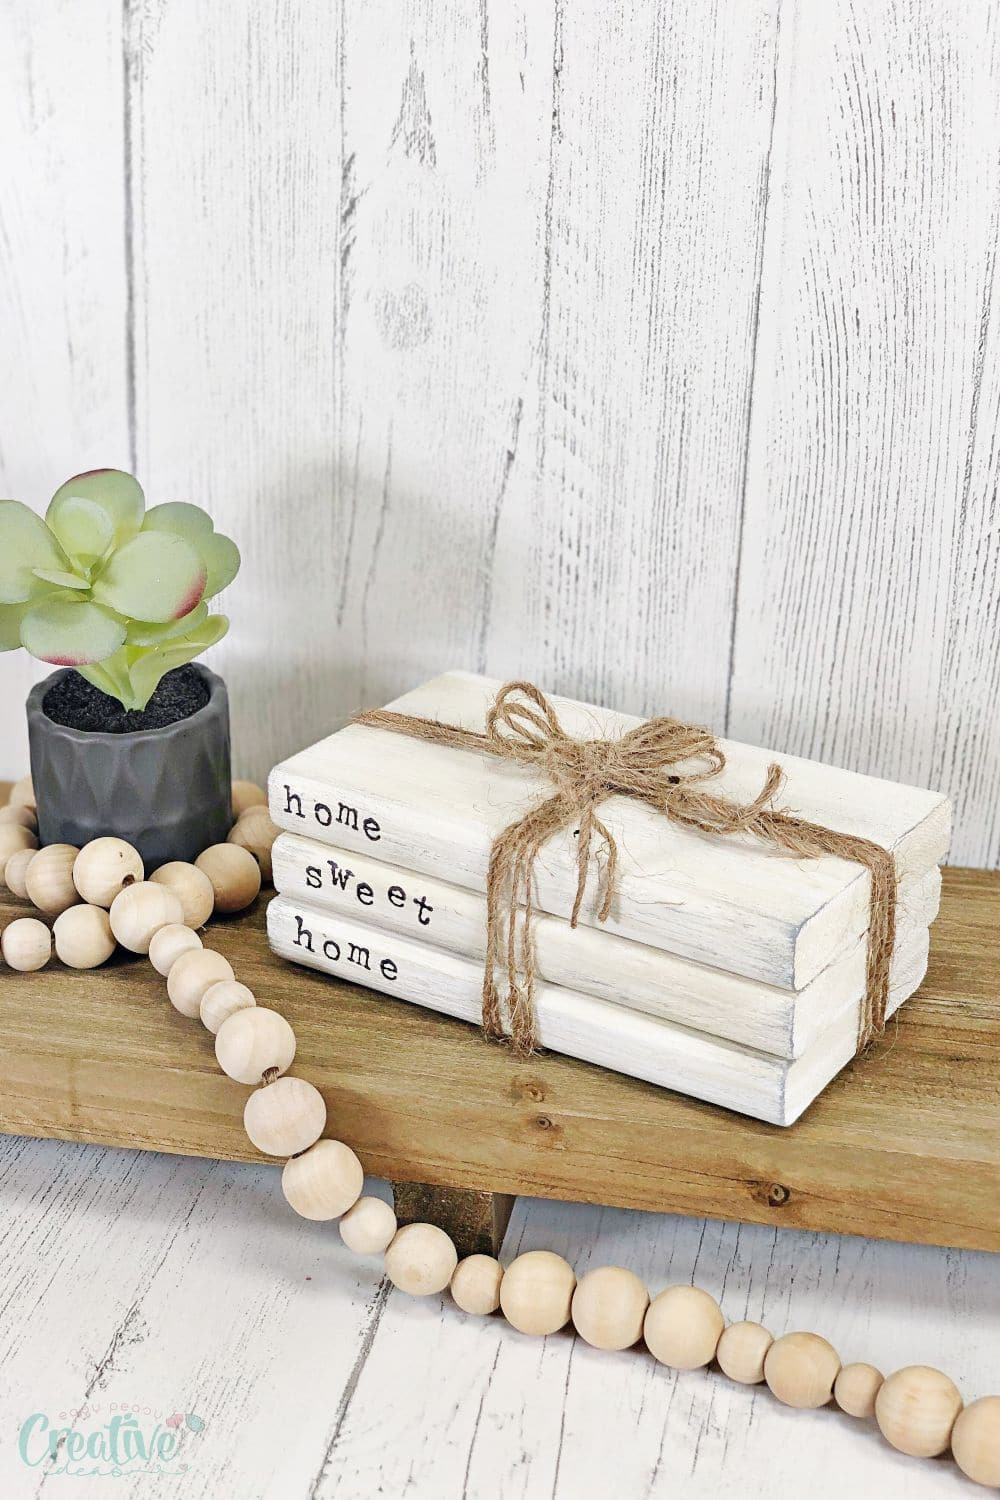
- Stack the books together and wrap with twine three to four times, securing the end with a knot and leaving the tails long. To create a bow, wrap the twine around your hand five to six times, trim the end and place in center of book stack. Secure in place by knotting the tails around the bow.

ABOUT PETRO
Hi, I’m Petro, author and founder of Easy Peasy Creative Ideas. Sewist, crafter, avid DIY-er, foodie, photographer, homemaker and mommy to one. I’m an expert at coming up with quick, clever sewing tips, recycling crafts and simple, easy recipes! You can find my ideas featured in reputable publications such as Country Living, Good House Keeping, Yahoo News, WikiHow, Shutterfly, Parade, Brit & Co and more. Thanks for stopping by and hope you’ll stay for a while, get to know me better and come back another time. Stick around for real fun projects! Read more…