DIY Snowball Garland
As we shift from the holidays into winter itself, let’s add a seasonal touch to our home decor with this cute snowball garland. It’s simple to create for adults and kids alike, and will help make your home feel like a winter wonderland.
You’ll need:
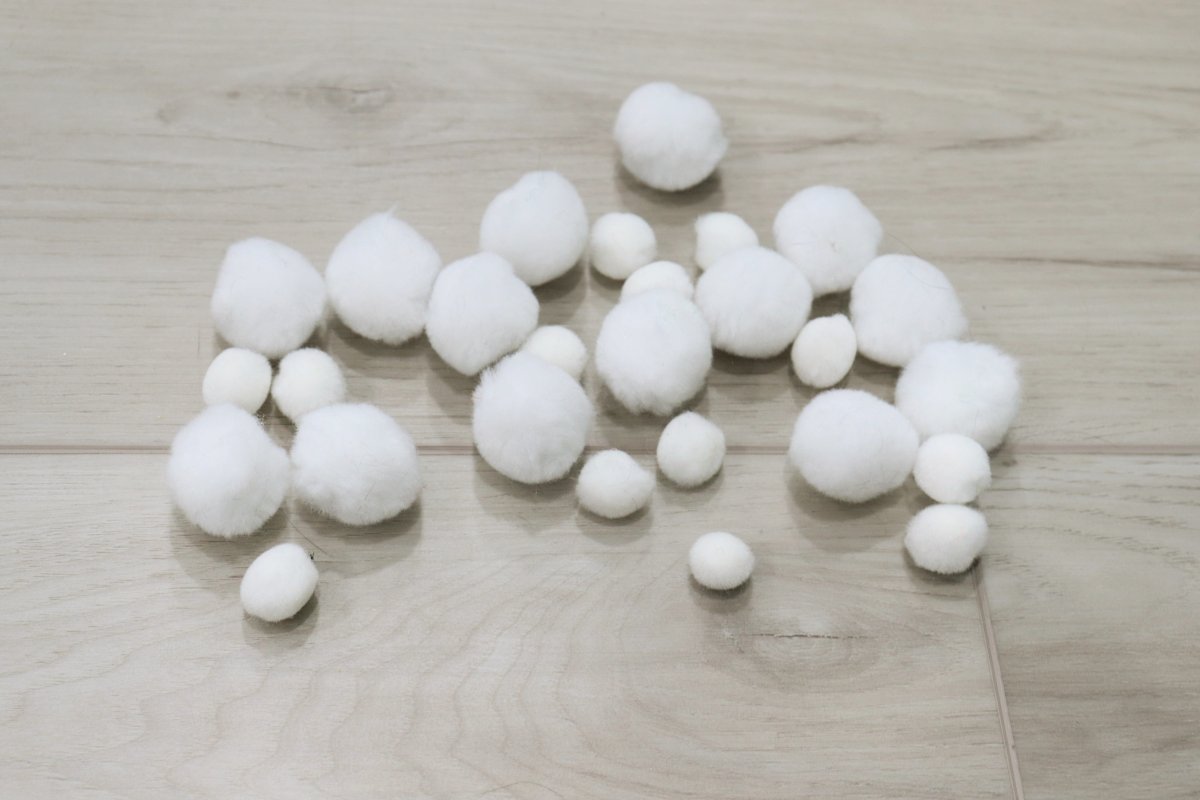
white pom-poms (I used an assortment of sizes)
white thread
a needle
scissors
optional: jute tassel, wood slice, ribbon, marker
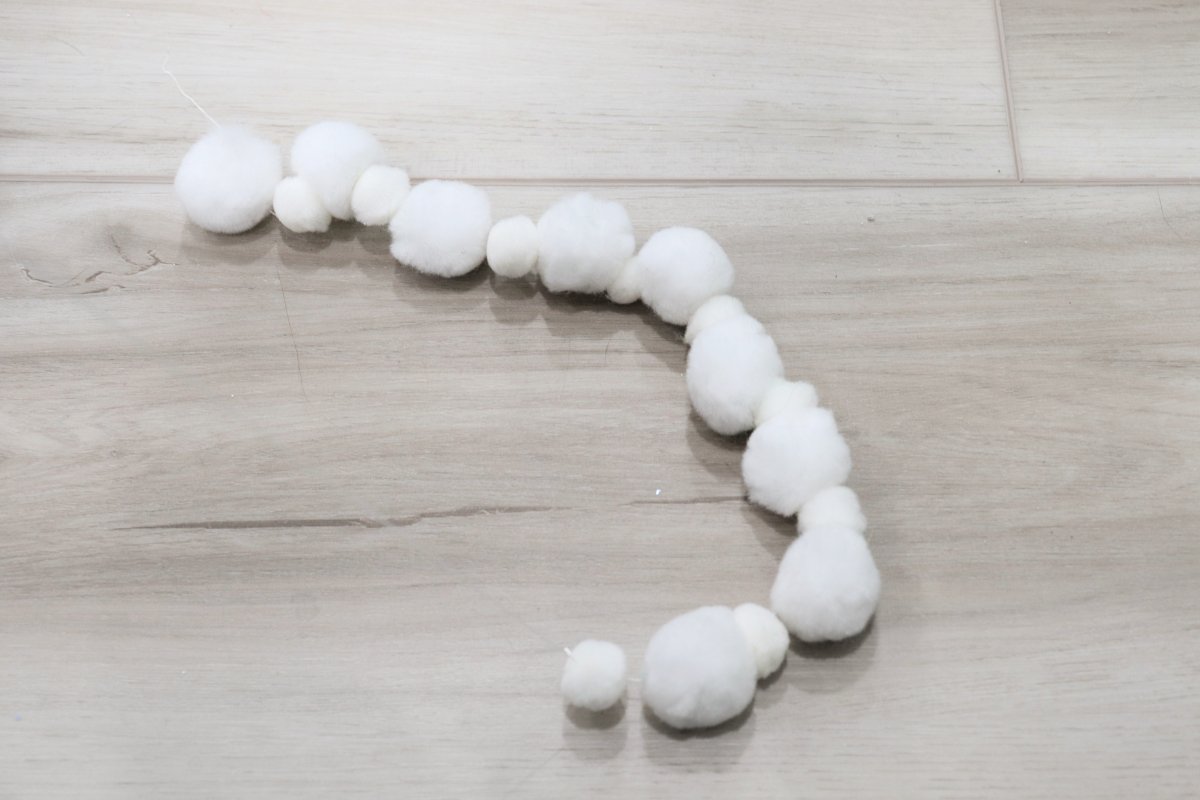
Step 1: String your pom-poms.
Cut a piece of thread that is 4″ longer than you want your garland to be. Thread your needle and tie a large knot at the bottom of the thread. String your pom-poms in any pattern you like. I alternated larger and smaller ones, but you can feel free to create your own pattern, or no pattern at all! Rather than having the bottom pom-pom go all the way to the knot, allow about 2″ of thread on the end for tying/finishing later.
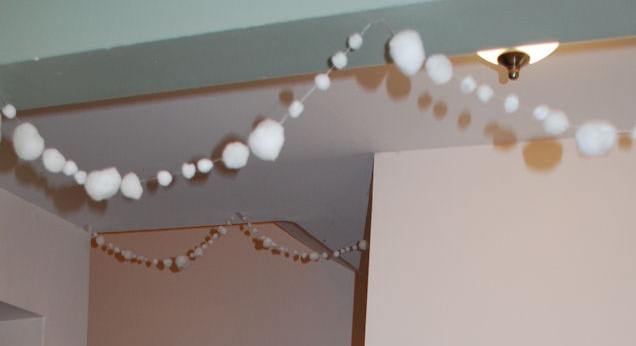
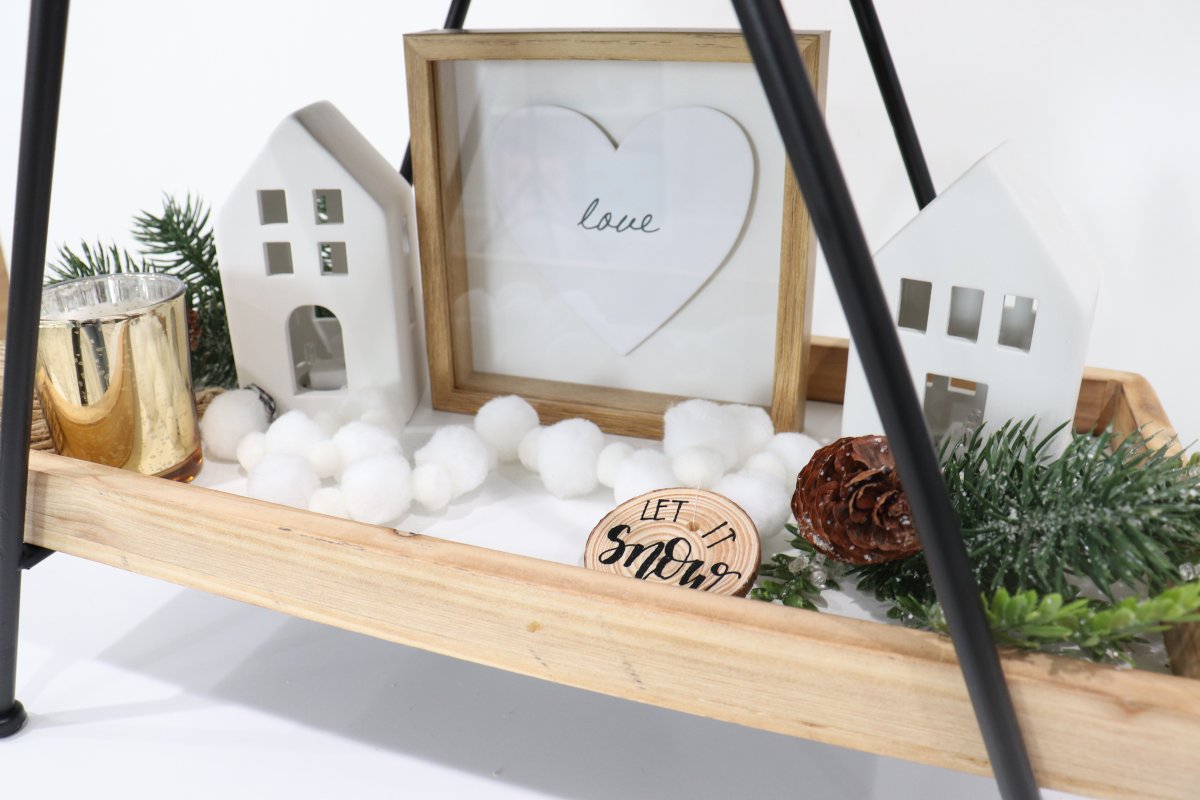
I made my garland as a little piece of decor for on a tray, shelf, or mantel, similar to the wooden bead garland I made for fall. However, if you want to hang yours from the ceiling or string it across the whole fireplace, you can make yours any length you prefer. You can stop at this step if you like, and hang your garland to create a snowy wonderland. (Here’s a very old photo of when we used to do that every year when Little Crafter was, well, little!)
However, if you’re making a smaller decorative garland, you’ll want to move on to the next few steps to finish it off.
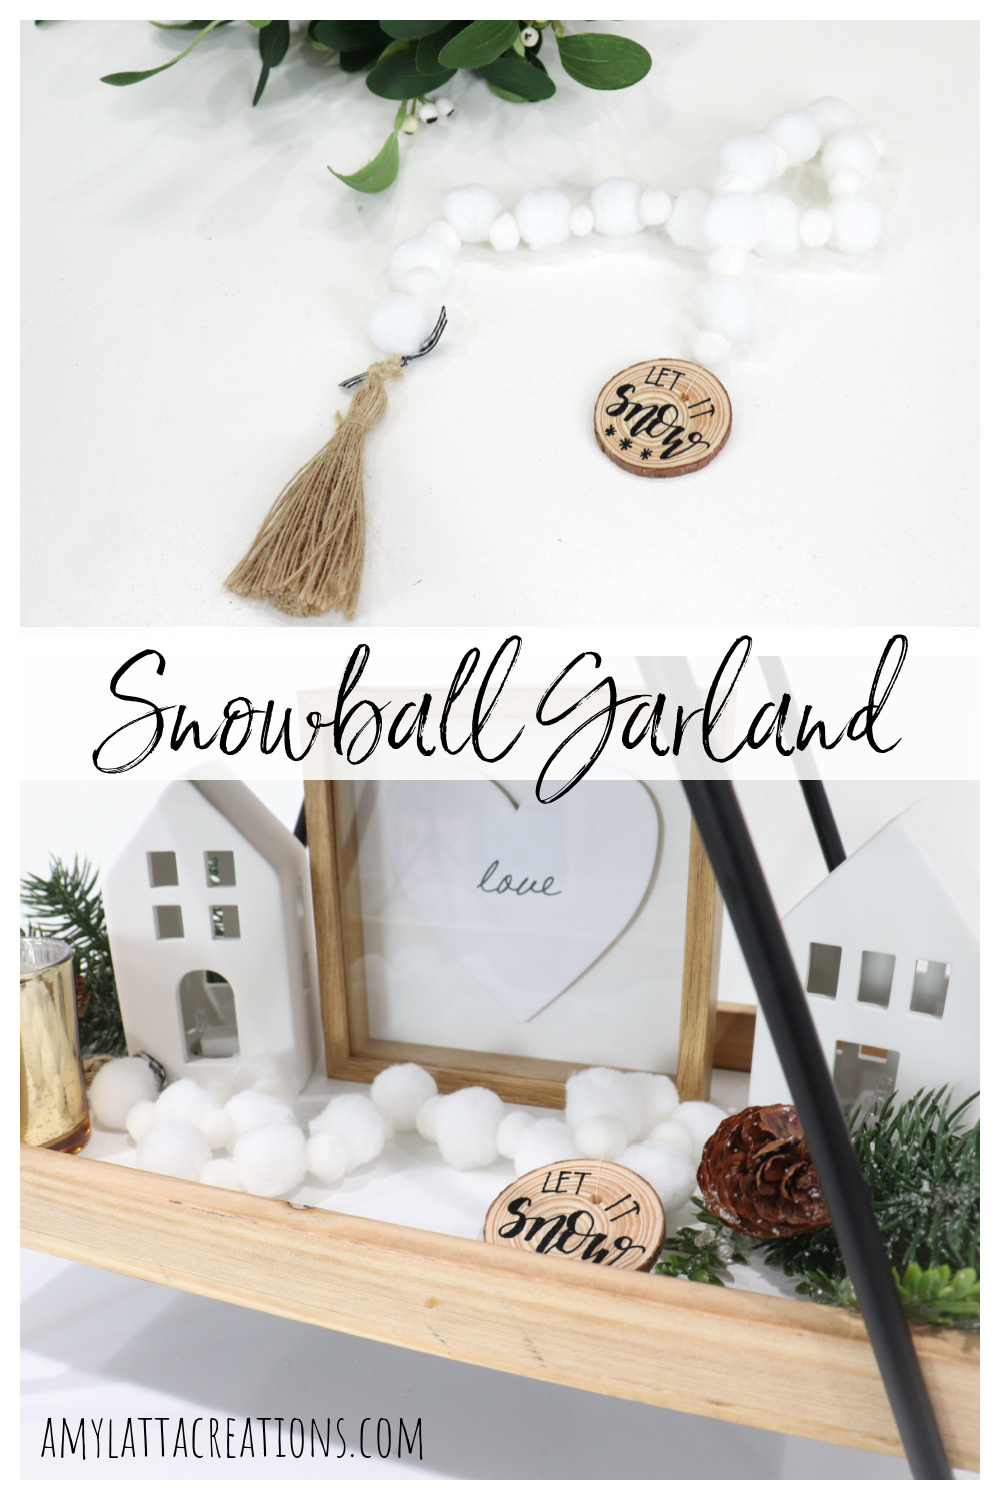
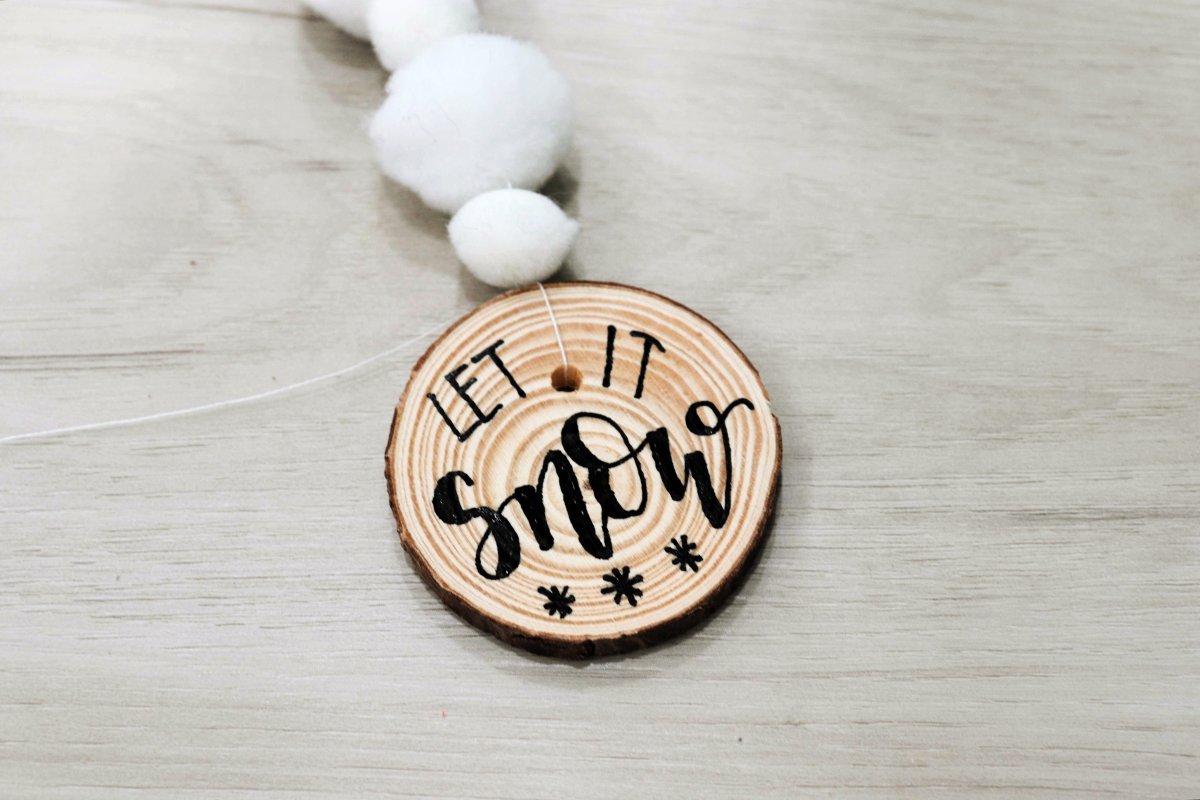
Step 2: Tie a wood slice or wooden snowflake to one end.
You can decorate this in any way you like. I chose to leave my wood round a natural color since the pom-poms are white and the brown gave a nice contrast. Then, I hand lettered, “Let it Snow” with a black paint marker. (To see how easy it is to do this kind of lettering, check out my post on Faux Calligraphy!) If you don’t want to letter on the wood, you could use a sticker or cut out a vinyl saying or design with a Cricut machine instead. Another option is to use a wooden cut-out of a snowflake as the decorative end piece.
Step 3: Add a tassel to the other end.
Using the extra thread on the end, tie on a jute tassel or any other end piece you like. I also added a little piece of plaid ribbon to mine.

Now your garland is ready to display anywhere you like as part of your winter home decor. Tomorrow, I’ll be sharing five tips for transitioning from holiday to seasonal decorations, so be sure to stop by and check them out!
This little project is so simple to create, is very inexpensive, and doesn’t take a long time, which are three of my favorite things in a craft: quick, cheap, and easy! It’s really a fun way to bring a little touch of winter inside your home and it looks great just about anywhere. If you try it, I’d love to see your version. Make sure you’re a part of the Amy Latta & Friends Facebook Group so you can share your project photos, see others’ latest work, and we can all be inspired. See you there!