
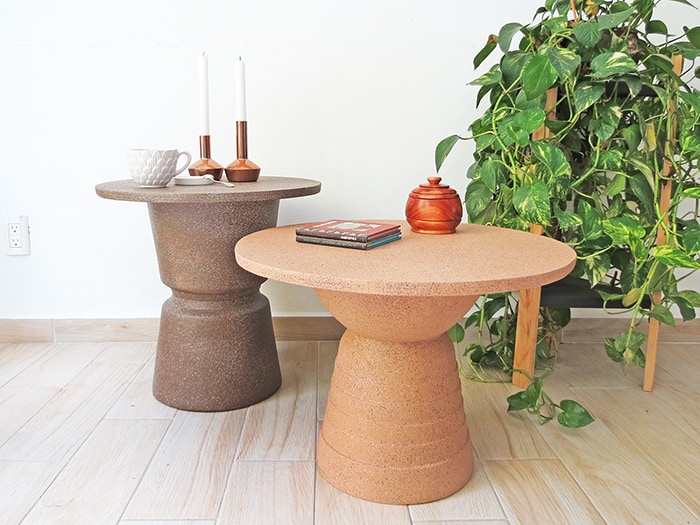

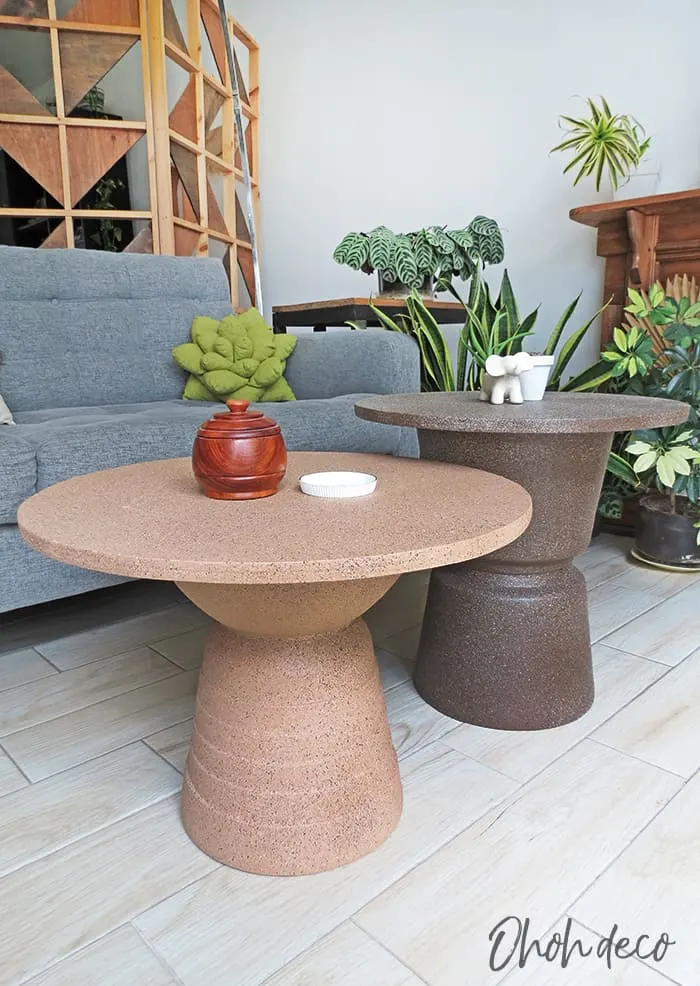
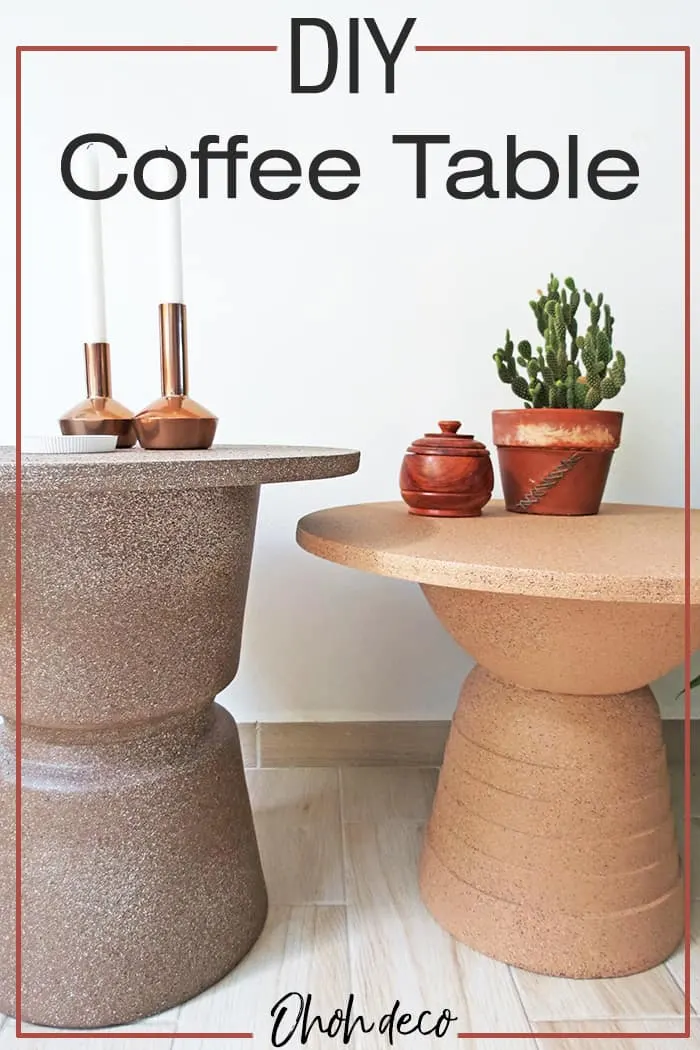
Complete your living room decor with a homemade round coffee table. These small coffee tables are so easy to make you can build several.
You can try different settings like using them next to each other to create a large center coffee table or display them in the room and use some as a couch side table or even as a plant stand.
[ This post probably contains affiliate links, our full disclosure policy is really boring, but you can read it HERE ]
Building a totem coffee table is cheap and easy to make. I explain all the steps in the tutorial below.
I give you an alternative if you don’t want to use power tools to make it and I explain how to give the table this gorgeous stone look which transforms this simple DIY table into a high-end design piece.
Yes, as you can tell, I absolutely love how this DIY modern coffee table turns out!
RELATED: DIY Side tables
RELATED: How to make a mid-century inspired side table

How to make a round coffee table
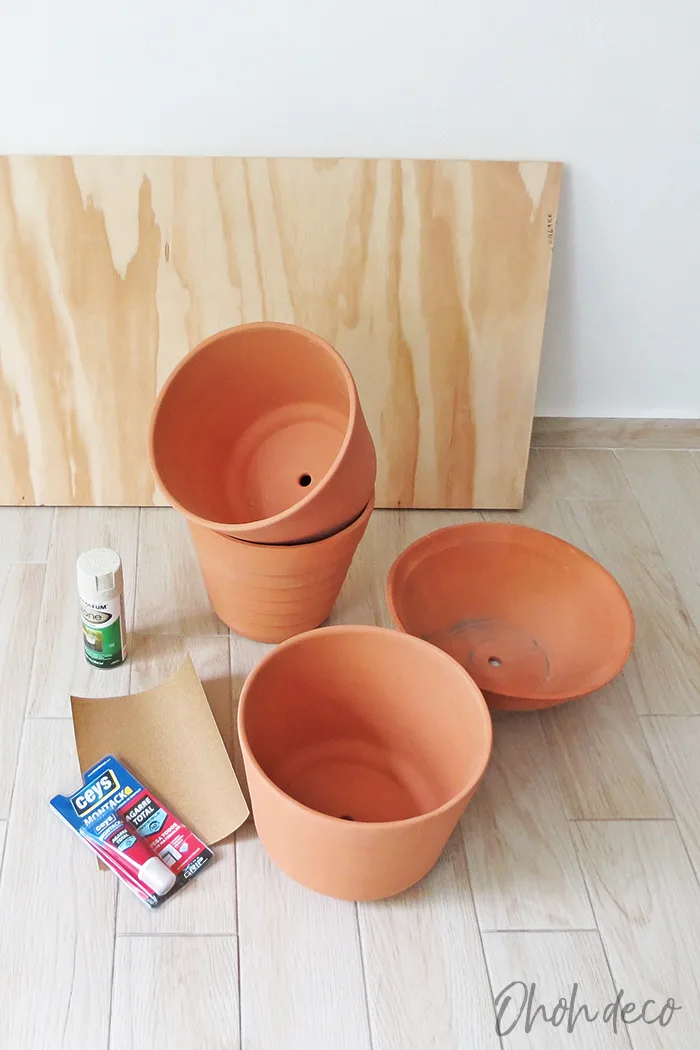
The supplies you will need to make a simple coffee table:
- Two large terracotta planters (like this one and this other)
- A piece of 18mm plywood
- All-purpose glue
- A jigsaw
- Sanding paper
- Paint
- Brush
- Stone effect spray paint
You can choose different shaped terracotta pots. It’s better if the bases of the planters have the same diameter, it will be easier to glue them on top of each other.
A coffee table is between 16 in.-18 in. (40-50cm) high, so experiment with stacking different planters and see what works best.
The best is to go to the store and try different combination. I get all my planters at Home Depot.
If you can reuse any planters you already have that’s even better, just clean them up before building the table.
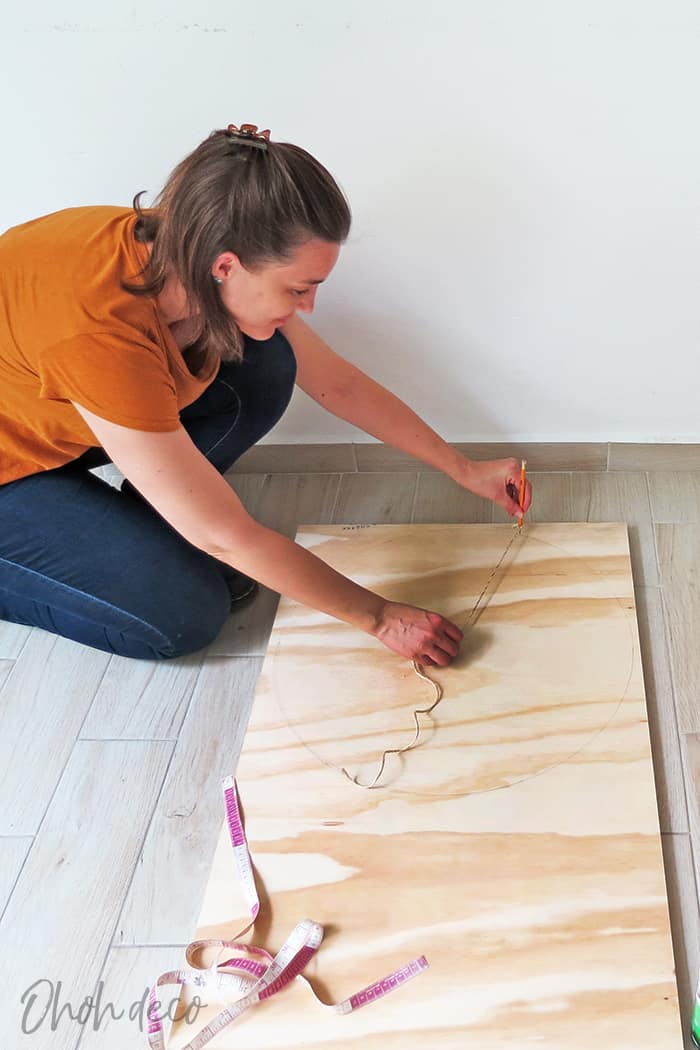

Start by making the table top. Trace a circle of 23 in. (60cm) on the plywood.
To trace the circle, use a pencil, a push pin and a twine rope. Attach the pencil with the rope. Measure the center of the plywood panel and place stick the pin in it. Attach the other end of the rope with the pin.
Check that the radius (aka distance between the pin and the pencil) is accurate and trace the circle.
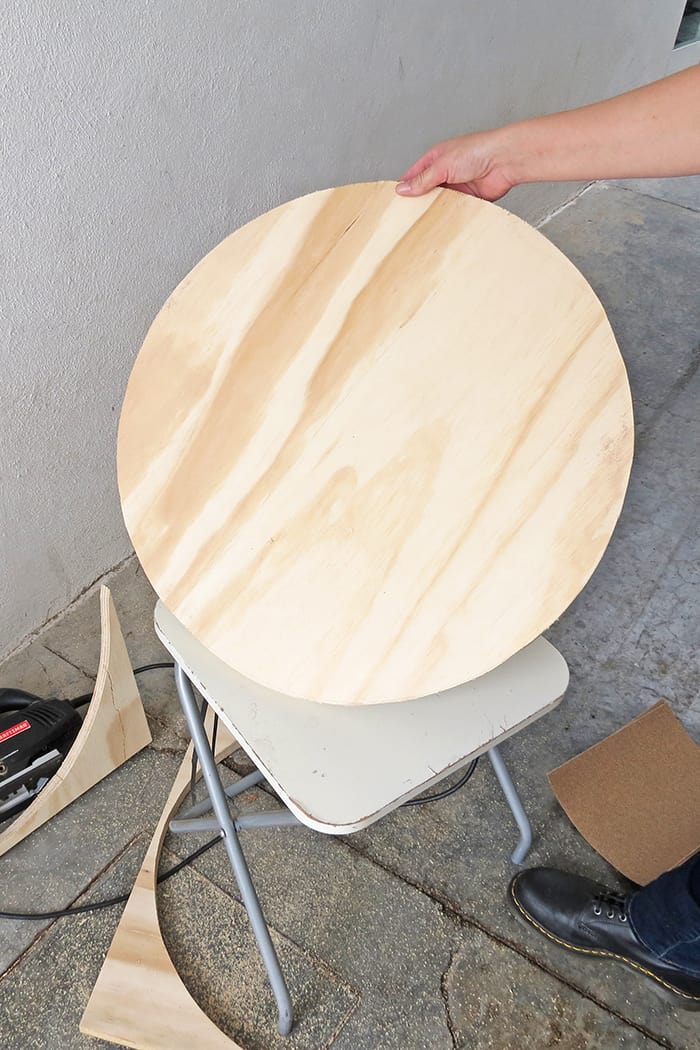

With the jigsaw, cut out the circle to make the coffee table top. Sand the edges.
If you don’t have a jigsaw or just don’t want to mess with power tools you can find already cut wooden circle plaques, like this one.
It comes in several diameters and thicknesses, so without a doubt, you will find the perfect fit for your round coffee table. You can check all the details here.
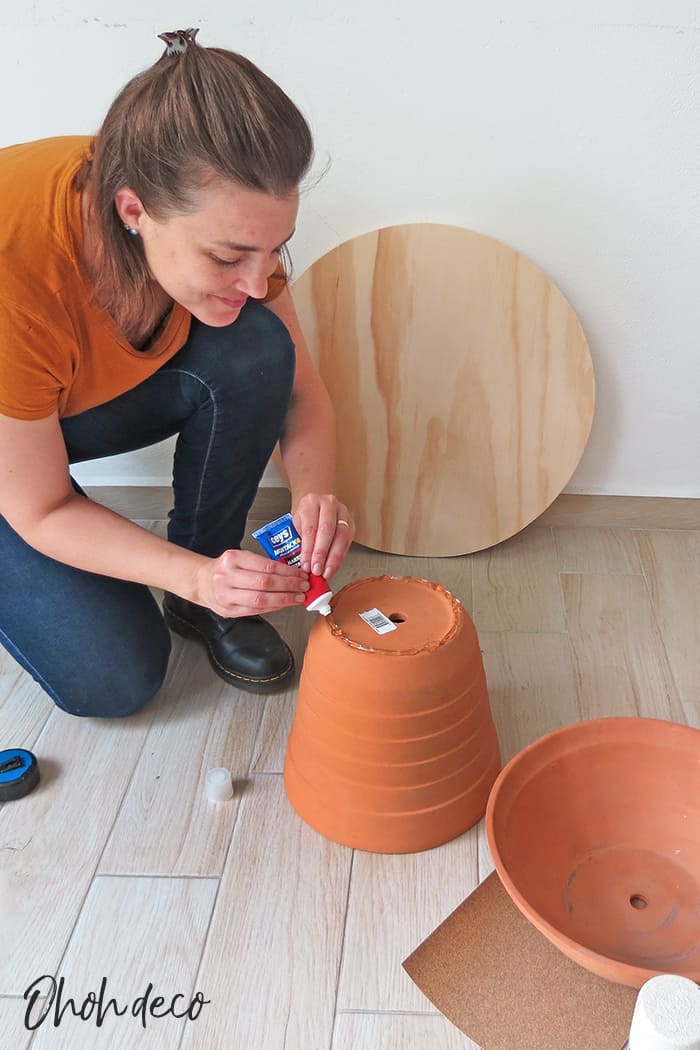
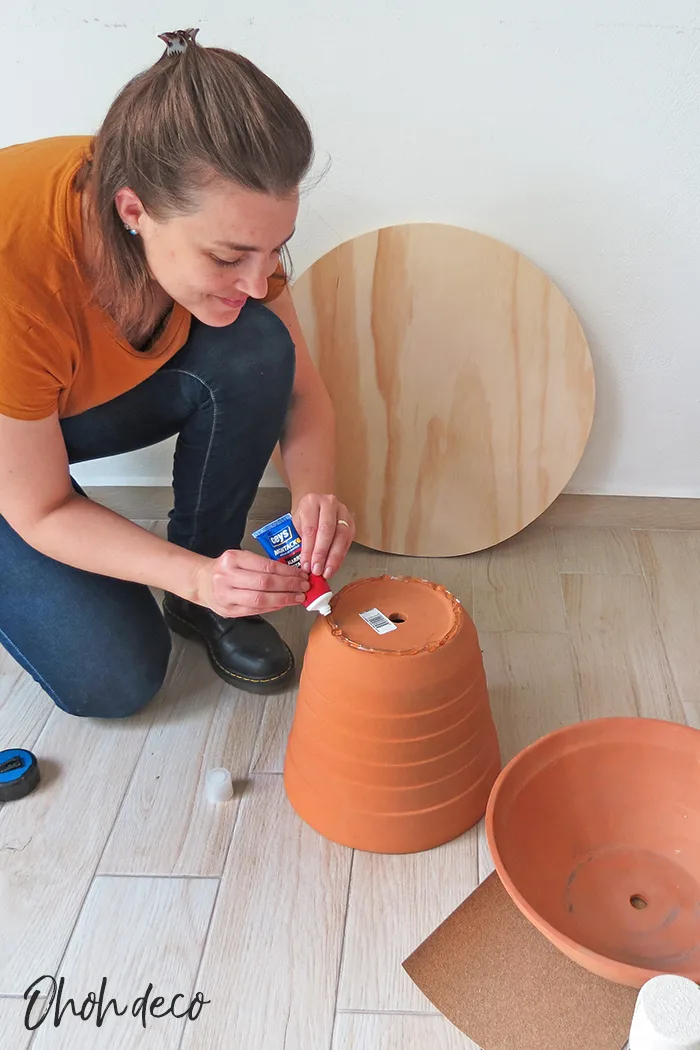
Time to make the coffee table base. Take the first planter and place it upside down. Apply a thick layer of glue on the pot base.

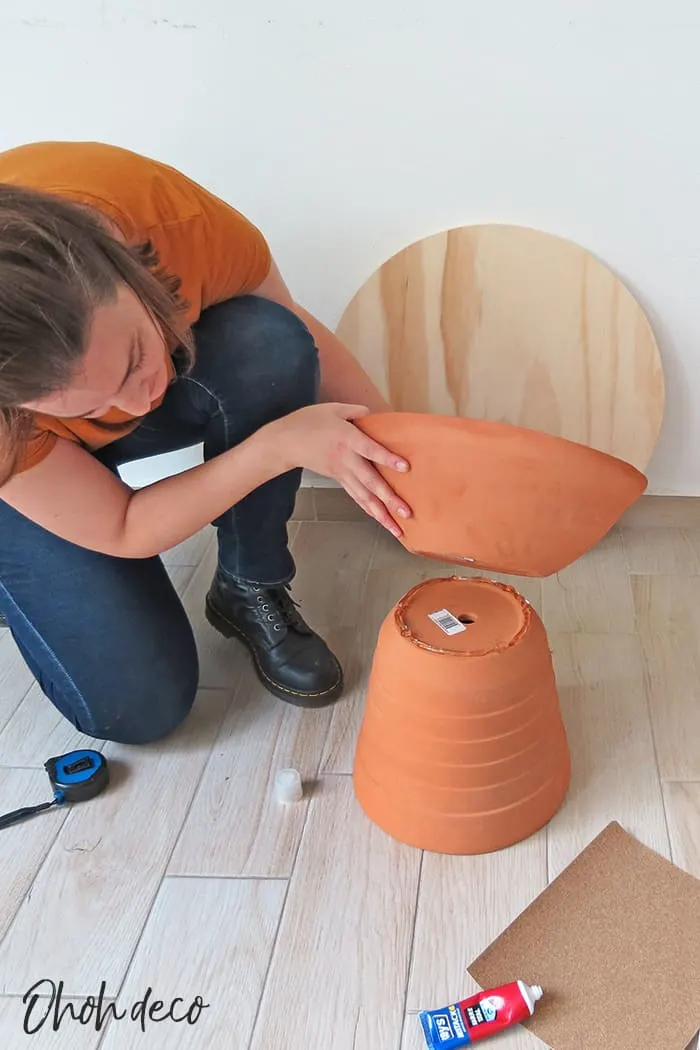
Place the second planter on top of the first one. Align the bases and press.
Smooth the excess glue with your finger. Try to spread the glue well so the union between the two planters is perfect without any gap.

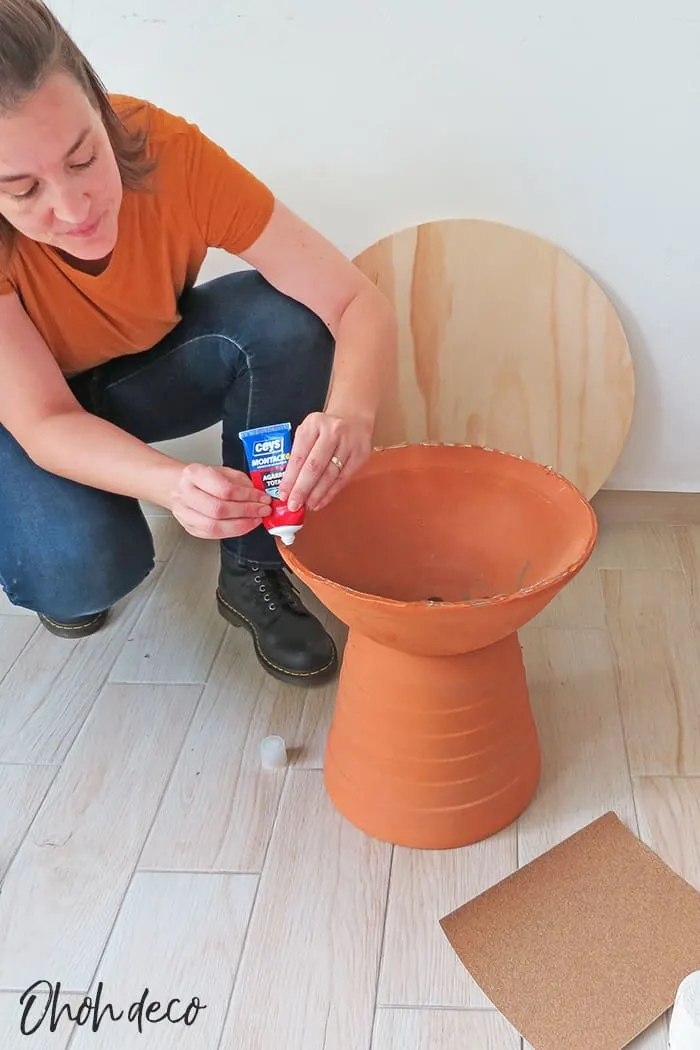
Add glue on the edge of the top planter.
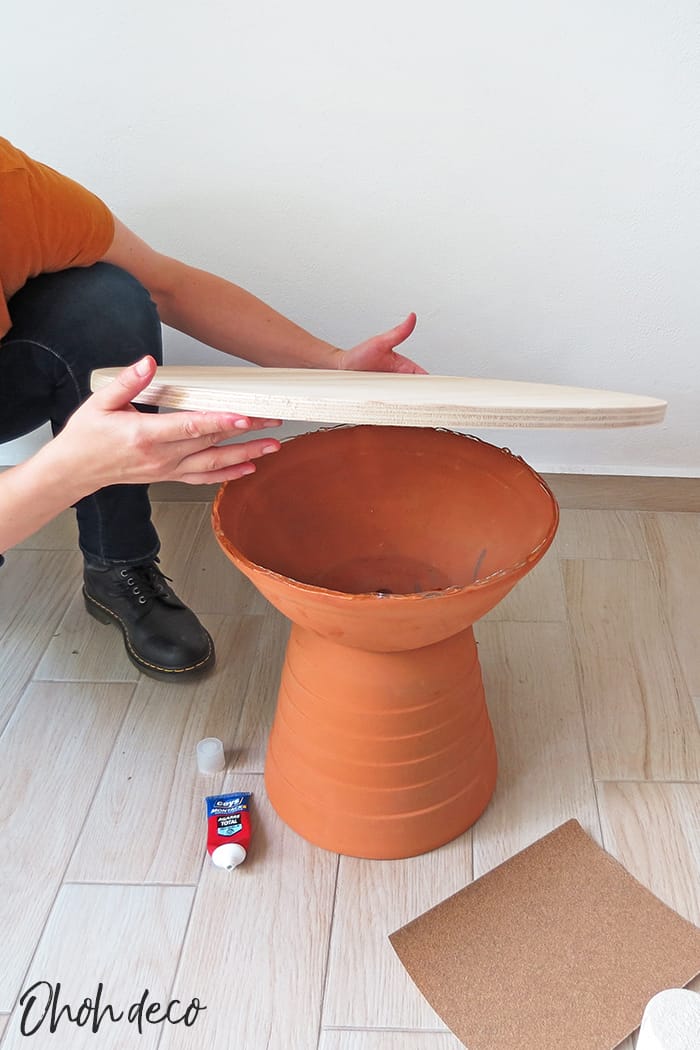

Glue the plywood top on the coffee table base. Check that the top tray is centered on the base and press to ensure good adhesion.


Put some weight while the glue dries.
I think I use my architecture books more often to hold glued things up than I read them.
RELATED: Fitted table cover, the easy DIY
RELATED: How to build a simple room divider

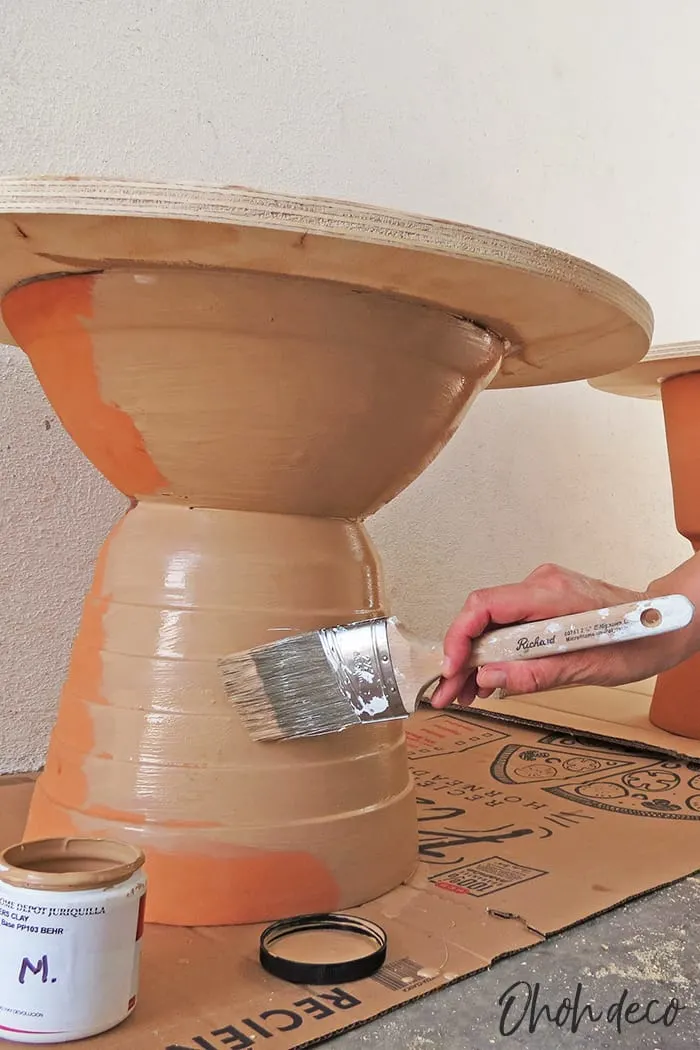
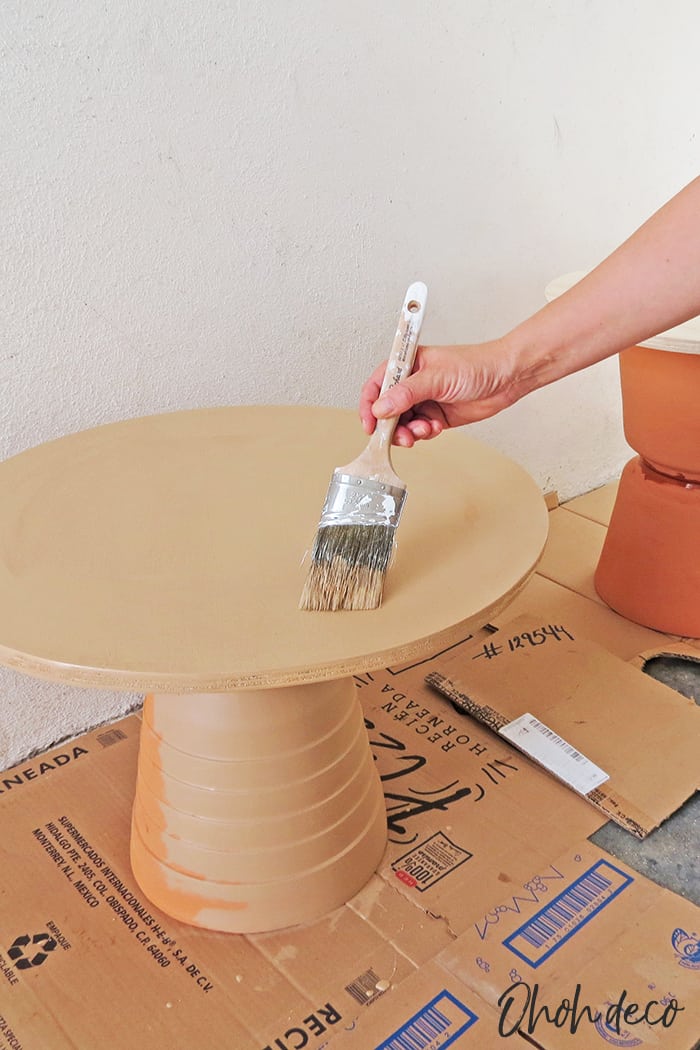
I wanted the coffee table to be one color and with a nice stone finish. I painted the table base and tray with a color similar to the spray paint.
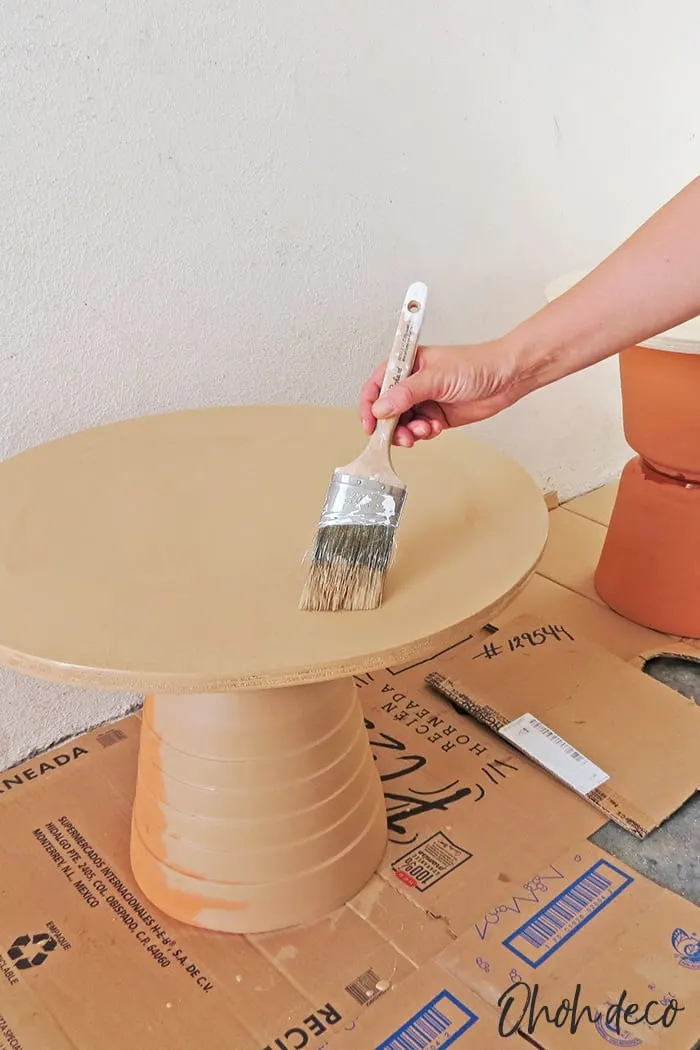
I used acrylic paint sample of my favorite brand and applied two coats.
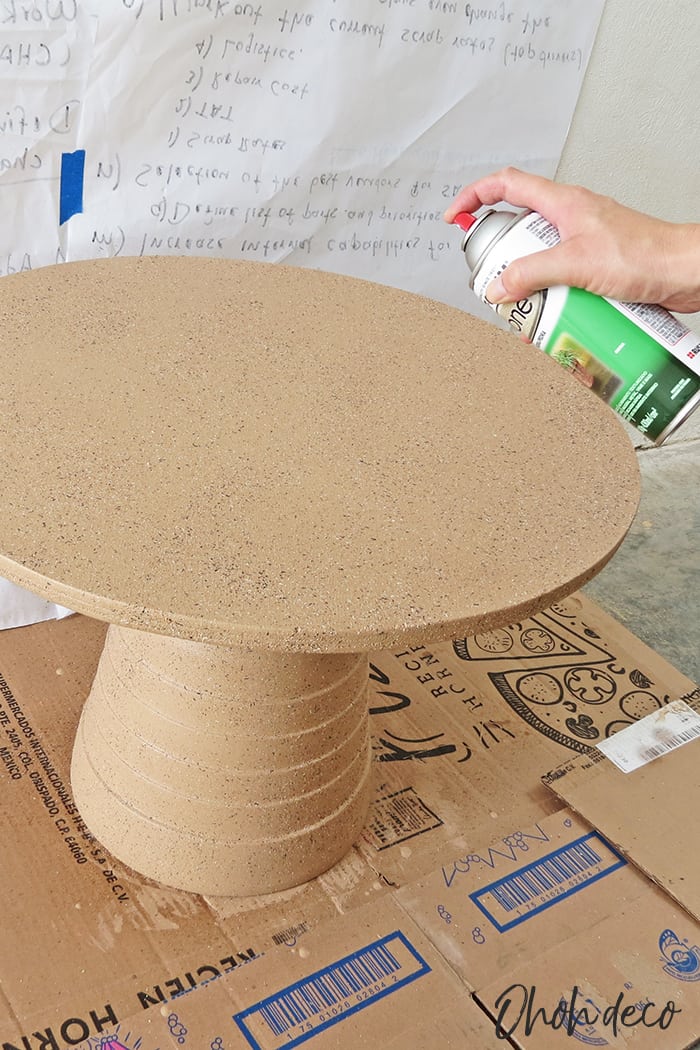

Once the acrylic paint has dried, I applied the stone finish spray paint. I used this brand and was amazed by the results.
It’s really an amazing product and it gives such a nice finish. I will surely use this pant again.
To have a nice and uniform stone finish apply the spay paint little by little and try to have the same amount of paint everywhere.
Started by painting the edges of the top tray, continued on the base, and finished with the tray. Wait for the paint to dry and touch up afterward if needed.

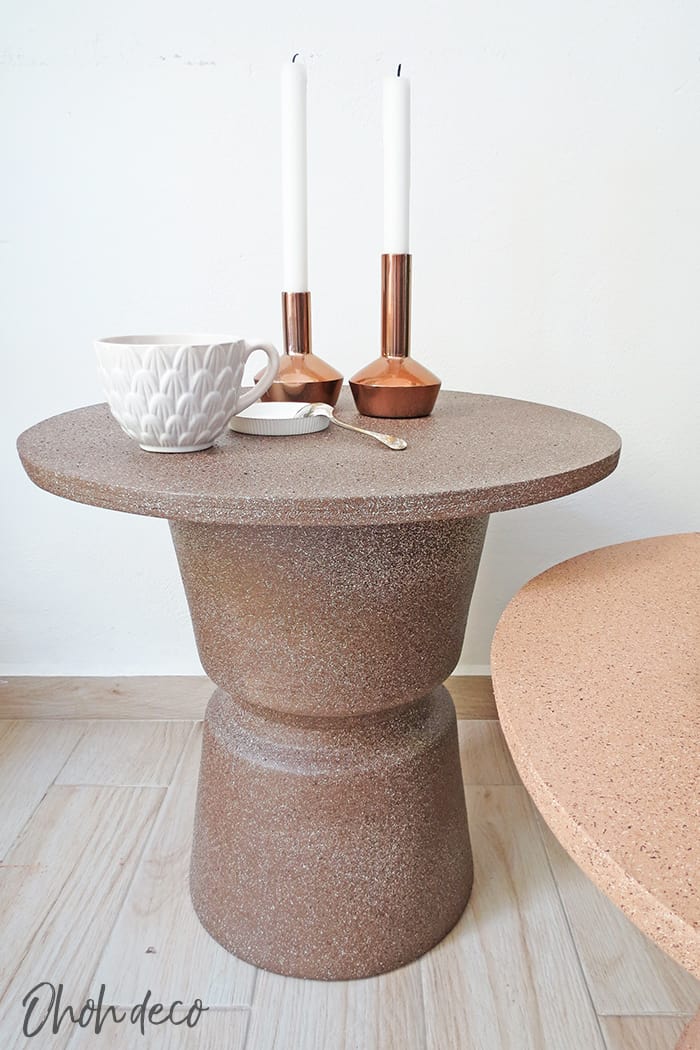
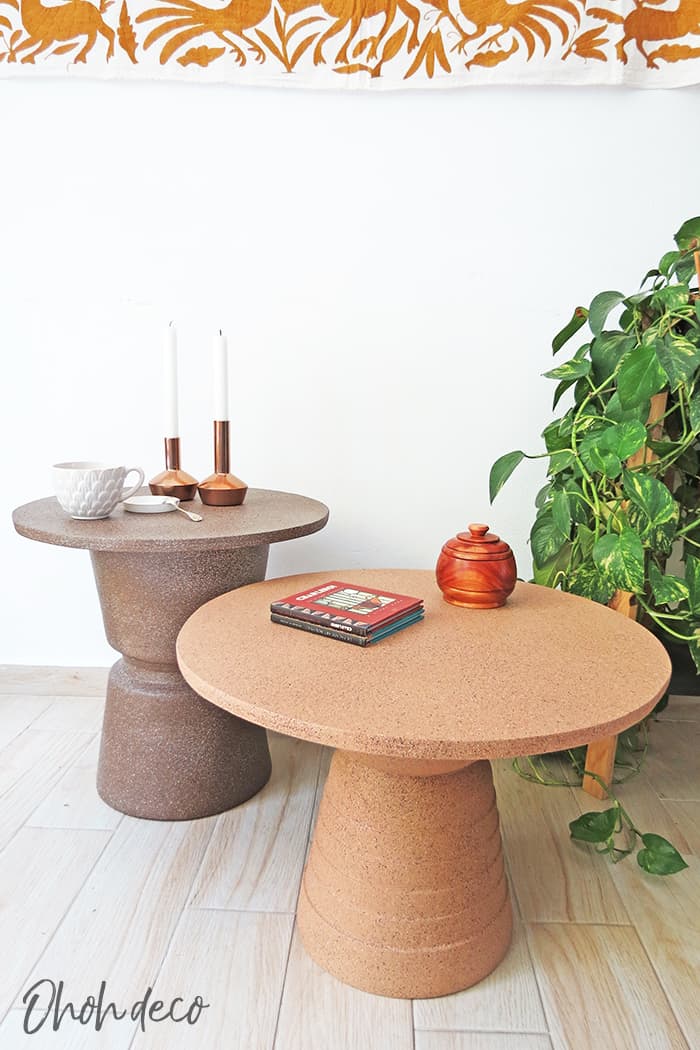
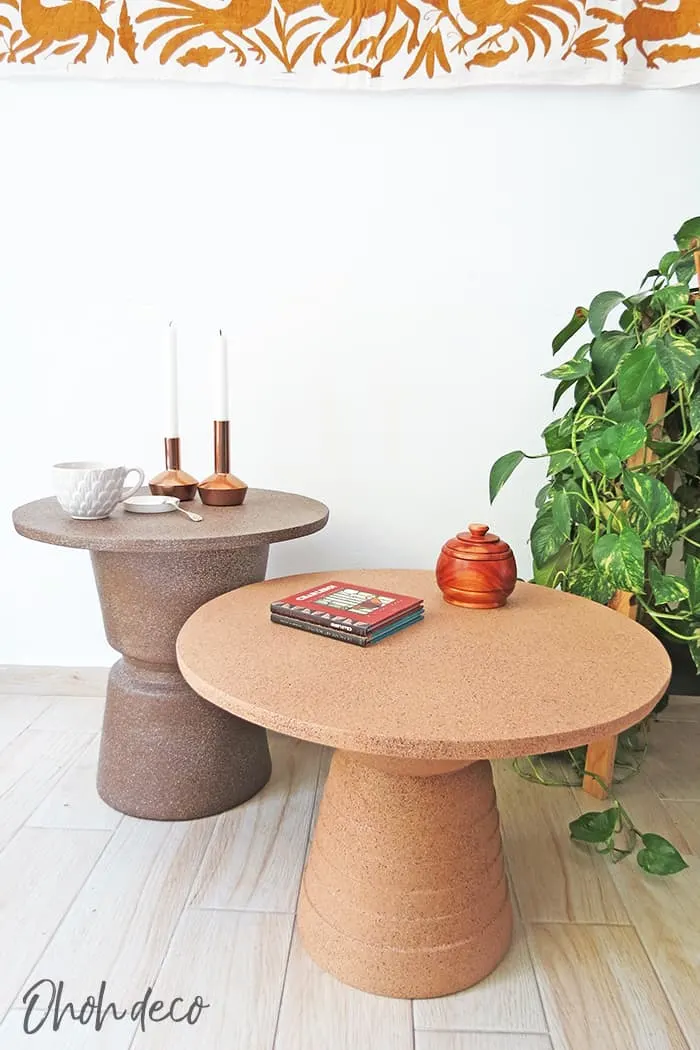
And done! Enjoy your new DIY round coffee tables!
RELATED: Furniture makeover / Renovación de un mueble
RELATED: Easy shelf unit makeover

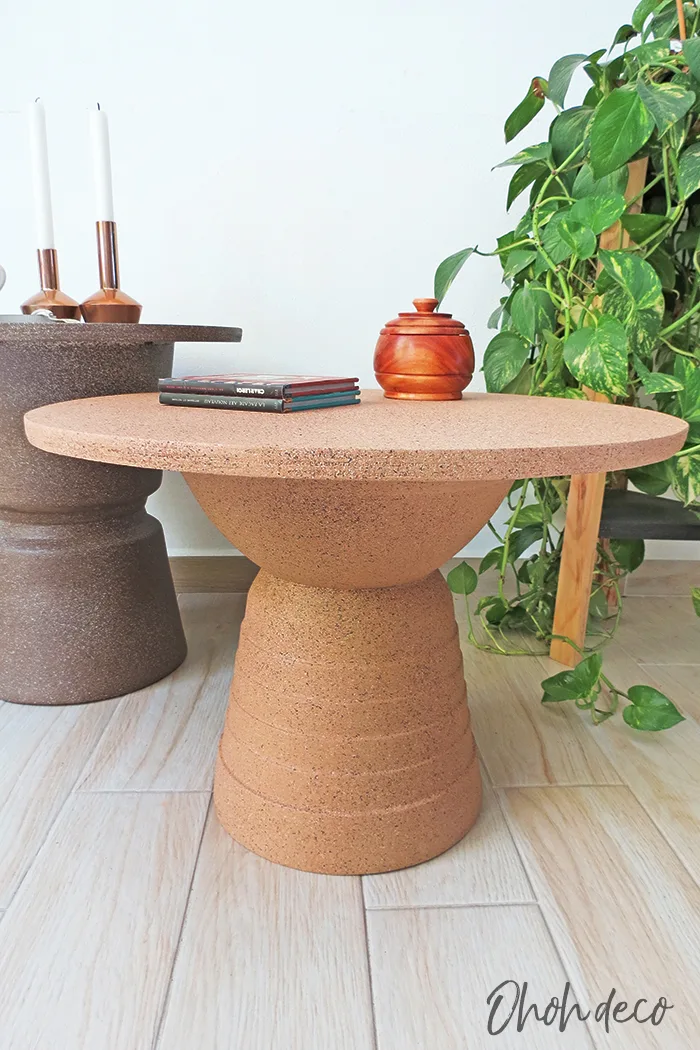


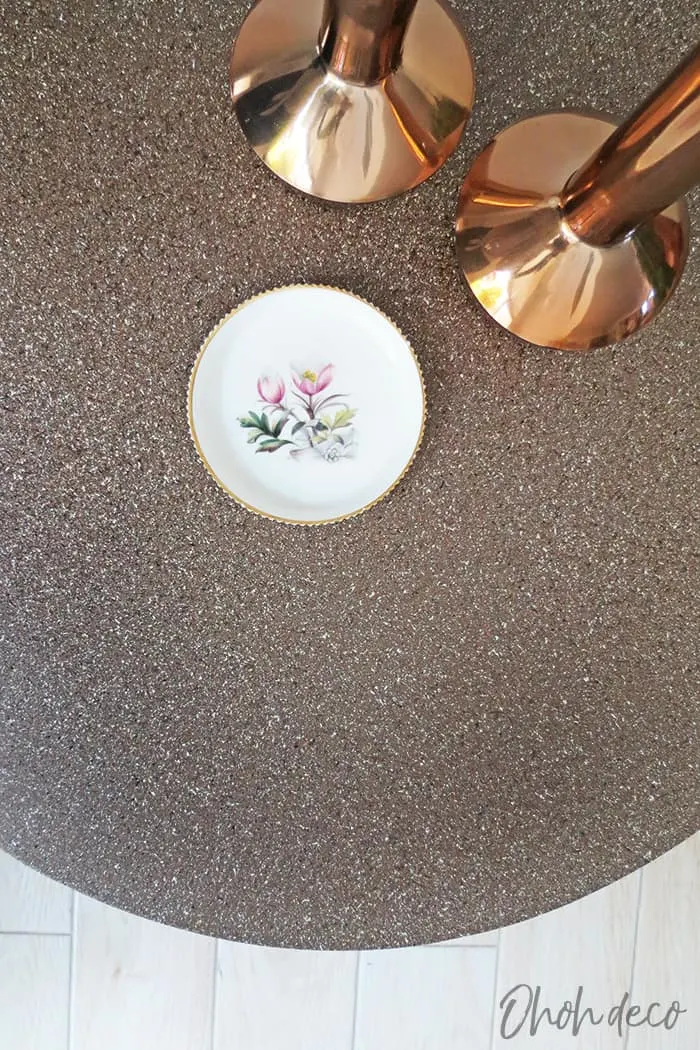
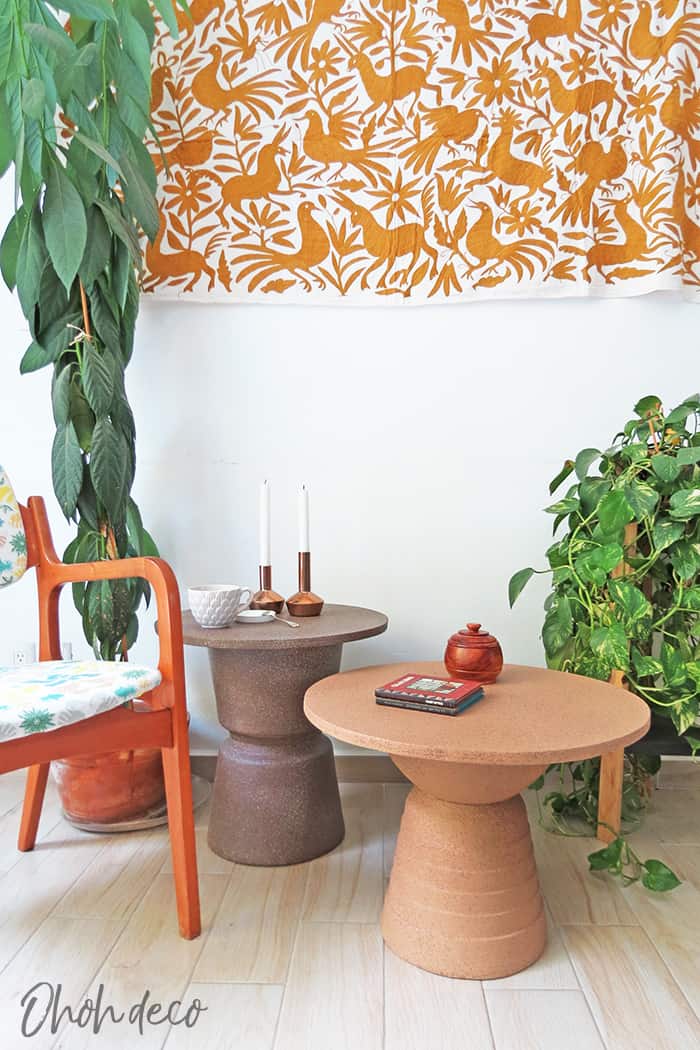
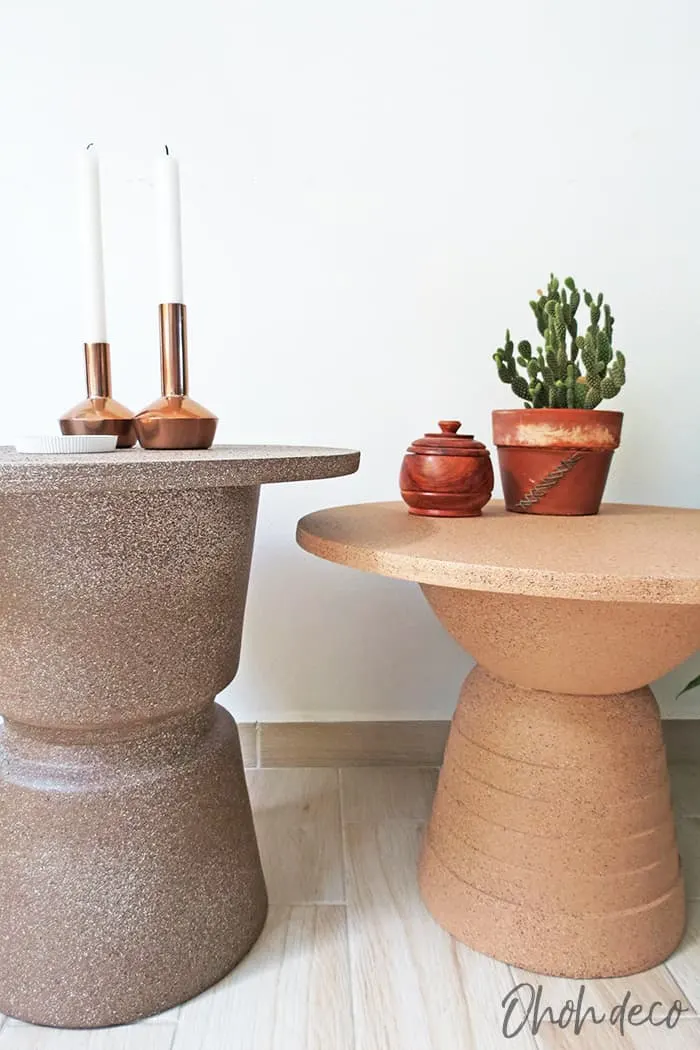
I love the texture the stone spray paint gave to the table. With the terracotta pots as bases the tables are quite heavy…it almost feel like real stone! 😉
I put the tables in my living room but I think these would makes a great outdoor coffee table too. To use them outside I would probably add 2 coats of varnish for better protection of the wood tray. Let me know if you try 😉


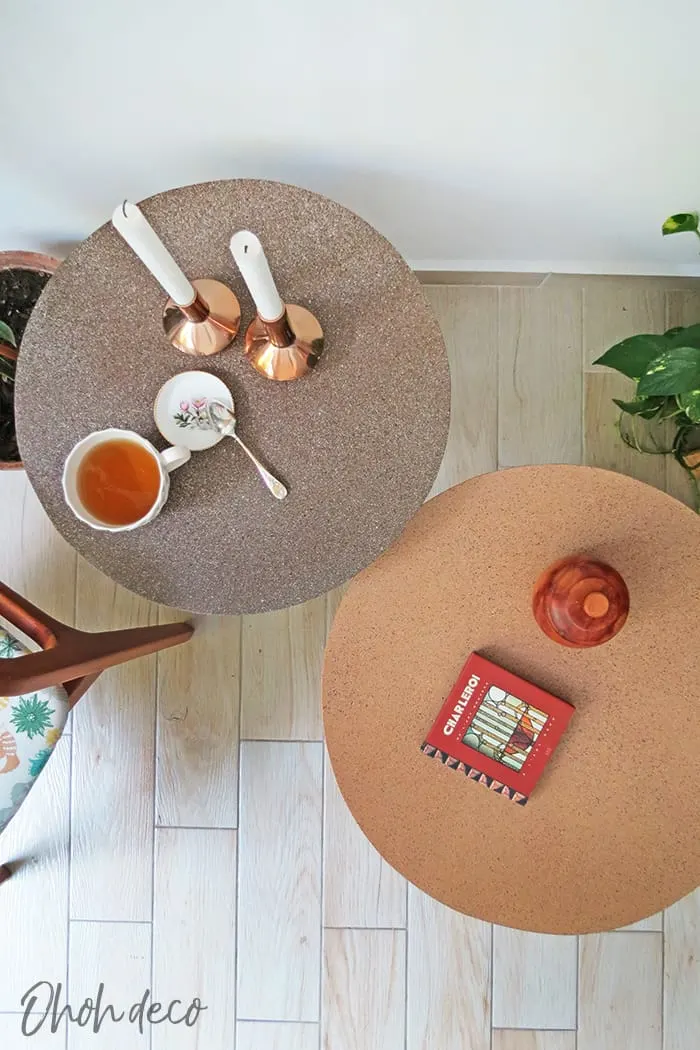
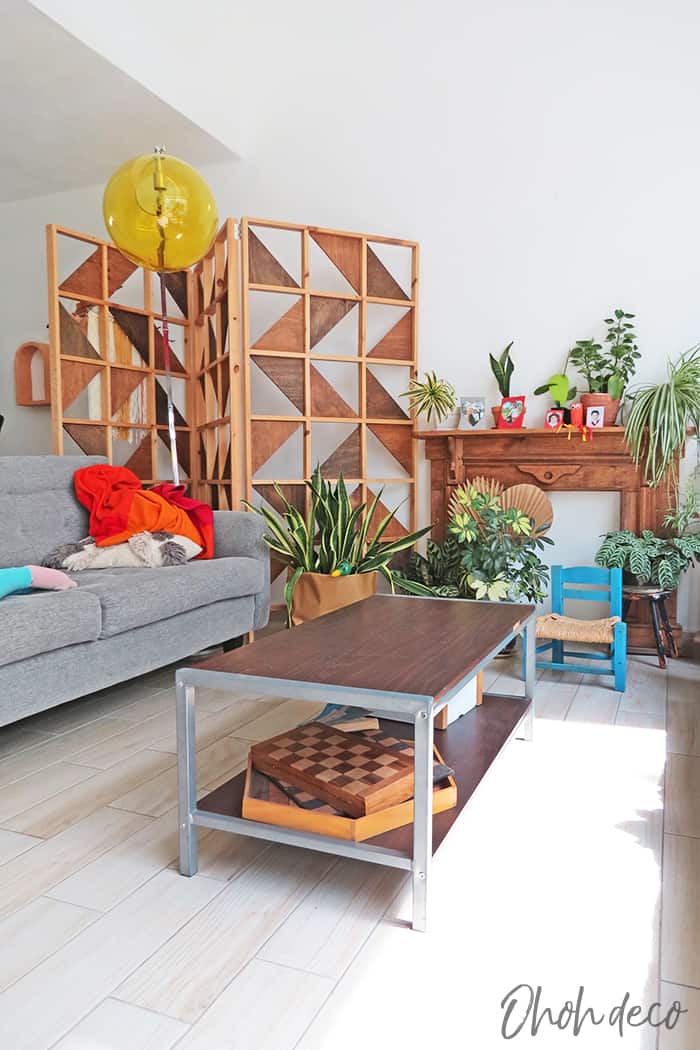


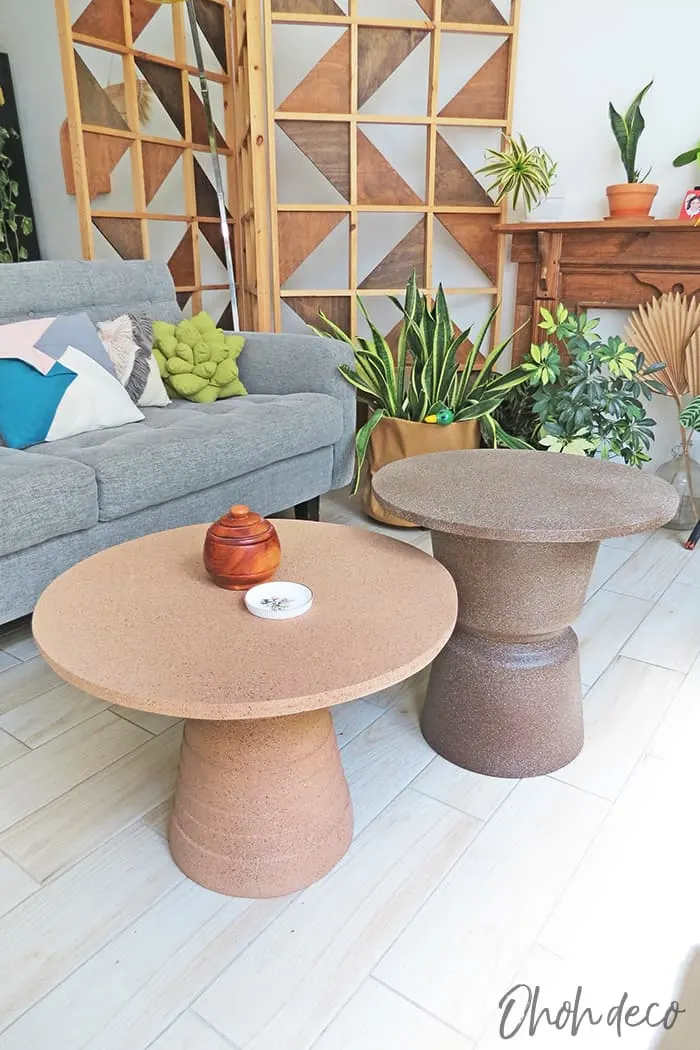
And a pic of the living room with the new tables. Which version do you prefer?

Watch the video to make the DIY round coffee table
Don’t miss the fun. Follow Ohoh deco on Youtube and be the first to find out about the new DIY and crafts ideas.
Want to remember it? Save this DIY round coffee table on your favorite Pinterest board.

Amaryllis
momentsofwonder
Friday 29th of October 2021
I am so inspired by you! such a creative lady! just hoped some time ago into this amazing blog and...I think it's soooooo good! god bless.
amaryllis
Thursday 25th of November 2021
Thank you so much for your nice comment, you make my day! If you give a try making some of the DIY, please tag me on Insta @ohoh.deco so I can see your creations ;)
Olga
Sunday 18th of July 2021
Love this DIY!! Thank you for sharing
amaryllis
Tuesday 27th of July 2021
Thank you so much Olga! I was such a fun DIY to make!
Judith
Sunday 18th of July 2021
Very cool tables! Thanks :)
amaryllis
Tuesday 27th of July 2021
Thanks Judith! I'm thrilled with these tables too. They turns out even better than I expected!
Mam'
Thursday 15th of July 2021
Super ces petites tables et quel effet !
amaryllis
Friday 16th of July 2021
Oui je suis super contente! Merci!