
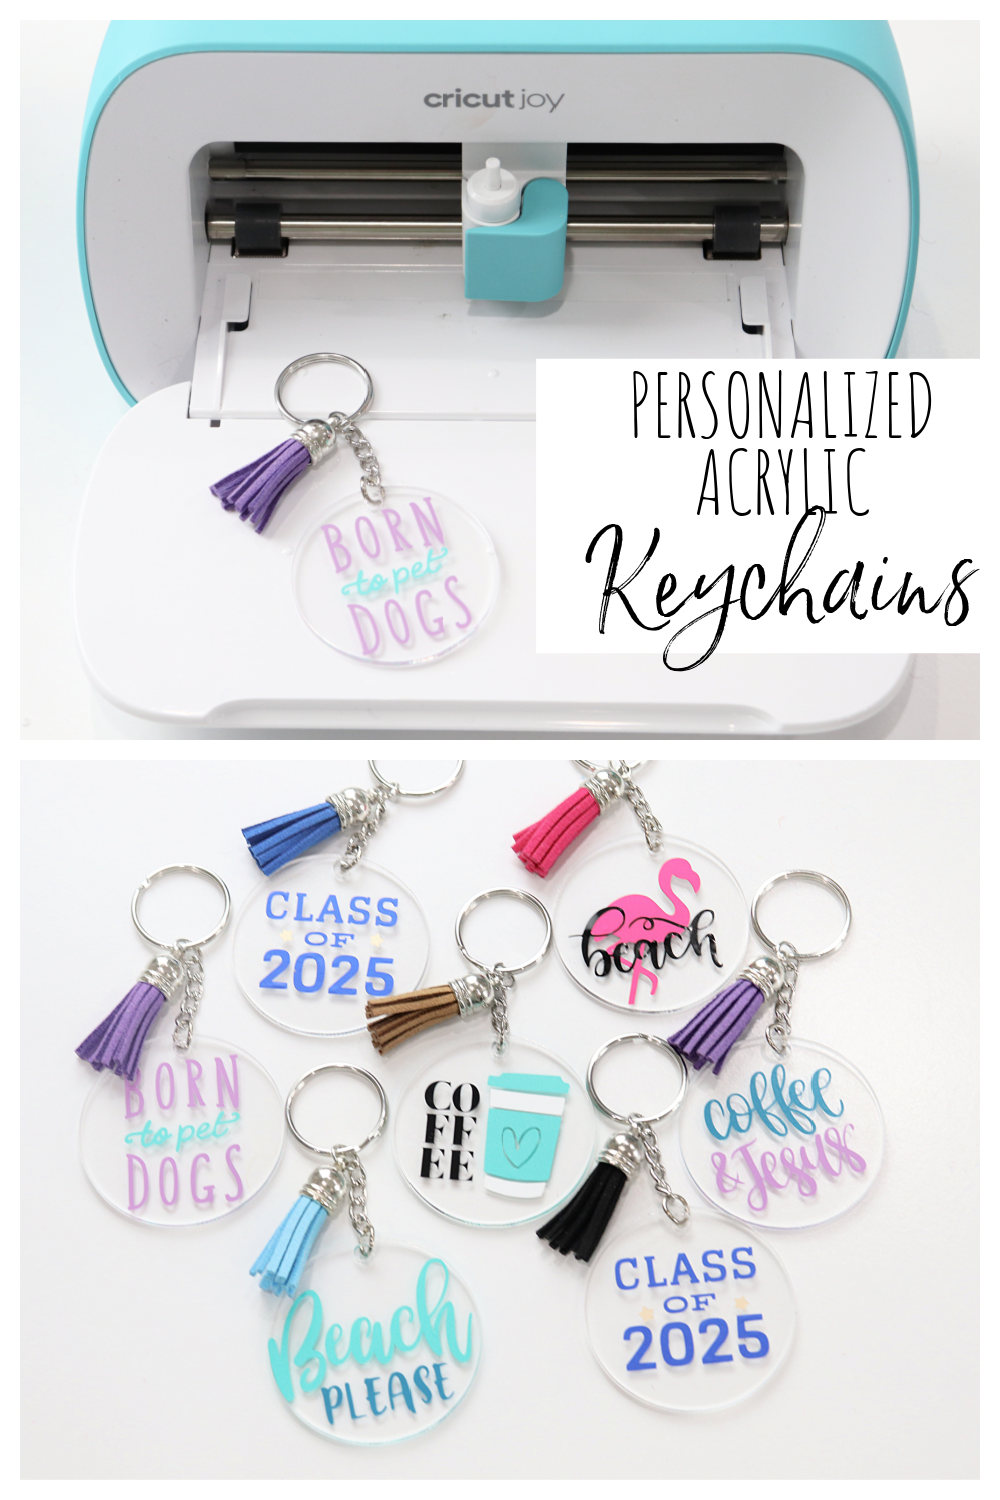
DIY Personalized Acrylic Keychains
I don’t know about you, but I love making personal gifts for the people in my life. One very simple gift that can be customized for literally anyone is a keychain. Dads, grads, BFFs, moms, grandparents, kids, and neighbors will love this useful and personal present. Plus, personalized acrylic keychains are incredibly inexpensive to create. Take a look.
Personalized Acrylic Keychains
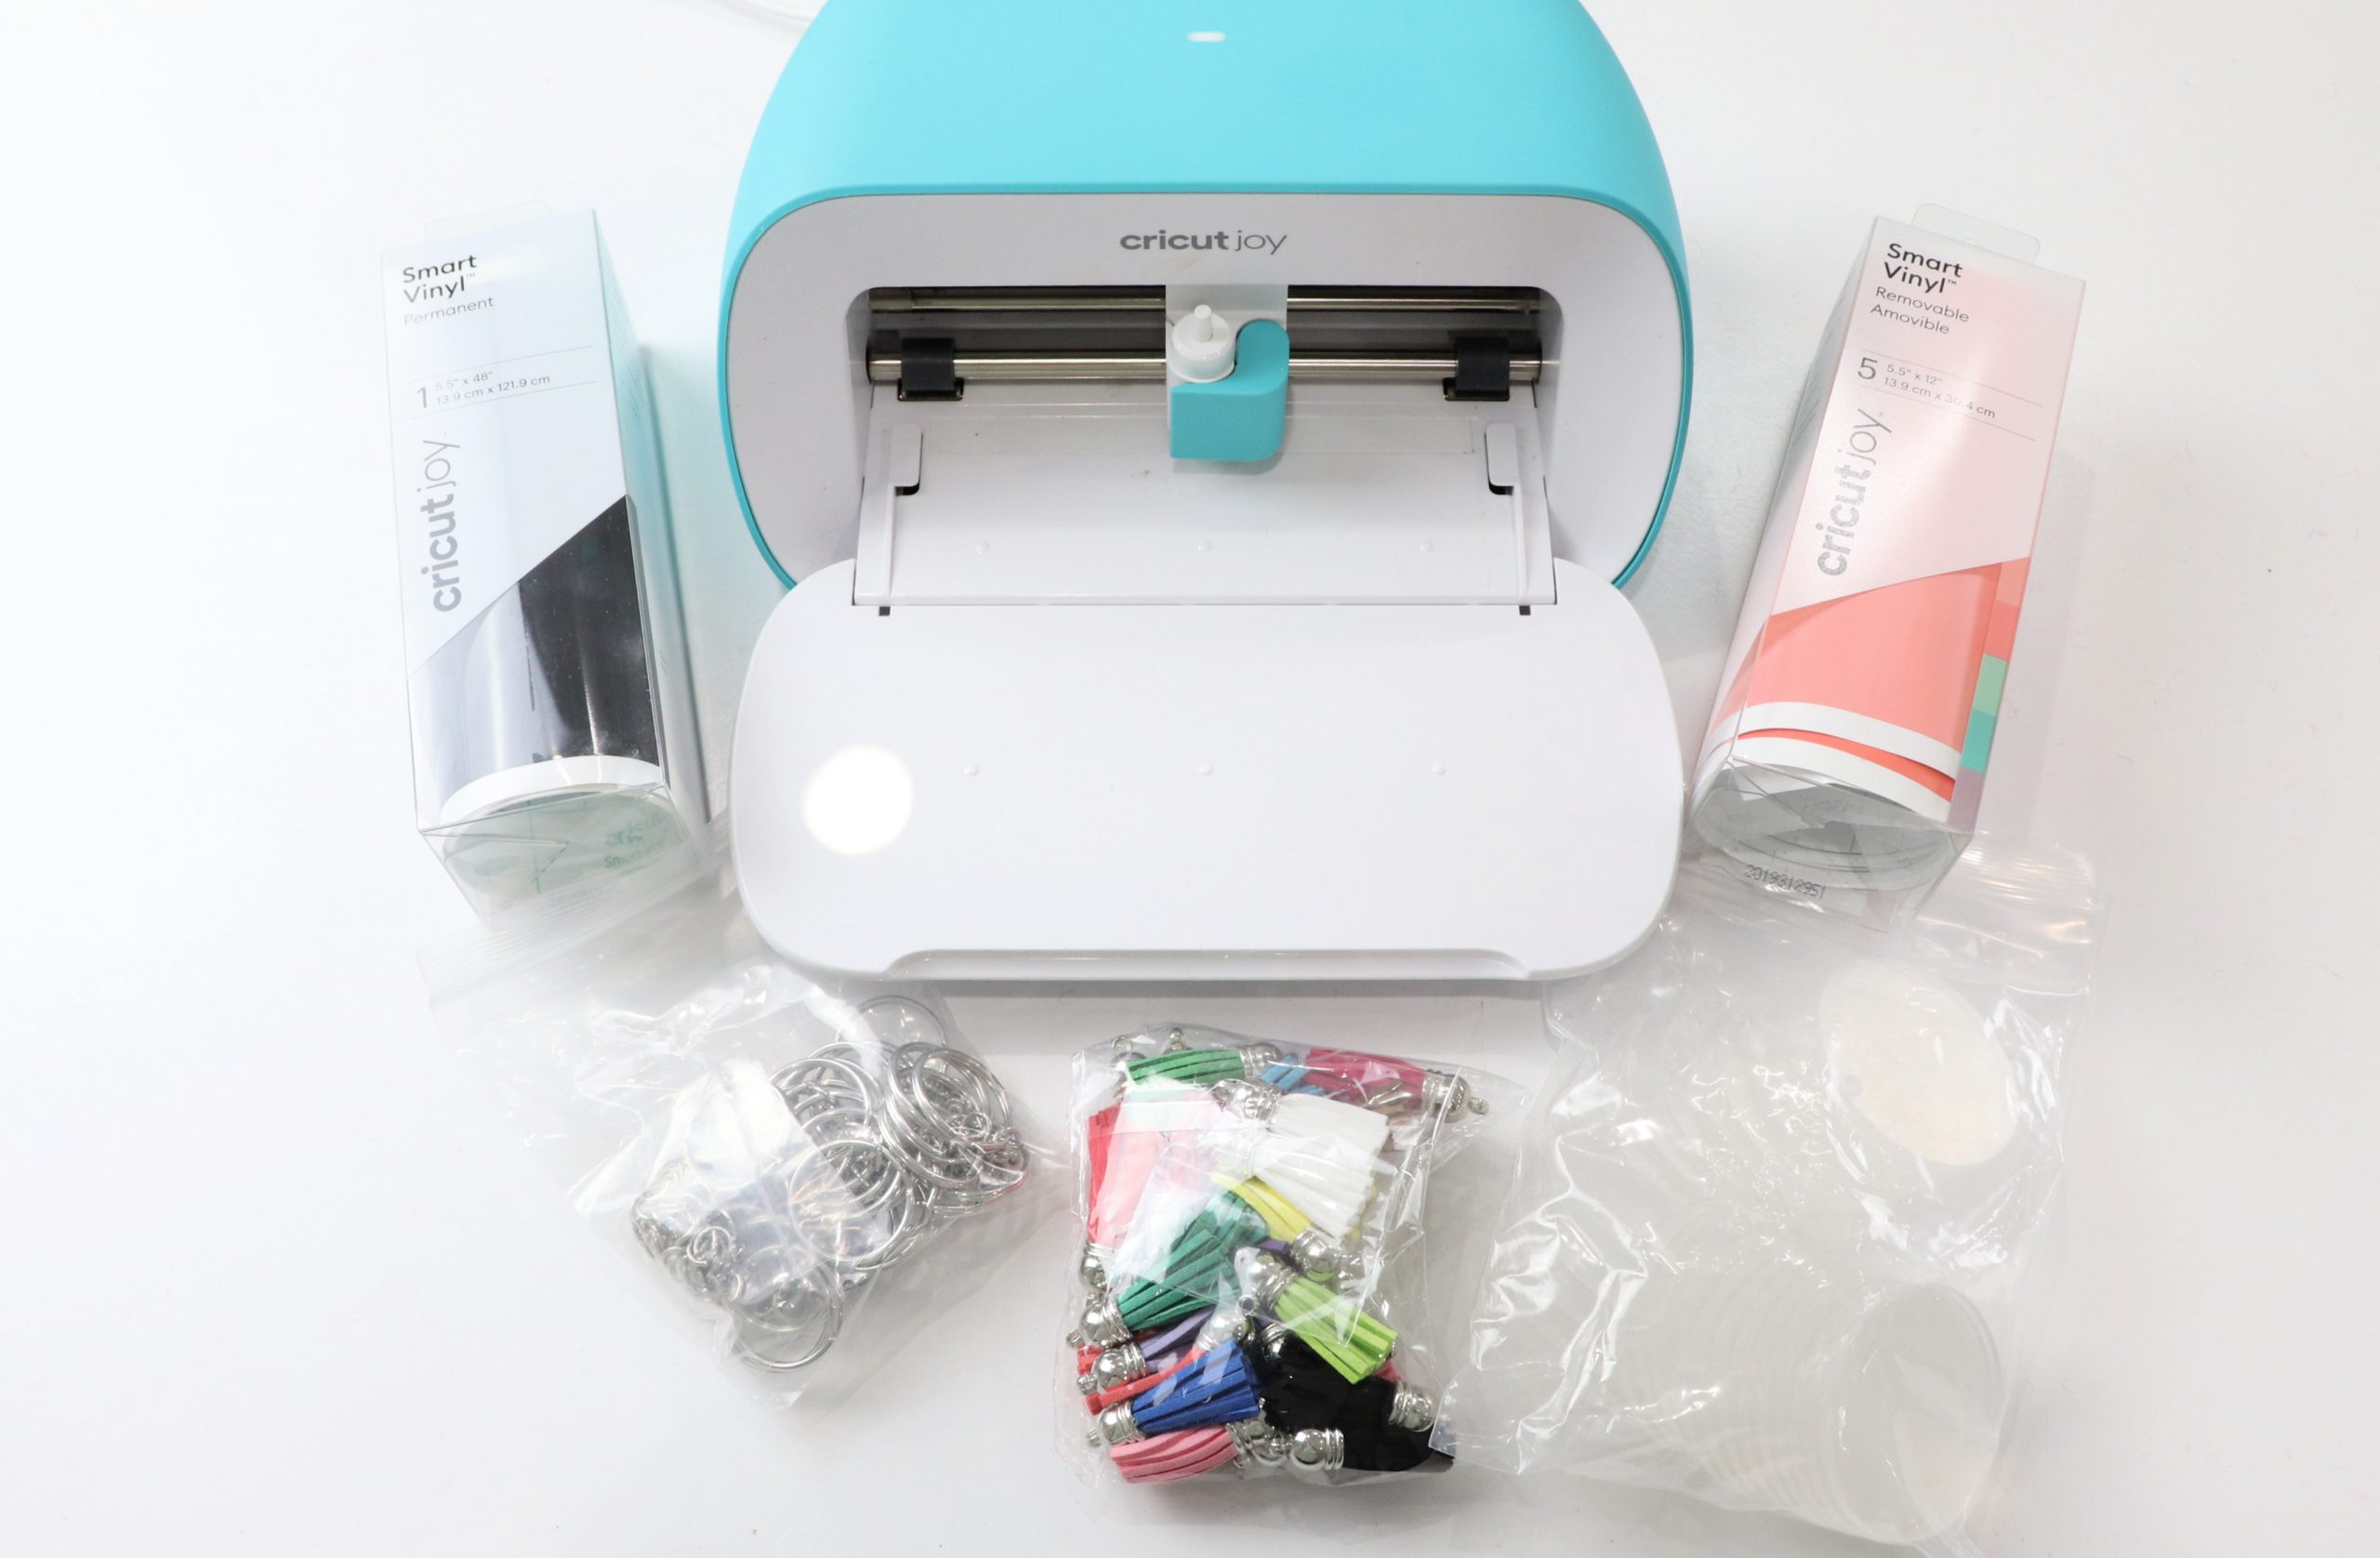
You’ll need:
Acrylic Keychain Blanks Kit (includes 30 each of blanks, chain, jump rings, tassels, and key rings)
Cricut Joy (or Explore Air 2/Maker)
Smart Vinyl, assorted colors
Cricut Design Space App
Pliers
Step 1: Choose and size your design.
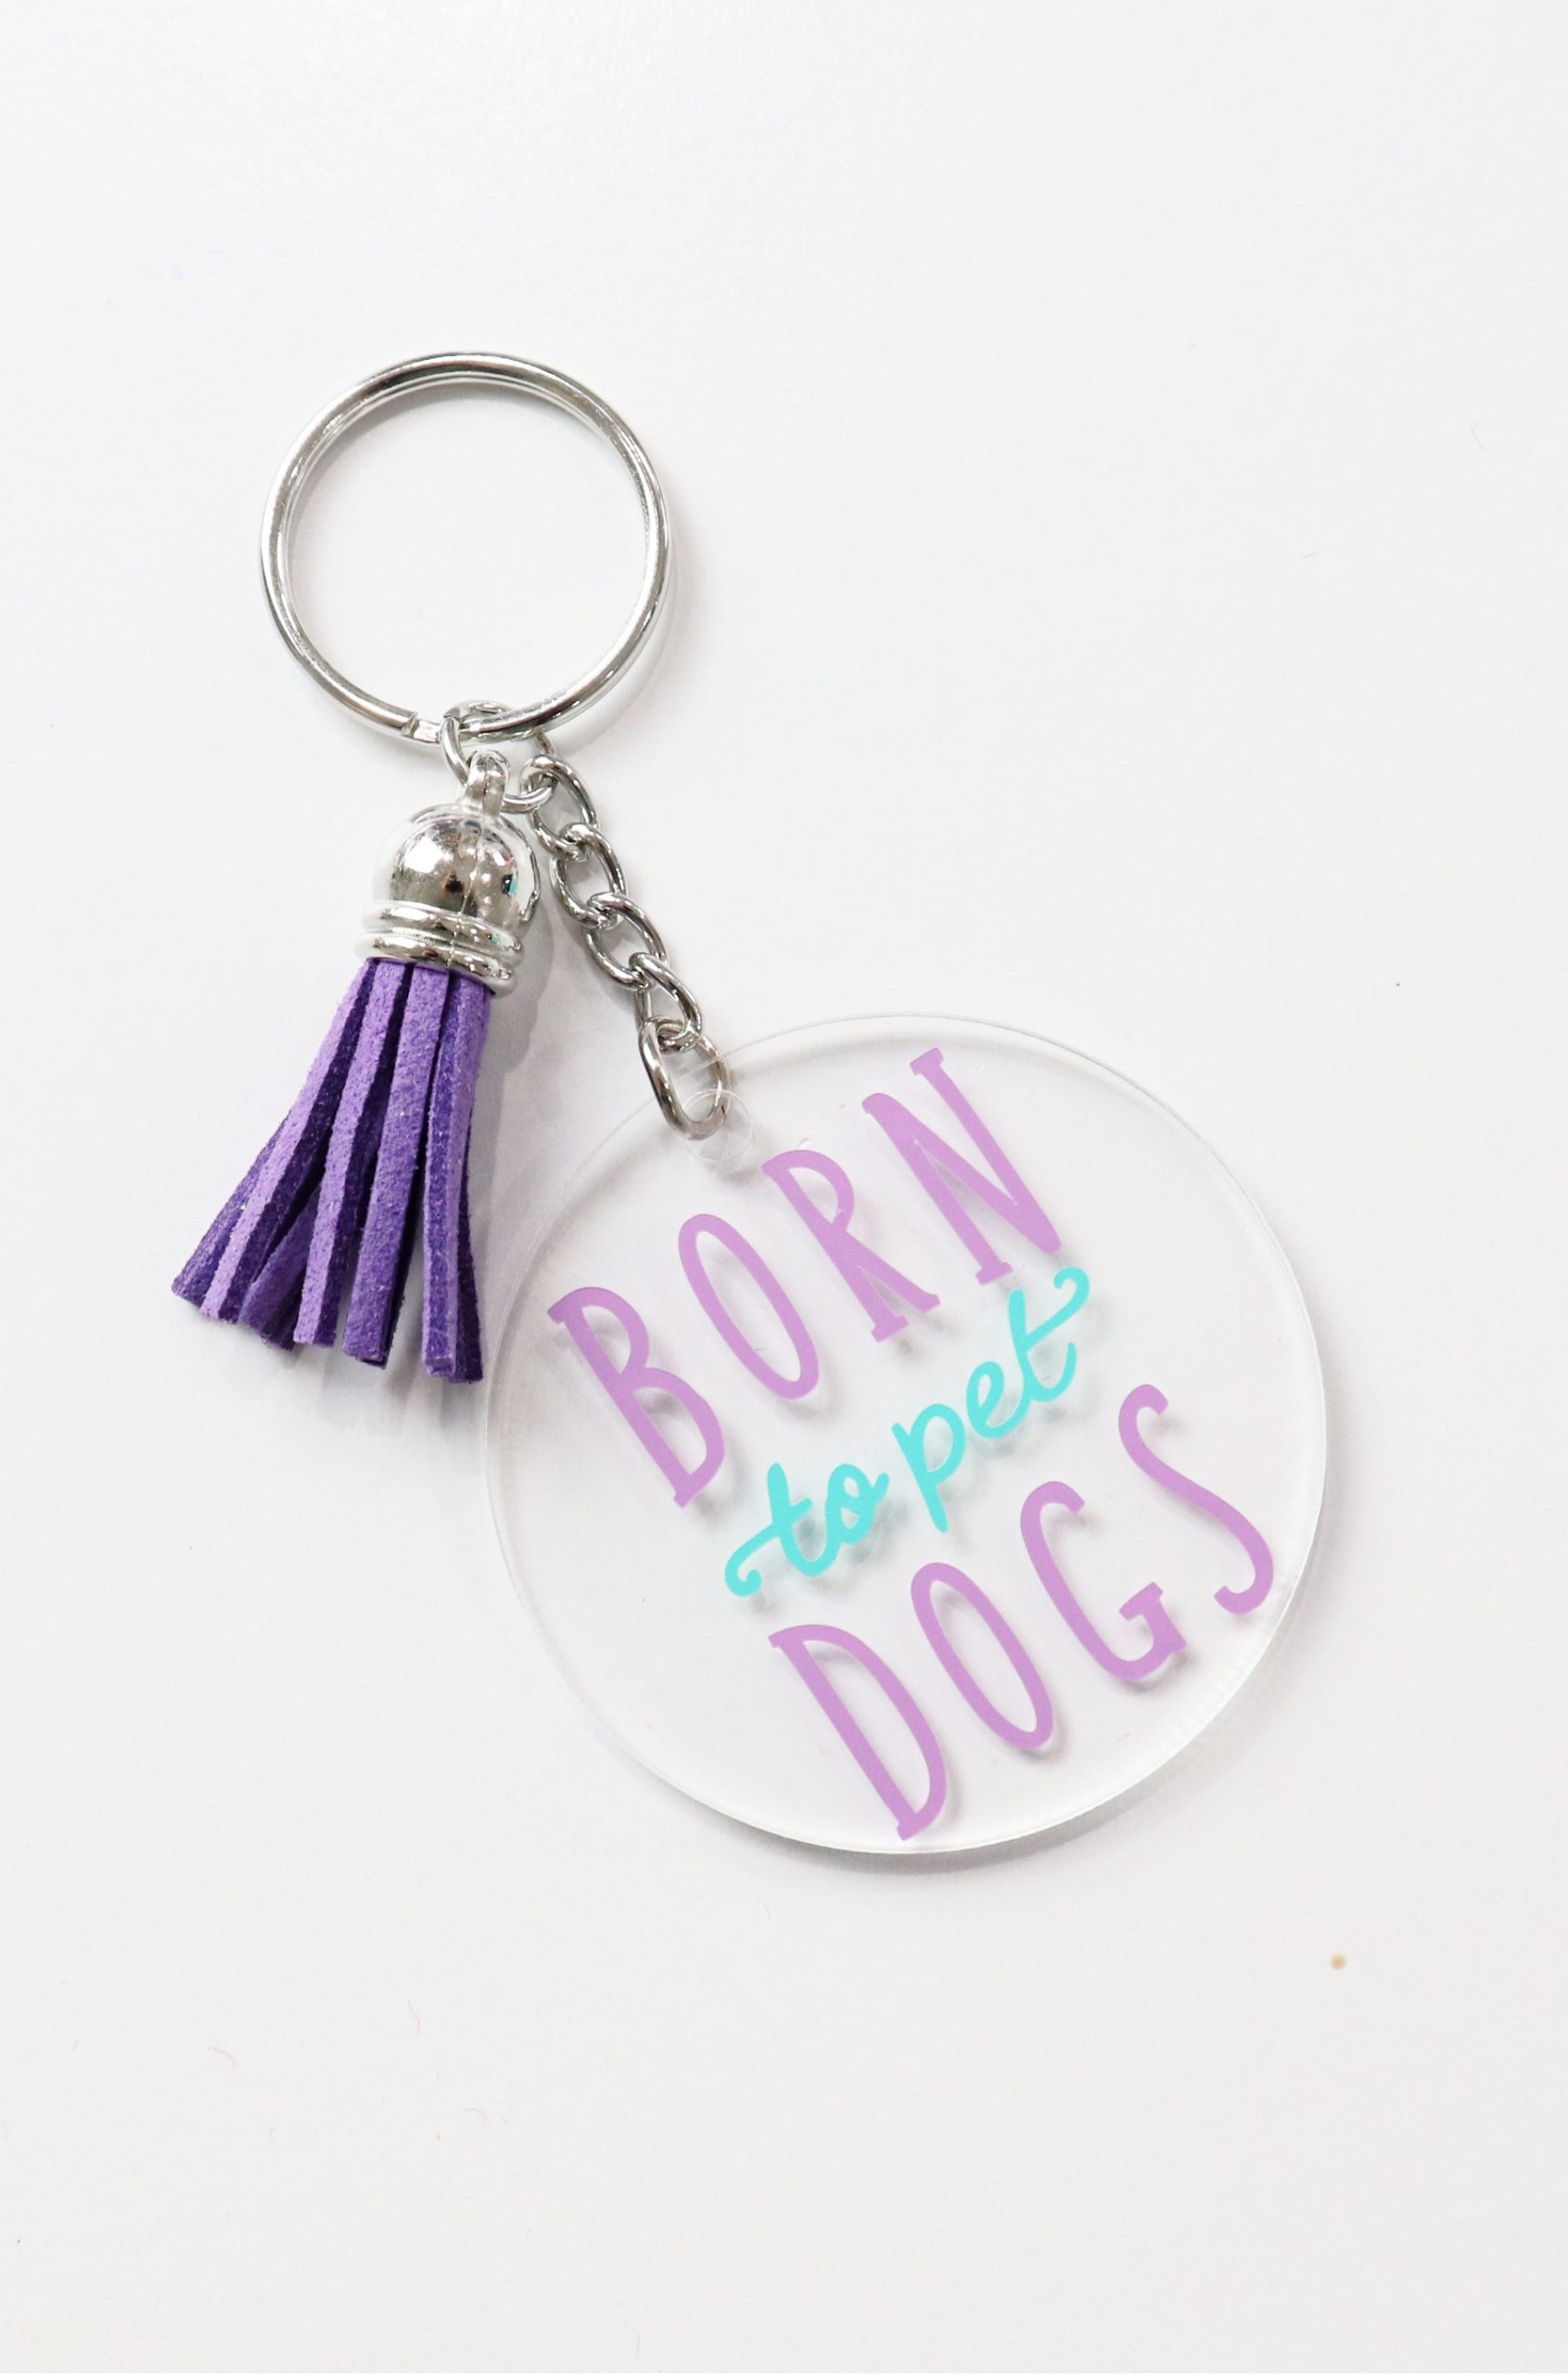
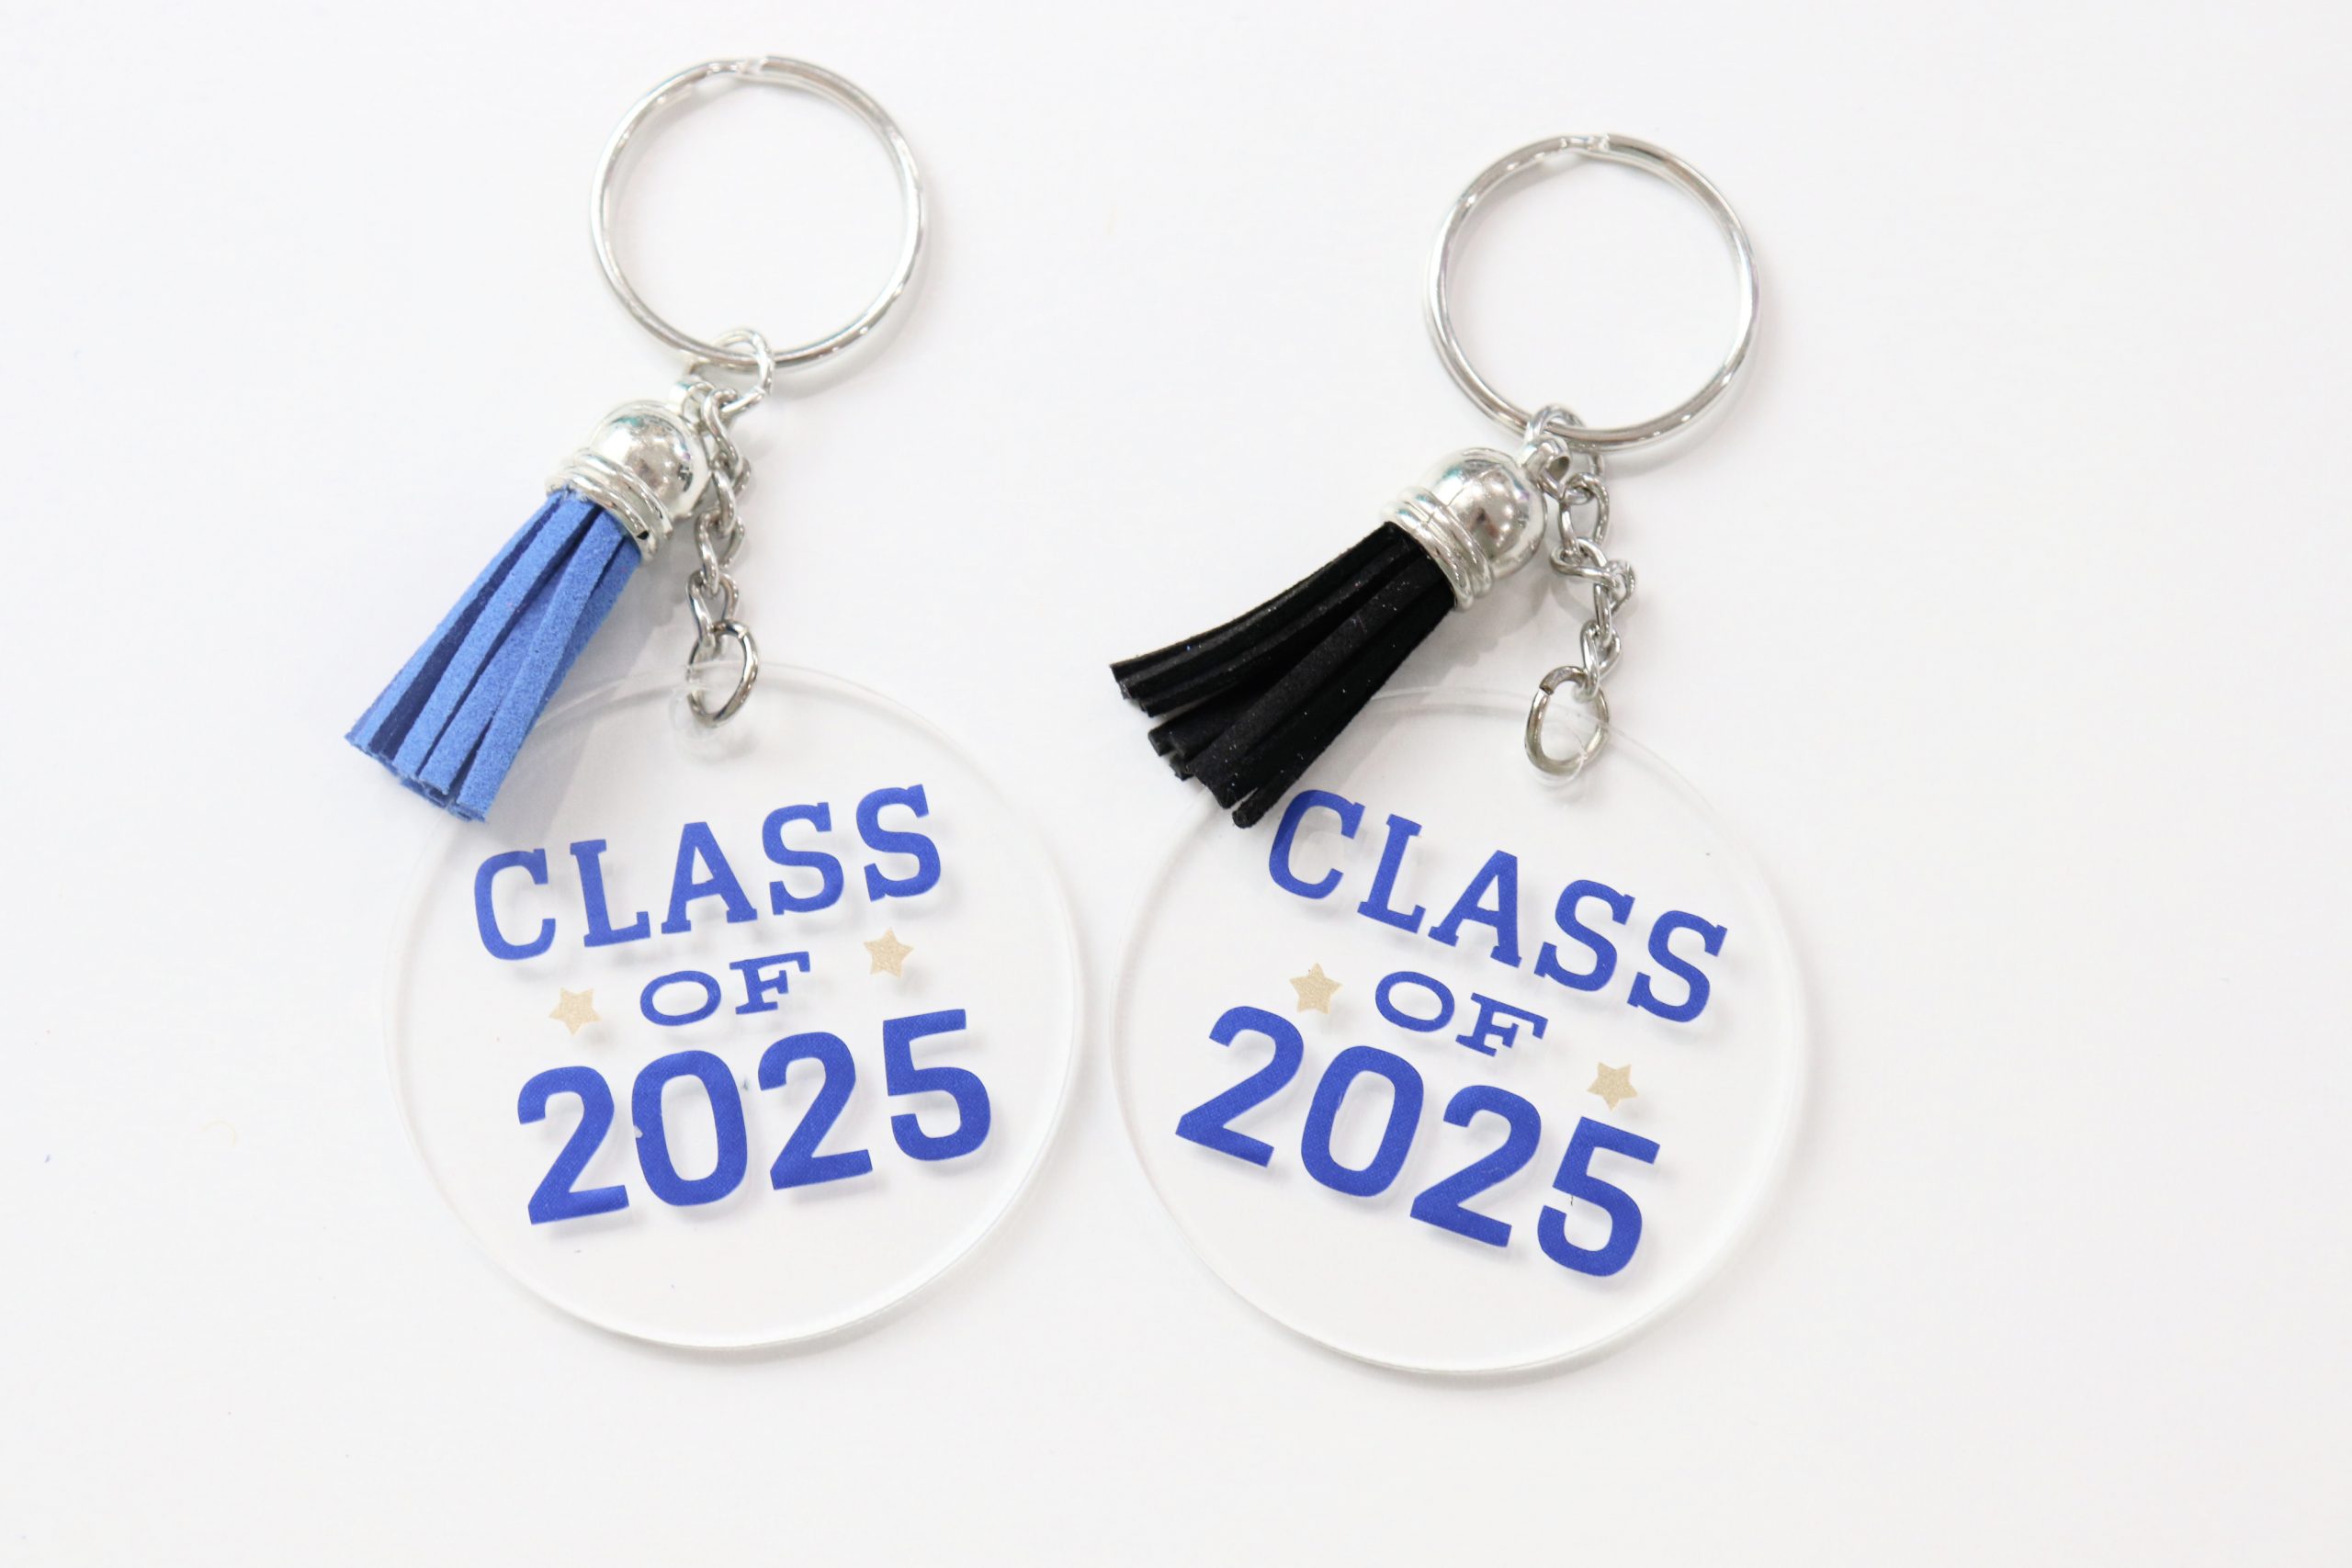
Open the Design Space app, then browse the hundreds of images and phrases it contains to find the perfect one for the person who will receive your keychain! I used everything from coffee and beach themed sayings to a “Class of 2025” image to celebrate my boys’ 8th grade graduation. I also chose one for myself that says “born to pet dogs.” There really is a little bit of everything to choose from; just search by word, phrase, or topic, then pick your favorite and insert it onto your canvas. Of course, you can also upload or create your own images too! Then, size the image to fit your blanks. Mine needed to be no more than 1.5″ wide and tall.
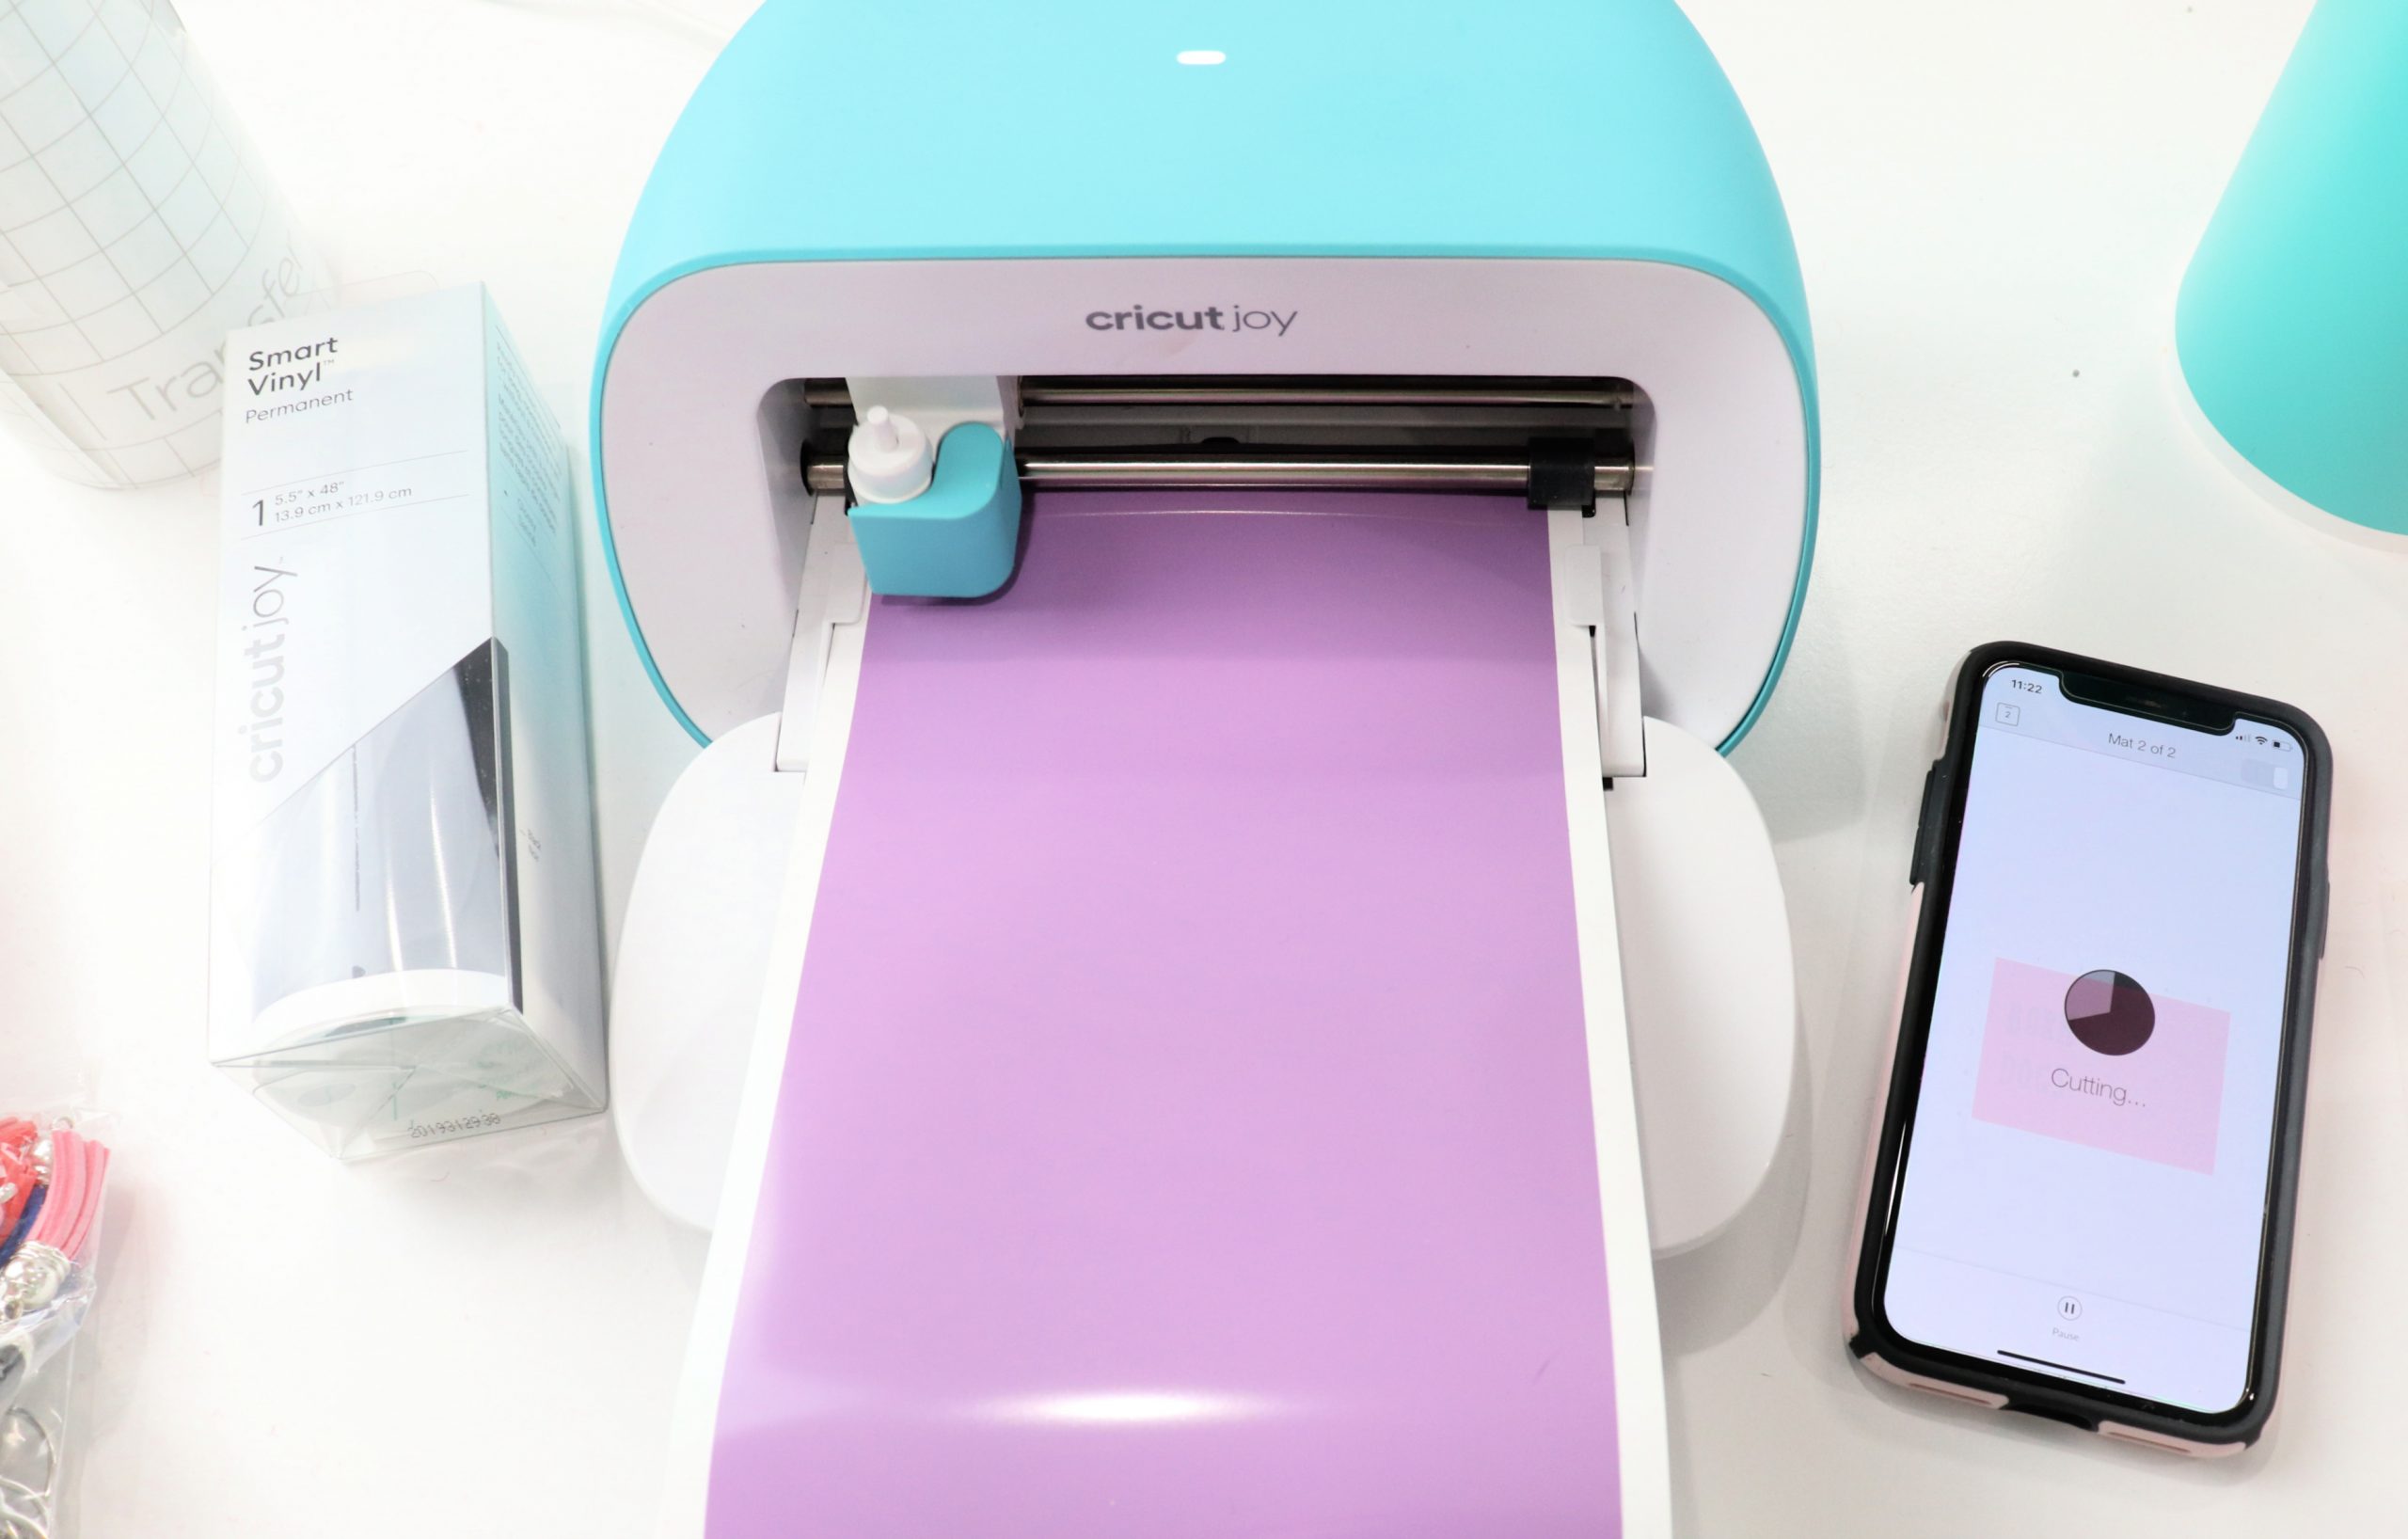
Step 2: Cut the design.
Once you like what you see on the canvas, select “Make it” in your app, then follow the prompts to load the vinyl into the machine. You’ll be asked to choose what material you’re using, then prompted to load and unload the vinyl. If your design uses more than one color, no worries, the app will guide you through switching colors too.
Step 3: Weed your design.
Peel away all of the extra vinyl that isn’t part of your image/words. That includes the centers of closed letters like “o,” “a,” “e,” etc.
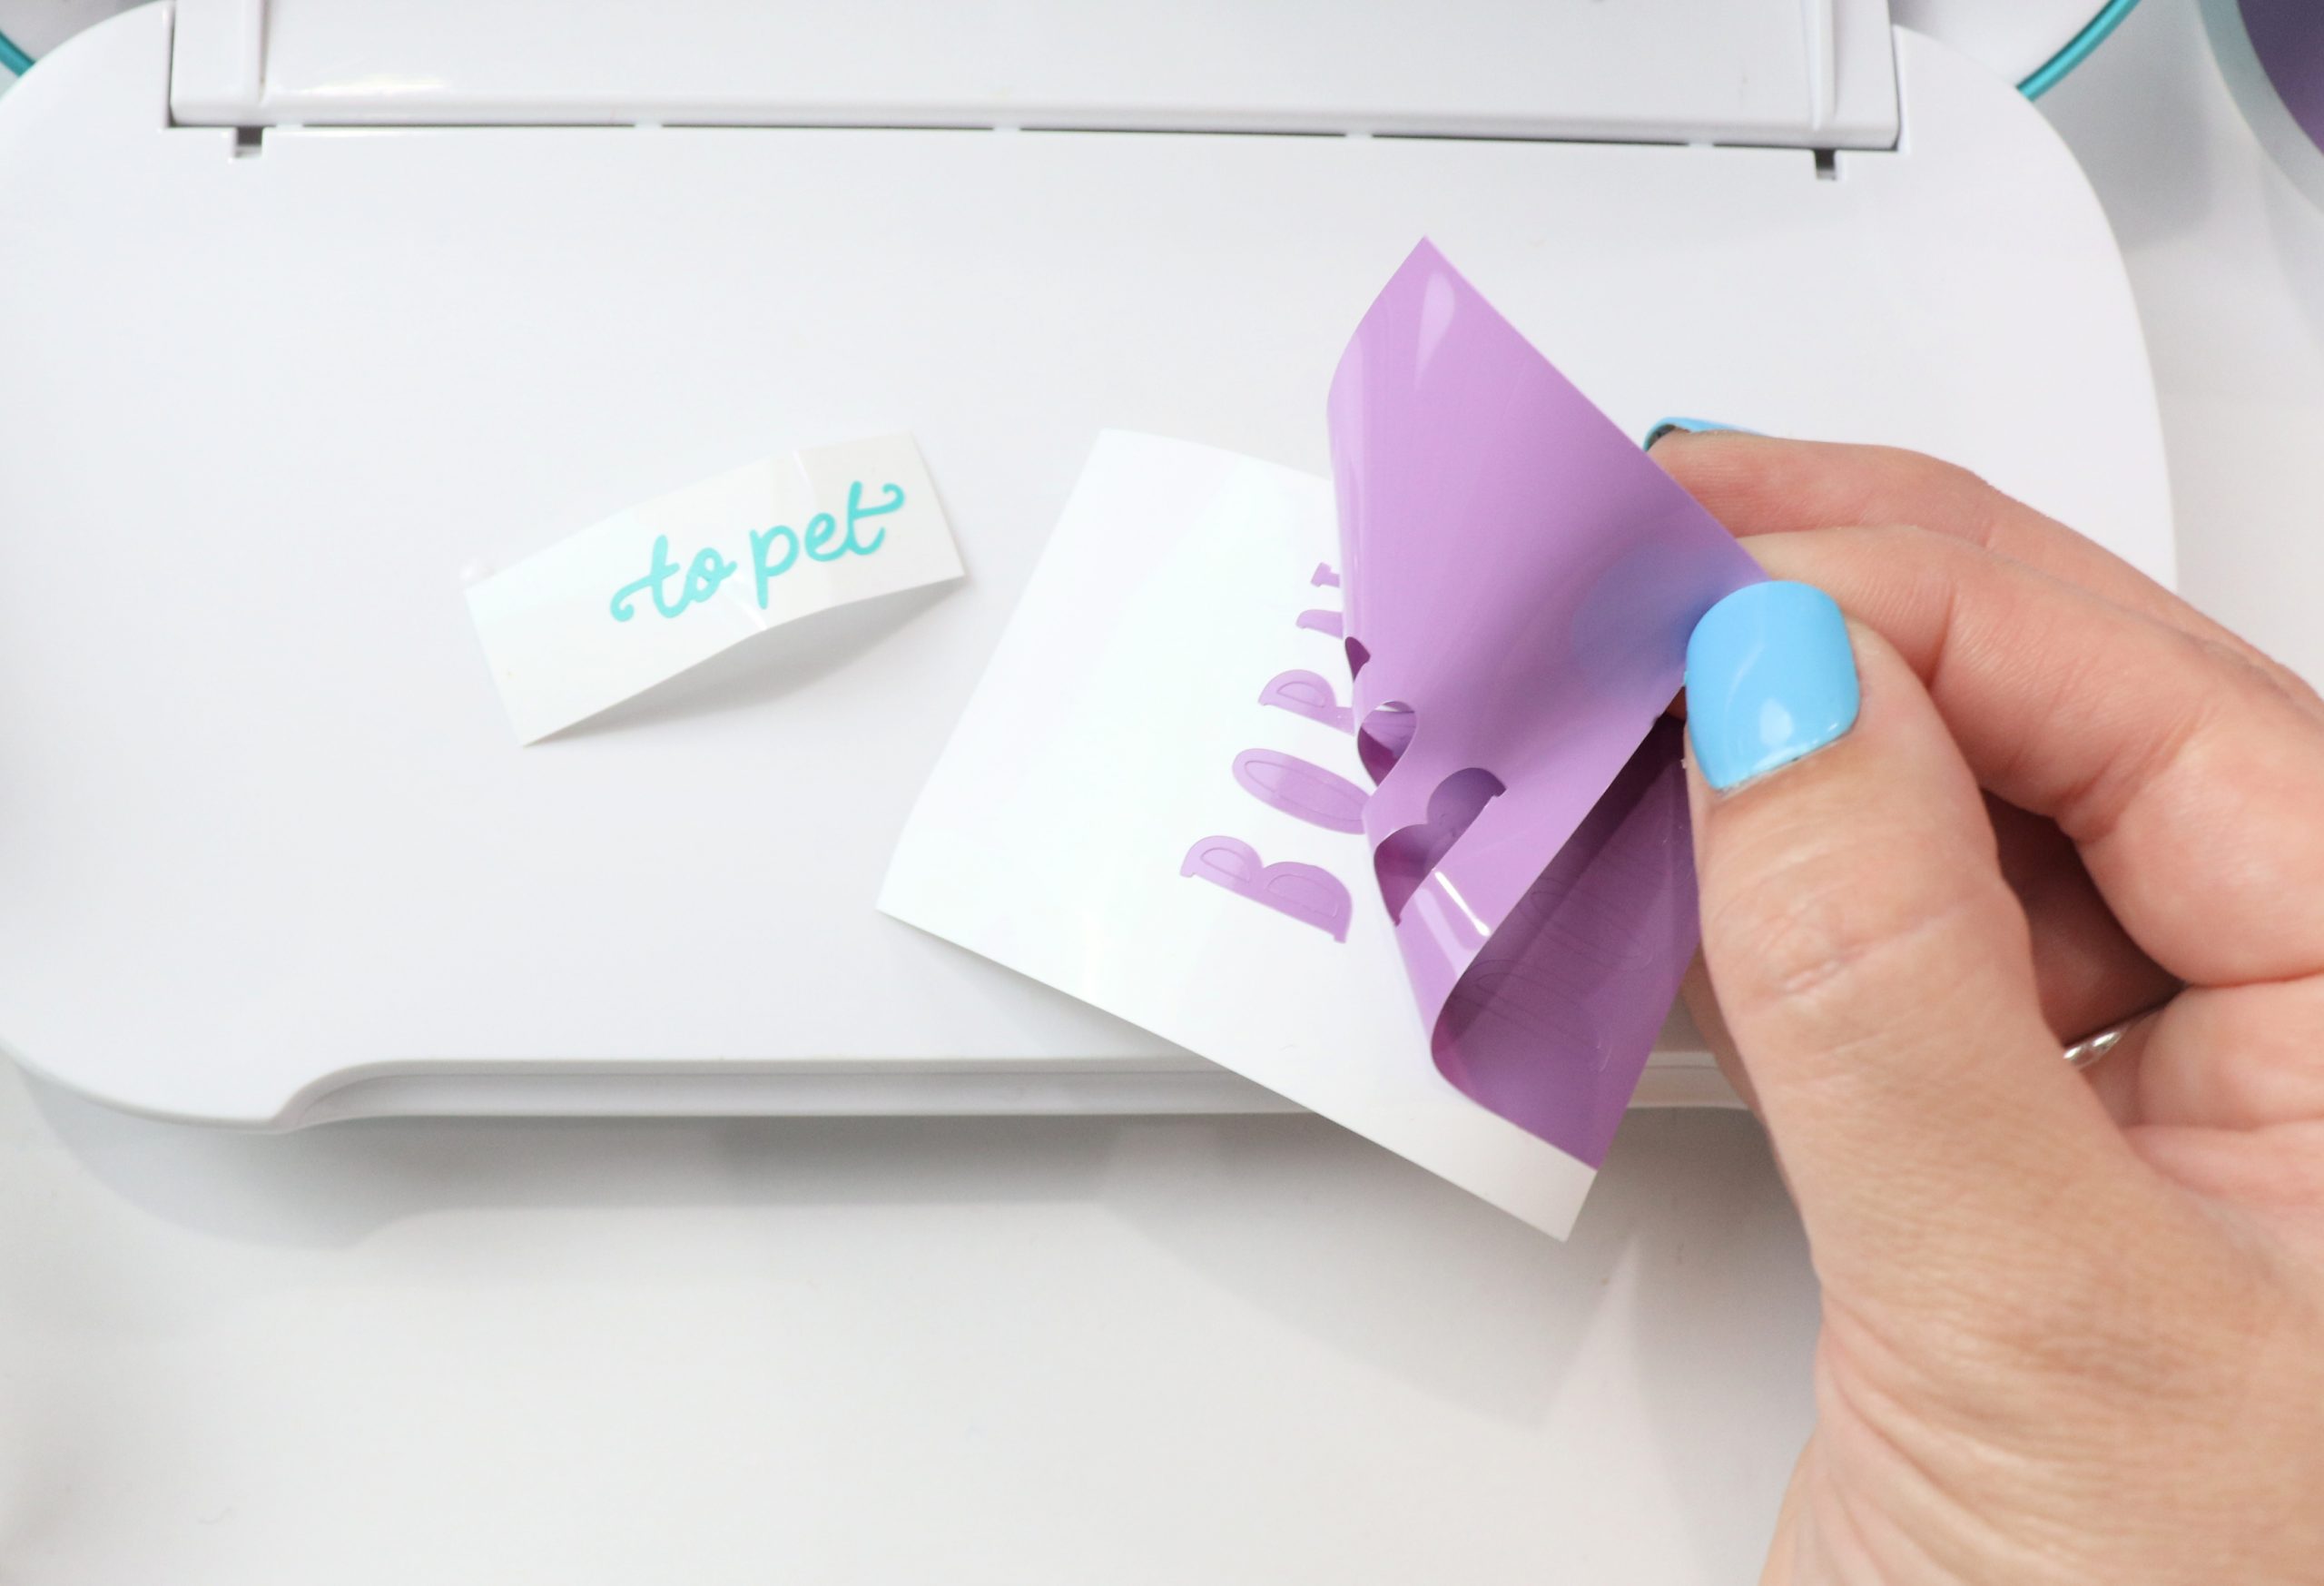
Step 4: Apply transfer paper.
Cut a piece of adhesive, clear transfer paper, and apply it on top of your design. Use a burnishing tool to rub the transfer paper firmly and adhere the vinyl to it. Then, peel the transfer paper up and your design should come with it, leaving the white backing behind.
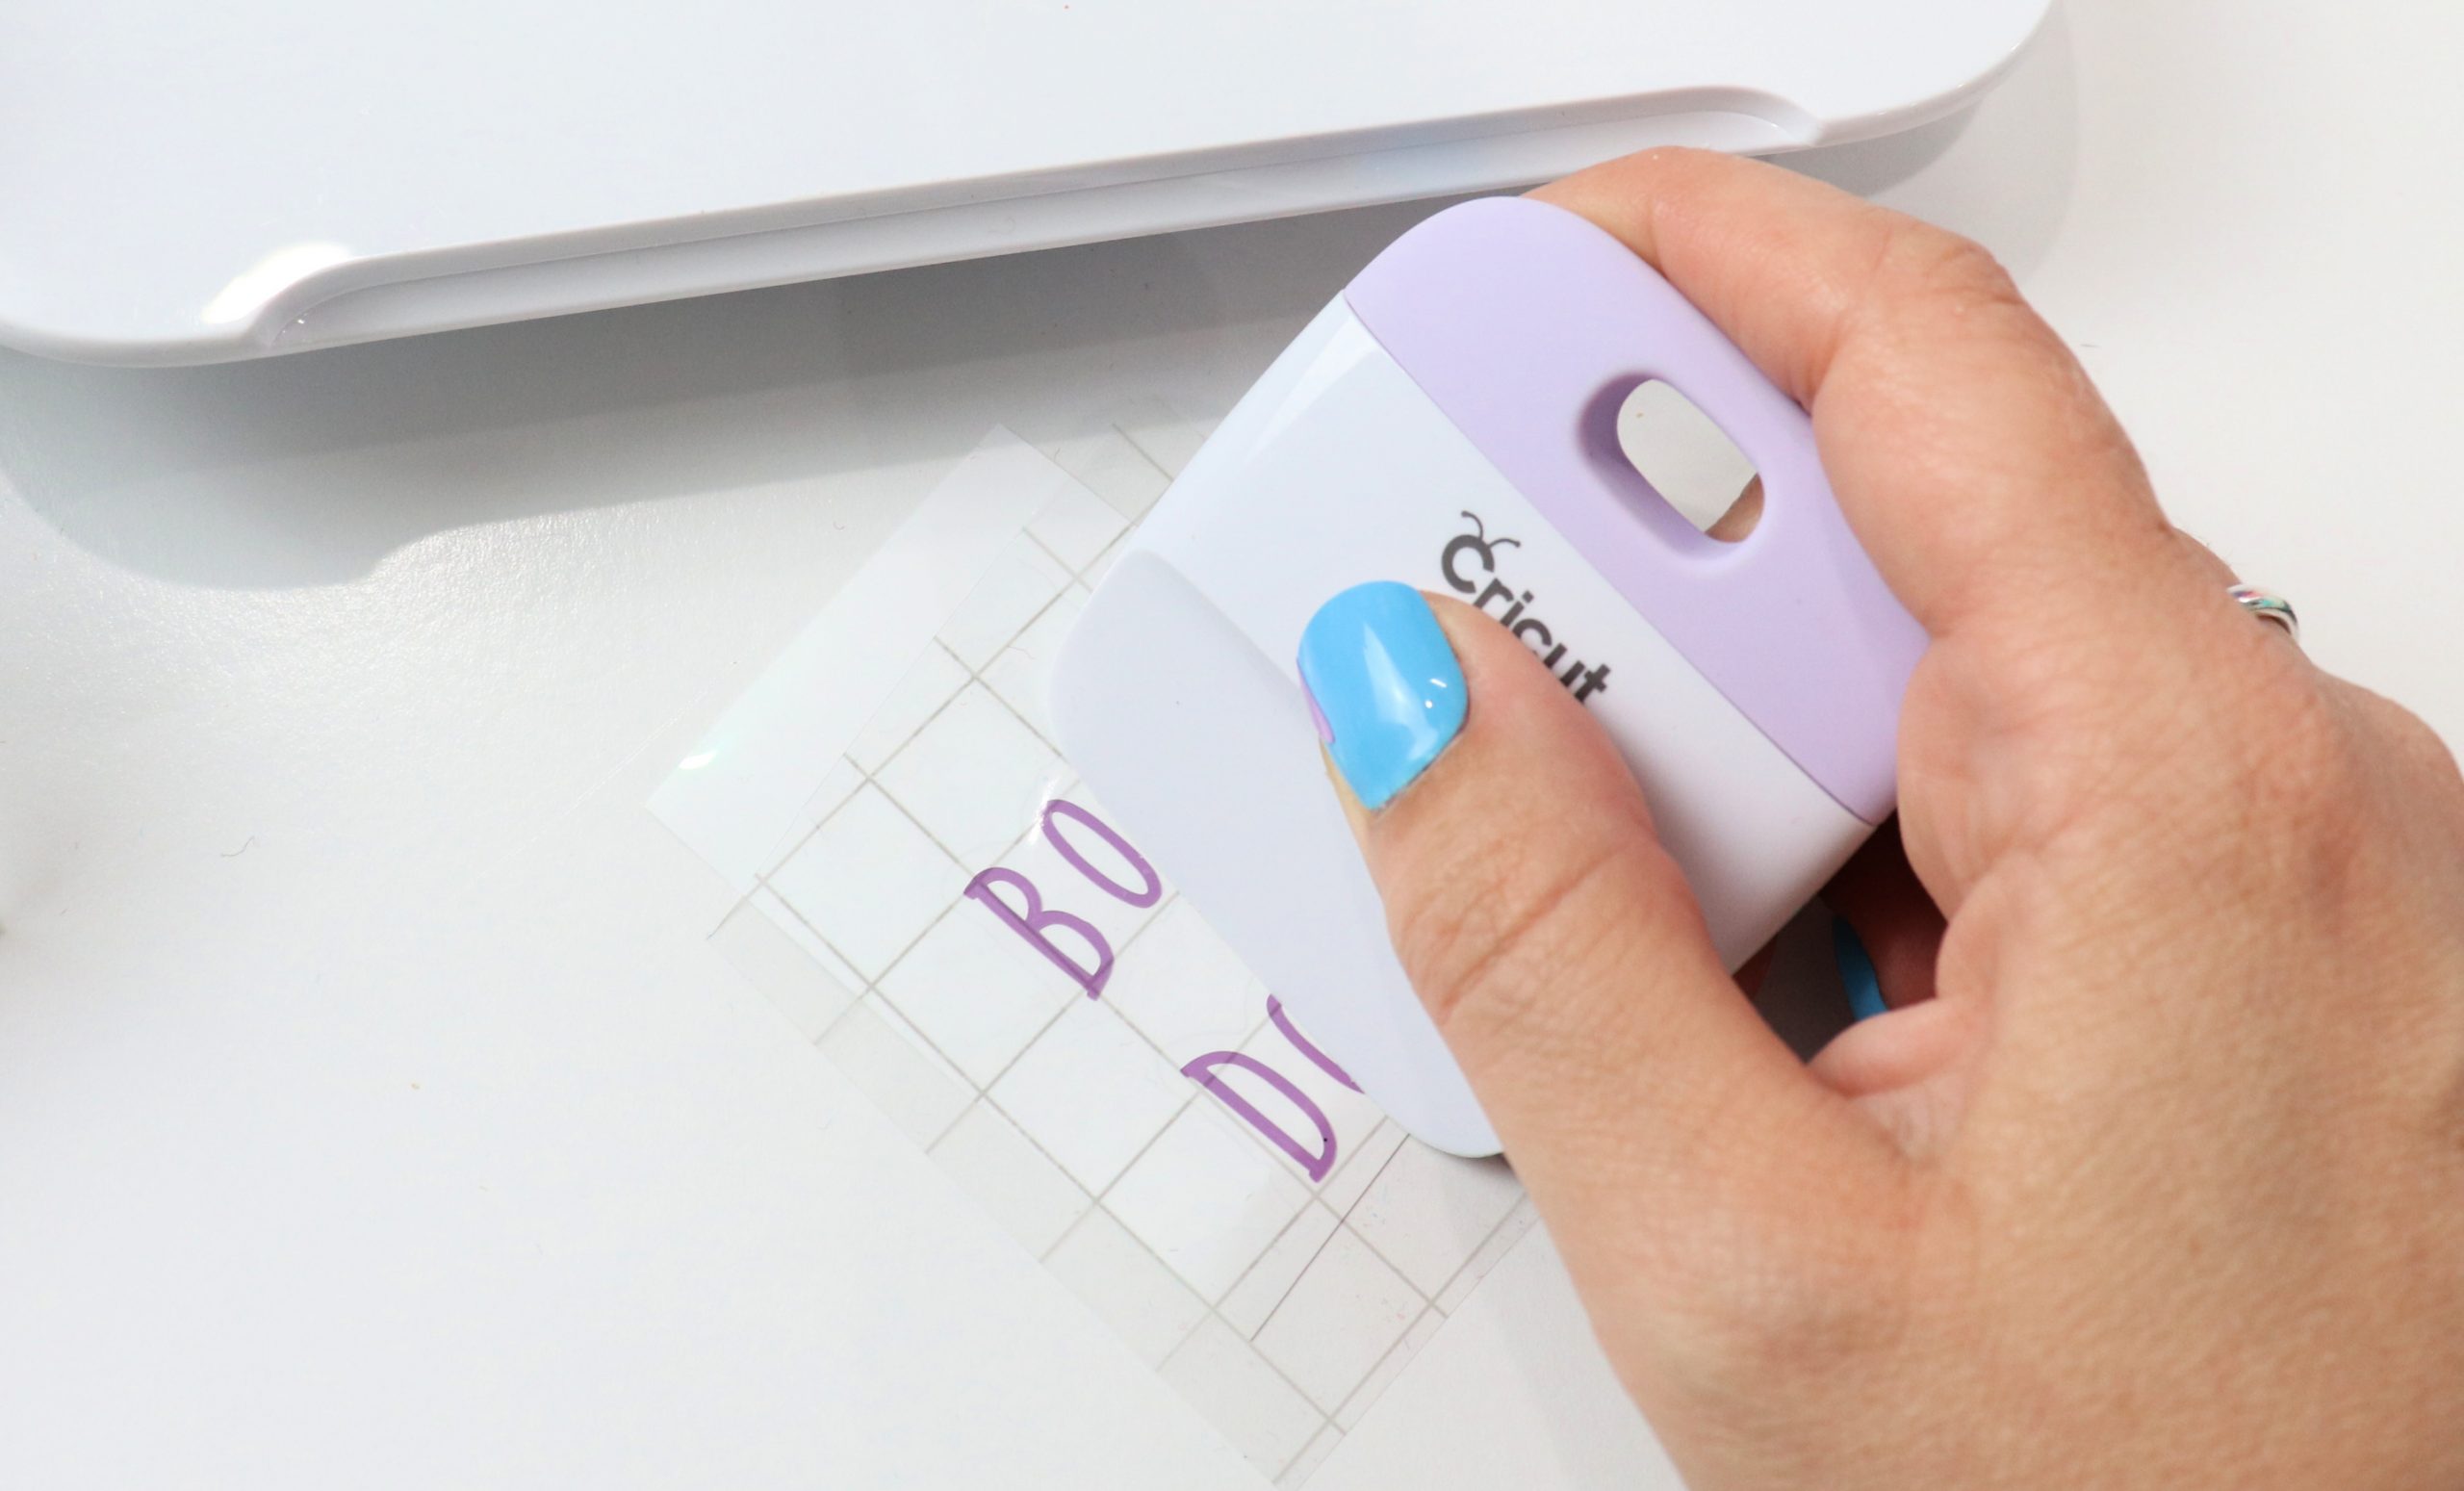
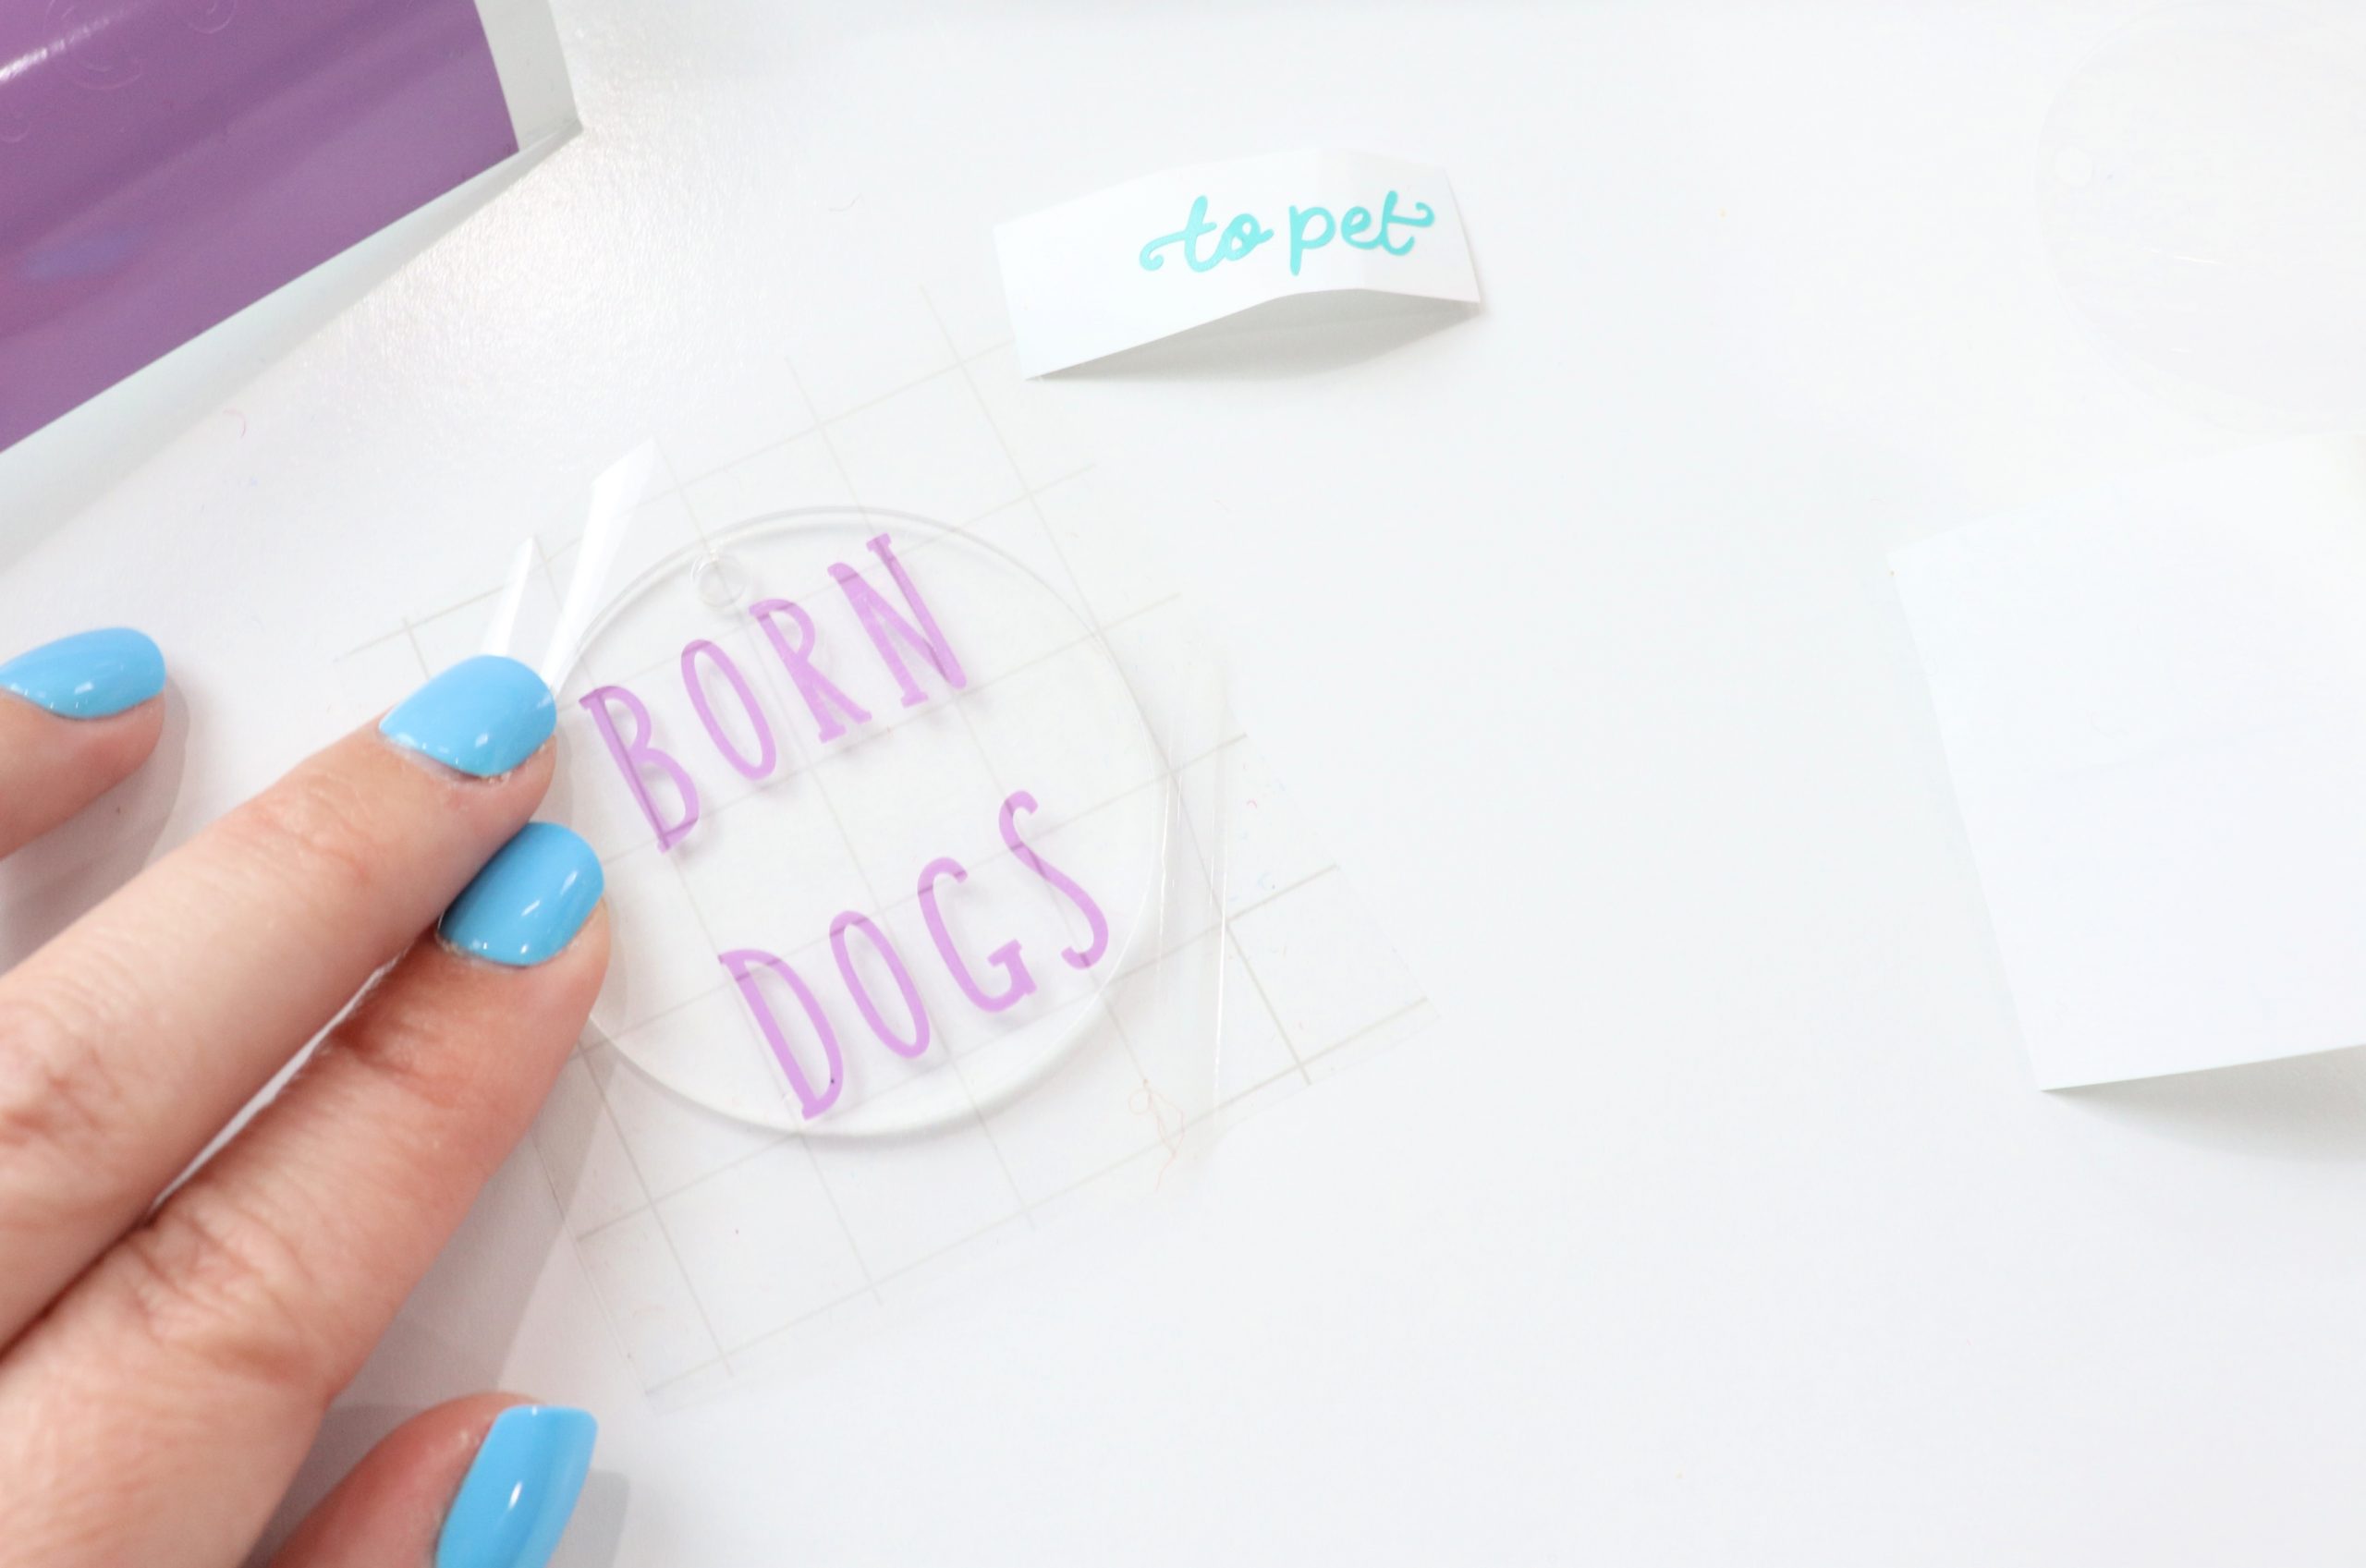
Step 5: Apply the design to the keychain blank.
First, peel away the protective covering on both sides of the acrylic blank. Then, position the vinyl words and images where you want them to go. Rub firmly, then remove the transfer paper. Your vinyl will be adhered to the acrylic.
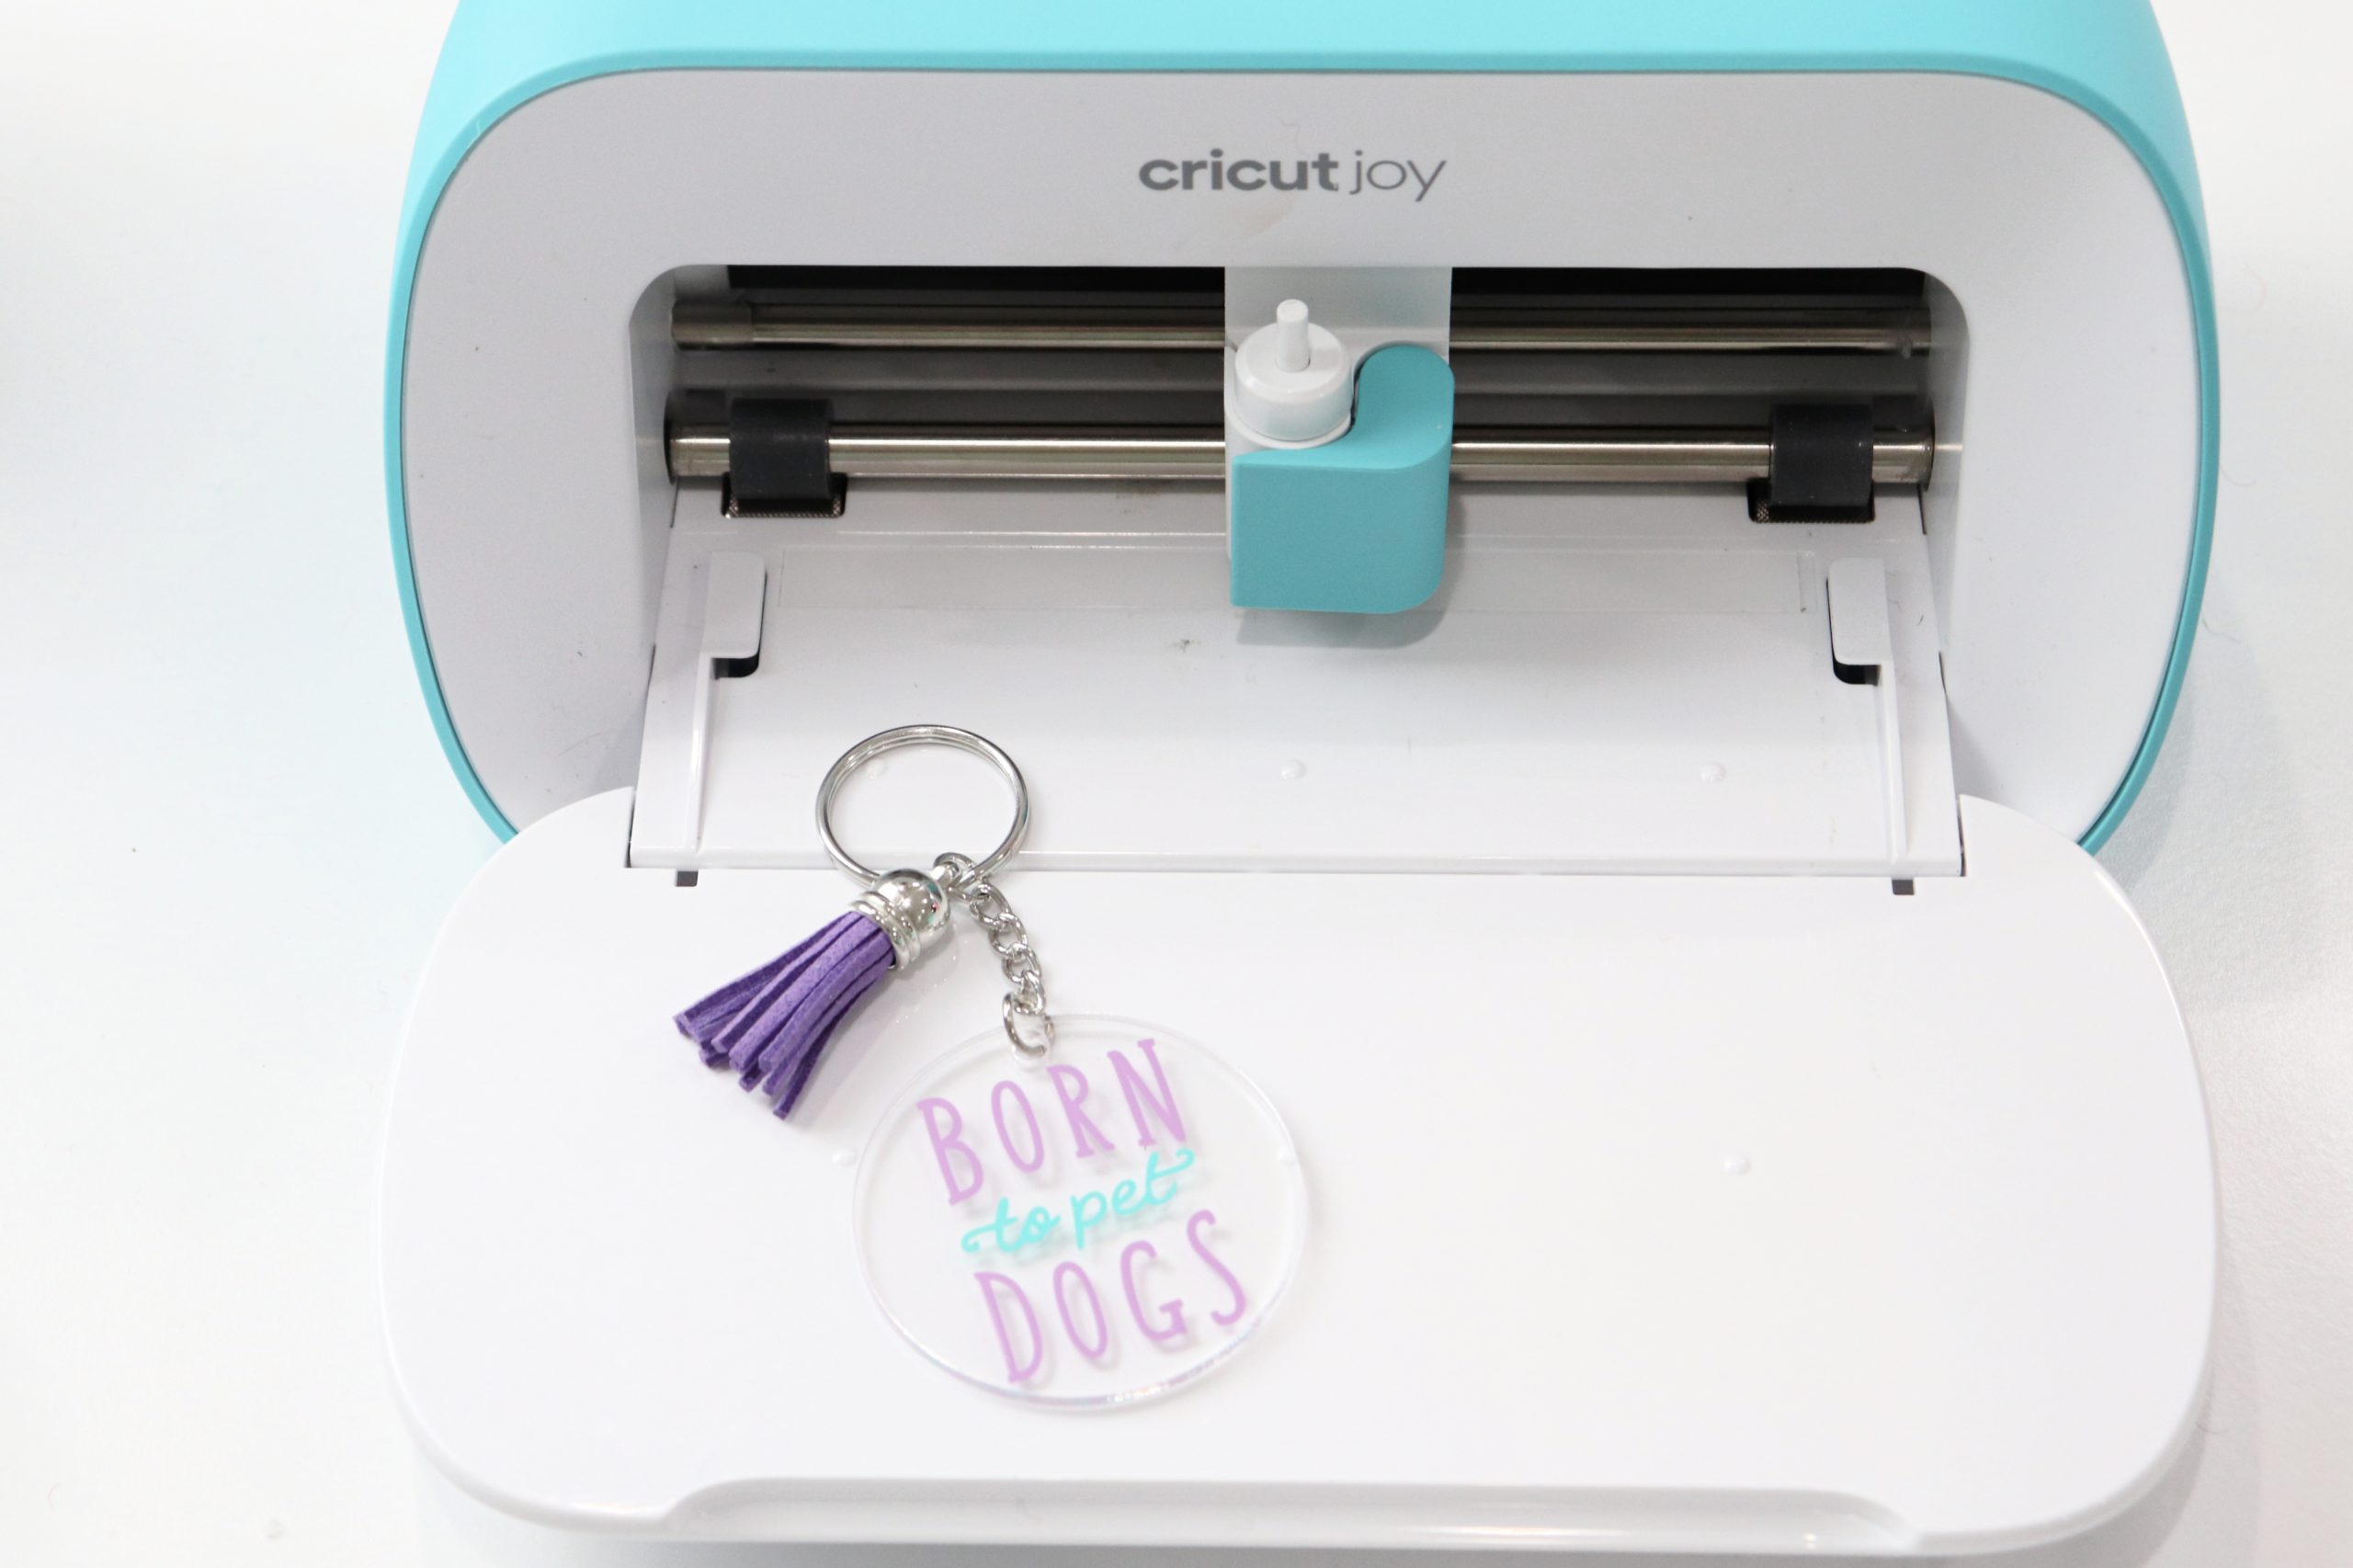
Step 6: Attach keyring and tassel.
All that’s left is to use a pair of pliers to help you attach the keyring using the jump rings provided in the kit. Then, attach the tassel.
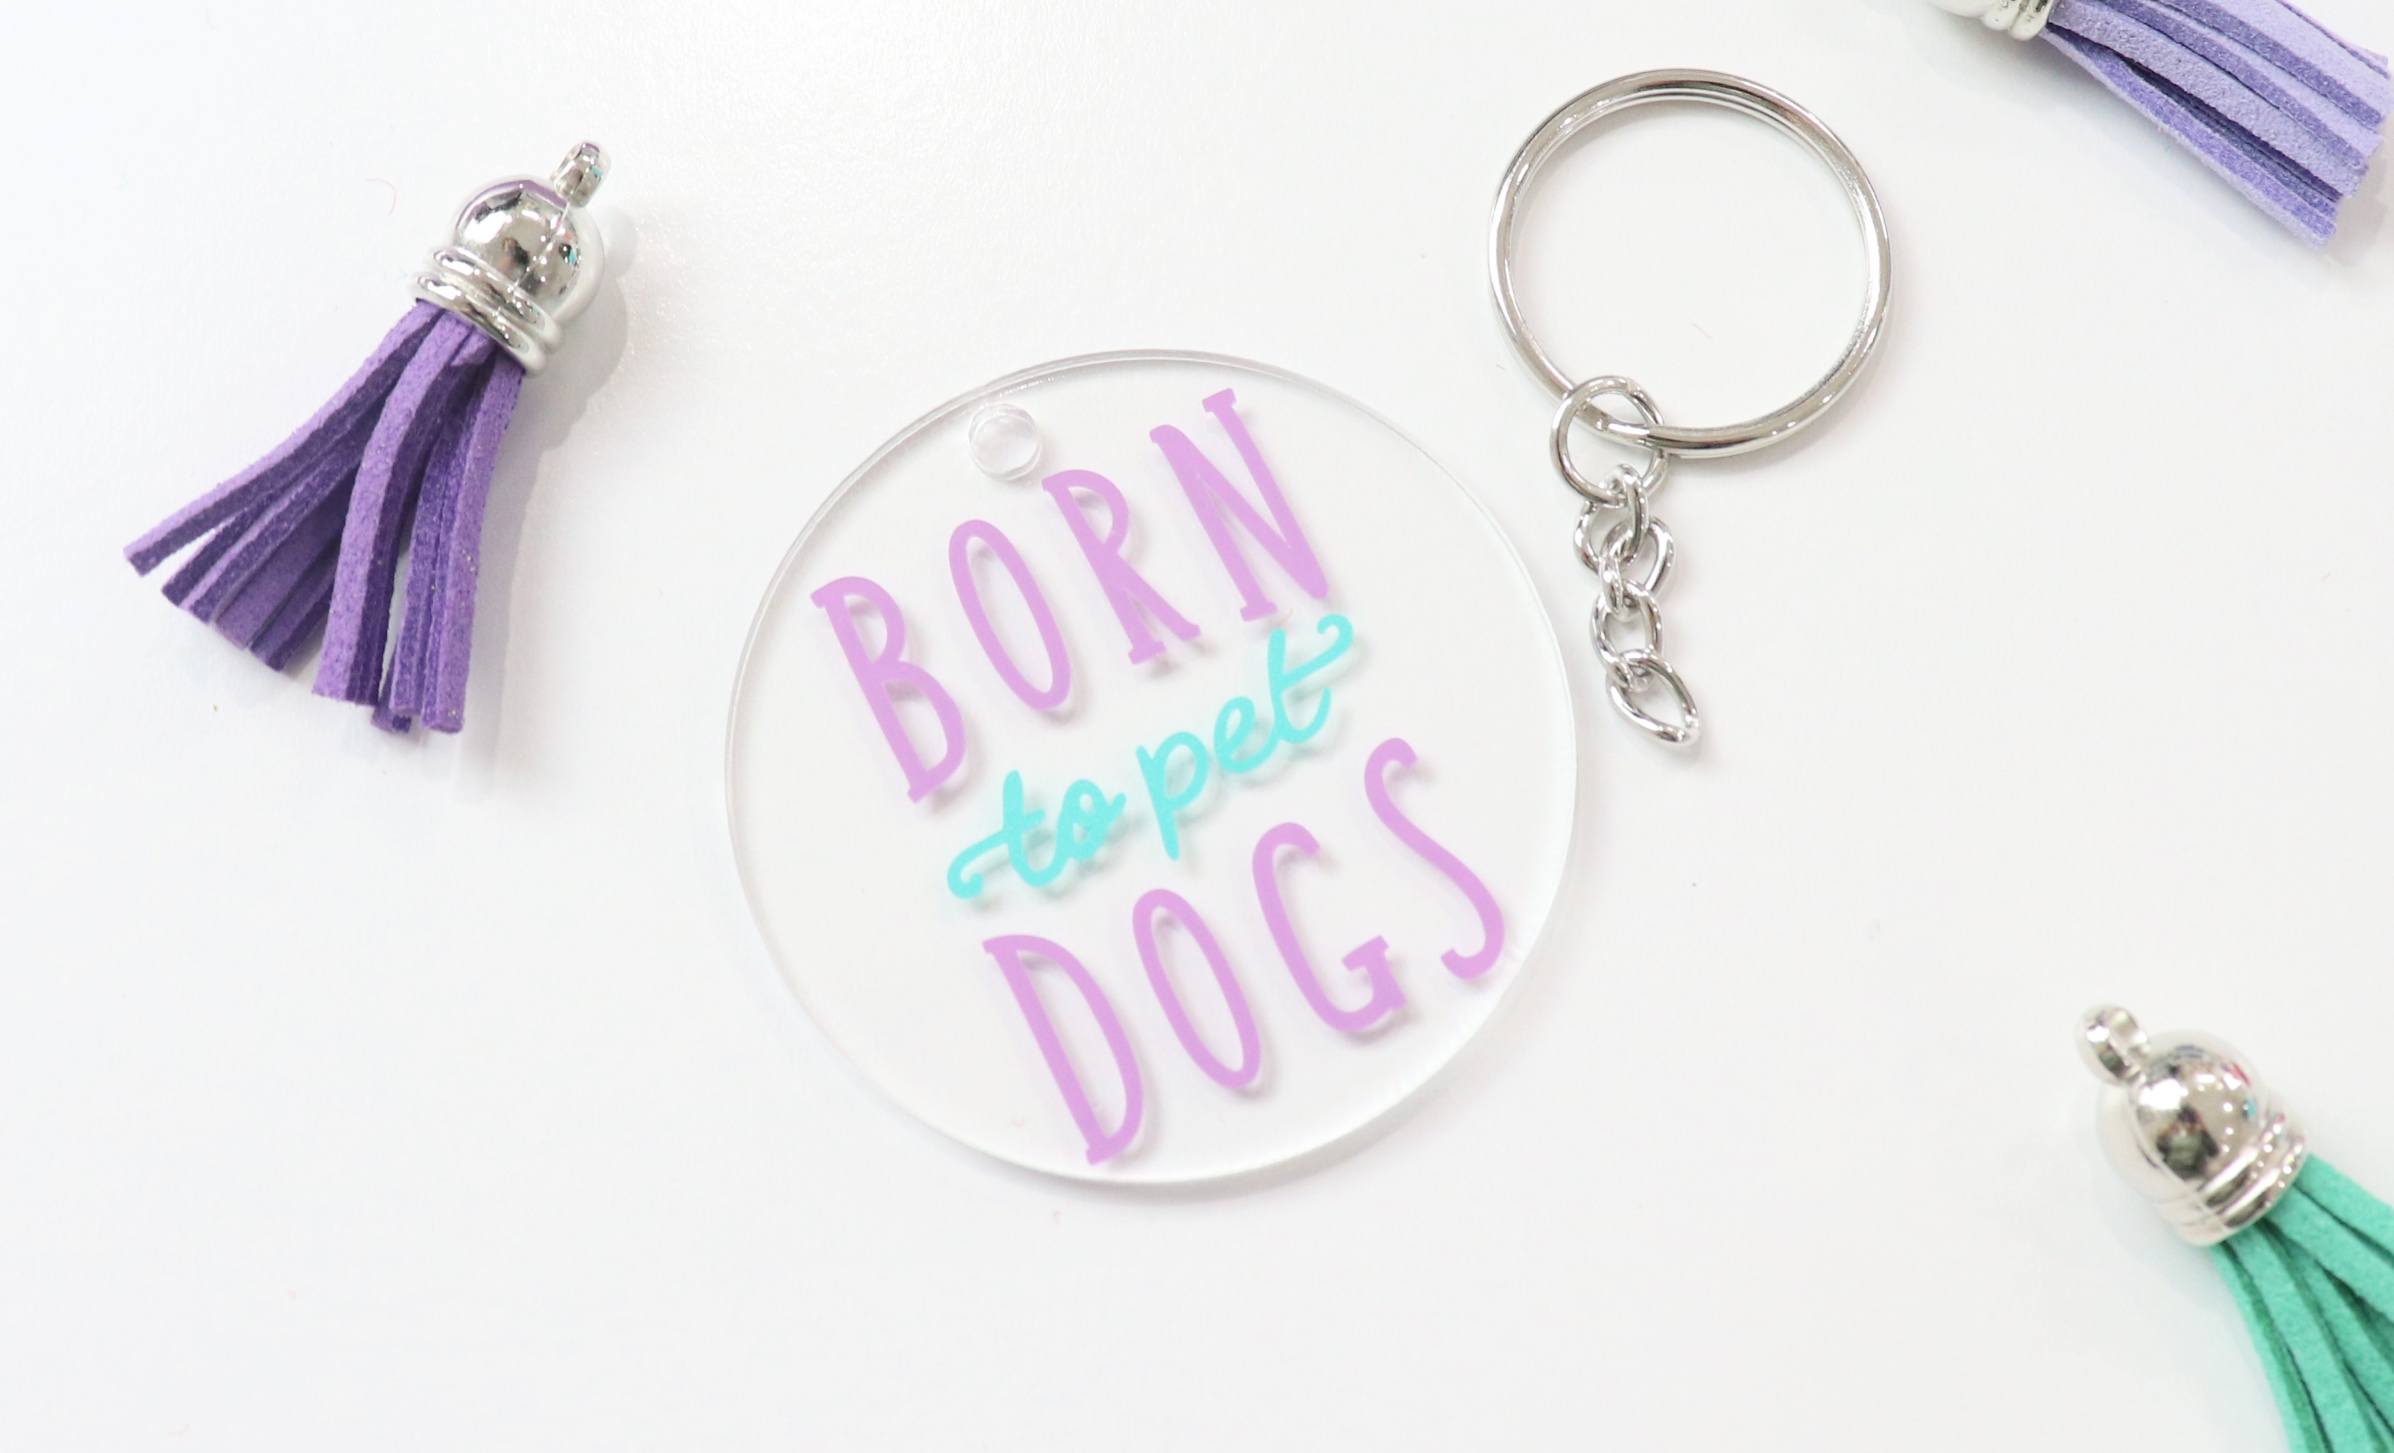
Now, your keychain is finished and ready to give to that special person in your life! Although, I confess…this one is for me.
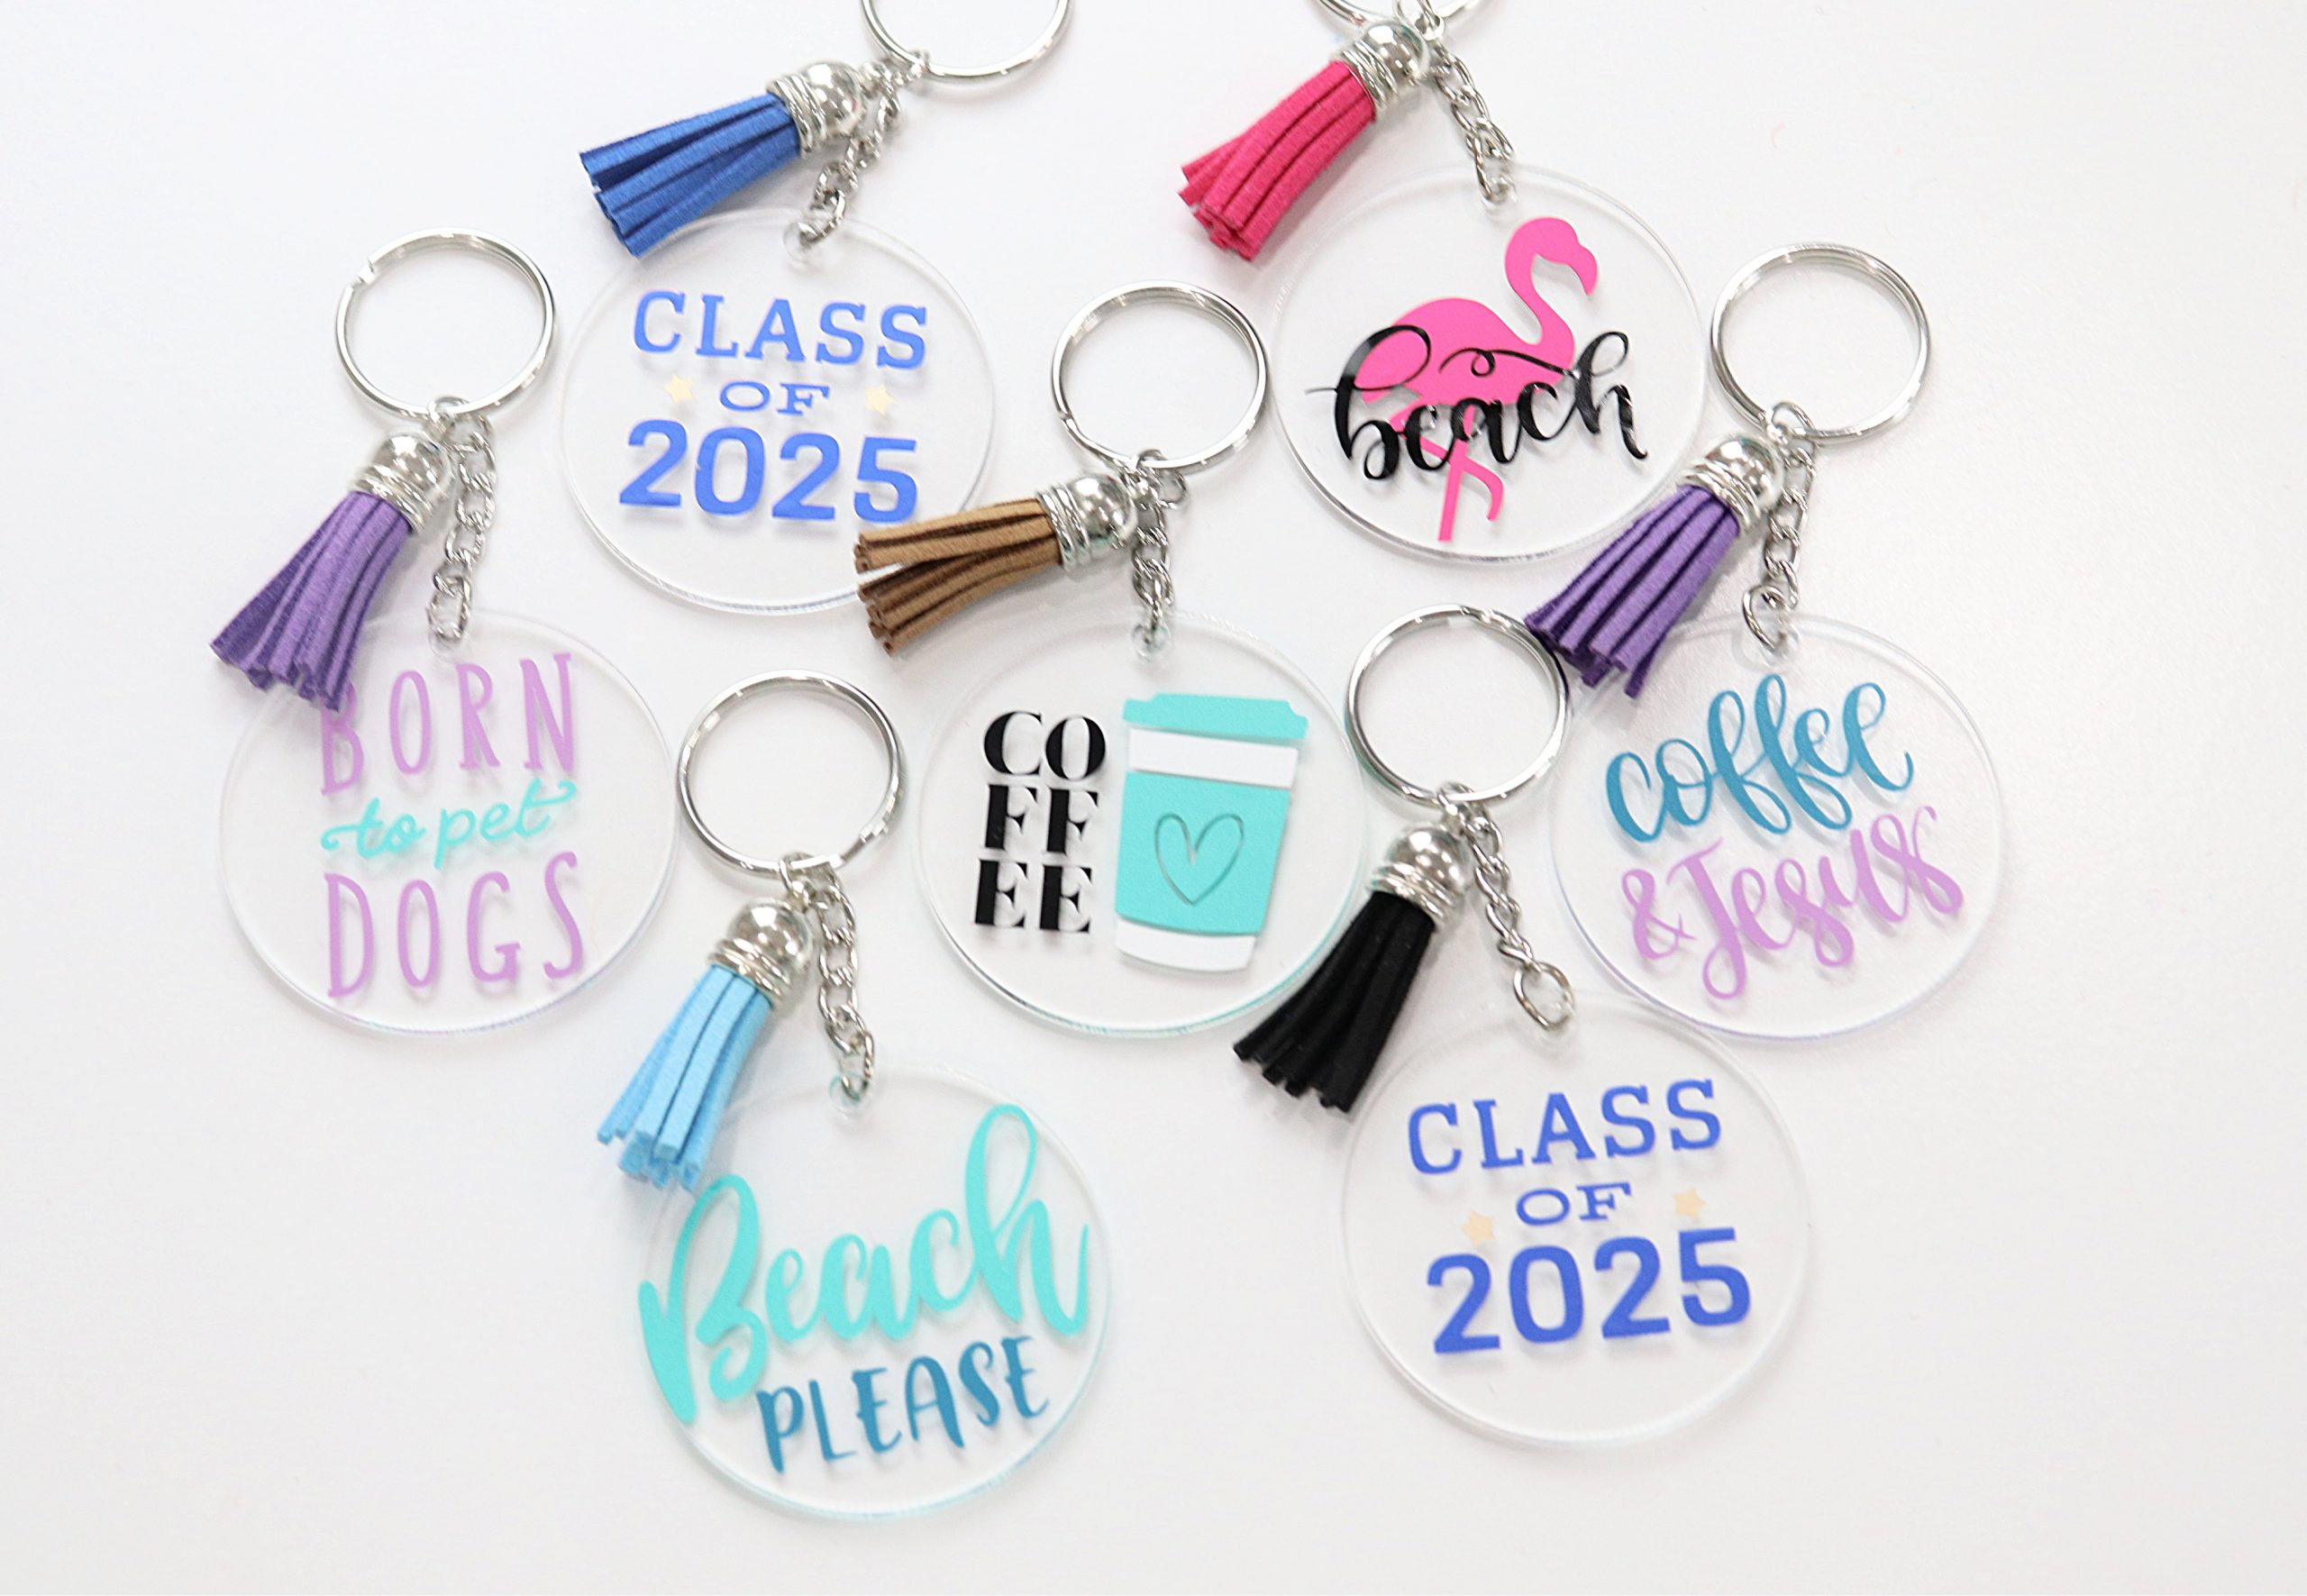
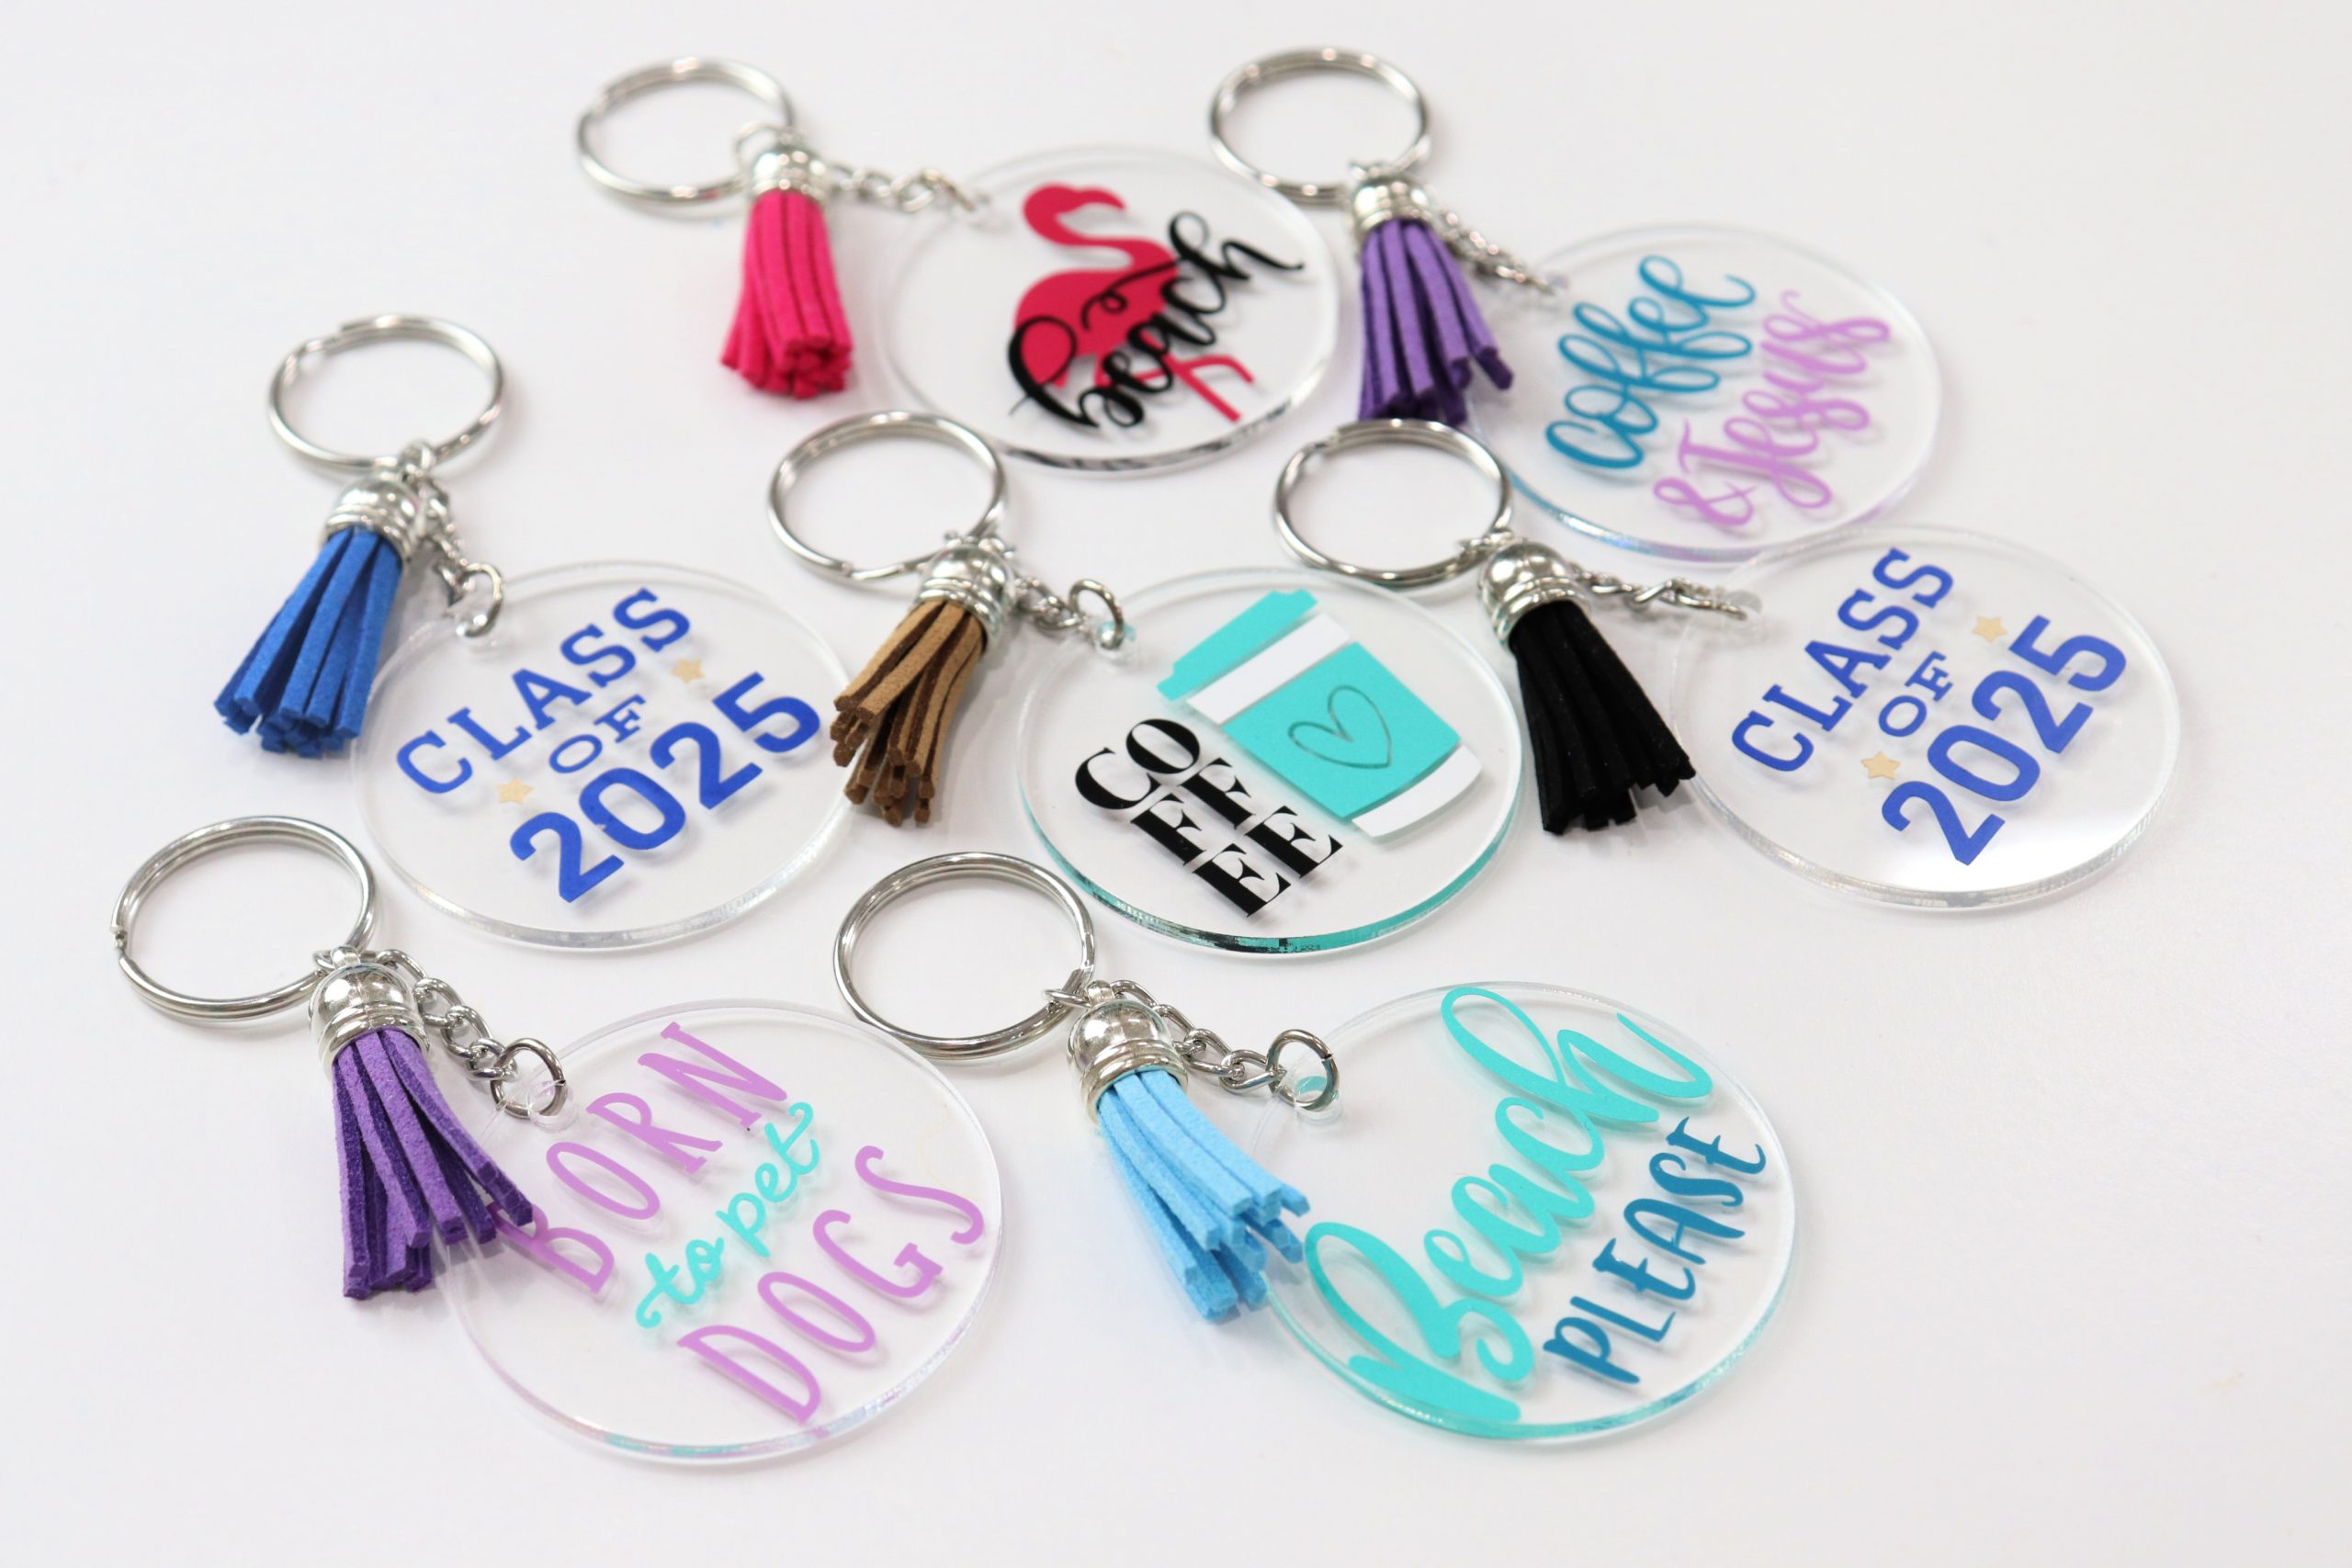
Here’s a look at a few of the other designs I made for some of my friends and family. Each one is totally unique, and I absolutely love the way they turned out. Below the image, I’ve listed the specific image names and numbers I used in Design Space, along with the vinyl colors, so that if you see something you love, you can recreate it.
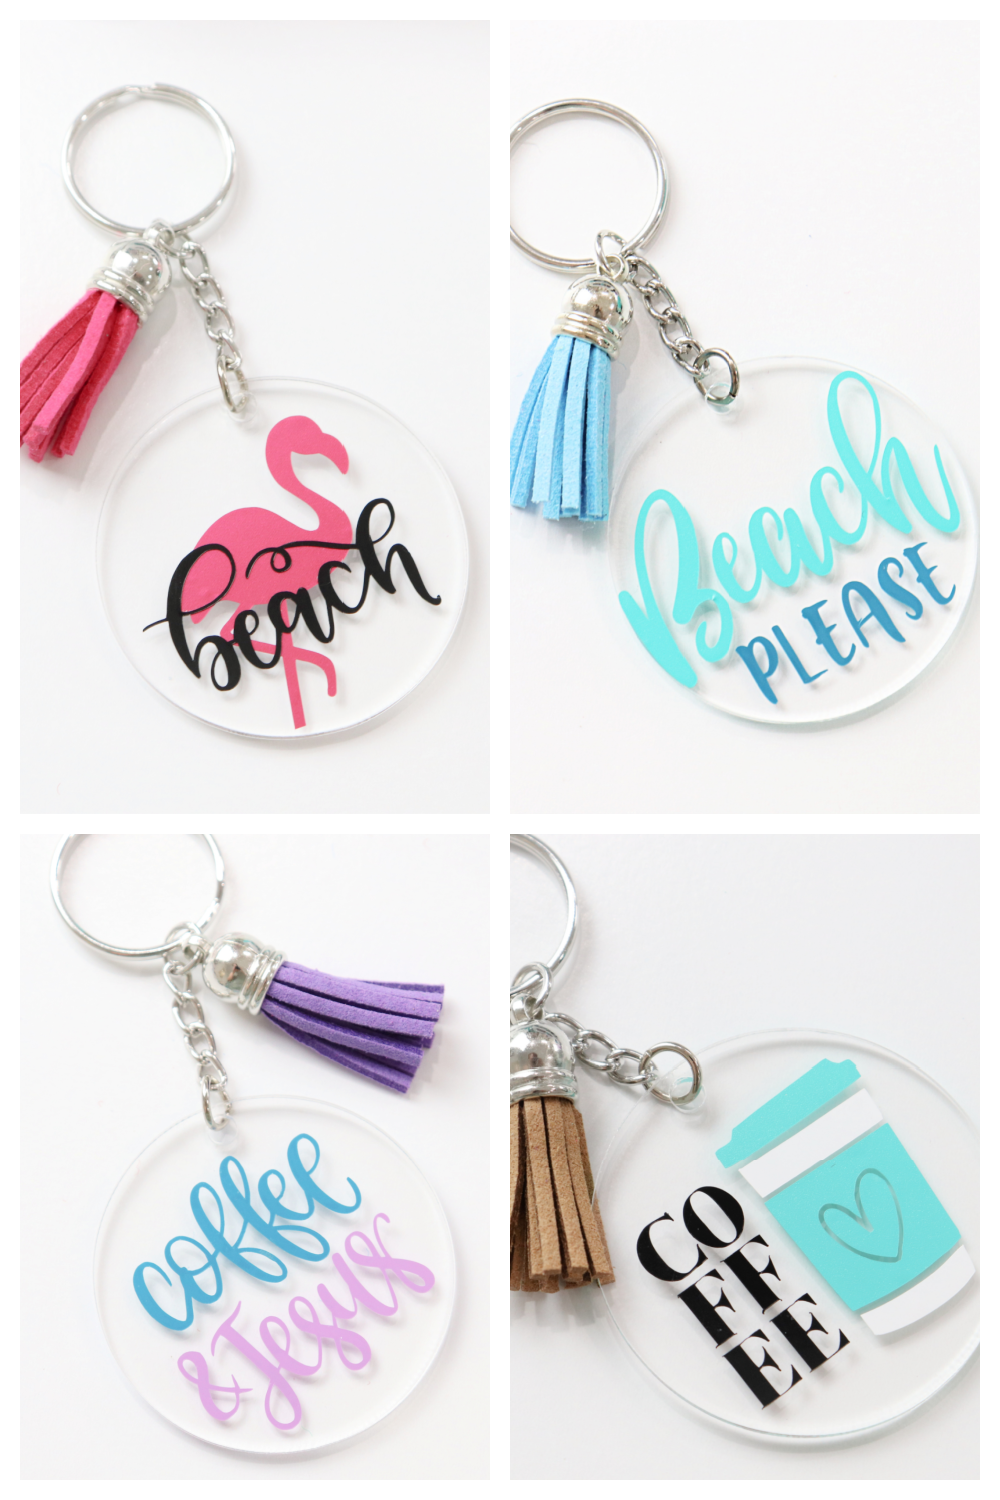
Flamingo: Flamingo #MC4C95AB, Beach #M87819C8: Party Pink Metallic, Black
Beach Please: Beach Please #M25E95D28: Teal, Bright Teal
Coffee & Jesus: Coffee & Jesus #MB3563D8: Teal, Light Purple
Coffee with Cup: Coffee #M2840C74F, Coffee Cup #M8B36EFD: White, Black, Bright Teal
Born to Pet Dogs: Born to Pet Dogs #M23743000: Light Purple, Bright Teal
Class of 2025: Class of 2019 #MD4DF097 with edits: Cornflower Metallic, Champagne Metallic
I think the most fun thing about this project is how totally personalized it can be. Using someone’s favorite saying, image, animal, colors, etc. is a great way to make the perfect gift! What do you think? Which of these designs is your favorite?
If you try making these acrylic keychains, I’d love to see what you create! Be sure to hop in the Amy Latta & Friends Facebook group to show us your photos of this or any other project you’re working on in our weekly show and tell thread. See you there!


How durable are these? Will the vinyl come off with in and out of pockets, purses, ect.?
Mine is holding up really well so far! But you can always apply a coat of Mod Podge or other sealer too if you want to be sure.
Thanks!
Hi Amy. Thanks for this post. For some time now I was looking for something similar. Nothing beats a gift which is personalised. It just shows the love and care that has gone into creating it. Thanks once again.