This post was sponsored by SimpliFire Electric Fireplaces by Heat & Glo. All opinions are my own.
Just because I live in the desert, doesn’t mean that I don’t want to cozy up to the fireplace sometimes. Oh sure…I have DIY’d my fair share of faux fireplaces and mantels to accommodate my desire to decorate said mantel, but I was ready to retire the faux facade and trade it in for something more functional. Here is where my love for SimpliFire Electric Fireplaces by Heat & Glo was born.
SimpliFire has a variety of electric fireplaces, modern or traditional, that offer that amazing fire glow year-round with or without heat. These electric fireplaces can be built-in or wall-mounted and have so many amazing features…I love that it can all be controlled from a multifunctional remote.
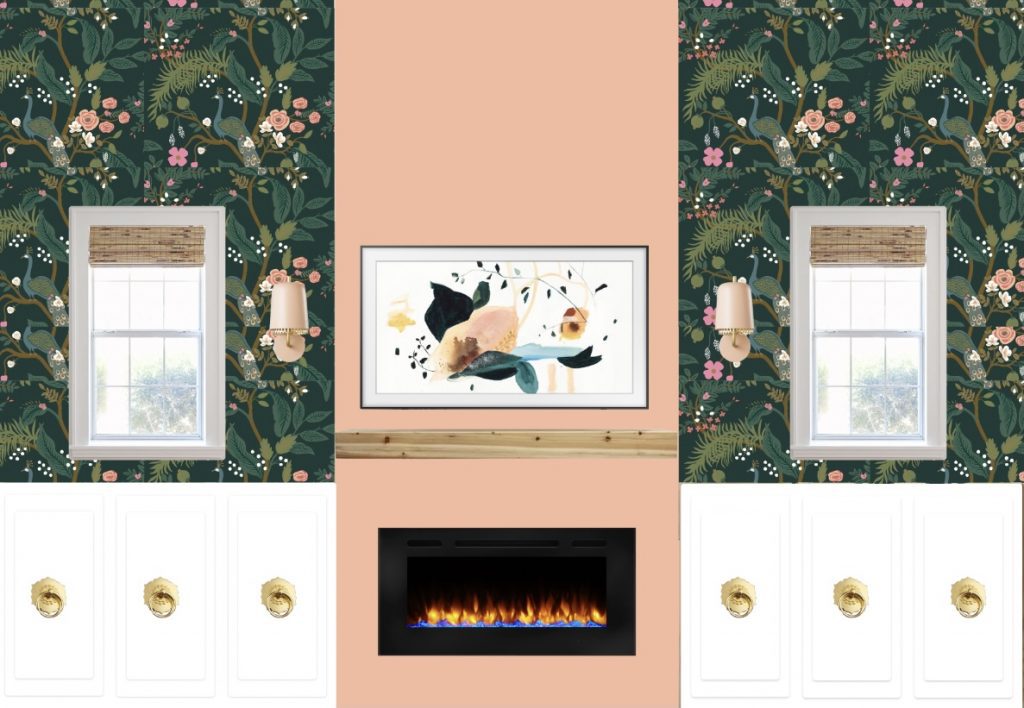
So when SimpliFire wanted to team up, I was all in! I’ve wanted to design a focal wall in our main living space that incorporated a fireplace and the Allusion model was just what I have envisioned. I started by coming up with a vision board. This was no small DIY project but I knew it was going to be amazing!
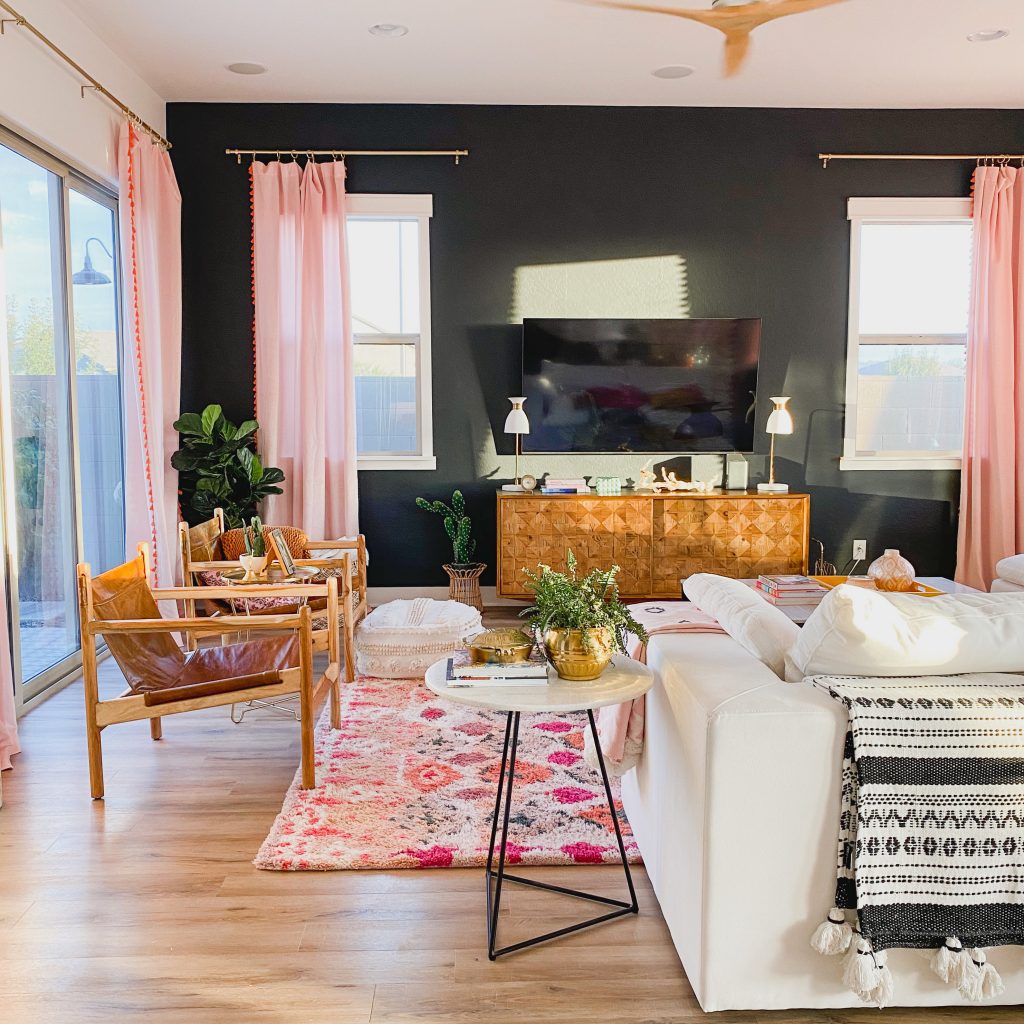
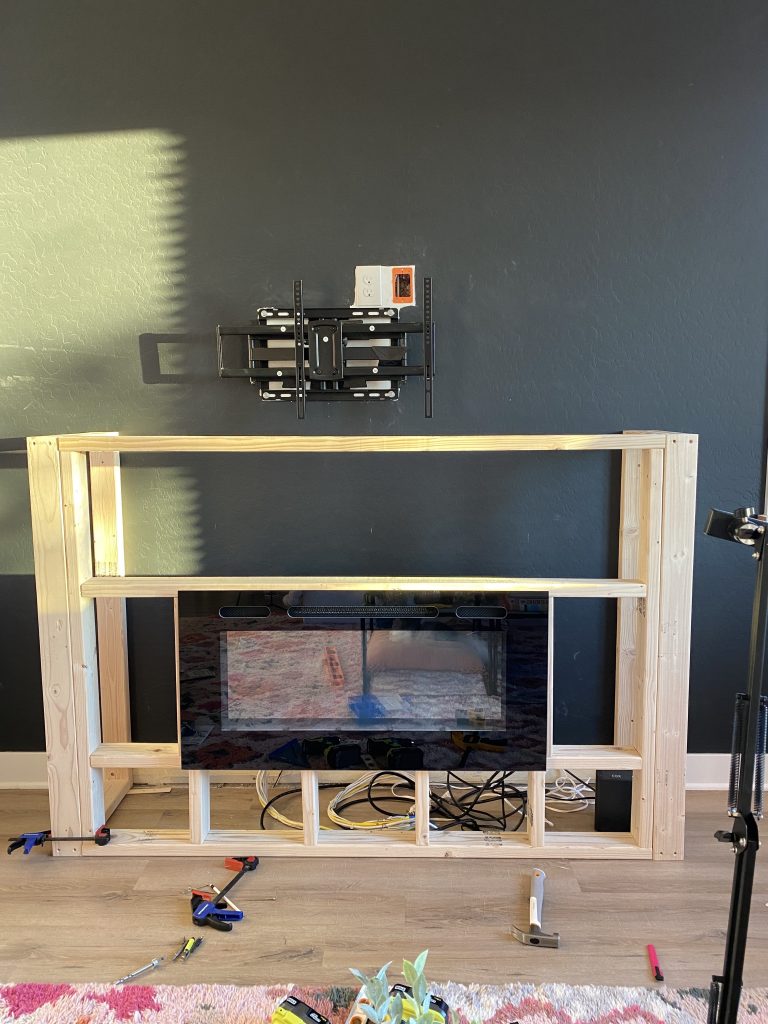
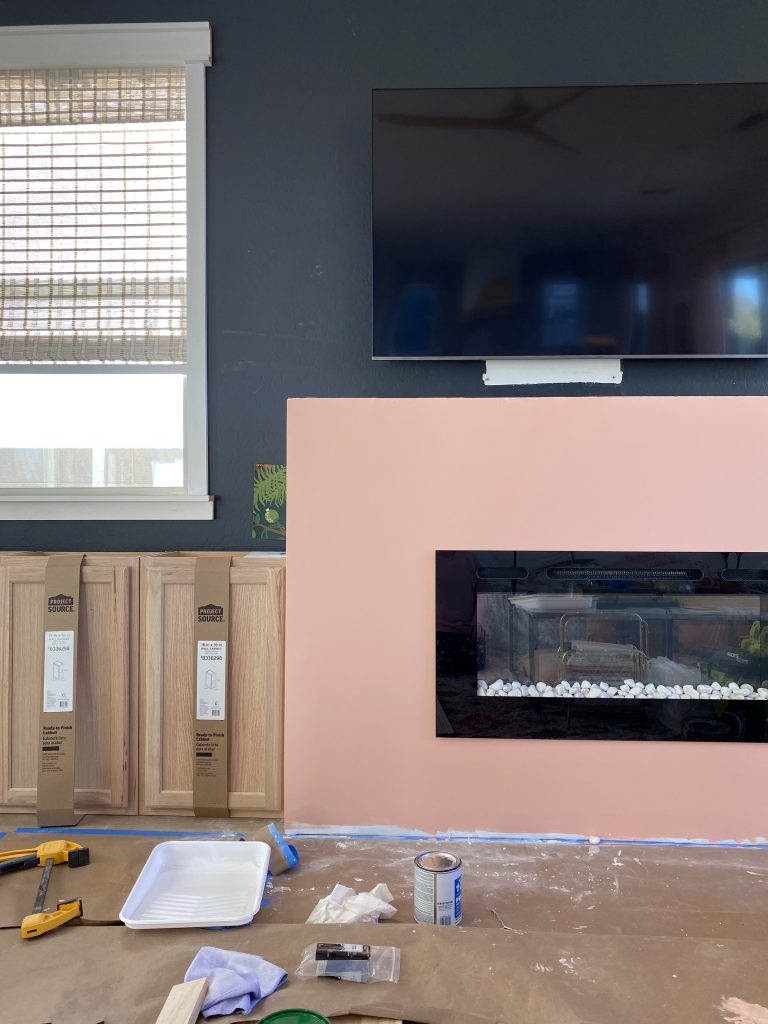
Here is a peek at what the space looked like before. Now, removing the TV console posed a few challenges because our receiver is hidden in there and we also used it for storage too. These were all things that I needed to keep in mind when designing the new focal fireplace wall.
Here is what the space looked like before.
I started by building a frame to house the Allusion Fireplace, I decided on a finished mantel area of 72″w x 48″h and followed the framing instructions. I opted for 2″x4″ boards and instead of building it into an existing wall. I framed this to pop out about 16″ from the wall.
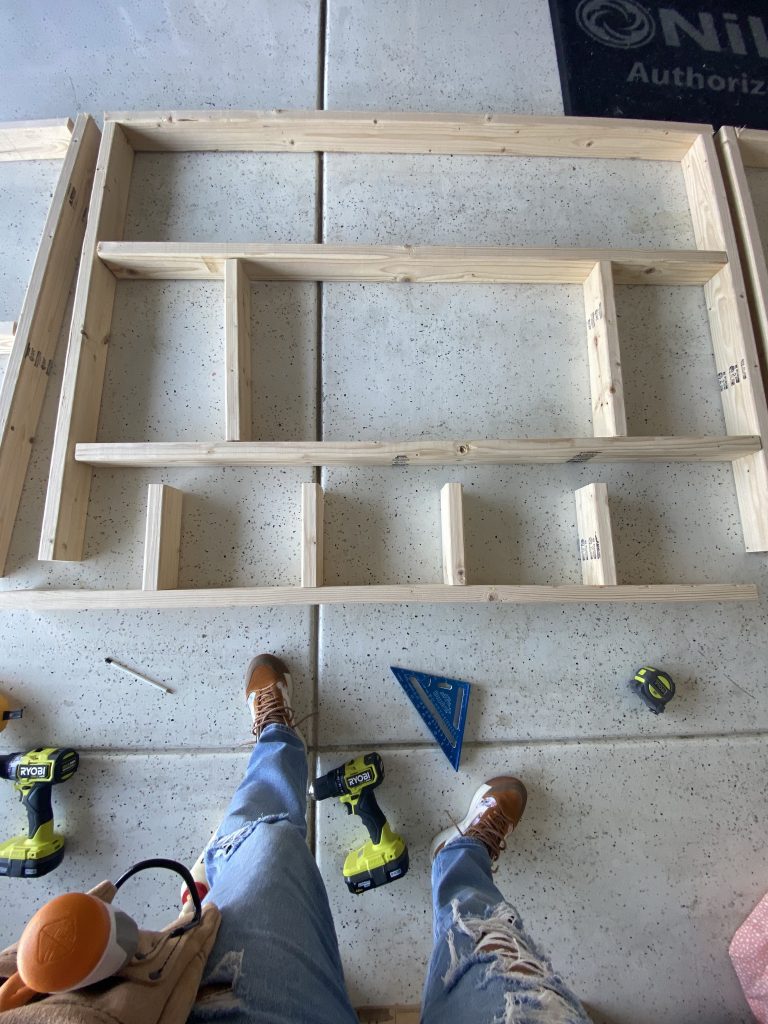
Once I had all of my cuts, I did a fit test before securing all of the framing.

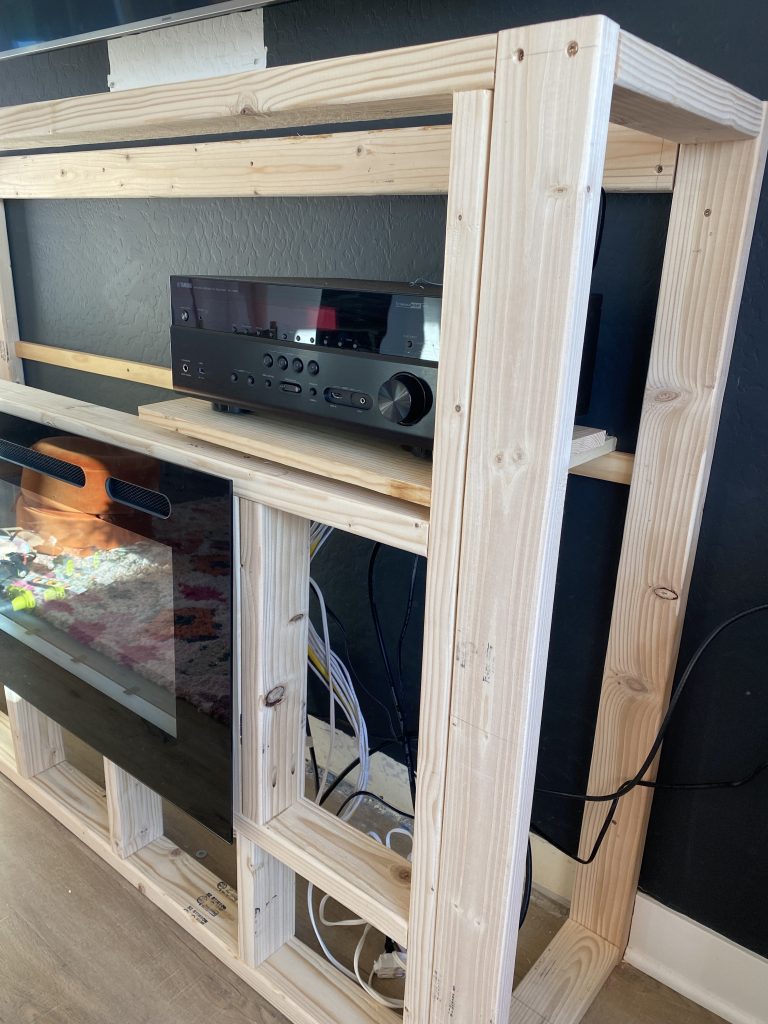
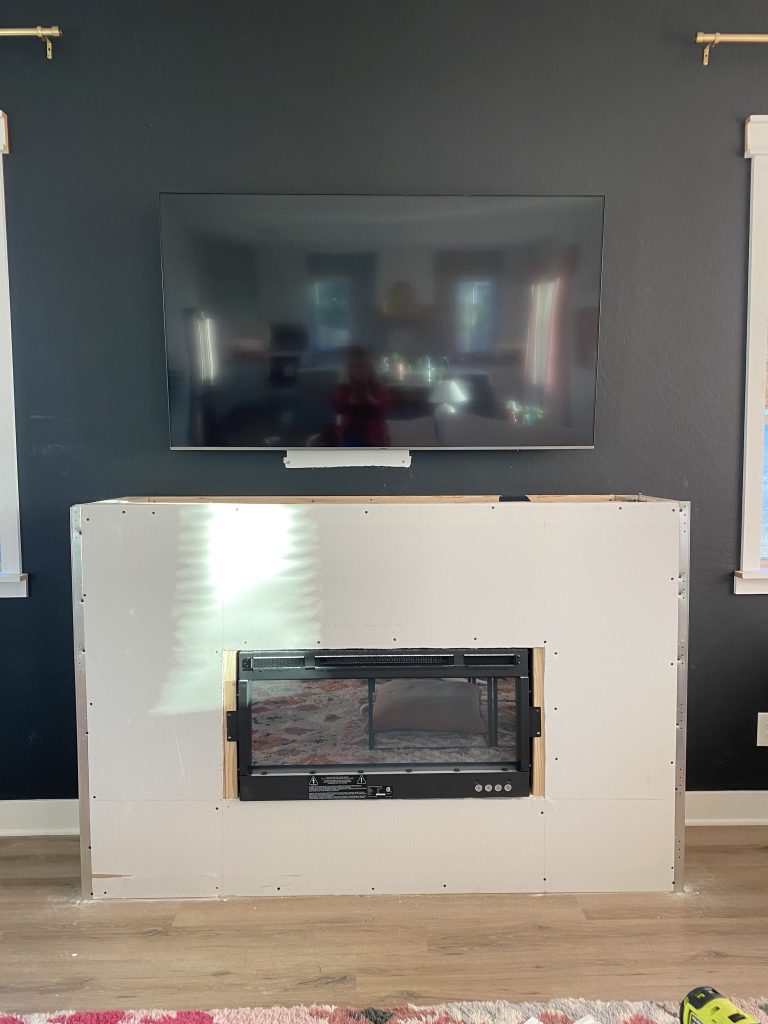
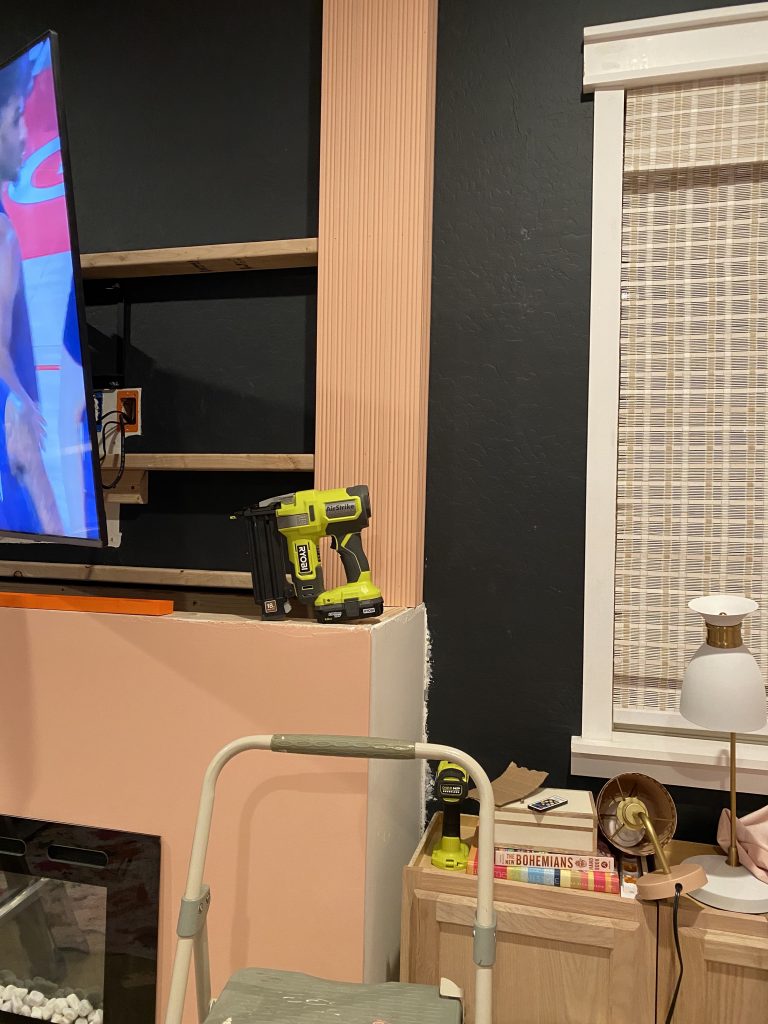
Once I had the framing completely assembled, I brought it inside to put it into place. I then built an interior shelf to house the receiver. The fireplace insert was attached by screws to the vertical 2×4 studs. Next, was drywall making sure to not drywall over the mounting brackets so that if it needs to be removed, there is still access. The glass panel will fit over the drywall. Now it was time for mud and then primer and paint.

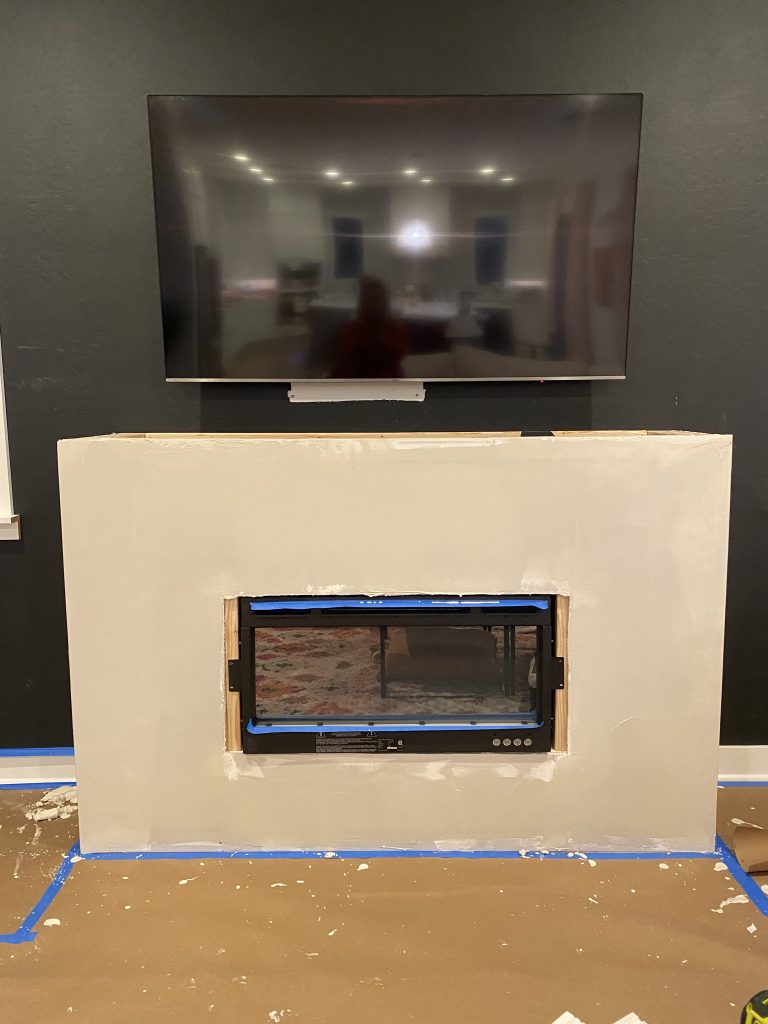
I personalized my fireplace with white rocks before attaching the glass panel.
For the area above the mantel…I built a frame to attach some decorative trim to. I chose to finish it with some fluted door casing.
The actual mantel was made from birch plywood and birch trim pieces.
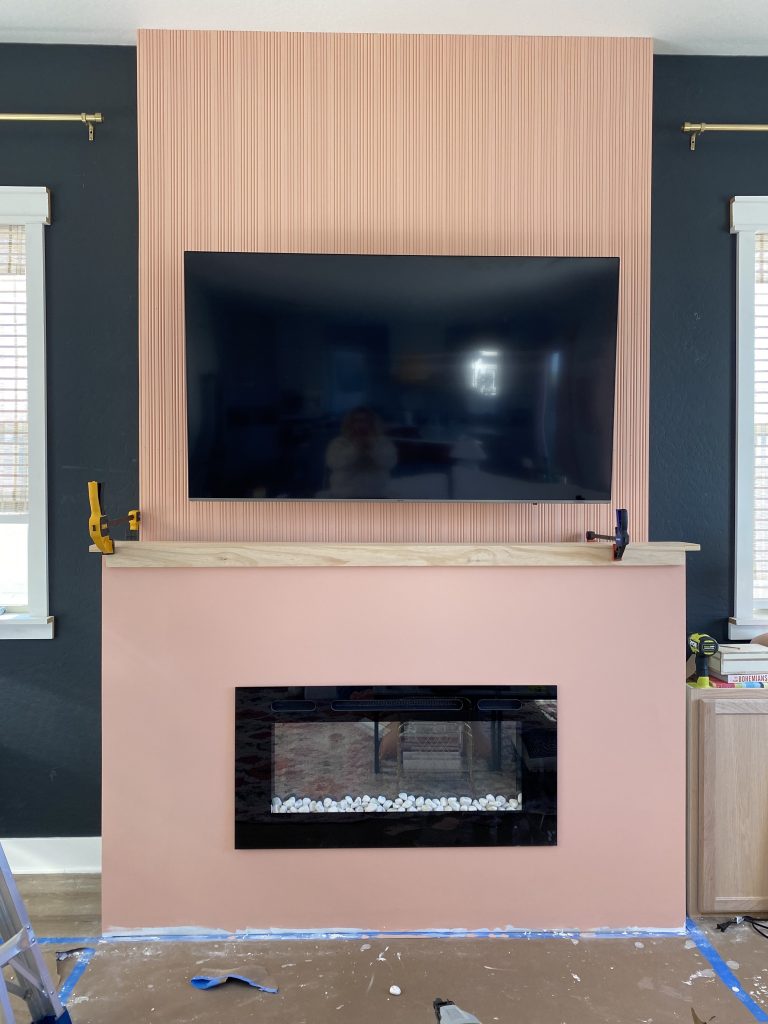
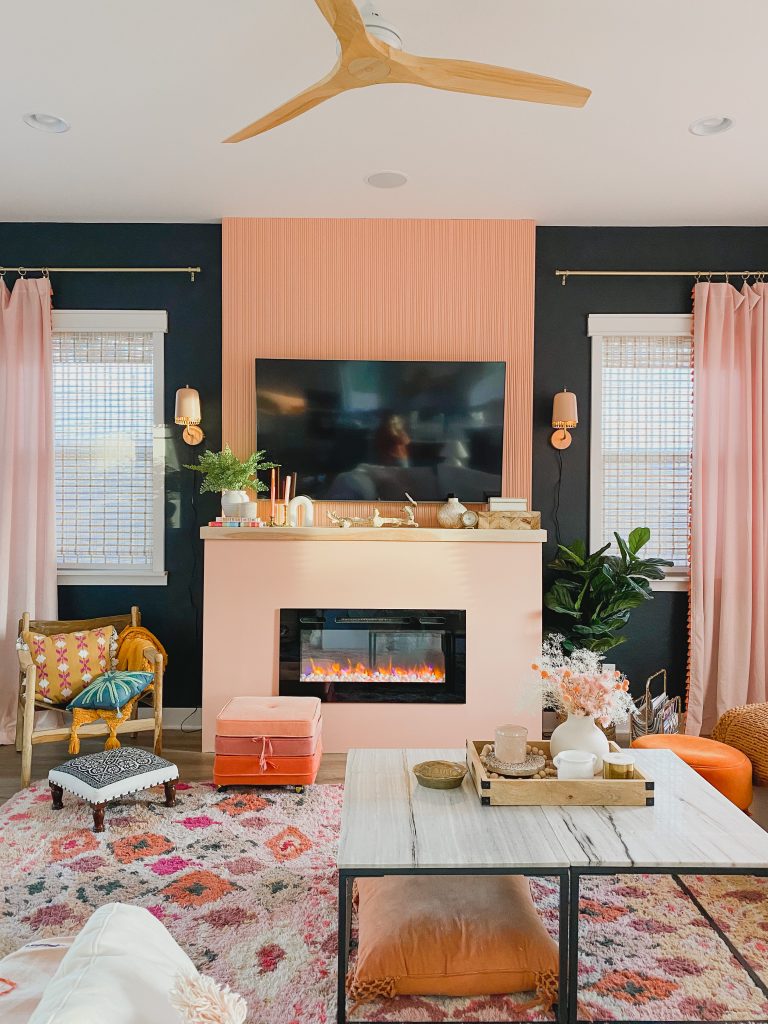
Here is the final look!! I am so happy with how this turned out!! This electric fireplace from SimpliFire is so simple to operate and there are so many fun settings so that we can truly use this year-round. Want to check out the full line? Follow this LINK and use CODE: REBECCADIY10 for a 10% discount good through 2/28/22 on your very own electric fireplace!
But first another peek…
BEFORE
AFTER
What a transformation…so much character and such a FUN project!