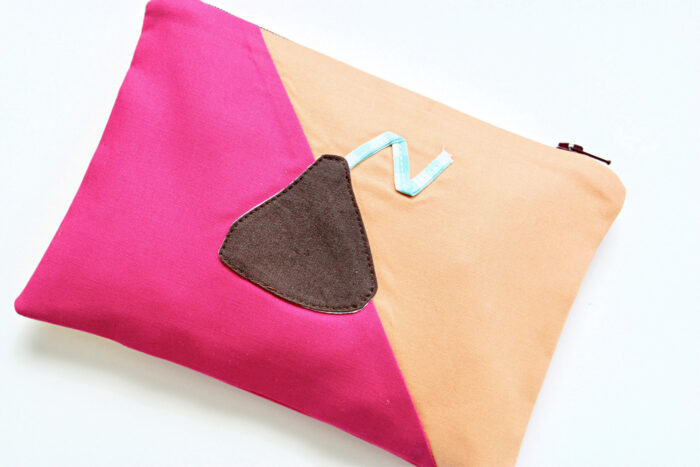
Chocolate Stash Zip Pouch Pattern
Julia of Bayhill Studio is back with us today with another very “sweet” sewing tutorial! Learn how to make a cute candy applique zip pouch with her free pattern and video tutorial. If you liked the Upcycled Candy Bag Zip Bags she shared earlier, then you’ll love today’s project.
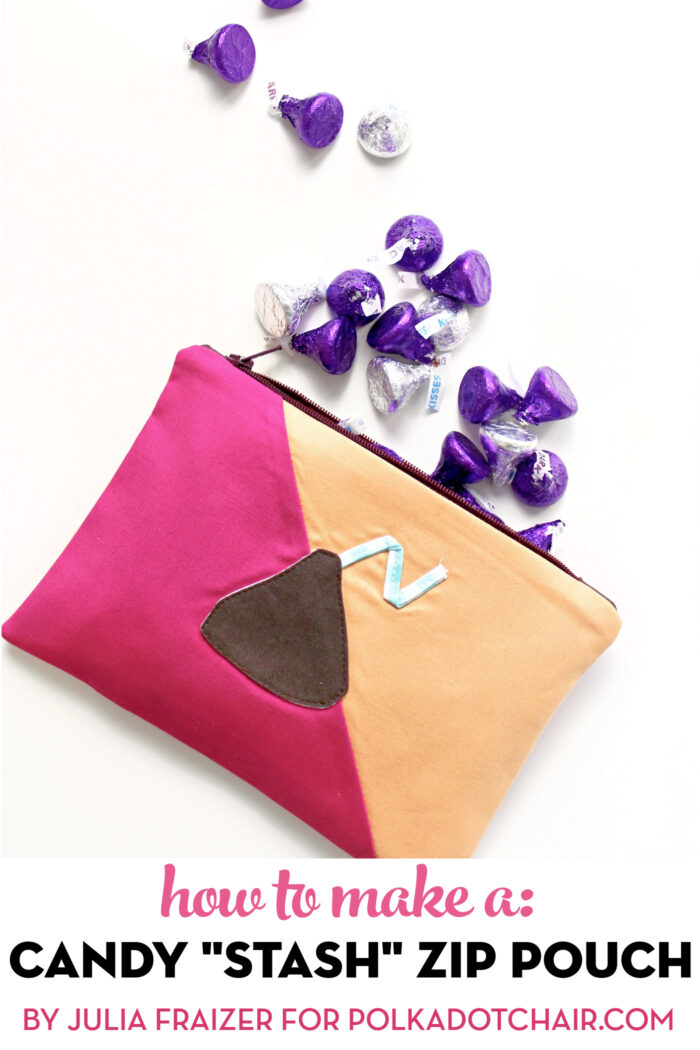
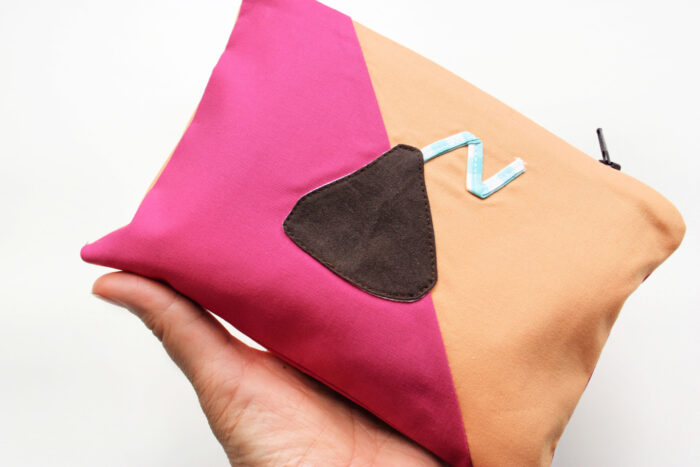
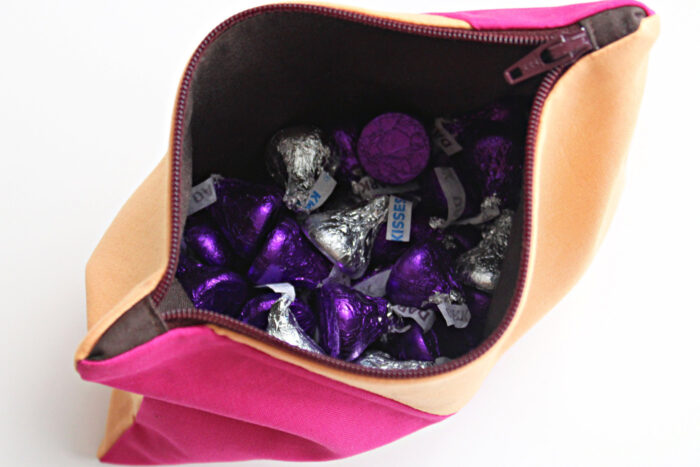
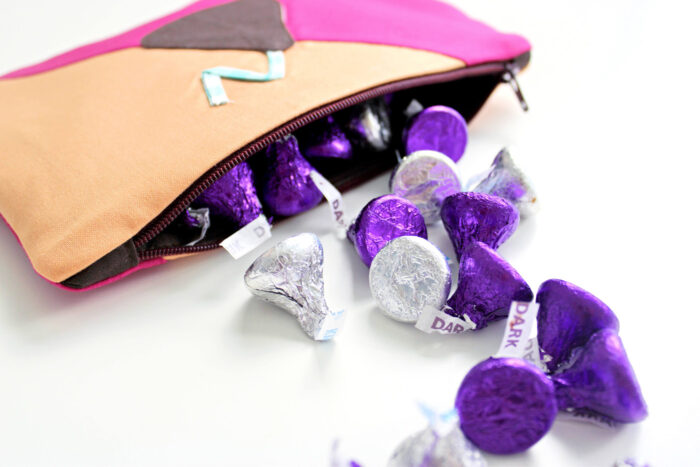
Are you looking for the perfect gift for the chocolate lovers in your life? How about a Chocolate Stash Zipper Pouch? Measuring approximately 5 ½” x 7”, this delectable little pouch is small enough to fit easily in a bag or tote so it is always there with a little chocolate pick-me-up when you need it.
The Chocolate Stash Zipper Pouch makes a great gift for teachers, coworkers, family, and friends.
You can customize the pouch with any color combination, and it is small enough that it makes a great scrap buster.
In this tutorial, we do some basic appliqué and learn how to add zipper tabs for a polished look. If you haven’t yet attempted these skills, there’s no better time than now!
Zip Pouch Supplies
To make the Chocolate Stash Zipper Pouch, you will need:
- Two – 6” x 9” pieces of fabric, each a different color for the outer fabric
- Two – approximately 5 ½”-6” x 9” pieces of fabric for lining (you may want to wait to cut these until after you sew the outer fabrics together, as the measurement will vary slightly)
- Two – approximately 5 ½”-6” x 9” pieces of lightweight or medium fusible interfacing (again, you may want to wait to cut these until after you sew the outer fabrics together, as the measurement will vary slightly)
- Two – 1 ½” x 4” pieces of fabric for zipper tabs
- Zipper measuring 8” or longer
- Chocolate Kiss Template (I scaled mine down to 75%)
- 3” square fabric for the chocolate kiss
- 3” square fusible light or medium weight interfacing for a chocolate kiss
- ½”x 6” strip fabric for chocolate kiss tag (optional)
- Optional: #6 bias tape maker
How to Get the Applique Pattern
Fill out the form and we will send you the applique pattern.
Instructions
Most of the instructions for this tutorial can be found on YouTube. Included in the post are the basic steps to create the zip pouch, but if you’d like a more detailed tutorial, be sure to check out the YouTube Video.
YouTube Tutorial
I have created a video where I walk you through all of the steps to make this little pouch. You can sew along with me, pause and take a break, and pick up where you left off as your schedule allows.
Step One: Create the Applique Chocolate Kiss
Trace the chocolate kiss shape onto a piece of fabric and cut it out.
Place it on top of the lightweight fusible interfacing, the right side of the fabric should be facing the “glue” side of the interfacing. Do not iron yet, you will set the applique glue in a later step.
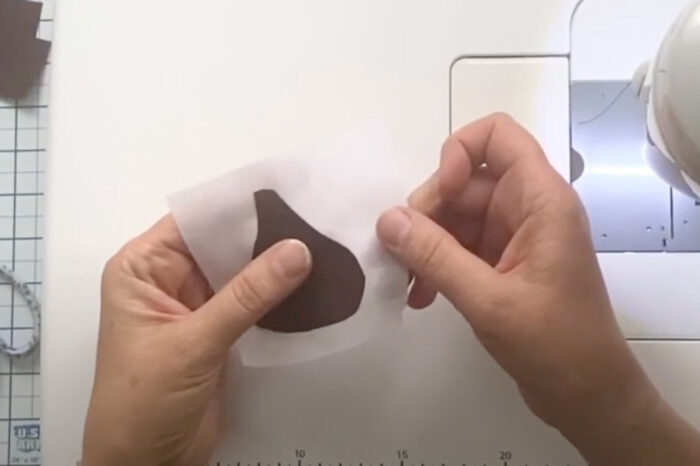
Stitch around the shape about 1/8″ from the outside edge. Trim the excess interfacing and clip the curves.
Create a small slit on the interfacing side of the shape, and turn it right side out through the slit. I just used a seam ripper to create the slit.
Finger press the shape and set it aside.
Step Two: Create the “Tag”
To create the chocolate kiss tag, simply run the ½” strip of fabric through a #6 bias tape maker following the manufacturer’s instructions.
Fold the bias strip in half and stitch along the side, you will have a very skinny piece of stitched bias tape about 1/4″ wide.
Step Three: Create the Zip Pouch Outside Pieces
Layer the 6″ x 9″ pieces of fabric (both of them, they will be two different fabrics) on top of each other and cut them along the diagonal. This is an improvisational cut, just cut it where you think it will look good. This only works if you cut both pieces of fabric at the same time.
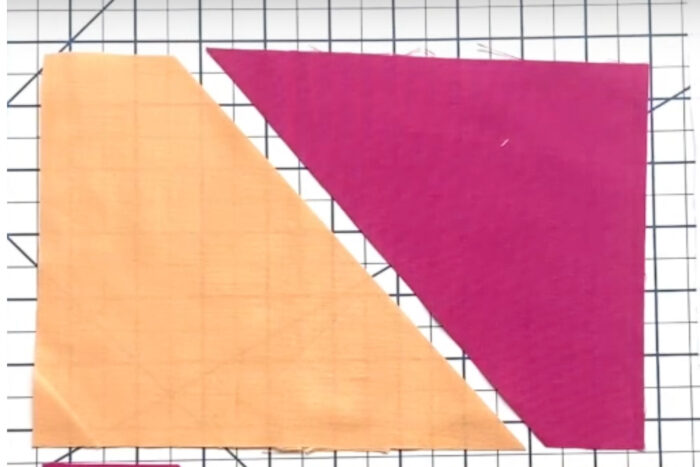
Take one piece of each fabric (cut on the opposite ends) and sew them together with a 1/4″ seam allowance. Repeat with the other pieces.
Press well.
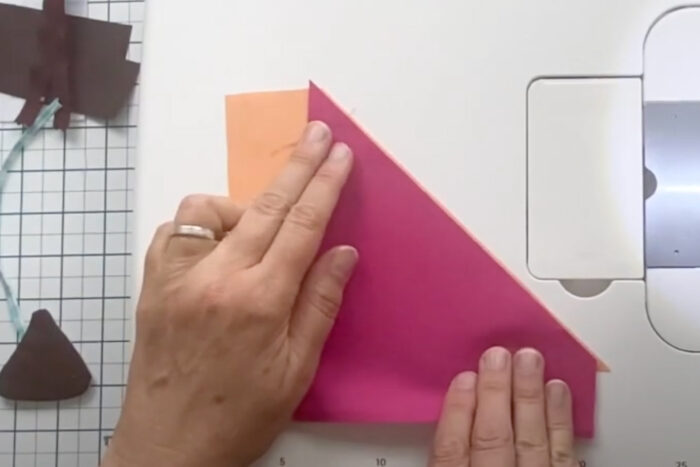
Step Three: Add the Applique
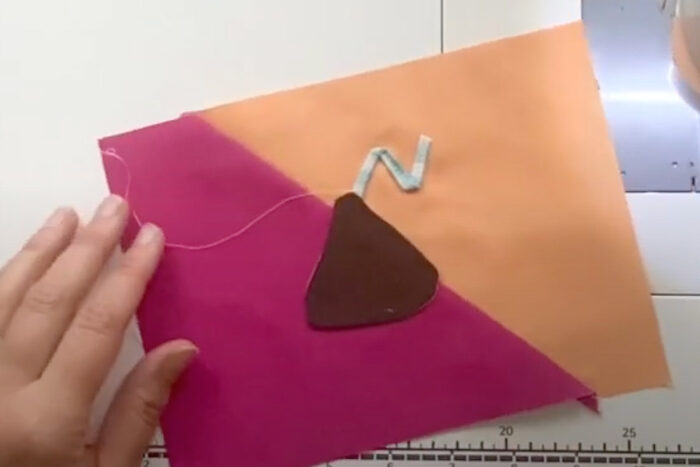
Place the “tag” (the skinny bias strip) where you’d like it and pin it in place. Stitch it down with your sewing machine.
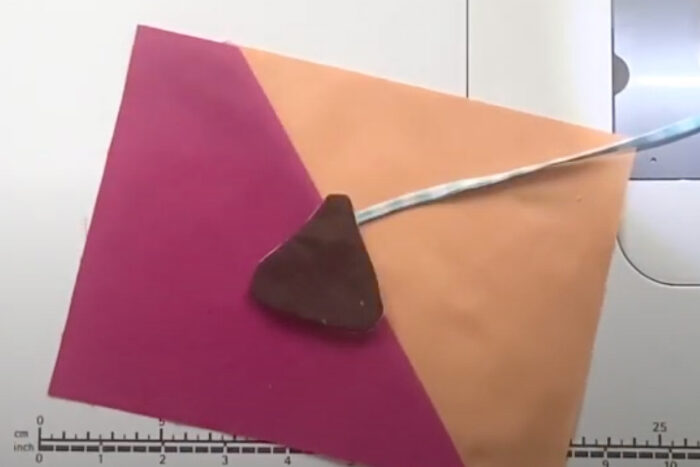
Press the candy applique shape onto the front of the zip pouch piece. Use your iron to adhere it in place.

Stitch around the outside of the candy piece, close to the outside edge.
Step Four: Construct the Pouch
Construct the zip pouch using your favorite method. In the video, Julia walks you through the steps she uses to create her pouch.
You can also find a step-by-step tutorial to create a zip bag on our site if you prefer to read the directions. (Note: Julia does create zipper tabs at the ends of her zipper, our tutorial does not use zipper tabs, just use whatever you like best!
About the Designer

Julia Frazier is the founder of Bayhill Studio. Julia designs quilts and projects geared toward beginner quilters and crafters. You’ll usually find her at her sewing machine or hiking in the nearby mountains. Follow Julia on Instagram @bayhillstudio, and subscribe to her YouTube channel for new and exciting projects and tutorials. Be sure to check out her Bayhill Studio website for a growing list of tutorials and patterns.
Also by Julia

Bucket Hat and Slim Phone Case Tutorial
Snappy Laminated Pouch Tutorial