
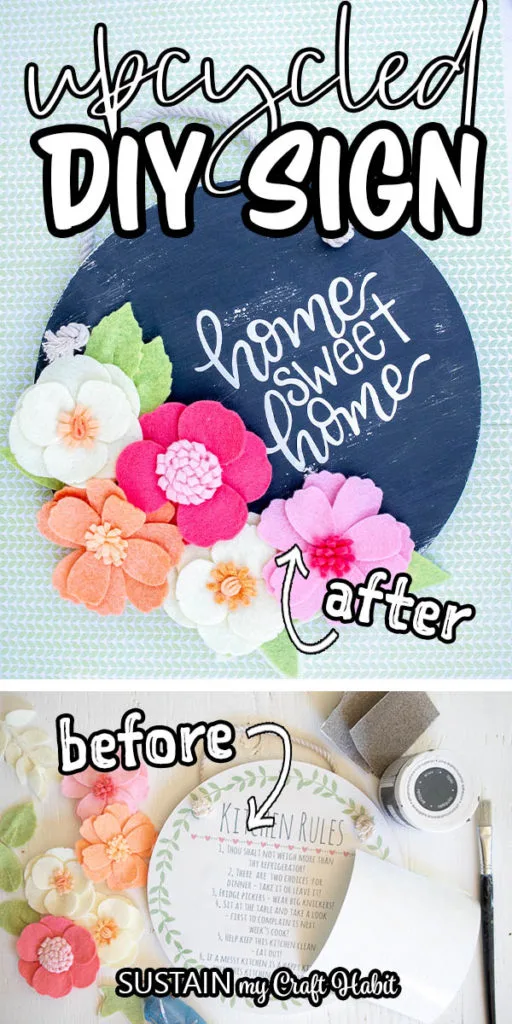
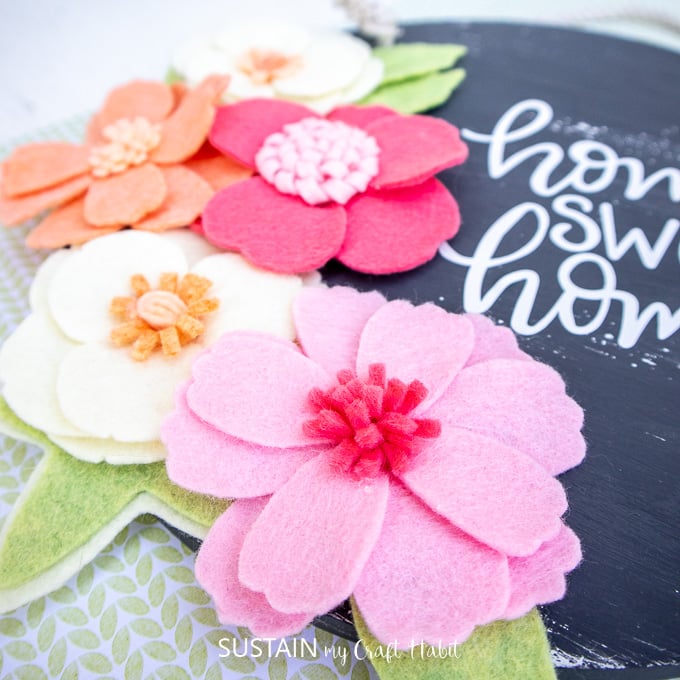
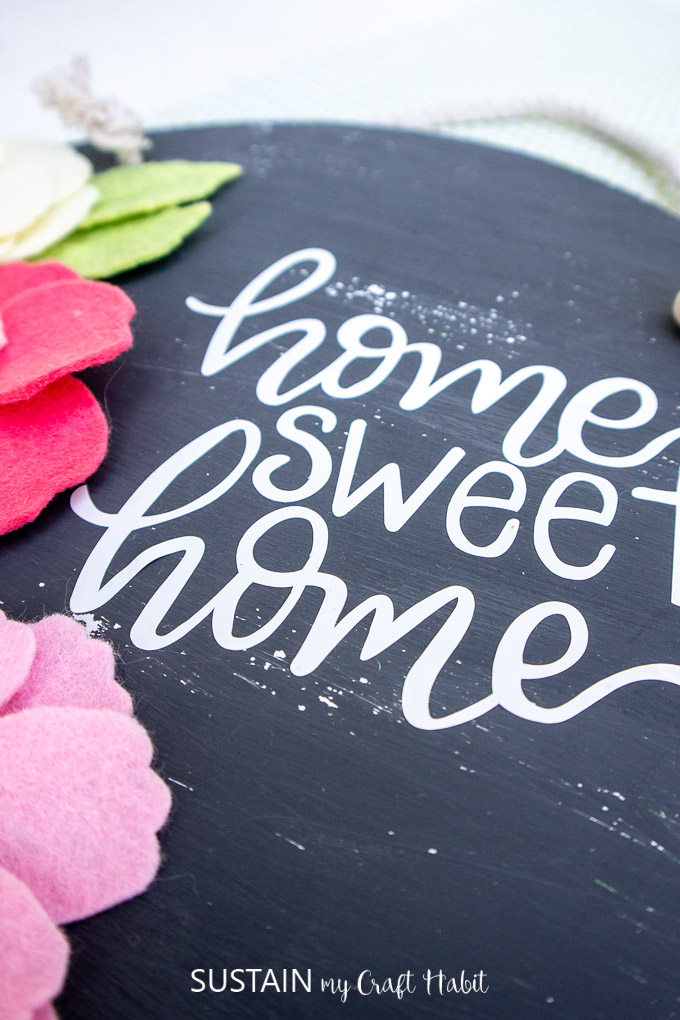
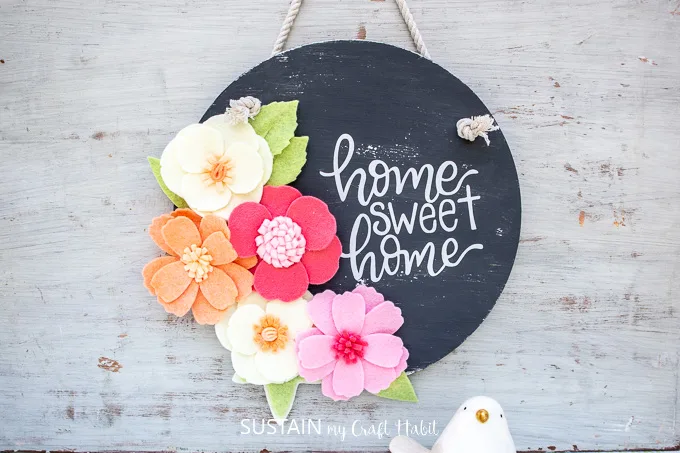
Using assorted felt flowers and our Cricut Joy cutting machine, we upcycled an old thrift store plaque into a beautiful DIY sign for home.
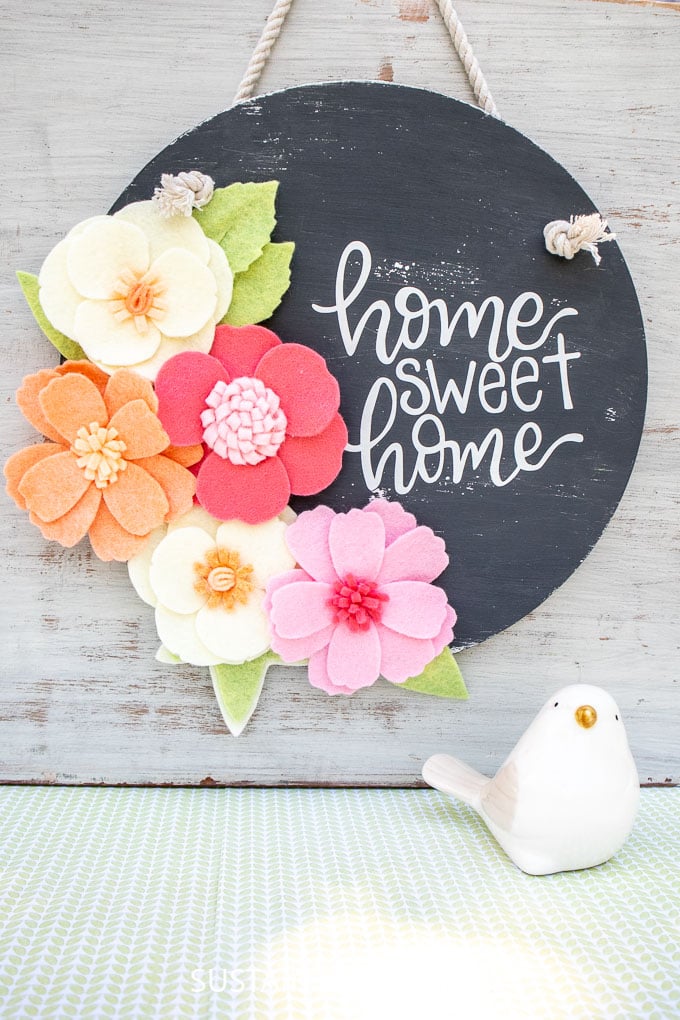
A Pretty Home Sweet Home Sign
We were happy to reuse an old wood sign we picked up at the thrift store for only $0.75! You can find similar inexpensive signs at the dollar store or craft store or maybe you already have something at home you could use to upcycle. At any rate, it feels good to upcycle!
The felt flowers used on this pretty home sweet home sign are part of our Etsy shop felt flower line. We also used the same pattern to make this lovely girl’s headband and this pretty photo display.


More DIY Signs for Home
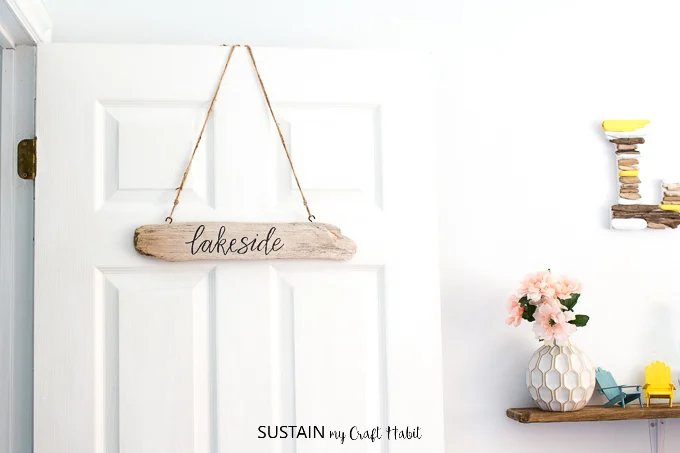
If you’re looking for more inspiration, check out this silly DIY bathroom sign; or this large DIY scrap wood farmhouse sign or even this simple hand lettered DIY driftwood sign!


Silly Bathroom Sign 
Farmhouse Beach-themed Wall Art 

Driftwood Sign


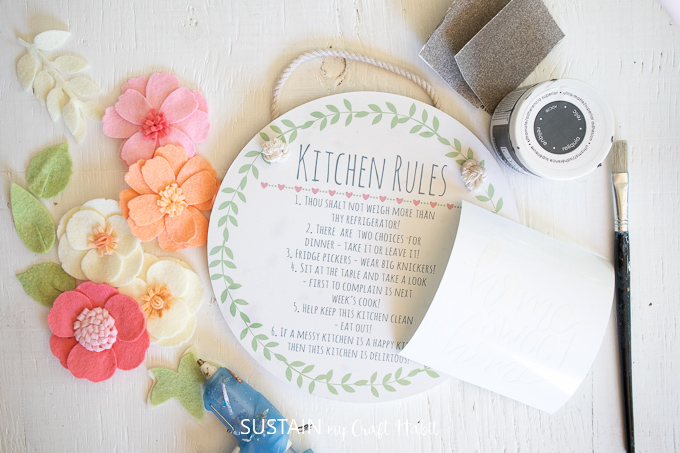
Materials Needed
Disclosure: This post contains affiliate links for your shopping convenience. Should you choose to purchase through them, we will make a small commission at no extra cost to you. You can read our full disclosure policy here.
- Blank wooden sign (like this) or any old sign that can be repurposed
- DecoArt Americana Chalky Finish in Relic
- Paintbrush
- Sandpaper, 200grit
- Assorted Assembled Felt Flowers (we used this felt flower pattern to make these pretty Spring florals)
- Hot Glue Gun with clear glue sticks
- Home Sweet Home SVG File (see how to access above)
- Cricut Joy (or other cutting machine) with Fine Point Blade
- Smart Vinyl Permanent in white
- Weeding Tool
- Scissors
- Cricut Transfer Tape

How To Make a Beautiful DIY Sign For Home
Preparing the Felt Flowers:
Head over to our Etsy shop to purchase the felt flower patterns for cutting and assembling these Spring inspired florals. We used the melon sorbet color pack of felt sheets from Benzie Designs, they have the best collection of merino wool and rayon blended felt for crafting!
Preparing the Sign:
If your sign has a piece of rope for hanging, like ours, remove it while you paint and put it aside to reattach later.
Apply a coat of relic paint over the wood sign and let it dry.

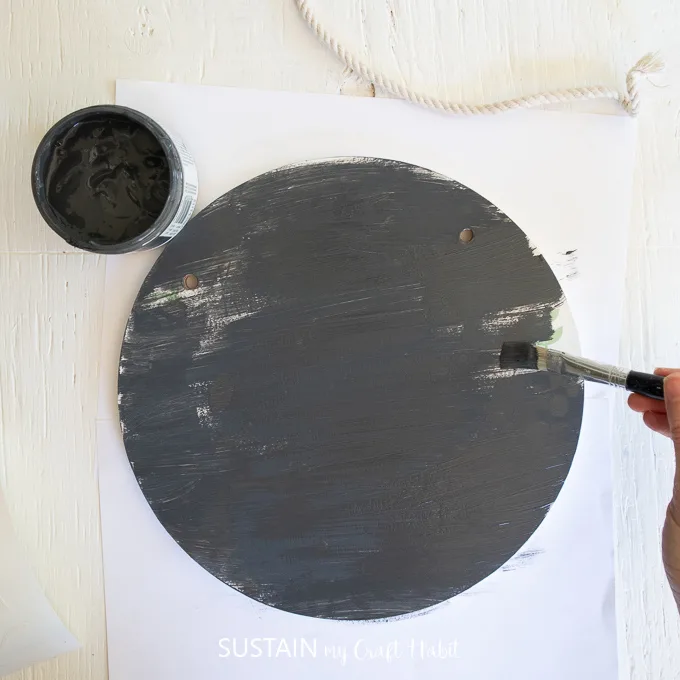
Once dry, take a piece of sandpaper and lightly sand off some of the paint from the surface and edges giving it a distressed look. Wipe off the sign so the surface is free of dust and loose paint.


Preparing the Home Sweet Home Image:
Open Cricut Design Space and click on the “+” sign to start a new project, opening up a blank canvas.
Click on the “Upload” button from the toolbar and browse your downloaded files to insert the SVG file. Head to this post for tips on how to upload SVG files to Cricut Design Space.
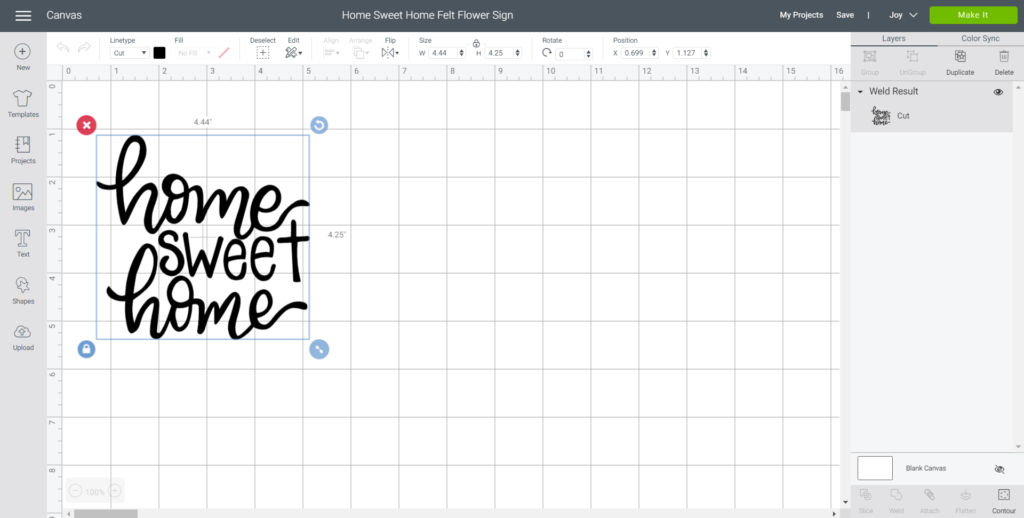
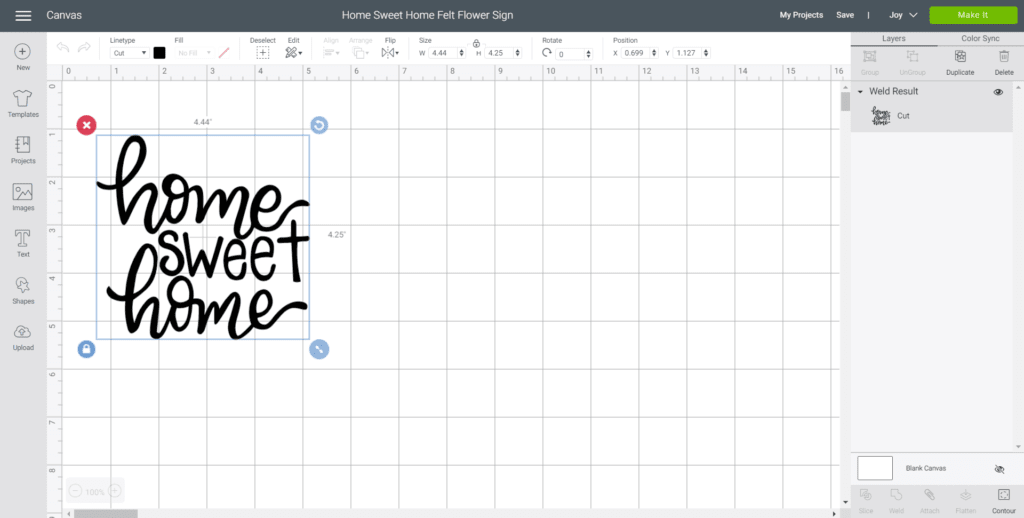
The cut image will appear on the canvas. With the image selected, click on the “Weld” button to secure all parts of the image together for cutting.
Maintain the size or adjust to fit your sign. To adjust the size, highlight the image and click on the size box in the top toolbar. Change the measurement to suit your canvas size accordingly.
Cutting the Permanent Smart Vinyl:
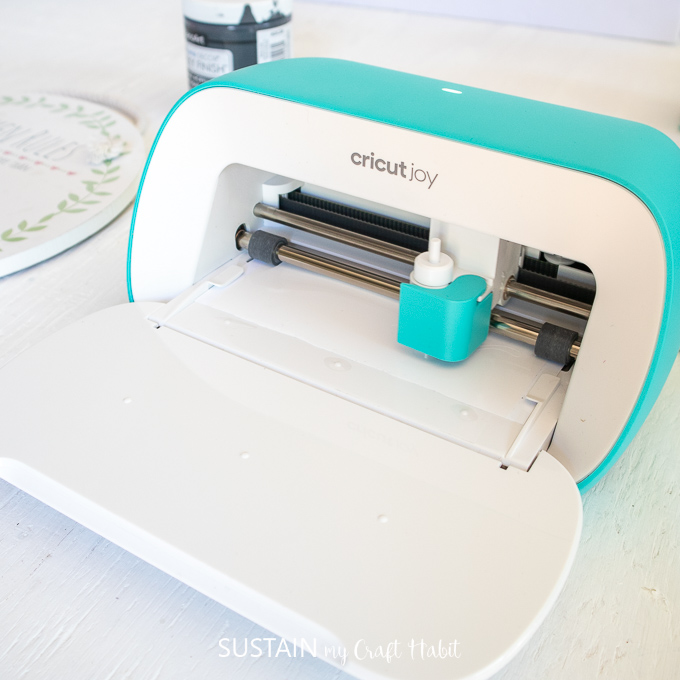
Select “Make It” in the upper right corner to proceed with cutting and choose the Smart Vinyl, Permanent material from the list of options in the drop down menu.
Following the instructions prompted on the screen, cut out the vinyl.

Assembling the Sign:
Adding the Vinyl Home Sweet Home Lettering
Cut around the image with a pair of scissors and using the weeding tool, peel away the excess vinyl around the cut images and discard.
Cut a piece of transfer tape a bit larger than the size of the image.

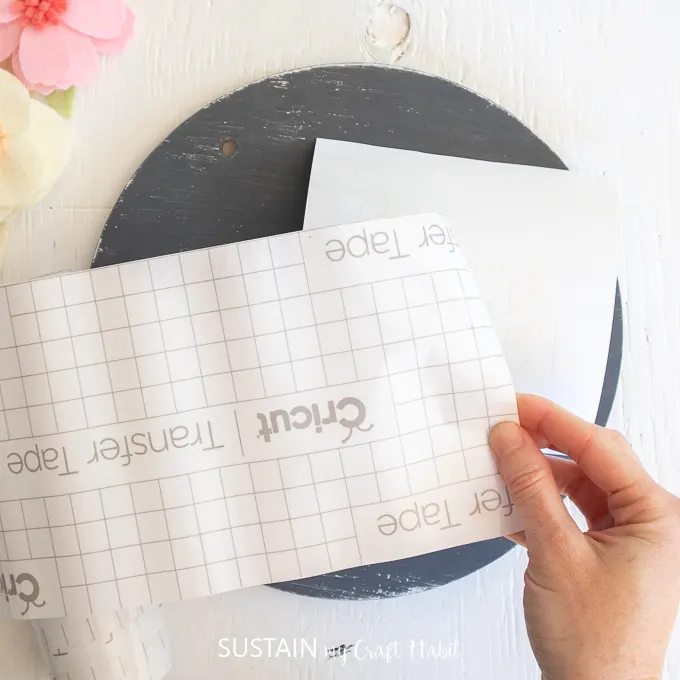
Peel away the transfer tape backing and place the transfer tape overtop of the cut image. Gently rub the vinyl to help it stick to the transfer tape.
Peel away the vinyl backing, leaving just the image adhered to the transfer tape.


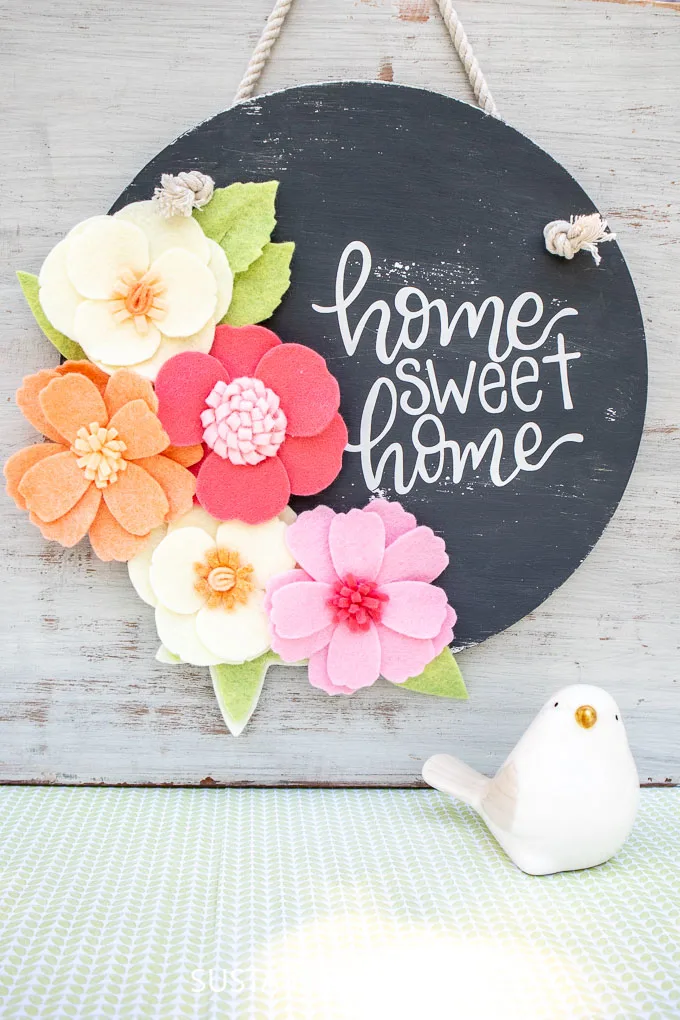
Position the image with the transfer tape on to the sign and press in place. We placed ours over to the right side giving us space for the felt flowers. Slowly and carefully remove the transfer tape leaving the vinyl image on the sign. Wiggle the transfer tape while peeling to help release it.

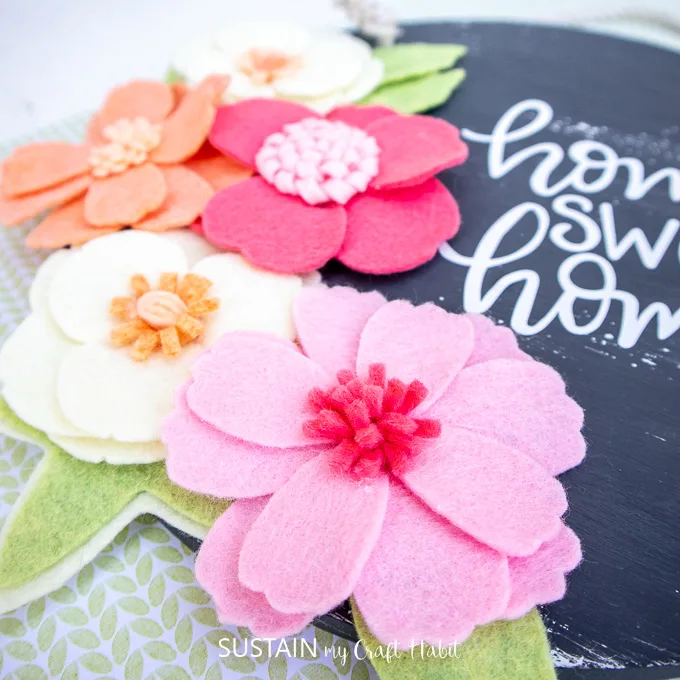
Attaching the Felt Flowers
With the “home sweet home” lettering in place on the sign, you can begin securing the felt flowers. Position the flowers on the sign temporarily to make sure you like the look. Once you’re happy with the layout, use a hot glue gun to attach the flowers directly to the sign.
Reattach the rope or other hardware and hang your new DIY sign to enjoy!

More Felt Crafts
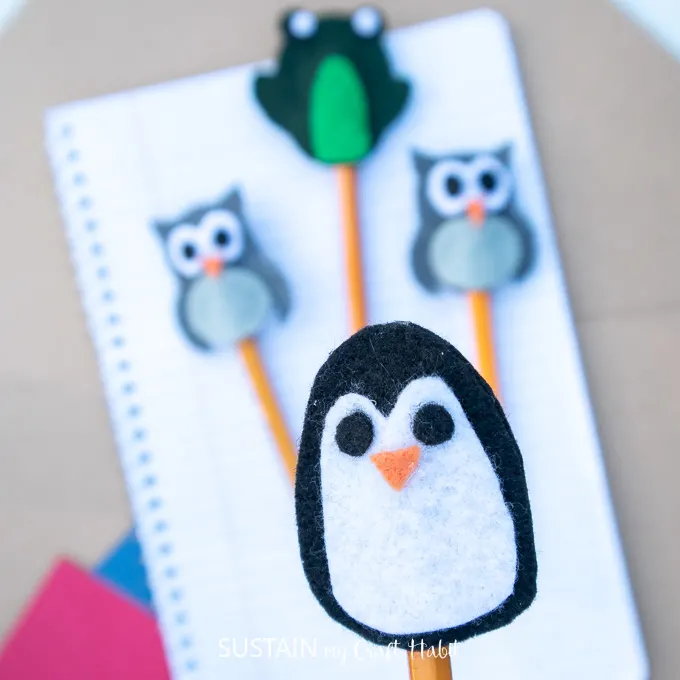
Here on the blog, Jane and I love felt crafts, anything from bird bookmarks to potted felt succulents. Here are some other felt craft ideas you can also try out:
- Felt animal pencil toppers
- Adorable felt sloth craft
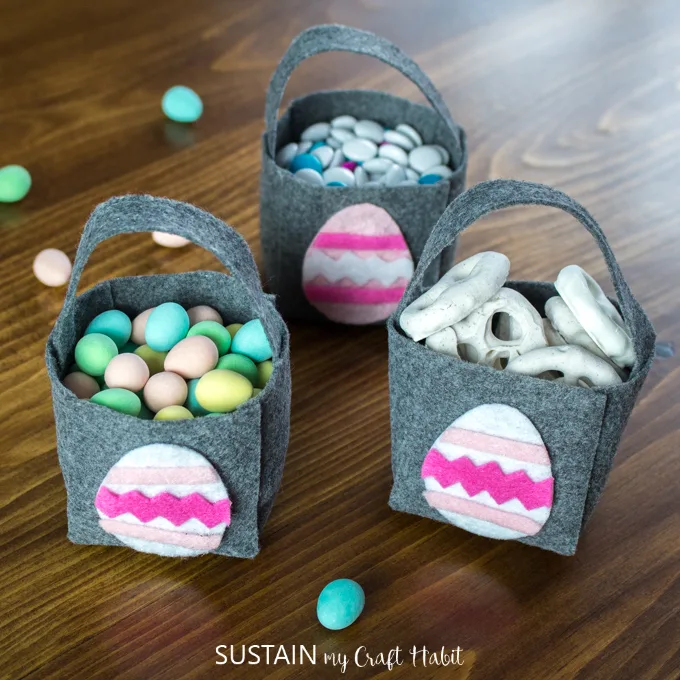
- DIY Easter basket with felt
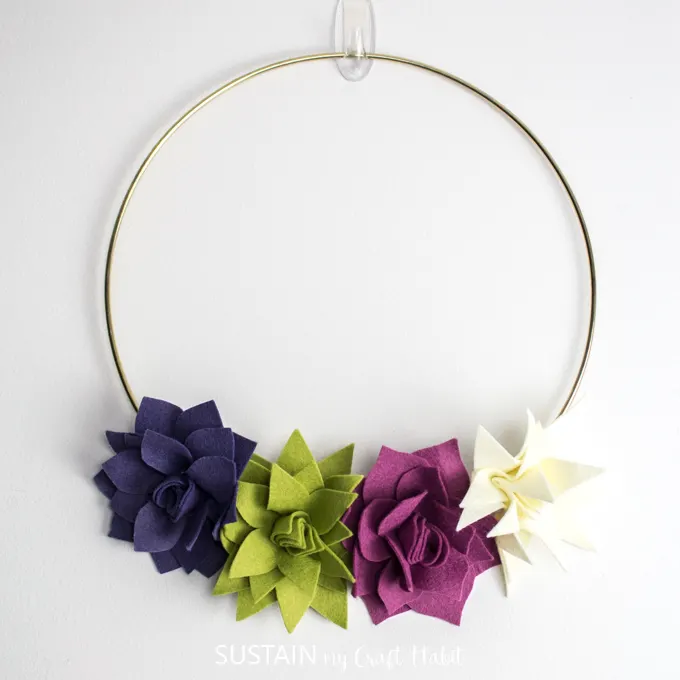
- Felt succulent wreath
- Beach themed pillows with felt
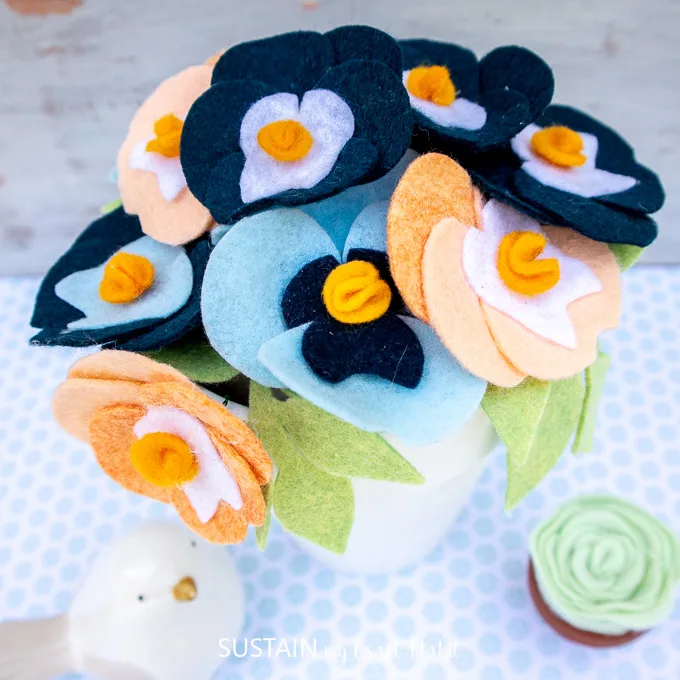
- Felt pansy flowers

Felt Pencil Toppers 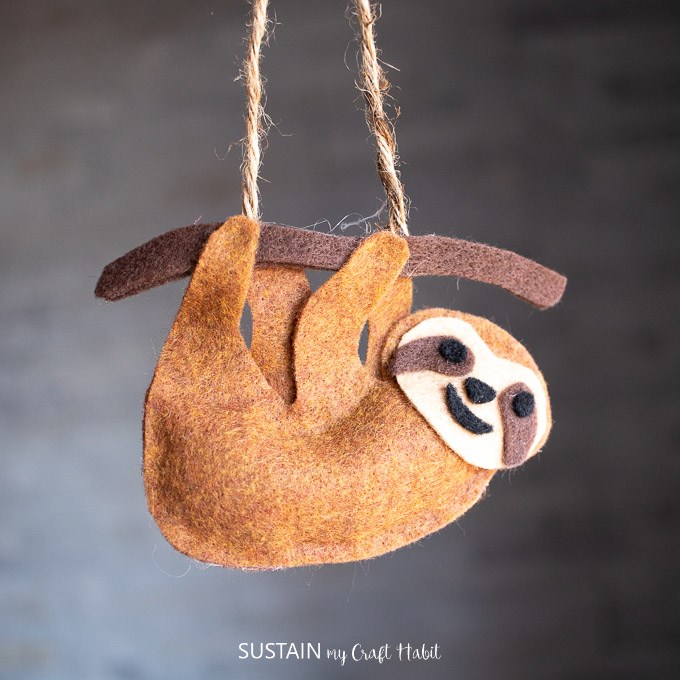
Sloth Craft 
Easter Basket with Felt 
Felt Succulent Wreath 

Felt Sailboat Throw PIllow 
Felt Pansy Flowers


Like it? Pin it for later!
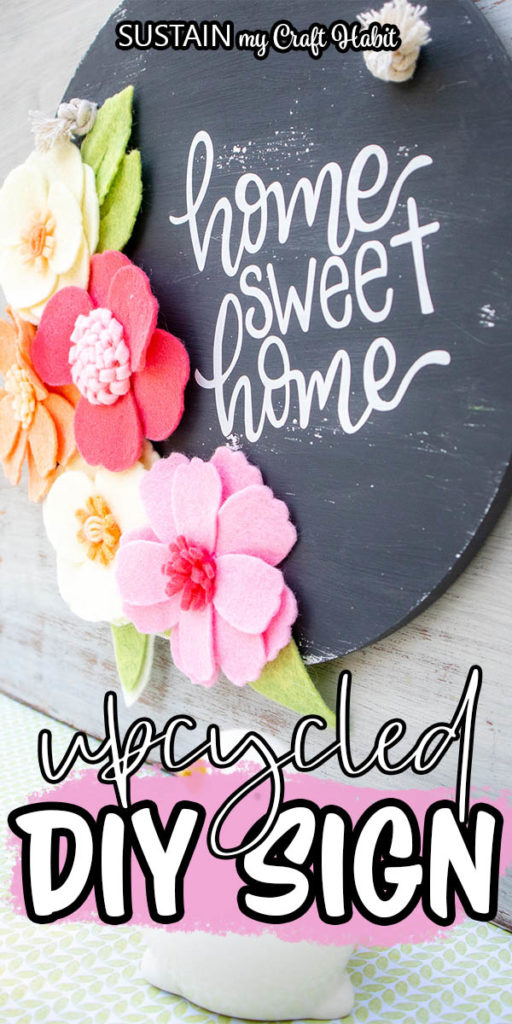


Beautiful Upcycled DIY Sign for Home (with free SVG)
Materials
- Blank Wooden Sign
- DecoArt Americana Chalky Finish in Relic
- Paintbrush
- 200 grit Sandpaper
- Assorted Assembled Felt Flowers
- Hot Glue Gun with clear glue sticks
- Home Sweet Home SVG File
- Cricut Joy or other cutting machine with Fine Point Blade
- Smart Vinyl Permanent in white
- Weeding Tool
- Scissors
- Cricut Transfer Tape
Instructions
Preparing the Felt Flowers
- Head over to our Etsy shop to purchase the felt flower patterns for cutting and assembling these Spring inspired florals.
Preparing the Wood Sign
- Apply a coat of relic paint over the wood sign and let it dry.
- Once dry, take a piece of sandpaper and lightly sand off some of the paint from the surface and edges giving it a distressed look.
Preparing the Home Sweet Home Image
- Open Cricut Design Space. Click on the “+” sign to start a new project, opening up a blank canvas.
- Click on the “Upload” button from the toolbar and browse your downloaded files to insert the SVG file.
- With the image selected, click on the “Weld” button to secure all parts of the image together for cutting.
- Select “Make It” in the upper right corner to proceed with cutting.
- To assemble the sign, cut around the image with a pair of scissors.
- Using the weeding tool, peel away the excess vinyl around the cut images and discard.
Assembling the Sign
- Cut a piece of transfer tape a bit larger than the size of the image. Peel away the transfer tape backing and place the transfer tape overtop of the cut image.
- Peel away the vinyl backing, leaving just the image adhered to the transfer tape.
- Position the image with the transfer tape on to the sign and press in place. Remove the transfer tape leaving the vinyl image on the sign.
- Using a hot glue gun, attach the felt flowers around the lettering.