Adding Removable Wallpaper to a room
INSIDE : Removable wallpaper is such a great way to make a huge impact in a room. I love how simple it is to install and remove. Read on to learn how adding removable wallpaper to a room can be done with minimal effort!
This post may contain affiliate links. See full disclosure here.
Today marks the third week of the Spring 2021 One Room Challenge where I’m a guest participant. Last week I shared how painting half the room a dark moody teal went.
Each Thursday until June 24th, I will be sharing the transformation of my office from a bright and whimsical space I used just for me… to a moody creative office haven for the entire family!
Week 1 Office Plan
Week 2 Painting Office Moody Blue
Week 3 Adding Removable Wallpaper to a room
Week 4 Spackle DIY Art
Week 5 Slow going week
Week 6 Woven Wooden Cabinet
Week 7 Painted Wood Slat Wall
Week 8 Moody Office Reveal
Peel Off Wallpaper
Let’s first talk about “Peel Off Wallpapers” because they are not all made equal. This is the third peel and stick removable wallpaper I have used in our home and I this is my favorite brand so far! I went with Love vs. Design and wow was I impressed!
Not only do they have some of the best, most modern styled patterns out there, but the quality of their wallpapers are amazing. You can choose between smooth or the one I selected, woven. It has a very durable long lasting feel to it.
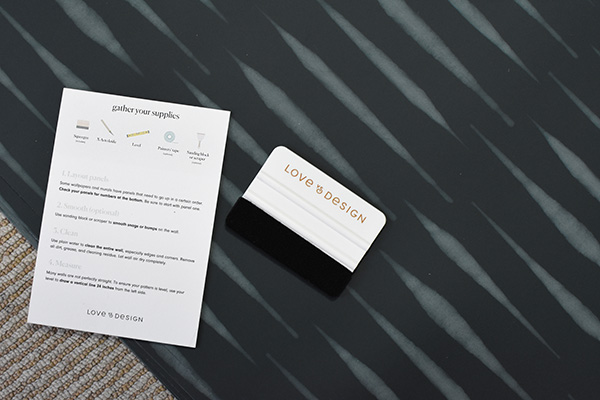
It comes with direction card and a squeegee. I found their direction card to be very helpful. And there are videos on their website, too if you are more of a visual learner.
Check out these amzing wallpaper projects!
– How to install a Removable Wallpaper Backsplash
– Simple Dresser update with Wallpaper
– Adding Removable Wallpaper to a room
– How to create a Circle Accent Wall with Wallpaper
– Favorite Tile Removable Wallpapers
– How to create a Wallpaper look without using Wallpaper
– DIY Wallpaper Nightstand
– Best Checked Wallpapers
Patch your Walls before installing wallpaper
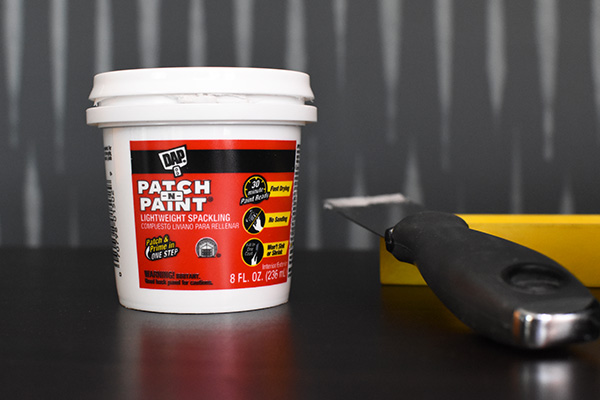
The first step to having a successful wallpaper installation is repairing any damage to the wall. I used my office walls heavily and there were a LOT of holes in my walls. I used this lightweight Patch and Paint spackle and a drywall putty knife.
Once the spackle had dried, I lightly sanded over any bumps and rough spots, then wiped down the walls with a clean damp rag.
Measure
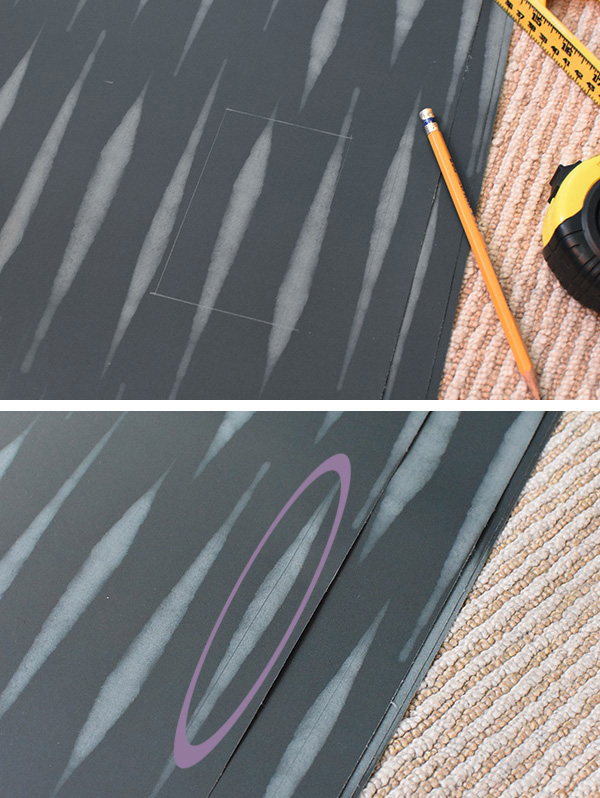
The most important thing I can tell you about installing removable wallpaper is to measure all your cuts multiple times. Although, I didn’t have any huge cuts to make on my office walls, there were quite a few air vents, light switches and electrical outlets.
Measuring a few times and then drawing out how exactly I was going to cut the wallpaper with a pencil, measuring tape and wall level is so key!
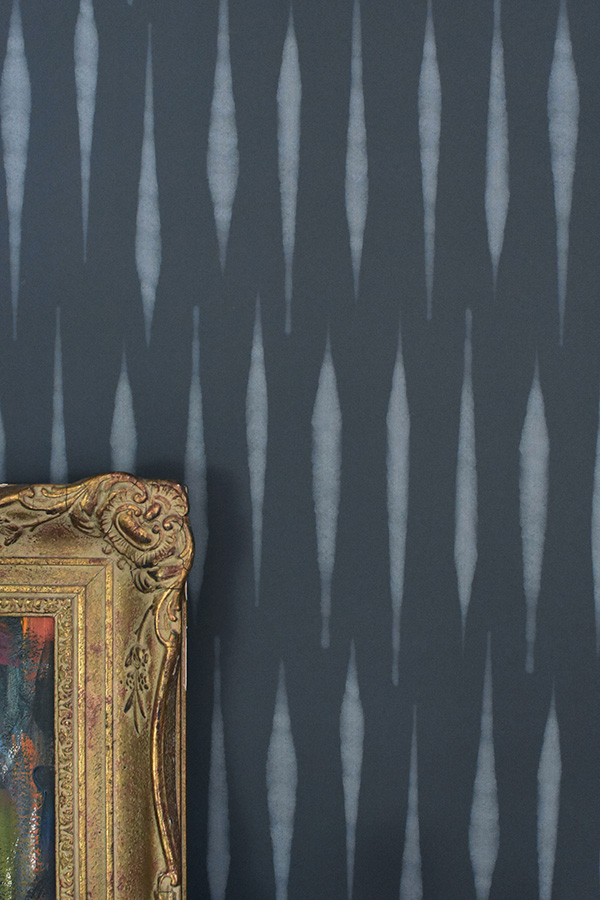
Lining up your wallpaper properly is make or break in your room looking professional or not. One of the added bonus’ of Love vs. Design’s wallpaper is that they come with a very faint line on one side of the design. This was SO helpful in lining each of my rolls of wallpaper up perfectly. (I circled the faint line below in lavender.)
Peel and stick removable wallpaper Installation
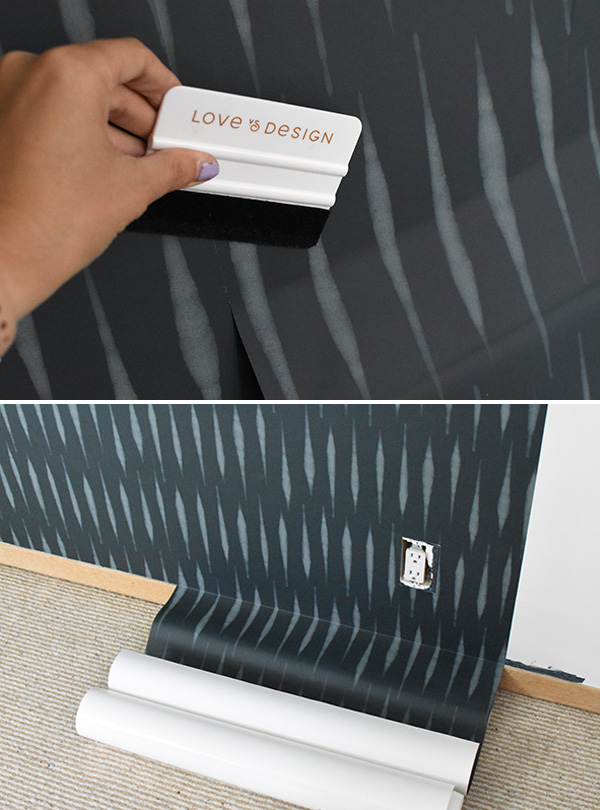
Starting at the top of your wall, right at the ceiling line, hold up your wallpaper and remove about 6″ of the backing. Make sure you are level by using a wall level as you go. Use their Love vs. Design squeegee to help slowly remove any air bubbles as you go.
Keep checking as you move down the wall that you are lined up with the faint line and/or a wall level. If you start to veer off course, it’s as simple as lifting up your wallpaper a few inches and repositioning the paper to get back on track.
Once you reach the bottom of your wall, use the squeegee to get a nice tight fit and with an x-acto knife, trim off all the excess length for a nice clean finish.
Temporary Wallpaper tip
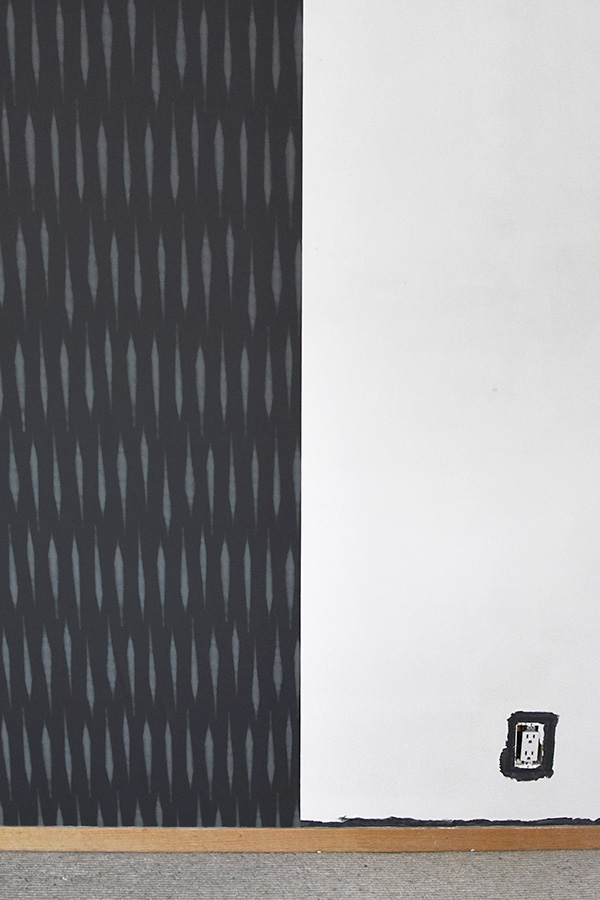
One very helpful wallpaper tip I have is if you have interior wall paint that matches your wallpaper background, then paint a thin strip along your trim, on wall edges and around your electrical outlets. This helps incase you don’t quite get your wallpaper to the very edge, the paint color masks that and you don’t see the white of your walls.
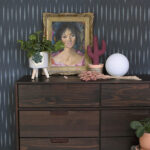
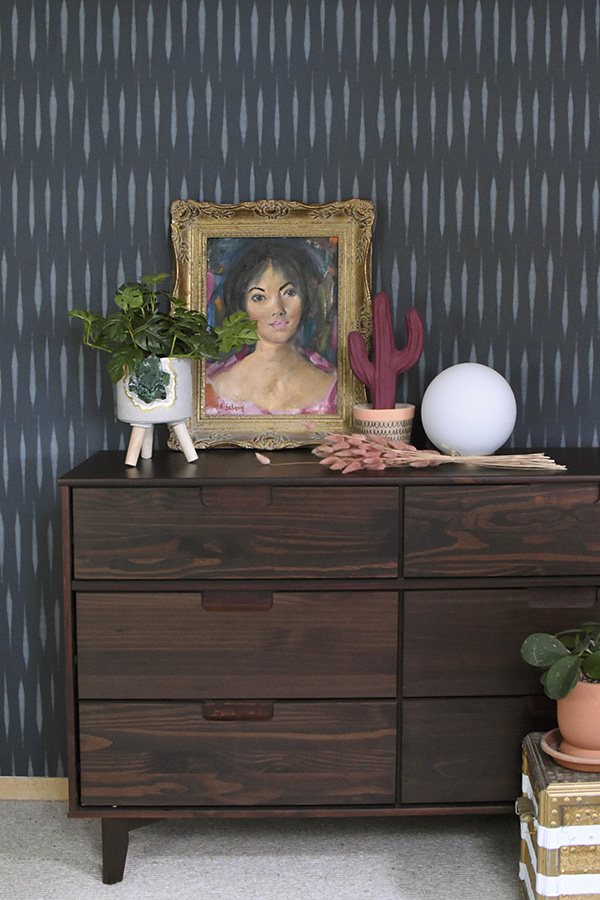
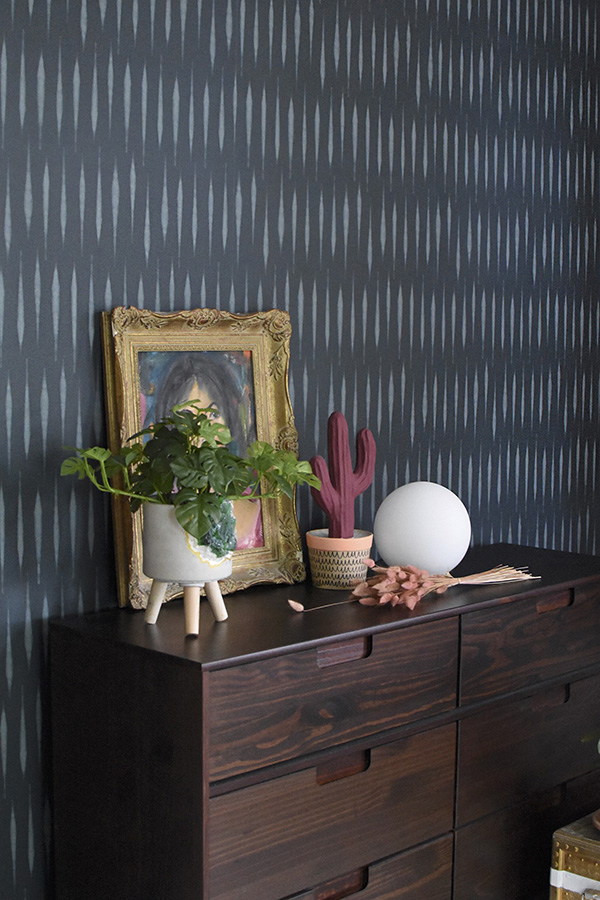
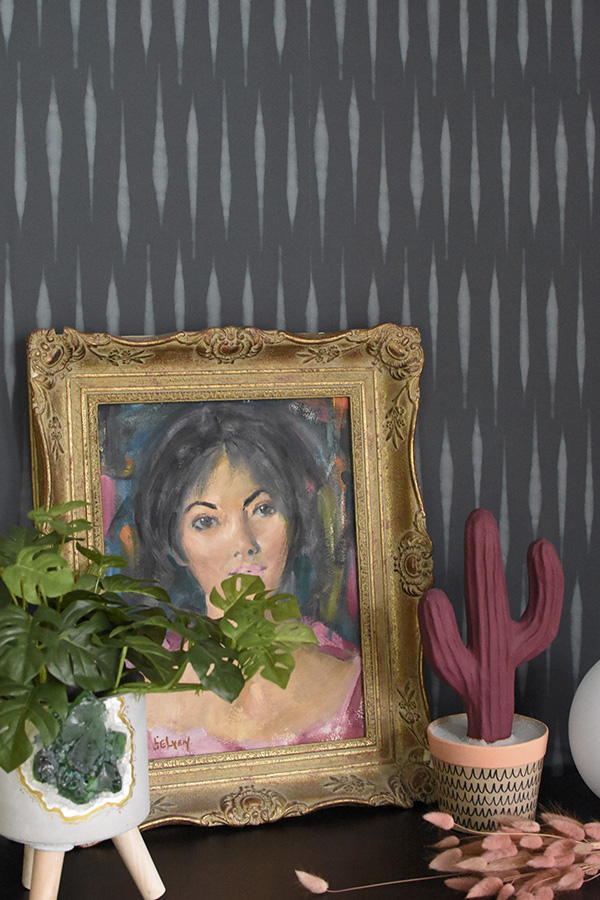
It took me two days to hang the wallpaper in my office and although it does take a bit of time and patience, the results are so amazing! I love how this wallpaper looks.
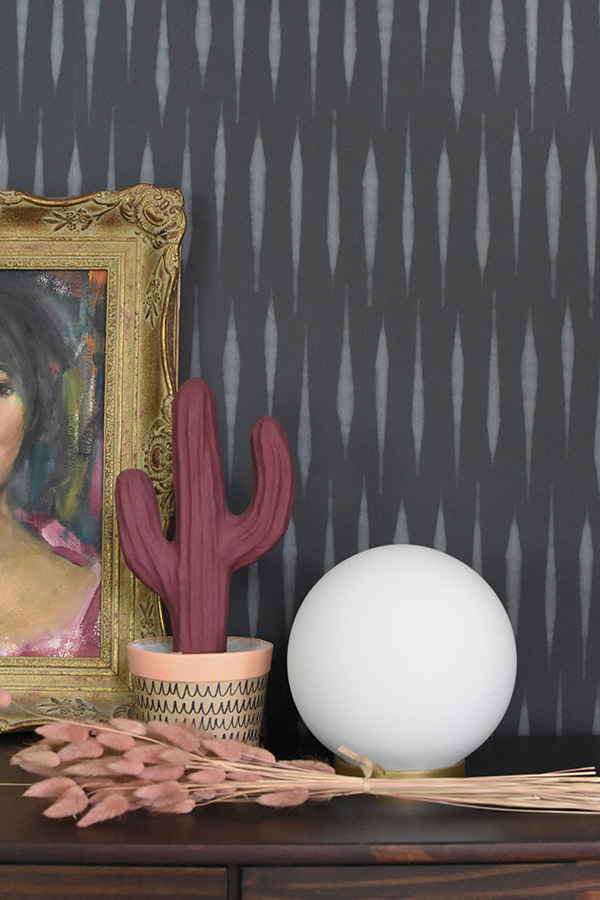
I used Mod Mudcloth Wallpaper in Woven material and are you ready for the other best part about Love vs. Design? Their colors are completely customizable!!
They have 224 gorgeous colors to select from and I spent days playing around with all the gorgeous color options.
It was so helpful that for every color combination you make, they show a mockup in a bedroom, bathroom, kid’s room and a hallway. It was really nice to see how my wallpaper would look before I made my purchase.
I also ordered 6 color combination samples to help in me narrowing down my favorites. I ended up going with the Mudcloth print in Velvet + Storm colors. I love how it turned out!
Is peel and stick wallpaper easy to remove?
This is a very common question I get whenever I talk about peel and stick wallpaper and the answer is yes, it is so easy! I like to think of it like a big sticker for your walls. There is a shiny backing to your wallpaper that you peel off and then the wallpaper is sticky on the back.
It’s definitely sticky enough to stay put on your wall, but with a little effort you can lift up on a corner and easily pull the whole thing off. Bonus that there is no residue leftover!
Looking for an entire post about beautiful Accent Wall Ideas? Check it out now.
I am really hopeful that I can start working a little faster now that the walls are completely done. I still have so much to do in this room!
- TO DO LIST over the 8 weeks –
Paint WallsHang Wallpaper- Paint IKEA storage lockers
- DIY cabinet hack
- Install new ceiling fan (maybe)
- DIY art above dresser
- Install Wood Slat accent wall
- Style room with new rug, floor cushion, bean bag chair, desk + accessories
In the meantime, check out all the other rooms being transformed! Everybody will be posting progress each Thursday and linking up on the One Room Challenge blog right here! See you next week!
Thank you to Love vs. Design for providing the wallpaper for my office update during the One Room Challenge.
Here are a few items I have already picked up for my new office :
Mod Mudcloth Wallpaper

Love the wallpaper choice! Good luck with the rest of the challenge 🙂
Thanks so much, Bridget!