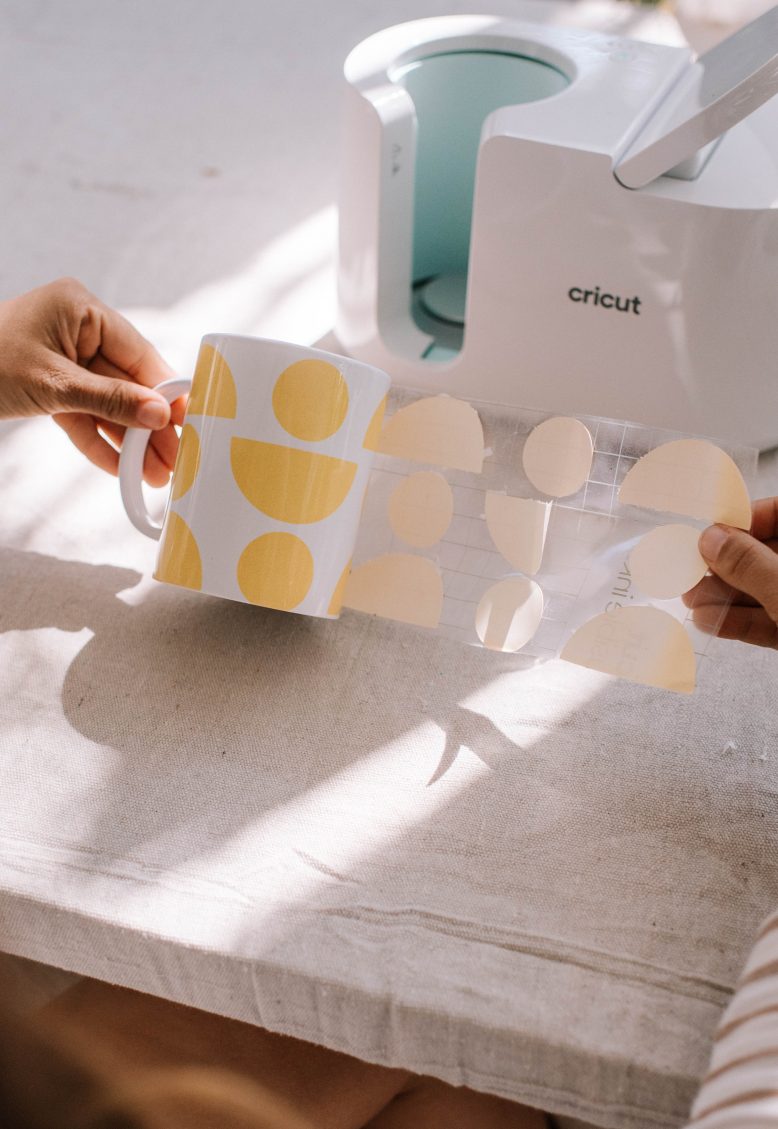
The best thing about working with Cricut? Trying all their amazing new products!
I was so excited when I first heard about Cricut’s Mug Press, having done a LOT in the last few years with my Cricut machine I knew the results would be really amazing. And I wasn’t wrong. Cricut’s Mug Press allows you to make professional mugs at home, with your own design. The options of what you can do are endless! To be honest, I was actually blown away by how incredible my first mug looked, so I had to make a whole bunch. You can guess what all my family can expect for Christmas this year.
Pre-order the Mug Press now from Harvey Norman or Spotlight. It will be available from November 1st.
How The Mug Press Works
So, before I share my project, let me give you a quick rundown of how the Mug Press works. You first create your design like you would for any Cricut project, and then cut it out using your Cricut machine onto Cricut’s infusible ink. You then wrap your mug in the design and insert it into the pre-heated Mug Press. Five minutes later your amazing, professional mug is done. Honestly, it is so cool!
Making Mugs
You need:
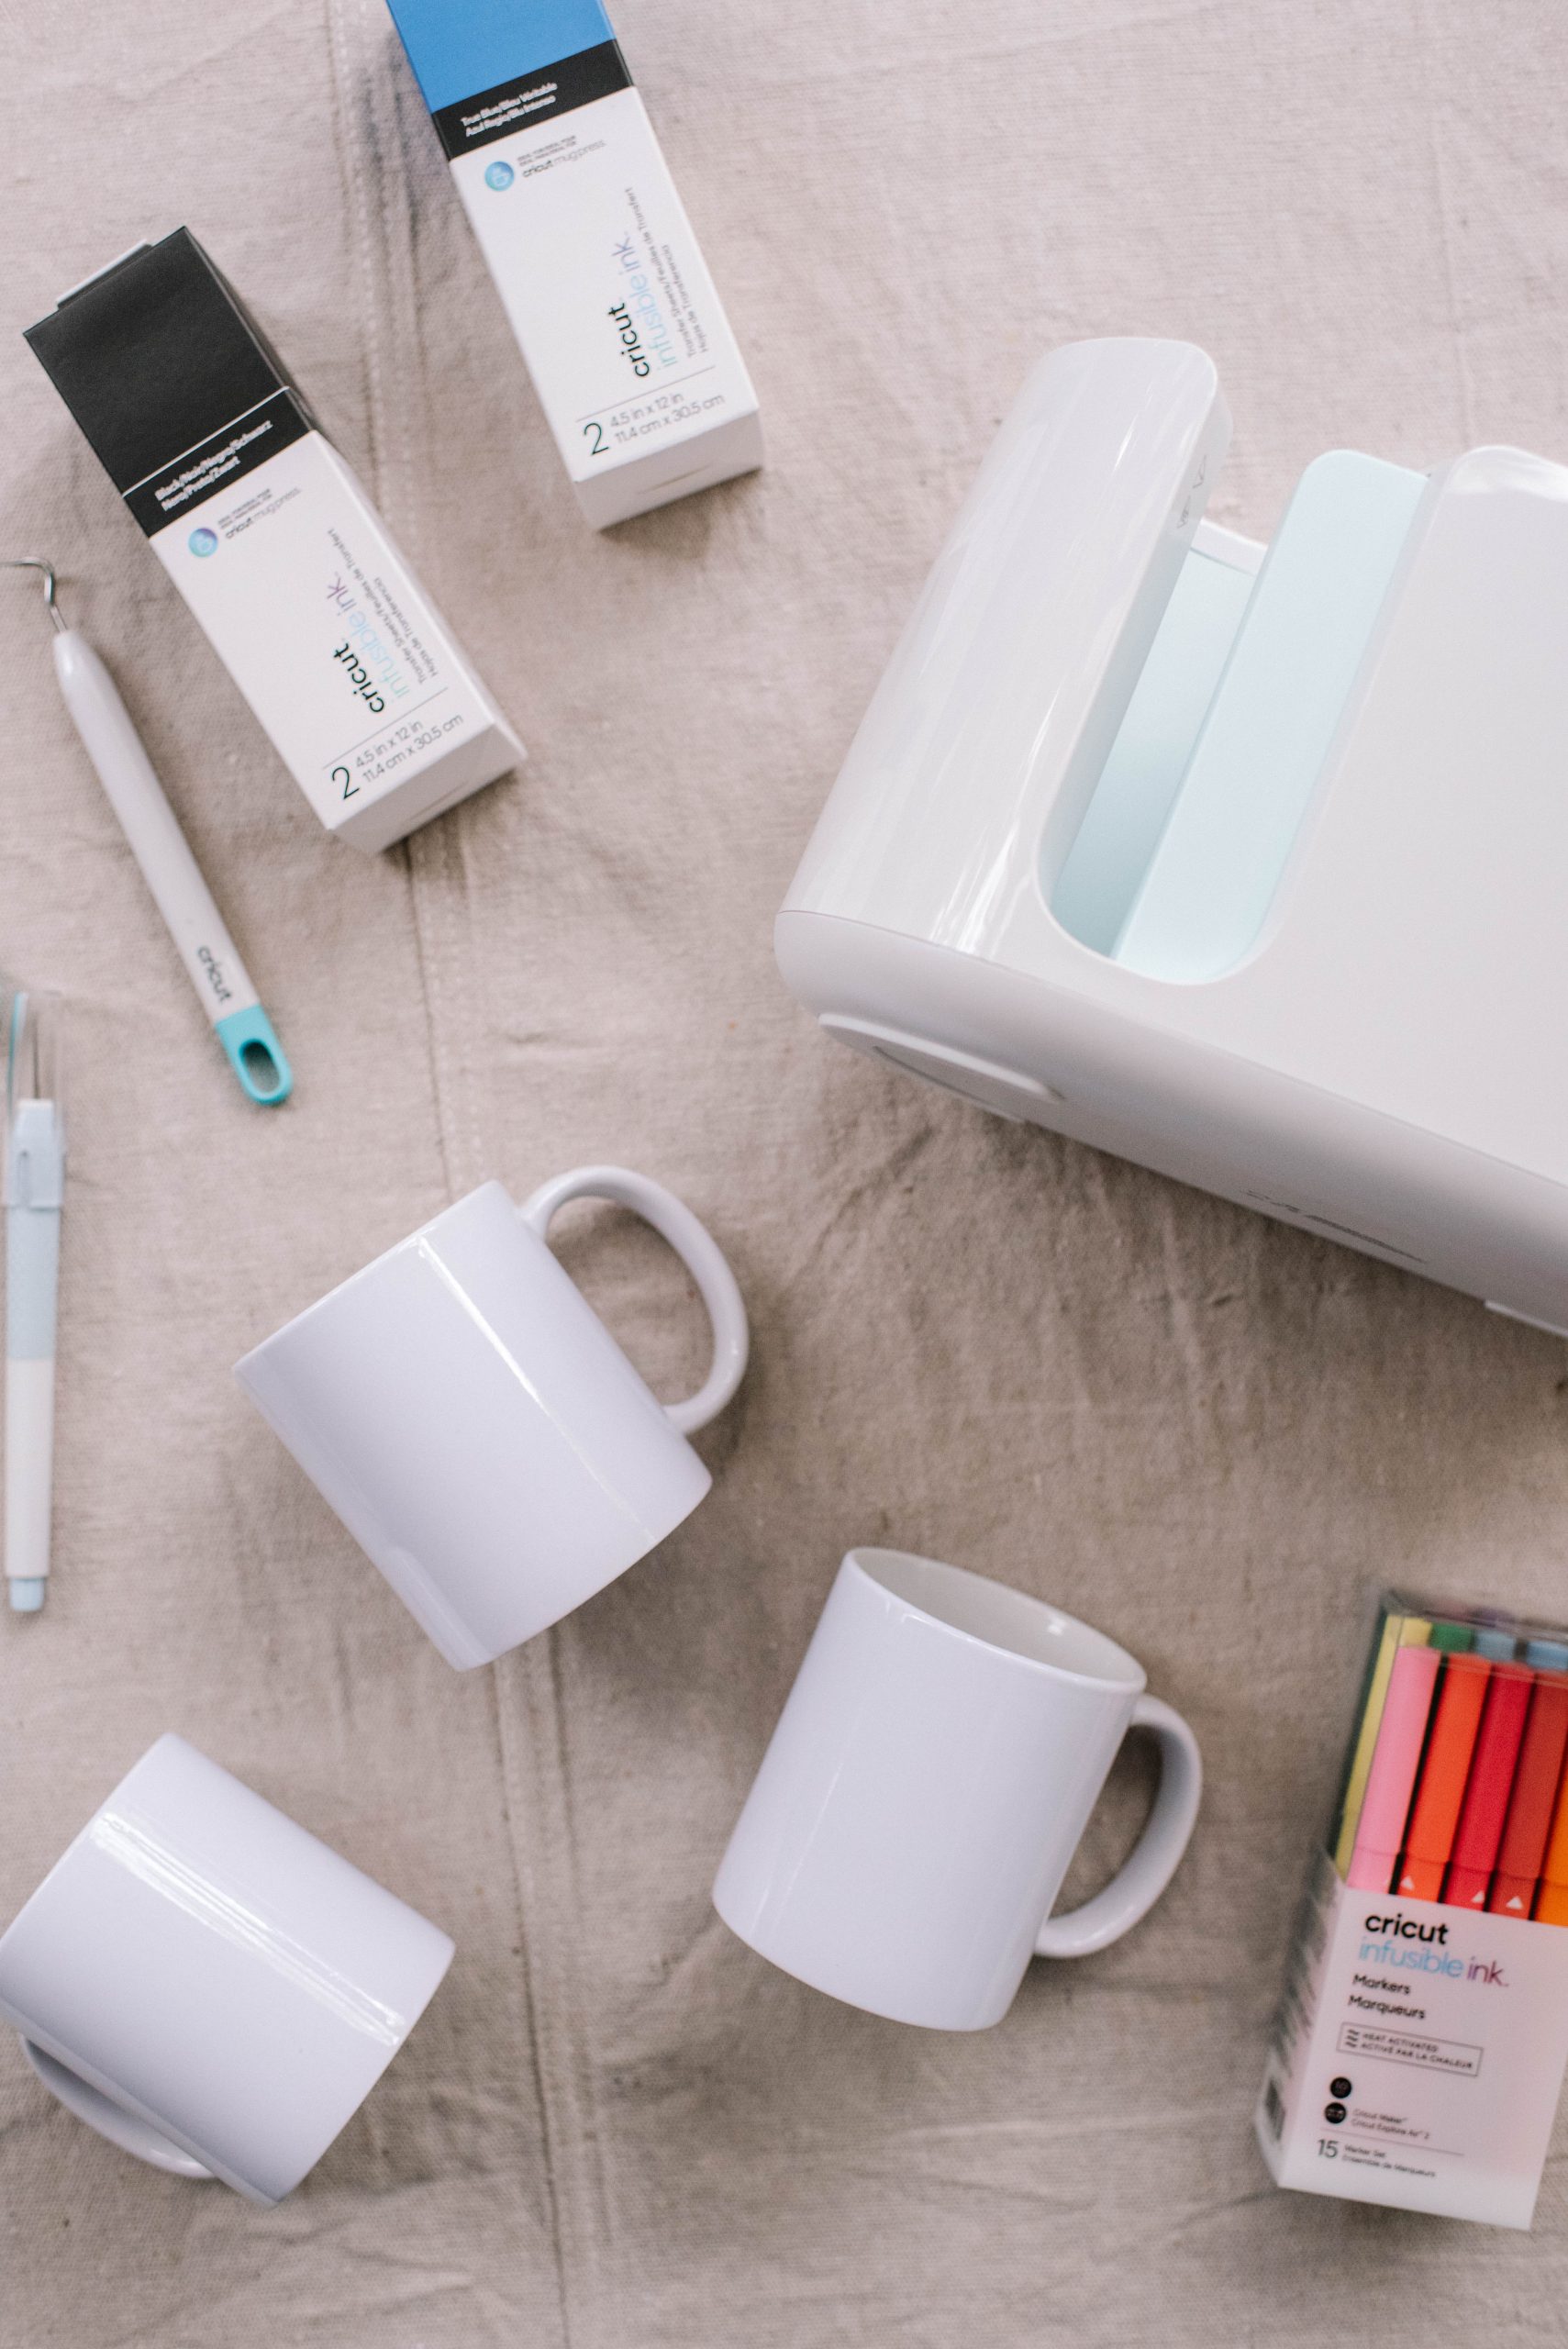
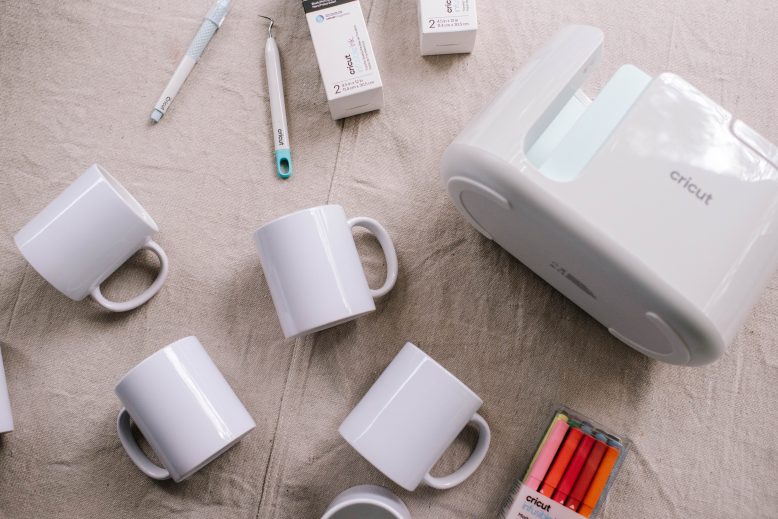
- Cricut Machine (I used the Maker 3)
- Cricut Mug Press
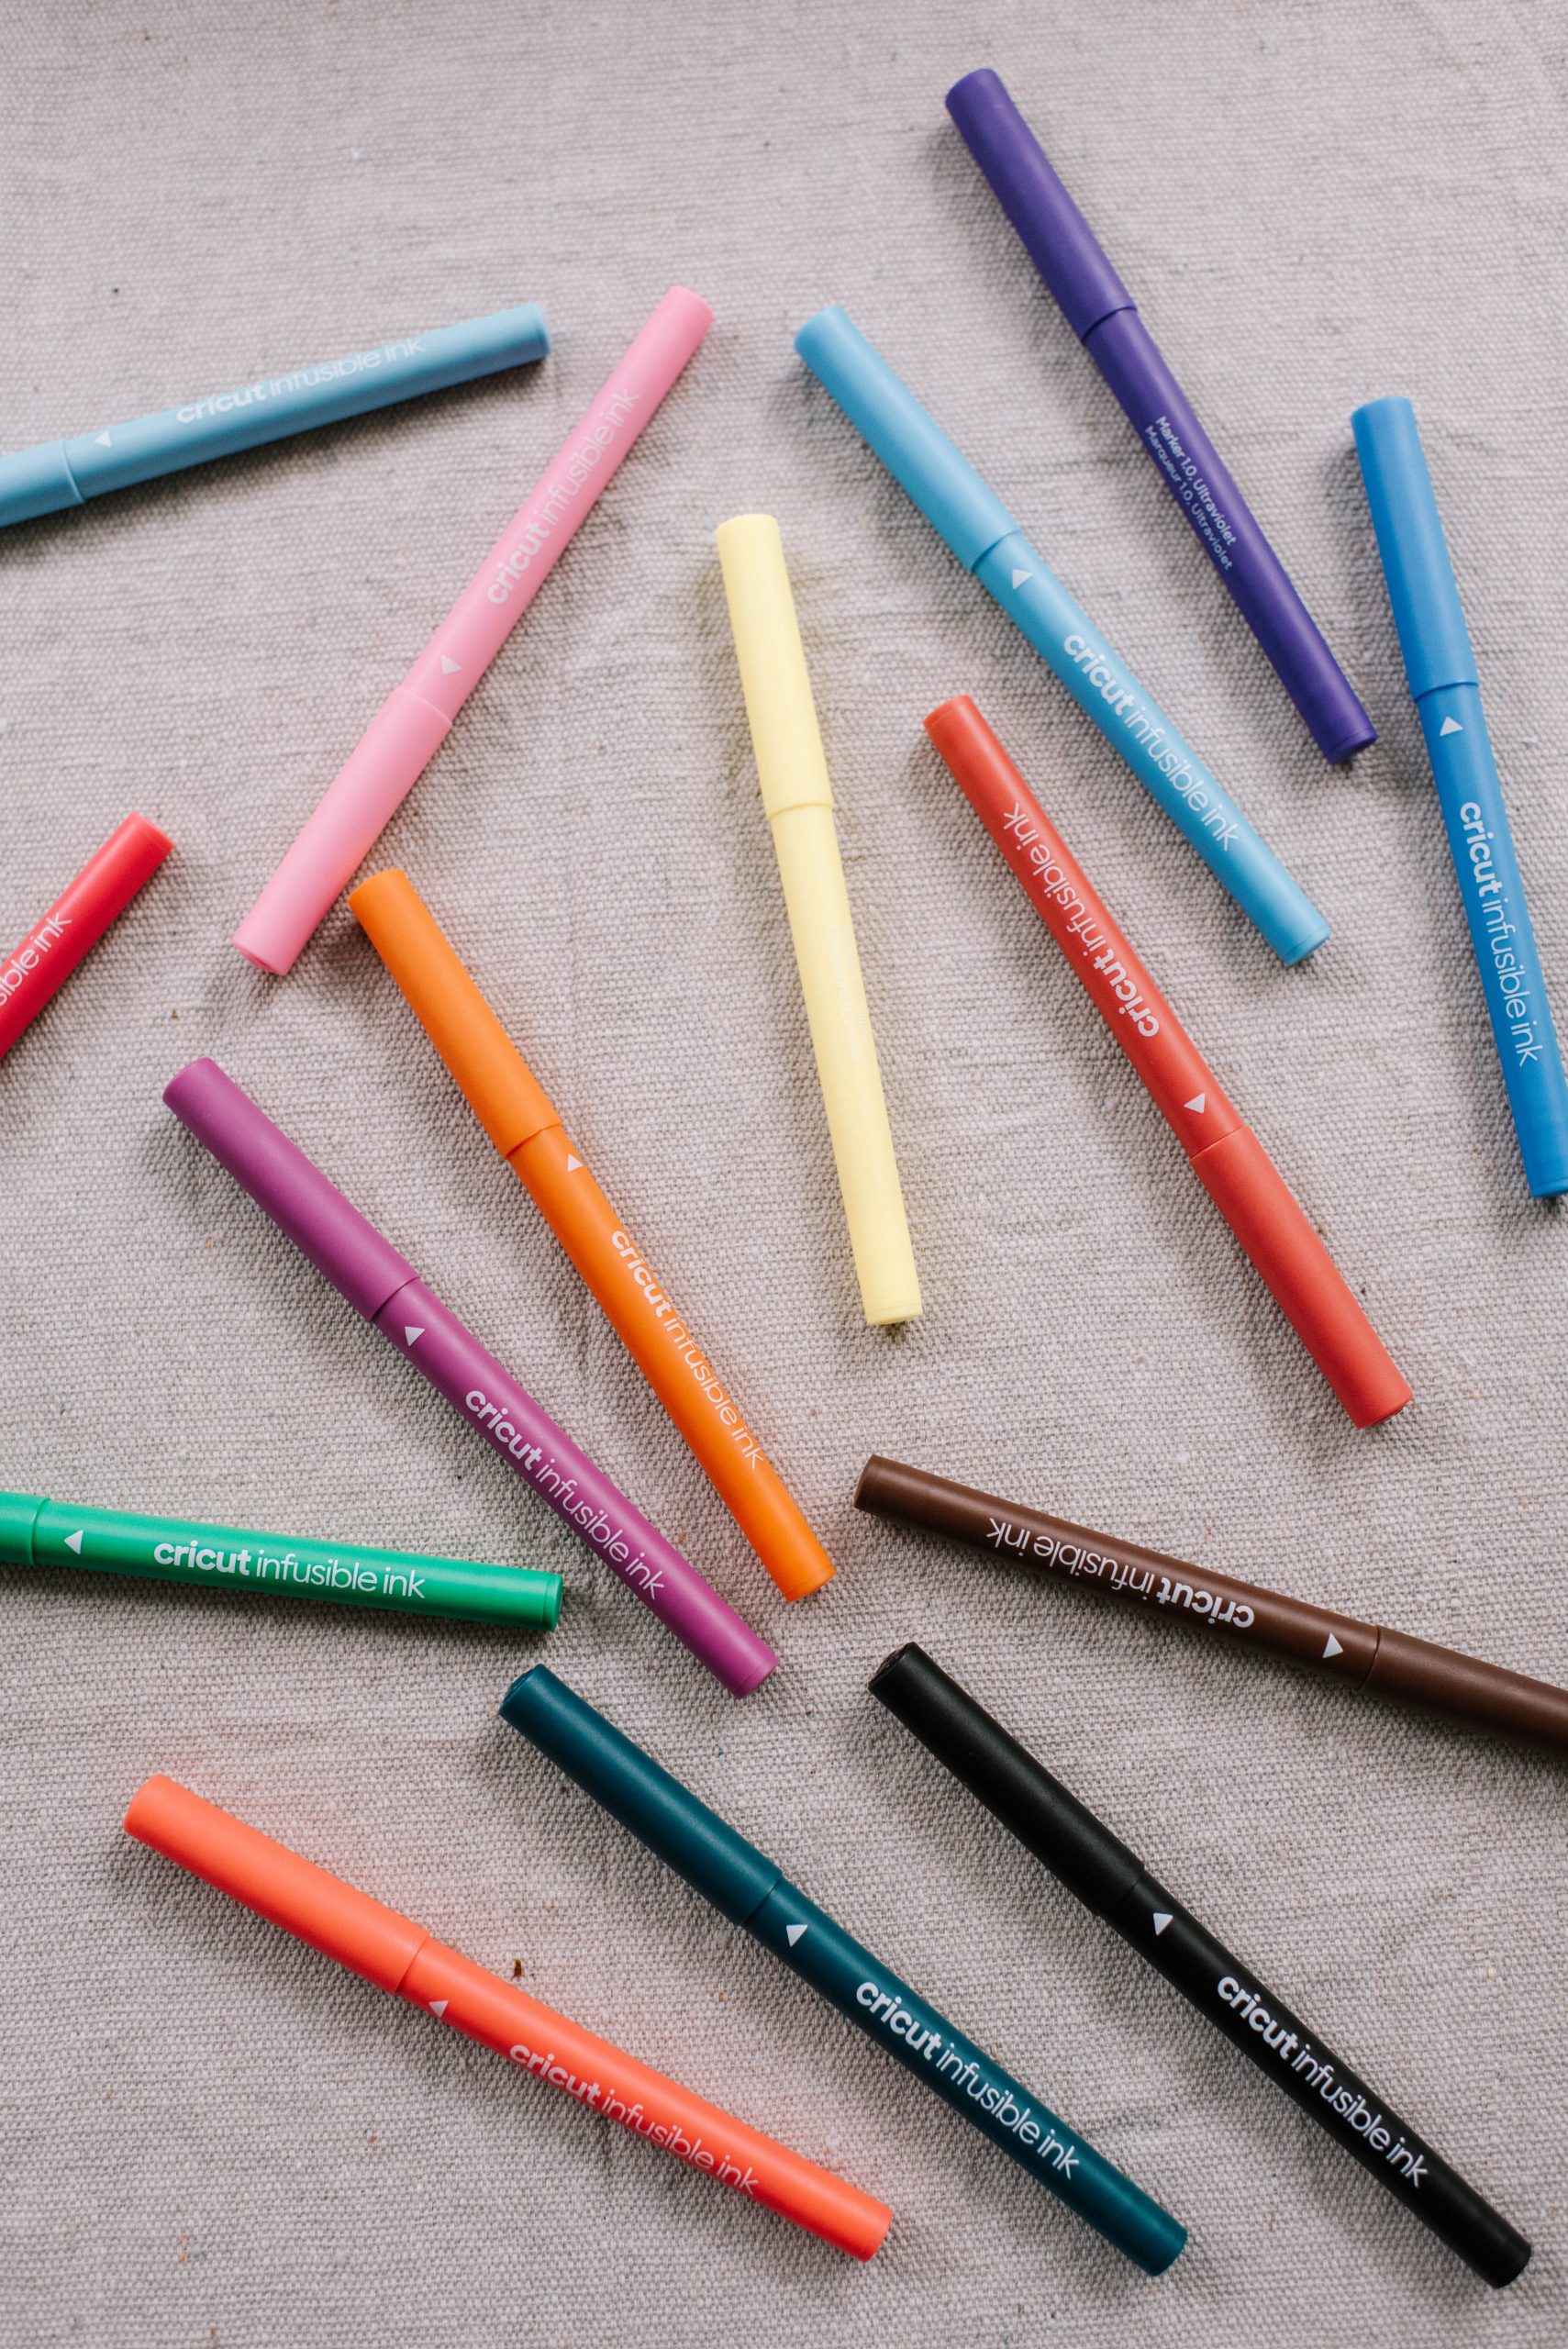
- Cricut Infusible Ink
- Cricut Mug
- Cricut Standard Grip Mat
- Cricut EasyPress mat or towel
Creating My Design
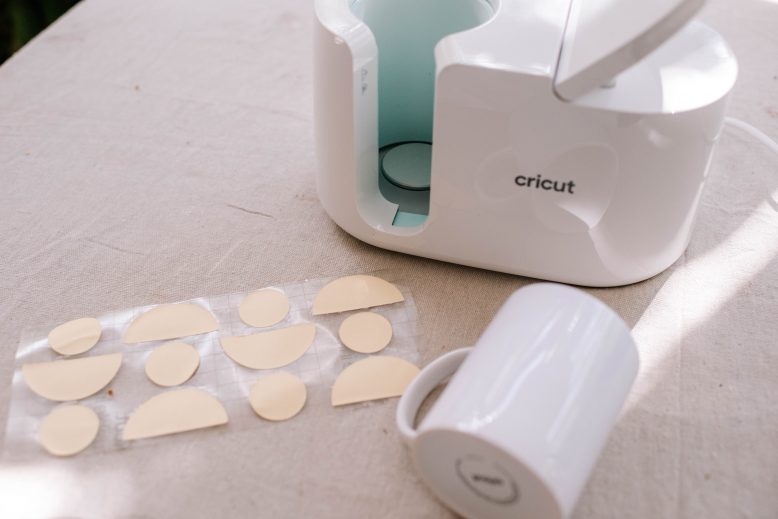
For me, a professional looking pattern is hard to do by hand, so I thought this was a good opportunity to create something like this using the Cricut. I used the image library to find shapes and designs that I liked, and then repeated them to create a pattern style. I laid out the pattern on the Design Space canvas to reflect the shape of the mug, and then cut out my design using my Cricut Maker 3.
1
Start by turning your Mug Press on so it can preheat. You will need to register your device using the Design Space app the first time you use it. The power button will turn green once it is ready to use.
2
Next, it’s time to select and set up your design in the Design Space app. I chose images and repeated them to create a pattern. If you are doing words, make sure to select ‘mirror’ so that they read properly when transferred.
3
Then, lay out your infusible ink on the mat. After loading the mat into the Maker, I went through the Design Space process and selected Make It.
4
After the machine had cut out the design, I weeded it to remove the negative space so that it was just left with the design on the backing.
5
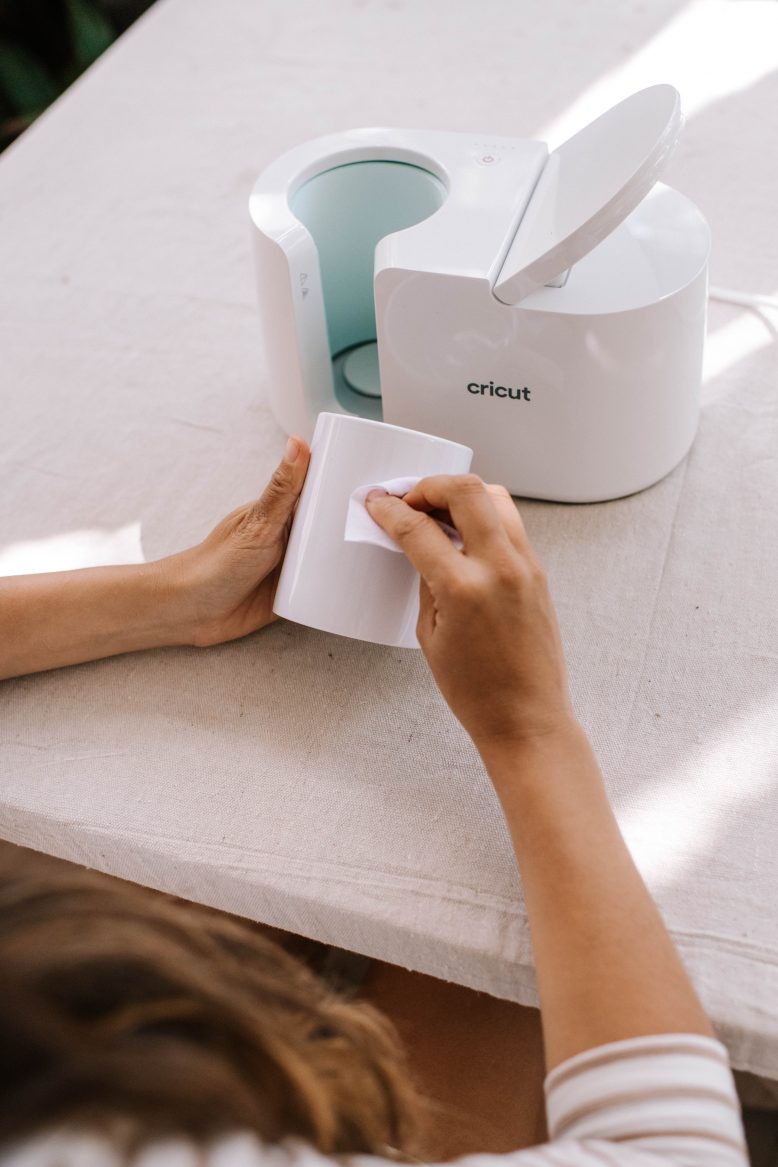
Next, it’s time to apply the design to the mug. First, carefully clean your mug with the cloth and a lint roller.
6
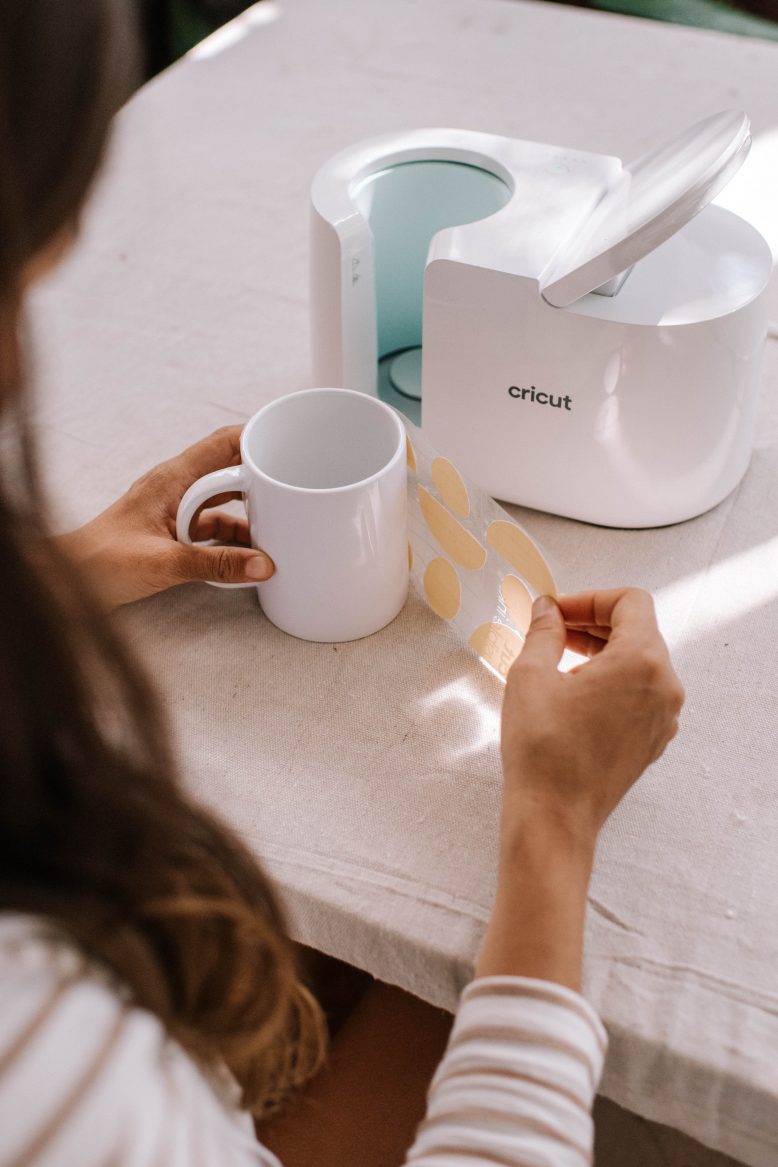
Starting from one side and making sure to keep the design tight, wrap your mug in the design. Make sure that the design is straight and even on the mug.
7
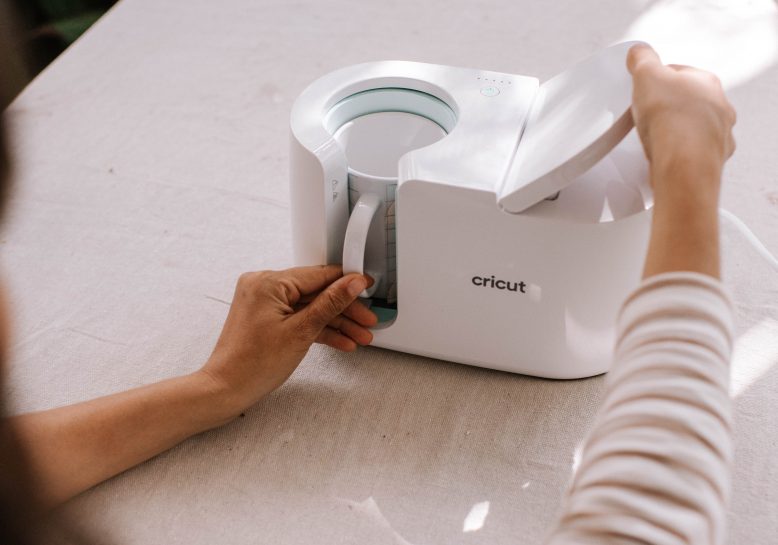
Once the design is well pressed onto the mug, it’s time to insert your mug into the Mug Press. The press will make a beeping noise (and the power button will turn green) when it is ready to use and once you hear that, lift the lever to open the press. Tilt your mug to the side a little so that the design doesn’t catch on the sides of the press, and push it down into the Mug Press, so that the handle sits in the centre of the opening.
8
Press the level down to close the machine. Leave the mug in the machine until you hear another beeping noise that will alert you to the mug being ready. Carefully remove your mug and place it somewhere safe like an EasyPress mat or towel to let it cool. The base of the mug will be very hot so be careful.
9
The final step is to remove the infusible ink wrapping, at which point you will see the amazing design that has been transferred to your cup.
This post is in collaboration with Cricut. Pre-order the Mug Press now from Harvey Norman or Spotlight. It will be available from November 1st.
