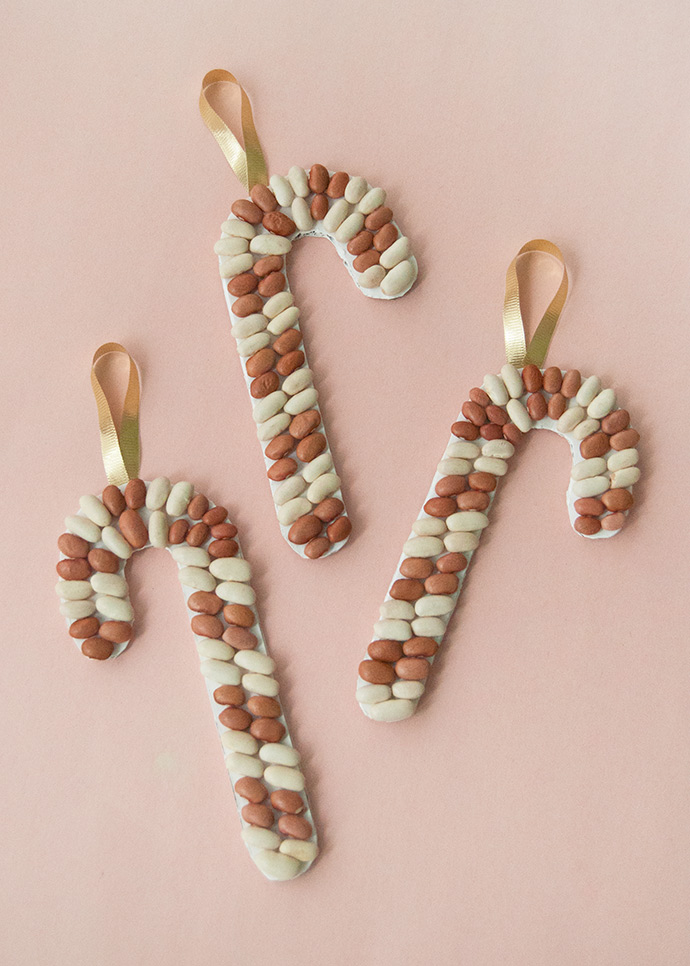
Looking for a fun craft for your kids to work on this week? We’ve got the perfect project for you! We love bean art and this one is especially great for kids of all ages because the finished mosaics don’t even need a coat of paint on top – just glue down the beans as-is and their natural colors are perfect! When we spotted these dried pink beans, we knew we had to add them to our stash for future bean mosaics and we love how they look on these candy canes. If you can’t find pink beans at your local grocery store, red kidney beans would also be a great option!
These simple candy canes make really fun ornaments, gift toppers, or just a fun afternoon art project! Keep reading for our tips and tricks below.
what you need:
- Cardboard
- Pencil
- Craft knife or scissors
- White paint
- Paintbrush
- Glue
- Dried beans (white and pink)
how-to:
Step 1
On a piece of corrugated cardboard, draw a candy cane shape with a pencil. You can make this as large or small as you like! If using as tree ornaments, the size of your hand is good so that the ornament doesn’t get too heavy. If using as a gift topper, you can make the candy cane as big as you like to best suit the size of the gift you’re wrapping.
On a piece of corrugated cardboard, draw a candy cane shape with a pencil. You can make this as large or small as you like! If using as tree ornaments, the size of your hand is good so that the ornament doesn’t get too heavy. If using as a gift topper, you can make the candy cane as big as you like to best suit the size of the gift you’re wrapping.
Step 2
Use a craft knife or sharp scissors to cut out the candy cane shapes.
Use a craft knife or sharp scissors to cut out the candy cane shapes.
Step 3
Paint the cardboard with white paint on the top and sides. Let dry completely and then apply a coat of paint on the back too.
Paint the cardboard with white paint on the top and sides. Let dry completely and then apply a coat of paint on the back too.
Step 4
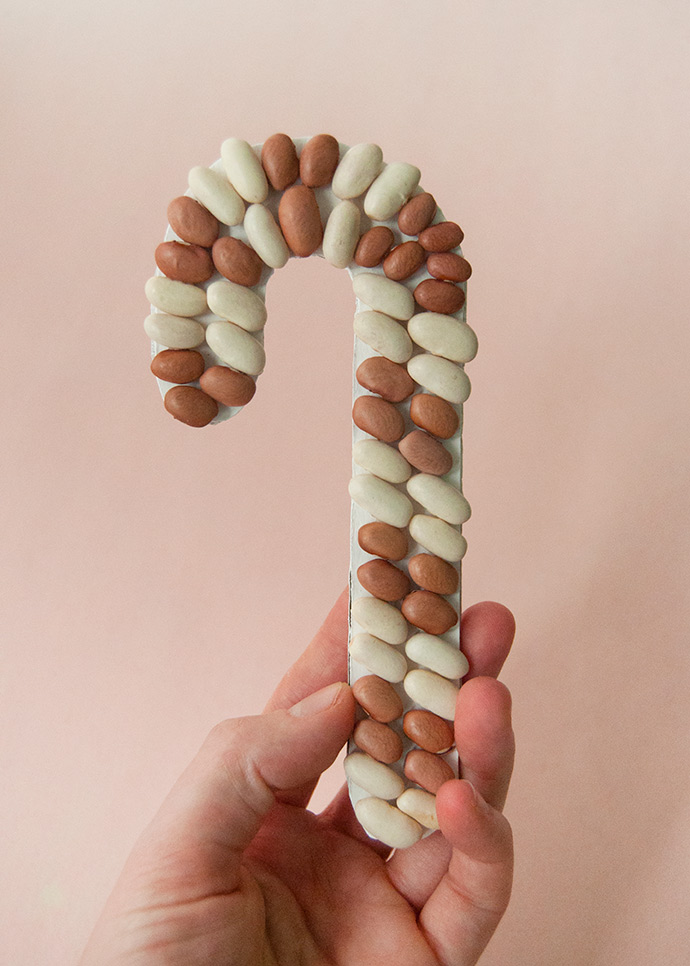
Time to starting gluing down the beans! We like to start from the bottom of the candy cane and work up from there. Apply glue onto the cardboard and arrange the a few white beans to start the stripes. Do the same for pink beans directly above them. The number of beans you’ll use will vary on the size you made your cardboard candy cane as well as the size of your dried beans. For younger kids, it can help to use a pencil to lightly draw on lines for them to fill in first!
Time to starting gluing down the beans! We like to start from the bottom of the candy cane and work up from there. Apply glue onto the cardboard and arrange the a few white beans to start the stripes. Do the same for pink beans directly above them. The number of beans you’ll use will vary on the size you made your cardboard candy cane as well as the size of your dried beans. For younger kids, it can help to use a pencil to lightly draw on lines for them to fill in first!
Step 5
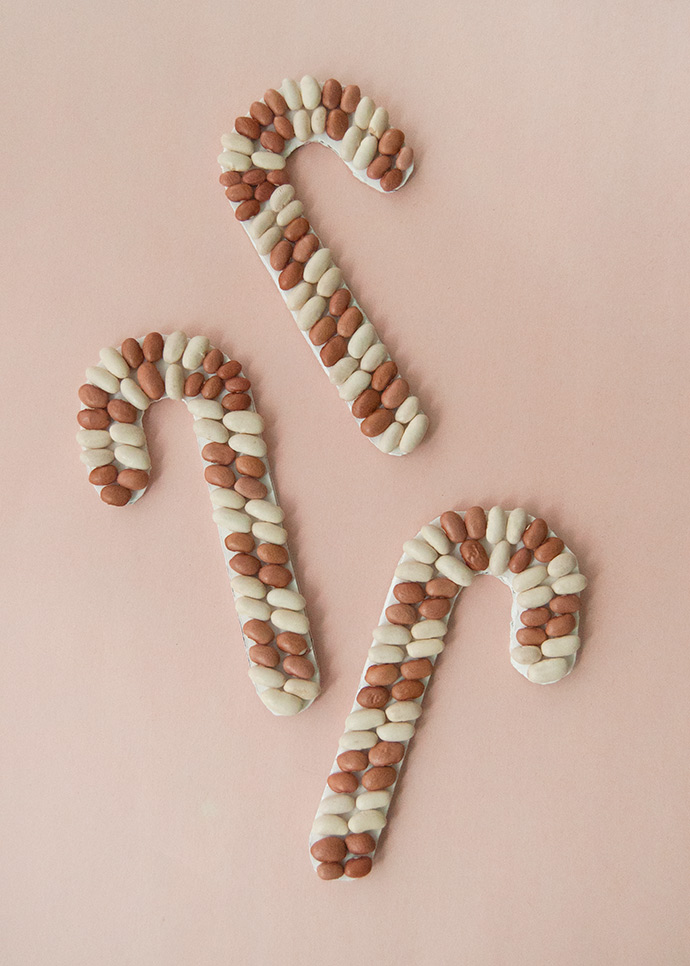
Continue gluing on beans, alternating between pink and white, until the candy cane is completely covered. Set aside to dry completely.
Continue gluing on beans, alternating between pink and white, until the candy cane is completely covered. Set aside to dry completely.
Step 6
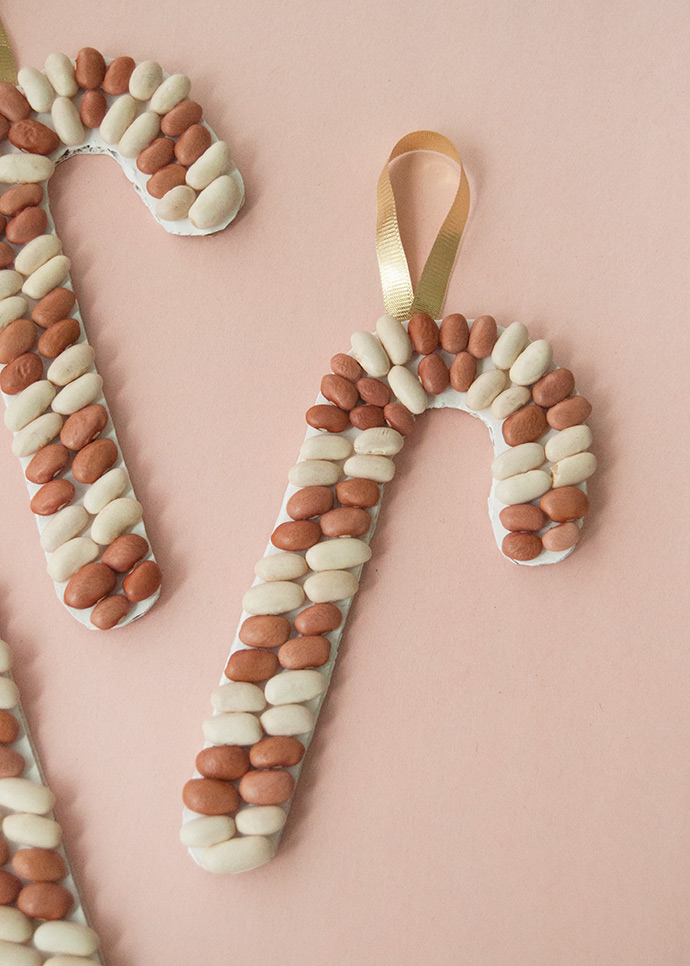
If using as an ornament, cut a piece of ribbon or string and tie into a loop. Glue to the back of the candy cane. If using as a gift topper, leave as is and write a little note on the back of the candy cane with a marker. Tie ribbon around your gift and tuck the candy cane under it snugly.
If using as an ornament, cut a piece of ribbon or string and tie into a loop. Glue to the back of the candy cane. If using as a gift topper, leave as is and write a little note on the back of the candy cane with a marker. Tie ribbon around your gift and tuck the candy cane under it snugly.
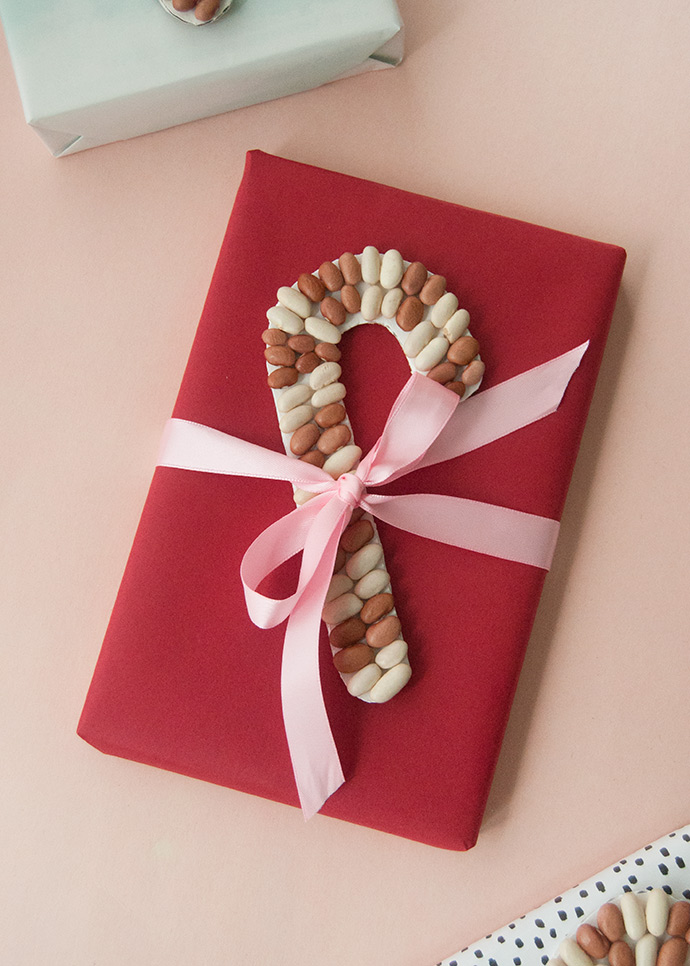
Happy crafting!